
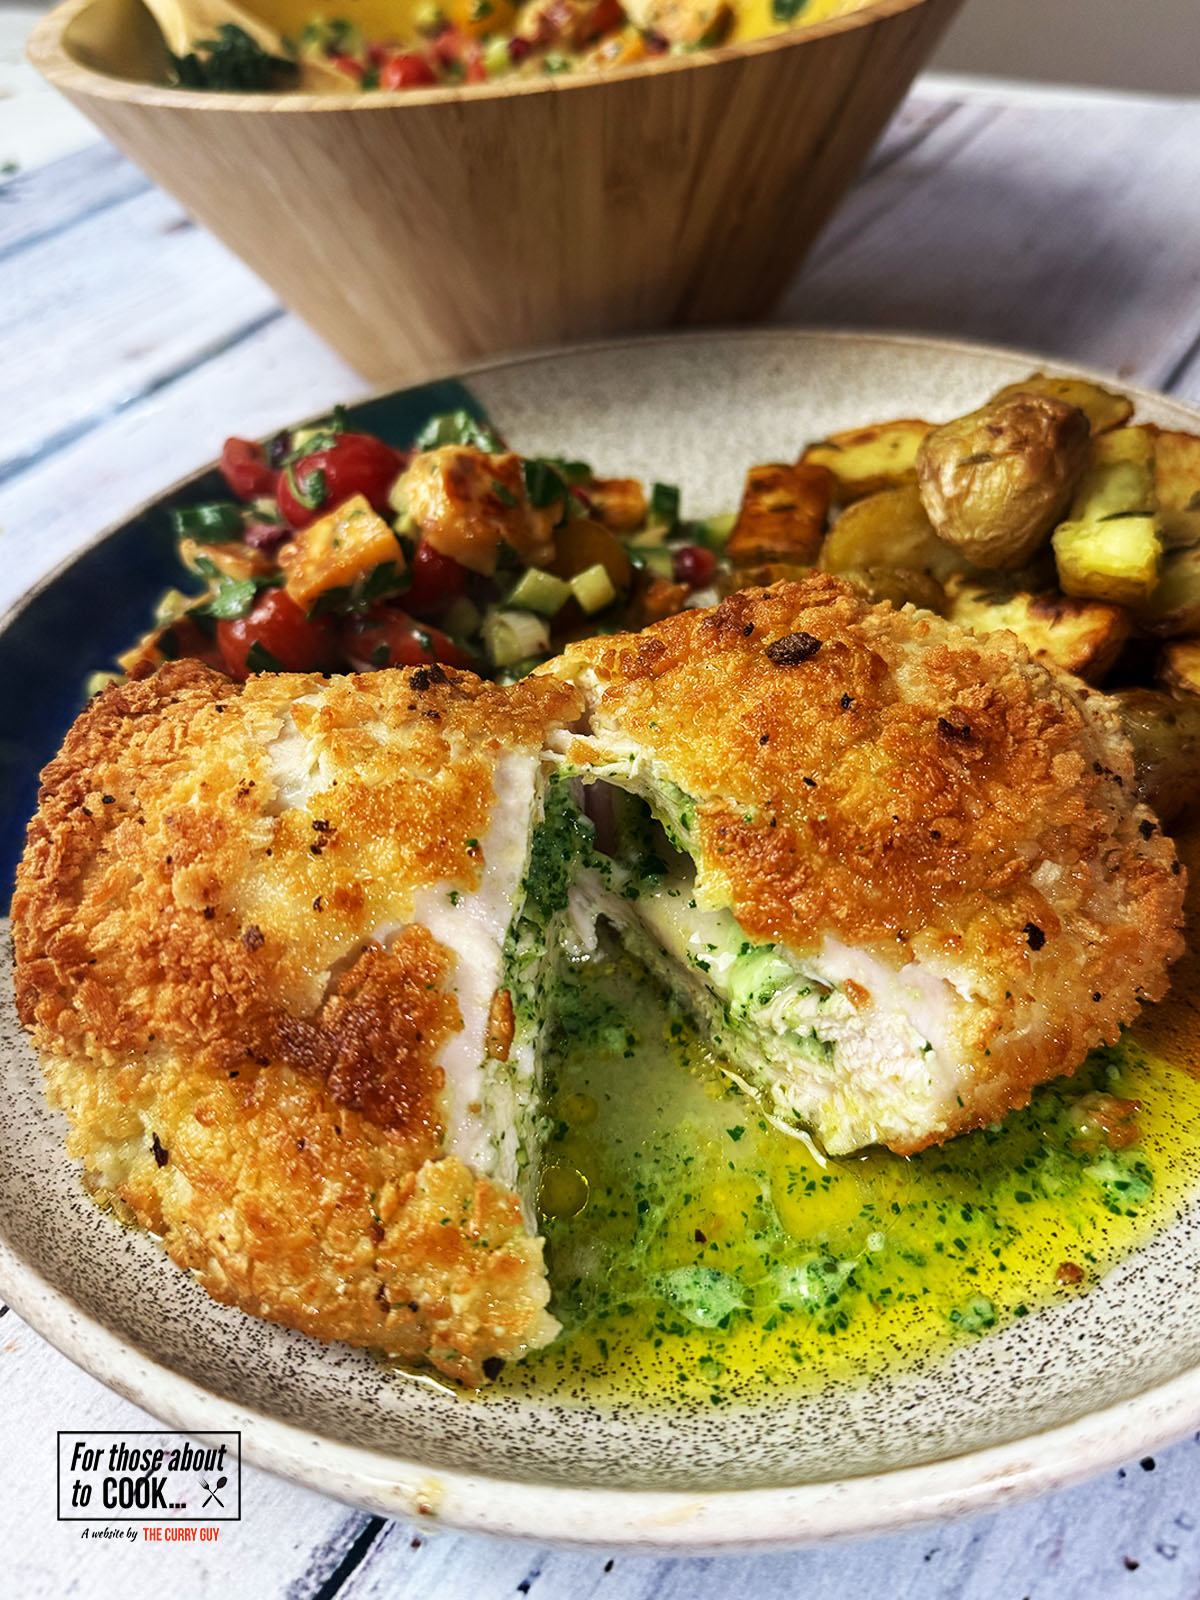
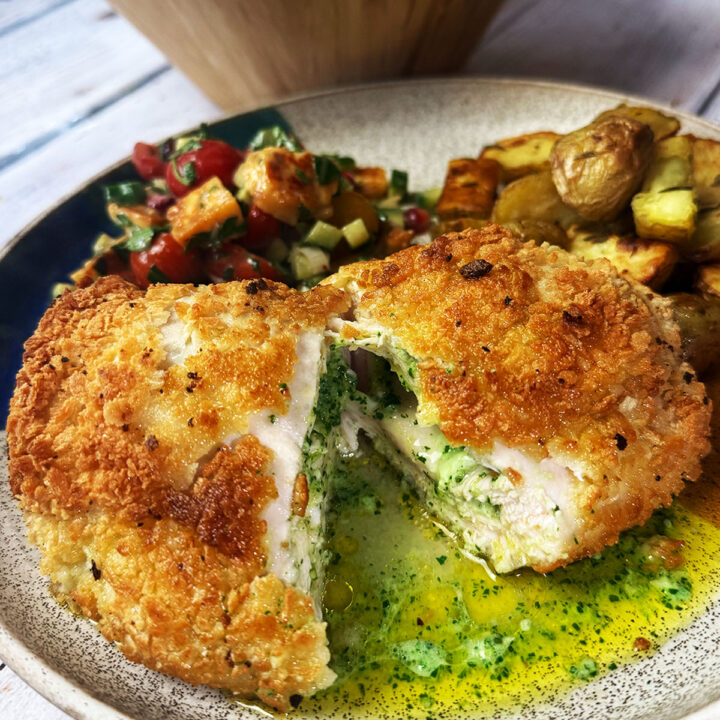
This Chicken Kiev Recipe delivers everything you want from this classic dish: crispy golden breadcrumbs, juicy chicken breast and a rich garlic butter centre that oozes out with every cut. Perfect for a family dinner, this easy Chicken Kiev recipe is guaranteed to become a week night favorite.
About This Chicken Kiev Recipe
If you've ever wondered how to make Chicken Kiev at home, this easy recipe shows you exactly how to achieve that perfect combination of crispy coating, tender chicken and a delicious garlic butter filling. Chicken breasts are stuffed with garlic and parsley butter before being coated in crunchy panko breadcrumbs and cooked until golden brown.
The secret to a great Chicken Kiev is keeping the garlic butter sealed inside the chicken, creating that iconic moment when rich, melted butter flows onto the plate. Whether you're making it for a family dinner, a special occasion, or simply because you're craving a classic comfort food favourite, this homemade Chicken Kiev recipe delivers amazing results every time.
Ingredients
Using the freshest ingredients in this Chicken Kiev Recipe makes all the difference. Below, you will see the ingredients laid out along with a list. Exact measurements and quantities can be found in the recipe card at the bottom of this page. Make sure to have everything ready and prepared before you start cooking for best results.
See recipe card for quantities.
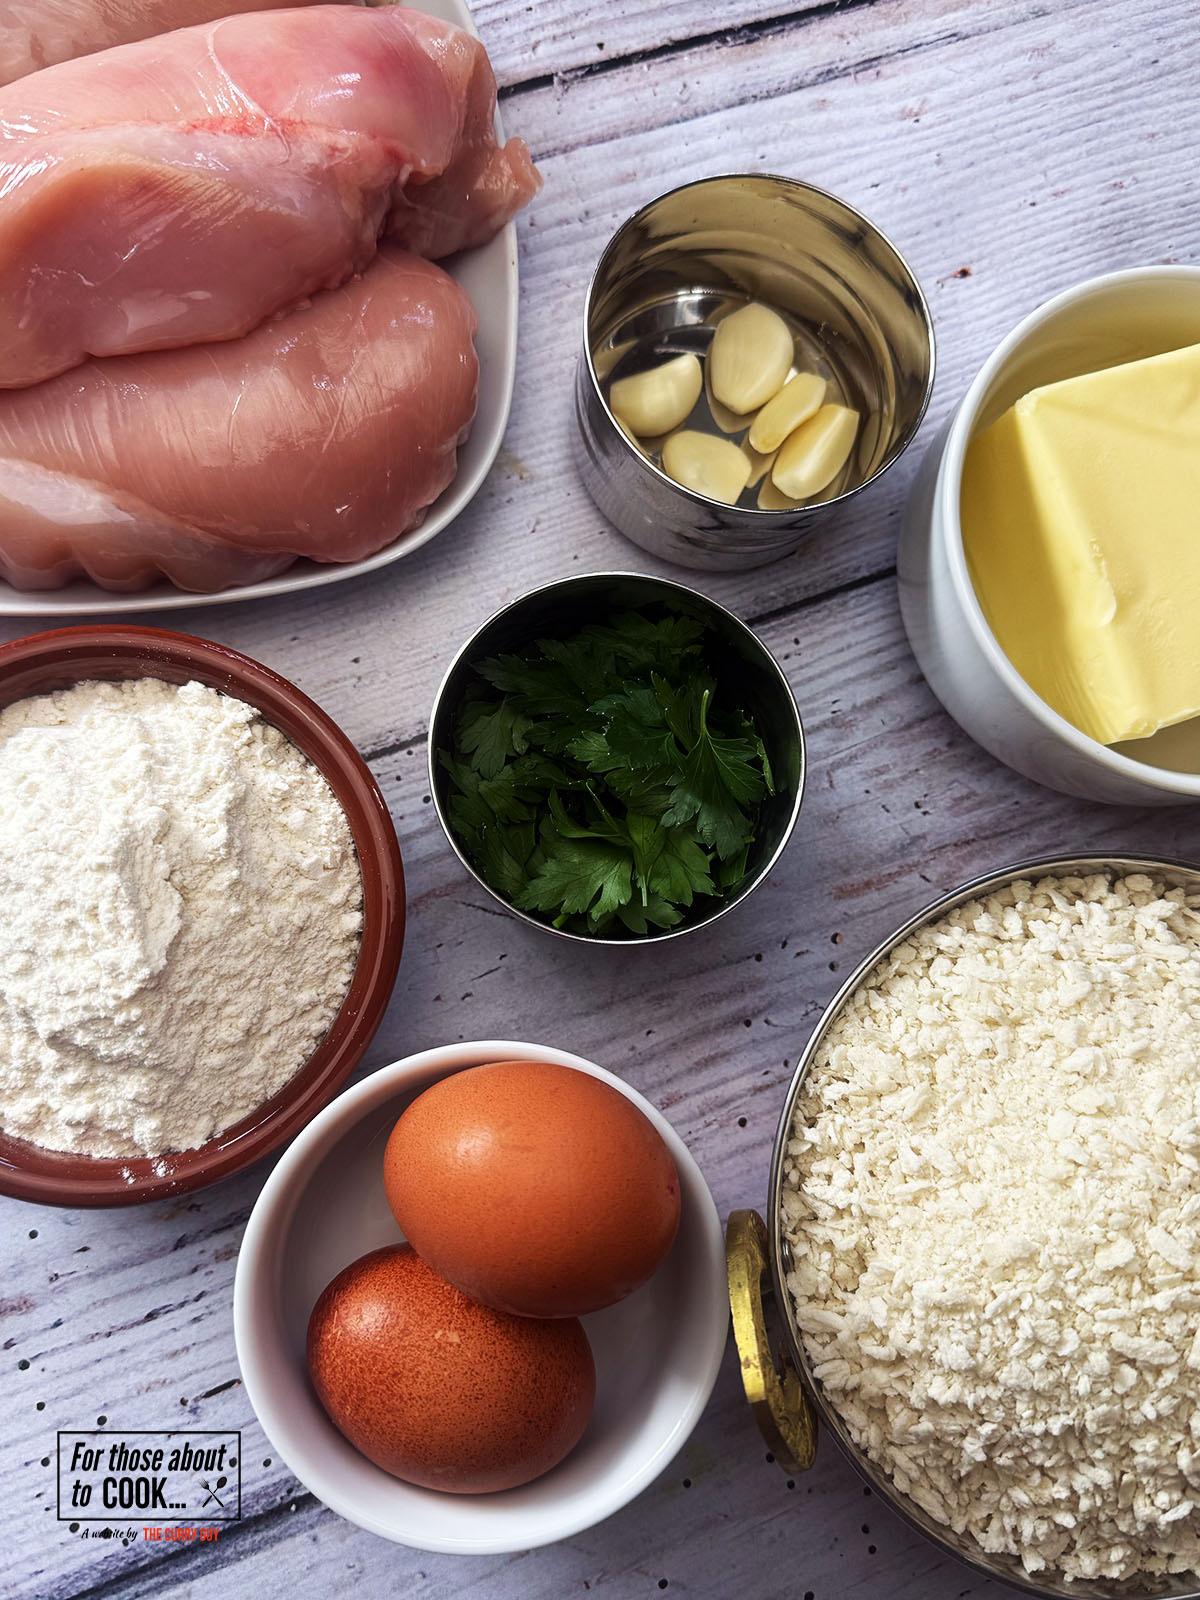
- Chicken breasts
- Garlic
- Softened butter
- Parsley
- Salt
- Flour
- Eggs
- Panko Breadcrumbs
- Neutral oil
See recipe card for quantities.
Instructions
You will find photographs of each step below, along with a full layout including the ingredients for Chicken Kievs in the recipe card. Use whichever format works best for you. These steps are clear and easy to follow, so you can cook along with confidence.
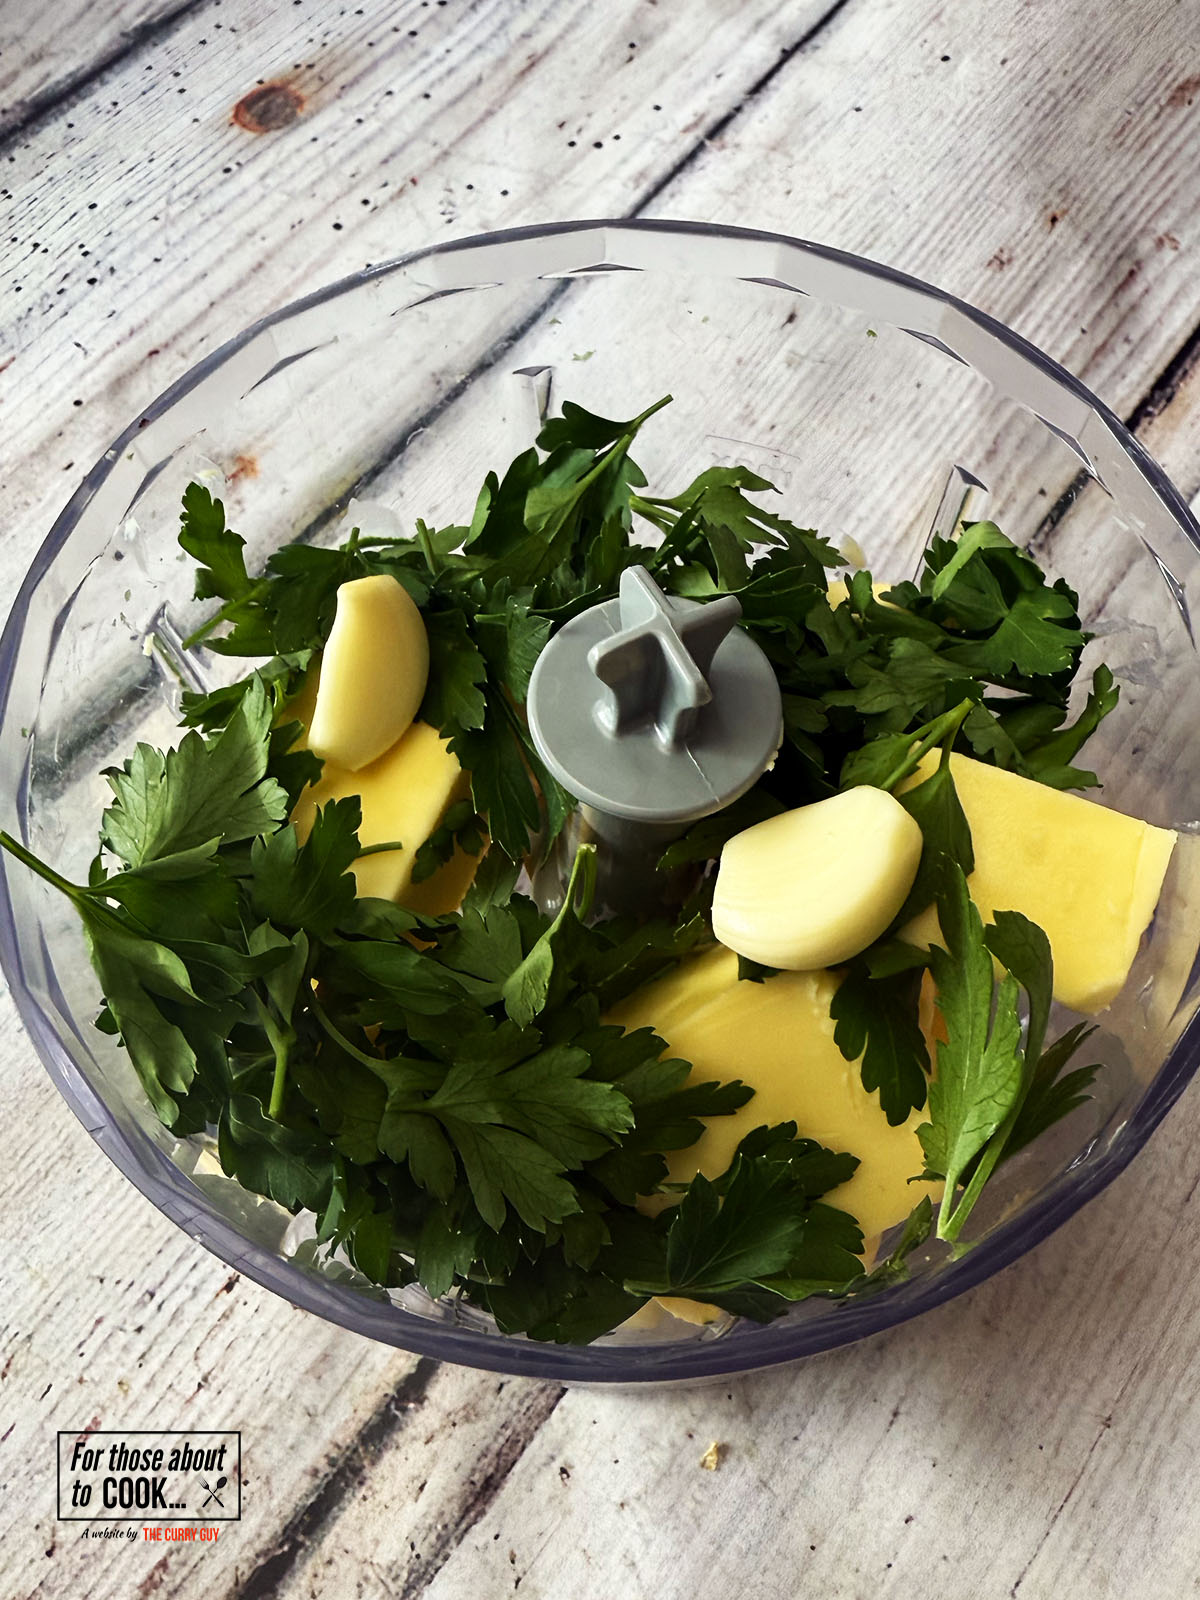
- Step 1: First, make your compound butter by adding your butter, minced garlic, salt and parsley to a food processor. Blitz well.
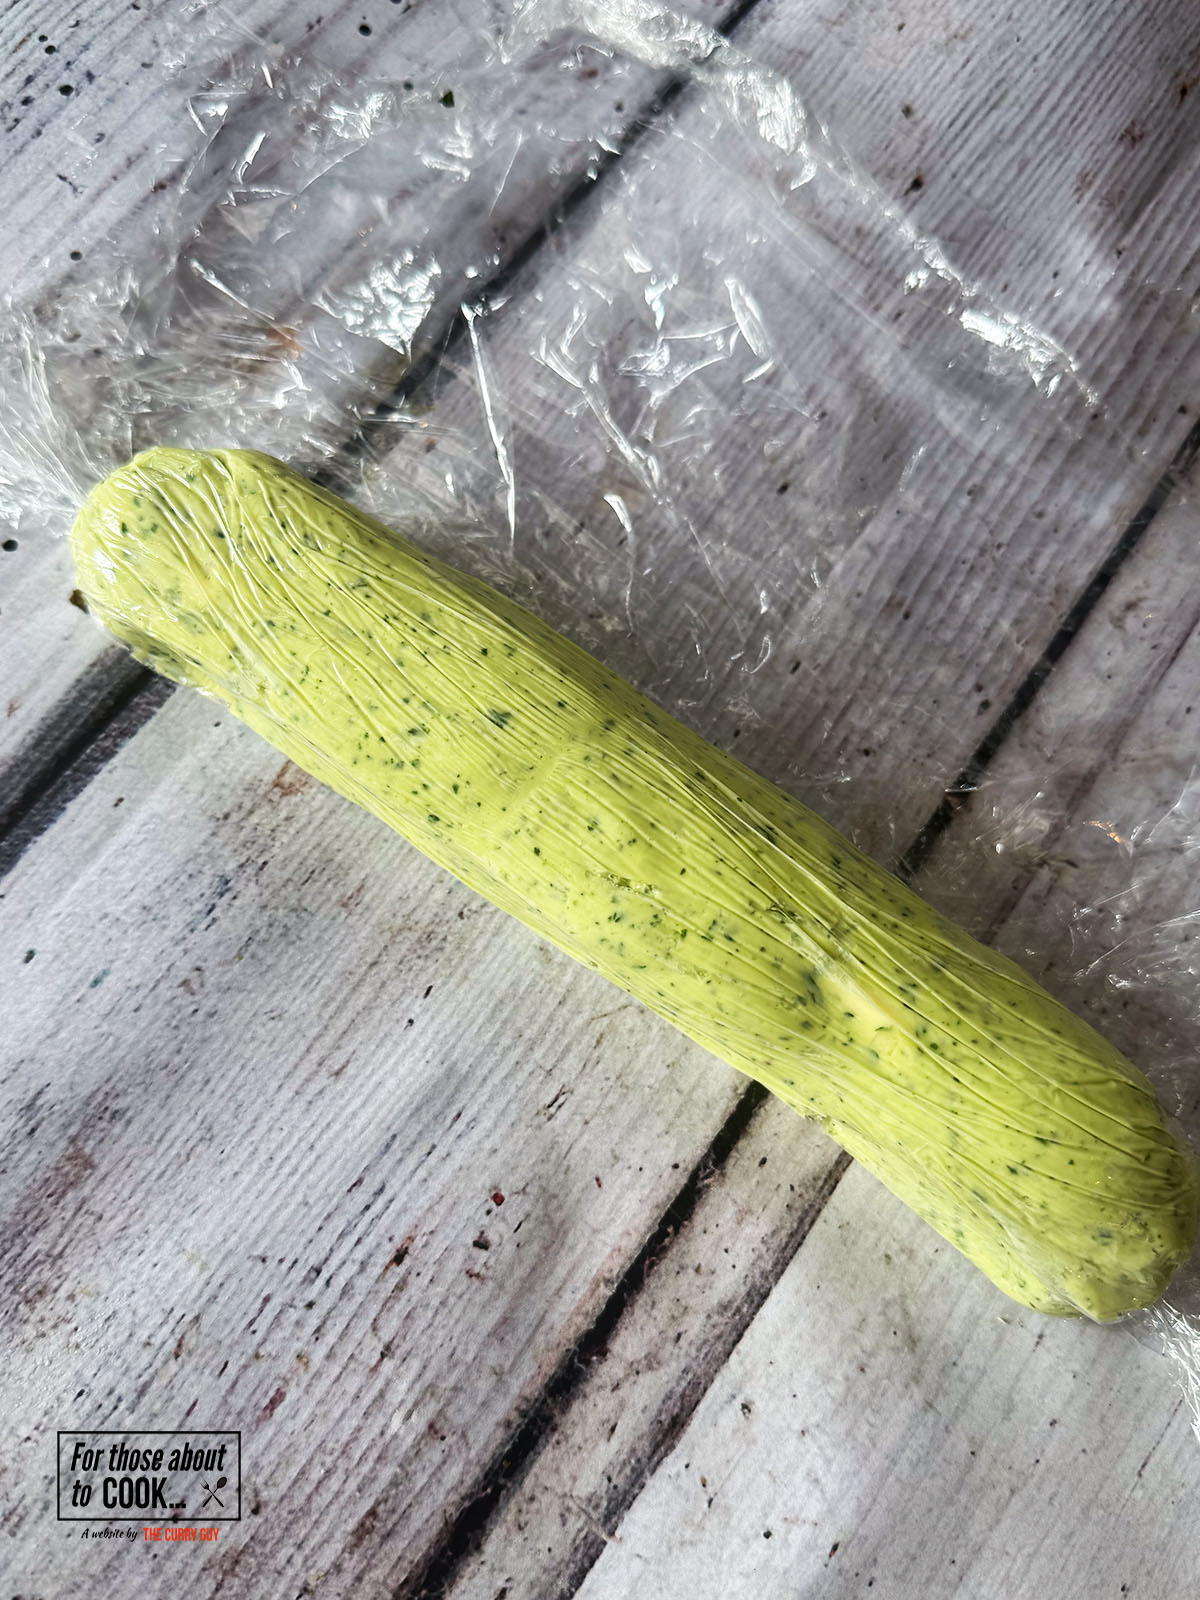
- Step 2: Then, put down a layer of saranwrap (cling film) and add your compound butter on top in a log shape. Roll tightly and chill in the fridge for later.

- Step 3: Next, with a thin, sharp knife, pierce the end of your chicken breast. With the knife inside, move the knife carefully to create a pocket for your butter. Be careful not to cut through the sides.
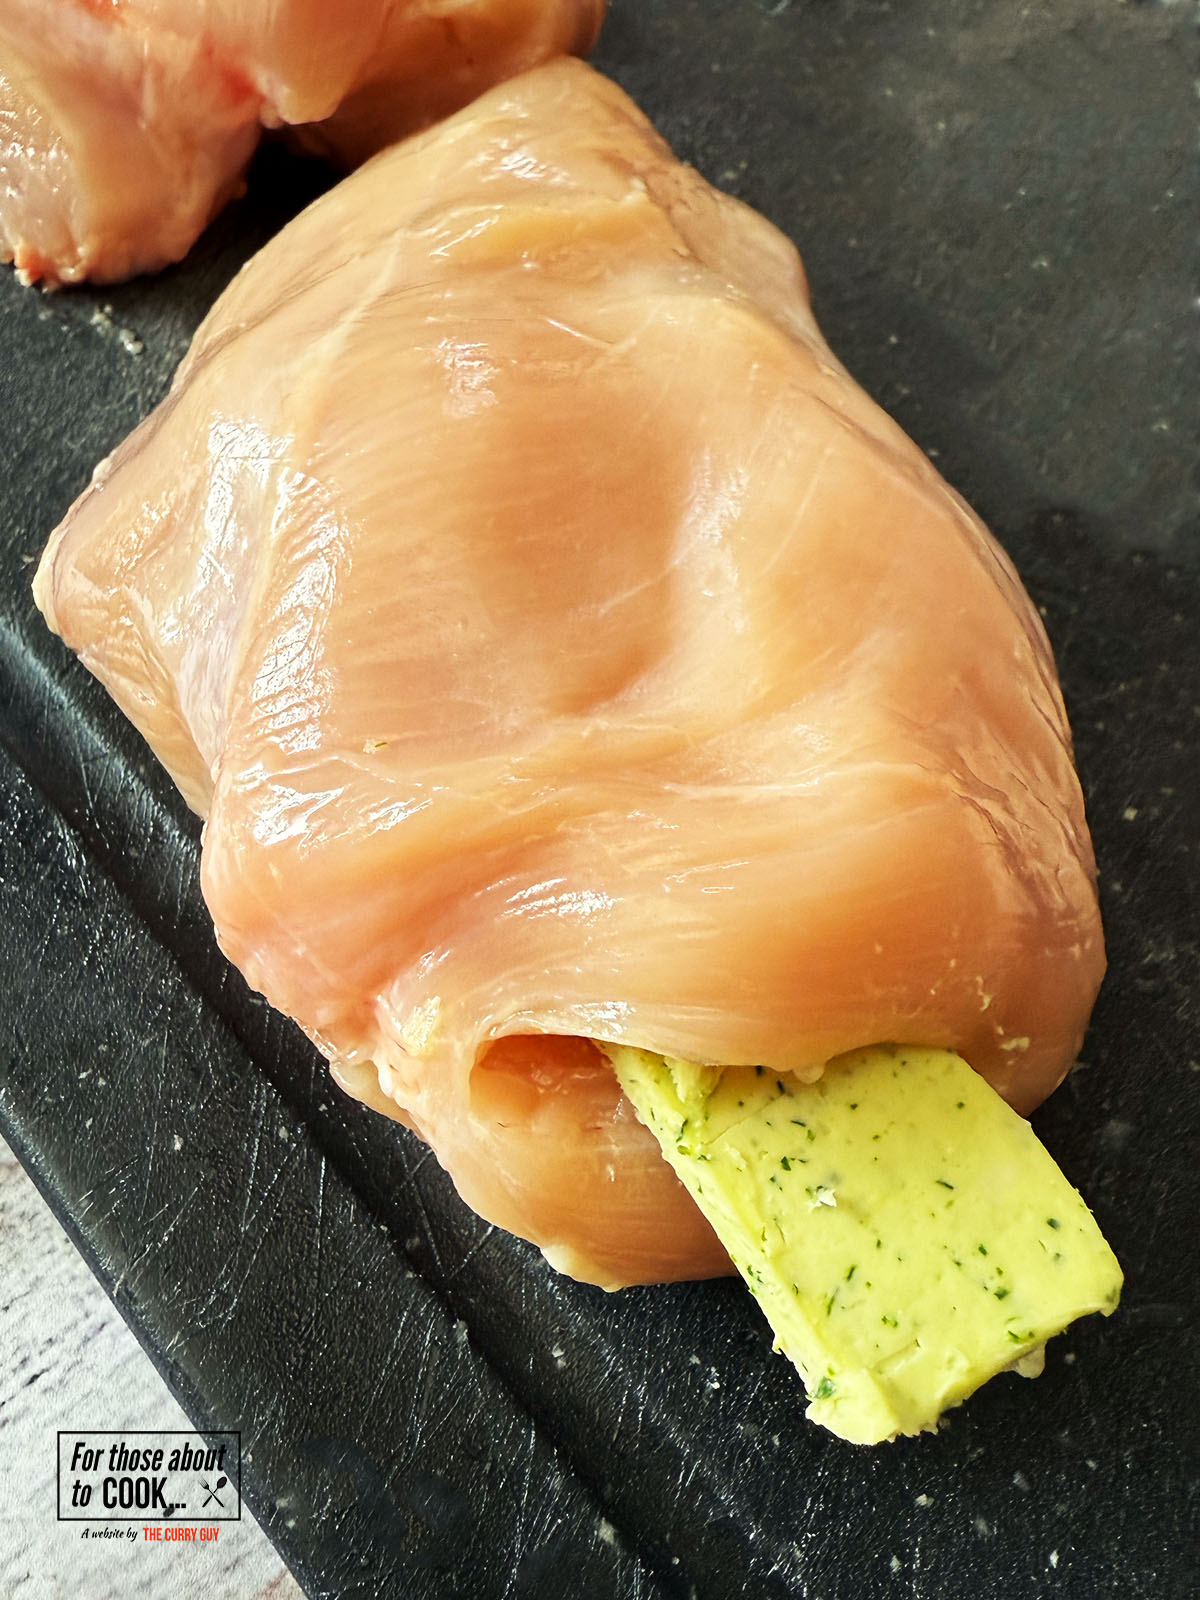
- Step 4: After that, remove your chilled butter from the fridge and cut small disks. Carefully stuff your breast with the chilled butter adding around 2 tablespoon worth.
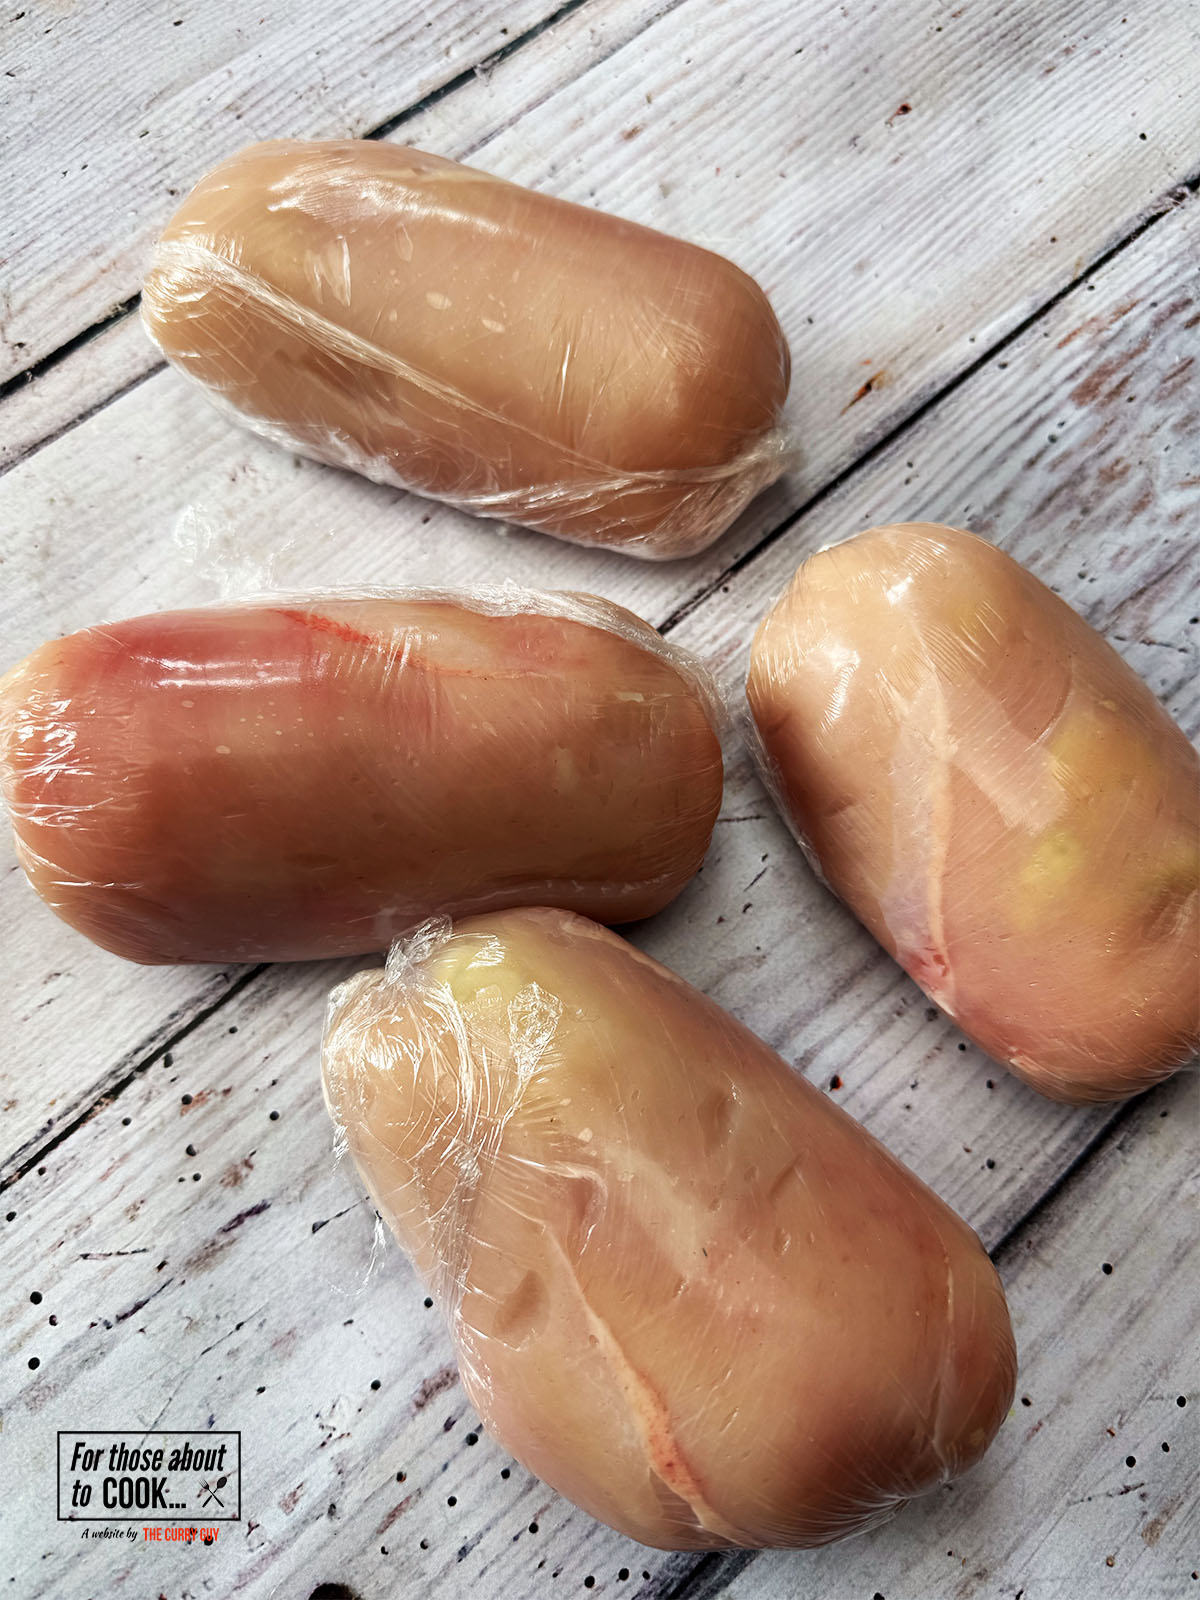
- Step 5: Next, cut a small piece of chicken from the breast and stuff into the pocket to seal the hole and stop the garlic butter from seeping out. Wrap tightly in saranwrap (cling film) and chill in the freezer for 20 minutes. While the chicken is chilling, preheat your oven to 390F (200C) and prepare your coating.

- Step 6: Lay out 3 bowls and to one add your flour, another your eggs and whisk and to the final bowl add your panko breadcrumbs. Remove your chicken from the freezer and remove the saranwrap (cling film). Add the chicken to your flour and coat, add into your egg mixture and cover, then coat in your panko breadcrumbs until completely covered.
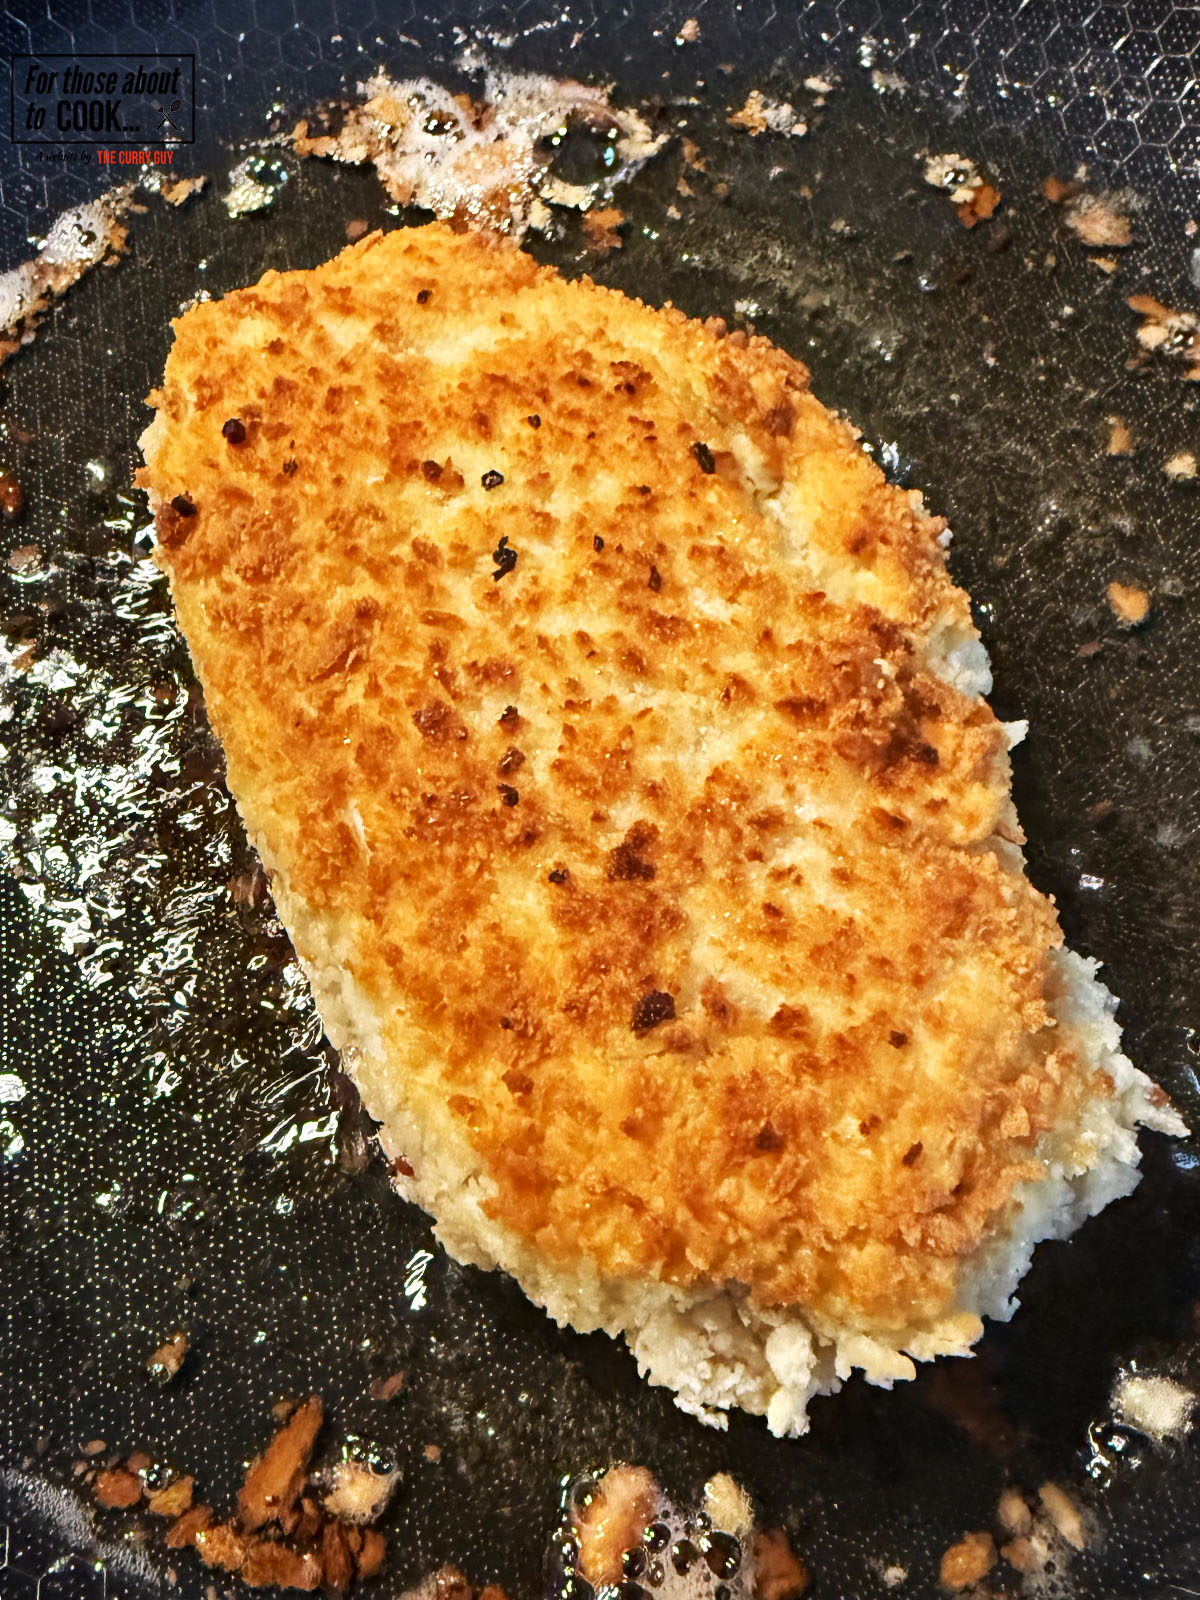
- Step 7: To a pan, add your oil and heat until 340F (170C) or until thousands of bubbles form when adding a wooden chop stick. Next, add your chicken breasts and fry until golden on each side (3-4 minutes).

- Step 8: Finally, place your golden chicken breasts on a baking tray and bake for 15 minutes. Serve with potatoes and your favorite salad. Dig in!
Hint: Freeze the garlic butter until firm before stuffing the chicken. This makes it much easier to work with and helps prevent the butter from leaking out during cooking.
Substitutions
This Chicken Kiev recipe is easy to adapt depending on what you have available:
- Garlic: Garlic purée or roasted garlic can be used if fresh garlic isn't available.
- Butter: Salted or unsalted butter both work well. If using salted butter, reduce the added salt accordingly.
- Parsley: Fresh chives or a mixture of soft herbs can be used for a different flavour.
- Panko Breadcrumbs: Regular breadcrumbs can be used, though panko gives the crispiest finish. Crushed cornflakes also work well.
What can I serve this Chicken Kiev with?
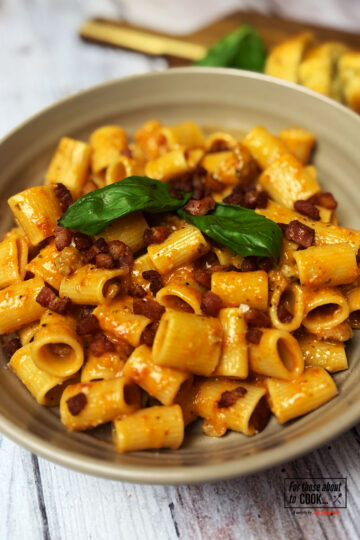
- Potatoes: Why not pair your Chicken Kiev recipe with these Loaded Baked Potatoes. For a lighter option, pair with these Perfect Mashed Potatoes.
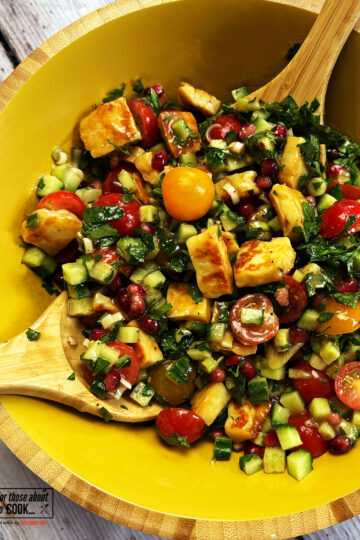
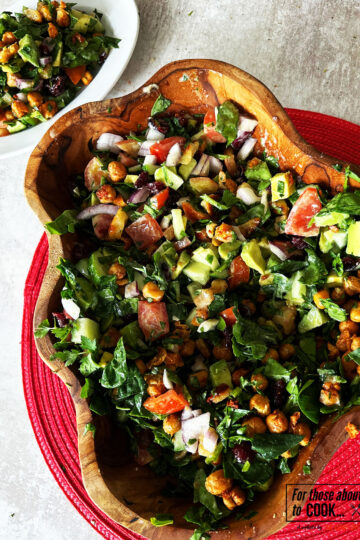
- Salads: This Caesar Salad is utterly divine and the perfect side dish to your Chicken Kiev Recipe. Why not try this Arugula Salad recipe?
Serving Size (Serves 4)
This recipe is written to serve 4. Most of the time, we cook for 2 and enjoy the leftovers the next day - it makes the effort of cooking something fresh and delicious even more worthwhile. If you’re feeding 5 or 6, you can easily double the recipe, or sometimes it’s as simple as adding an extra piece of protein and adjusting the sides. Make it yours, enjoy the process, and don’t stress about being exact.
Note: Nutritional information provided in the recipe card below is a rough guide only. Values can vary depending on the exact ingredients and quantities you use.
Storage
Fridge: Allow your dish to cool completely, then store in an airtight container for up to 3 days. Flavours often develop even more after a night in the fridge.
Freezer: Portion and freeze for up to 3 months. Defrost overnight in the fridge, then reheat gently on the hob or in the oven until piping hot.
Top Tip
Double-coat the chicken for an extra crispy finish. After the first coating of flour, egg, and panko breadcrumbs, dip the chicken back into the egg and breadcrumbs once more. This creates a thicker, crunchier coating that stays crisp and helps keep all that delicious garlic butter locked inside.
FAQ
Yes. You can prepare and bread the chicken up to 24 hours in advance and keep it covered in the fridge until ready to cook.
Absolutely. Freeze the uncooked breaded kievs on a tray until firm, then transfer them to a freezer bag or container for up to 3 months. Cook from frozen, adding extra cooking time as needed.
Panko breadcrumbs create a lighter, crispier coating than regular breadcrumbs, giving Chicken Kiev its signature crunch.
Related
Looking for other recipes like this? Try these:


Pairing
These are my favorite dishes to serve with Chicken Kiev Recipe:


Recipe
Chicken Kiev Recipe
This Chicken Kiev Recipe delivers crispy golden breadcrumbs, juicy chicken breast and a rich garlic butter centre.
Ingredients
- 4 Chicken breasts
- 5 Garlic cloves
- 160g Softened butter
- 1 tablespoon Chopped parsley
- Pinch of Salt
- 100g Flour
- 2 Eggs
- 200g Panko Breadcrumbs
- Neutral oil
Instructions
- First, make your compound butter by adding your butter, minced garlic, salt and parsley to a food processor. Blitz well.
- Put down a layer of saranwrap (cling film) and add your compound butter on top in a log shape. Roll tightly and chill in the fridge for later.
- Meanwhile, place your chicken breasts between two pieces of saranwrap (cling film) and flatten slightly with a rolling pin. Be careful not to flatten completely. (If your chicken breasts are medium sized you can skip this step.)
- Next, with a thin, sharp knife, pierce the bottom of your chicken breast. With the knife inside, move the knife carefully to create a pocket for your butter. Be careful not to cut through the sides.
- Remove your chilled butter from the fridge and cut small disks. Carefully stuff your breast with the chilled butter adding around 2 tablespoon worth.
- Cut a small piece of chicken from the breast and stuff into the pocket to seal the hole and stop the garlic butter from seeping out. Wrap tightly in saranwrap (cling film) and chill in the freezer for 20 minutes.
- While the chicken is chilling, preheat your oven to 390F (200C) and prepare your coating. Lay out 3 bowls and to one add your flour, another your eggs and whisk and to the final bowl add your panko breadcrumbs.
- Remove your chicken from the freezer and remove the saranwrap (cling film). Add the chicken to your flour and coat, add into your egg mixture and cover, then coat in your panko breadcrumbs until completely covered. (See hint)
- To a pan, add your oil and heat until 340F (170C) or until thousands of bubbles form when adding a wooden chop stick.
- Add your chicken breasts and fry until golden on each side (3-4 minutes).
- Place your golden chicken breasts on a baking tray and bake for 15 minutes.
- Serve with potatoes and your favorite salad. Dig in!
Nutrition Information:
Yield: 4 Serving Size: 1Amount Per Serving: Calories: 825Total Fat: 42gSaturated Fat: 23gUnsaturated Fat: 18gCholesterol: 282mgSodium: 747mgCarbohydrates: 57gFiber: 3gSugar: 3gProtein: 50g
Have you tried this Chicken Kiev Recipe?
If yes, please give it a star rating in the recipe card below and leave a comment. We love receiving your feedback and I’m sure other readers of my blog do too. Thank you.
If you are not already doing so, please follow For Those About To Cook on Instagram and Facebook for all our latest recipes.