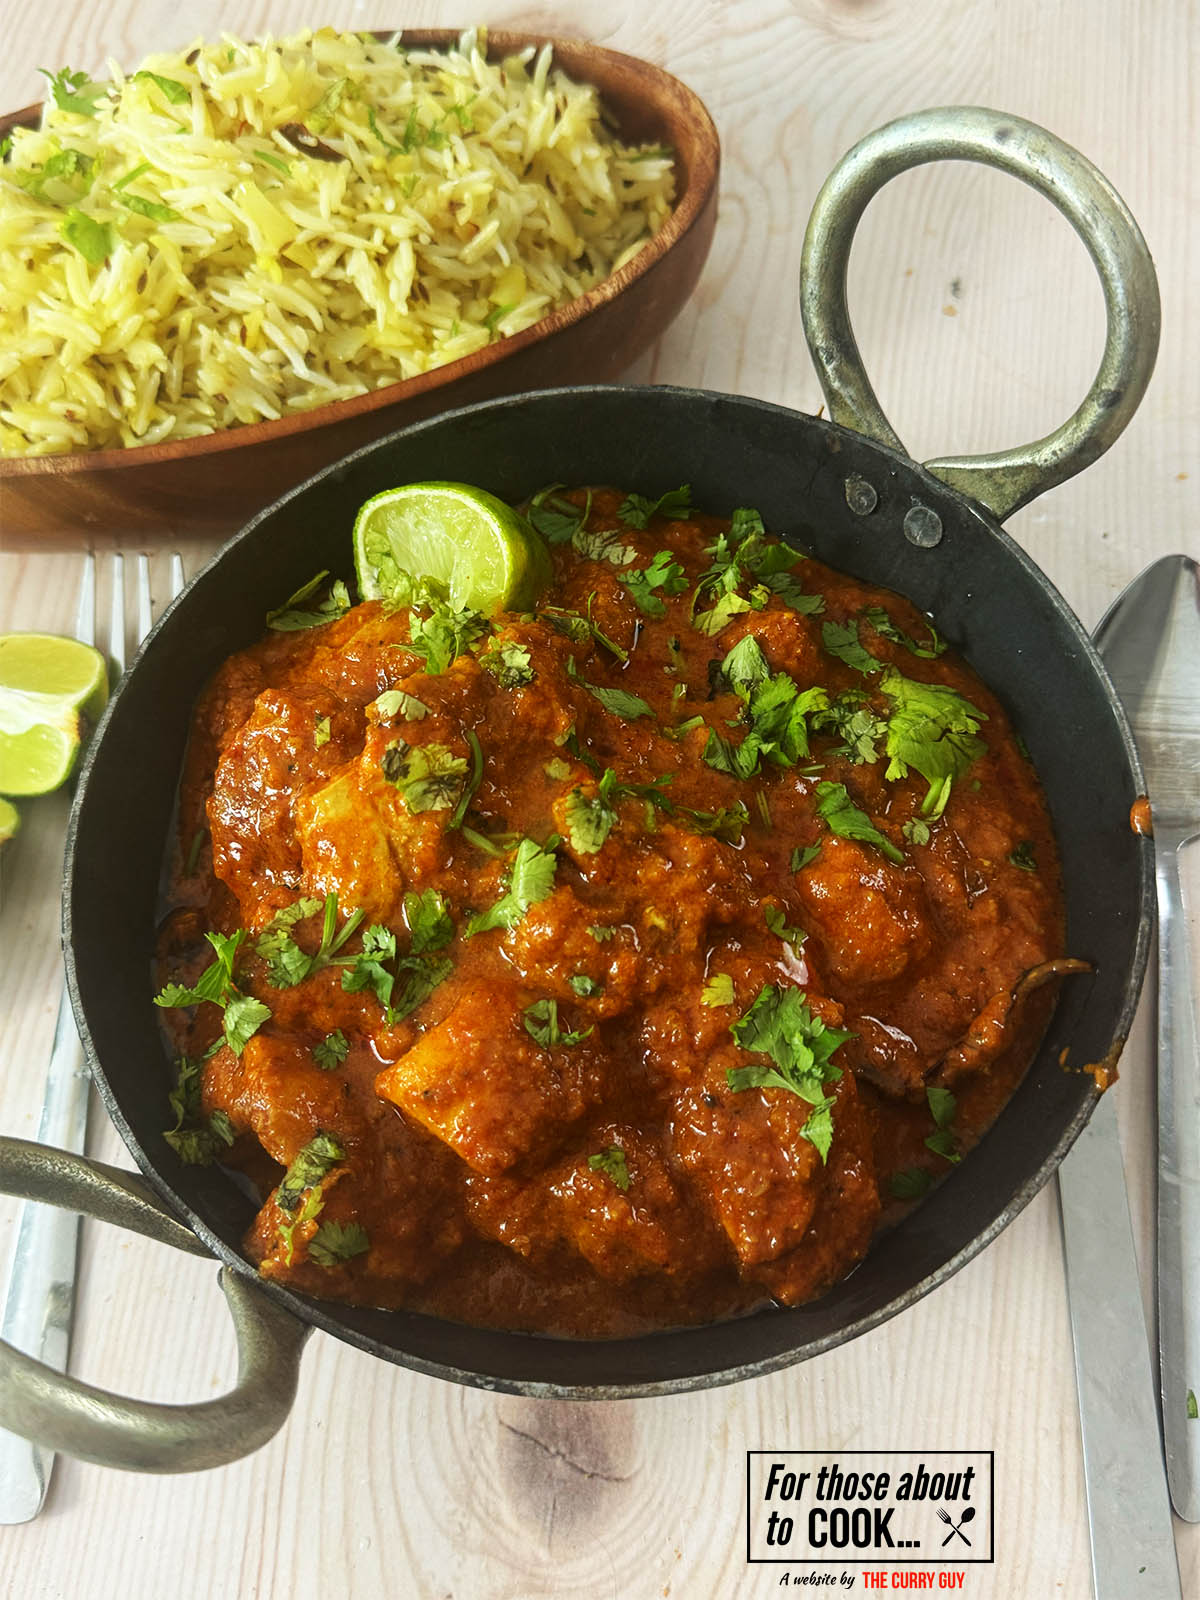
Looking for a quick and easy keema recipe that doesn’t skimp on flavour? This 30-minute keema delivers bold Indian restaurant-style taste without the long simmer time. It’s a weeknight winner, packed with rich spices, tender lamb, and ready in half an hour. Try it with naans, chapatis or this easy Basmati rice.
What is Keema (Indian Minced Meat Curry)
Keema (also spelled qeema) is a traditional South Asian minced meat curry, commonly made with lamb, beef, or chicken. This time, I used beef. It’s a household favourite across India, Pakistan, and Bangladesh and a go-to in many British Indian curry houses too.
You’ll often see keema matar (keema with peas), keema aloo (keema with potatoes), or spicy dry keema used in fillings for naan, samosas, or even dosas.
This version is made for busy cooks. It’s a fast keema recipe that hits all the right flavour notes... spiced, savoury, rich—in just 30 minutes.
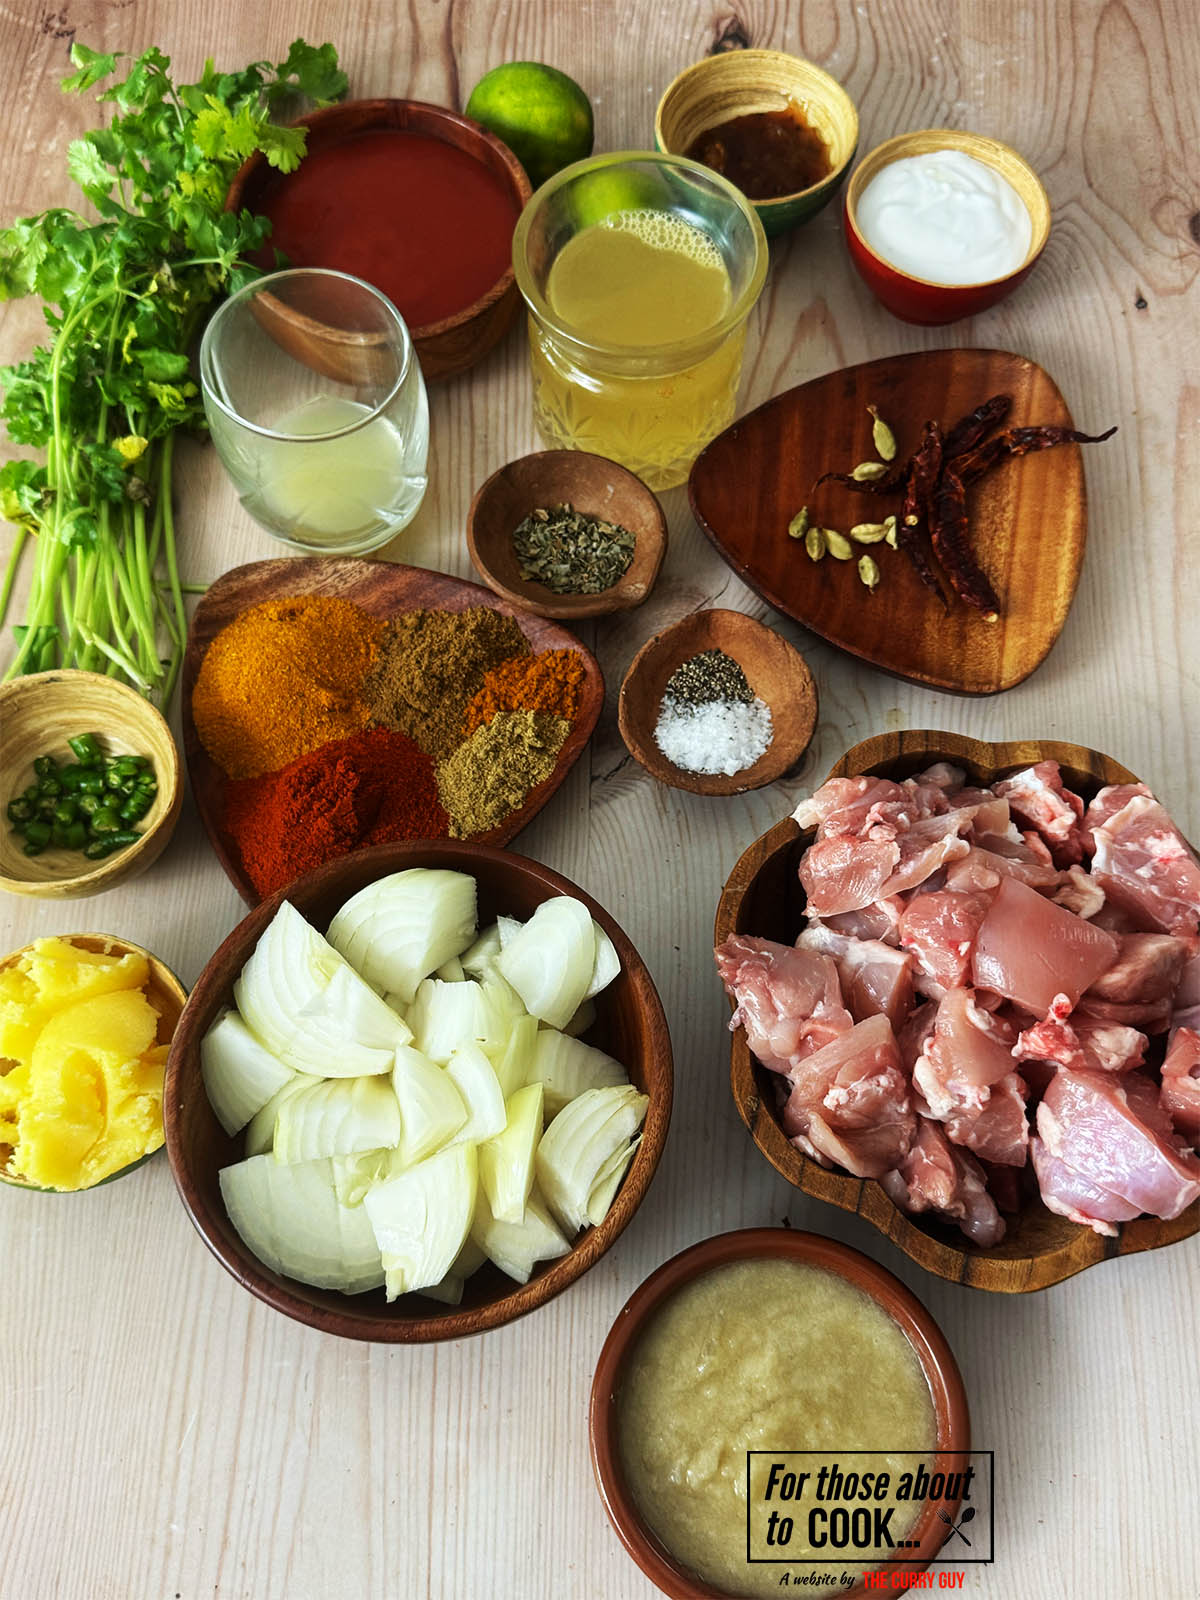
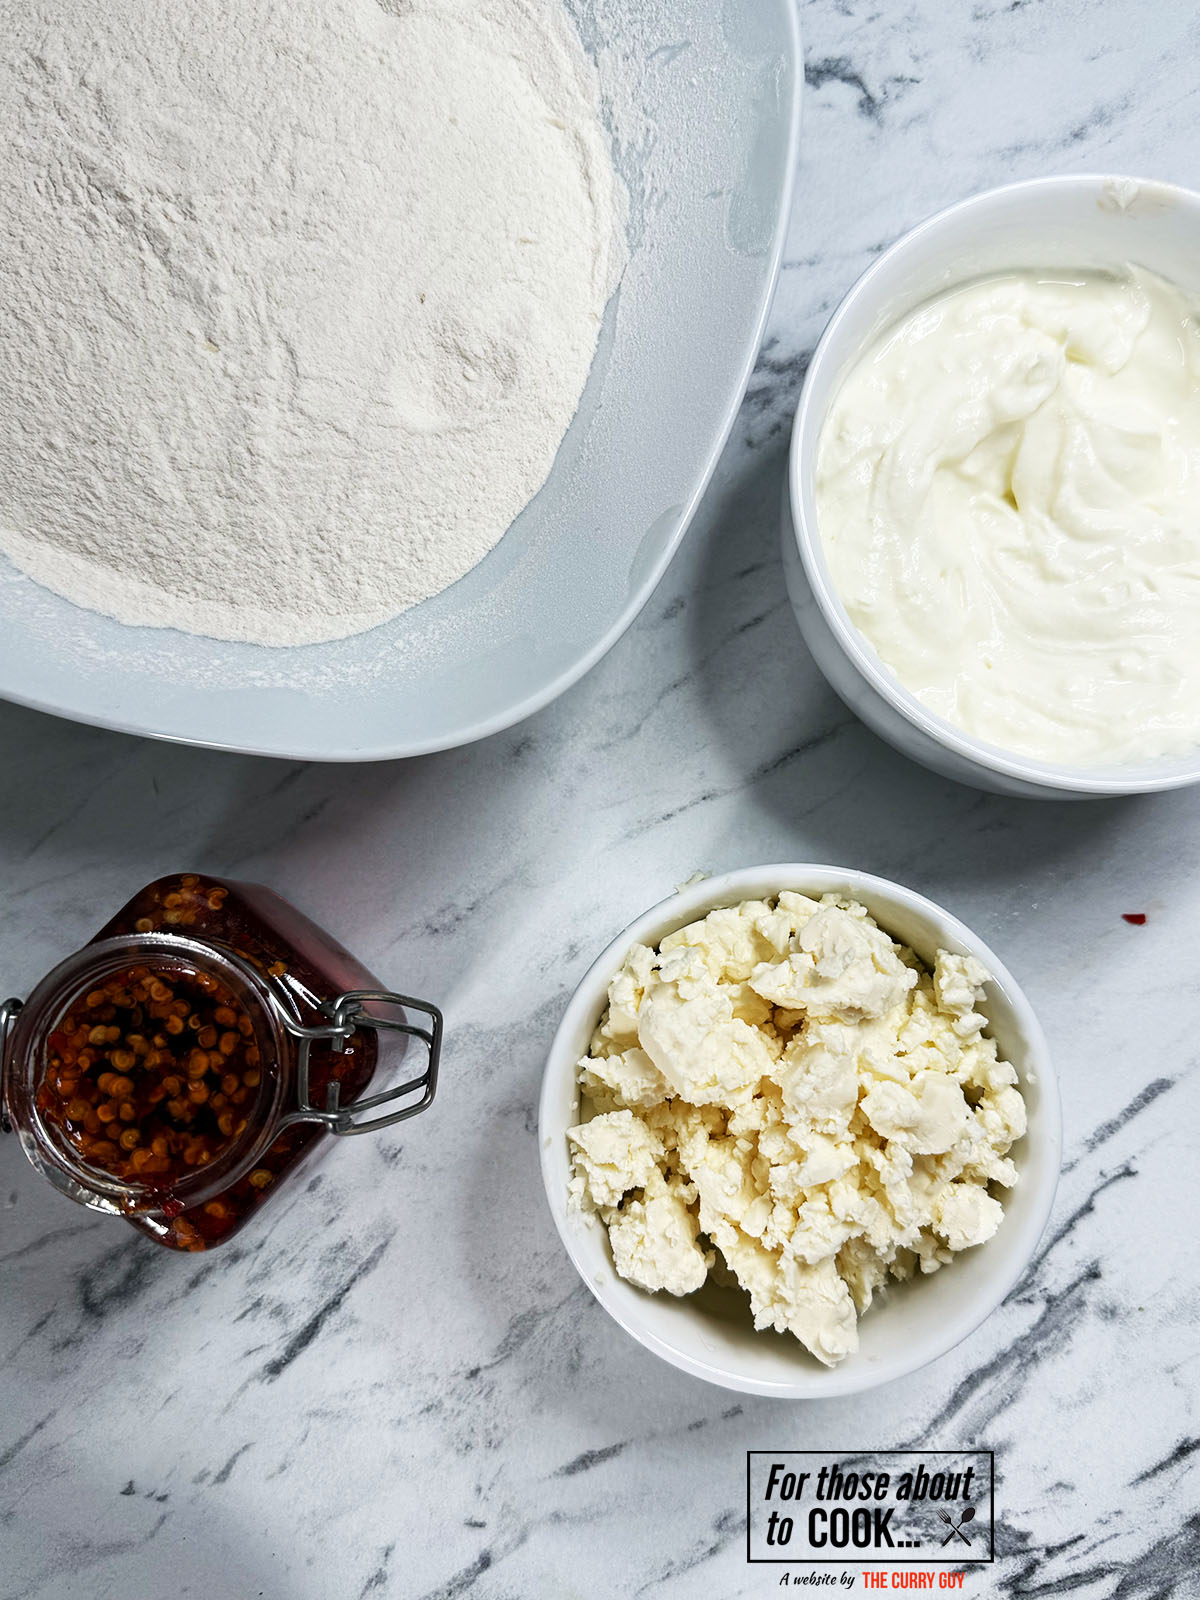
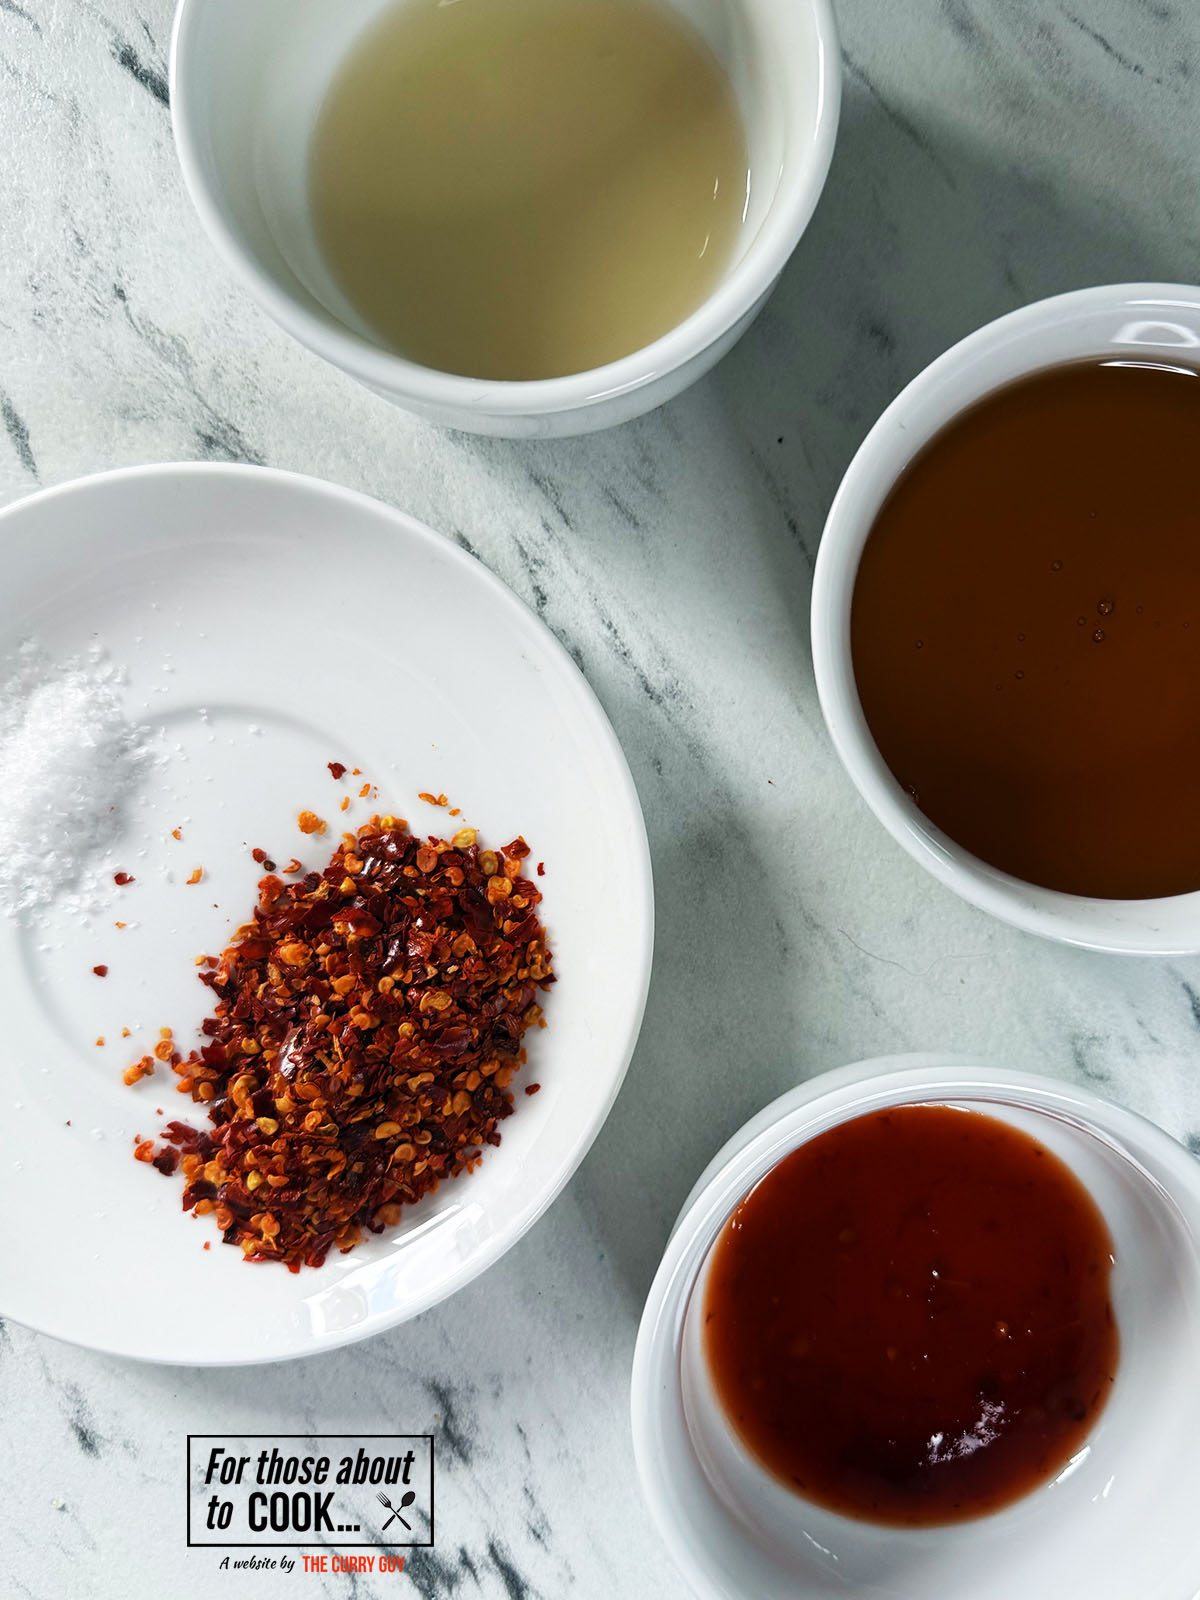
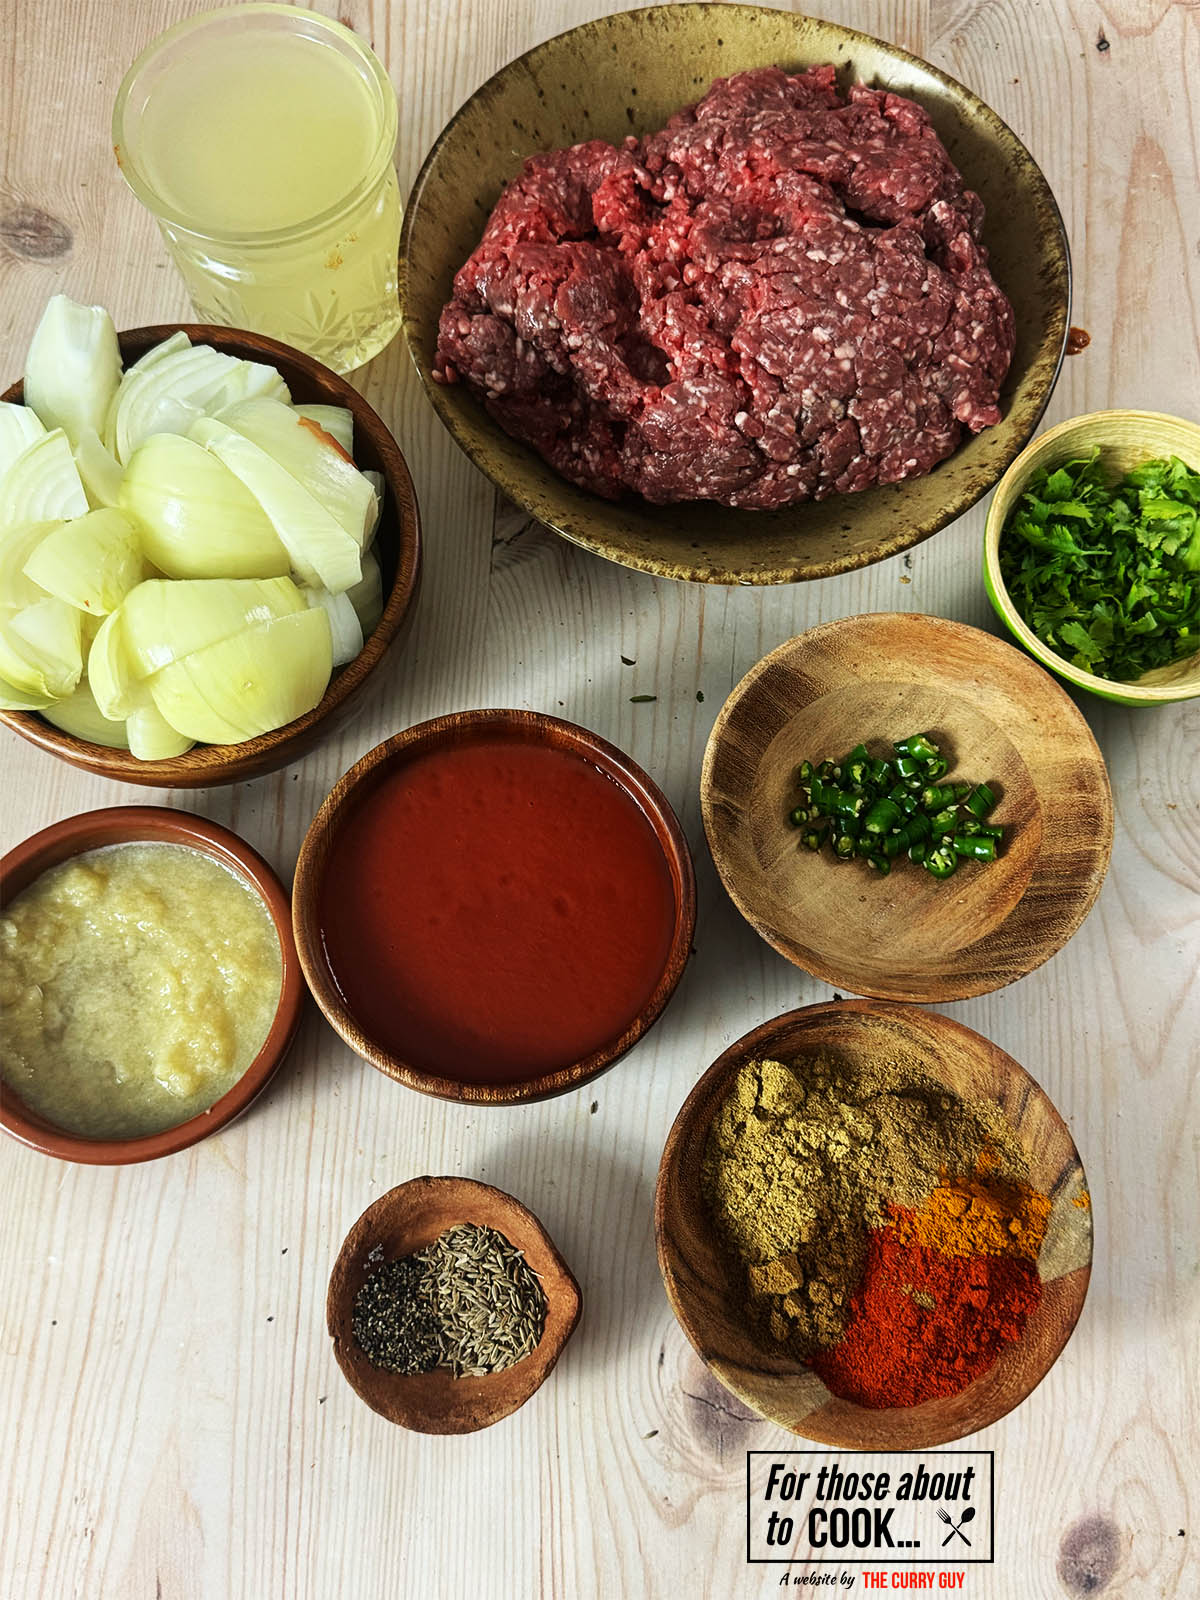
Ingredients
Get all your ingredients prepared and ready before you start cooking. It’s a lot easier that way..
- Rapeseed (canola) oil or ghee
- Cumin seeds
- Onions
- Garlic and ginger paste
- Green finger chillies
- Garam masala
- Ground coriander
- Ground cumin
- Ground turmeric
- Passata
- Minced Beef, Lamb or Chicken
- Water or unsalted chicken or meat stock
- Kashmiri chilli powder or paprika
- Coriander (cilantro)
- Kasoori Methi (dried fenugreek leaves
- Salt and Pepper to taste
- Lime Wedges
See recipe card for quantities.
Step by step photos
Follow these step by step photos and see for yourself just how easy it is to make this 30 Minute Keema!
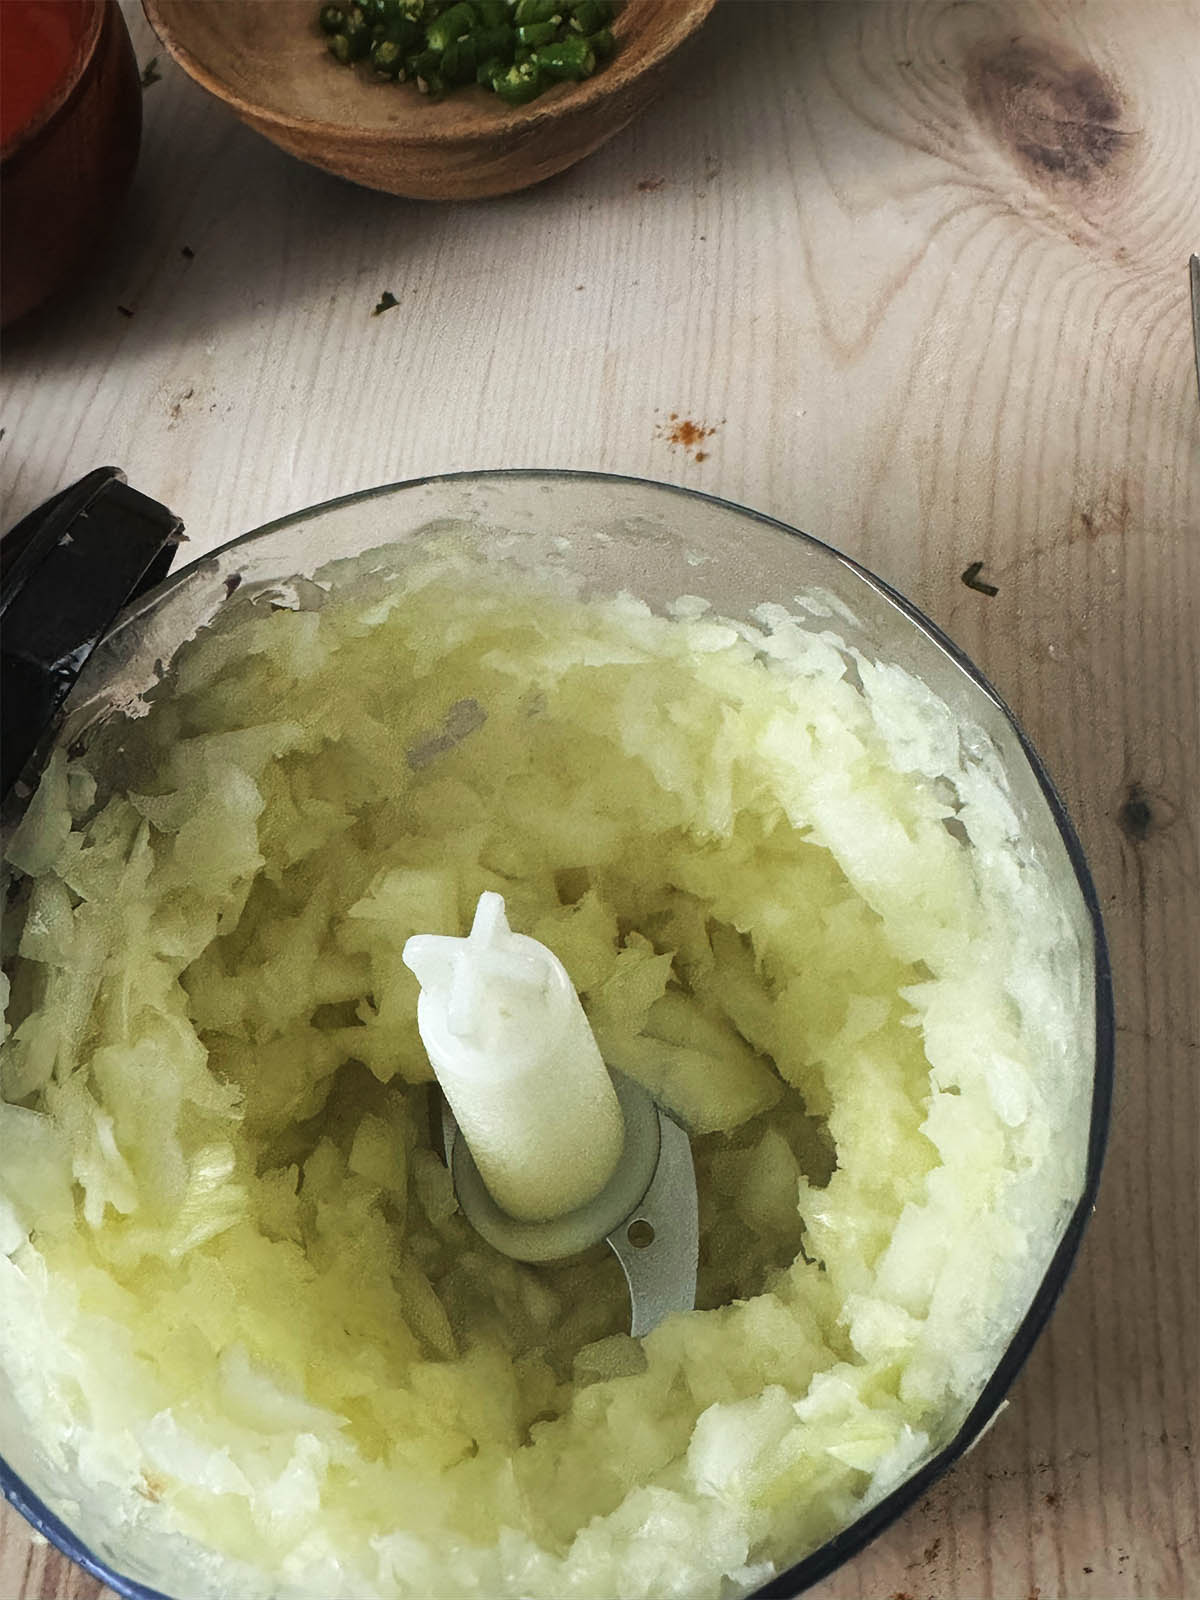
- Step 1: Pulse blend the onions until you have a course paste. Smooth paste is also fine but I like a few small chunks. Set aside.
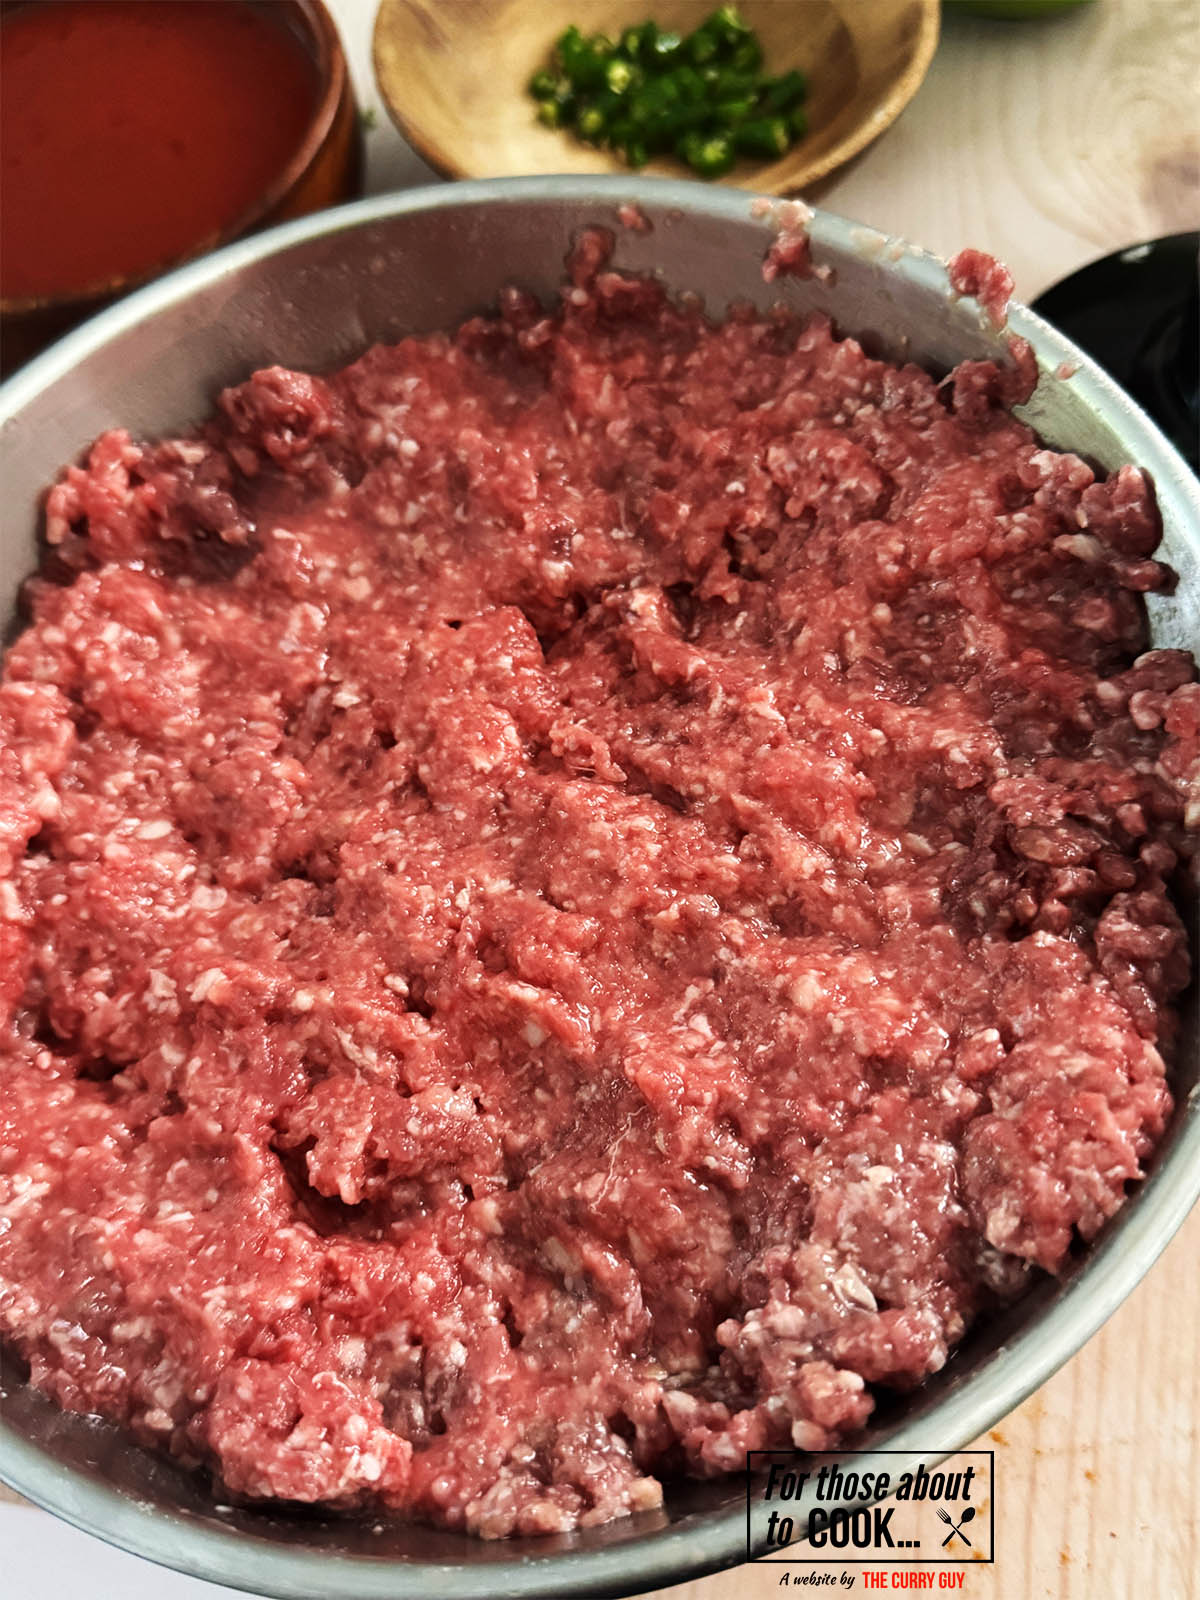
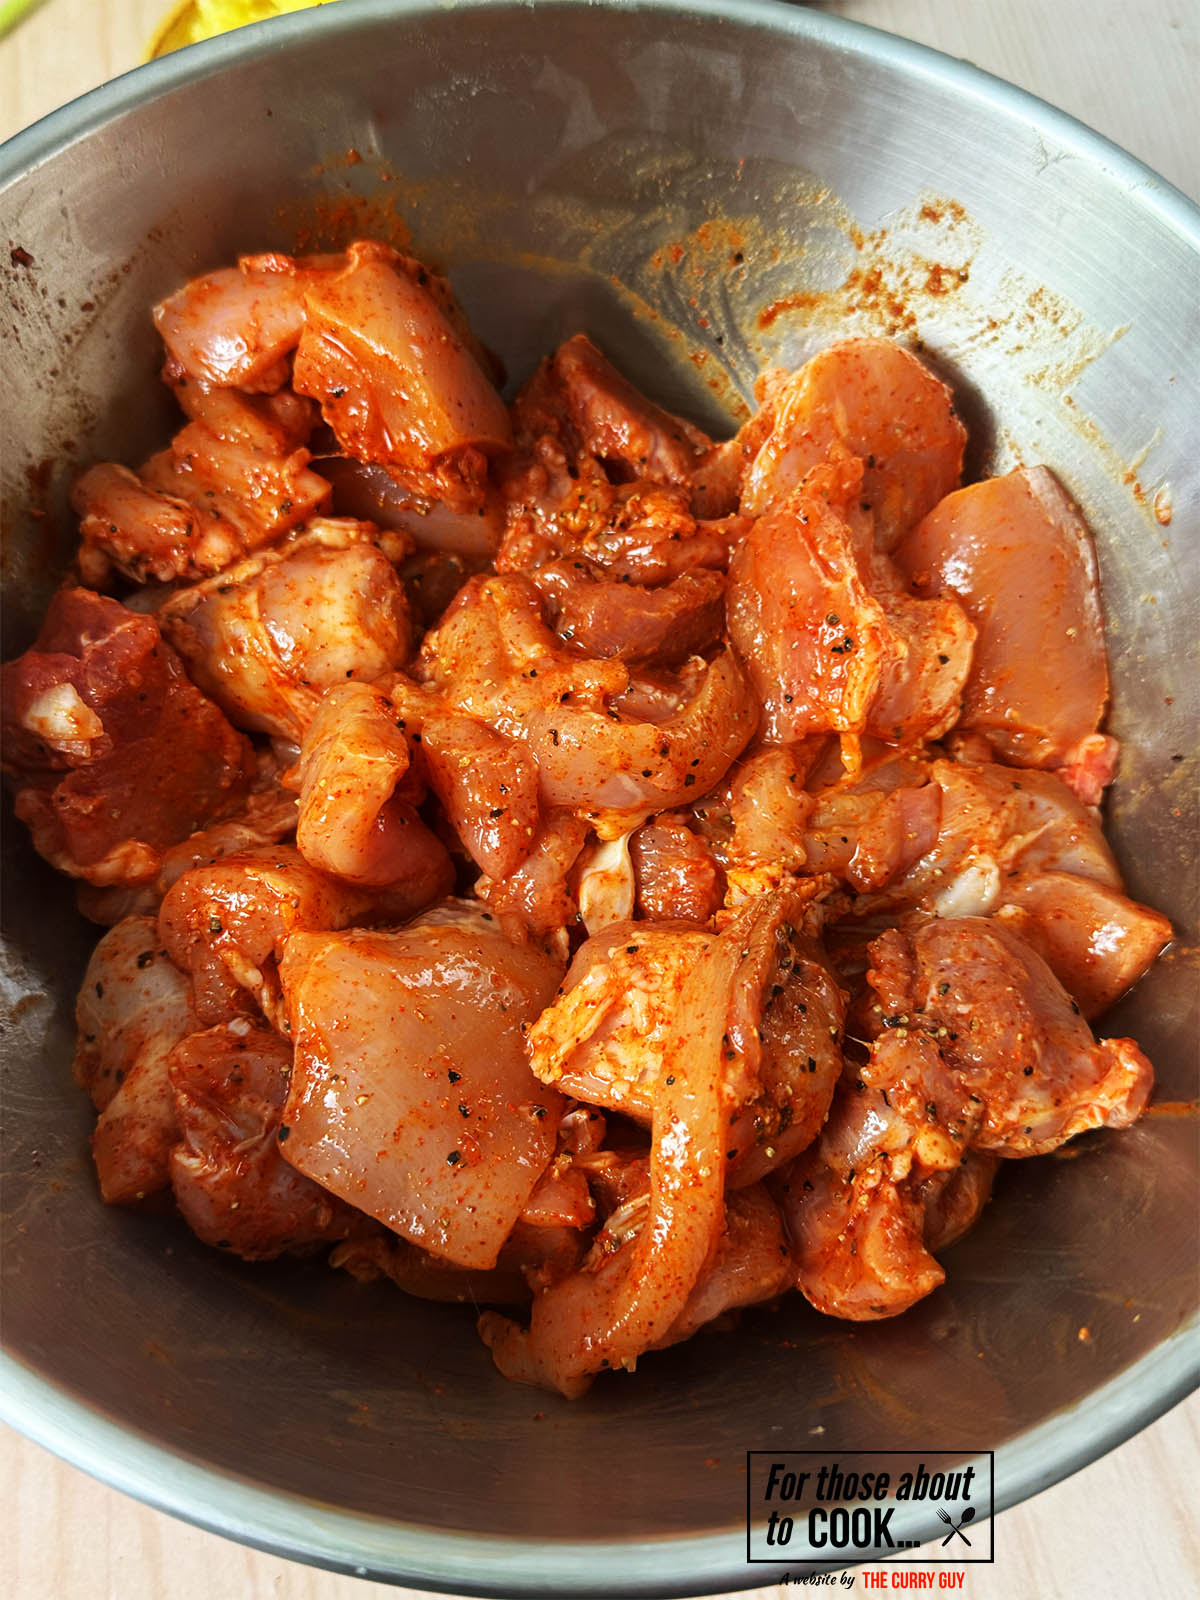
- Step 2: Place the minced (ground) meat in a large bowl and add the water or stock. Mix it well with your hand to break up the lumps.
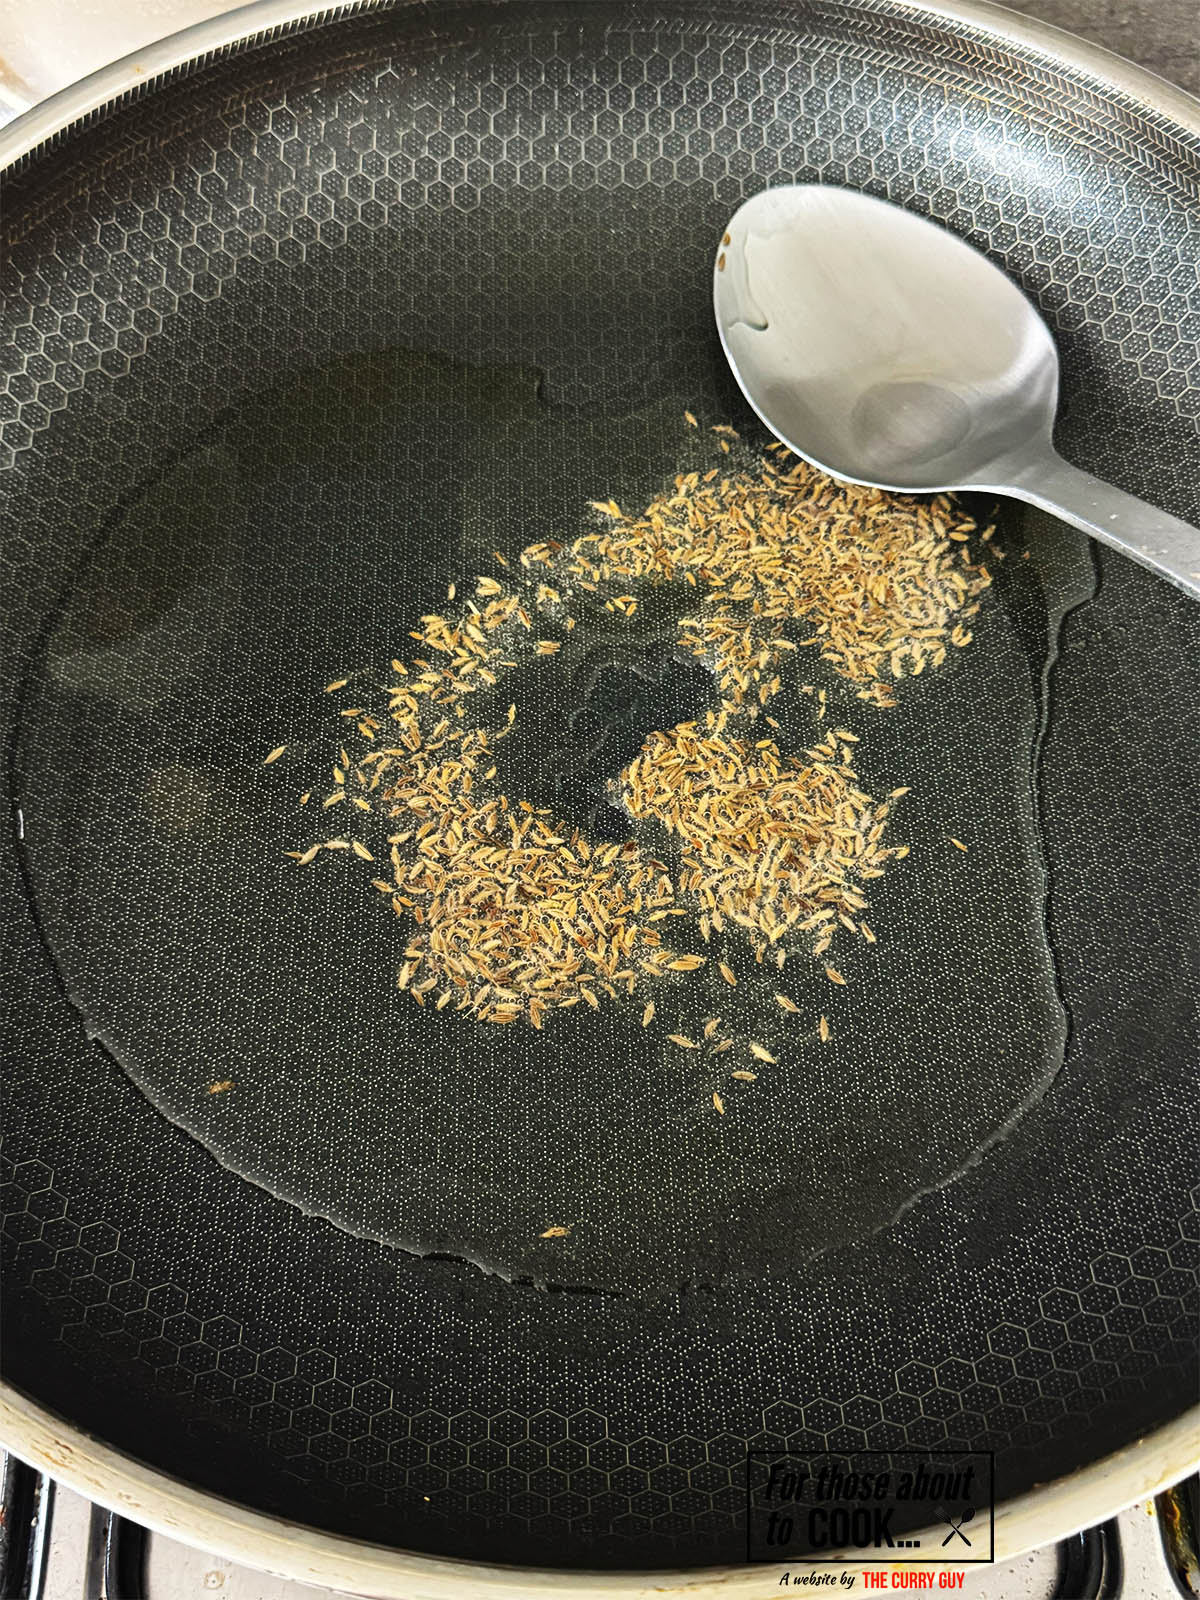
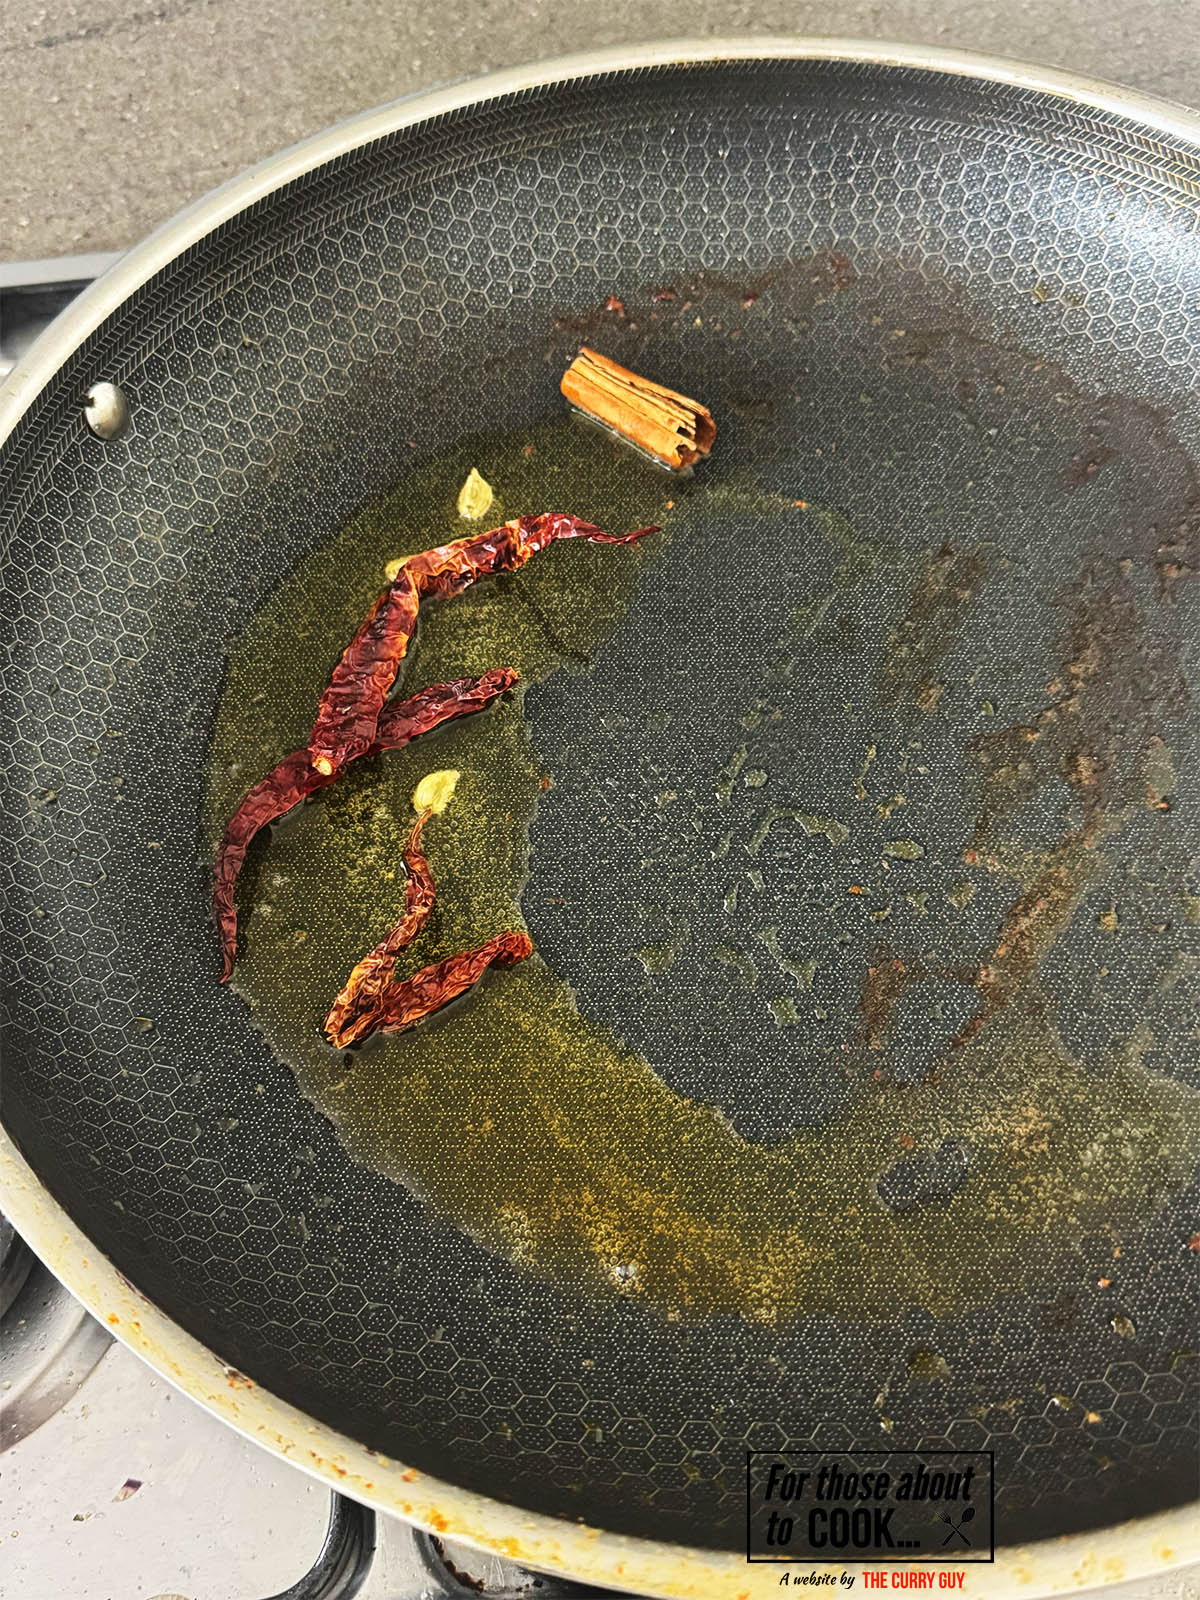
- Step 3: Place a large pan over a medium-high heat and add the oil or ghee. Stir in the cumin seeds and let them flavour the oil for about a minute.
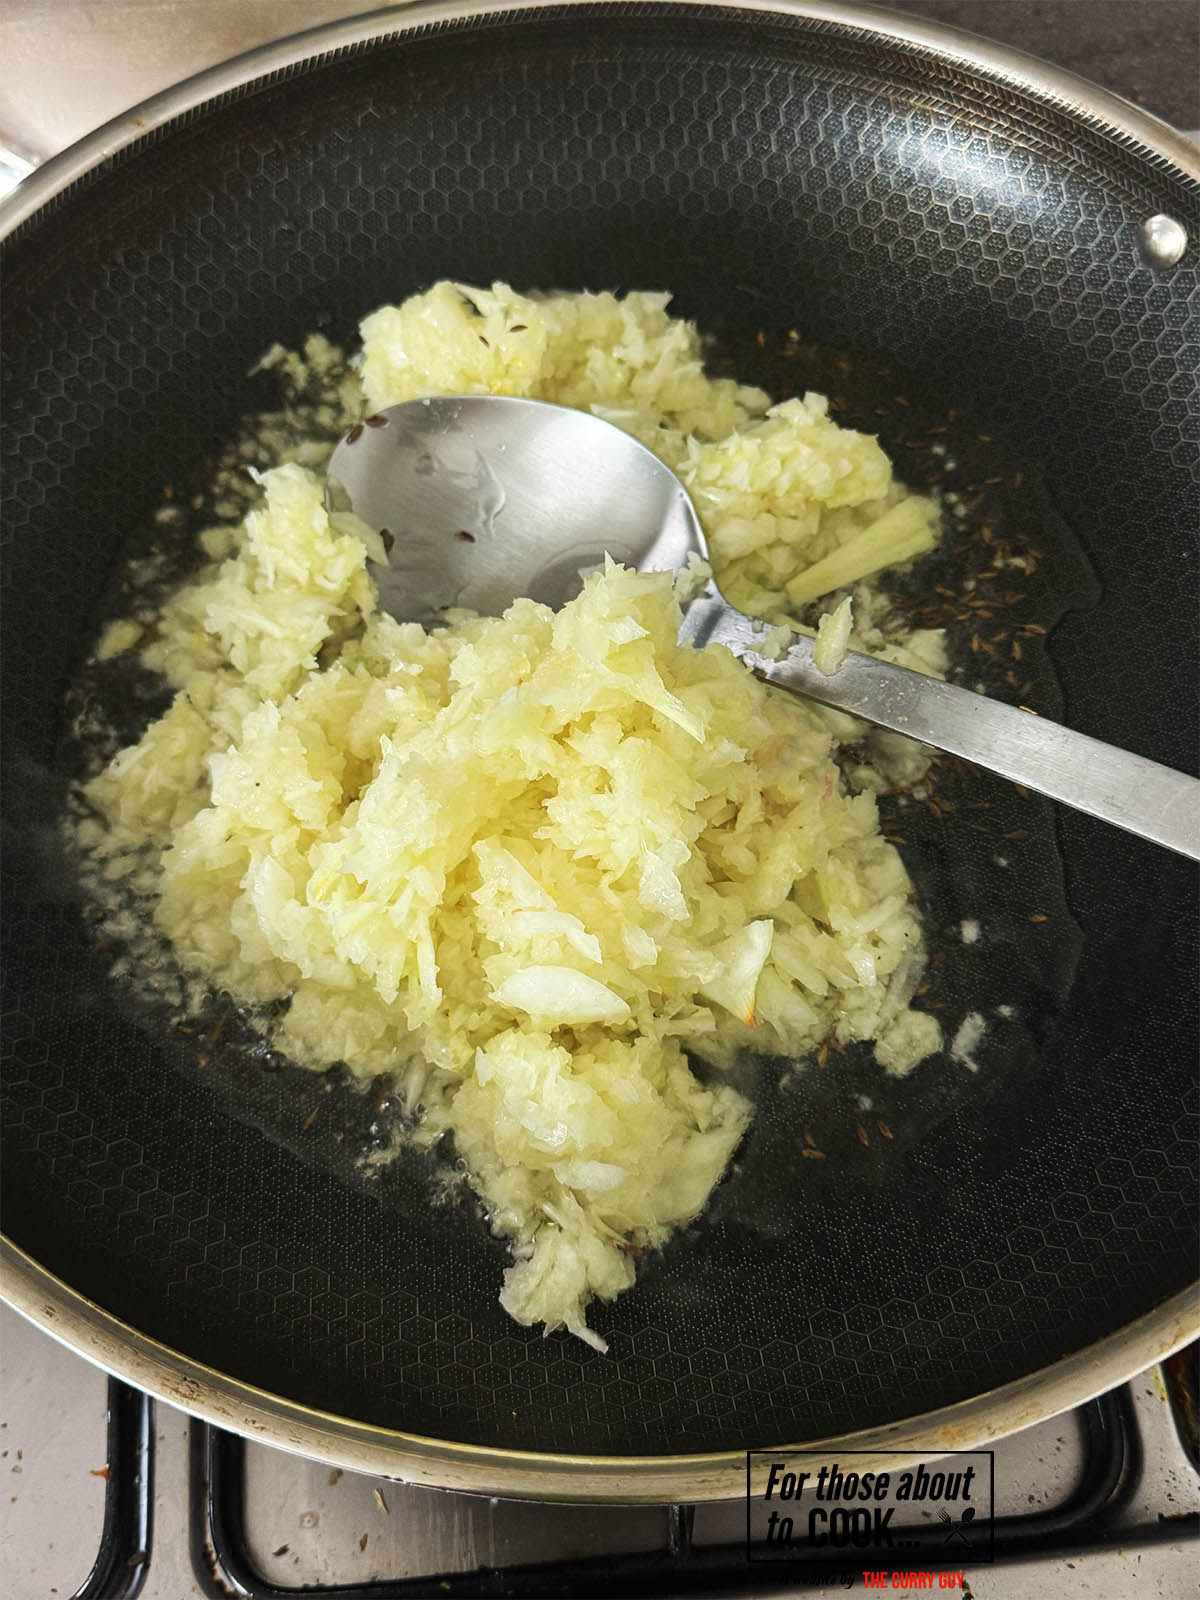
- Step 4: Add the onions and fry for about 7 minutes or until turning a golden brown.
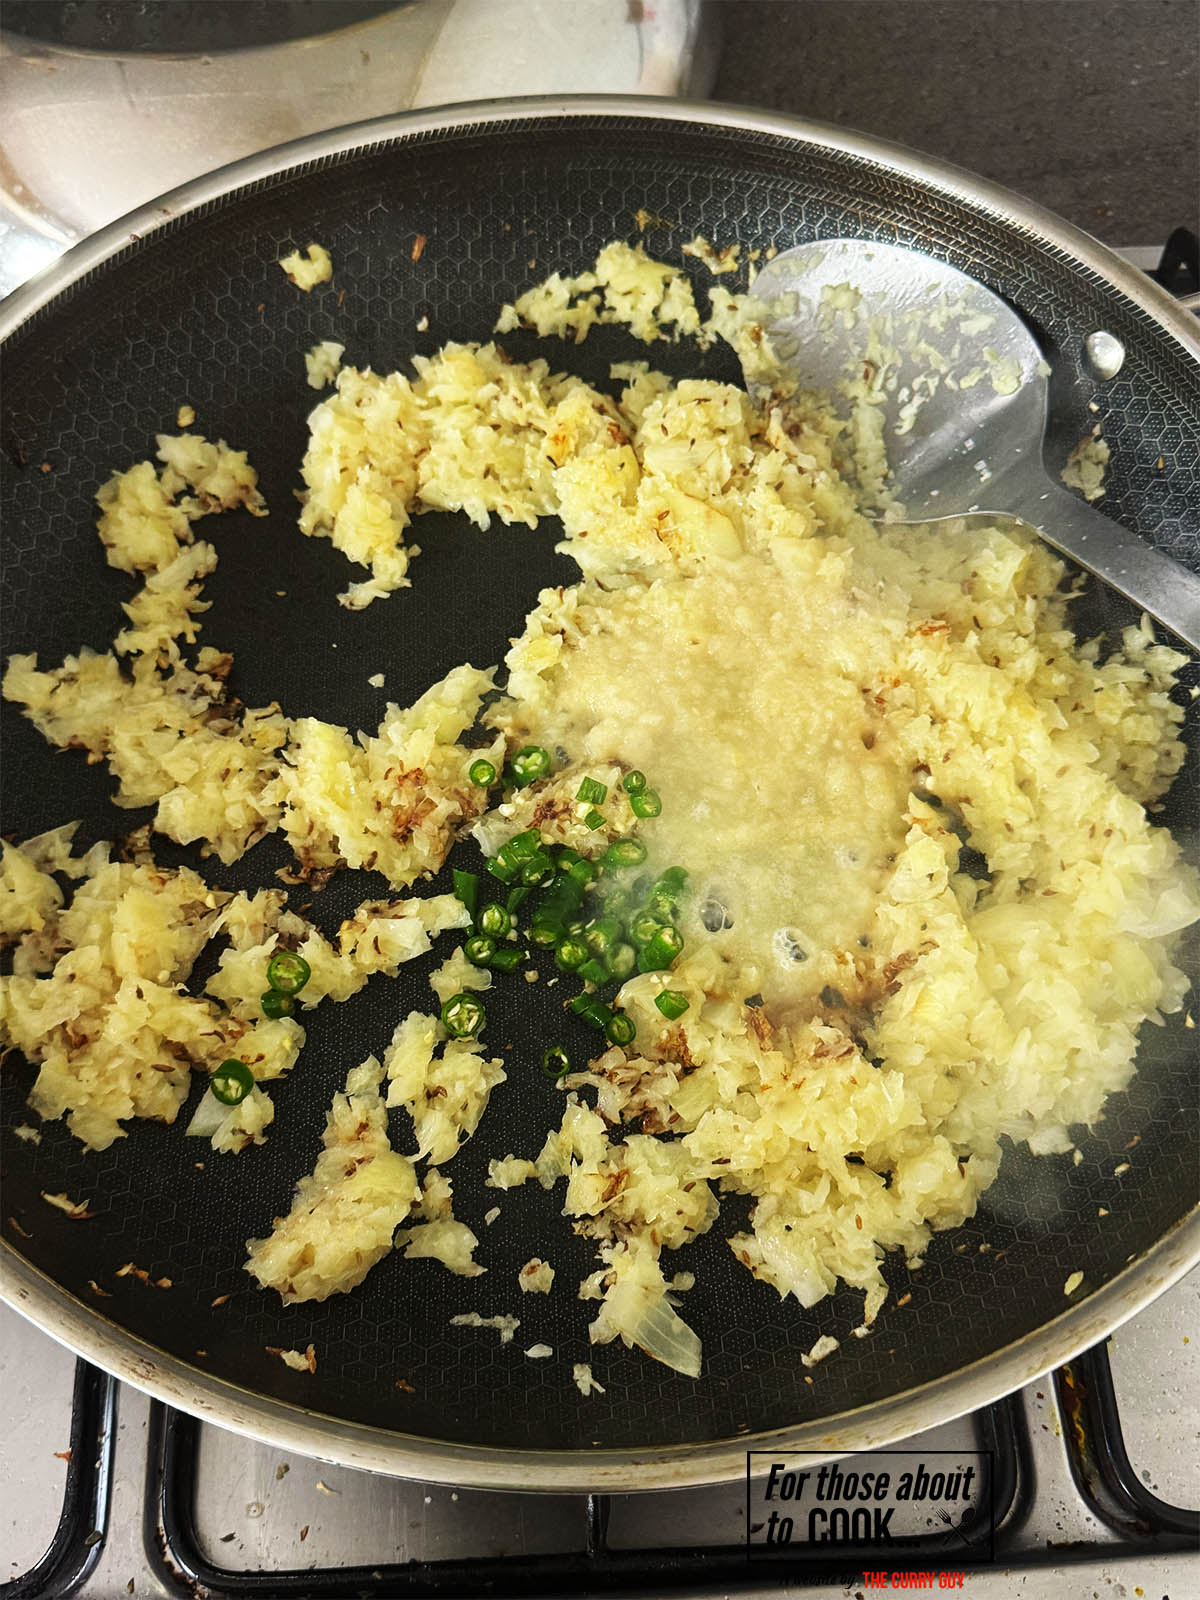
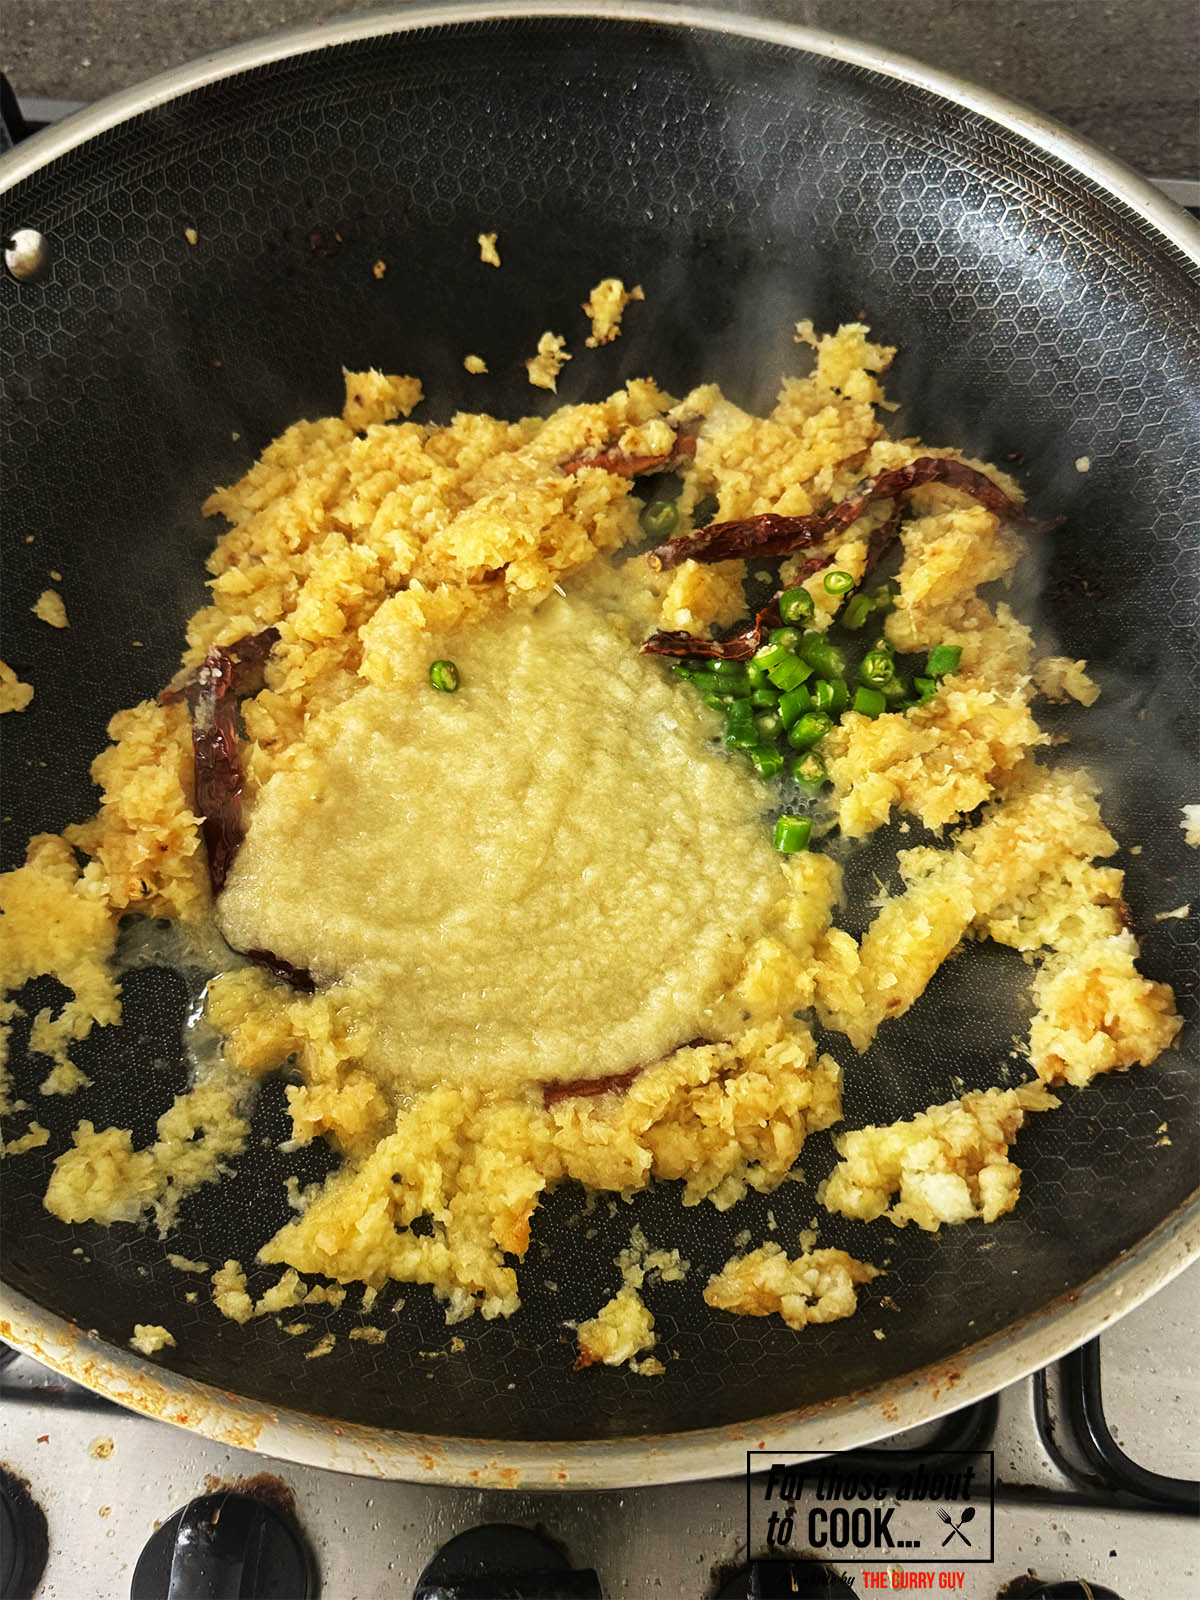
- Step 5: Stir in the garlic and ginger paste and chopped chillies and let them fry for about a minute.
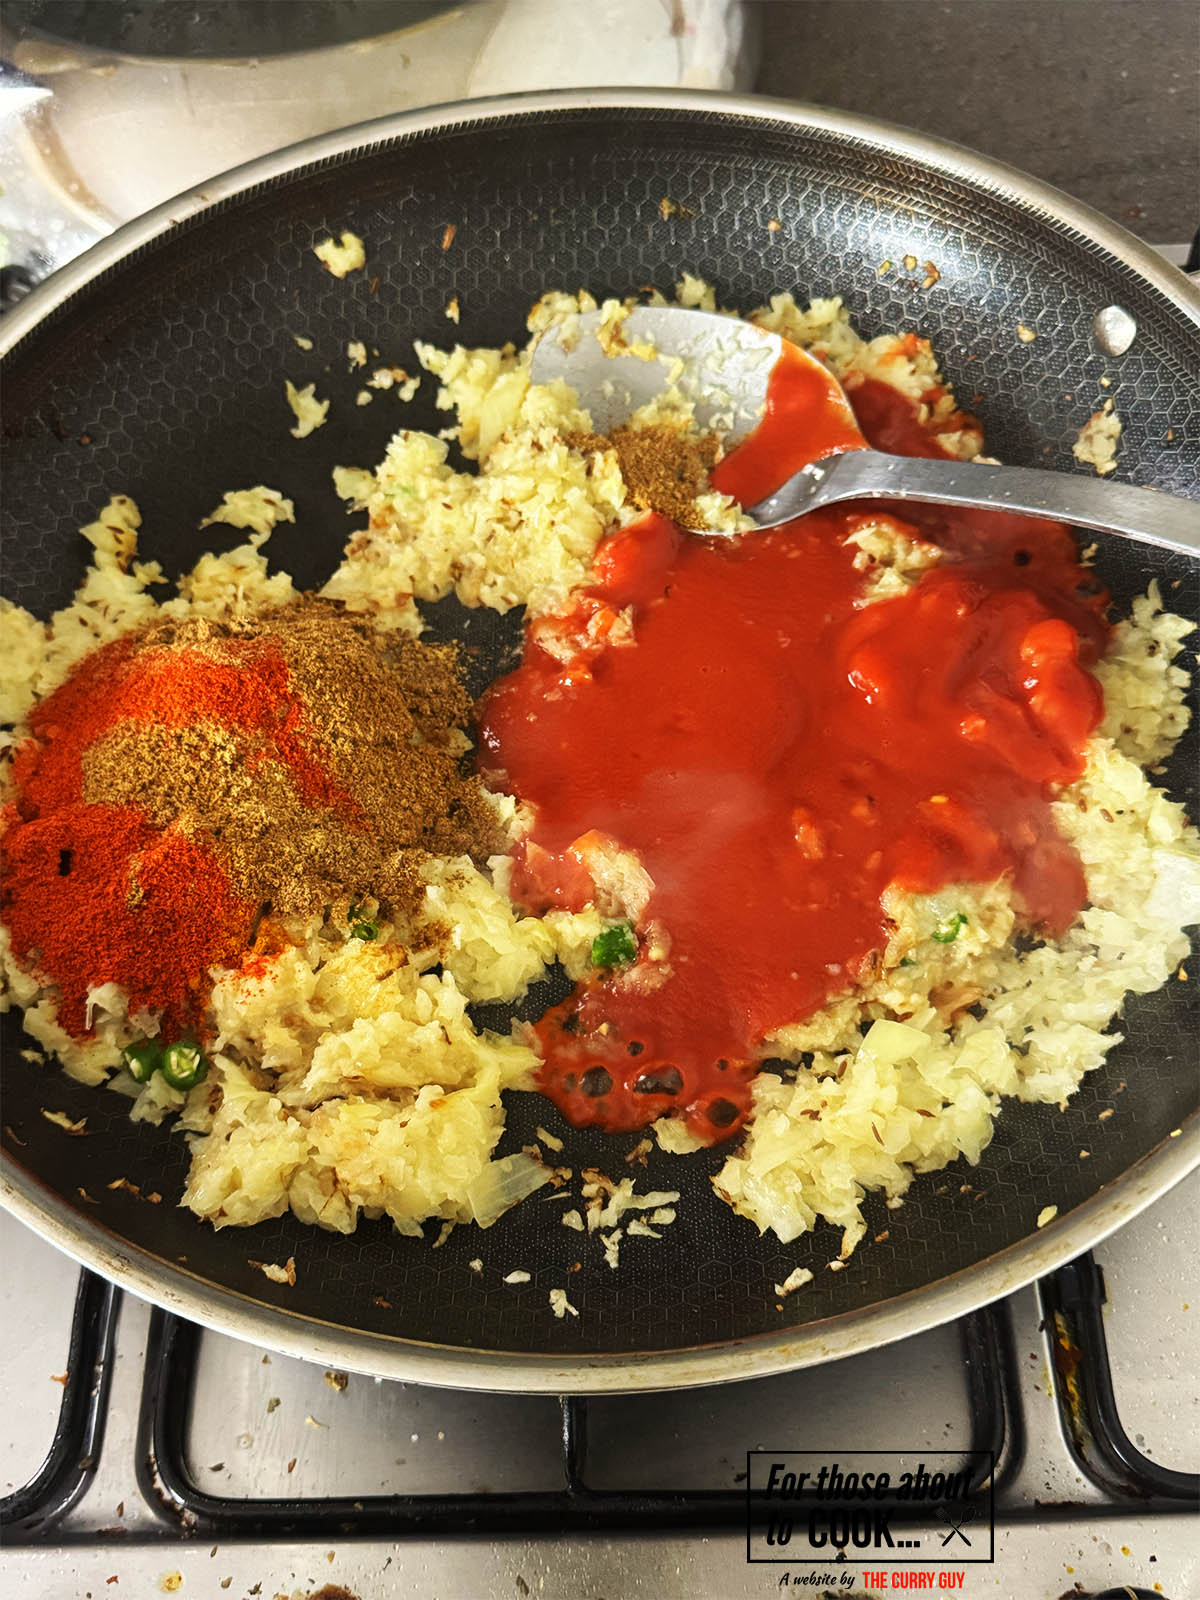
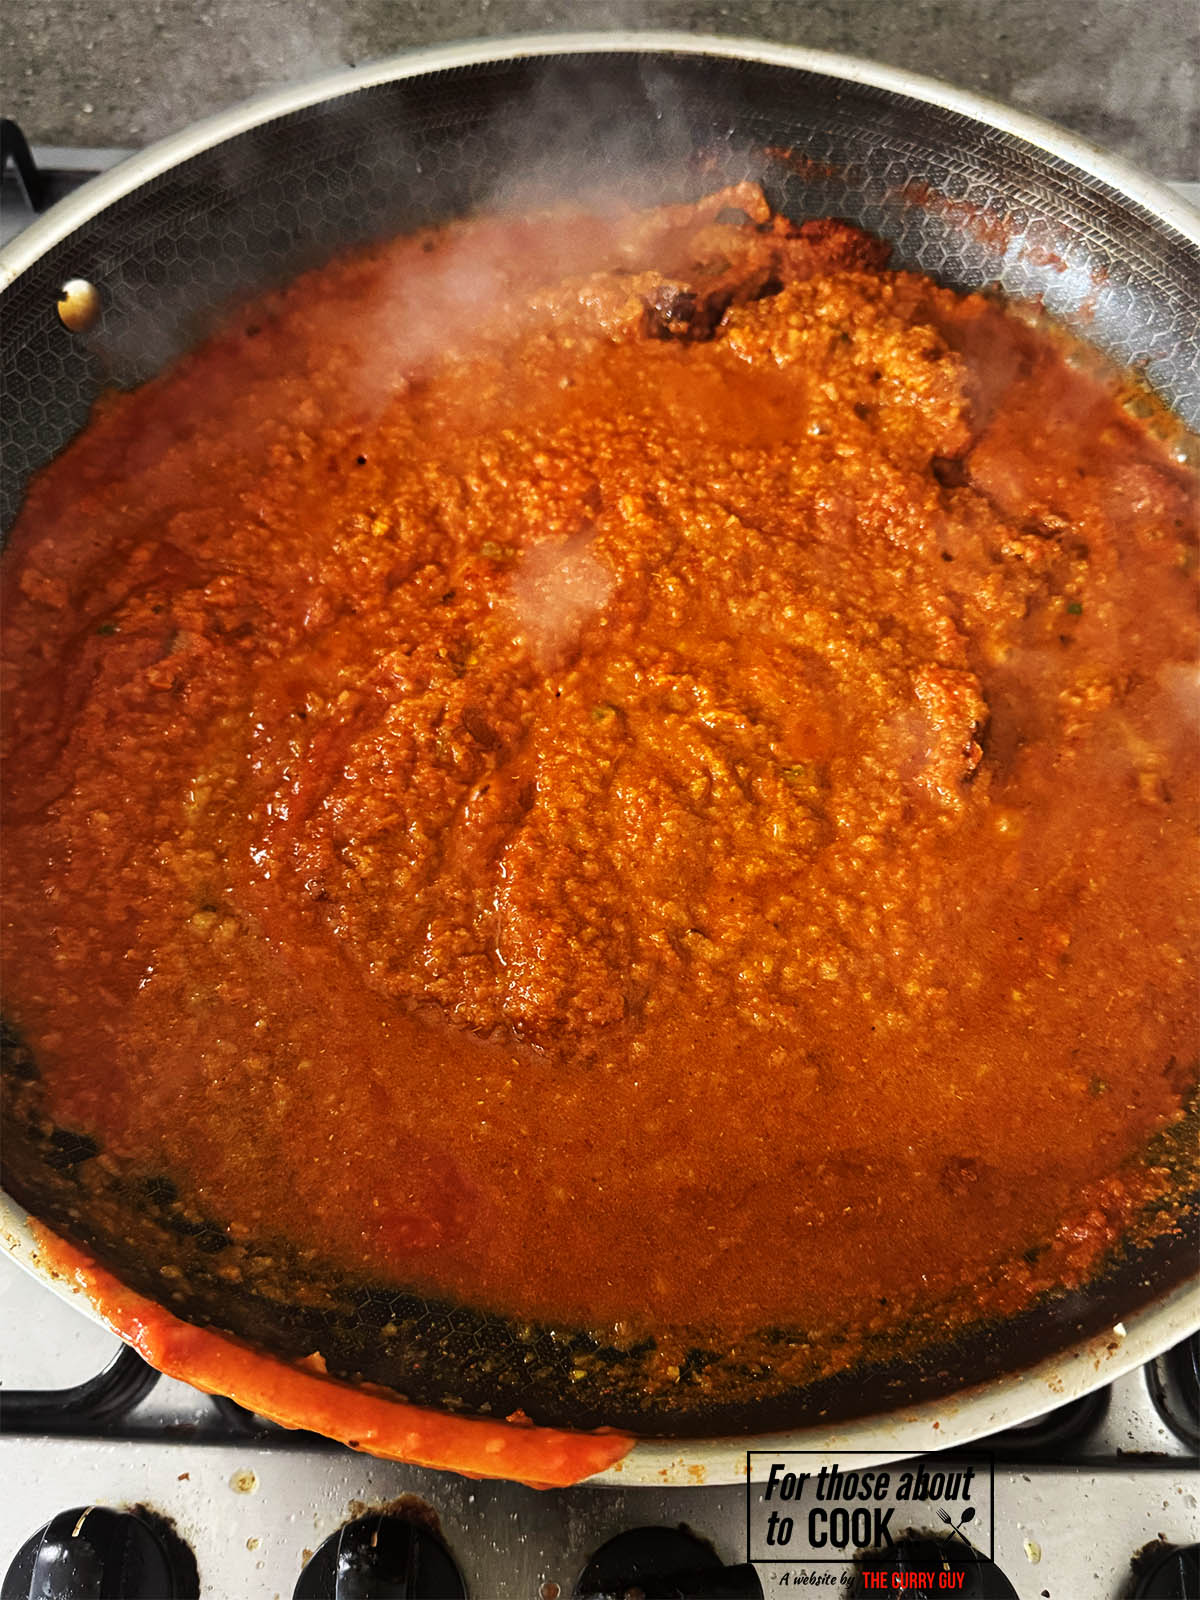
- Step 6: Now pour in the ground spices and Passata and stir well to combine.
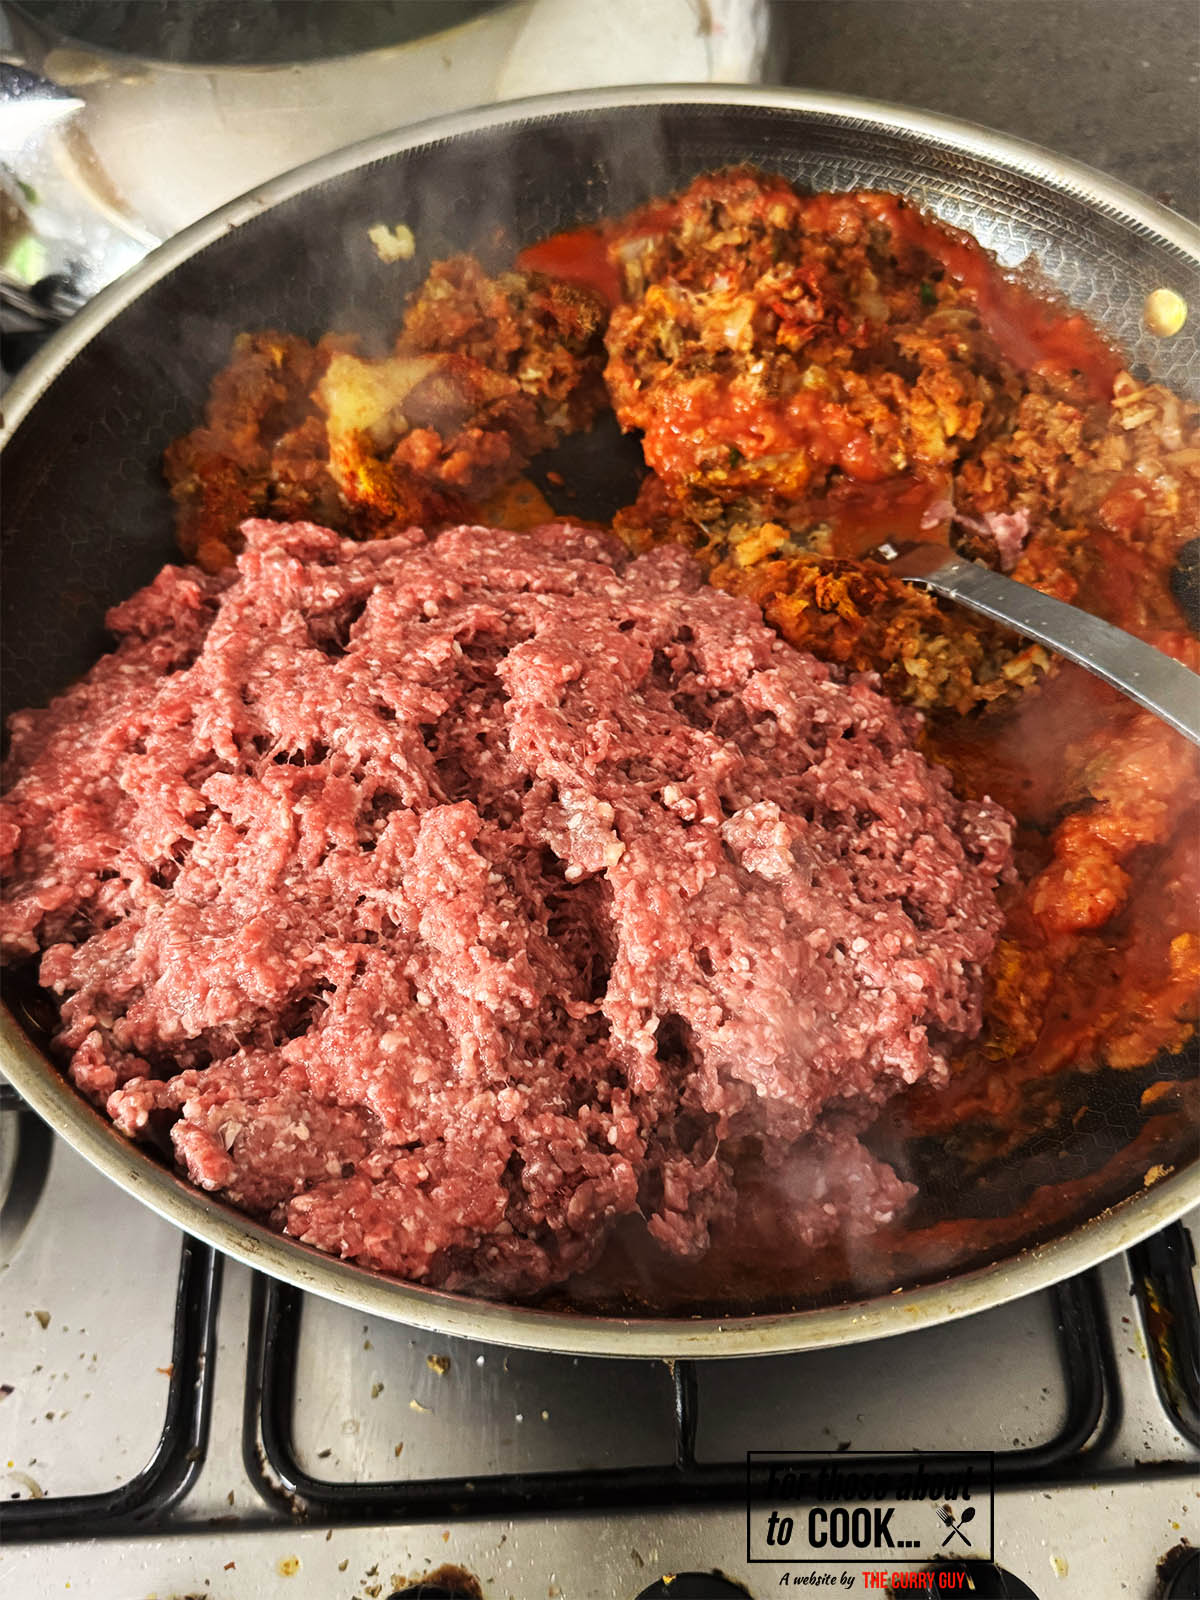
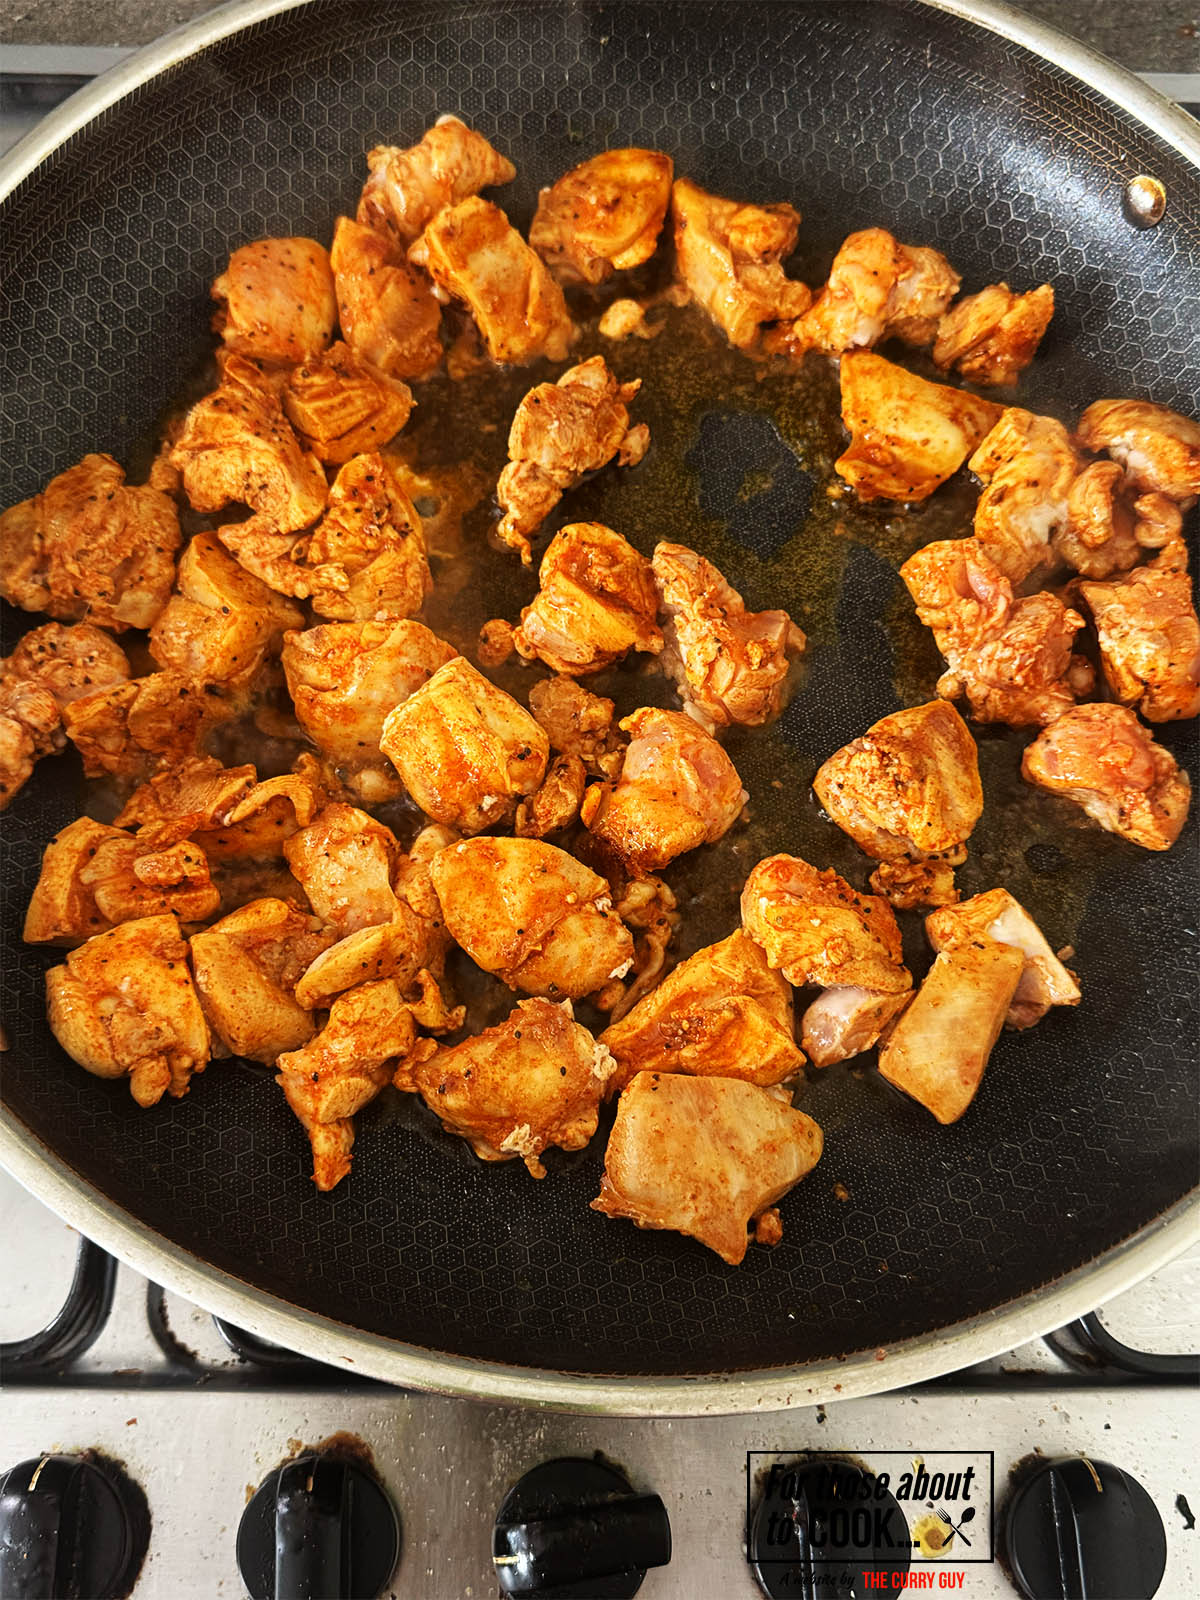
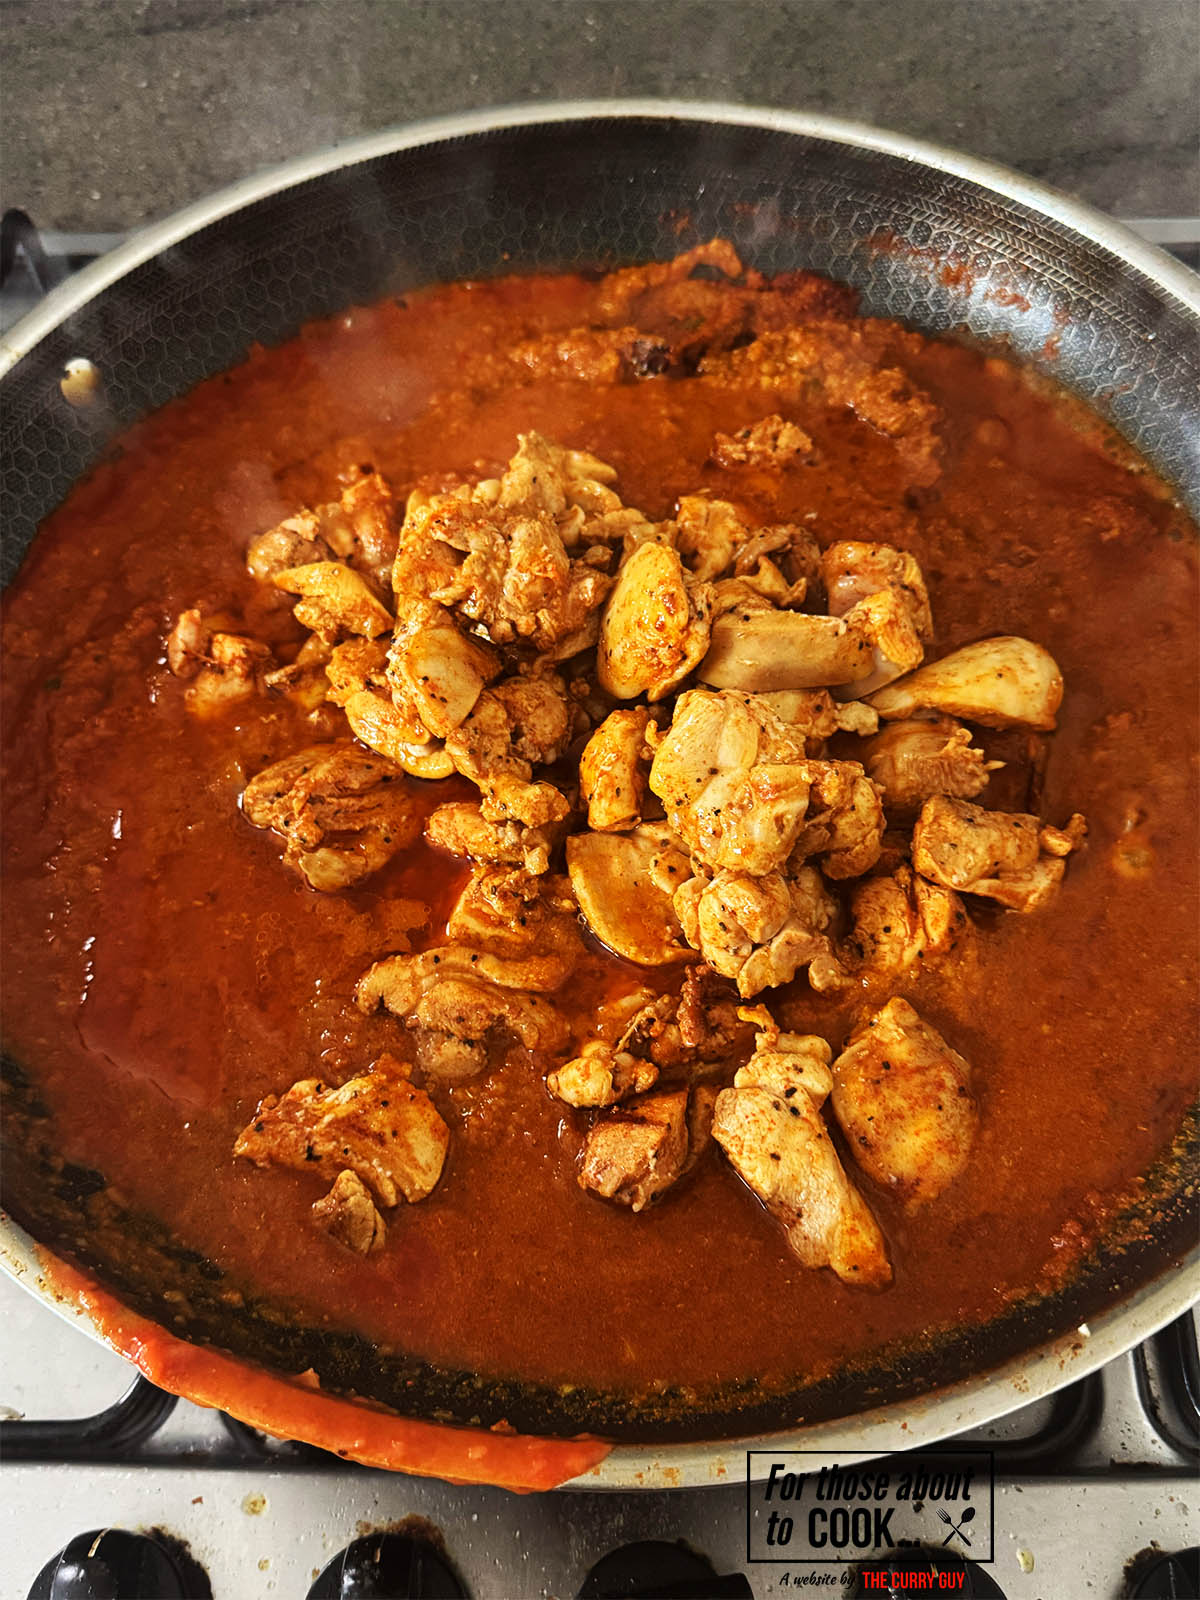
- Step 7: Stir in the ground beef that has been mixed with stock into the pan.
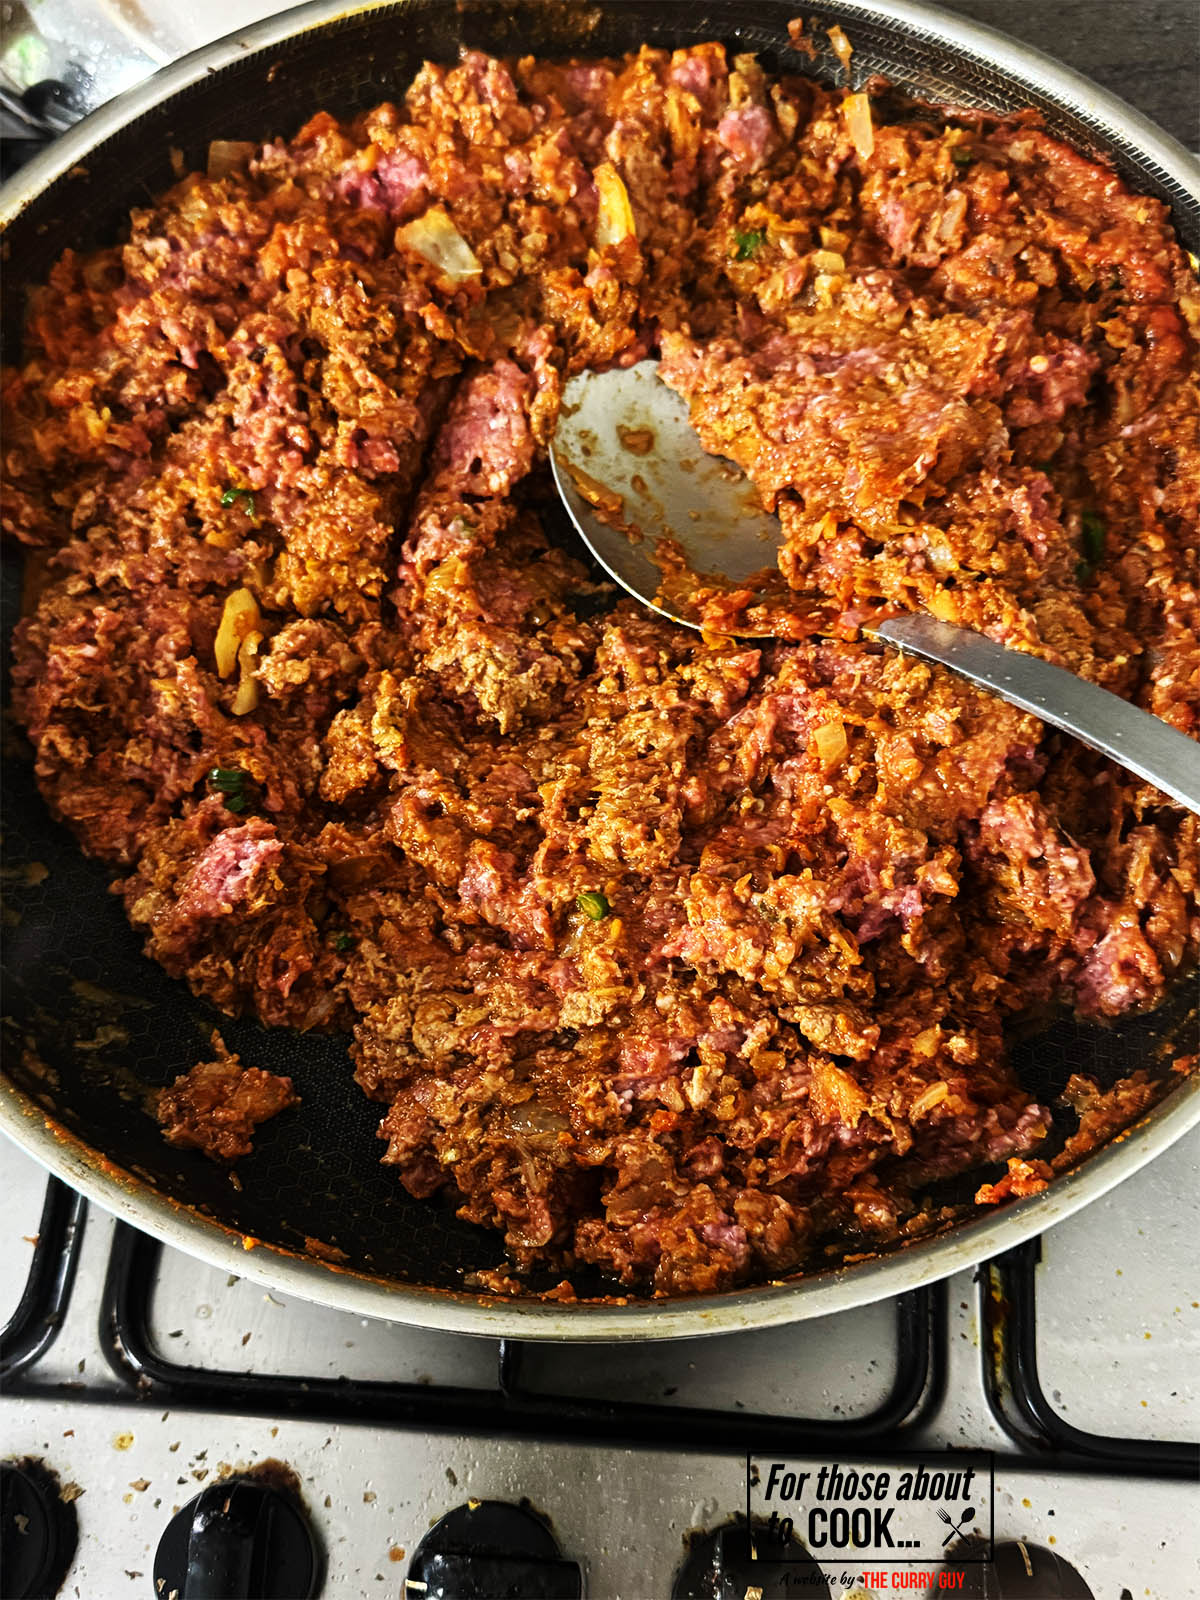
- Step 8: Begin stirring and pressing/scraping the meat with a large spoon to break up any large chunks as it cooks.
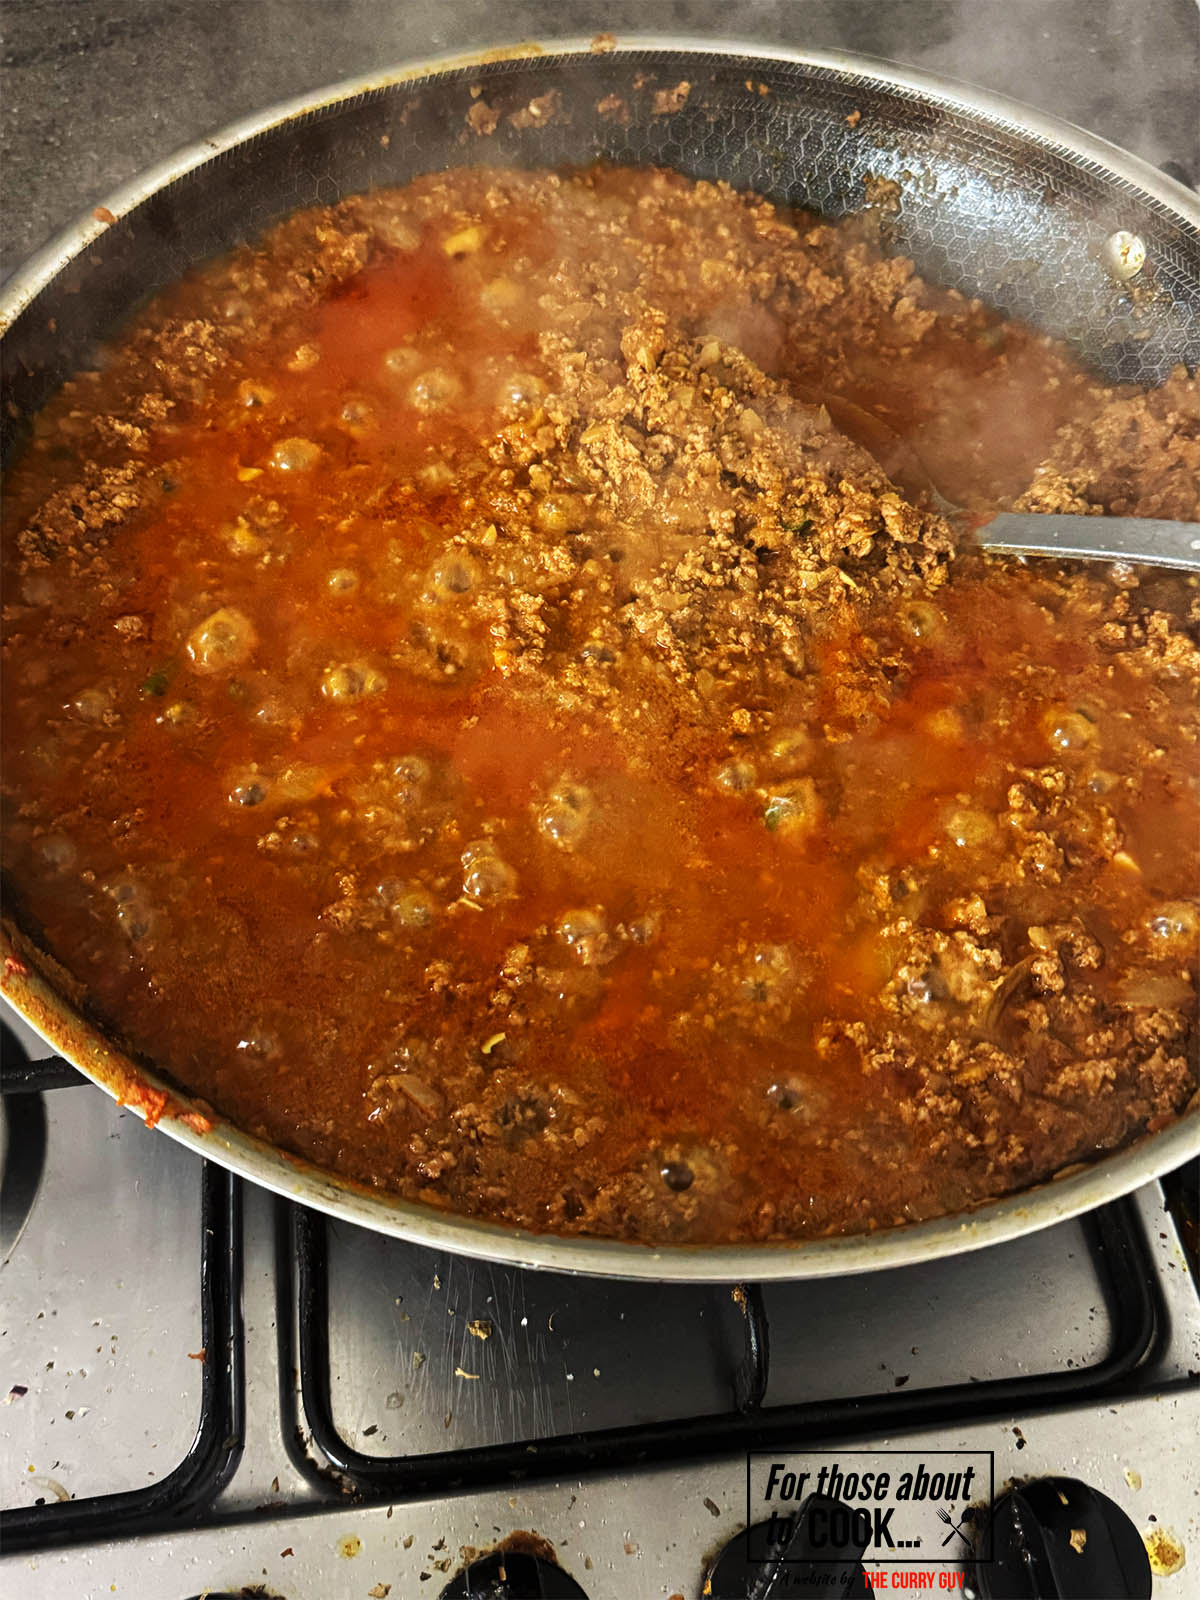
- Step 9: Once you have a fine keema with no large lumps, it’s time to cover the pan.
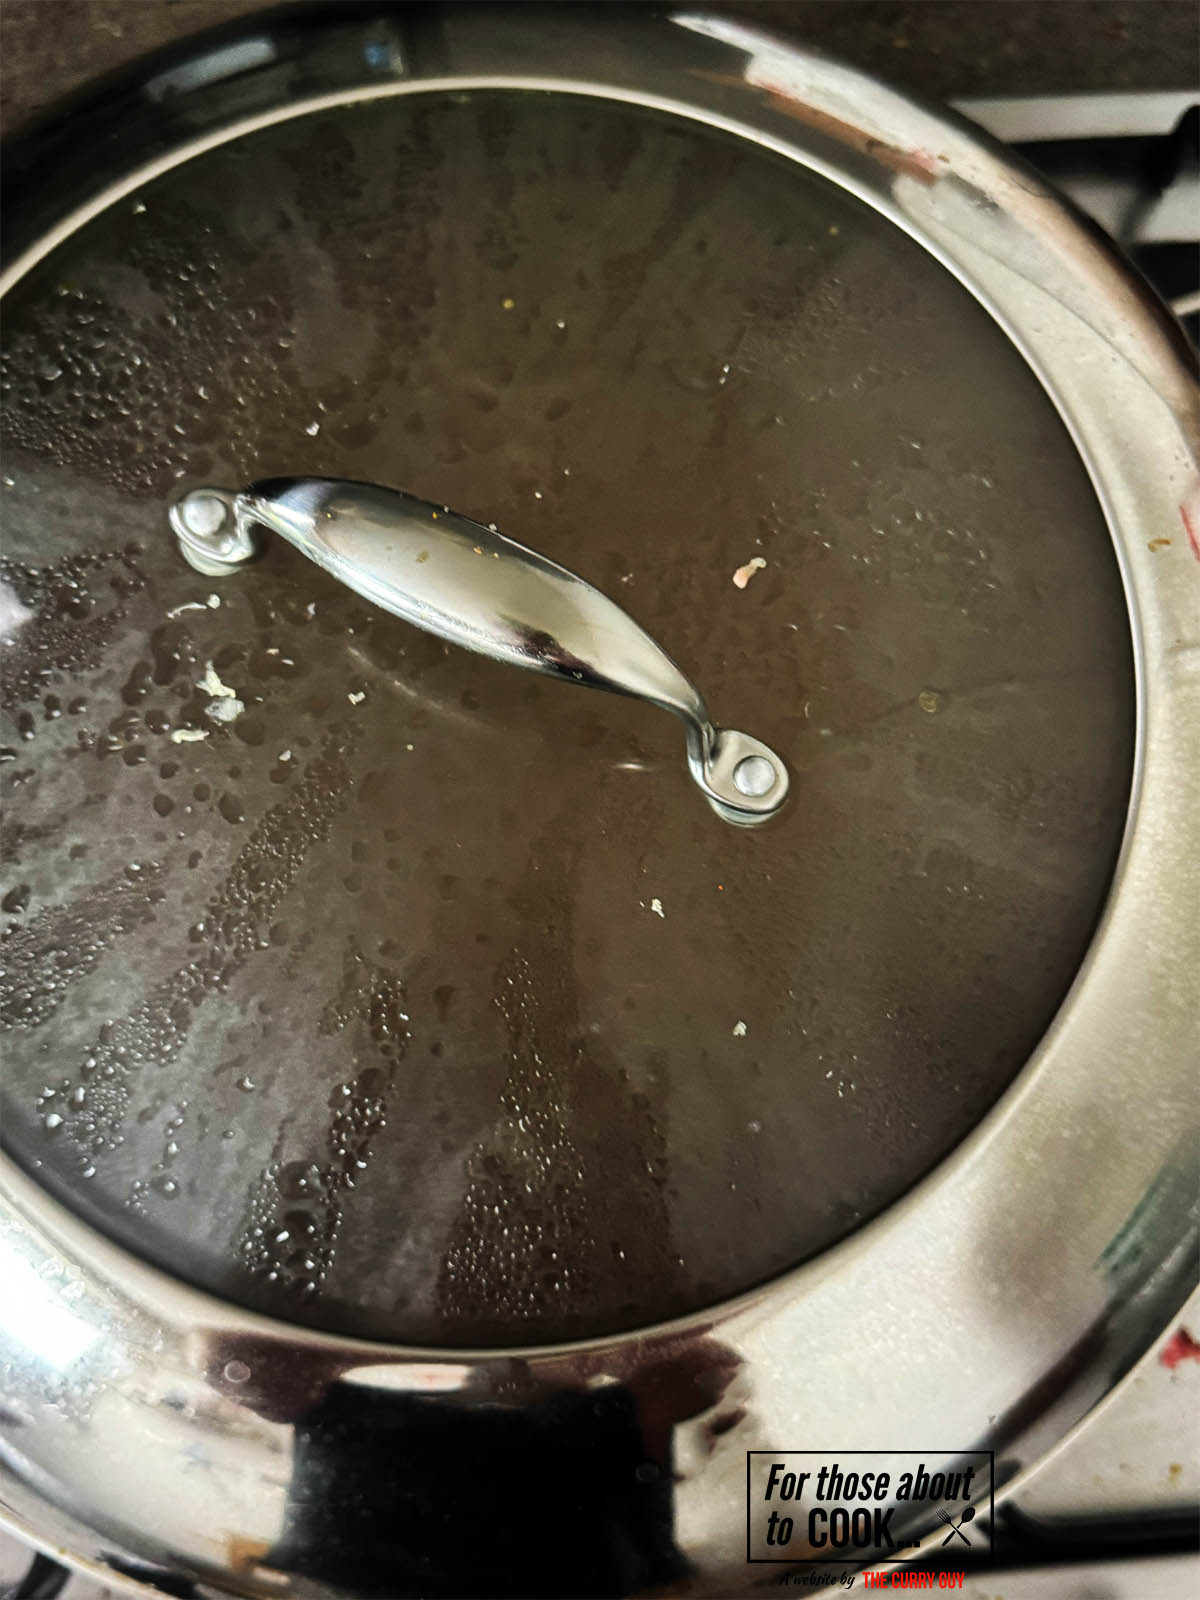
- Step 10: Cover the pan and let it simmer over a medium heat for about 10 minutes.
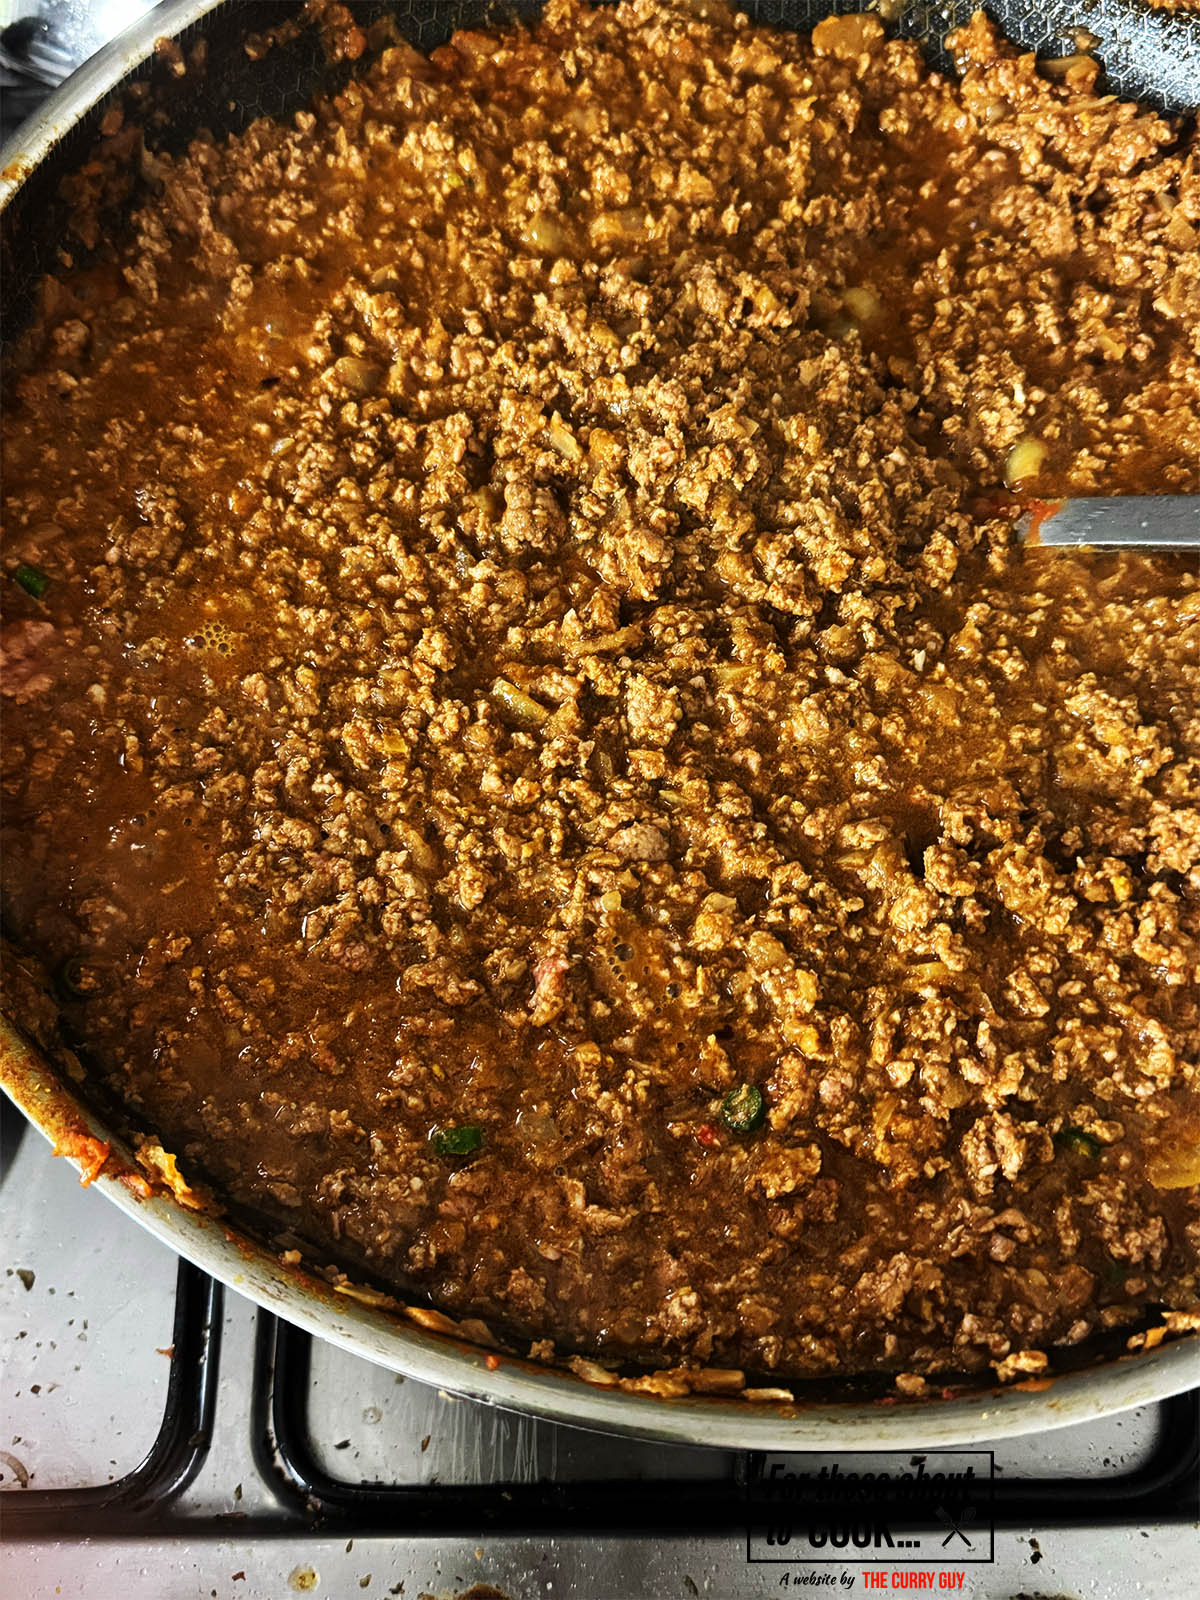
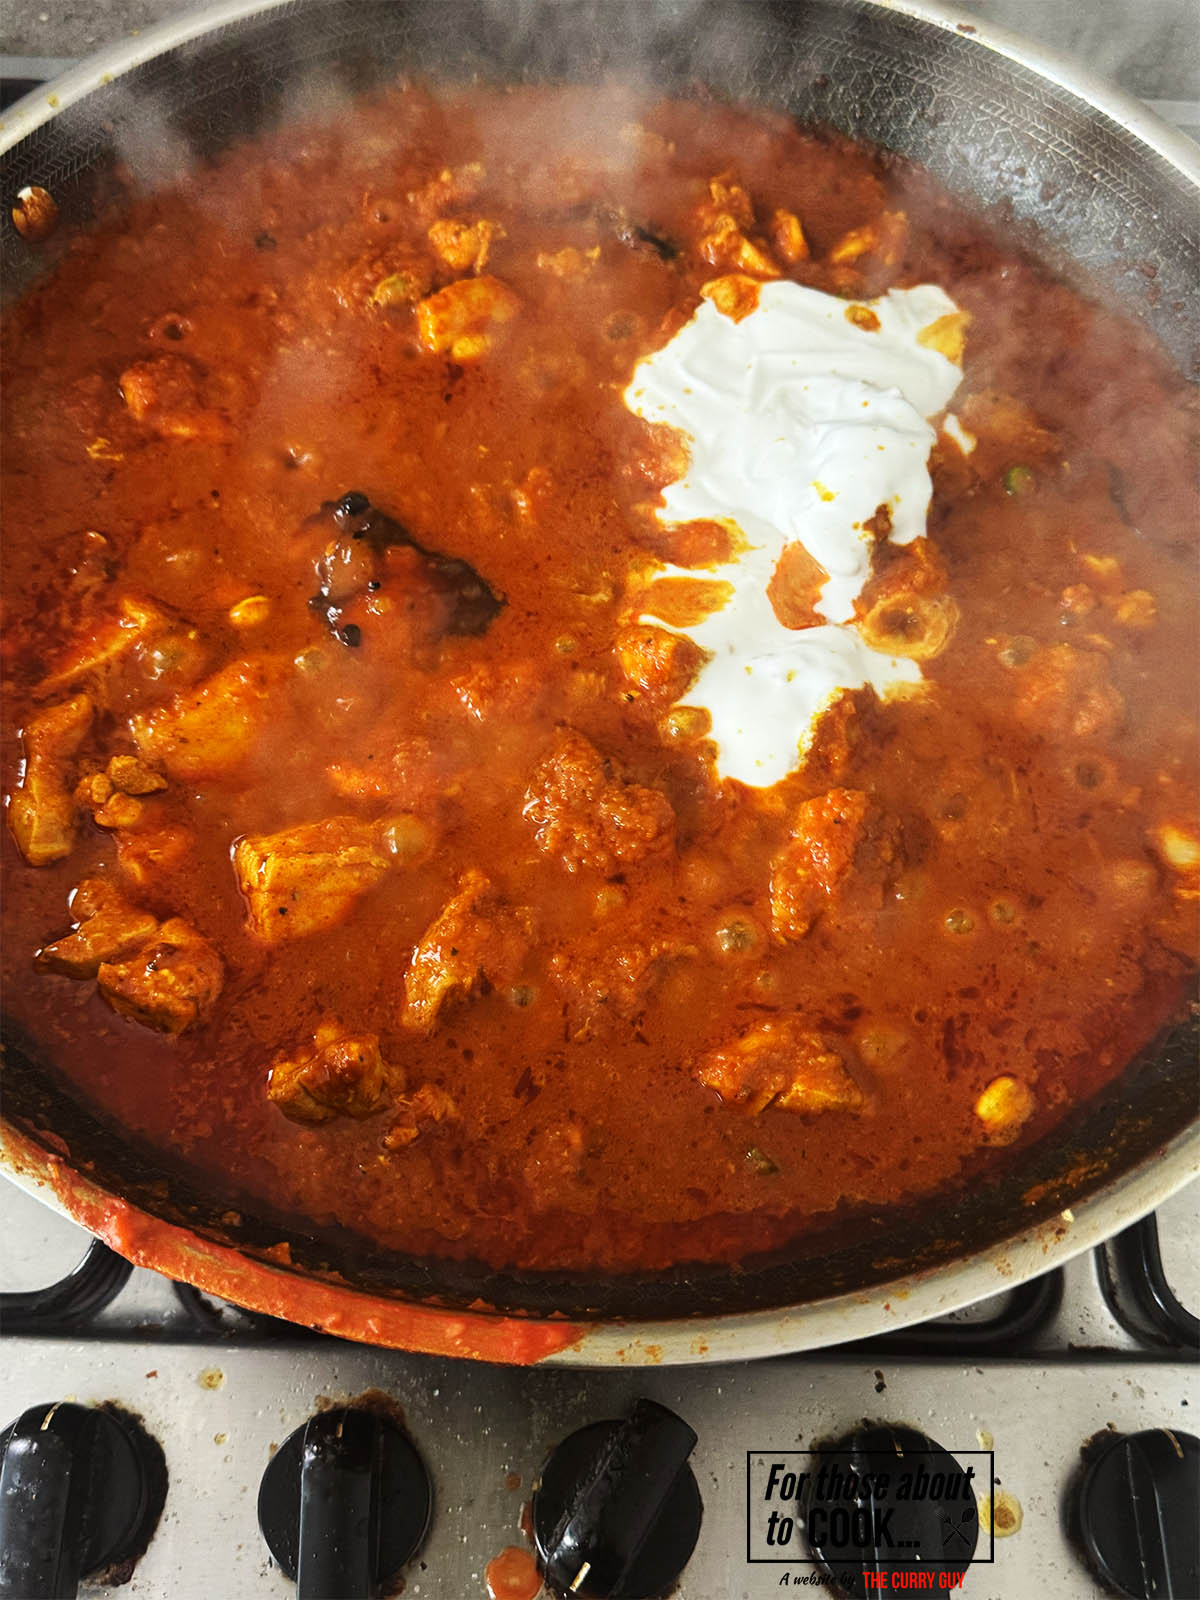
- Step 11: After 10 minutes, raise the lid and let the curry simmer until you are happy with the consistency. To serve as a curry, I let it remain a bit liquidy. If using in samosa or naans, I cook it right down.
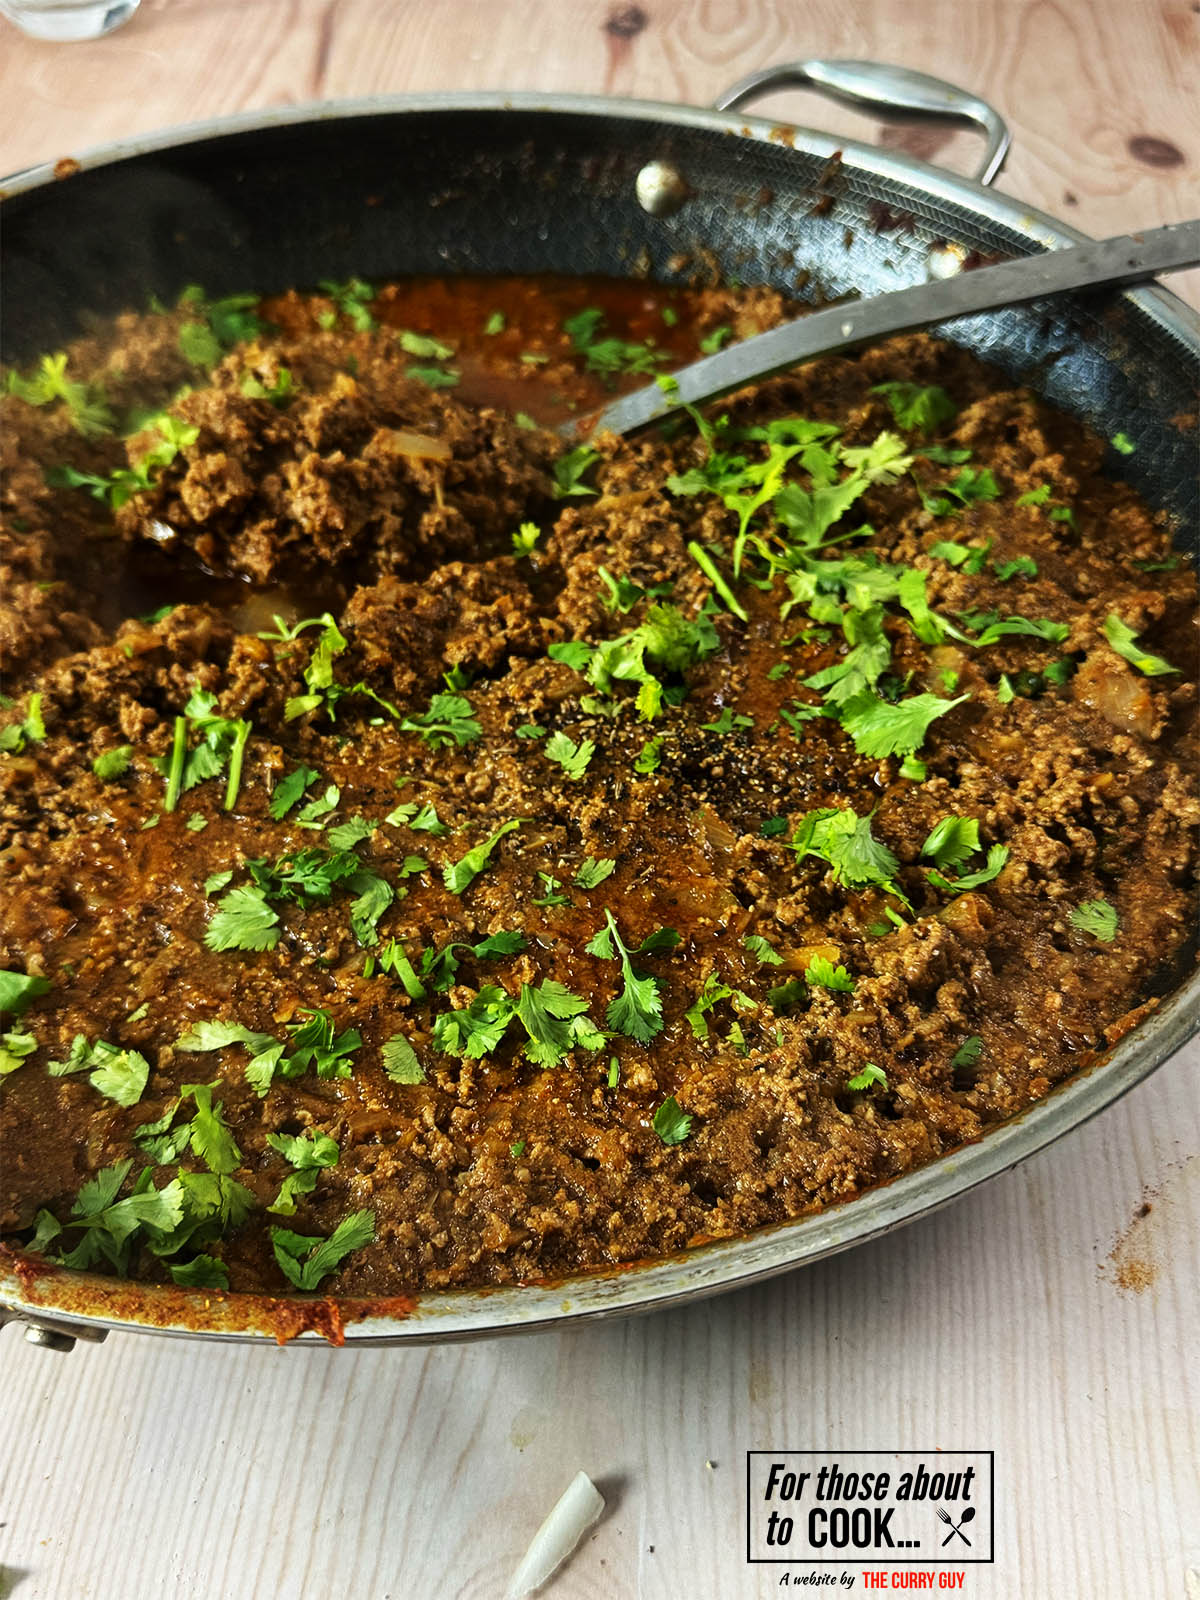
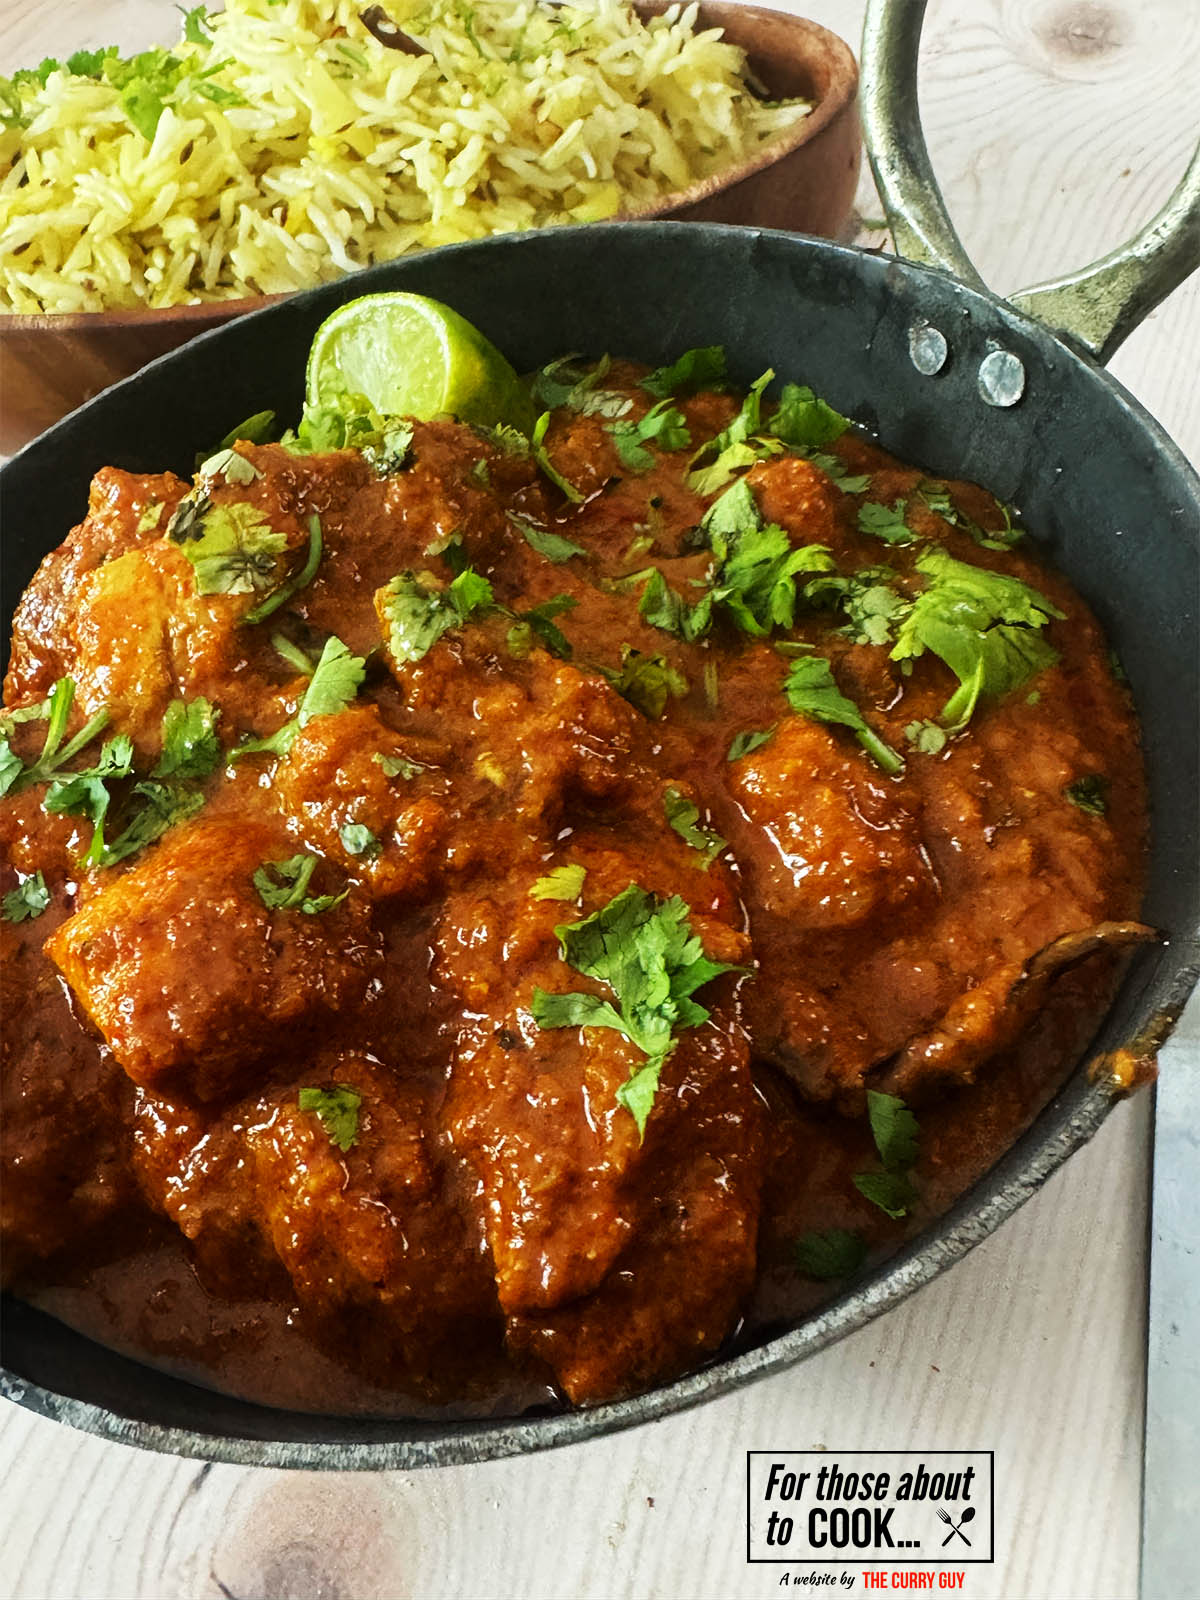
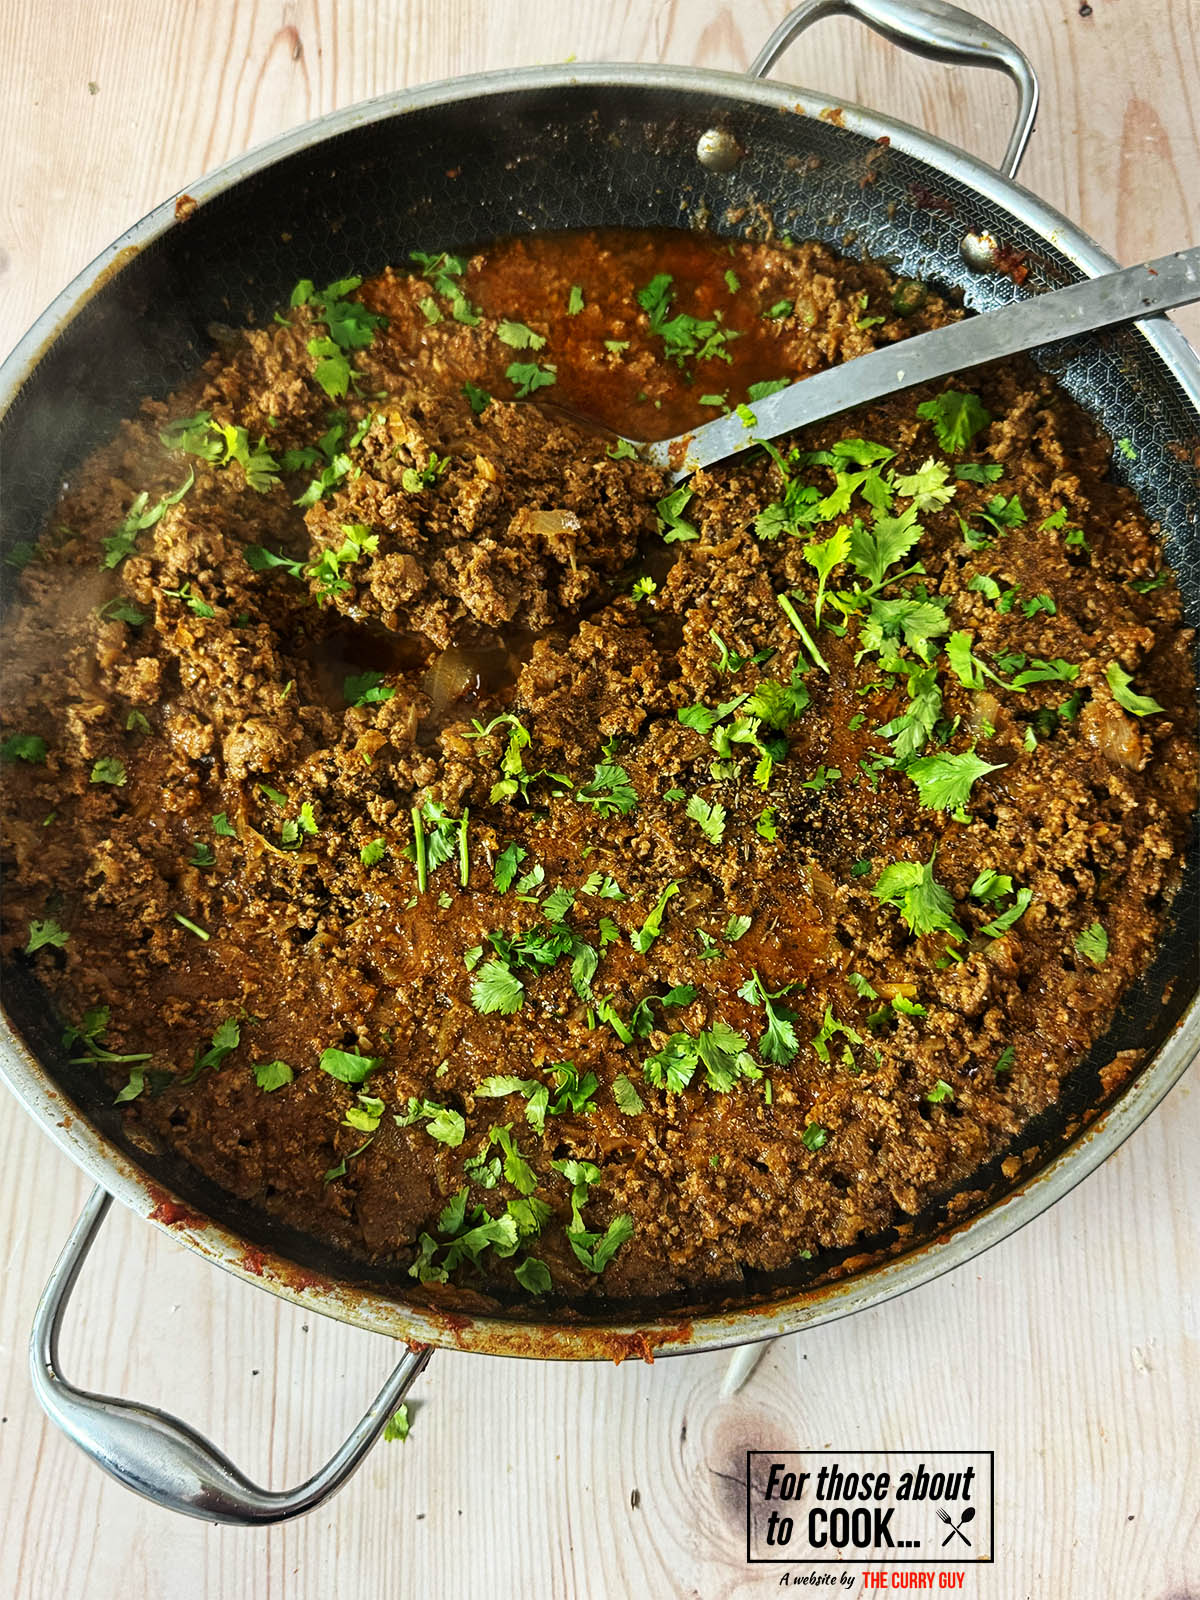
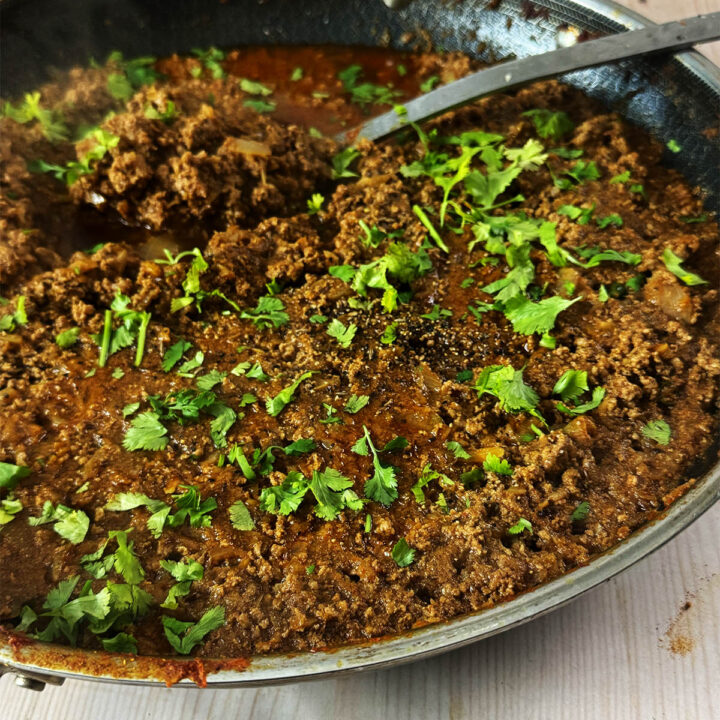
- Step 12: Add the Kasoori methi by rubbing it between your fingers over the sauce and season with salt to taste. Garnish with the chopped coriander and serve with lime wedges.
Why you'll love this quick keema recipe...
- 30 Minute Meal - It's fast and easy, perfect for weeknights
- One Pan Recipe - You'll only need one pan which means minimal cleanup!
- Customizable - Use lamb, beef, chicken... any minced meat.
- Indian Curry Flavour - Authentic taste with pantry-friendly spices
- Meal Prep Friendly - Keeps well for leftovers and can be added to many different curries. Not just keema curries.
How to Serve Keema Curry
- With steamed basmati rice or jeera rice
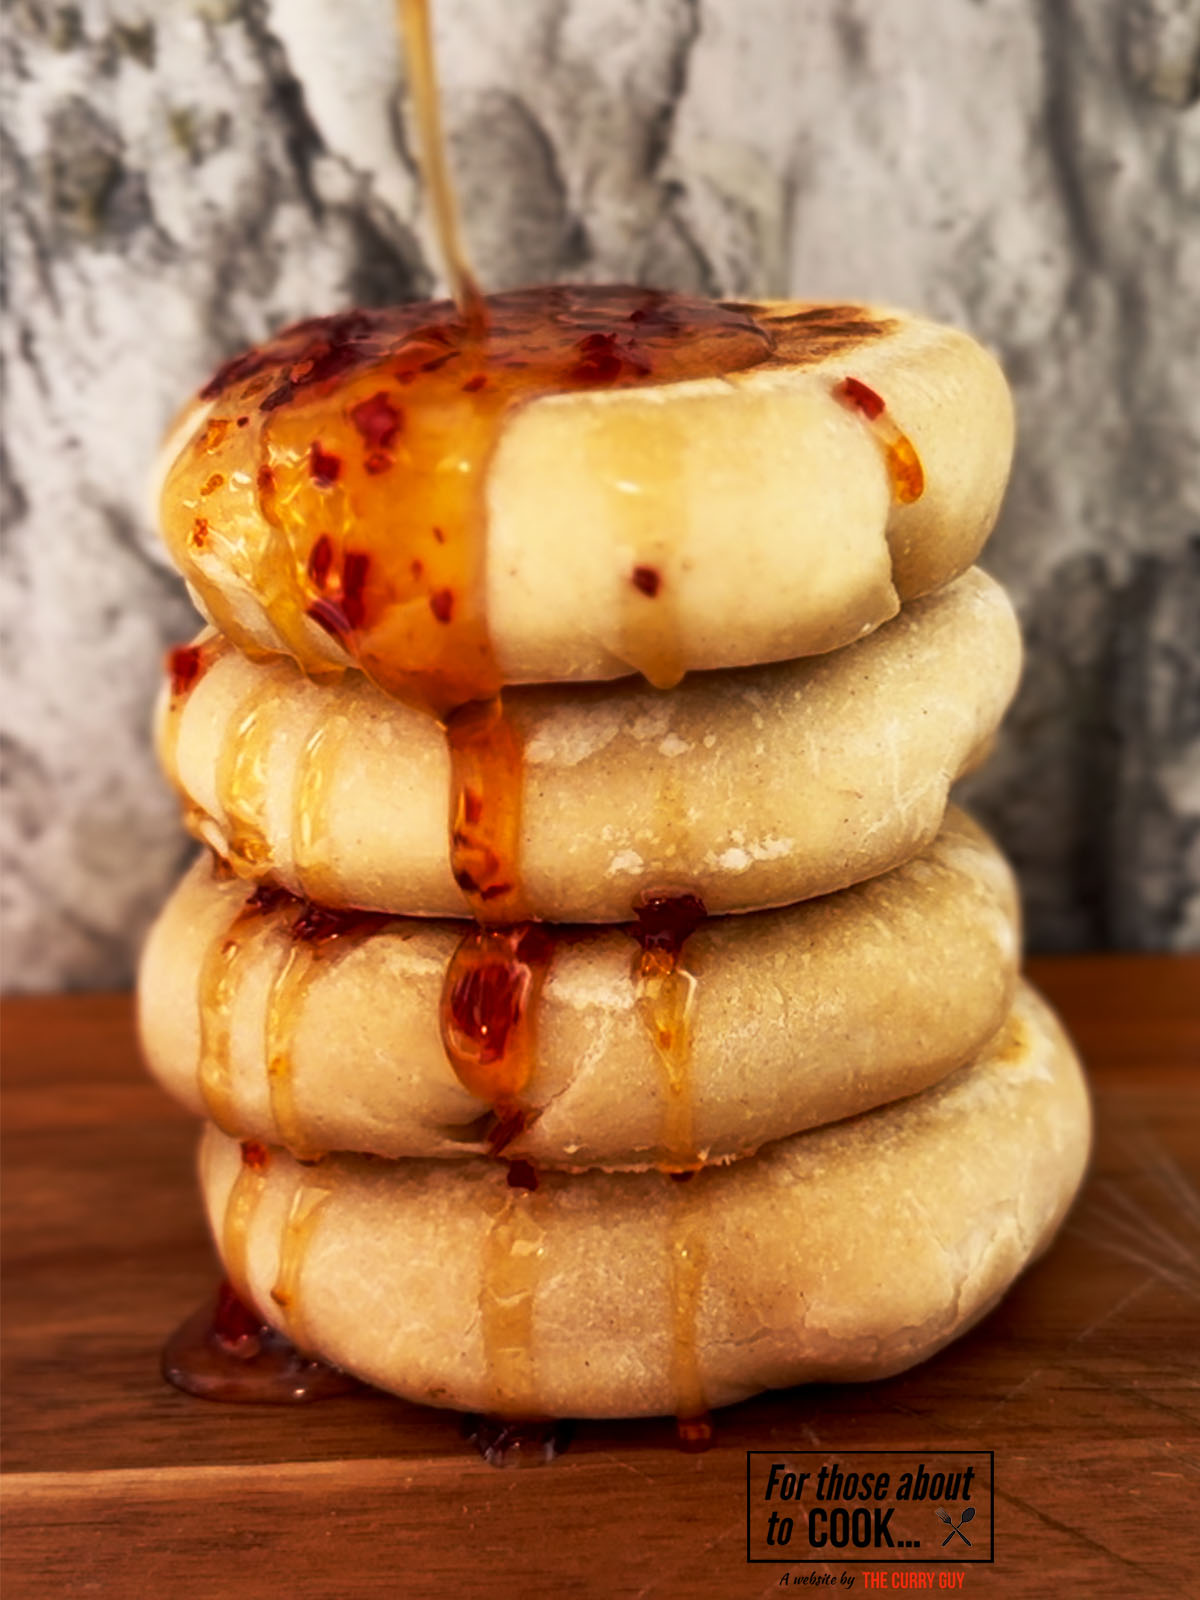
- Rolled in chapatis or naan bread
- As a filling for samosas or stuffed parathas
- Topped on fries or baked potatoes
- Inside a bun for a keema sloppy joe
Variations and Add-ons
There are many different variations and ways you can use this 30 minute keema.
Keema Aloo – Add diced potatoes with the mince
Keema Matar – Keep the peas for a classic combo
Spicy Keema – Add extra green chillies or use more chilli powder
Keema Wraps – Stuff into wraps with yogurt and pickled onions
Equipment
You don't need any special equipment to make this 30 minute keema curry. I used a frying pan with a lid to show you can cook a great curry with whatever you have. This is an easy, one pan meal!
Storage & Leftovers
This keema curry keeps beautifully!
Fridge: Store in an airtight container for up to 3 days
Freezer: Freeze for up to 3 months. Thaw overnight and reheat thoroughly
Meal Prep Tip: Make a double batch and portion for weekday lunches
Final Thoughts for this easy keema recipe.
This quick and easy 30-minute keema proves you don’t need to spend hours in the kitchen to enjoy a flavour-packed Indian curry. Whether you serve it with rice, roll it up in a naan, or tuck it into a wrap, this dish is versatile, satisfying, and full of real curry house flavour.
Try it tonight, and if you are on social media, please don’t forget to tag me into your creations!
Top Tip
Add water or stock to the meat - I know a lot of you might find this strange but it is a great way to achieve lump-free keema. As the keema cooks, the moisture is cooked down leaving you with an amazing keema that is fried to perfection.
FAQ
Yes, in fact, it will keep in the fridge for about 4 days and also freezes well. Make a double batch so that you always have some on hand.
You don't but this is a very popular and common way of preparing keema. Adding the liquid to the meat helps achieve a finer keema. You cook the liquid down and the keema gets cooked to perfection.
More 30 Minute Curries...


Rice and Naan


More categories for you to explore...


Recipe
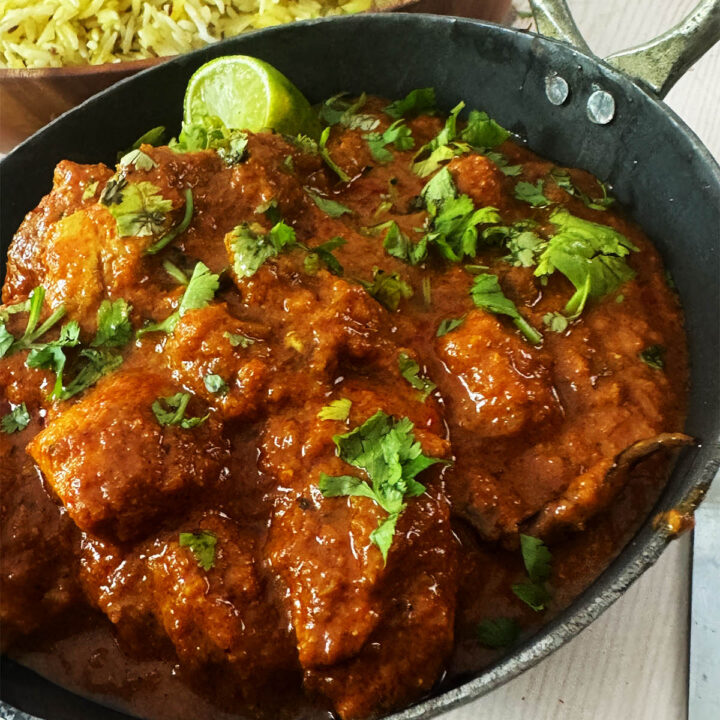
30 Minute Keema
This quick 30 minute keema tastes just like it has been cooking for hours but it only takes 30 minutes. It's easy and the keema can be used in so many ways... from adding it to different curries to wraps and samosas.
Ingredients
- 4 tablespoon ghee or rapeseed (canola) oil
- ½ teaspoon cumin seeds
- 3 onions (about 500g/1 ¼ lbs.), roughly chopped
- 2 tablespoon garlic and ginger paste
- 3 green finger chillies, finely chopped
- 1 tablespoon garam masala
- 1 tablespoon ground coriander
- 2 teaspoon ground cumin
- 1 teaspoon turmeric
- 2 teaspoon Kashmiri chilli powder or paprika
- 250ml (1 cup) passata
- 500g (1 ¼ lbs.) minced meat such as beef, chicken or lamb
- 500ml (2 cups) water or unsalted chicken or meat stock
- 1 small coriander (cilantro), finely chopped
- 2 teaspoon Kasoori methi (dried fenugreek leaves)
- Salt and pepper to taste
Instructions
- Blend the onions until you have a course or smooth paste. I usually leave it a bit chunky as the onions do cook down. Set aside.
- Place the minced meat in a mixing bowl and add the water or stock. Work the liquid into the meat. It will be like a thick porridge consistency. Trust me here! Set aside.
- Heat the ghee or oil in a large frying pan over a medium-high heat. When it begins to glisten from the heat, stir in the cumin seeds and let them infuse into the hot oil for about a minute.
- Stir in the blended onions and fry, stirring regularly for about 7 minutes or until they are turning a golden brown
- Add the garlic and ginger paste and the chopped chillies and continuing frying for about a minute and then add the ground spices and the passata.
- Stir this all to combine into a deep red base masala and then add the meat and stock/water mixture.
Stir and press the meat into the pan to break up any lumps. Take some time to do this as it really makes a big difference. - Once you have broken all the lumps and you have a smooth keema mixture, cover the pan and let it simmer over a medium heat for 10 minutes.
- Then raise the lid and continue simmering until you are happy with the sauce consistency. If using the keema to wrap in a chapati or to use in samosa, you should let it cook right down until almost dry. If using as a curry, leave some of the thick sauce in it.
- Add the Kasoori methi by rubbing it between your fingers over the keema and then season with salt and pepper to taste.
- Serve garnished with the chopped coriander and the lime wedges which can be squeezed over the top to taste at the table.
Nutrition Information:
Yield: 4 Serving Size: 1Amount Per Serving: Calories: 572Total Fat: 38gSaturated Fat: 16gTrans Fat: 0gUnsaturated Fat: 19gCholesterol: 166mgSodium: 433mgCarbohydrates: 18gFiber: 4gSugar: 6gProtein: 41g