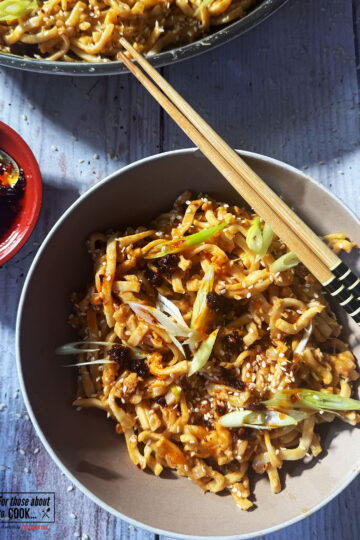
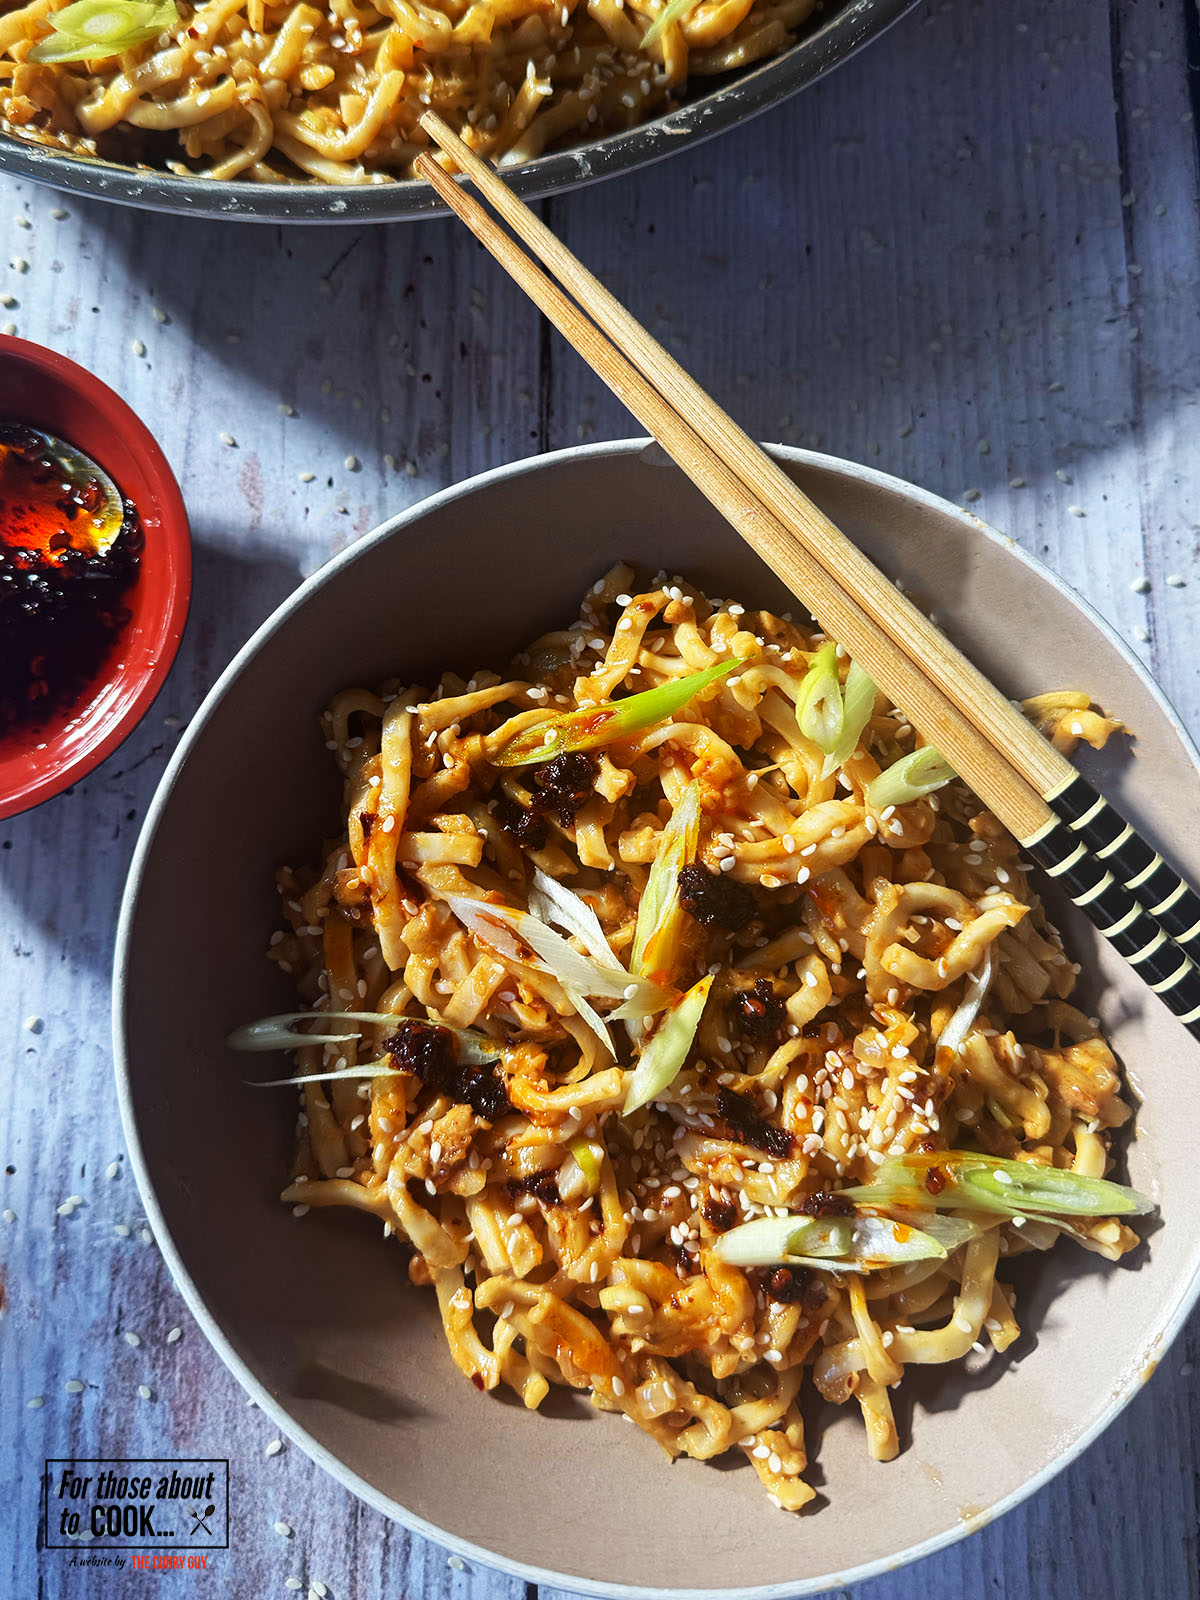
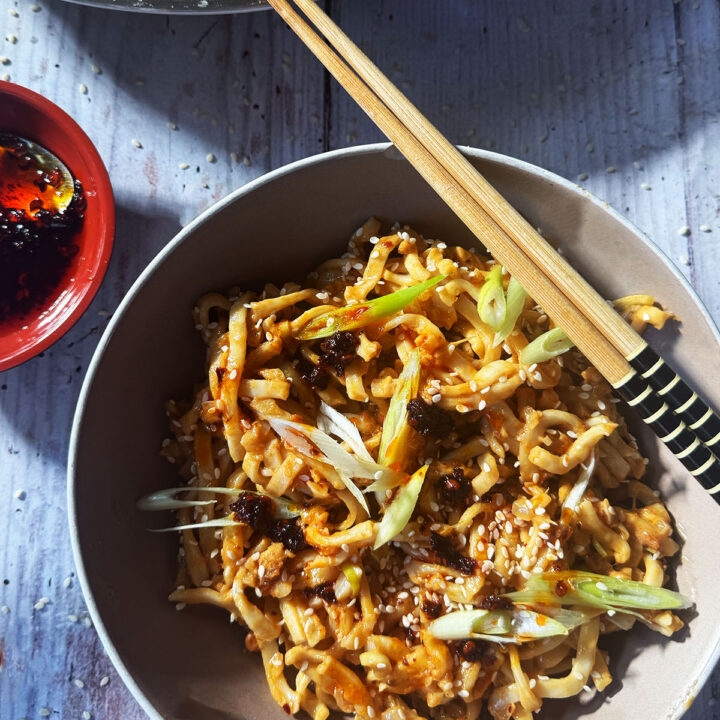
These Peanut Butter Noodles are rich, creamy, spicy and packed with bold Asian-inspired flavours. Made with crunchy peanut butter, chilli crisp, garlic, ginger and soy sauce, this simple noodle recipe comes together in minutes using ingredients you may already have in your kitchen.
About This Peanut Butter Noodles Recipe
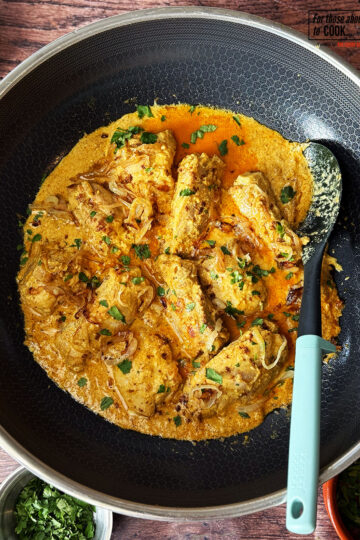
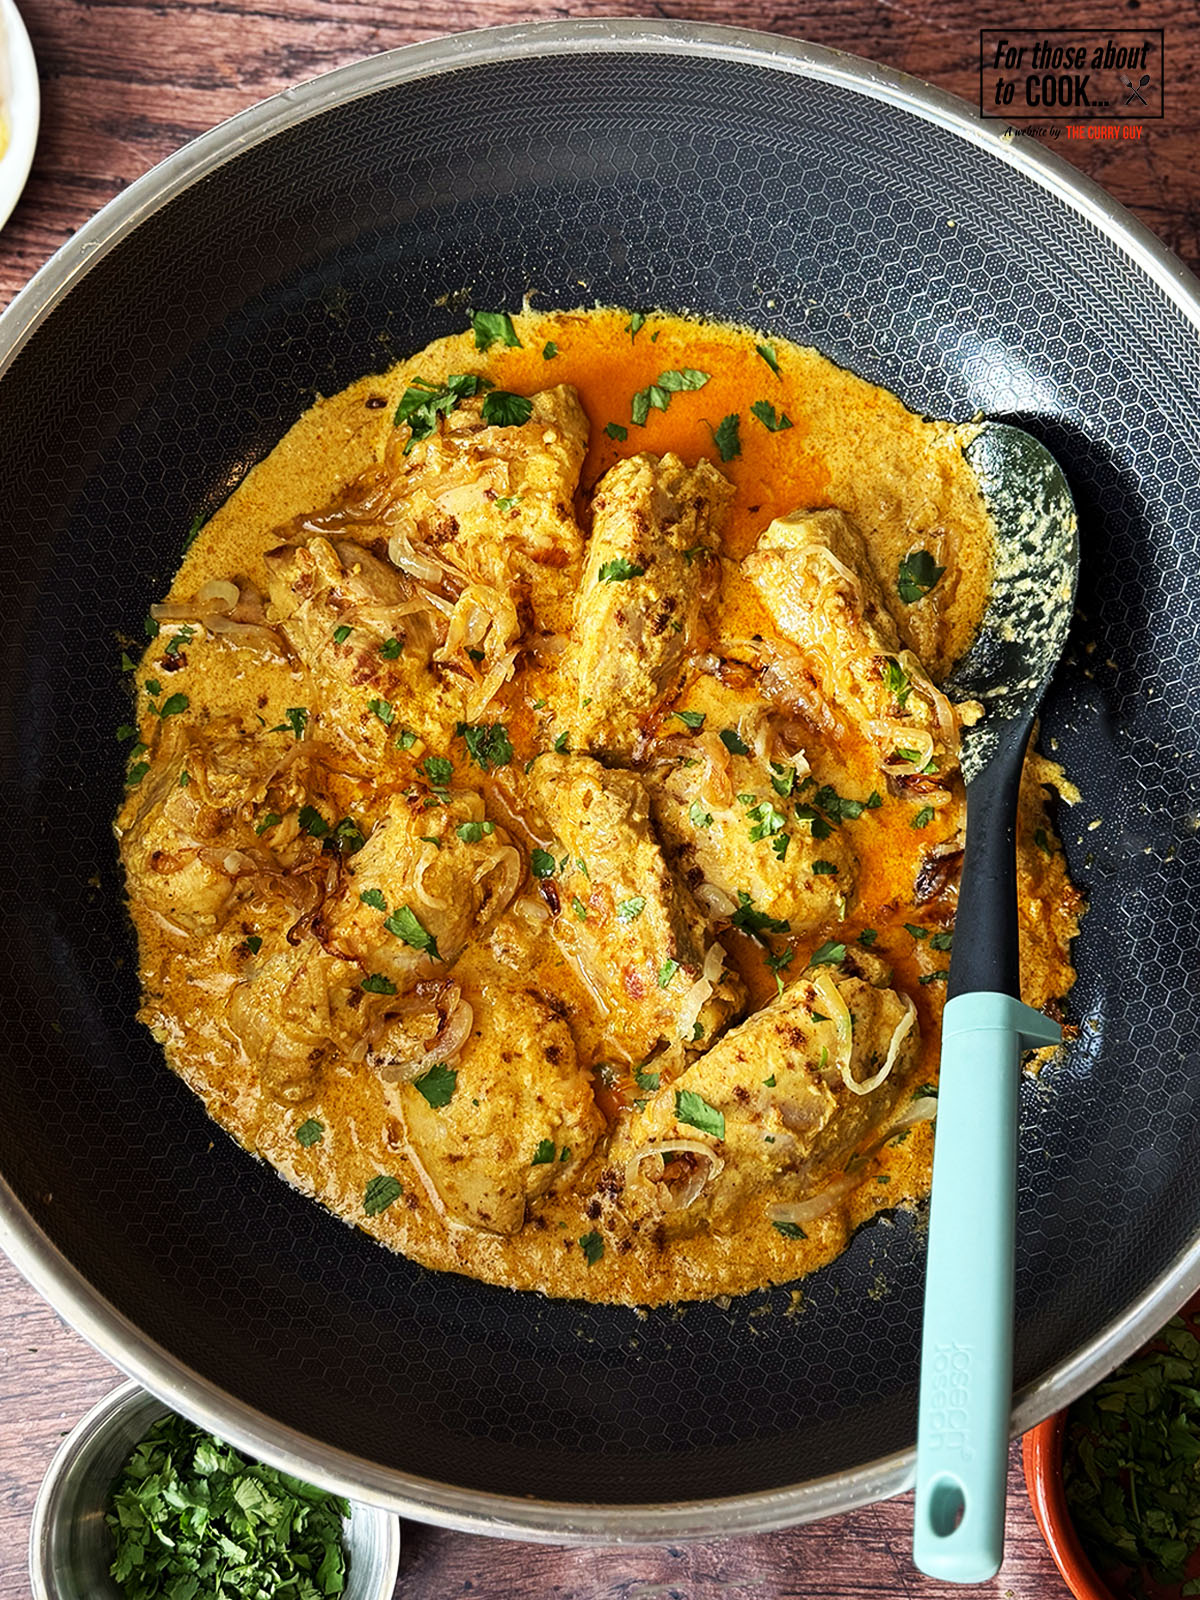
These Peanut Butter Noodles are proof that a handful of simple ingredients can create something seriously delicious. The magic happens when hot oil is poured over garlic, ginger, shallot and spring onions, instantly releasing their incredible aromas and creating the foundation of a rich, flavour-packed sauce. Crunchy peanut butter melts into the mixture, while soy sauce, rice wine vinegar and chilli crisp bring the perfect balance of savoury, tangy and spicy flavours.
The result is a silky, nutty noodle sauce with plenty of texture and a gentle chilli kick that clings beautifully to every strand. Best of all, it's quick, affordable and made using store cupboard staples, making it the perfect recipe for busy weeknights, lazy lunches or whenever you're craving a bowl of comforting noodles in minutes.
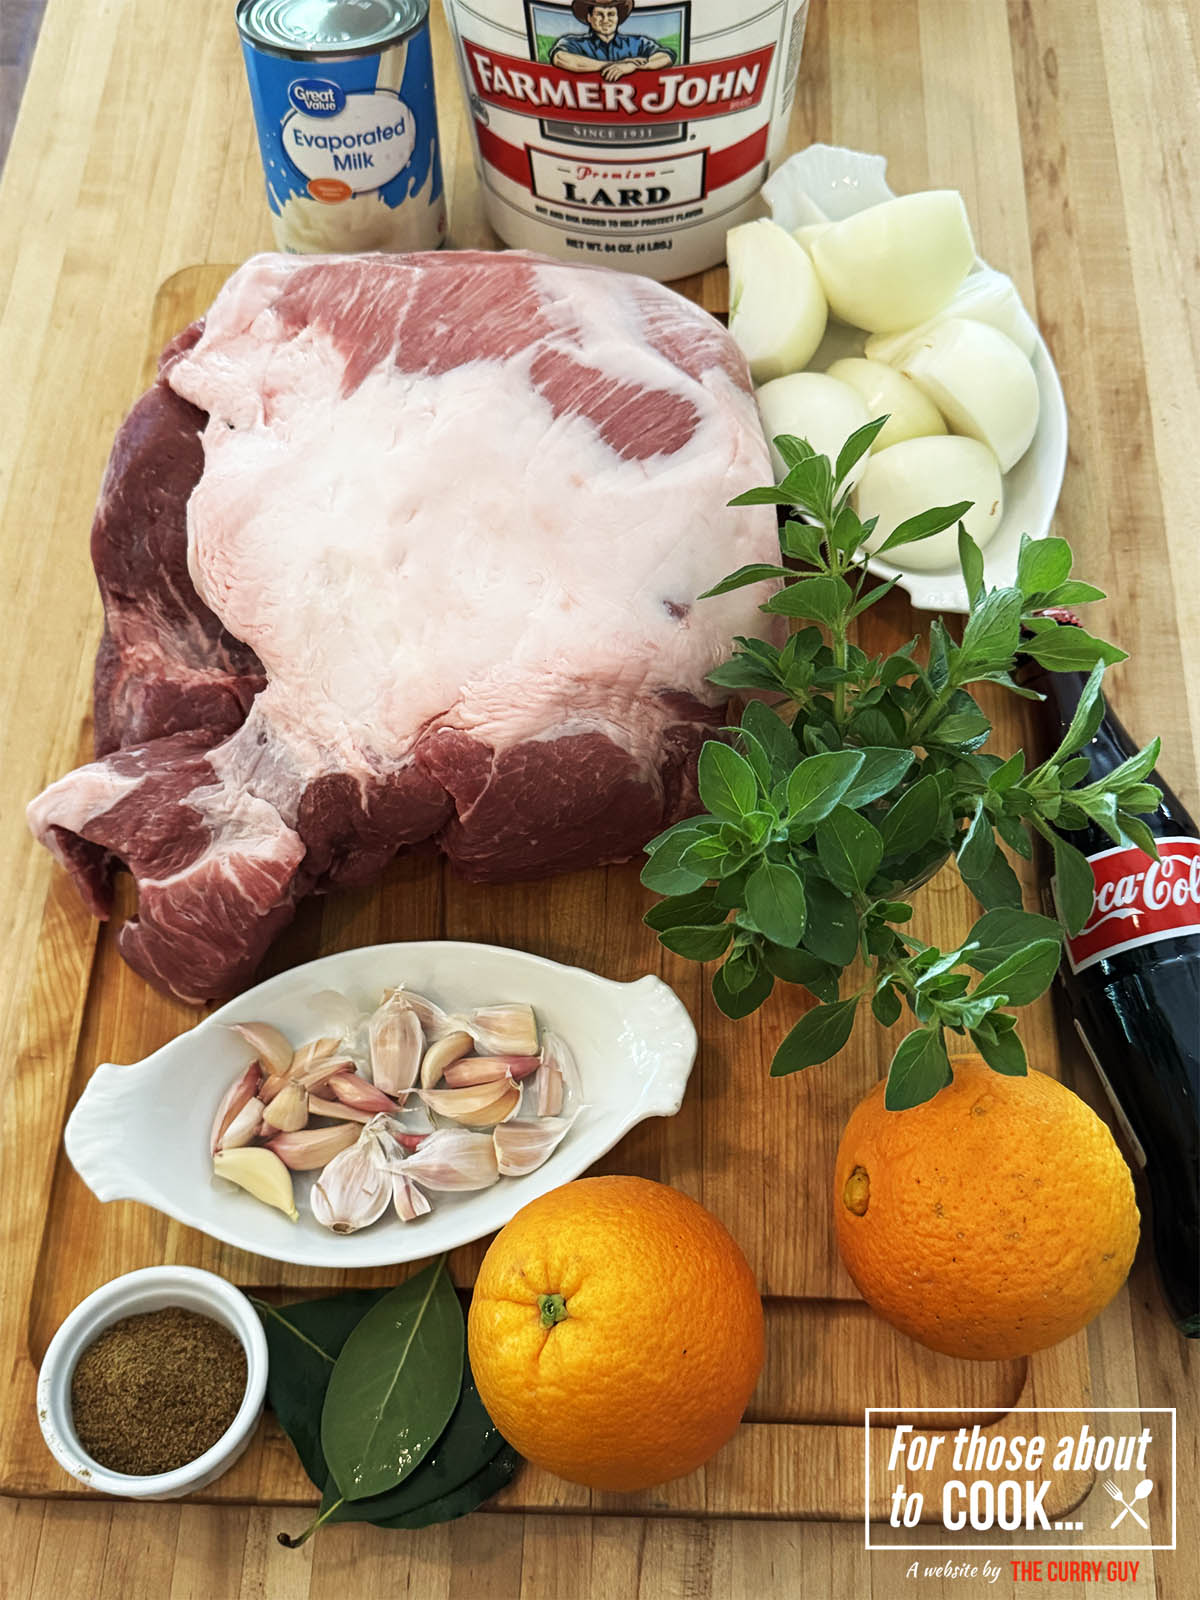
Ingredients
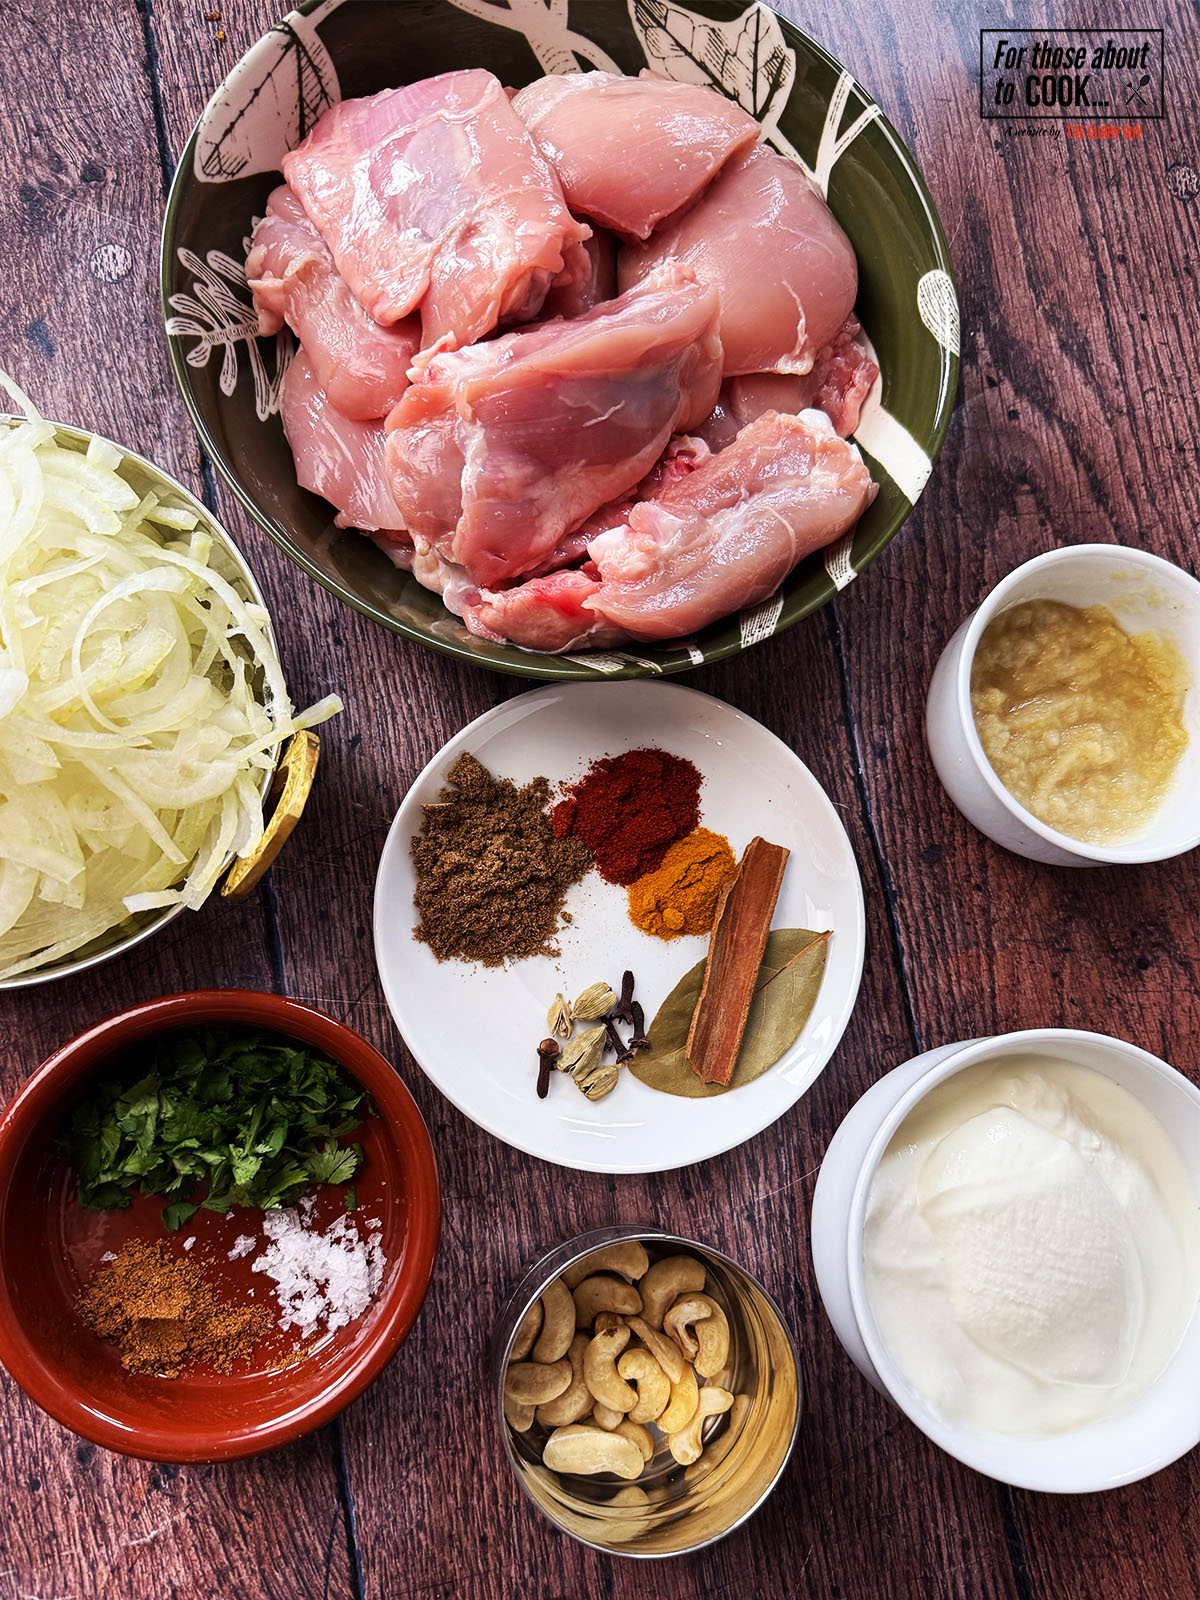
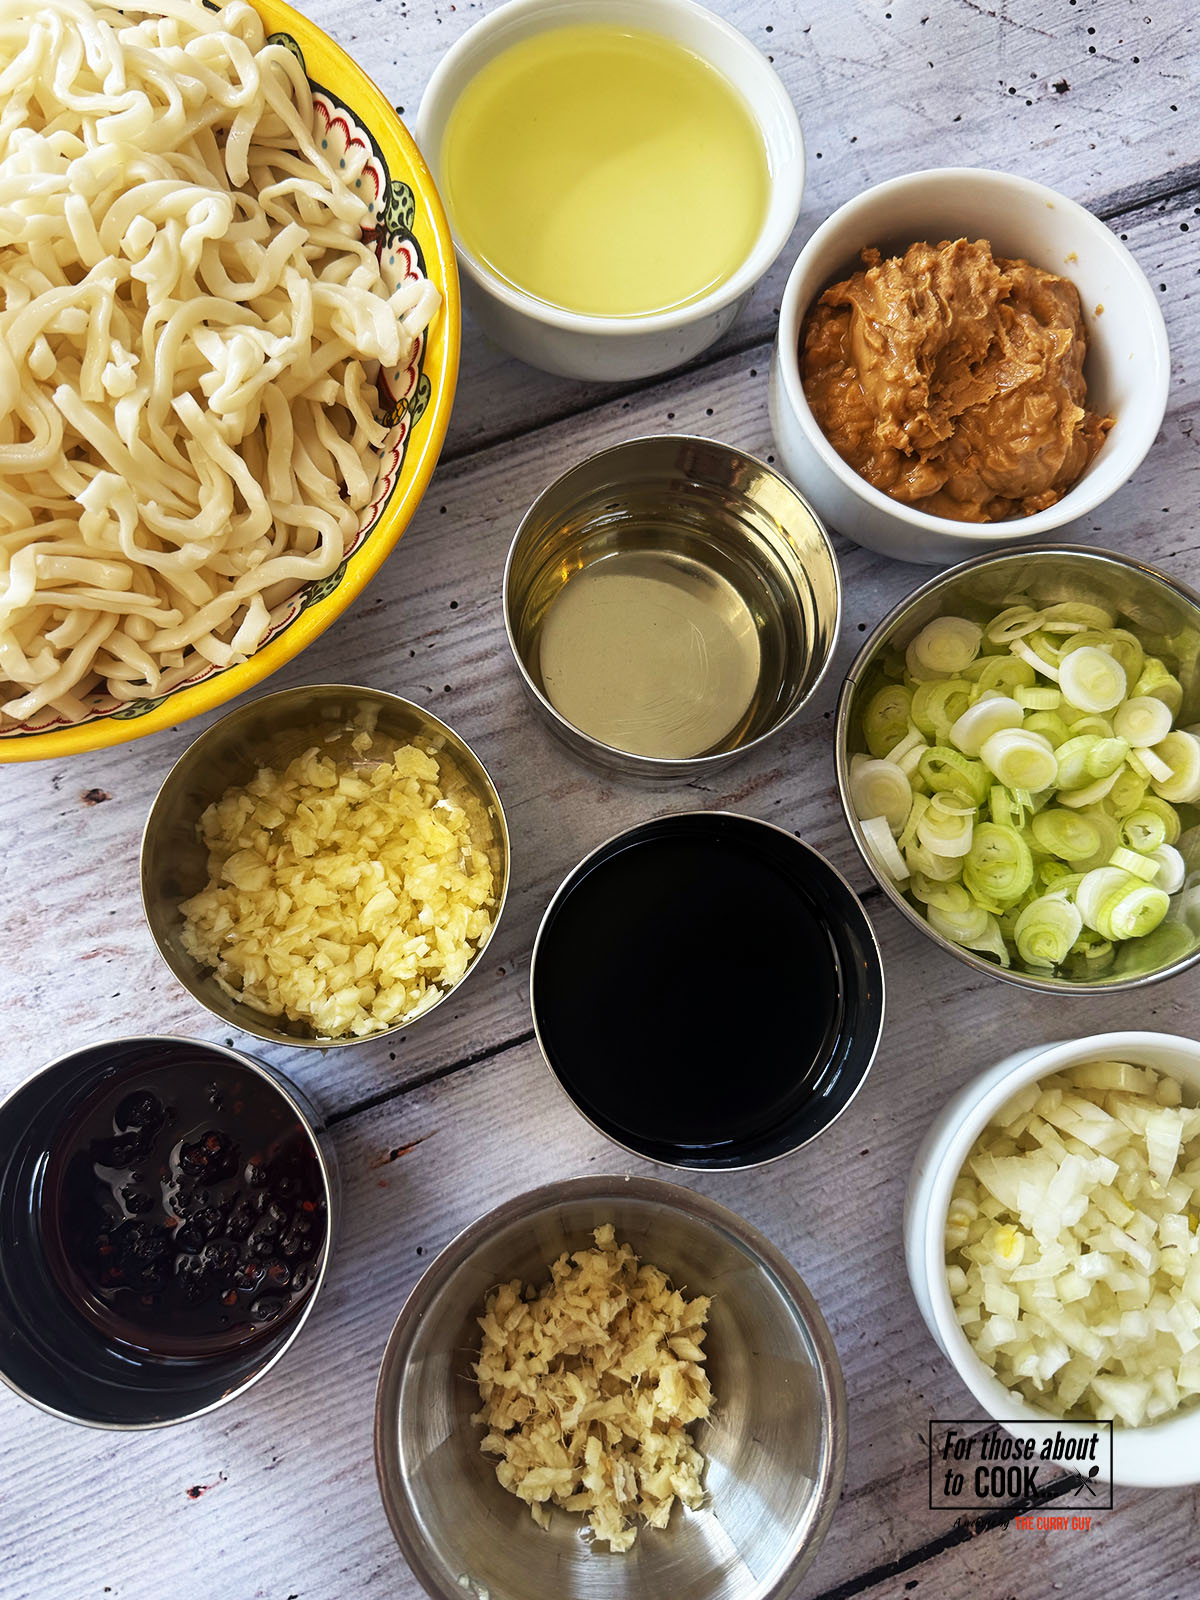
Using the freshest ingredients in this Peanut Butter Noodles recipe makes all the difference. Below, you will see the ingredients laid out along with.a list. Exact measurements and quantities can be found in the recipe card at the bottom of this page. Make sure to have everything ready and prepared before you start cooking for best results.
See recipe card for quantities.
- Crunchy peanut butter
- Fresh garlic
- Fresh ginger
- Spring onion
- Shallot
- Chilli Crisp
- Soy sauce
- Rice wine vinegar
- Neutral oil
- Noodles of choice
See recipe card for quantities.
Instructions
You will find photographs of each step below, along with a full layout including the ingredients in the recipe card. Use whichever format works best for you. These steps are clear and easy to follow, so you can cook along with confidence.
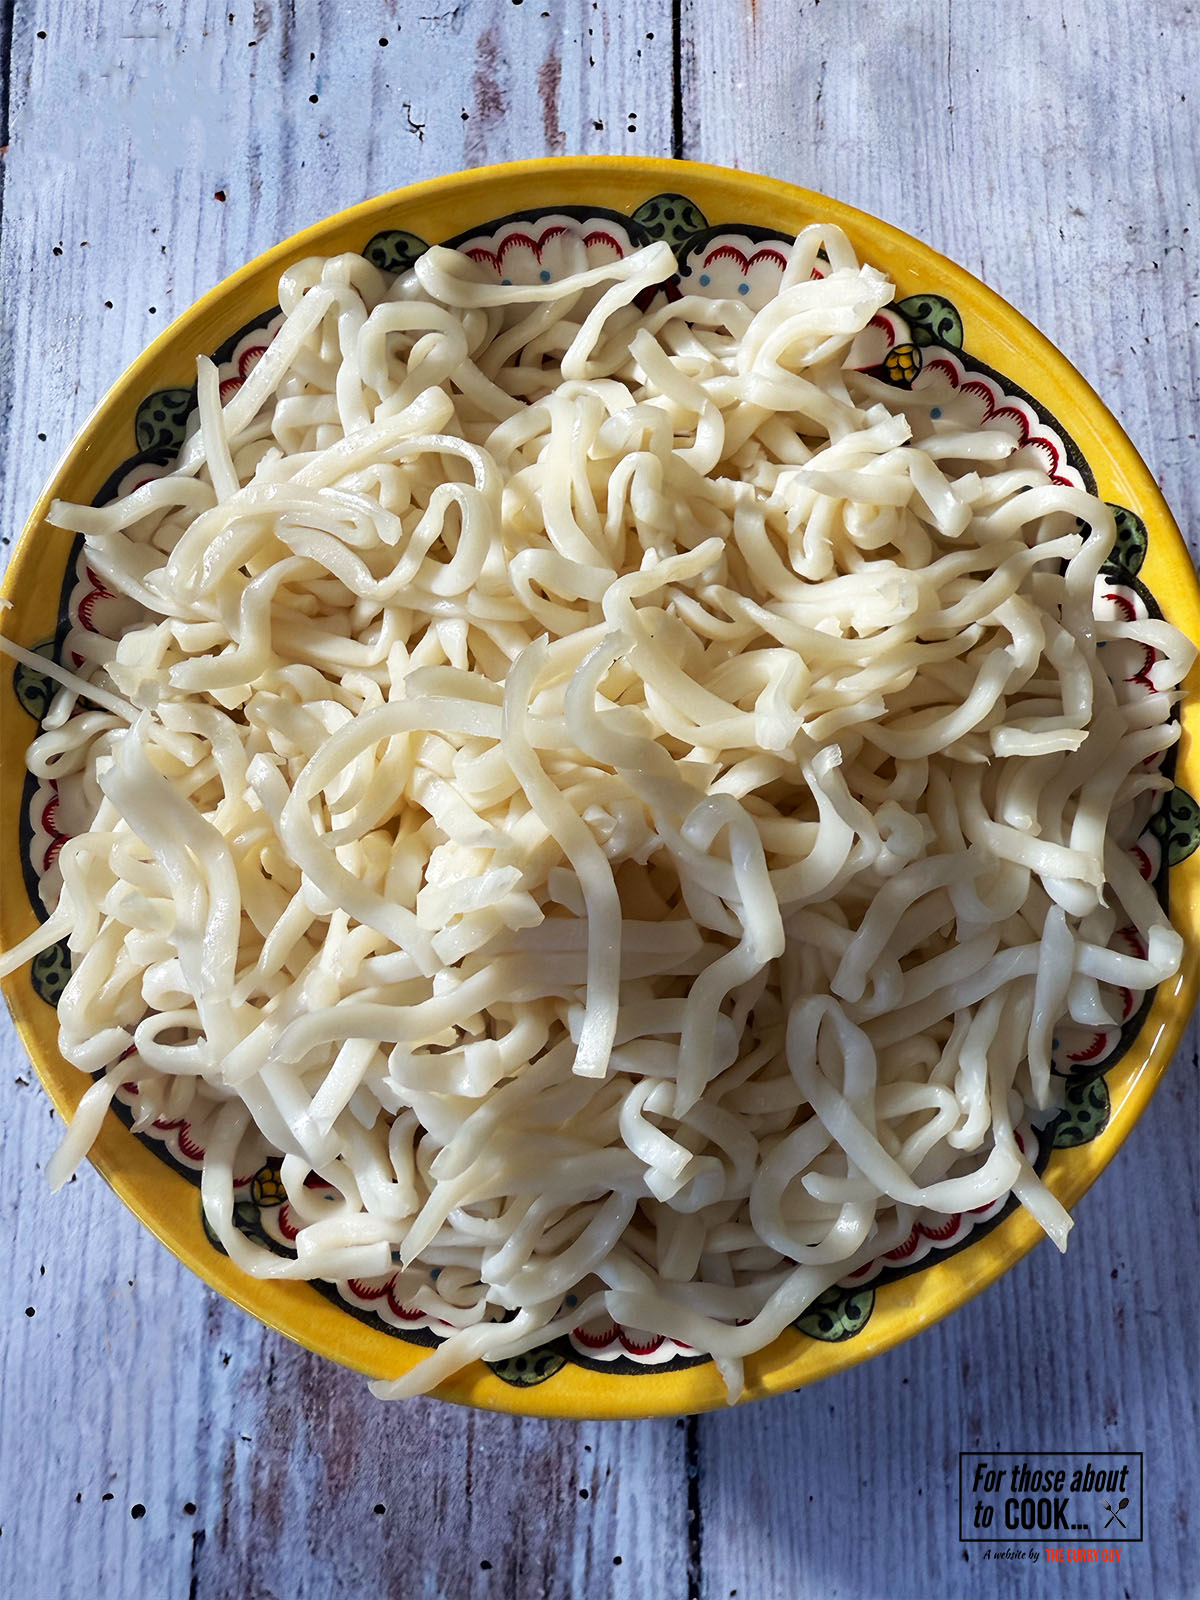
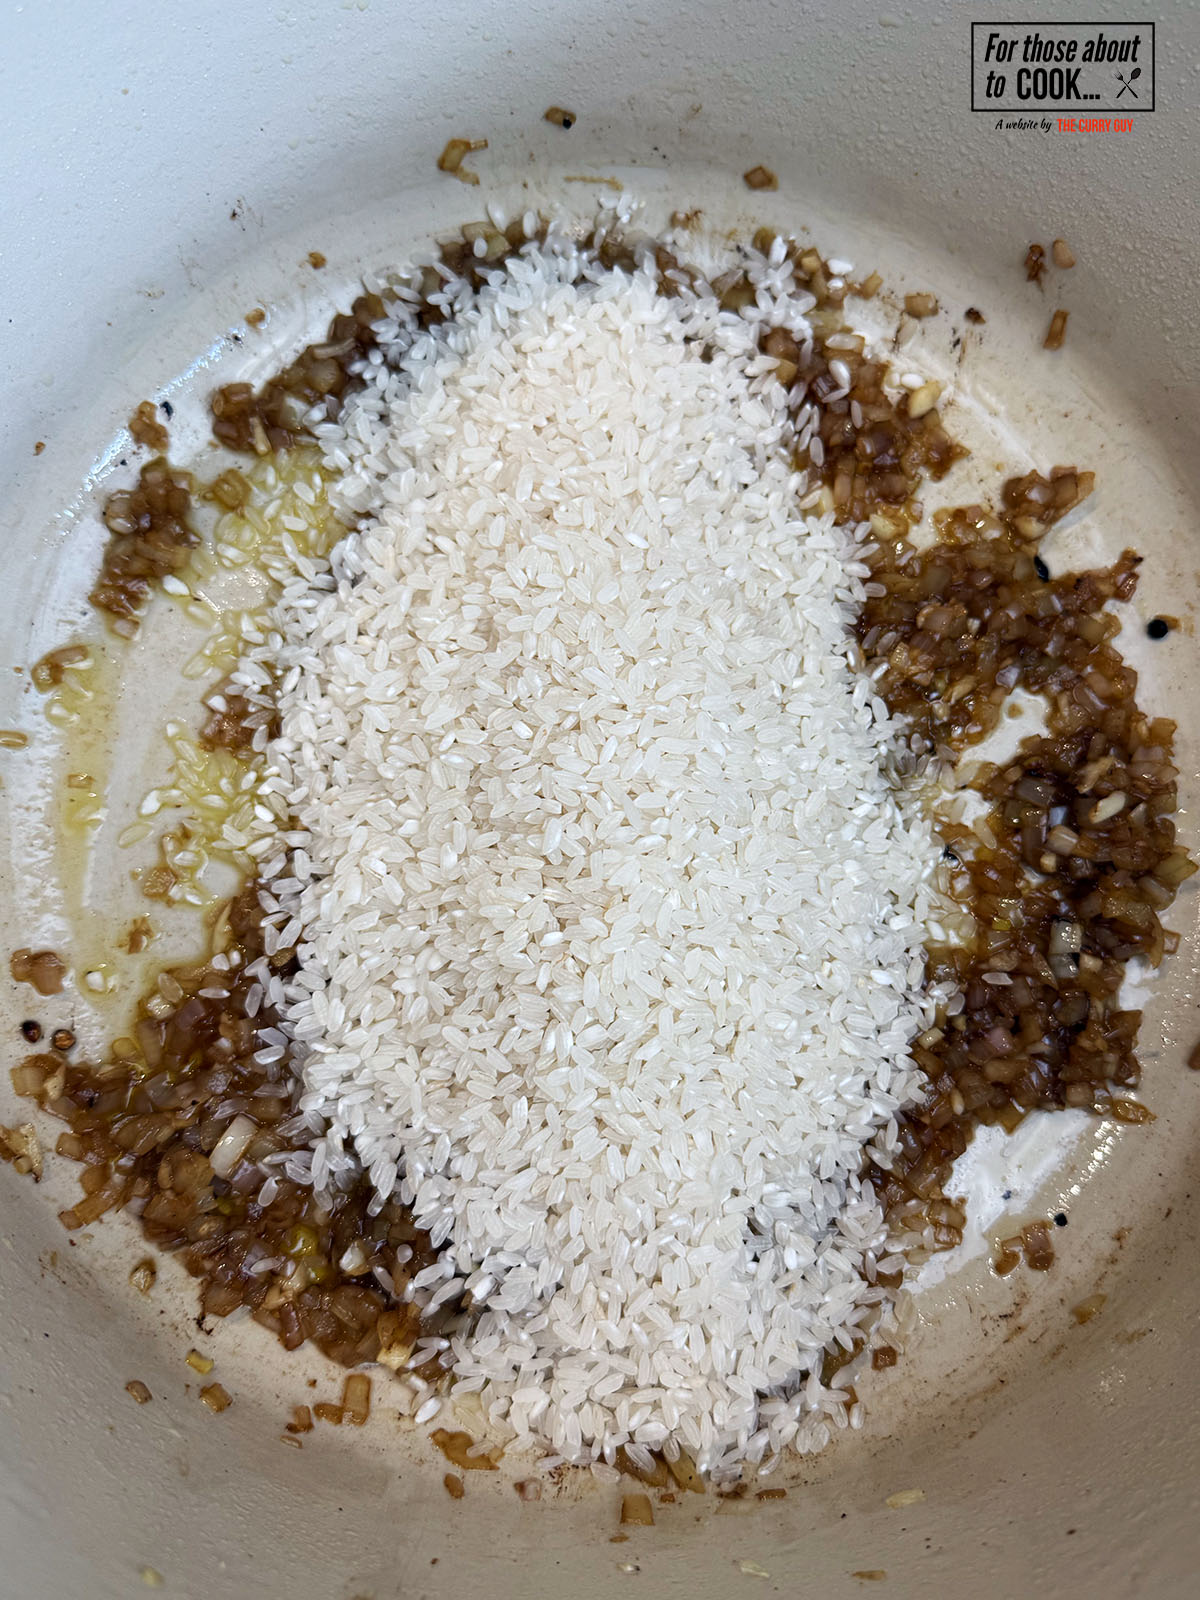
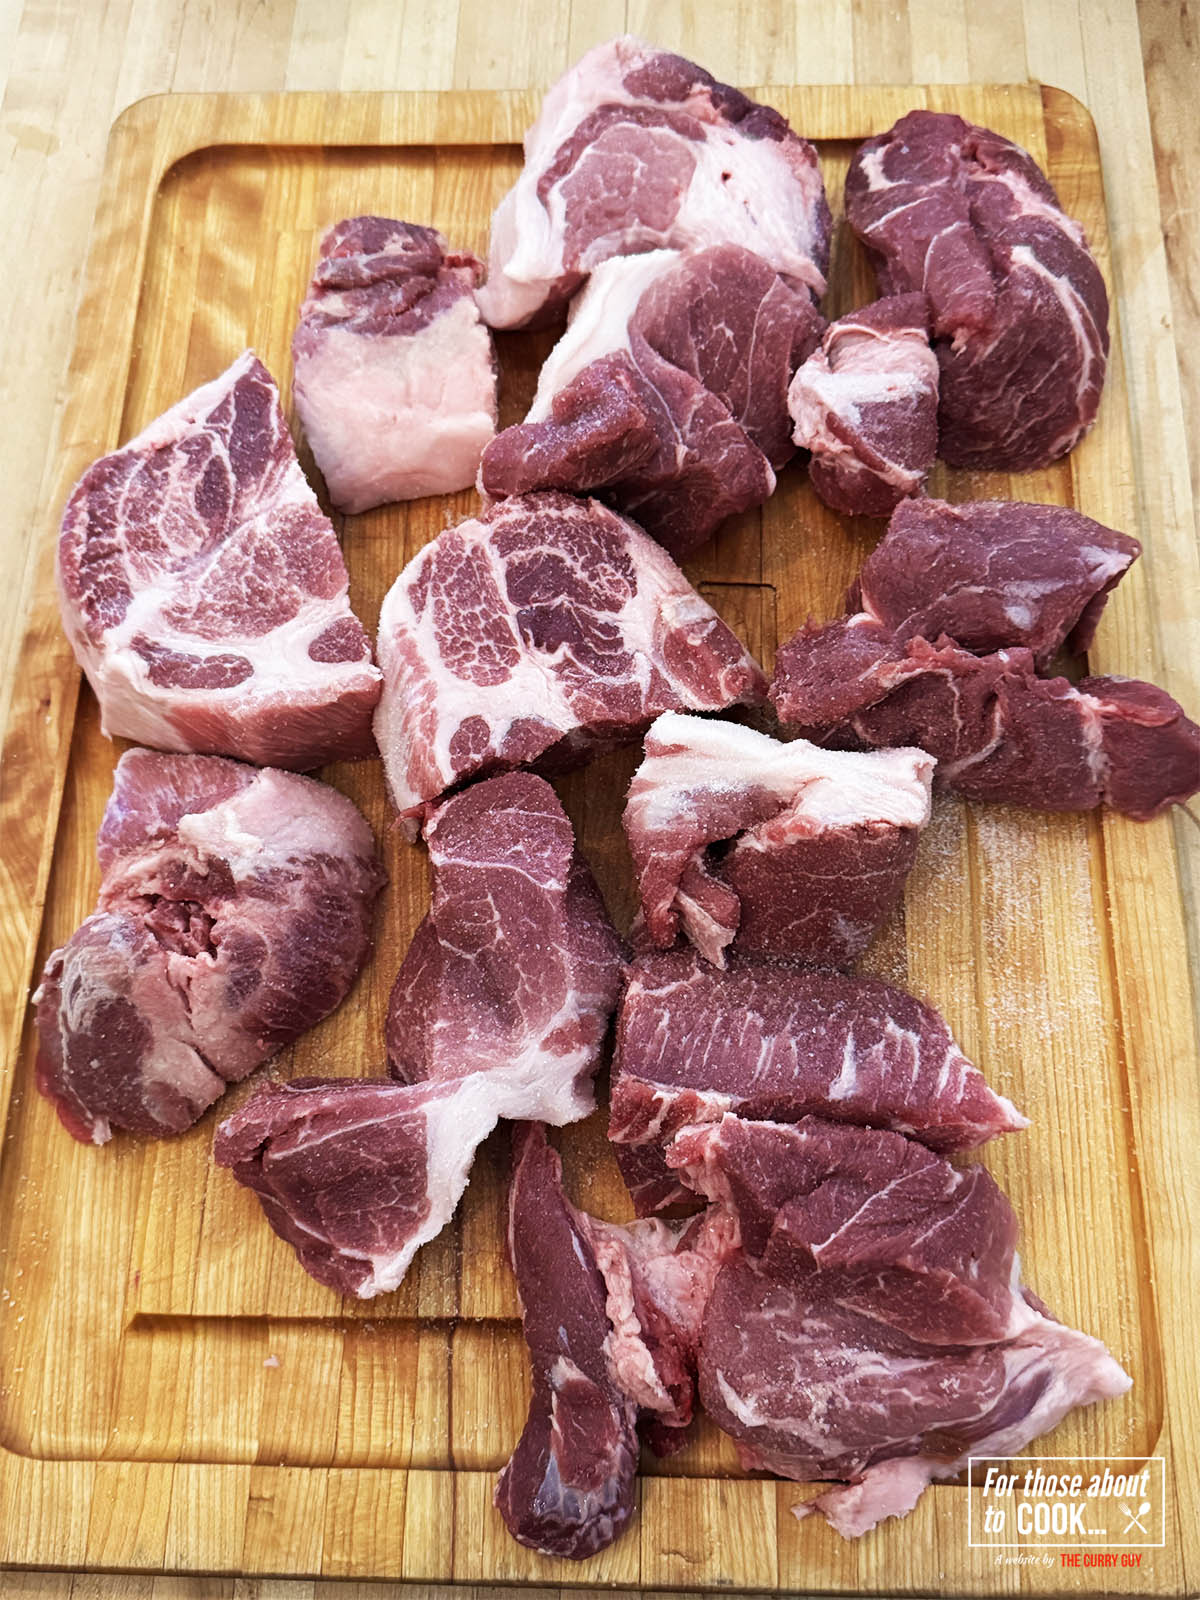
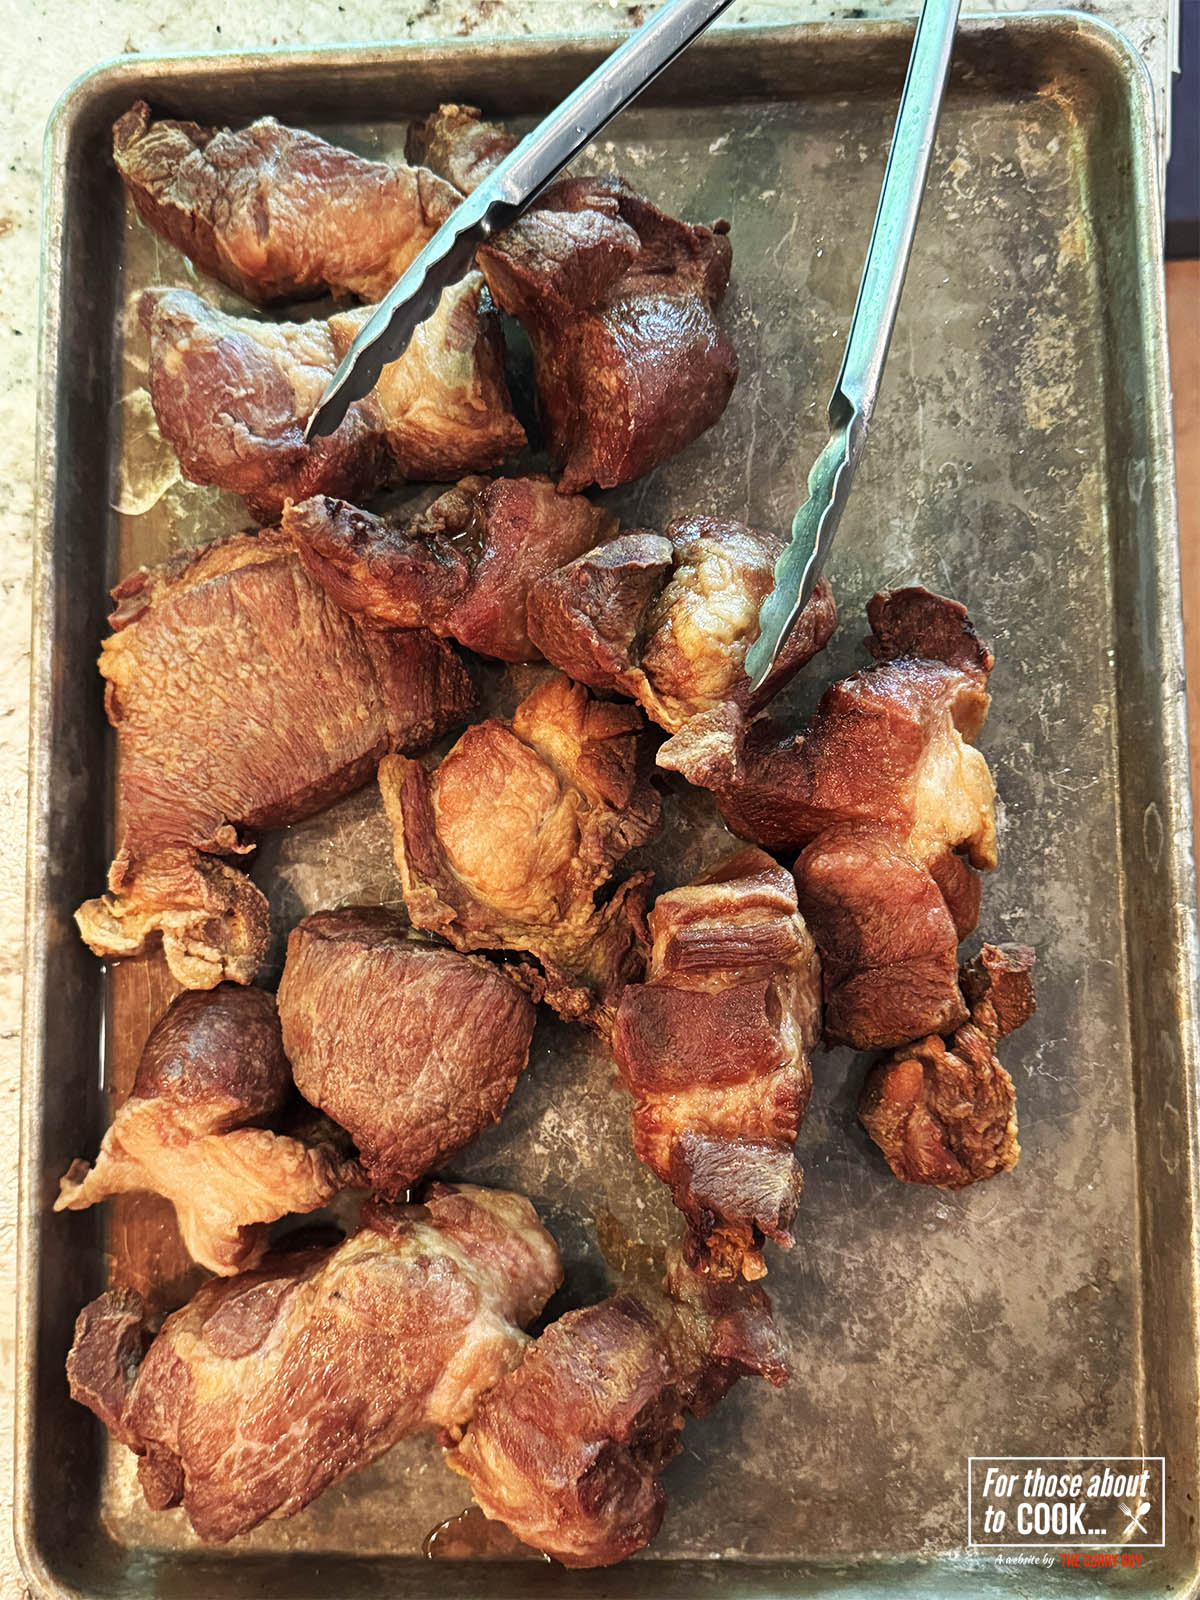
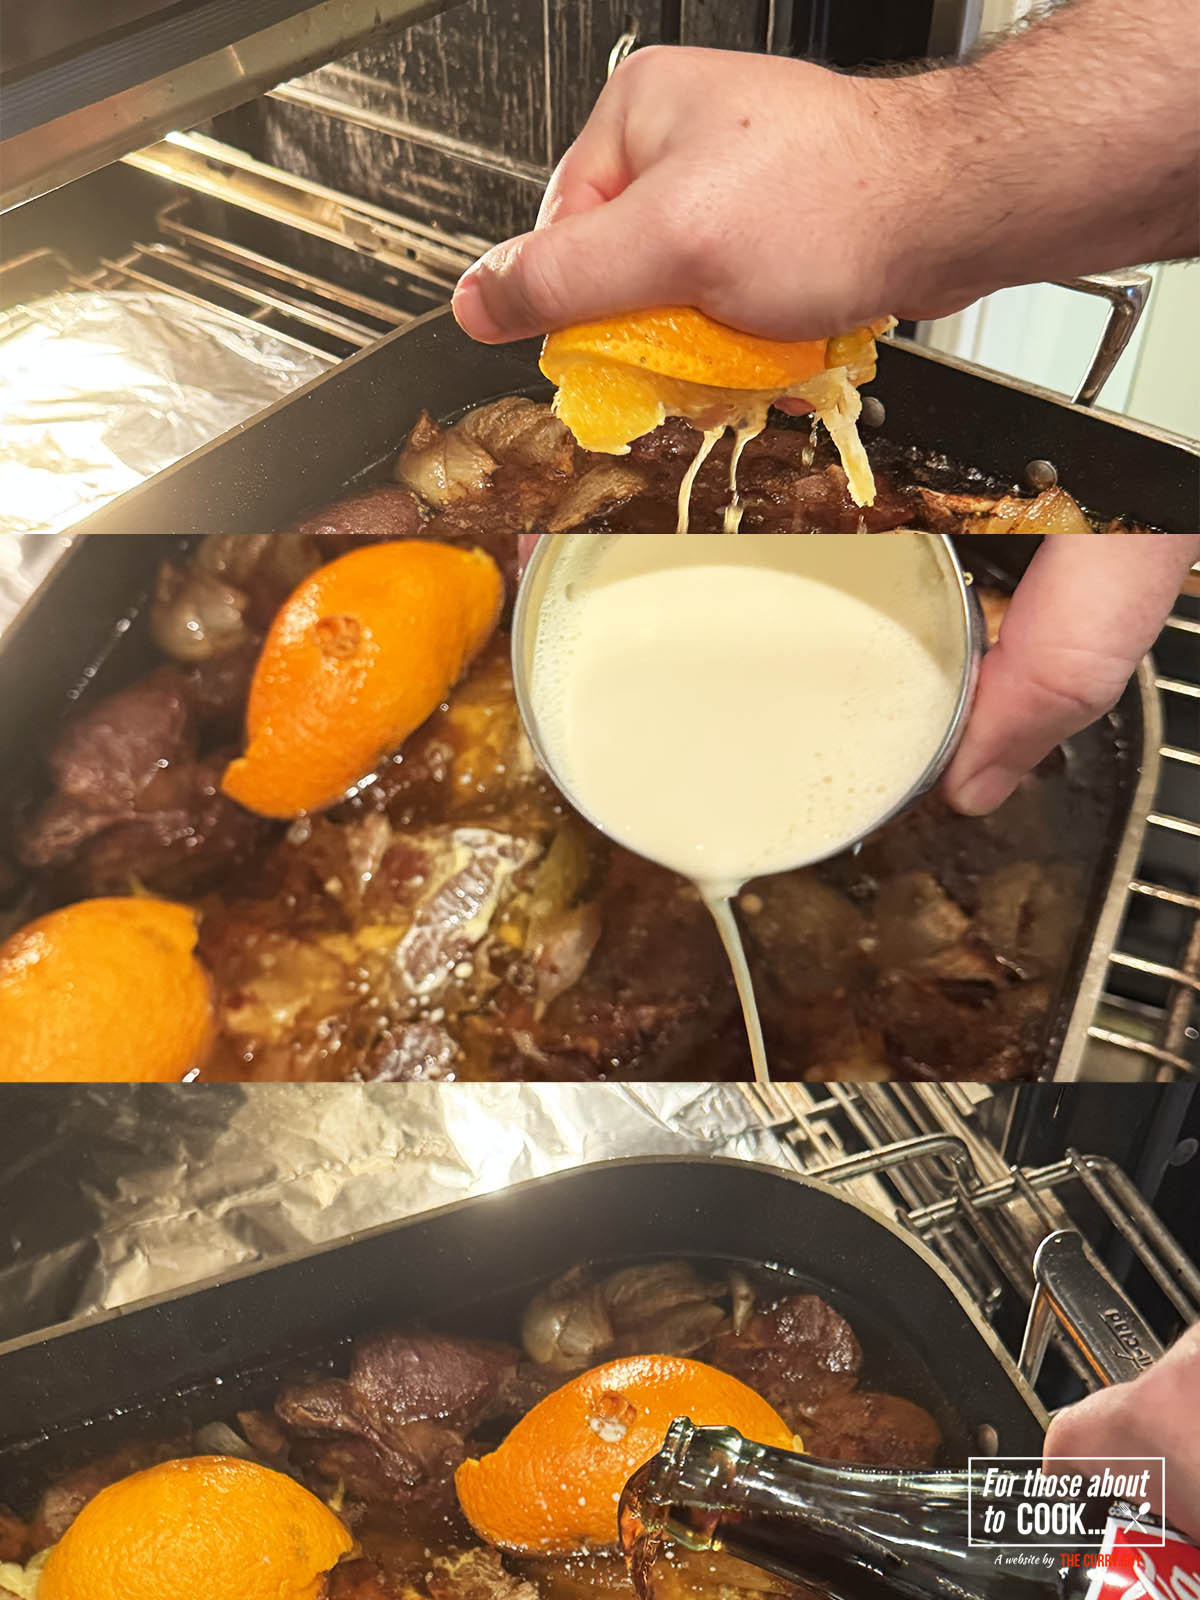
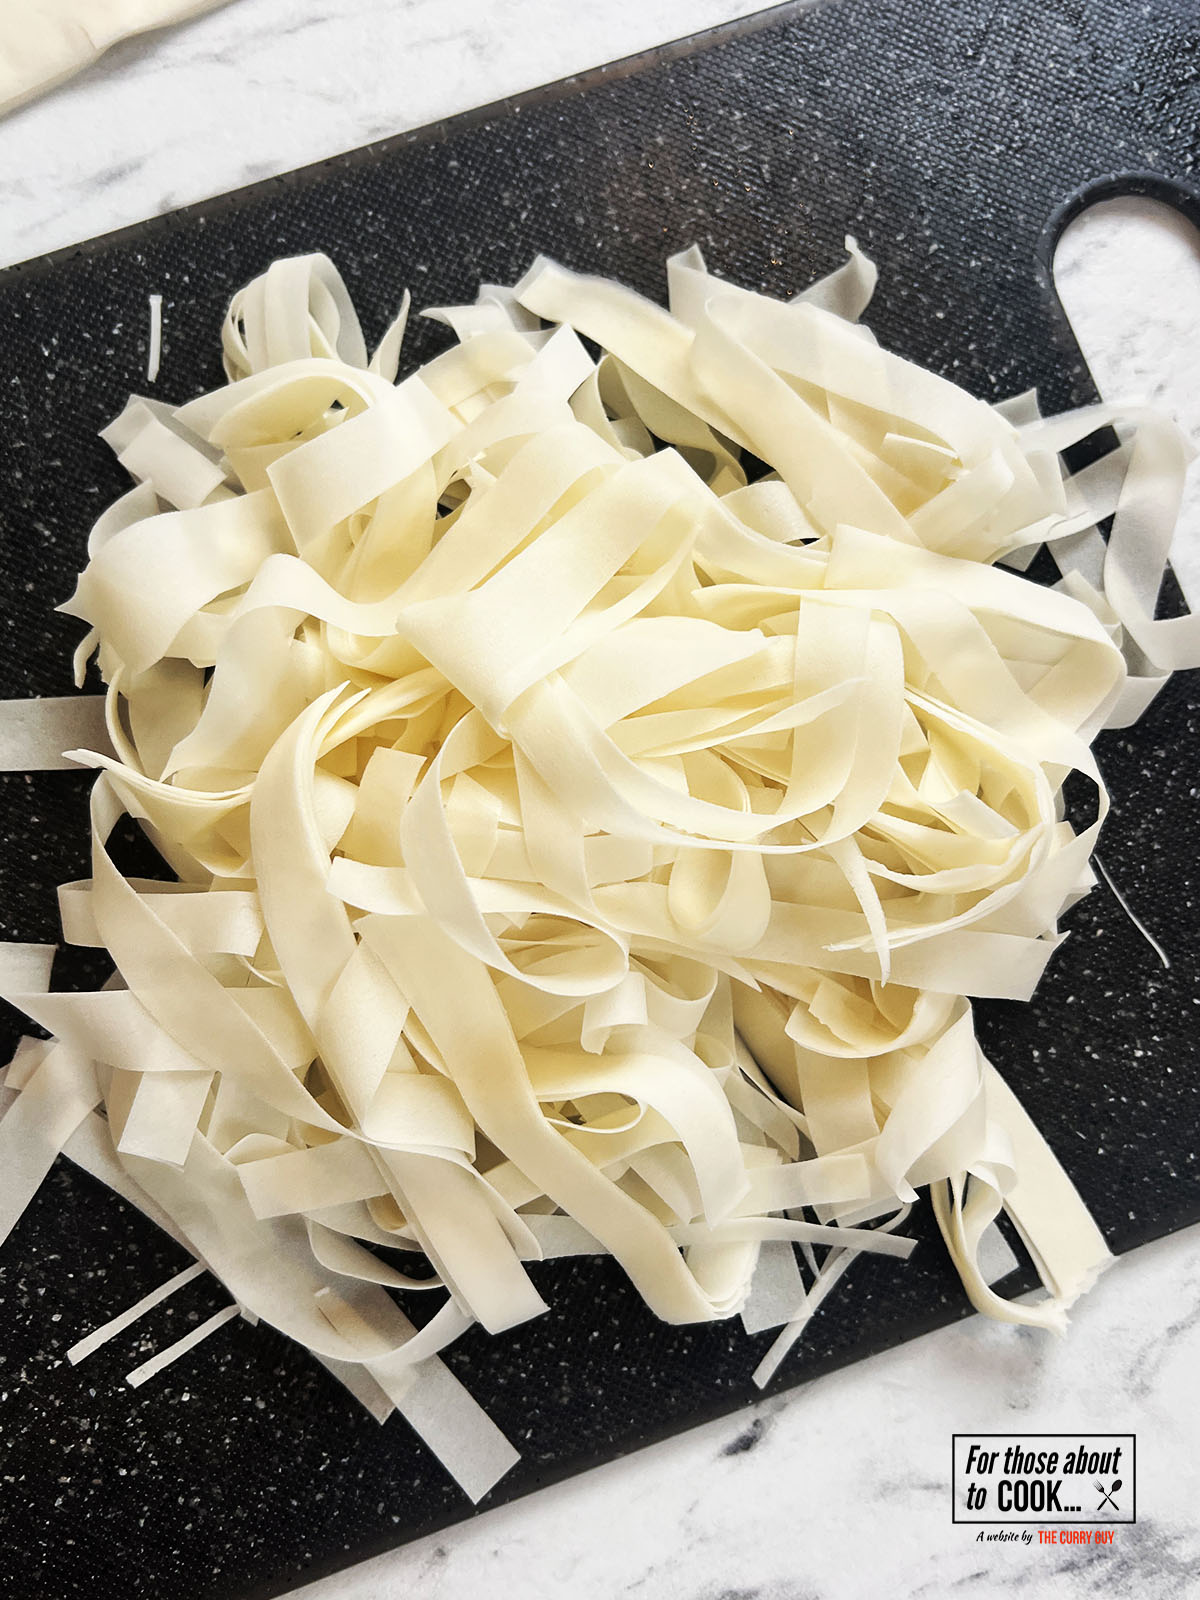
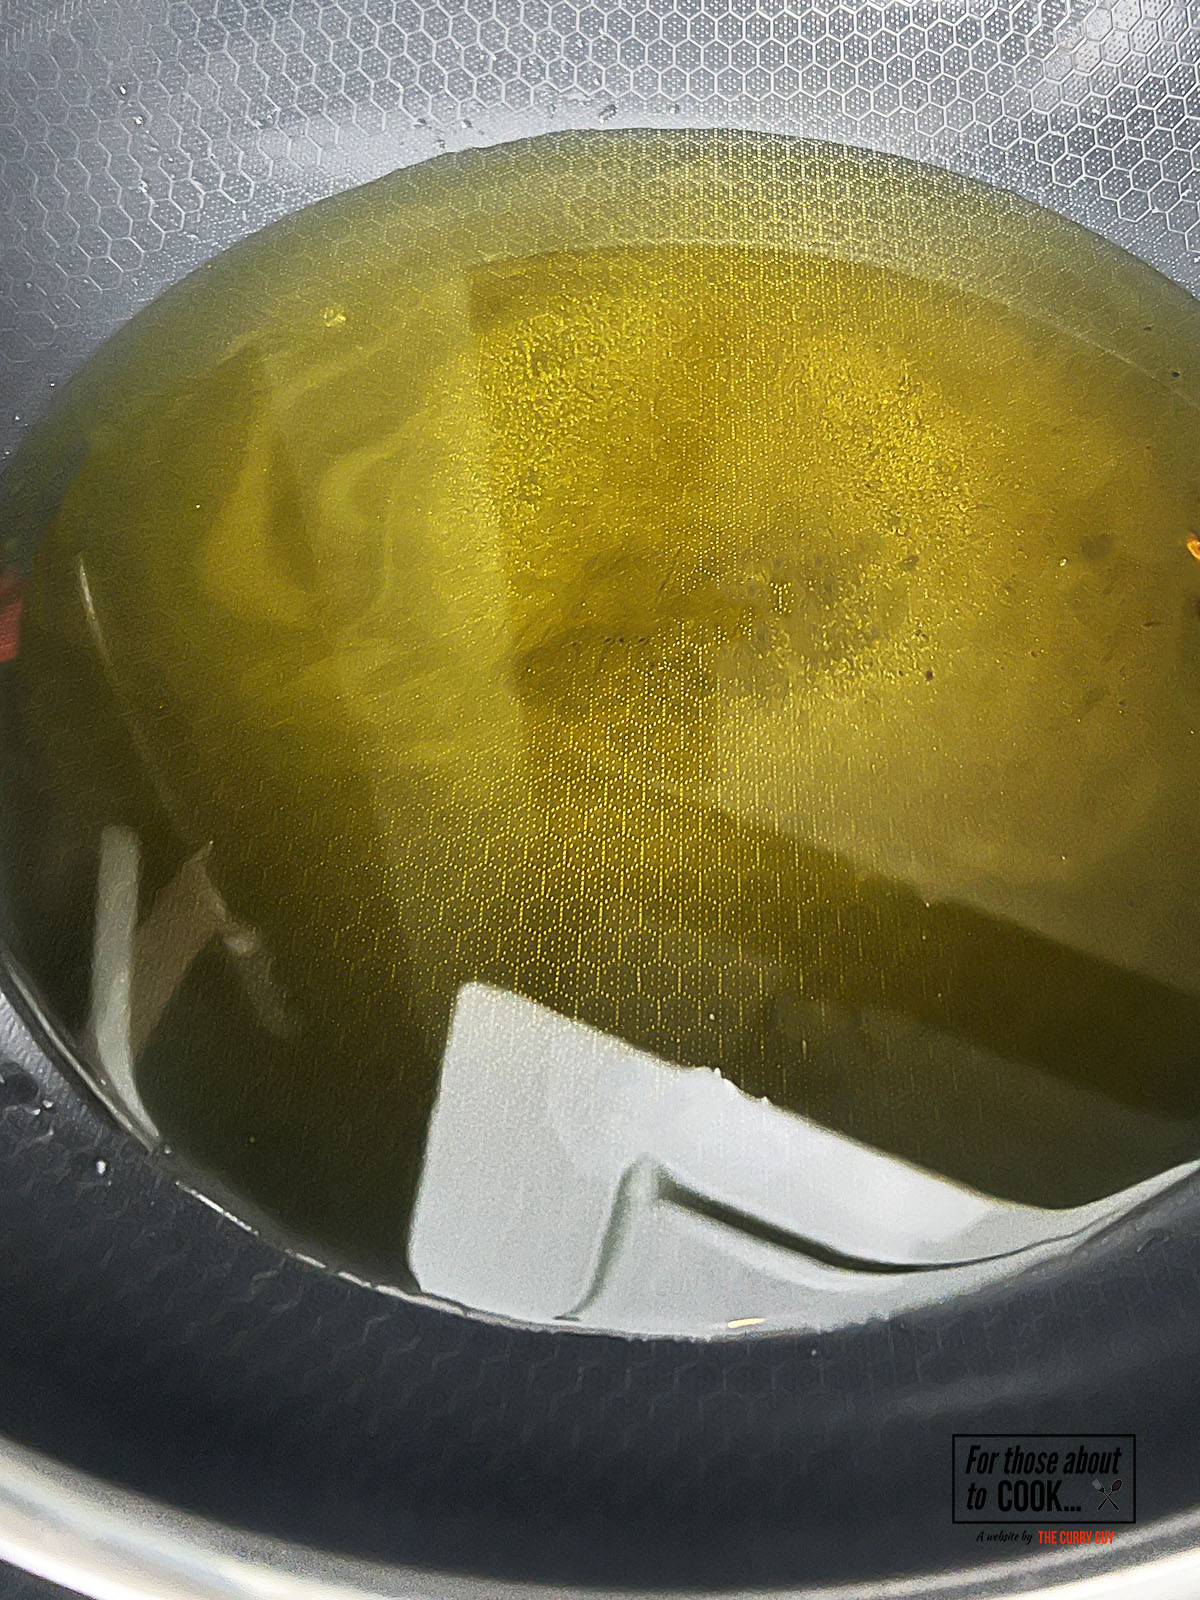
- Step 1: Firstly, cook your noodles to packet instructions. Meanwhile, in a small pan heat your oil on a medium-high heat.

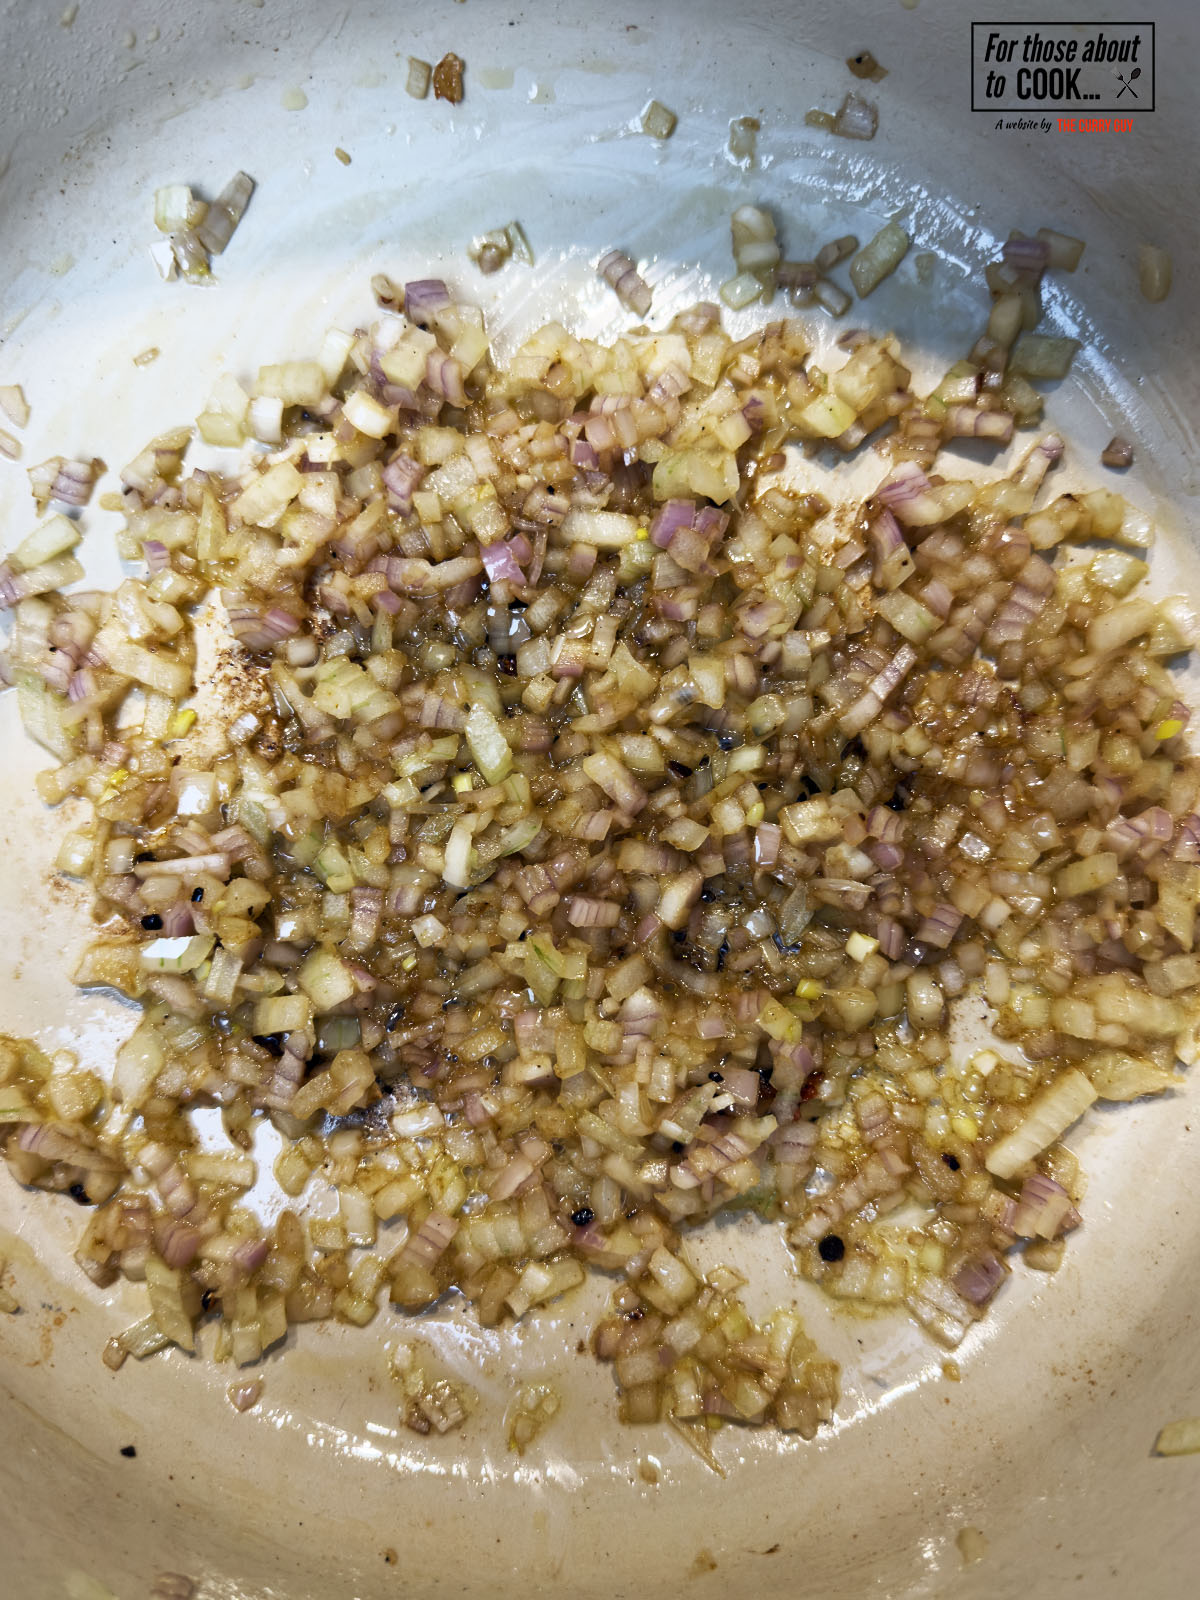
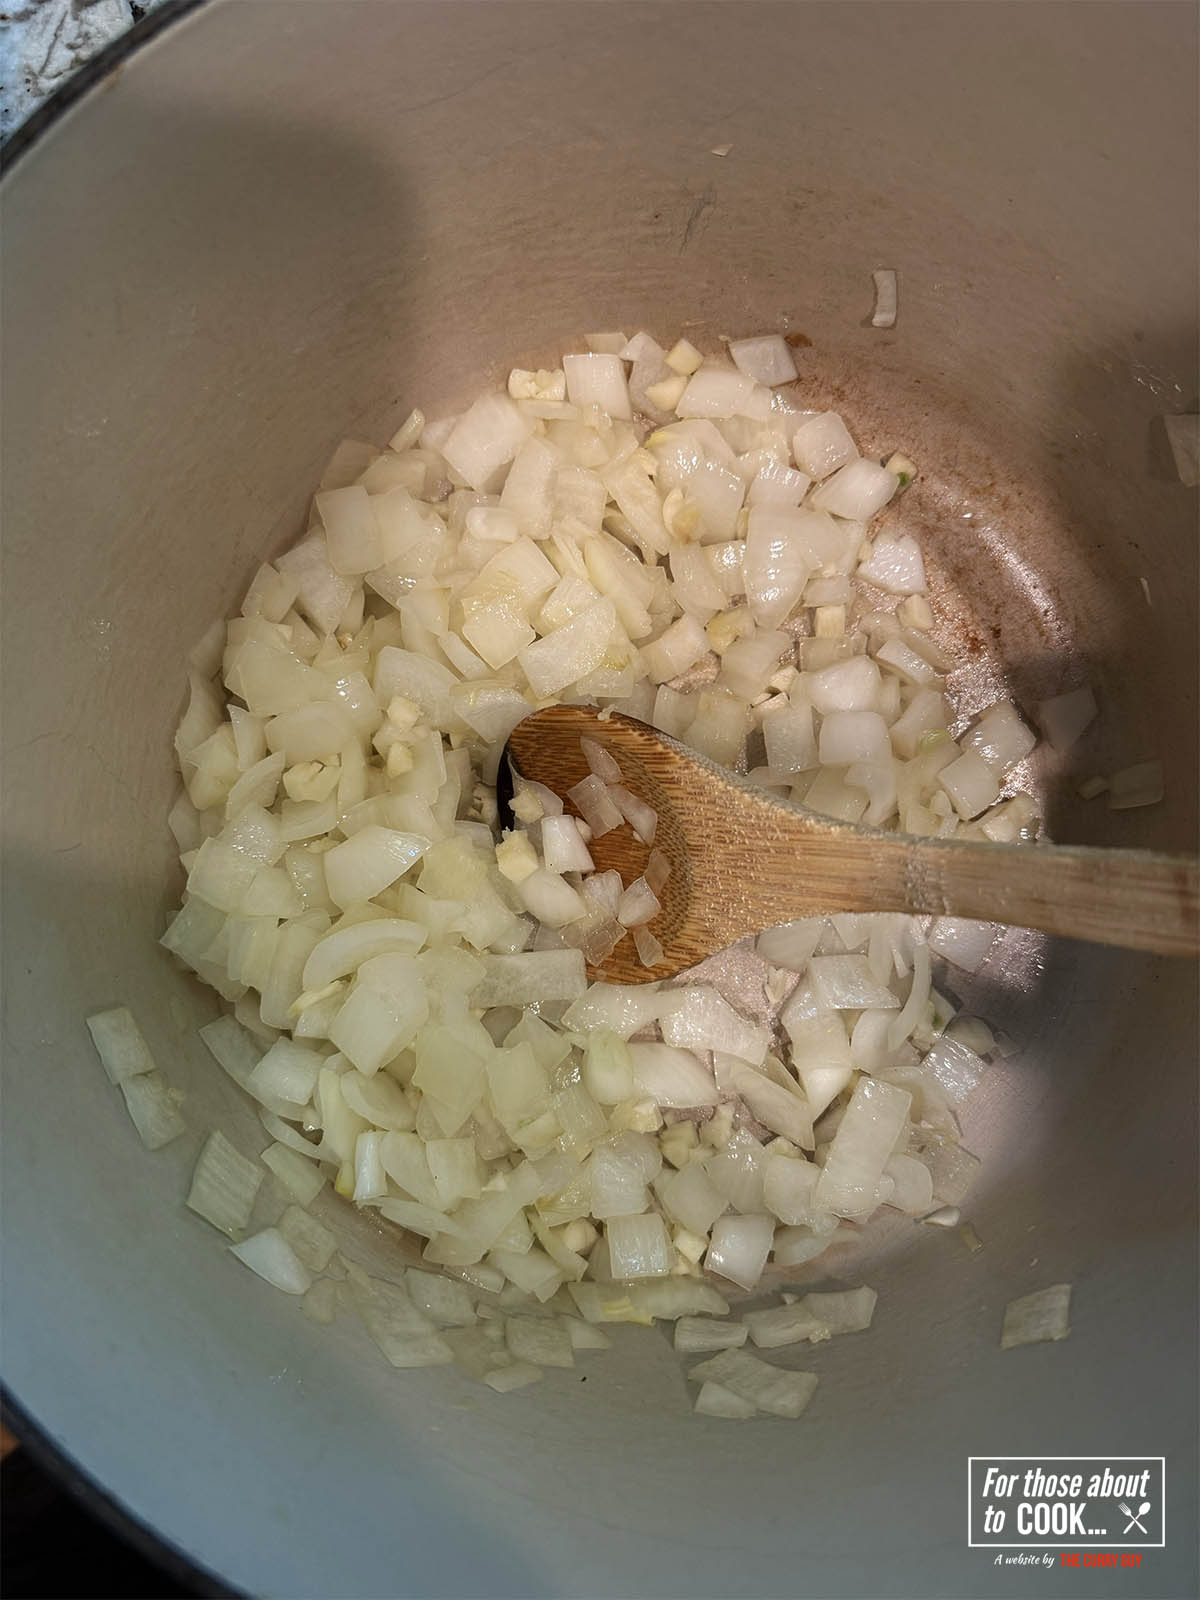
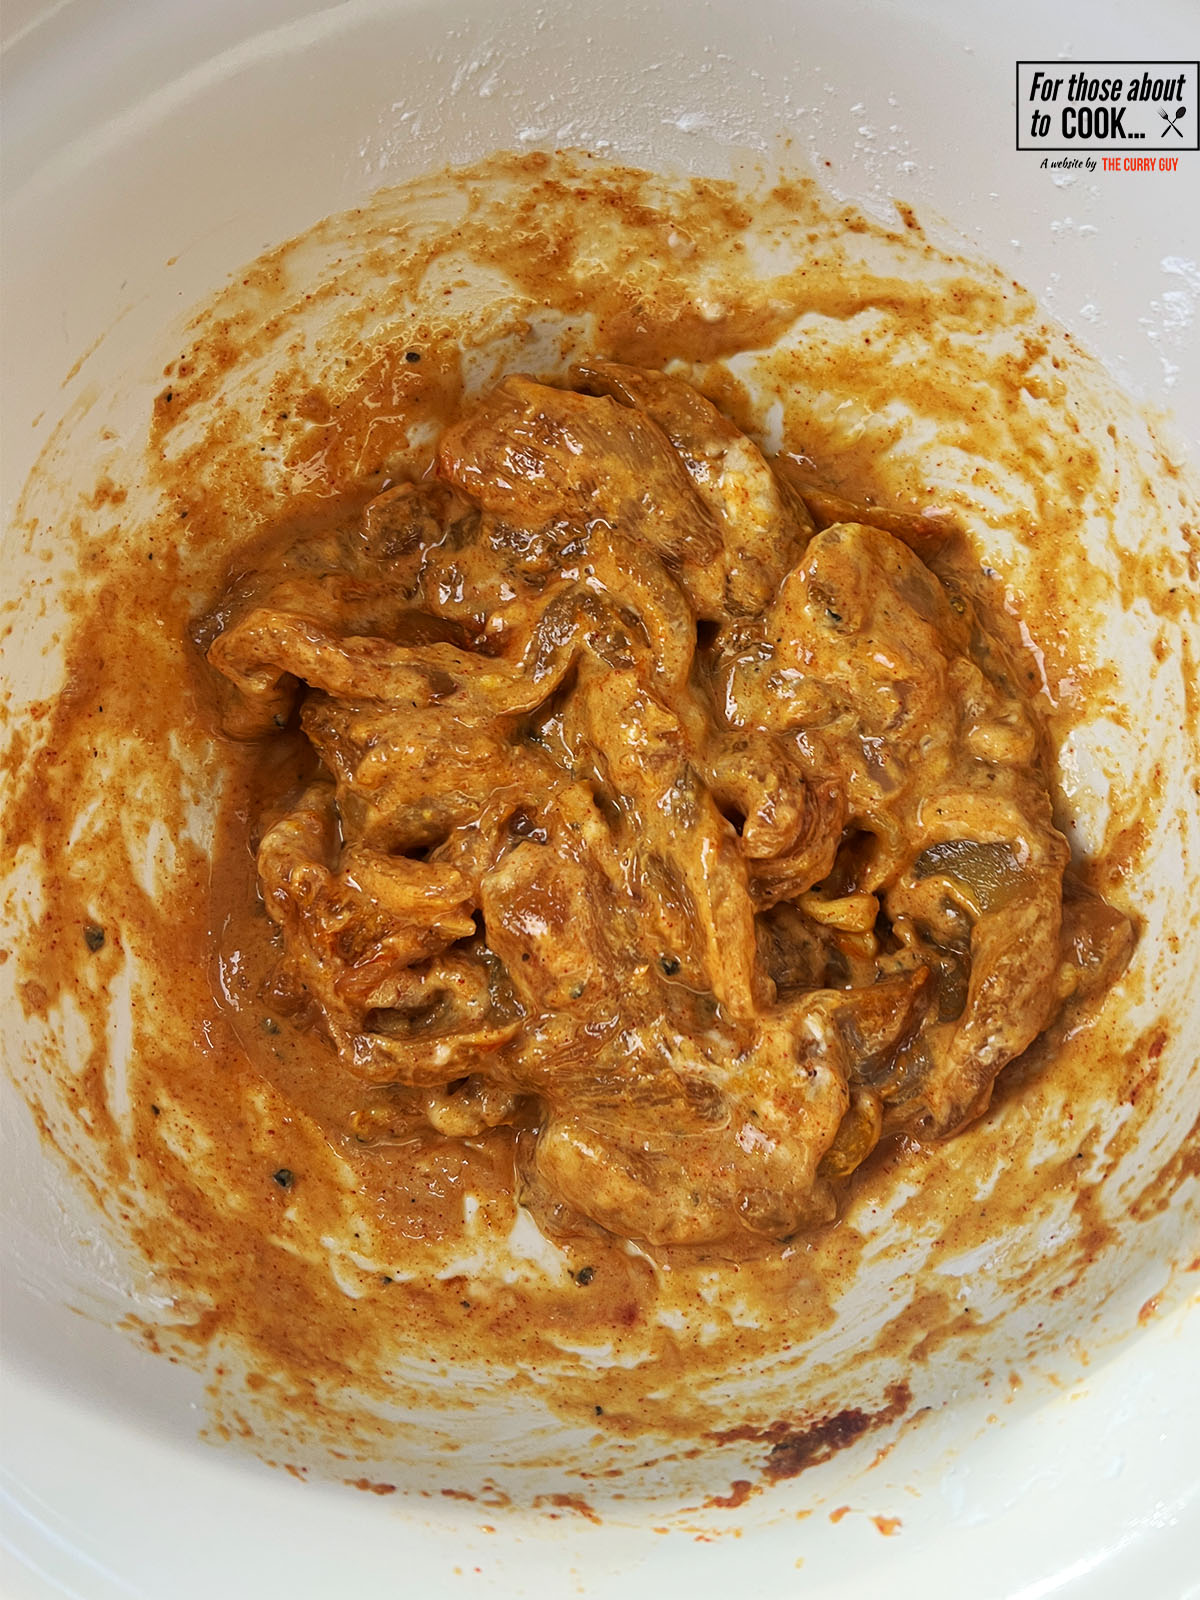
- Step 2: To a pan, add your peanut butter, minced garlic, minced ginger, spring onions, shallots and chili crisp. Pour in your soy sauce and rice wine vinegar.
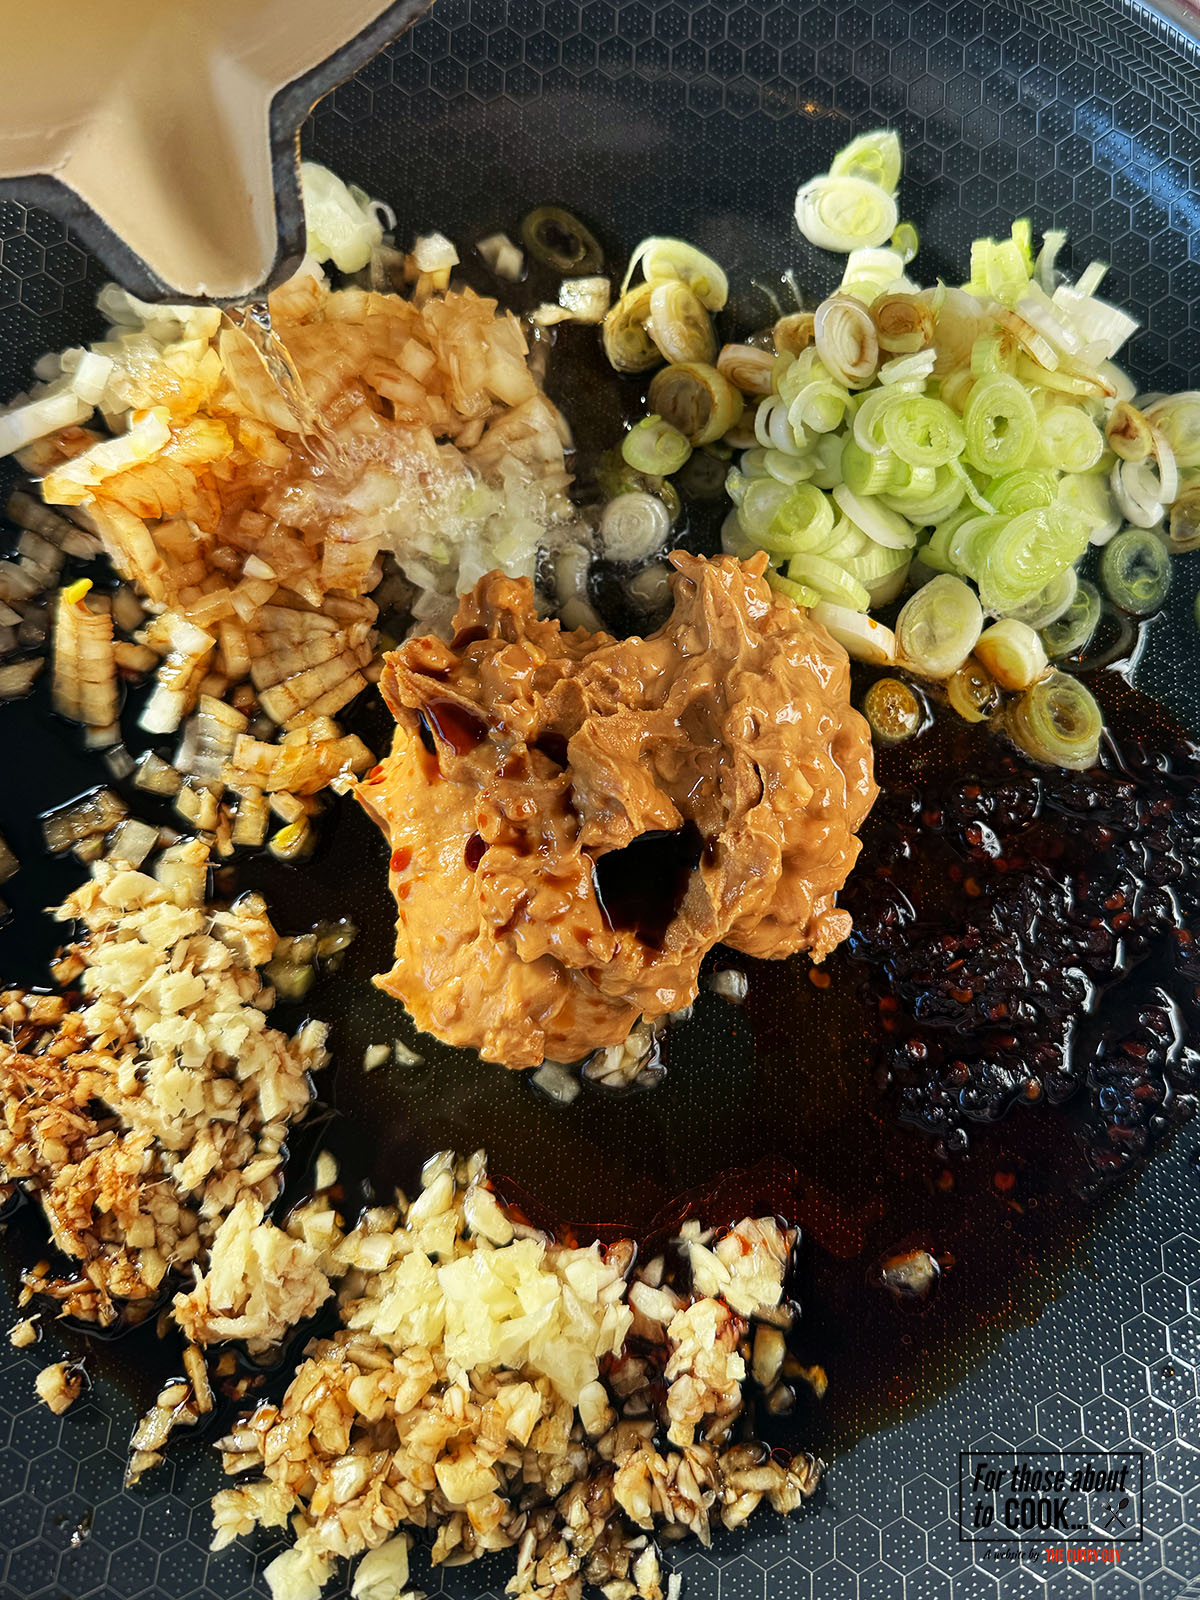
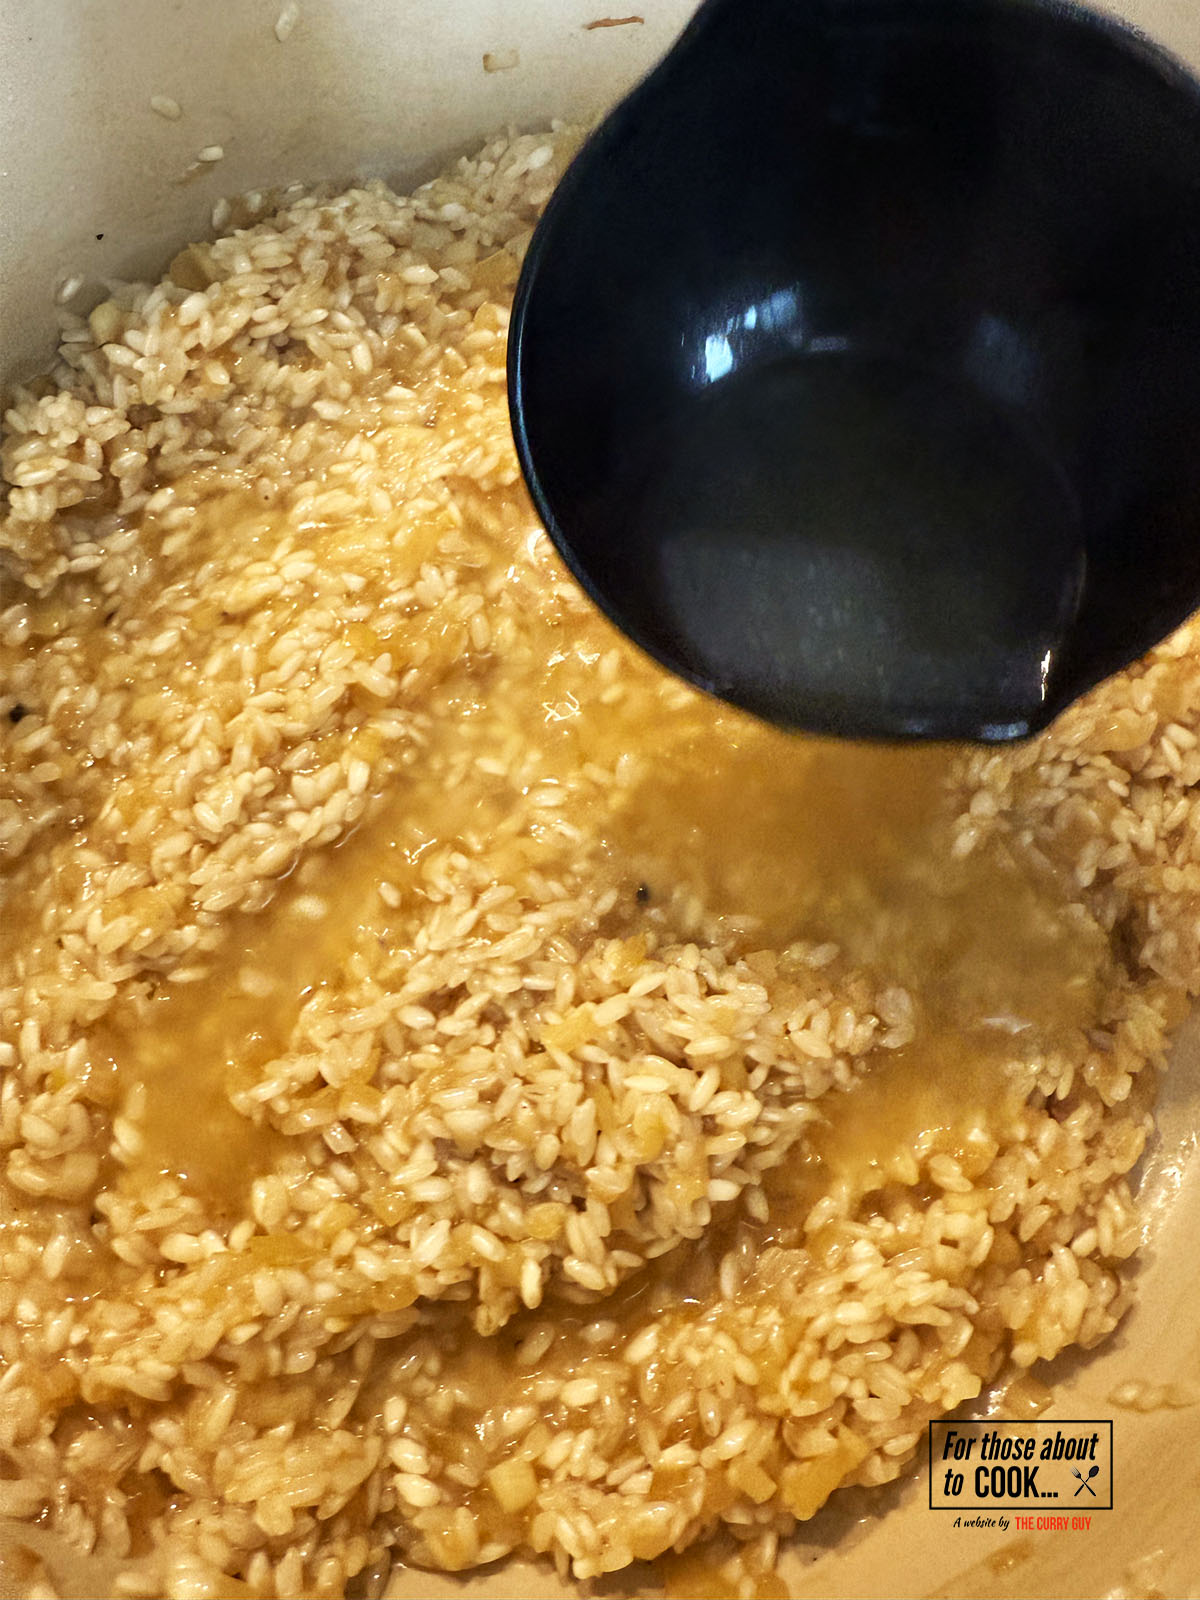
- Step 3: Next, very carefully pour your hot oil over your aromatics and whisk gently to combine until you have a rich, glossy sauce.

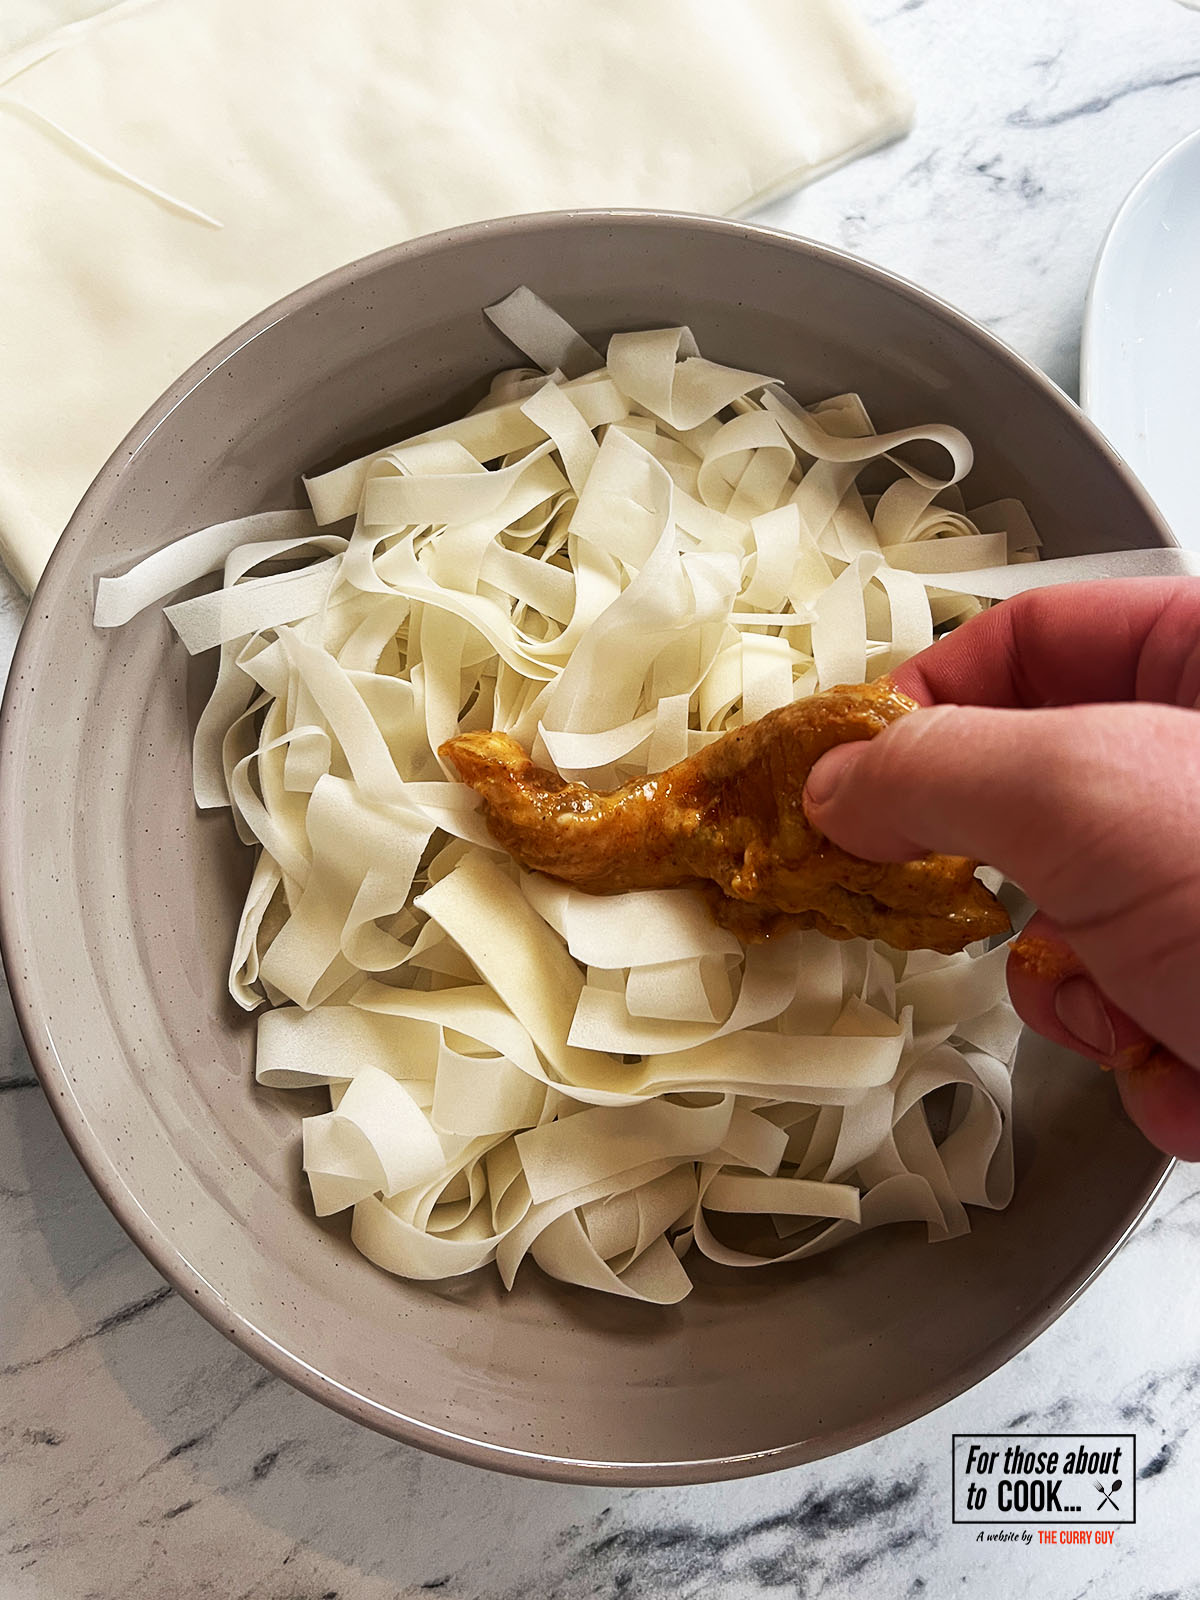
- Step 4: Once your noodles are cooked, drain them and transfer to your sauce filled pan. Mix well with tongs. Finally, top with sesame seeds and sliced spring onion. Dig in!
Hint: Don't throw away the noodle cooking water. A few tablespoons stirred into the sauce will help the peanut butter emulsify with the other ingredients, creating a silky, glossy coating that clings perfectly to the noodles. Add it gradually until you reach your preferred consistency.
Substitutions
This Peanut Butter Noodles recipe is incredibly flexible and easy to adapt based on what you have in your cupboards:
- Crunchy peanut butter: Smooth peanut butter works just as well. You can also use almond butter, cashew butter or tahini for a different flavor.
- Fresh garlic: Replace with 1 tablespoon of garlic paste.
- Fresh ginger: Replace with 1 tablespoon of ginger paste.
- Shallot: Swap for half a small white onion, finely diced.
- Chilli crisp: Use chilli oil, crispy chilli flakes or your favourite Asian style hot sauce. Adjust the amount to suit your spice preference.
Variations
These Peanut Butter Noodles are endlessly adaptable, making them perfect for using up whatever you have in the fridge:
- Chicken Peanut Noodles – Stir through shredded rotisserie chicken or sliced chicken breast for a satisfying protein boost.
- Crispy Tofu Peanut Noodles – Add golden, crispy tofu cubes for a delicious vegan version.
- Vegetable Peanut Noodles – Toss through shredded carrots, cucumber, peppers, edamame beans or pak choi for extra crunch and freshness.
- Spicy Peanut Noodles – Double the chilli crisp or add fresh chillies for an extra fiery kick.
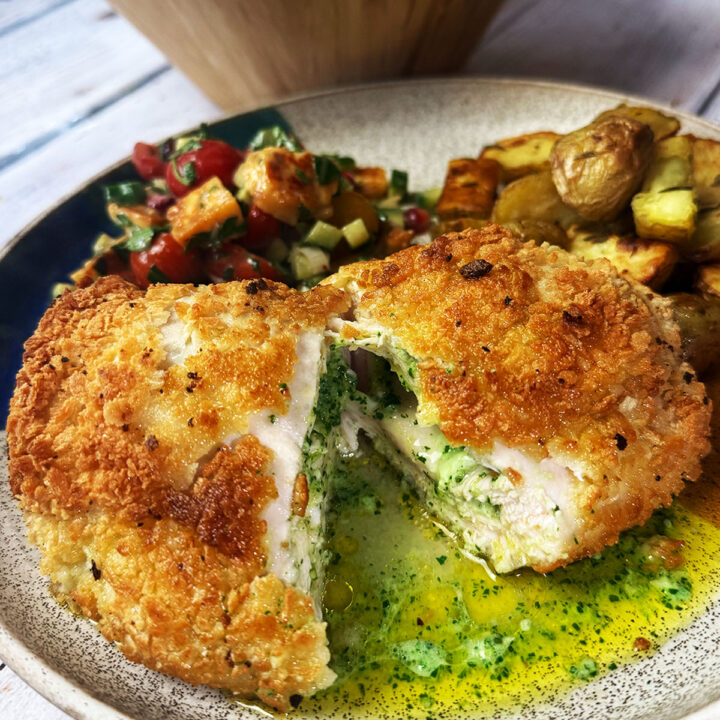
Loving the Asian flavors? Why not try this Coconut and Lime Crispy Chicken recipe?
Serving Size (Serves 4)
This recipe is written to serve 4. Most of the time, we cook for 2 and enjoy the leftovers the next day - it makes the effort of cooking something fresh and delicious even more worthwhile. If you’re feeding 5 or 6, you can easily double the recipe, or sometimes it’s as simple as adding an extra piece of protein and adjusting the sides. Make it yours, enjoy the process, and don’t stress about being exact.
Note: Nutritional information provided in the recipe card below is a rough guide only. Values can vary depending on the exact ingredients and quantities you use.
Storage
Fridge: Allow your dish to cool completely, then store in an airtight container for up to 3 days. Flavours often develop even more after a night in the fridge.
Freezer: Portion and freeze for up to 3 months. Defrost overnight in the fridge, then reheat gently on the hob or in the oven until piping hot.
Top Tip
Make sure the oil is properly hot before pouring it over the garlic, ginger, shallot and spring onions. You should hear an immediate sizzle as the hot oil hits the aromatics, releasing their flavours and creating the base of the sauce. Just be careful not to let the oil smoke, as this can introduce a bitter taste. Once the peanut butter is stirred in, reserve a splash of noodle cooking water to loosen the sauce and help it coat every strand perfectly.
FAQ
Yes. The sauce can be prepared up to 3 days in advance and stored in the fridge. When ready to eat, simply cook the noodles and toss everything together.
That depends on the chilli crisp you use. For a milder version, reduce the amount or use a mild chilli oil. For extra heat, add more chilli crisp or fresh chillies.
Absolutely. As written, the sauce is naturally vegan as long as you use vegan-friendly noodles.
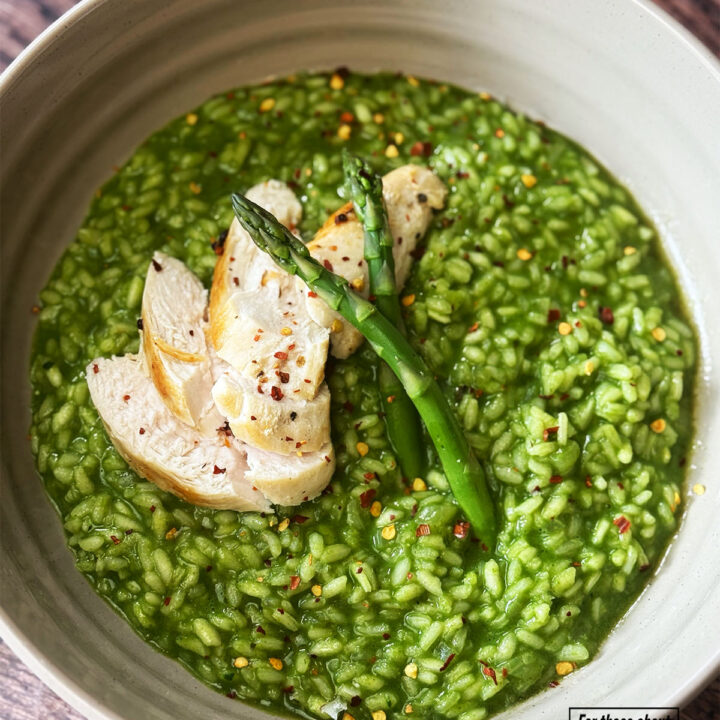
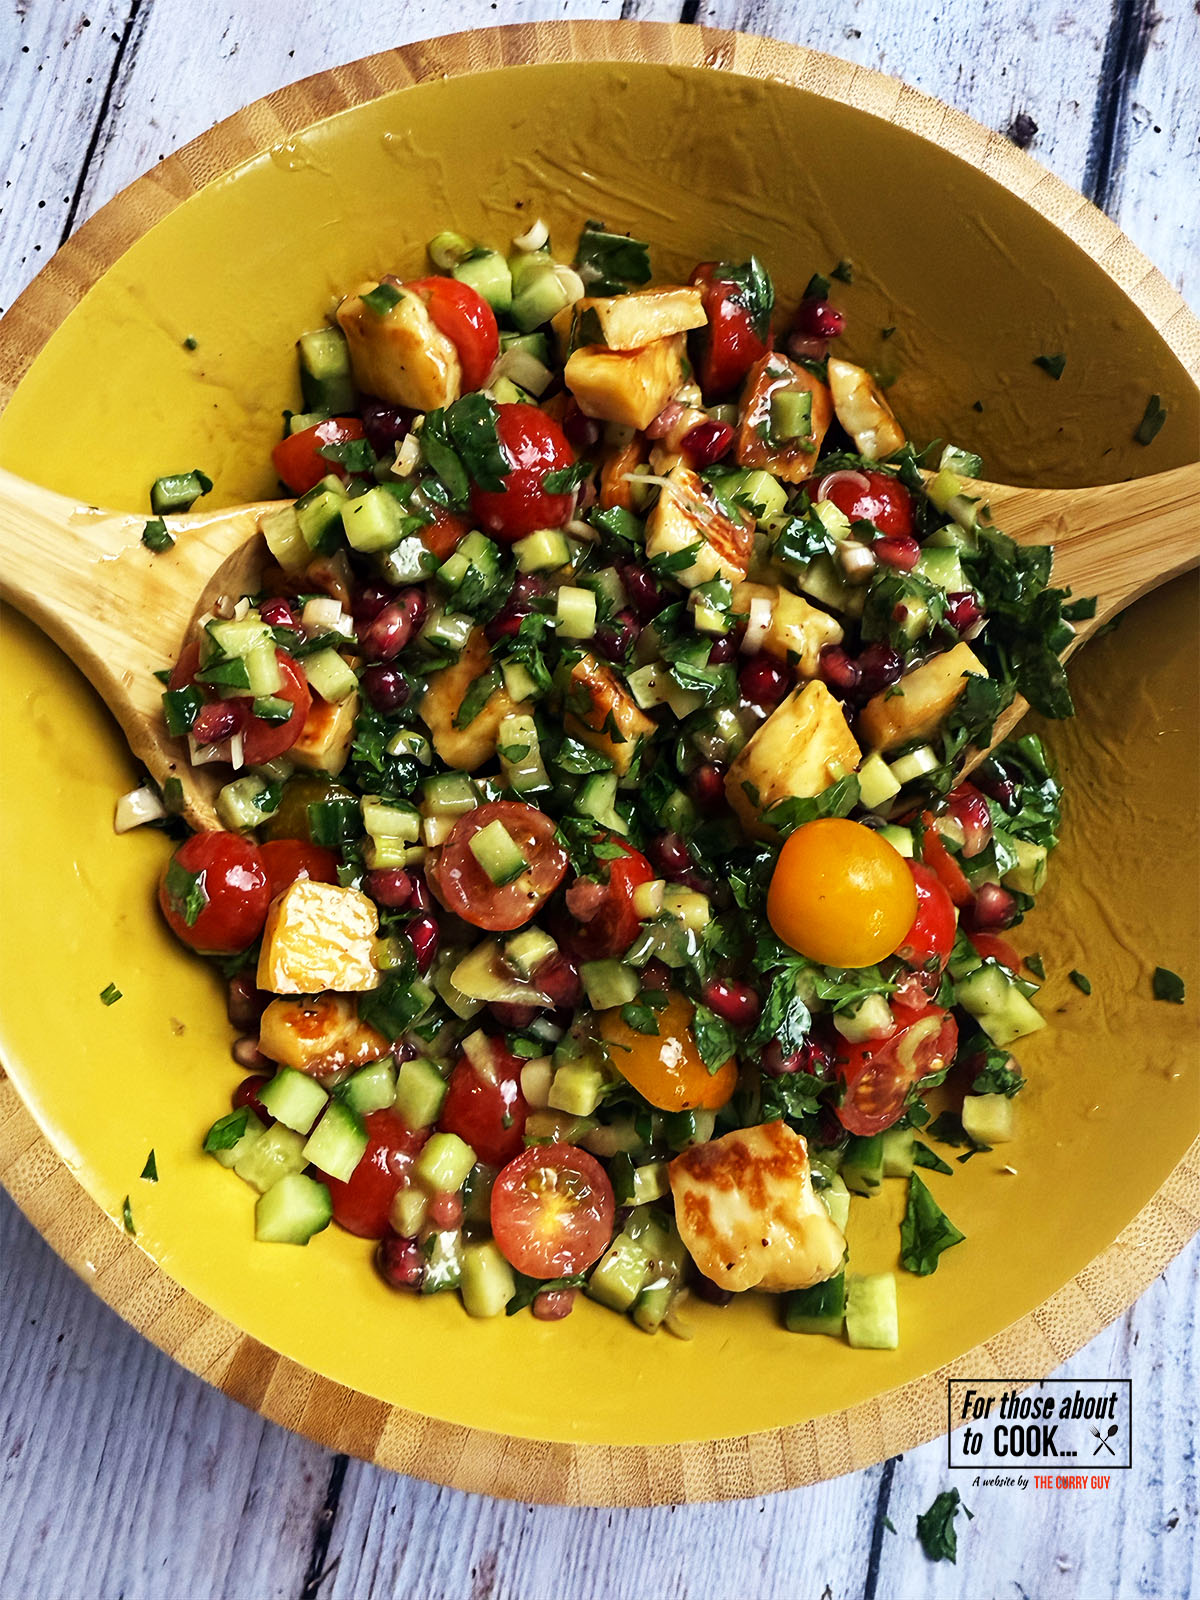
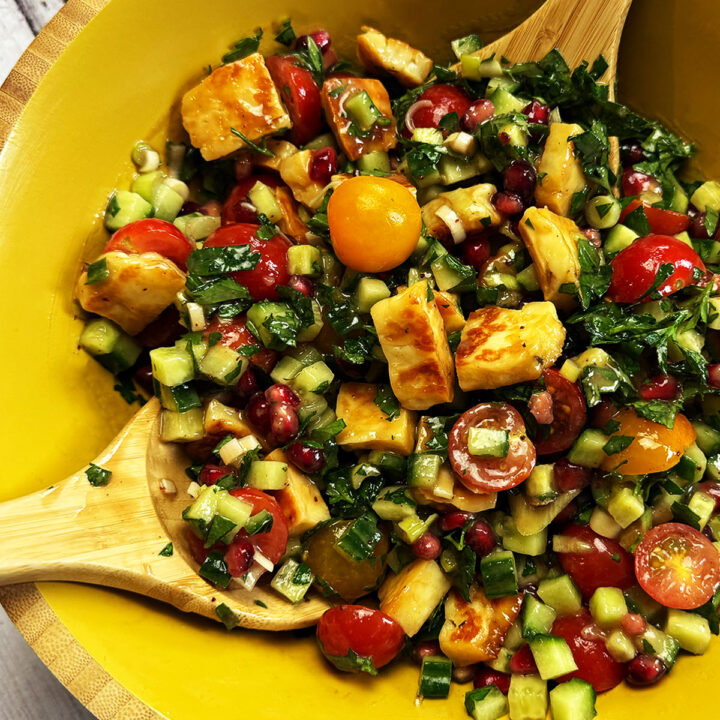
Related
Looking for other recipes like this? Try these:
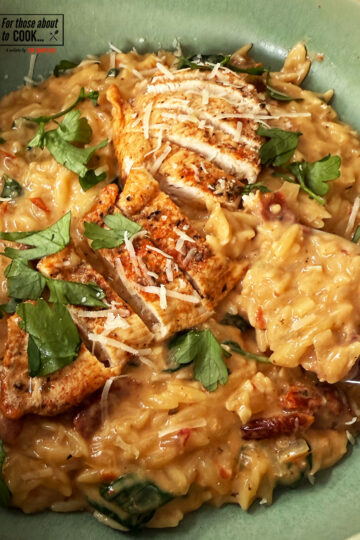
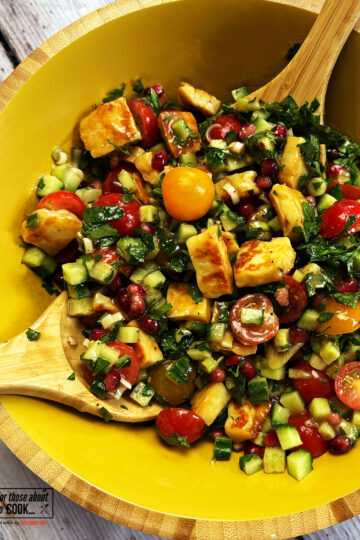
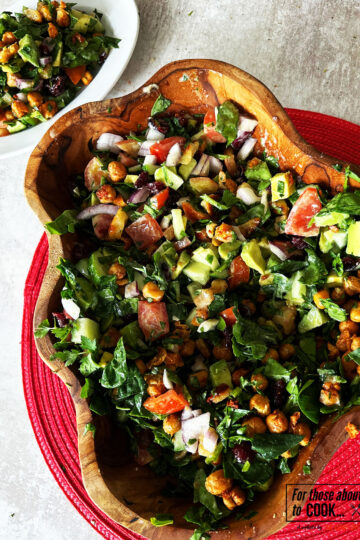
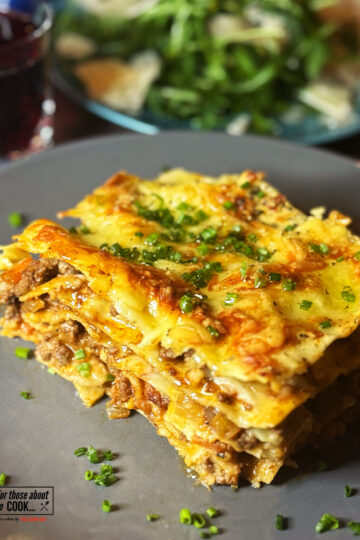
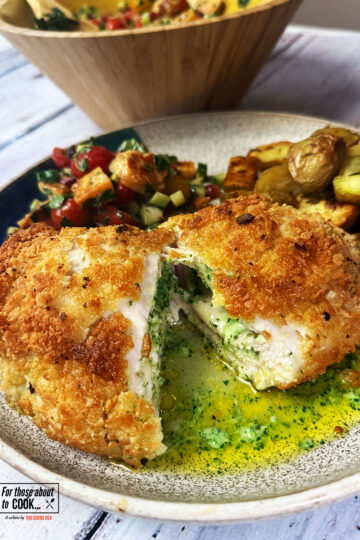
Pairing
These are my favorite dishes to serve with Peanut Butter Noodles:


Recipe
Peanut Butter Noodles
These Peanut Butter Noodles are rich, creamy, spicy and packed with bold Asian-inspired flavours. You have to give these a try!
Ingredients
- 4 tablespoon Crunchy peanut butter
- 2 tablespoon Minced fresh garlic
- 2 tablespoon Minced fresh ginger
- 4 tablespoon Sliced spring onion
- 4 tablespoon Finely diced shallot
- 4 teaspoon chilli Crisp
- 4 tablespoon Soy sauce
- 4 tablespoon Rice wine vinegar
- 80ml Neutral oil
- 4 portions Noodles of choice
Instructions
- Firstly, cook your noodles to packet instructions.
- Meanwhile, in a small pan heat your oil on a medium-high heat.
- To a pan, add your peanut butter, minced garlic, minced ginger, spring onions, shallots and chili crisp. Pour in your soy sauce and white wine vinegar.
- Next, very carefully pour your hot oil over your aromatics and whisk gently to combine until you have a rich, glossy sauce.
- Once your noodles are cooked, drain them and transfer to your sauce filled pan. Mix well with tongs.
- Finally, top with sesame seeds and sliced spring onion. Dig in!
Nutrition Information:
Yield: 4 Serving Size: 1Amount Per Serving: Calories: 981Total Fat: 16gSaturated Fat: 2gUnsaturated Fat: 14gCholesterol: 1mgSodium: 870mgCarbohydrates: 166gFiber: 12gSugar: 6gProtein: 35g
Have you tried this recipe?
If yes, please give it a star rating in the recipe card below and leave a comment. We love receiving your feedback and I’m sure other readers of my blog do too. Thank you.
If you are not already doing so, please follow For Those About To Cook on Instagram and Facebook for all our latest recipes.