For Those About To Cook

  • Home
  • About Us
  • All Recipes
  • Subscribe
menu icon
go to homepage
  • Home
  • About Us
  • All Recipes
  • Subscribe
    • Facebook
    • Instagram
    • Pinterest
  • search icon
    Homepage link
    • Home
    • About Us
    • All Recipes
    • Subscribe
    • Facebook
    • Instagram
    • Pinterest
  • ×
    Home

    30 minute Butter Chicken

    June 5, 2025 By Dan

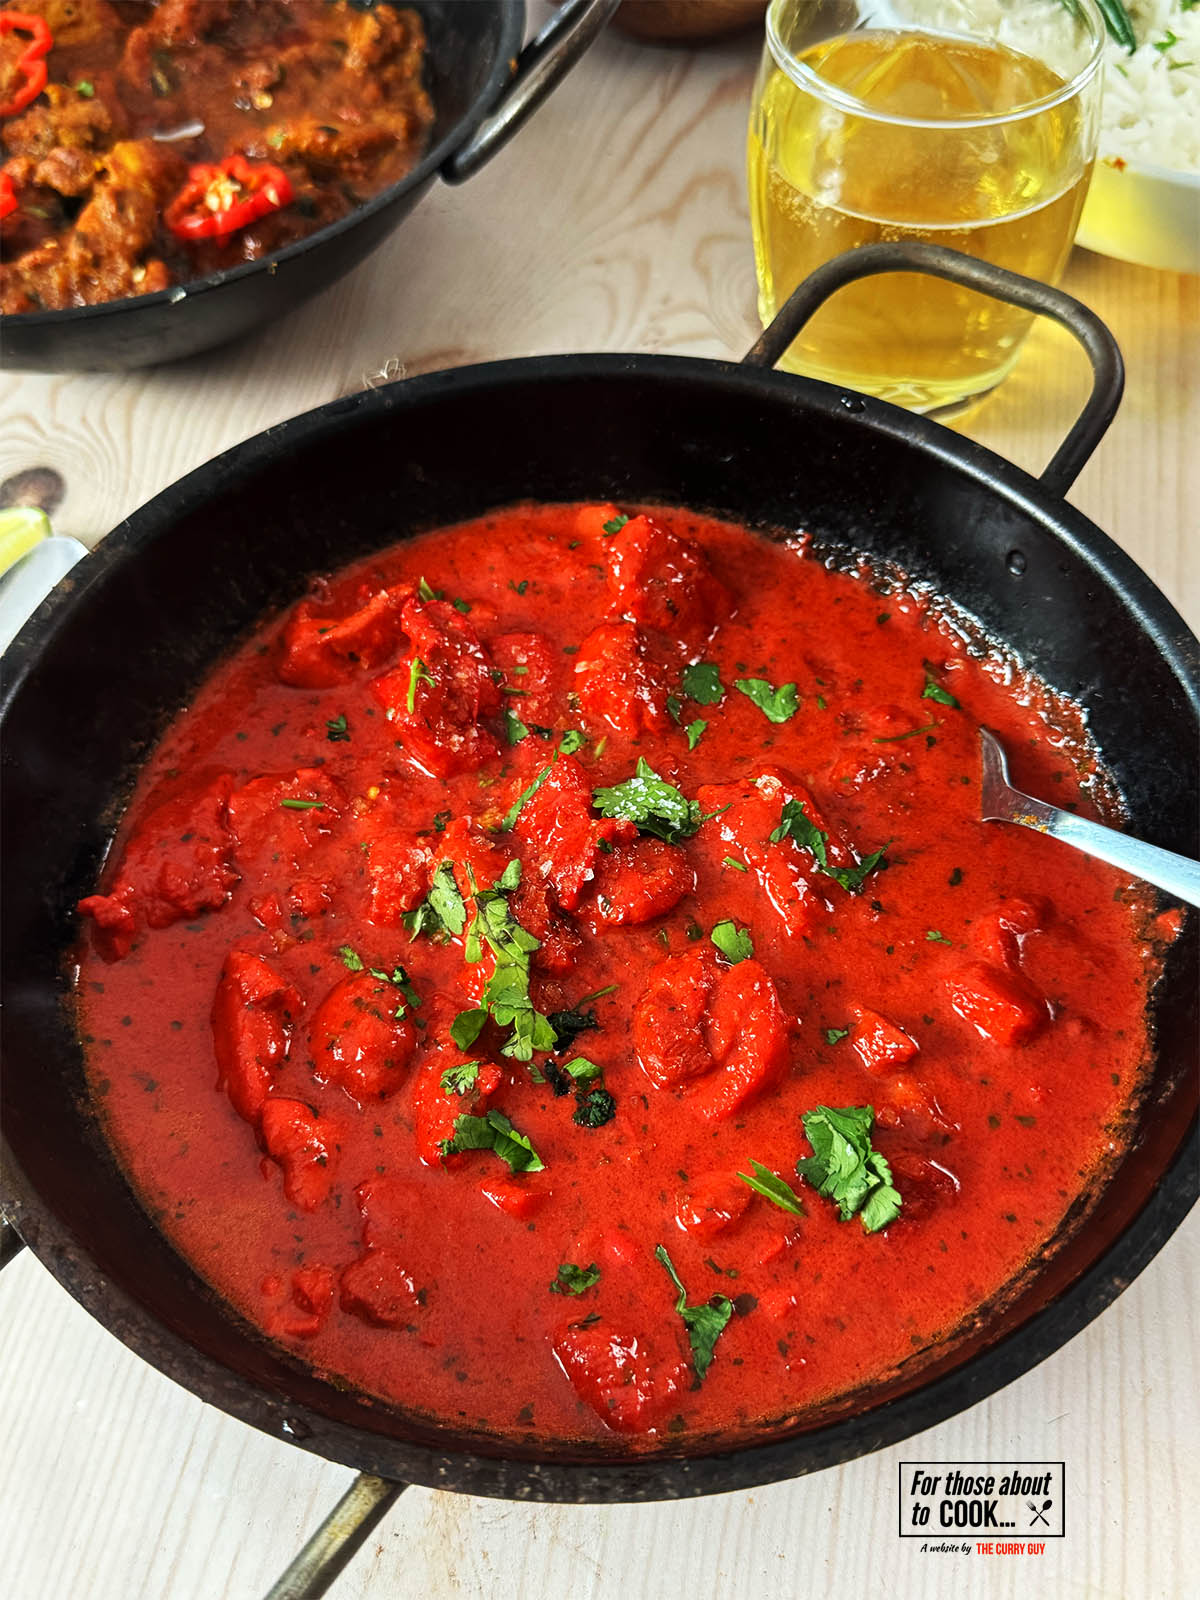
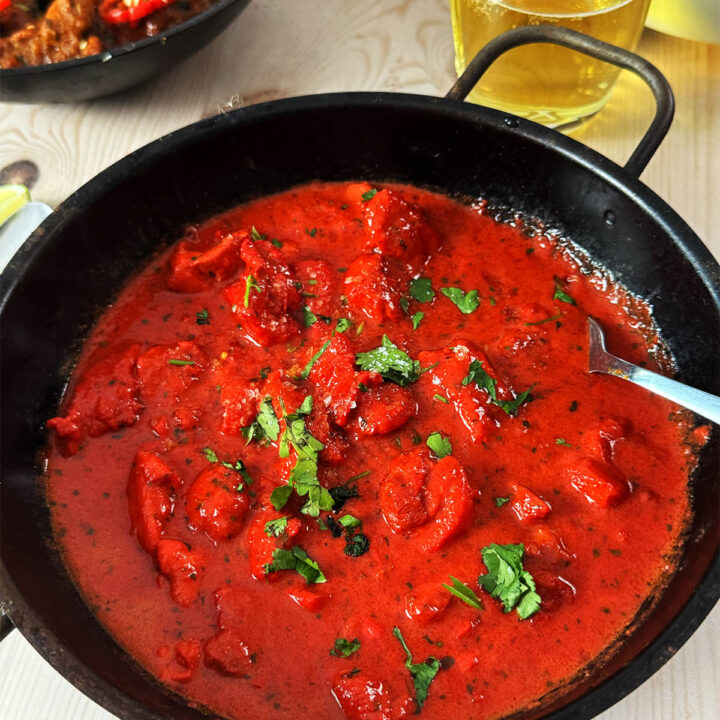
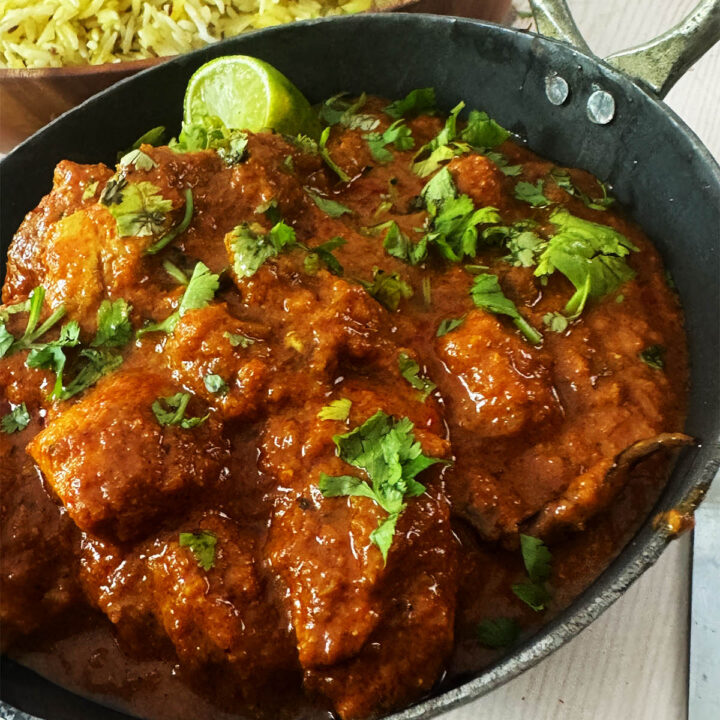
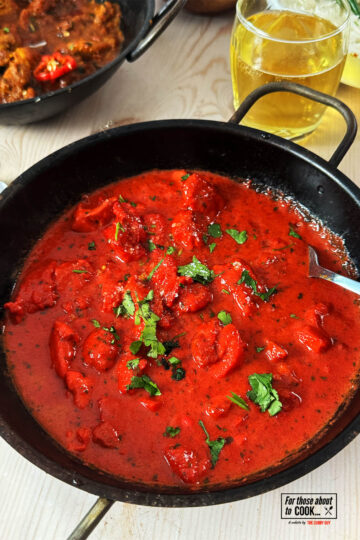
    Butter chicken topped with cream

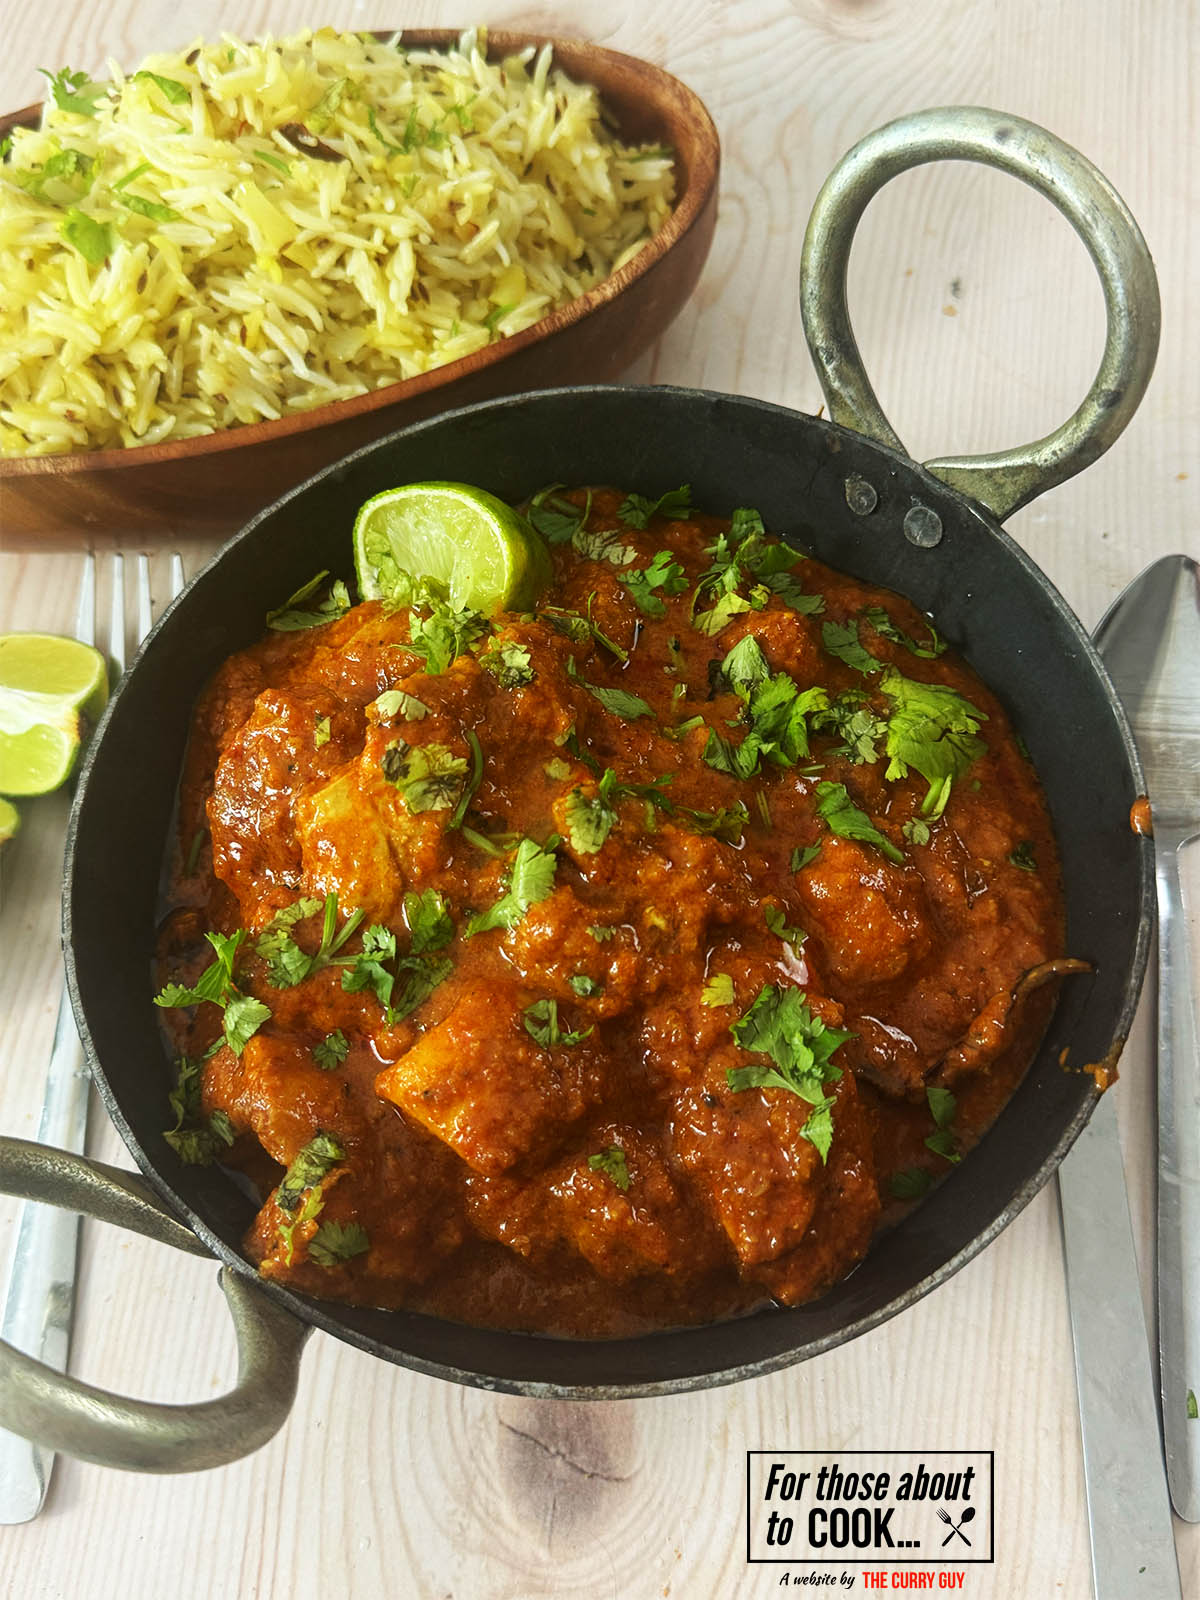
    Buttery, creamy and so simple! This 30 minute Butter Chicken can be whipped up in only 30 minutes and is packed full of flavor. This recipe will probably feature in a book I'm currently writing but I wanted to let you give it a try first, before it goes to print. This curry is delicious served with naans and/or this Easy Basmati Rice.

    Butter chicken topped with cream

    About this 30 minute butter chicken recipe:

    The inspiration behind this recipe is simple and it started with a challenge - Can I develop a Butter Chicken recipe that can be made quicker than ordering it from a takeaway, with no base sauce and starting with raw chicken?

    This recipe is done in stages. First, I show you a quick way of getting the smoky flavor into your marinated chicken without having to use a tandoor. Then you quickly fry your meat and create an easy butter chicken sauce.

    There are a few extra steps in this recipe that are optional and will take slightly longer than 30 minutes. The chicken will benefit from marinating for at least 30 minutes but if you're in a rush, you could just apply the marinade and go straight to cooking. I also suggest straining the sauce to get that super butter chicken, silky finish but, if you're in a hurry, you can skip this step too.


    Ingredients for 30 Minute Butter Chicken

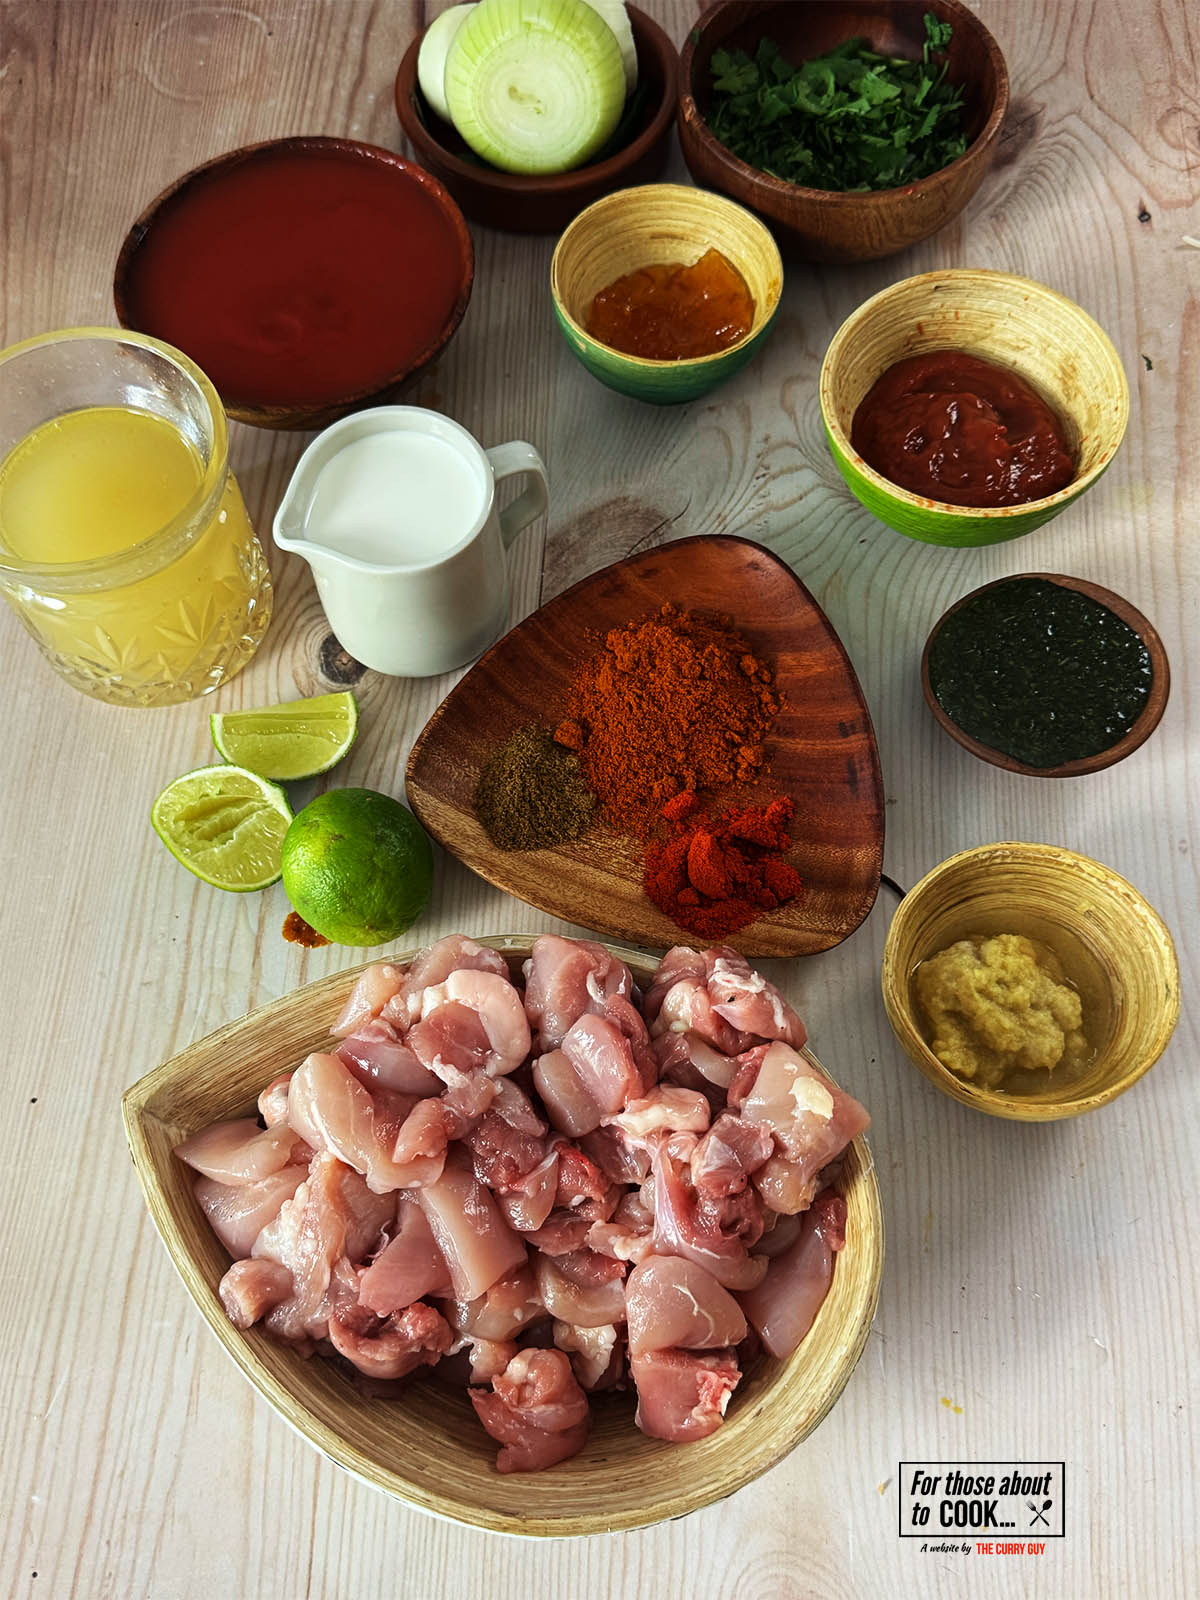
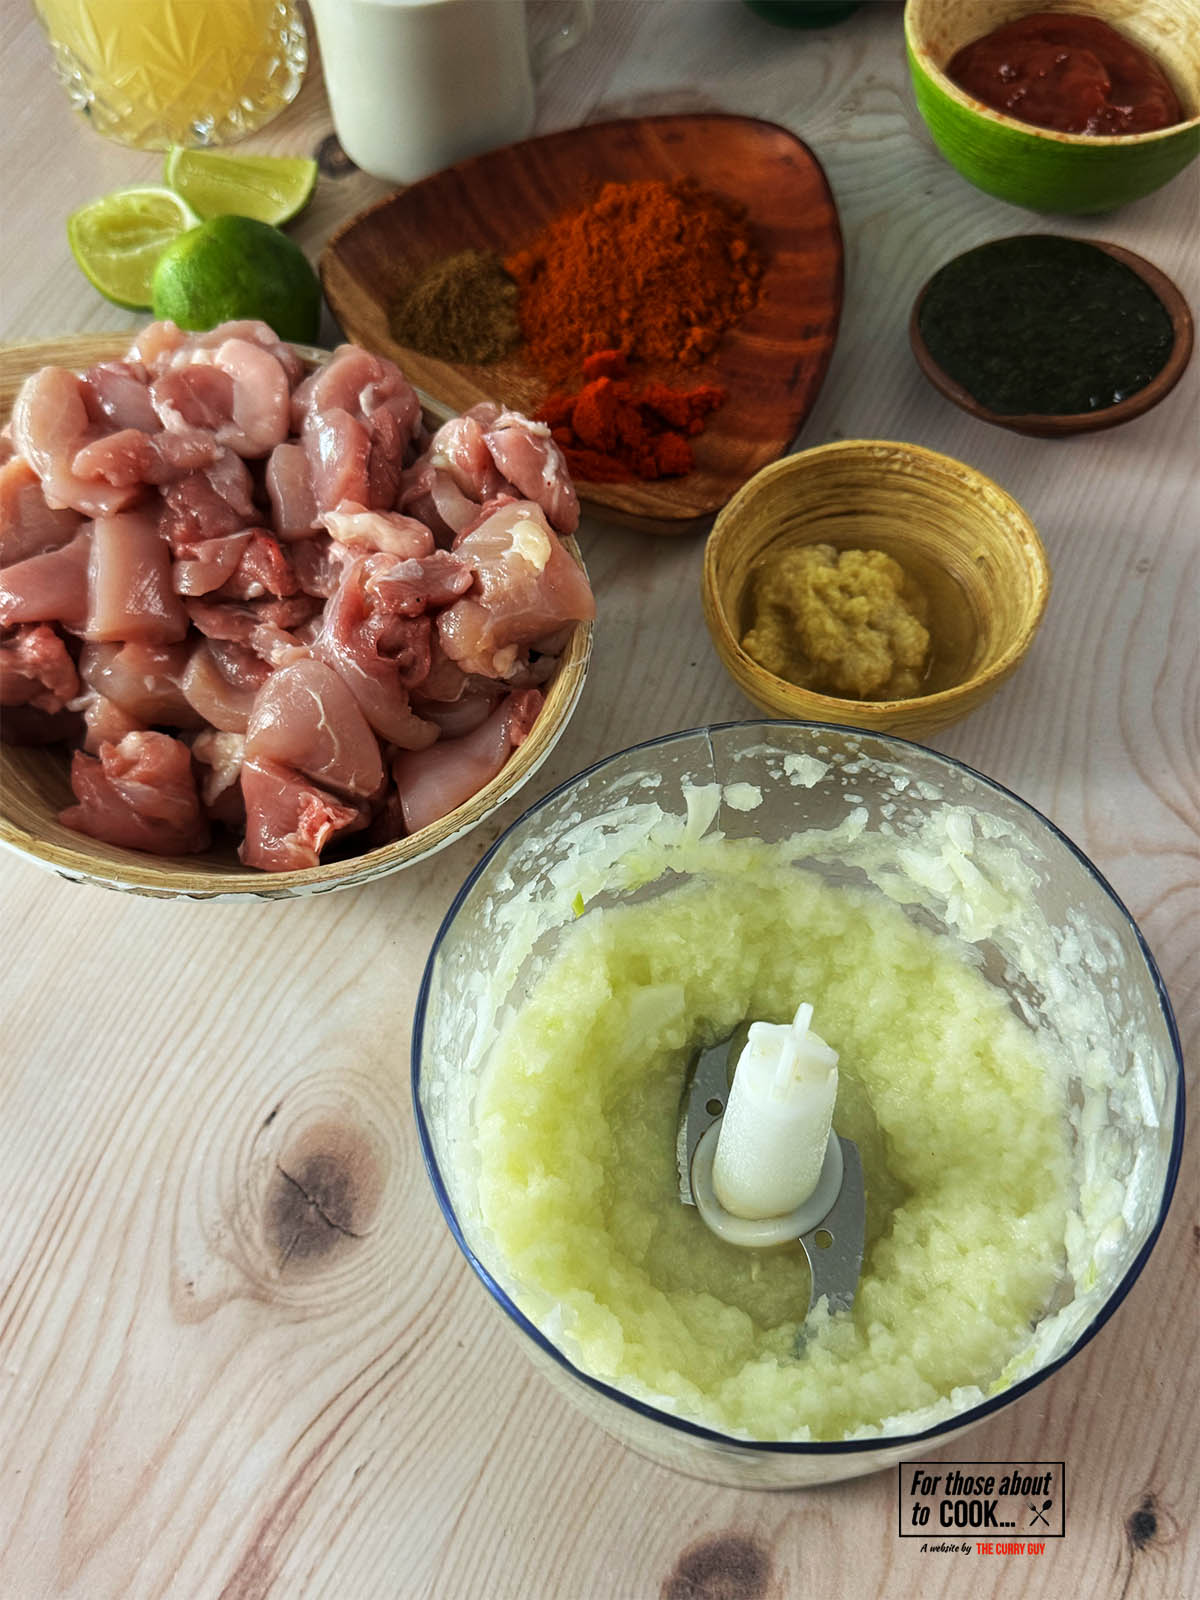
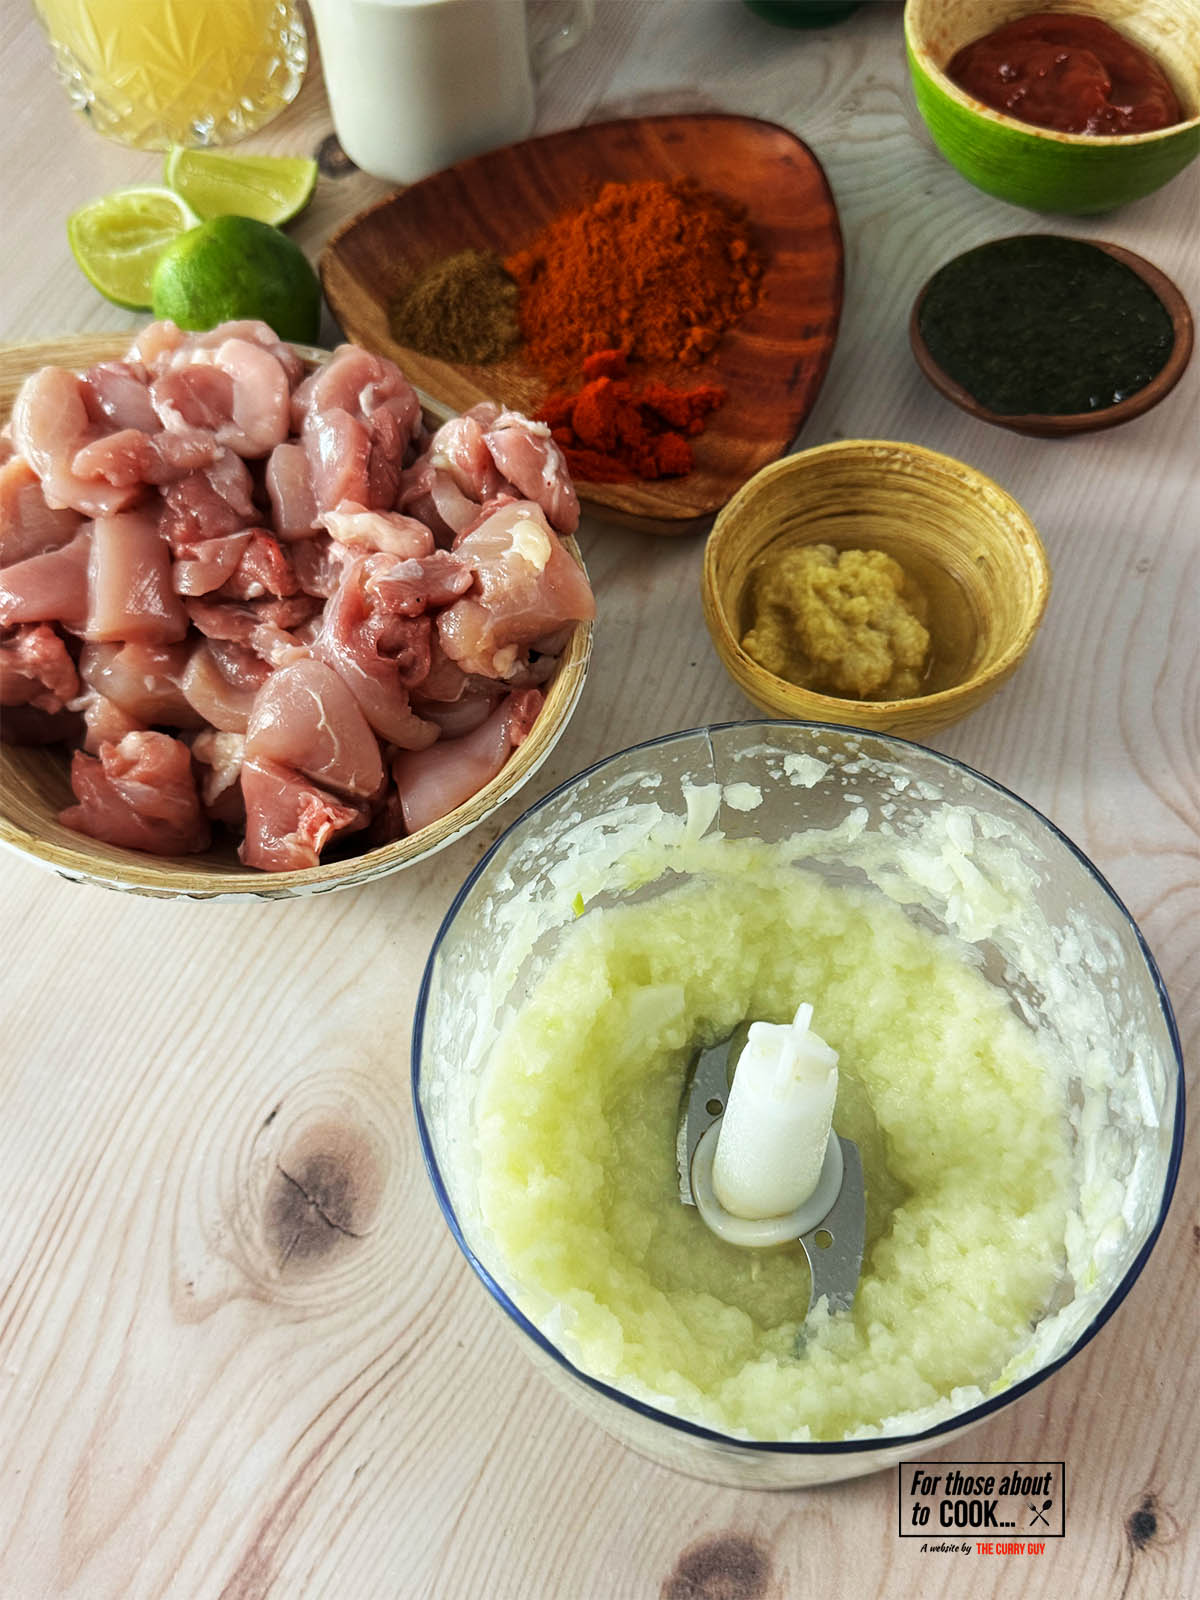
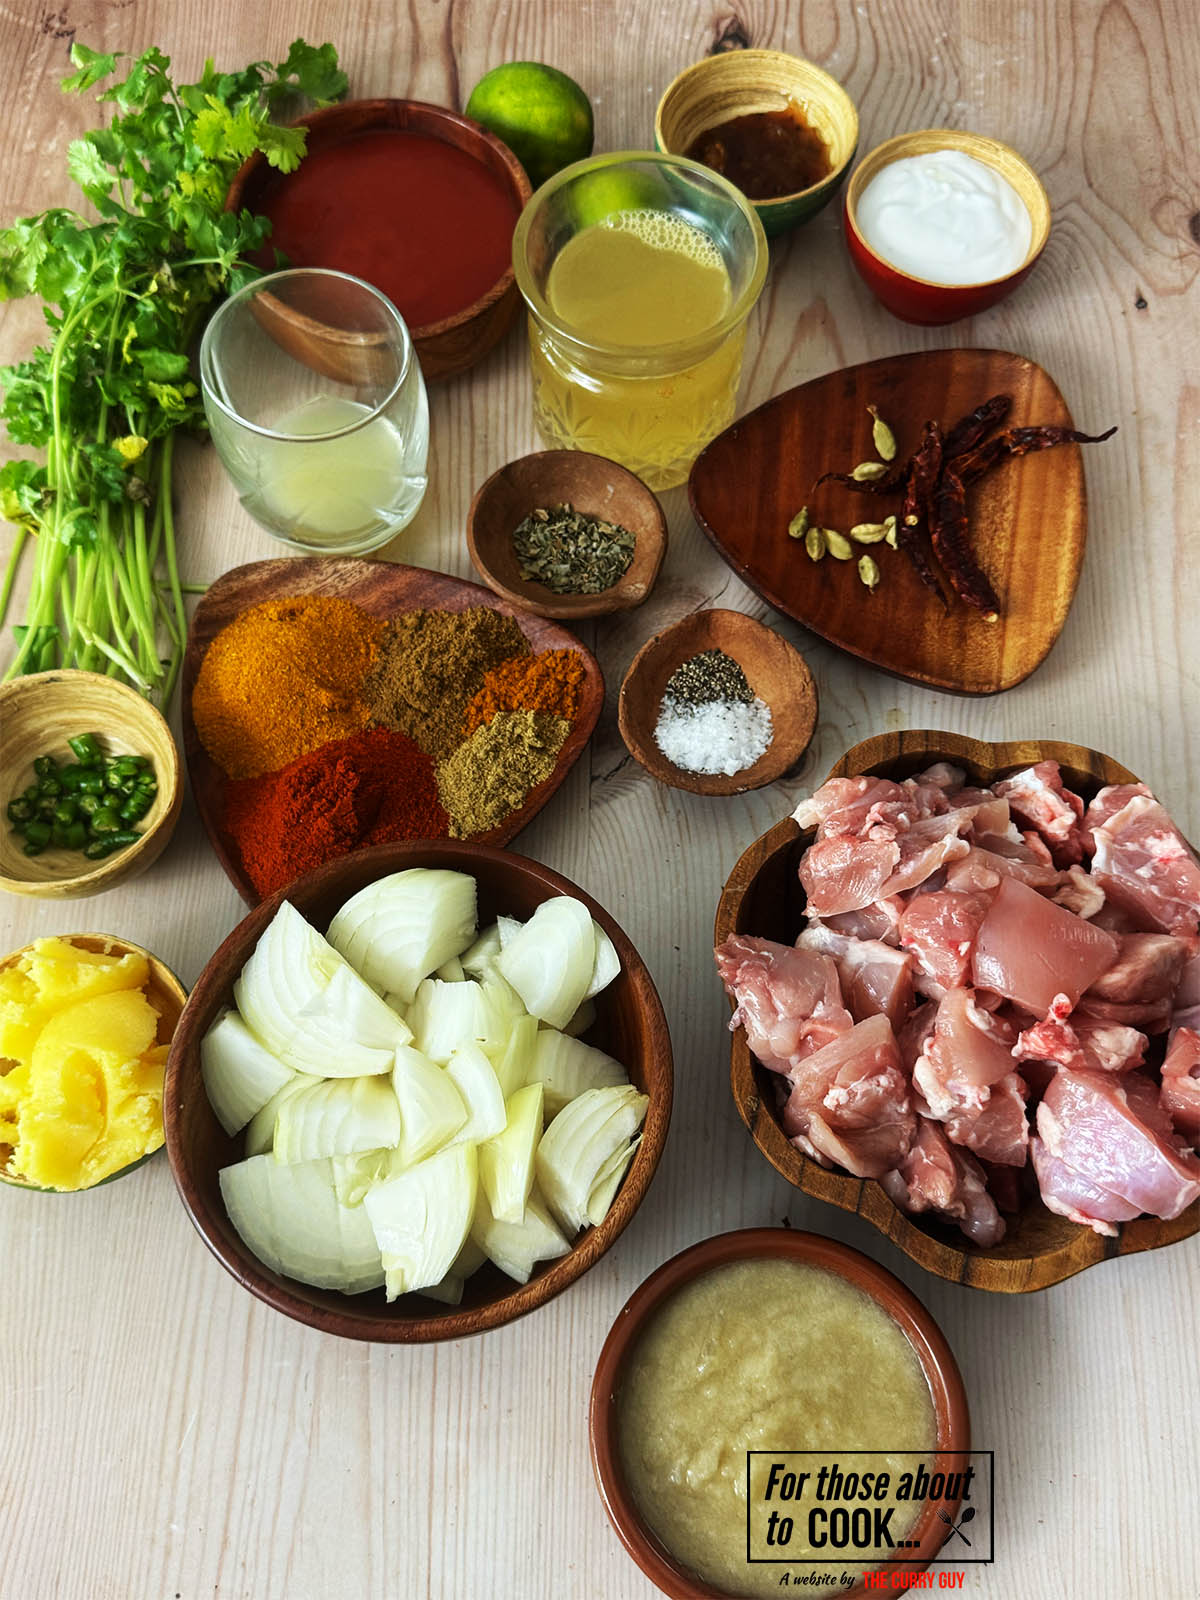
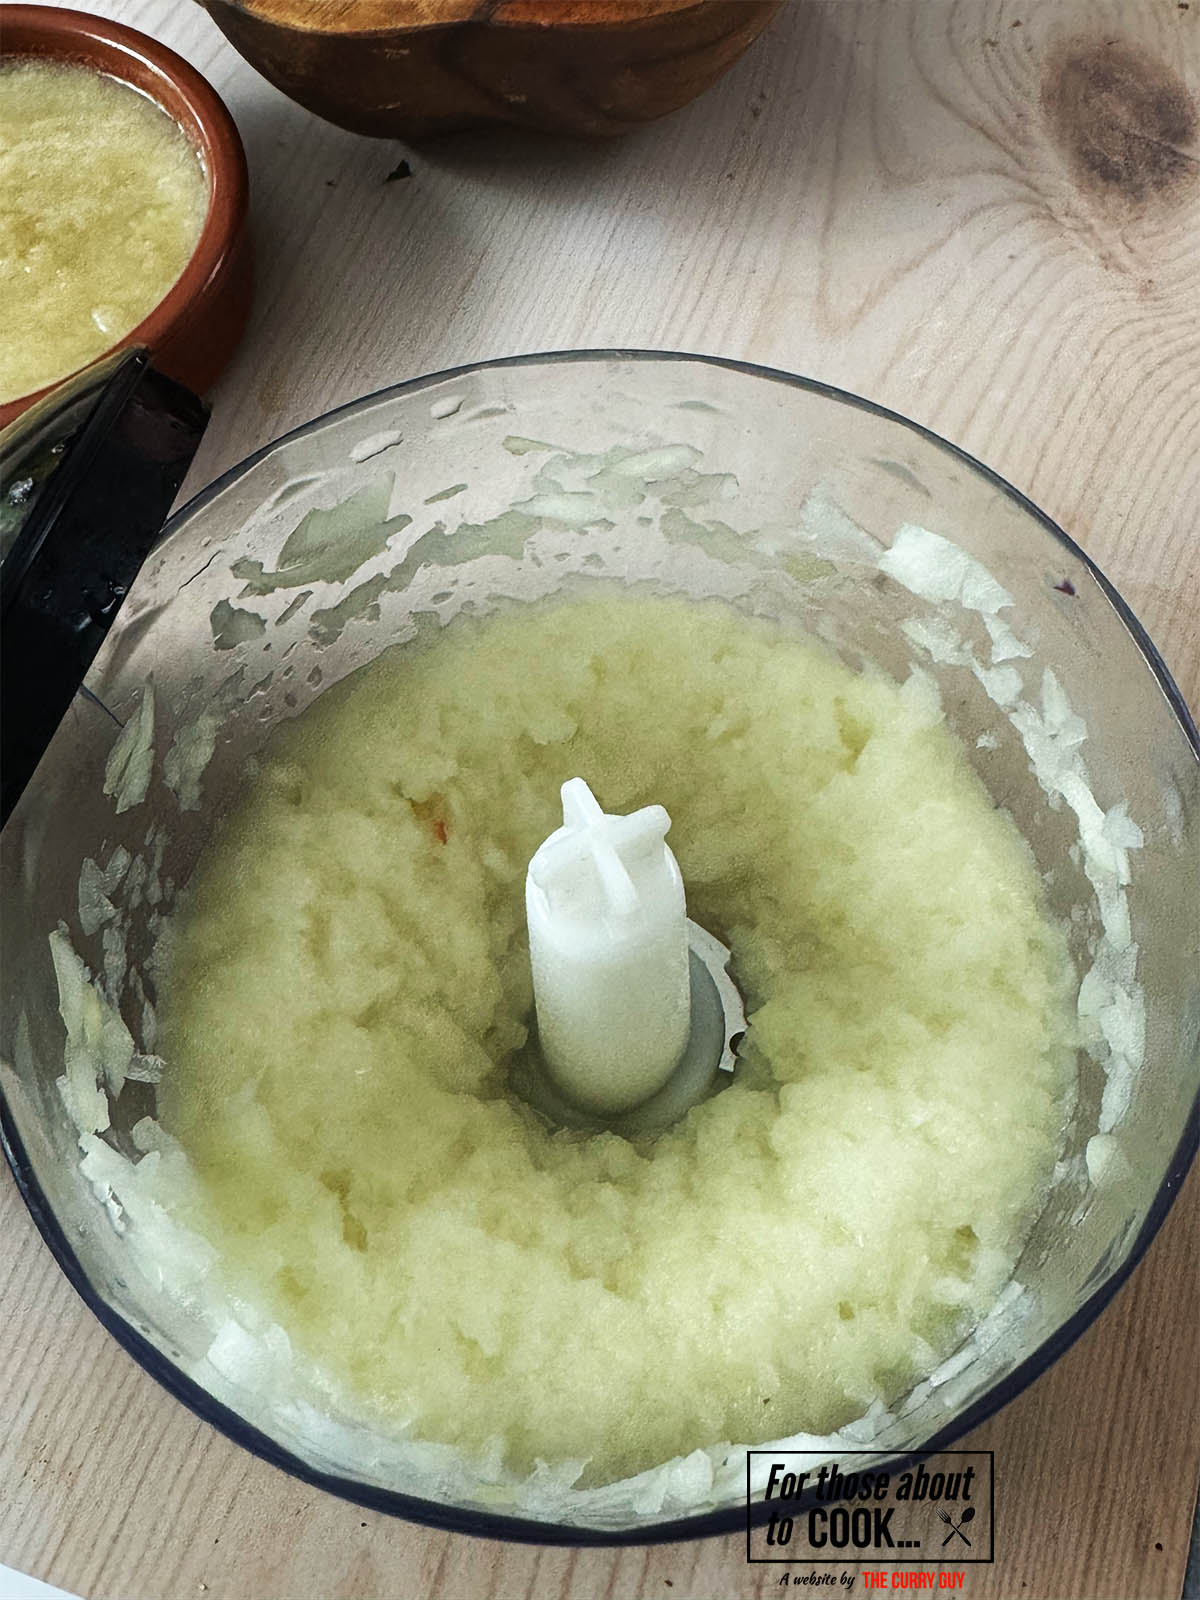
    Although it looks like there are a lot of ingredients in this 30 minute butter chicken, it took me less than 5 minutes to get all of these prepared. You can make this curry in stages to make it easier on yourself. For example, fry up the meat a day earlier. That or use a completely different marinade or just add pre-cooked leftover meat. If cooking all in the same day, be sure to get all your ingredients prepared and ready before you start cooking. It's a lot easier that way.

    Butter chicken ingredients in bowls
    • 700g(1 ½ lbs) boneless, skinless chicken breasts or thighs, cut into bite sized pieces
    • FOR THE FIRST MARINADE
    • Kashmiri red chilli powder
    • Garlic and ginger paste
    • Salt
    • Juice of one lime
    • Greek yoghurt
    • Neutral vegetable oil
    • FOR THE SECOND MARINADE
    • Garlic and ginger paste
    • Garam masala
    • Ground cumin
    • Gound coriander
    • Kasoori methi (dried fenugreek leaves)
    • Rapeseed (canola) oil
    • FOR THE SAUCE
    • Butter
    • Cinnamon stick
    • Green cardamom pods
    • Cloves
    • Blade mace
    • Garlic and ginger paste
    • Fresh tomatoes or Passata
    • Raw cashews
    • Kashmiri chilli powder or paprika for a milder version
    • Garam masala
    • Ground coriander
    • Ground cumin
    • Water or unsalted chicken stock
    • Double (heavy) cream
    • Salt to taste
    • Sugar
    • Coriander

    See recipe card for quantities.


    Step by step photographs

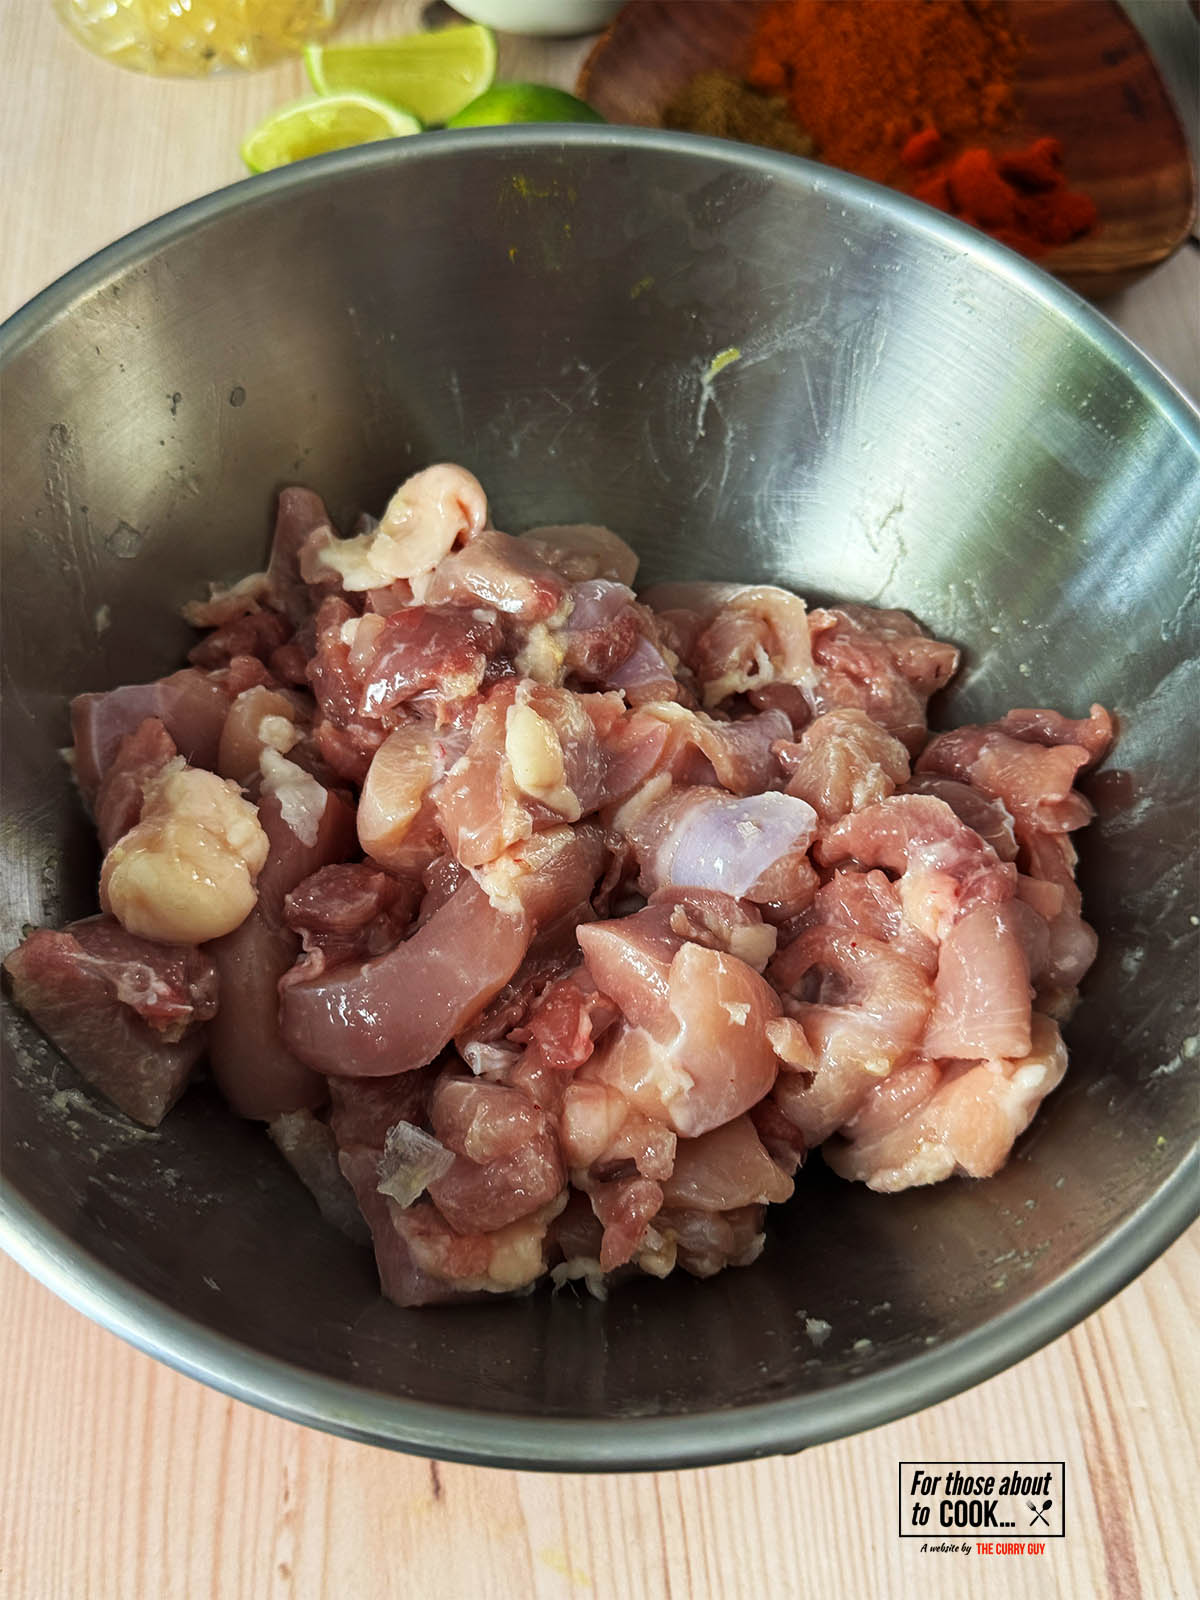
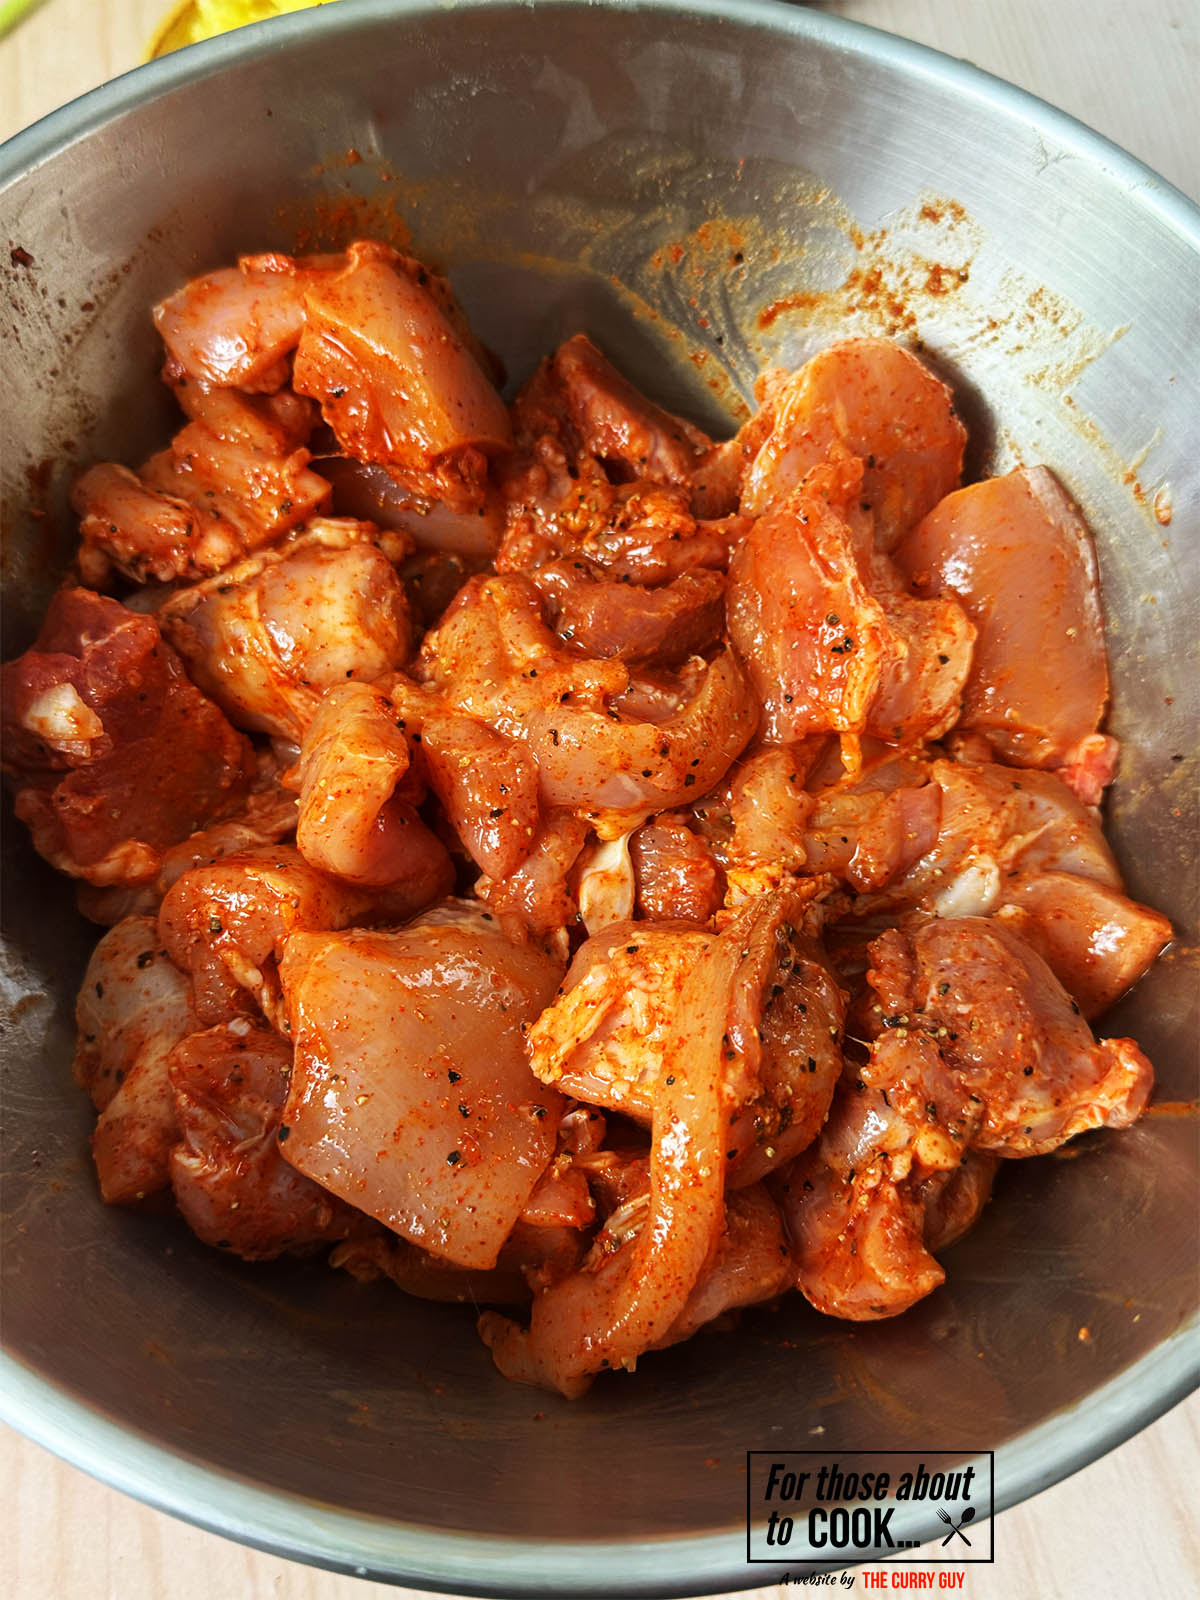
    Chicken marinating in yoghurt and spices
    1. Step 1: Whisk the marinade ingredients together and cover your chicken with it. Let in marinate for up to 48 hours or just go straight to cooking if you’re in a rush.
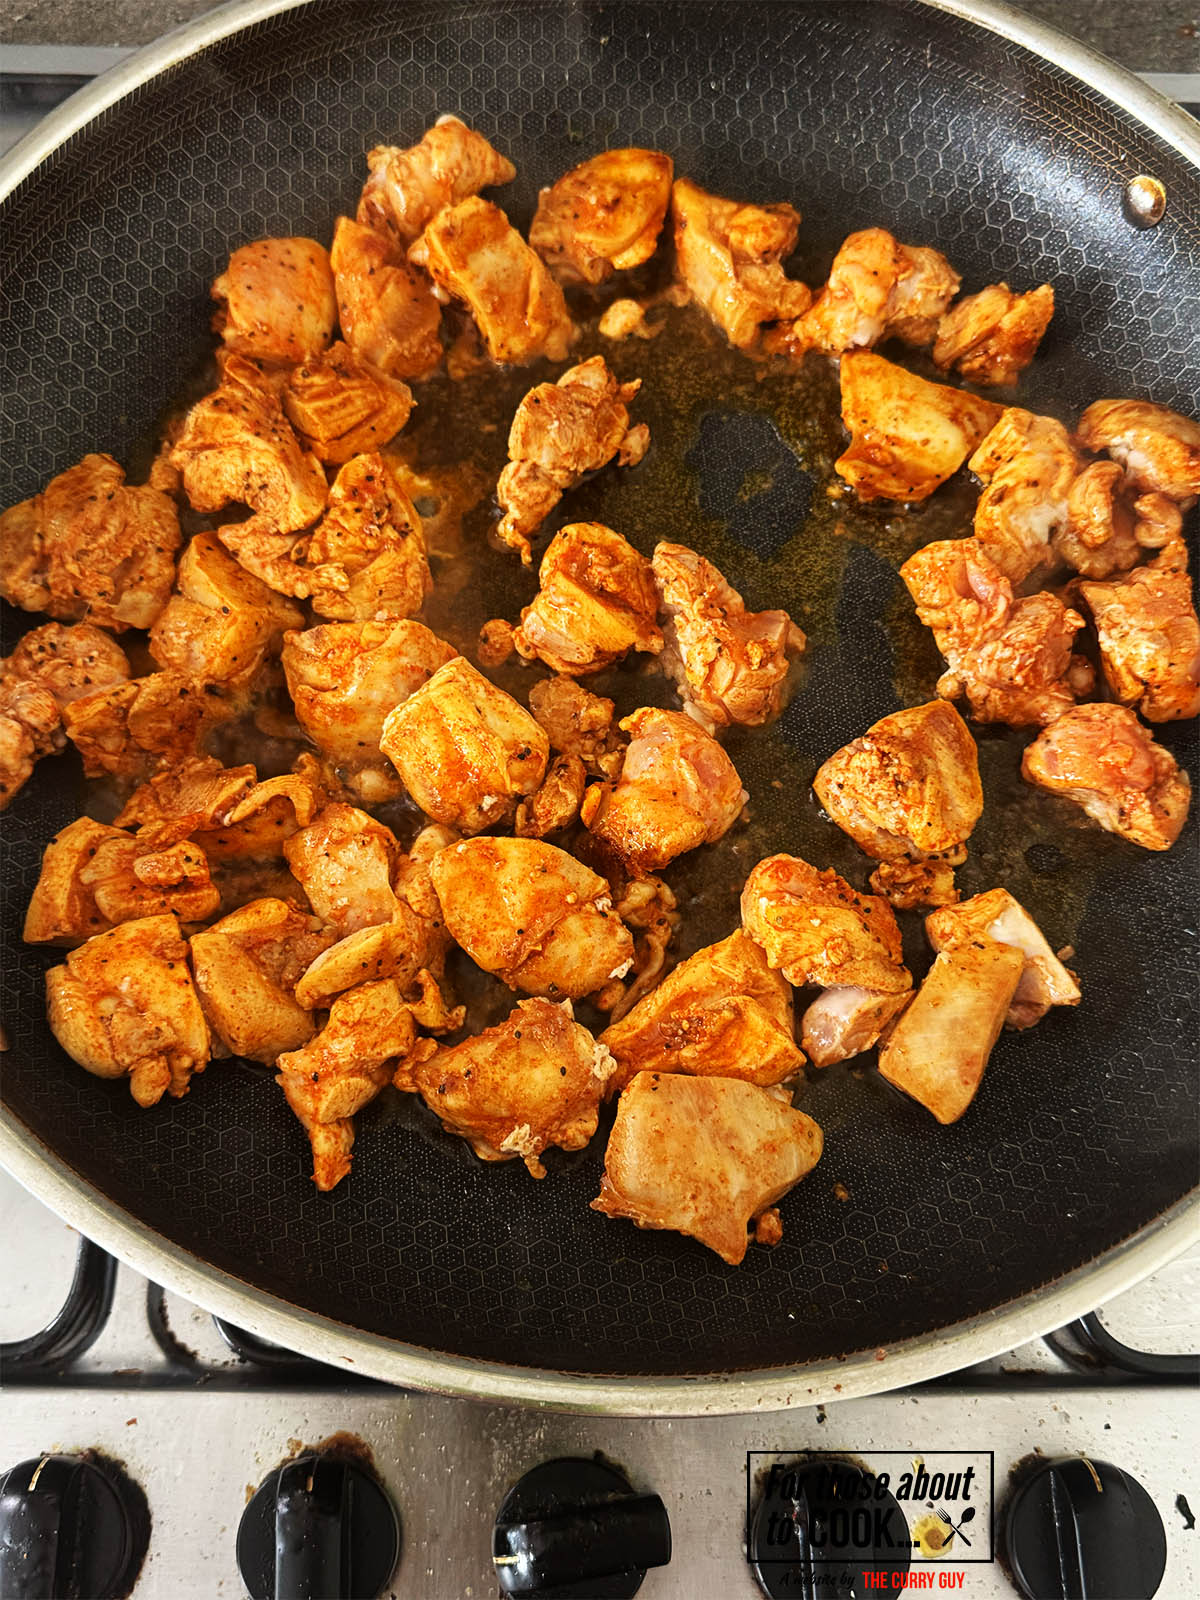
    Chicken frying in butter
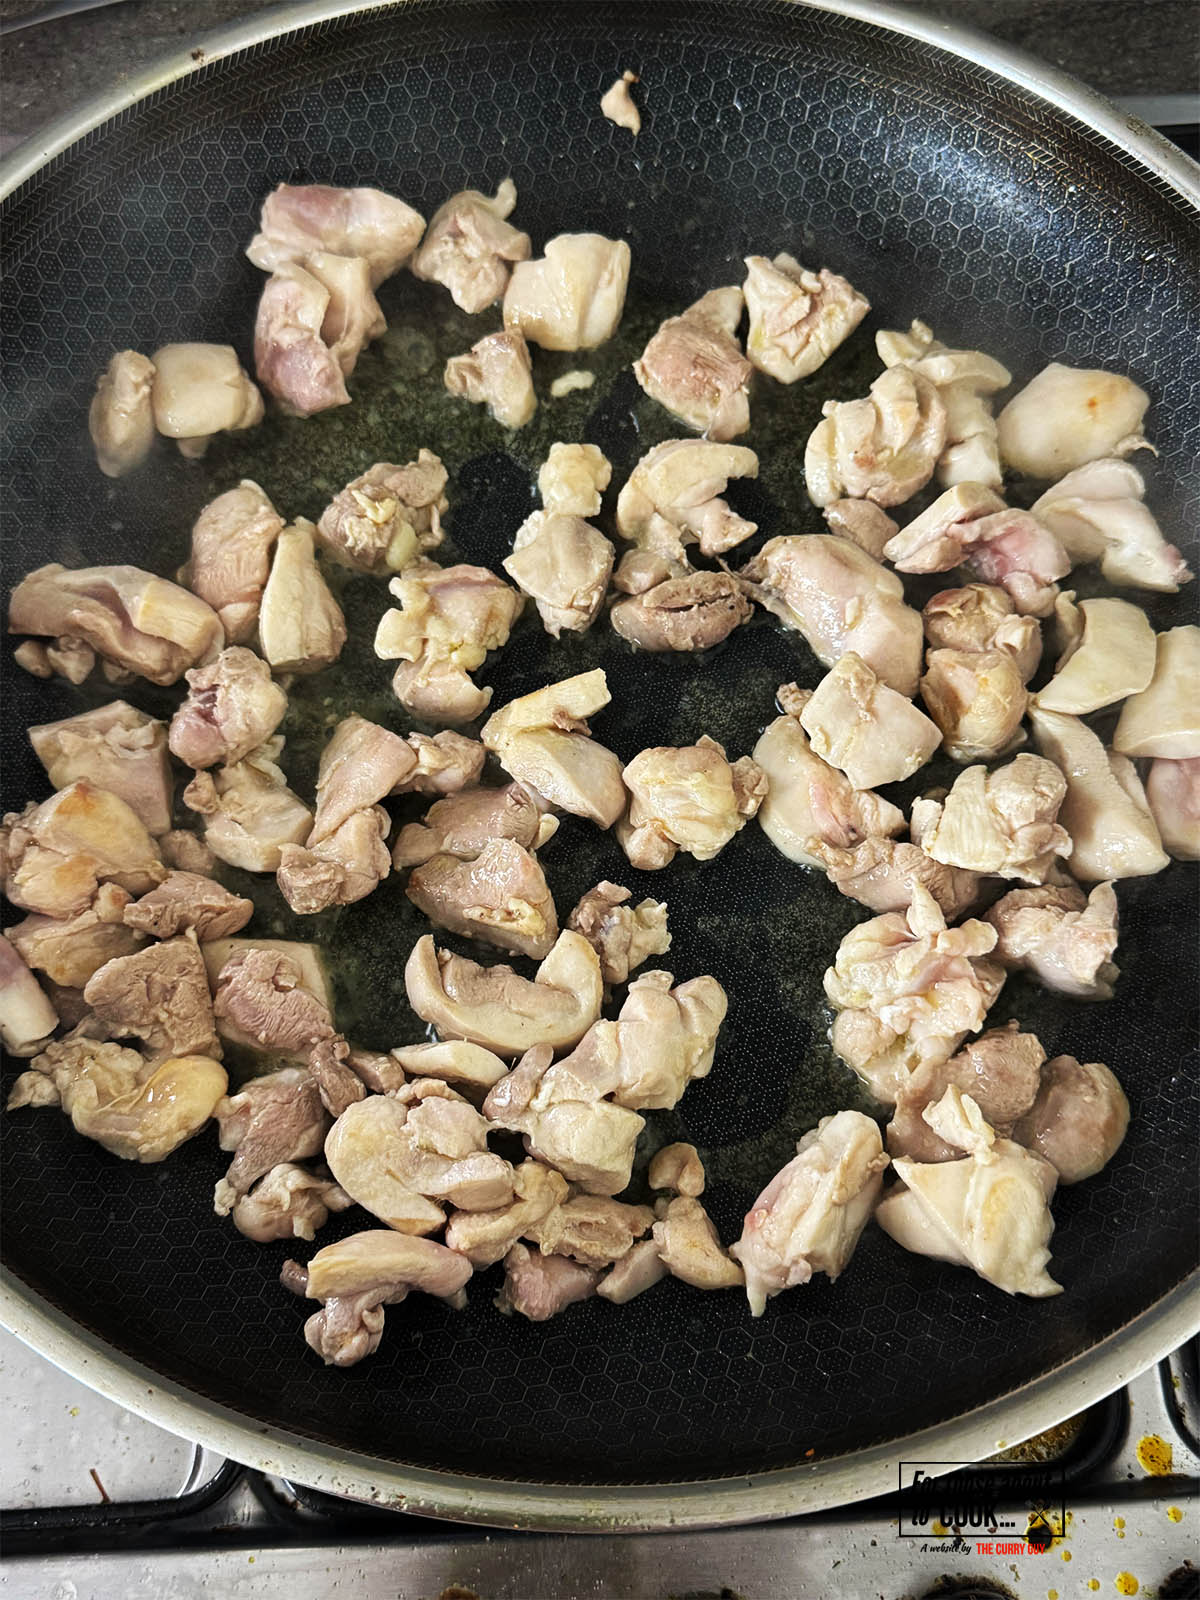
    1. Step 2: When ready to cook, melt two tablespoons butter in a pan on a medium-high heat and add your chicken. Cook for 4 minutes then flip and cook for another 4. Transfer the chicken to a bowl. It might not be cooked completely through at this stage.

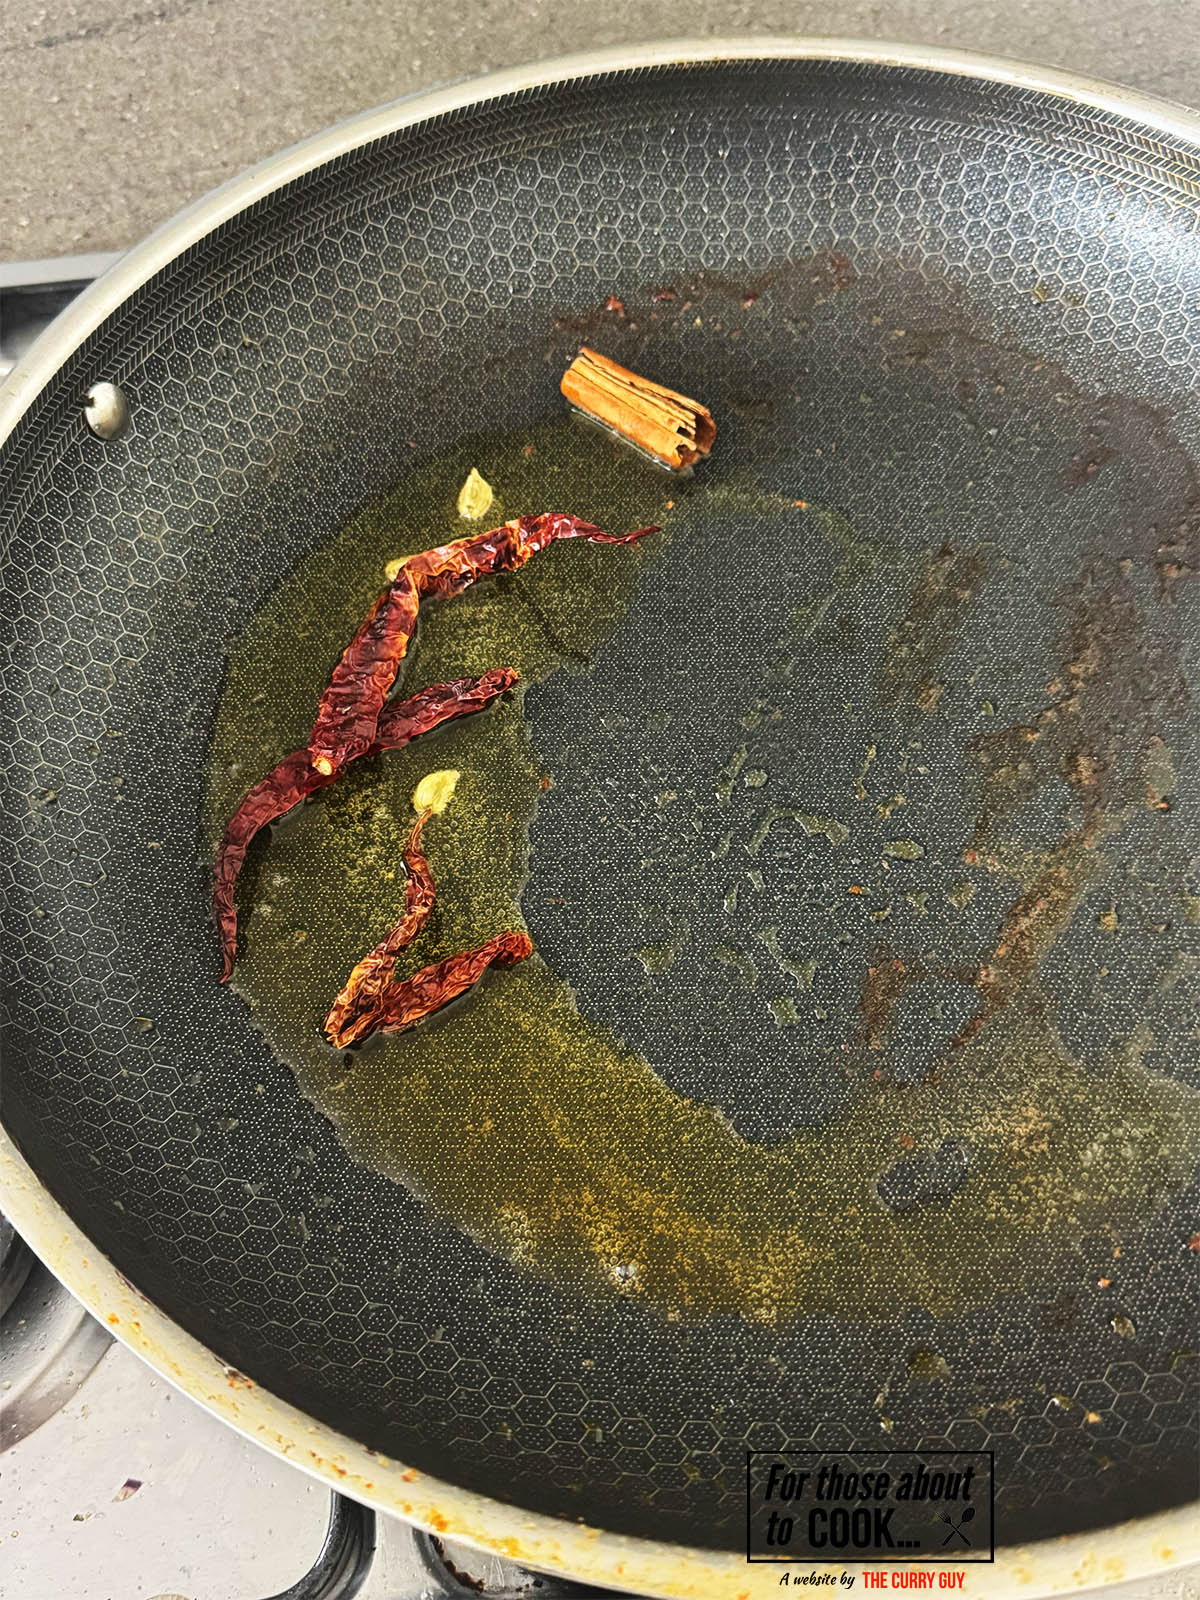
    Spices frying in a pan
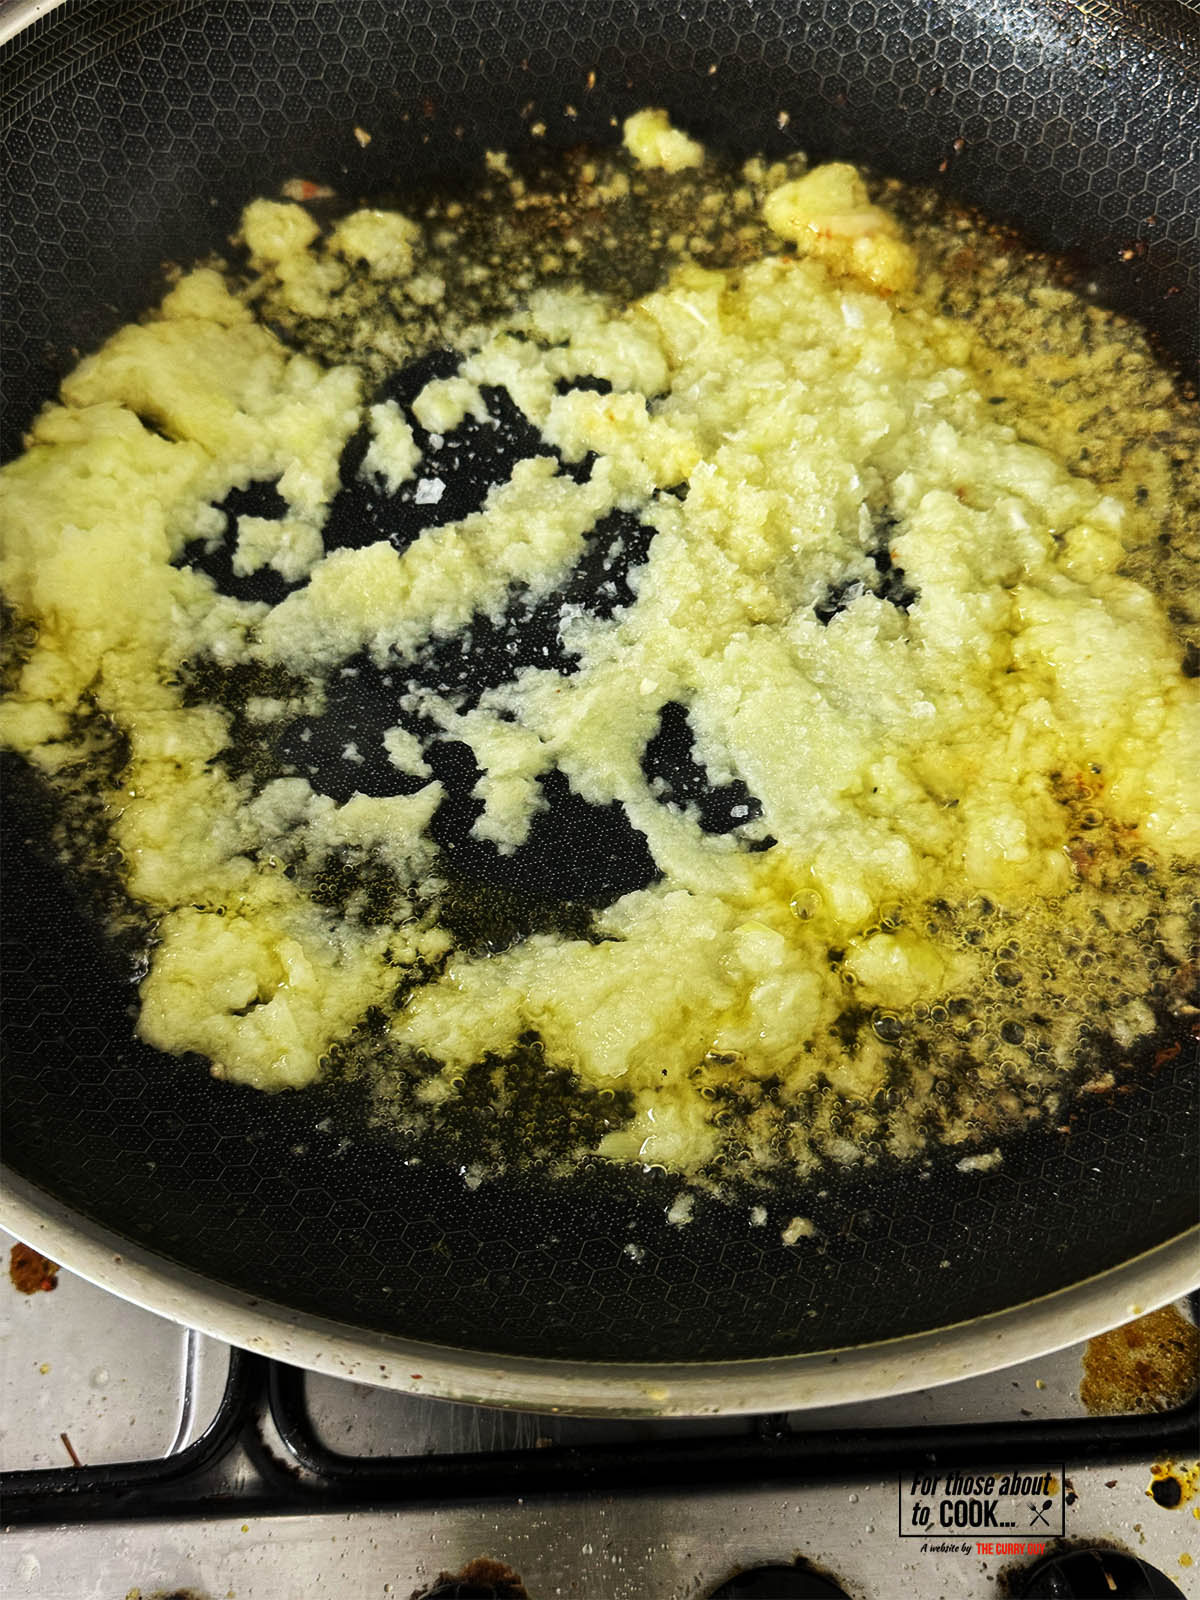
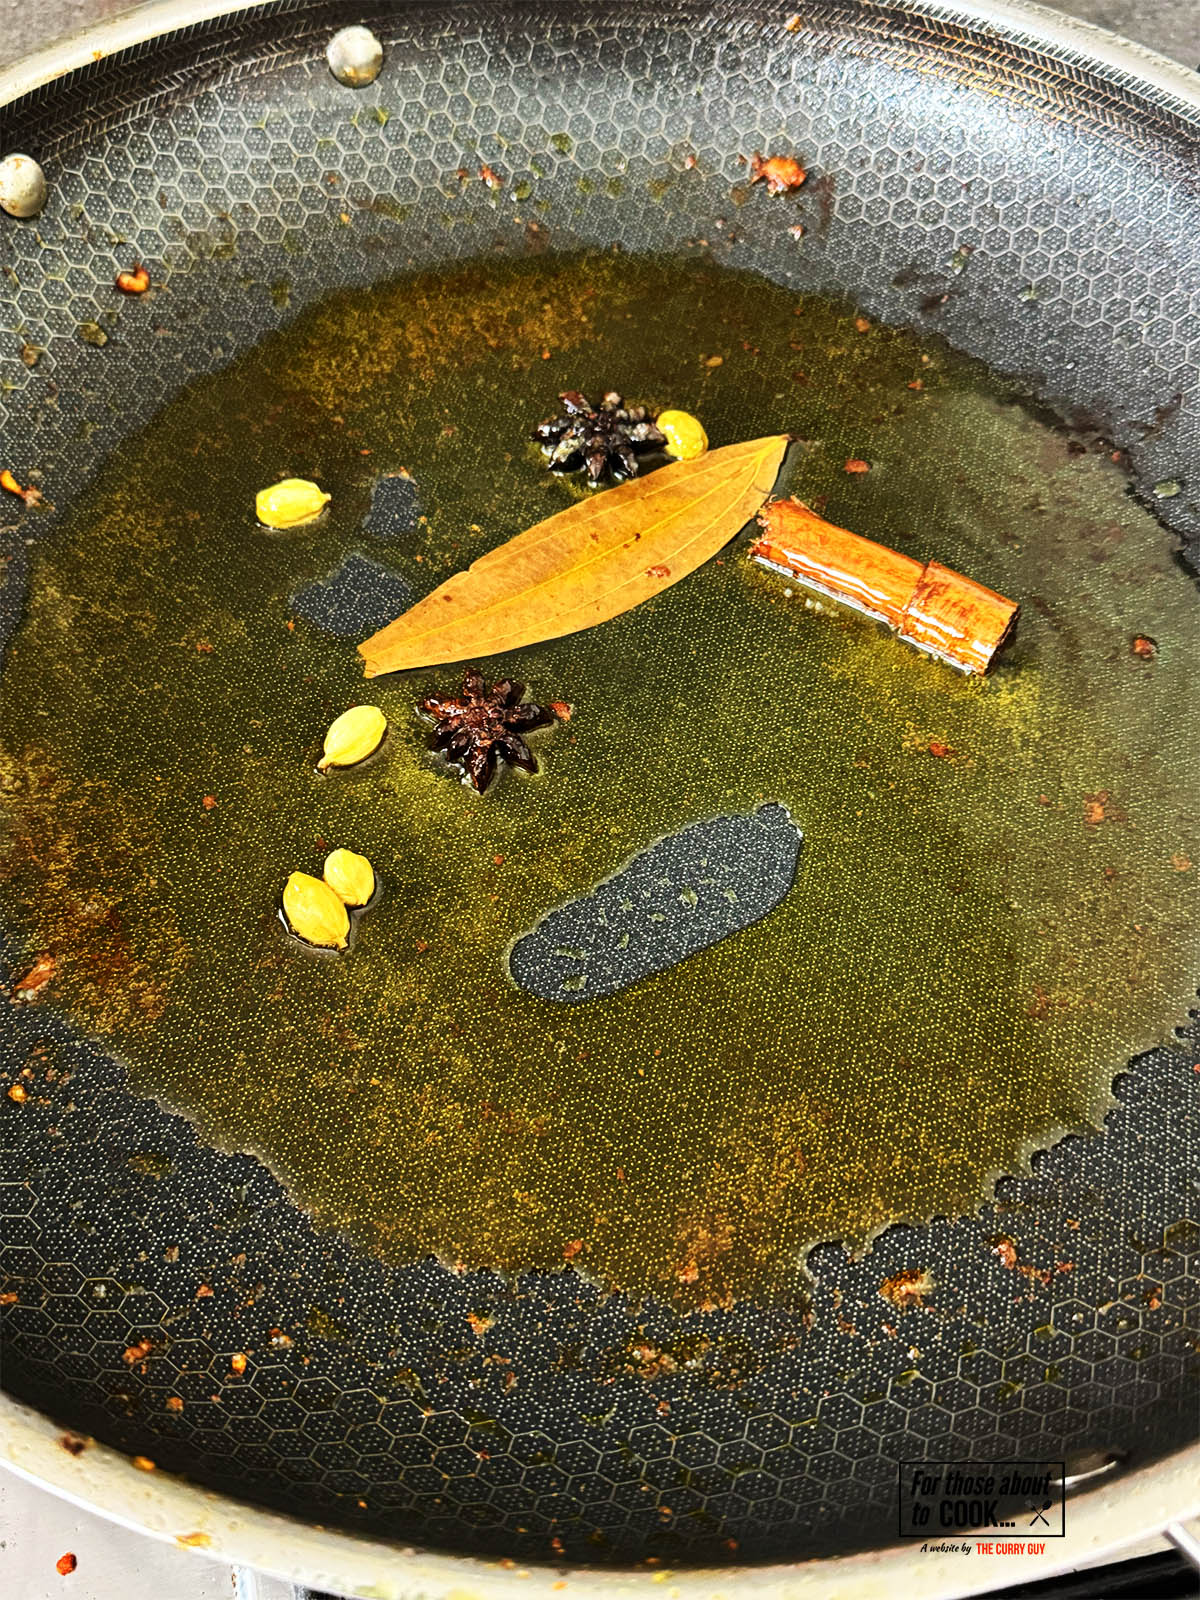
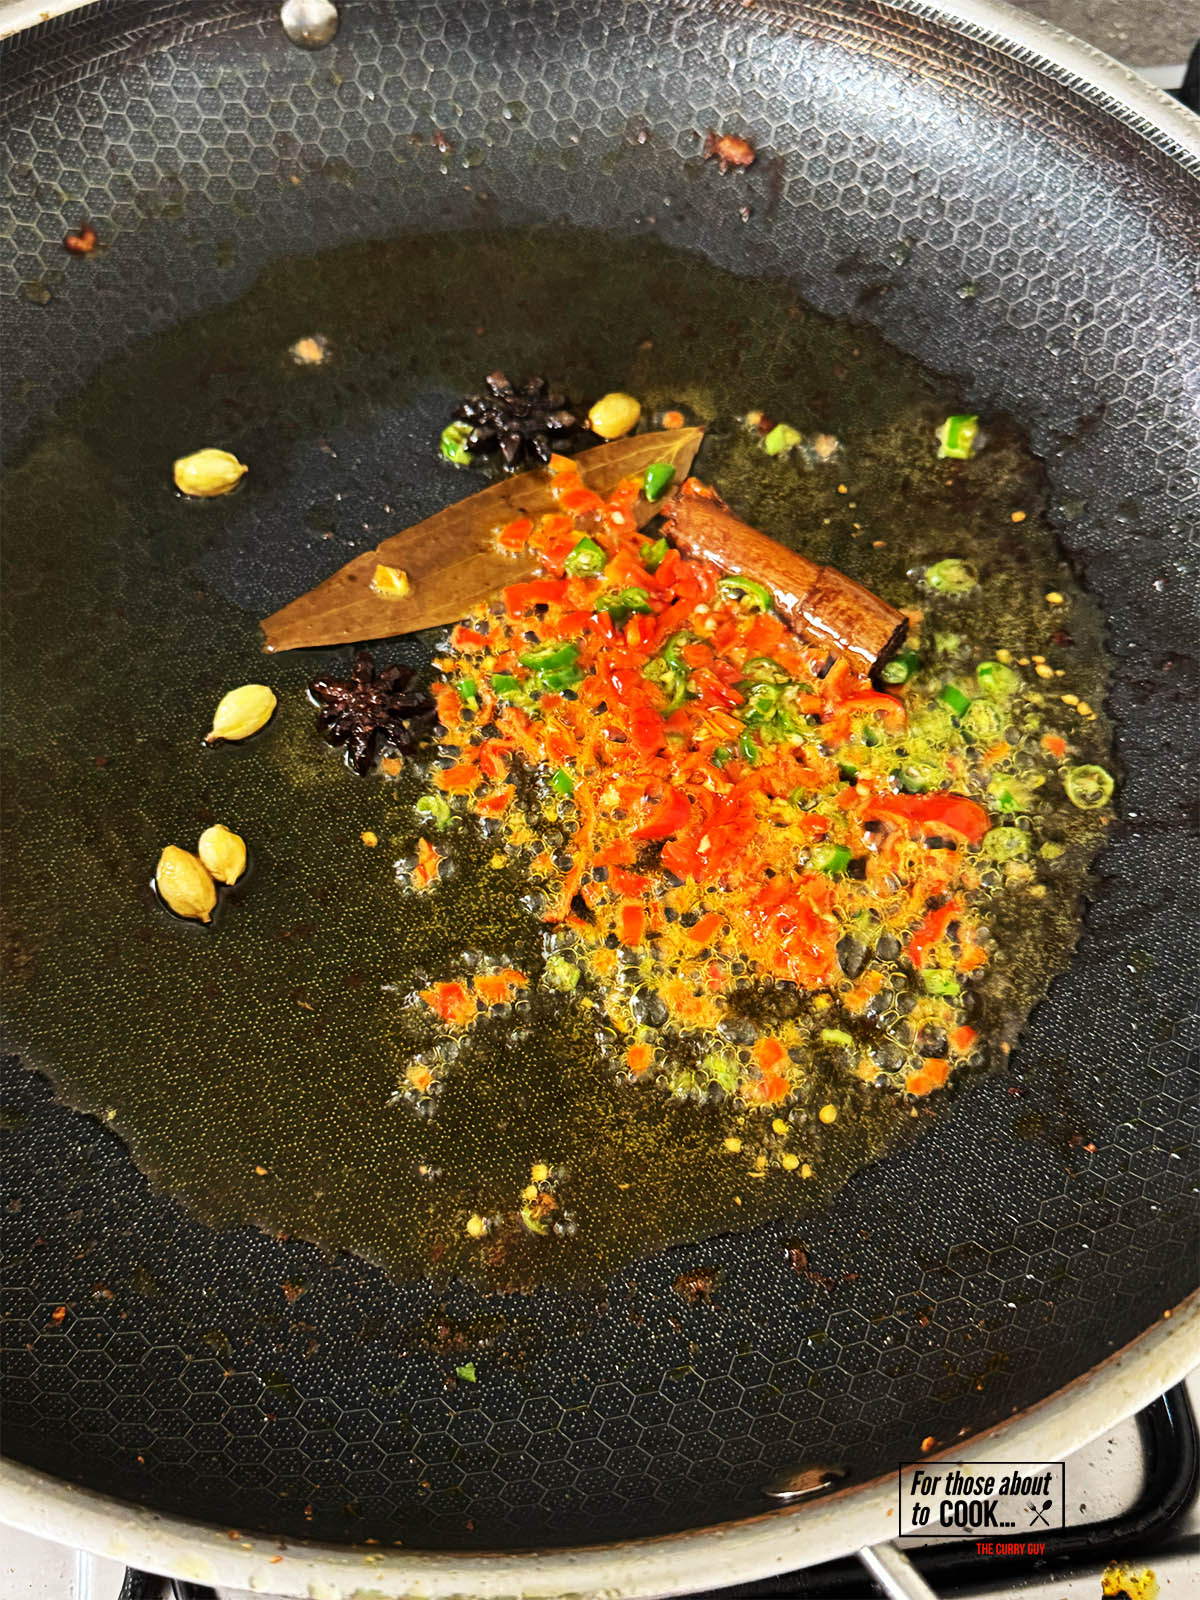
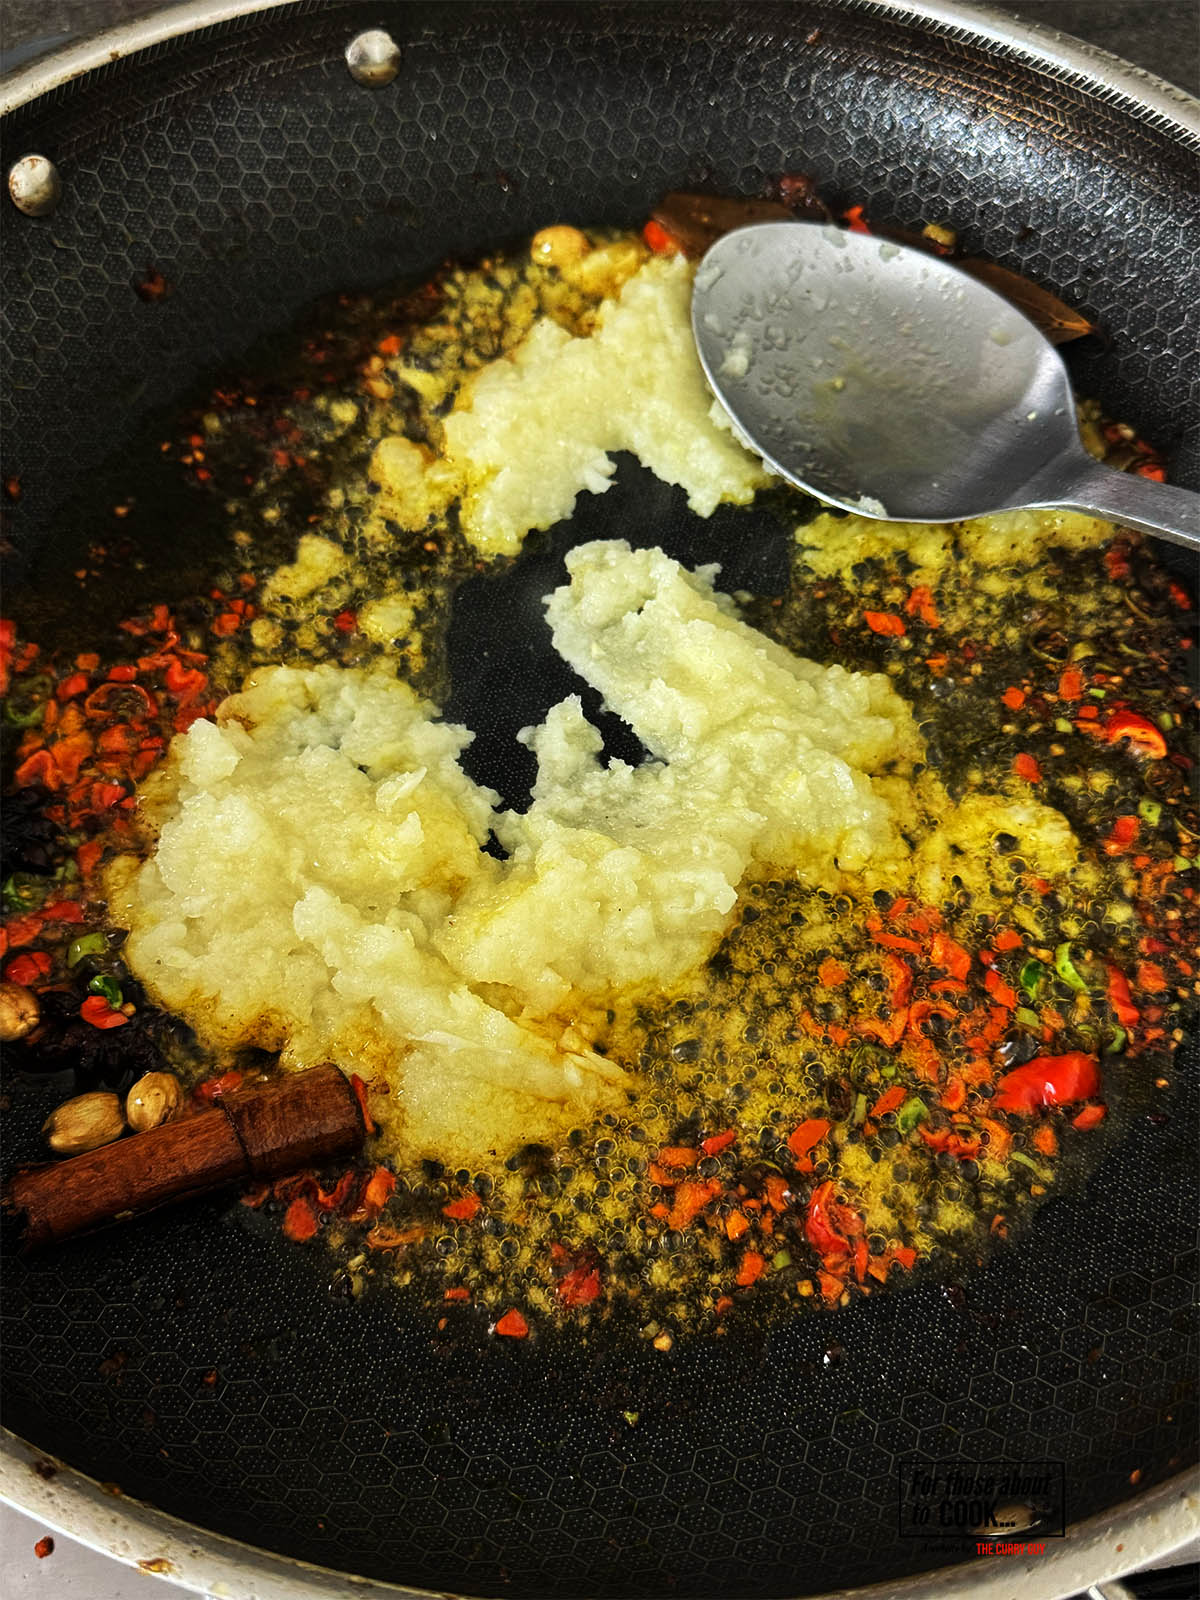
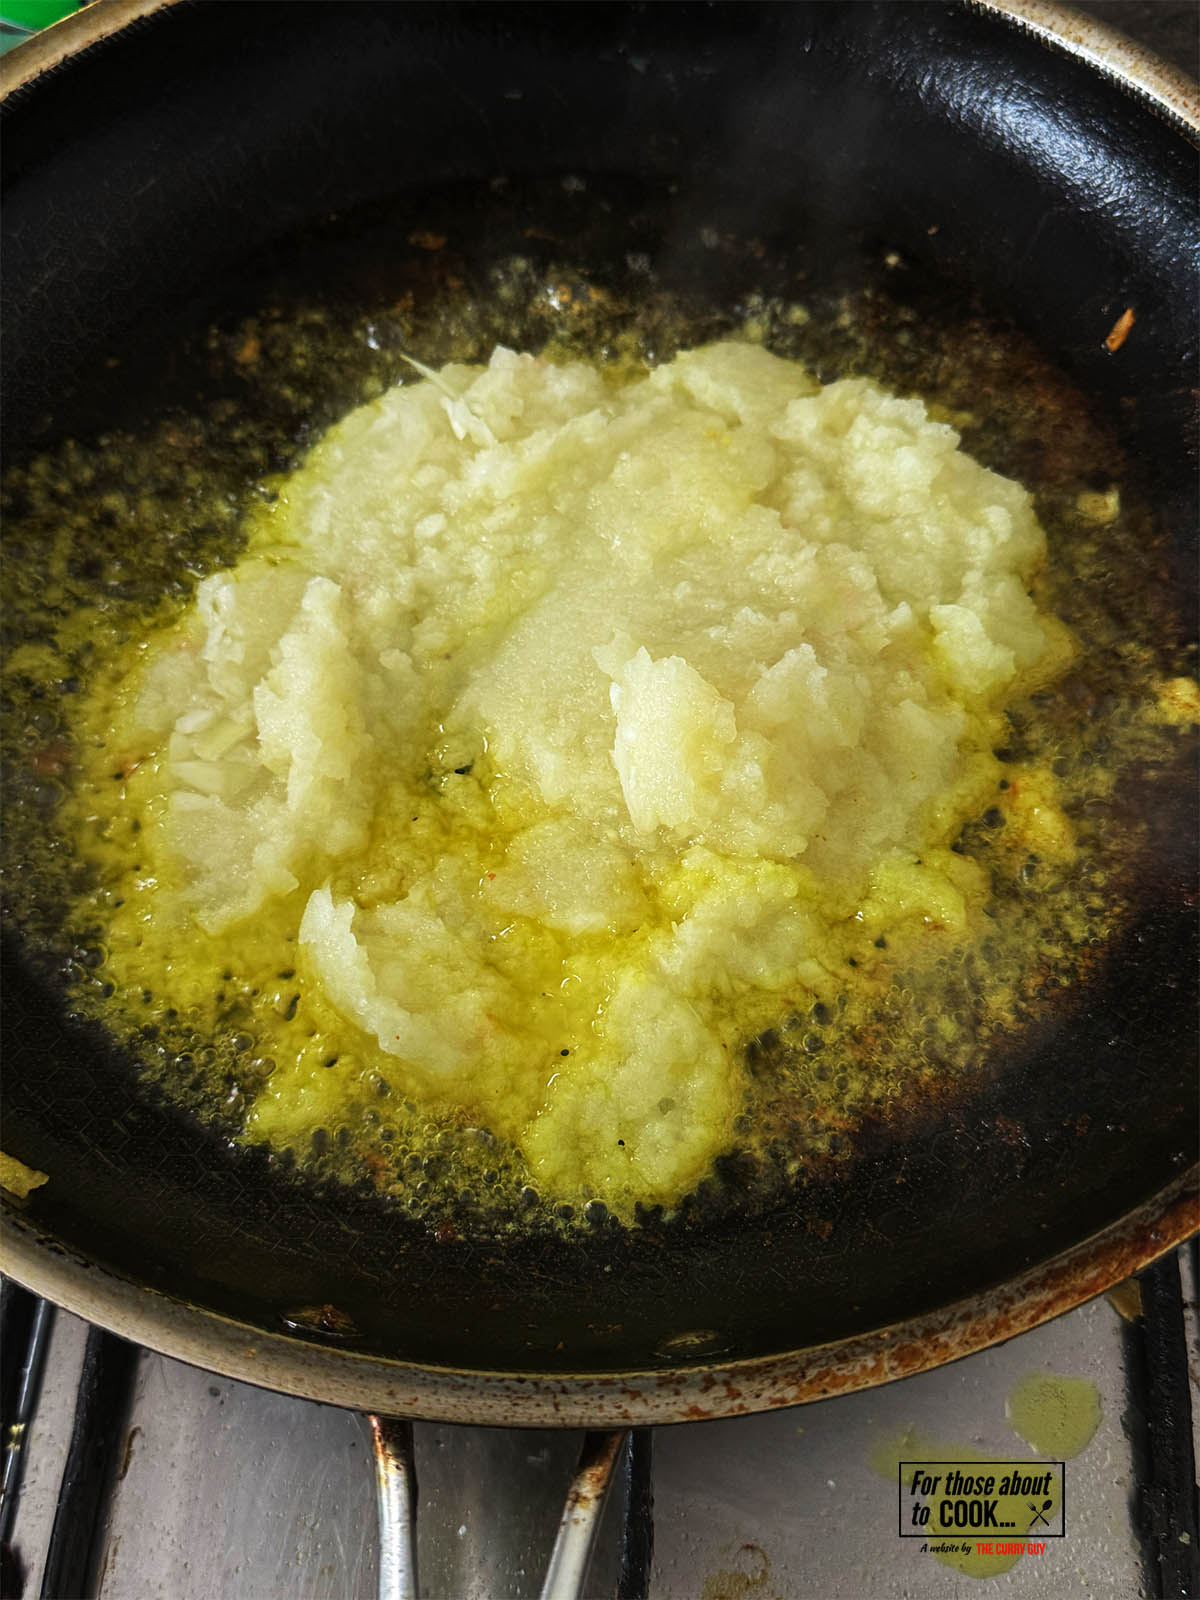
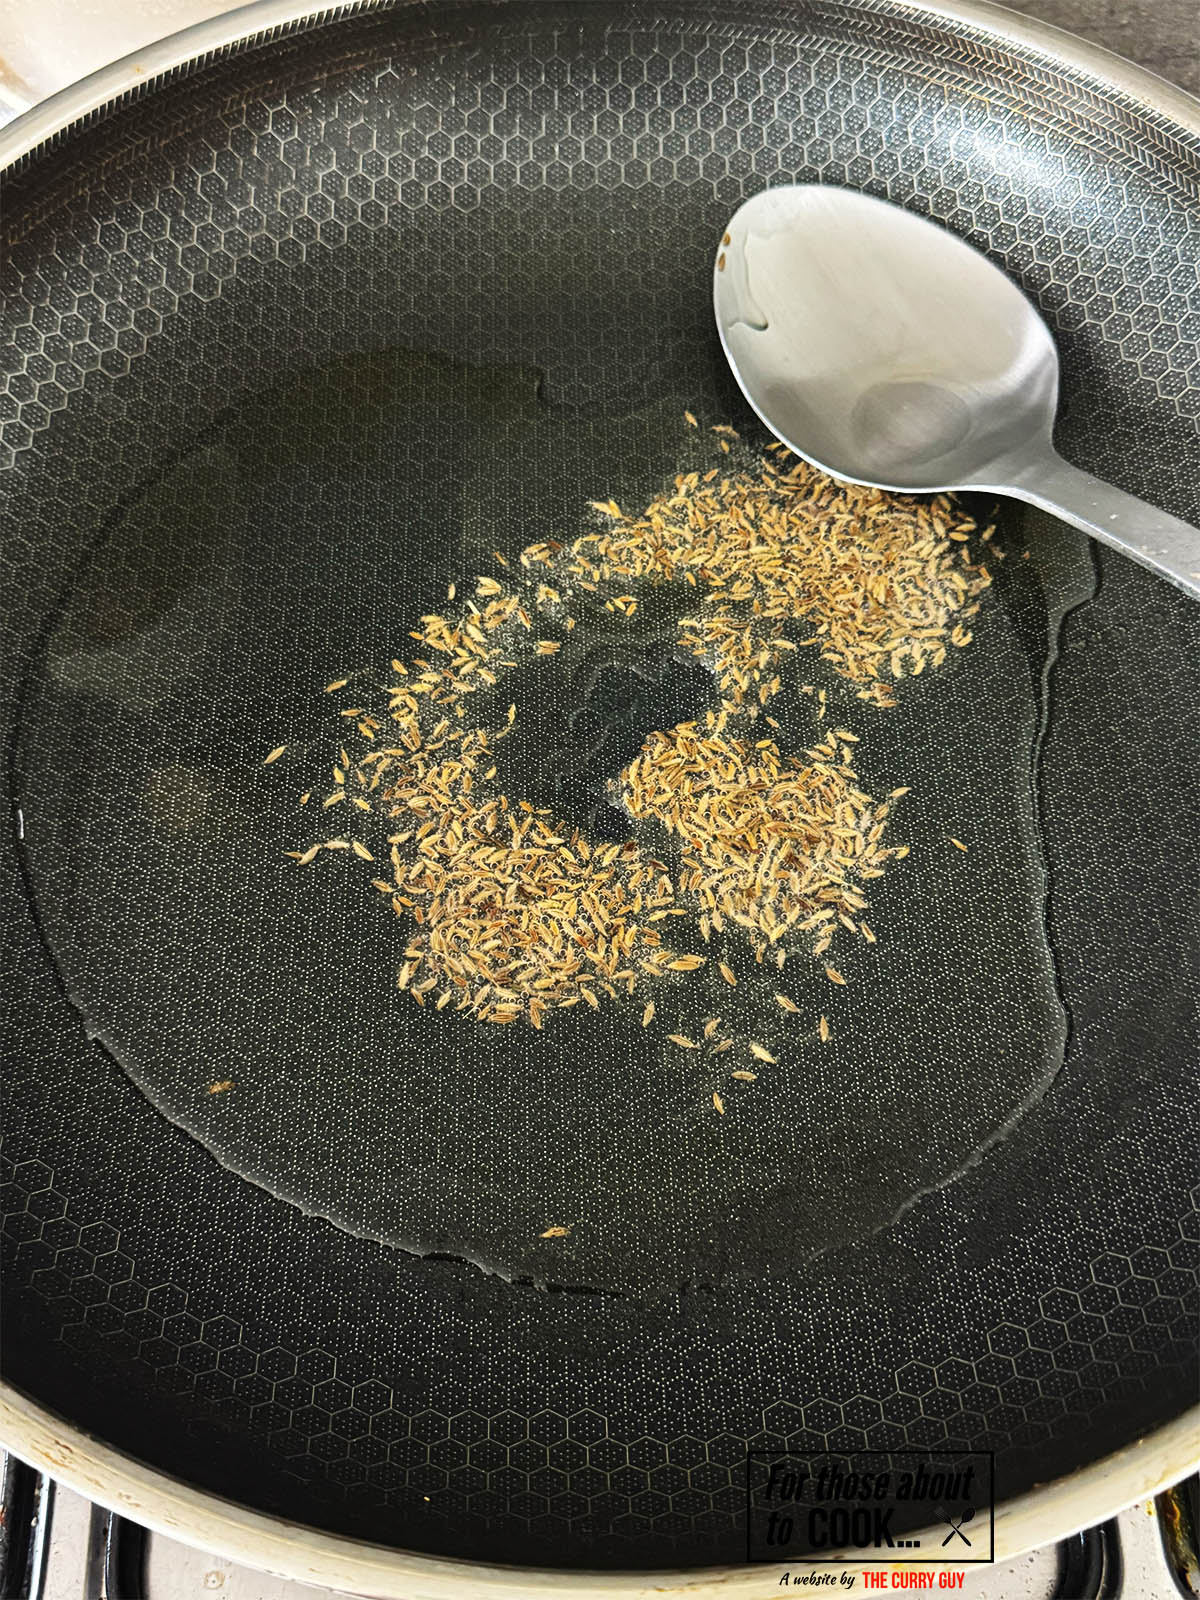
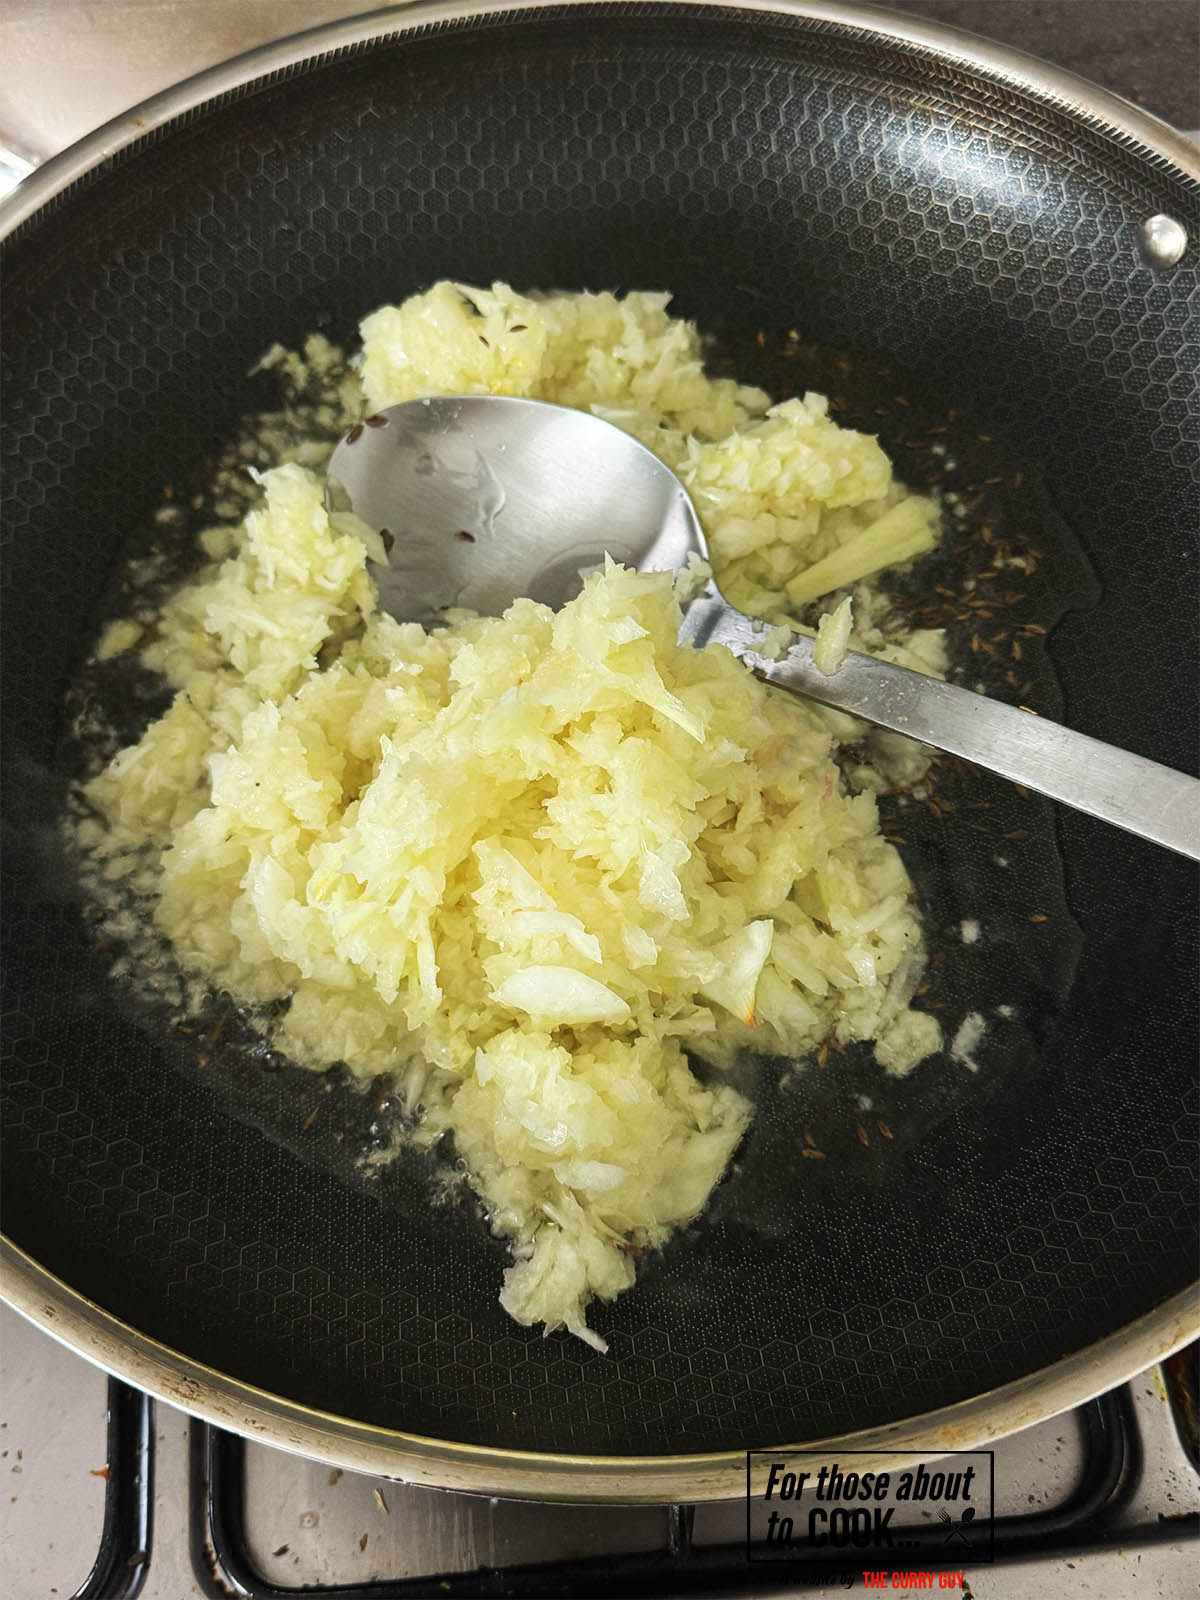
    1. Step 3: Add another two tablespoons butter, let it melt and add your whole spices and garlic and ginger paste. Let the spices infuse into the butter for about 30 seconds.
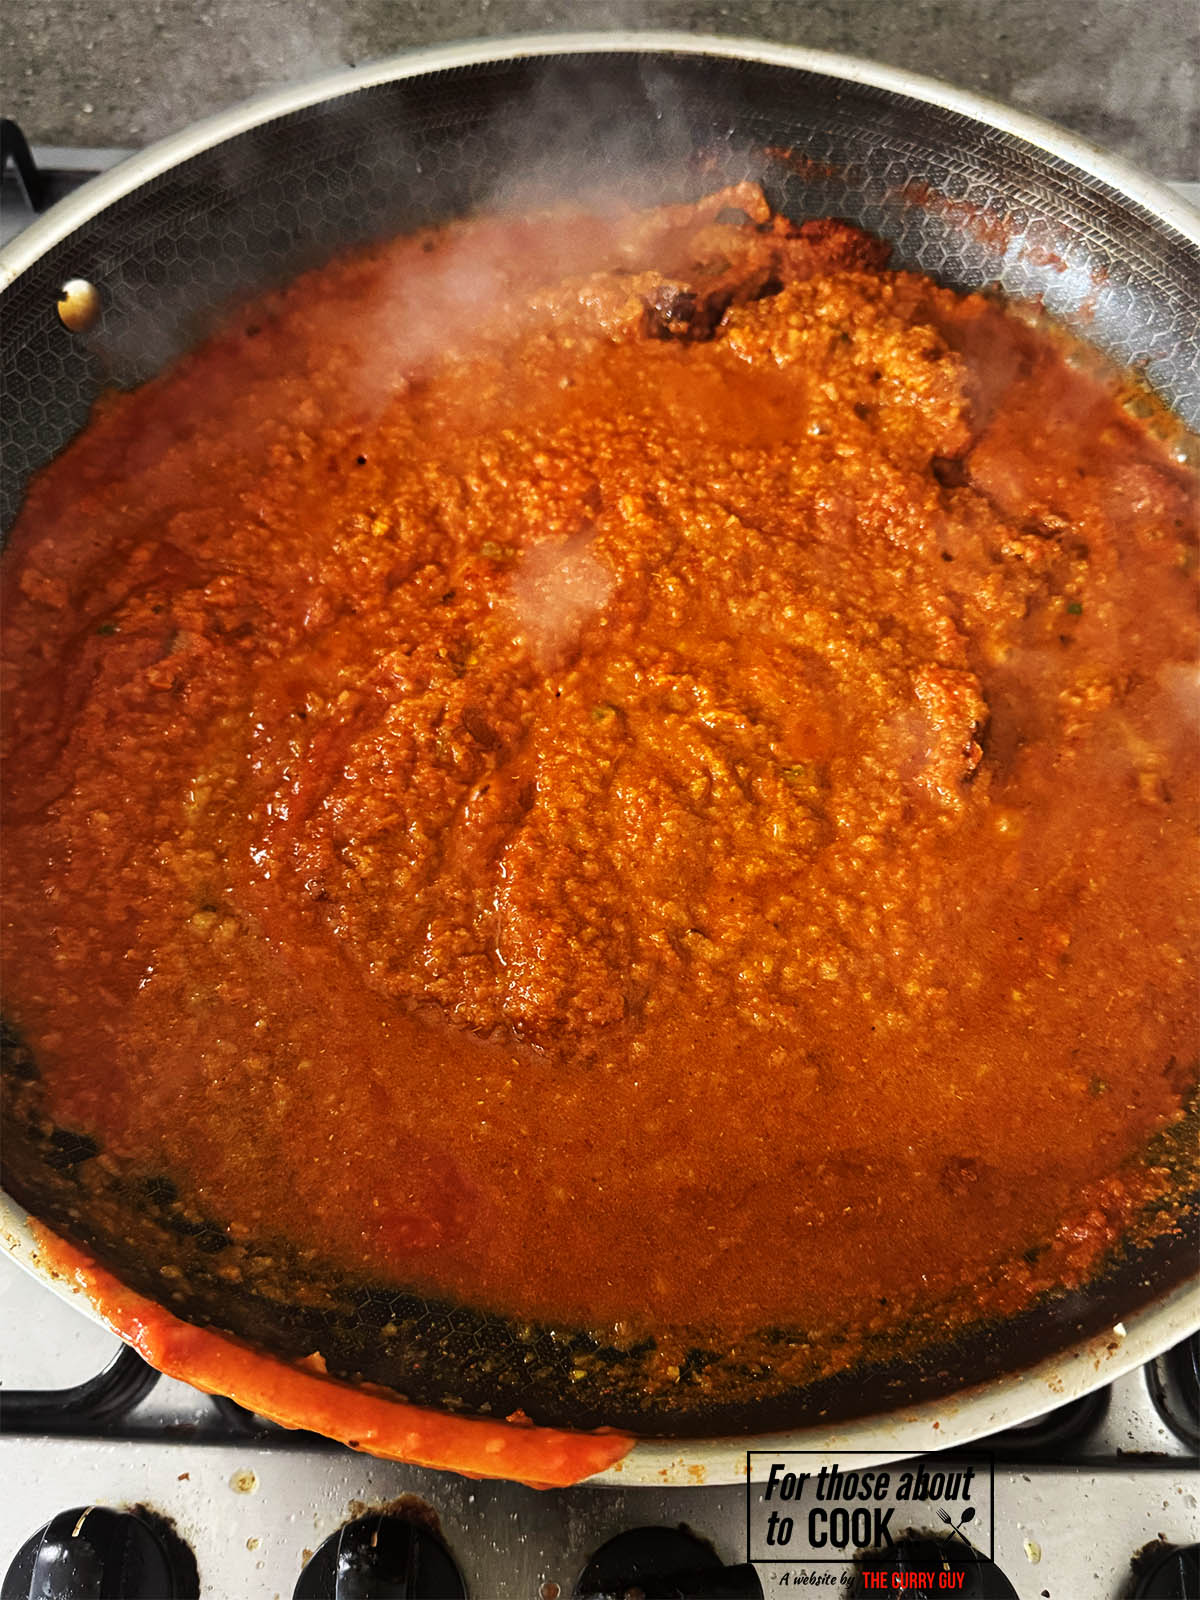
    Tomato paste and chicken stock added to pan
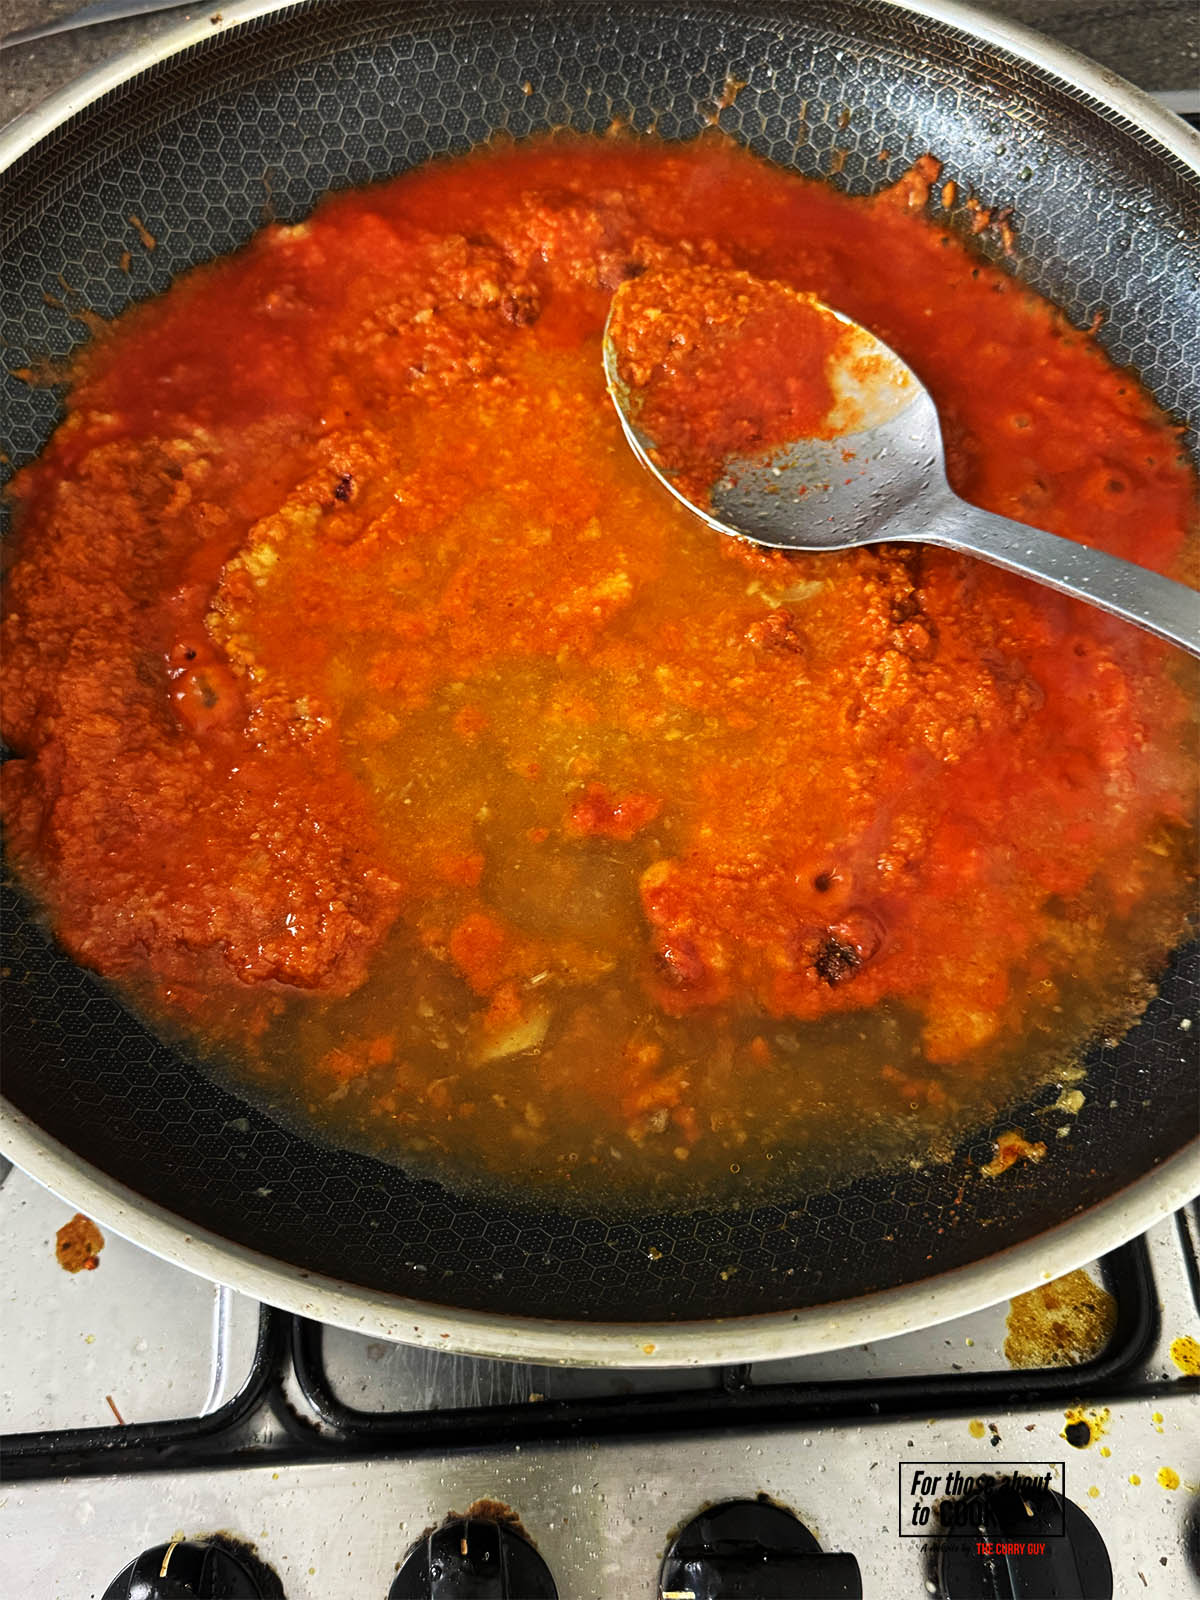
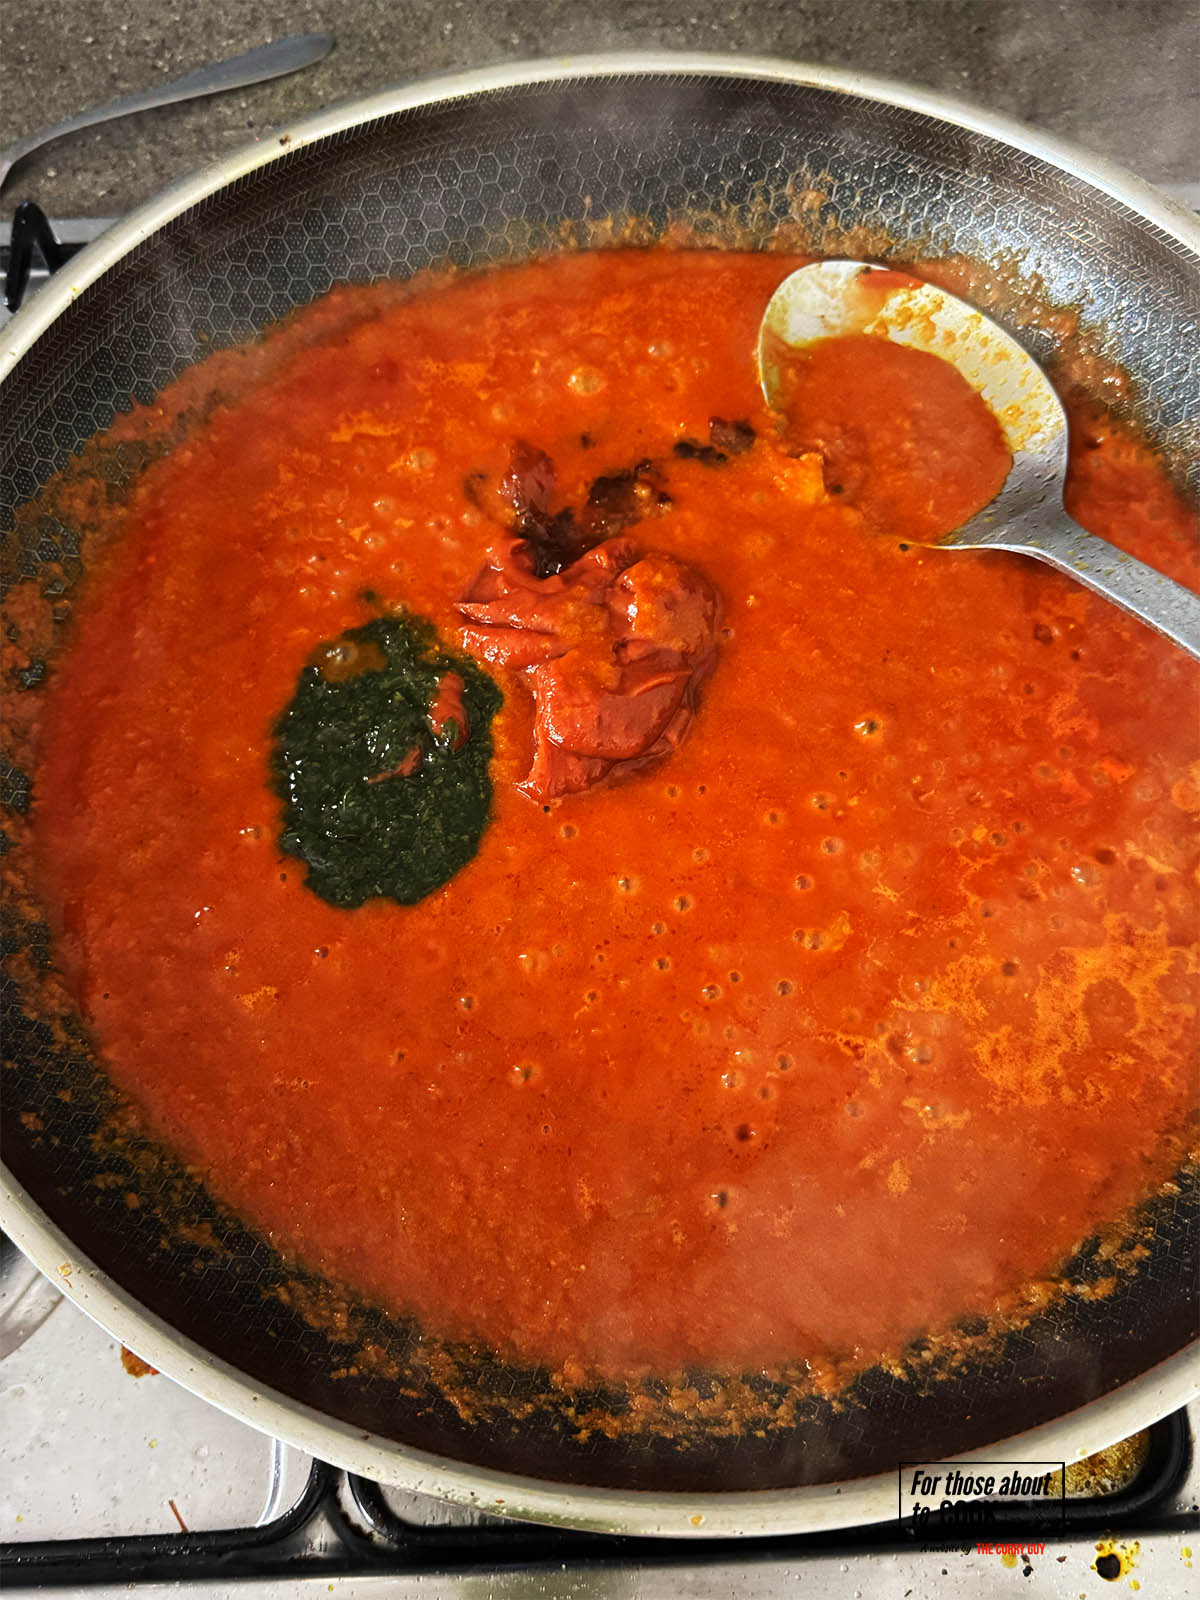
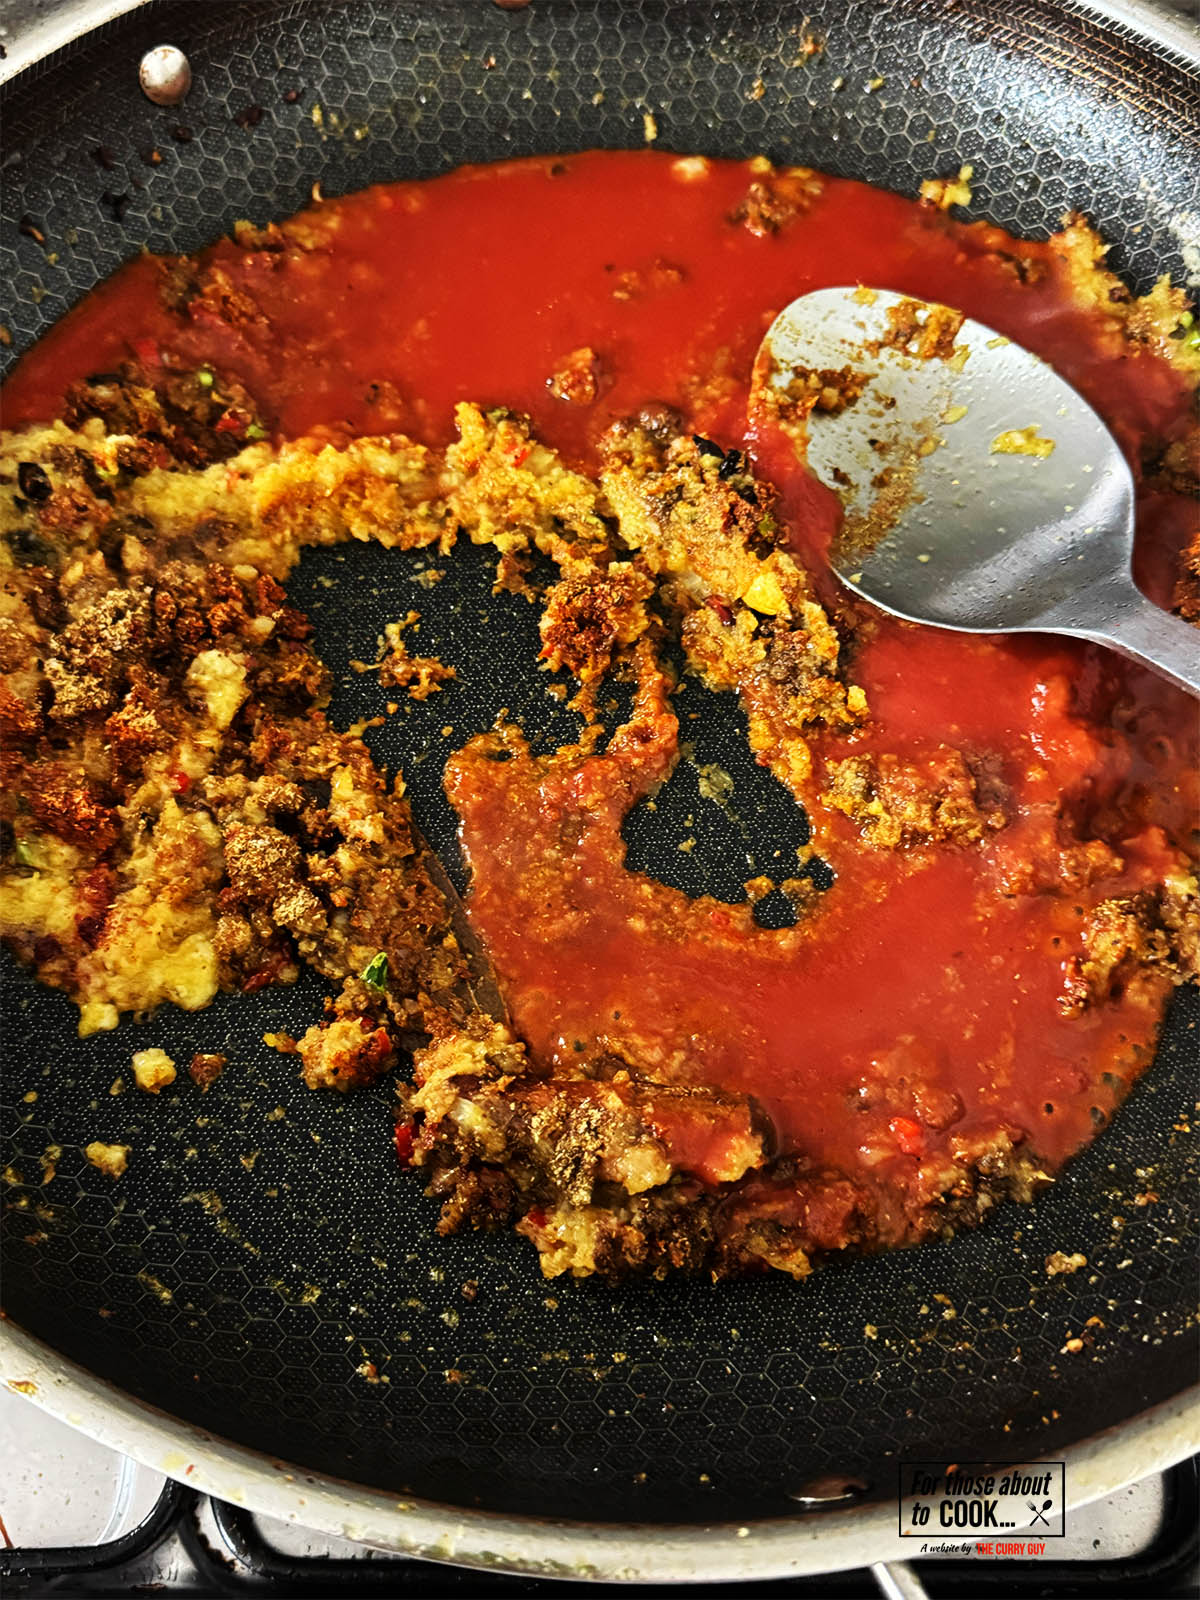
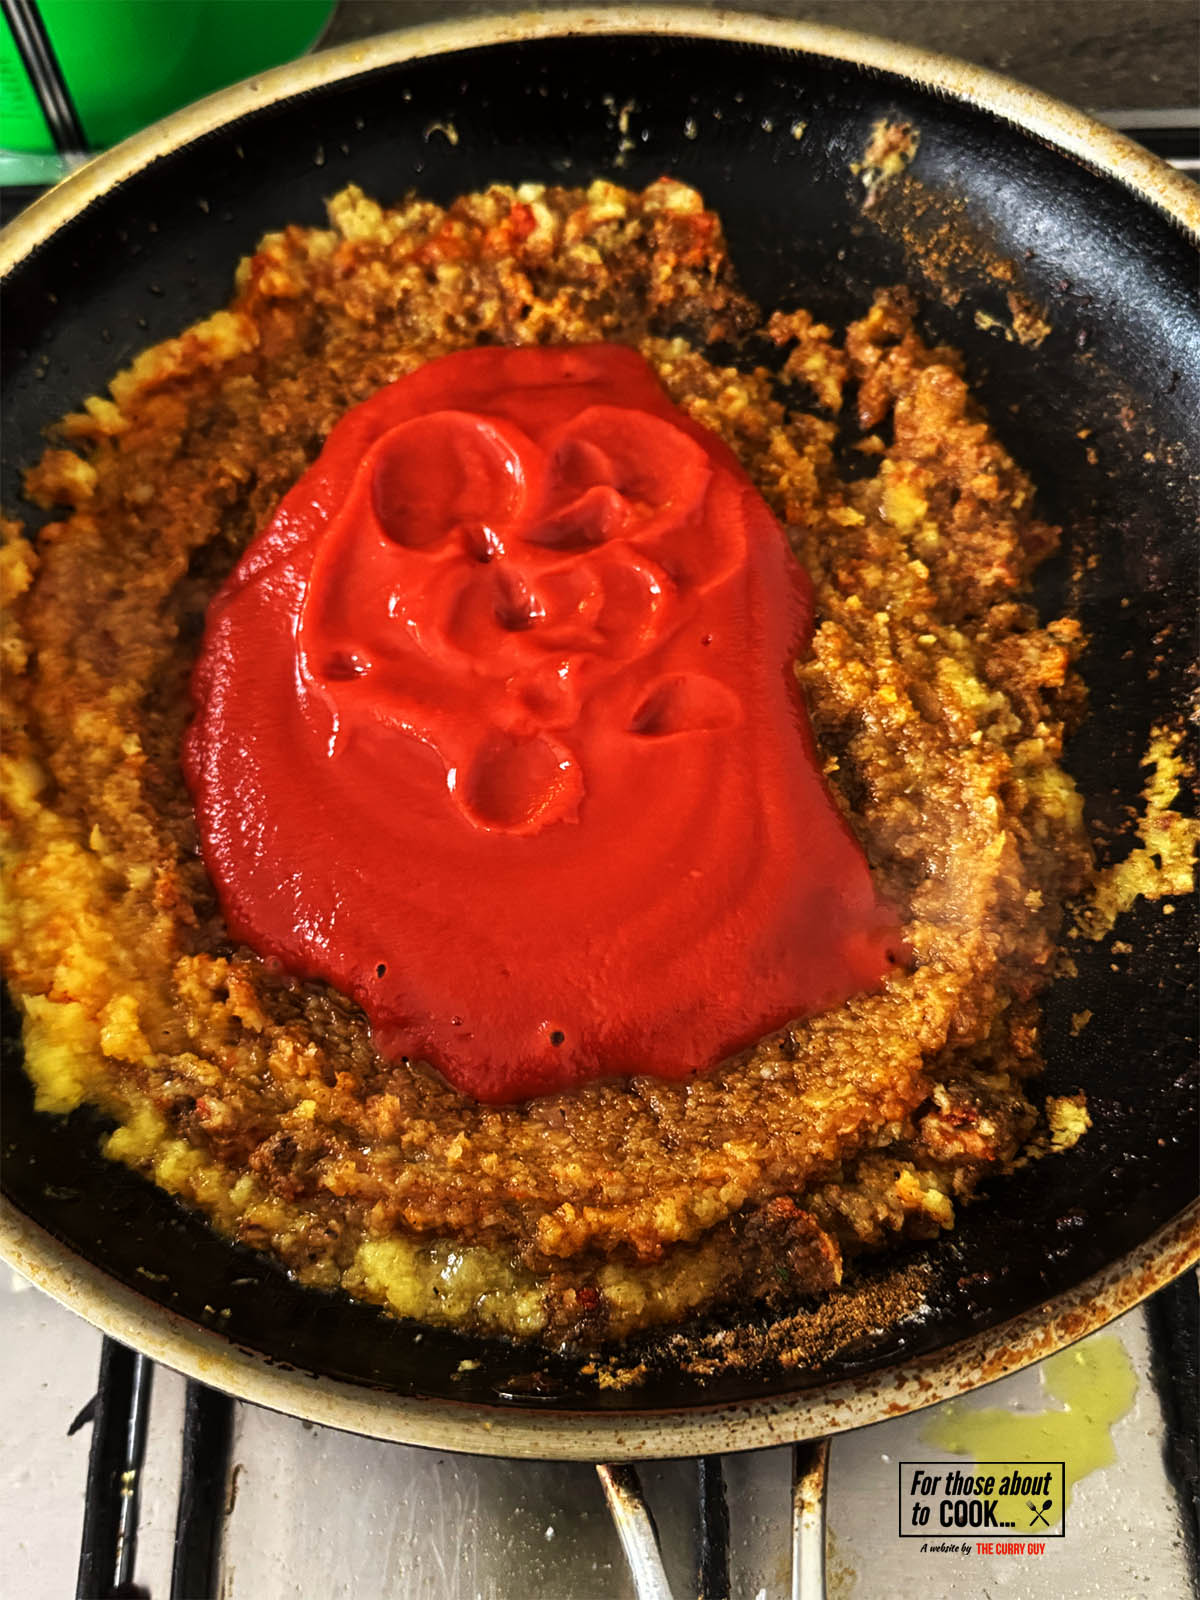
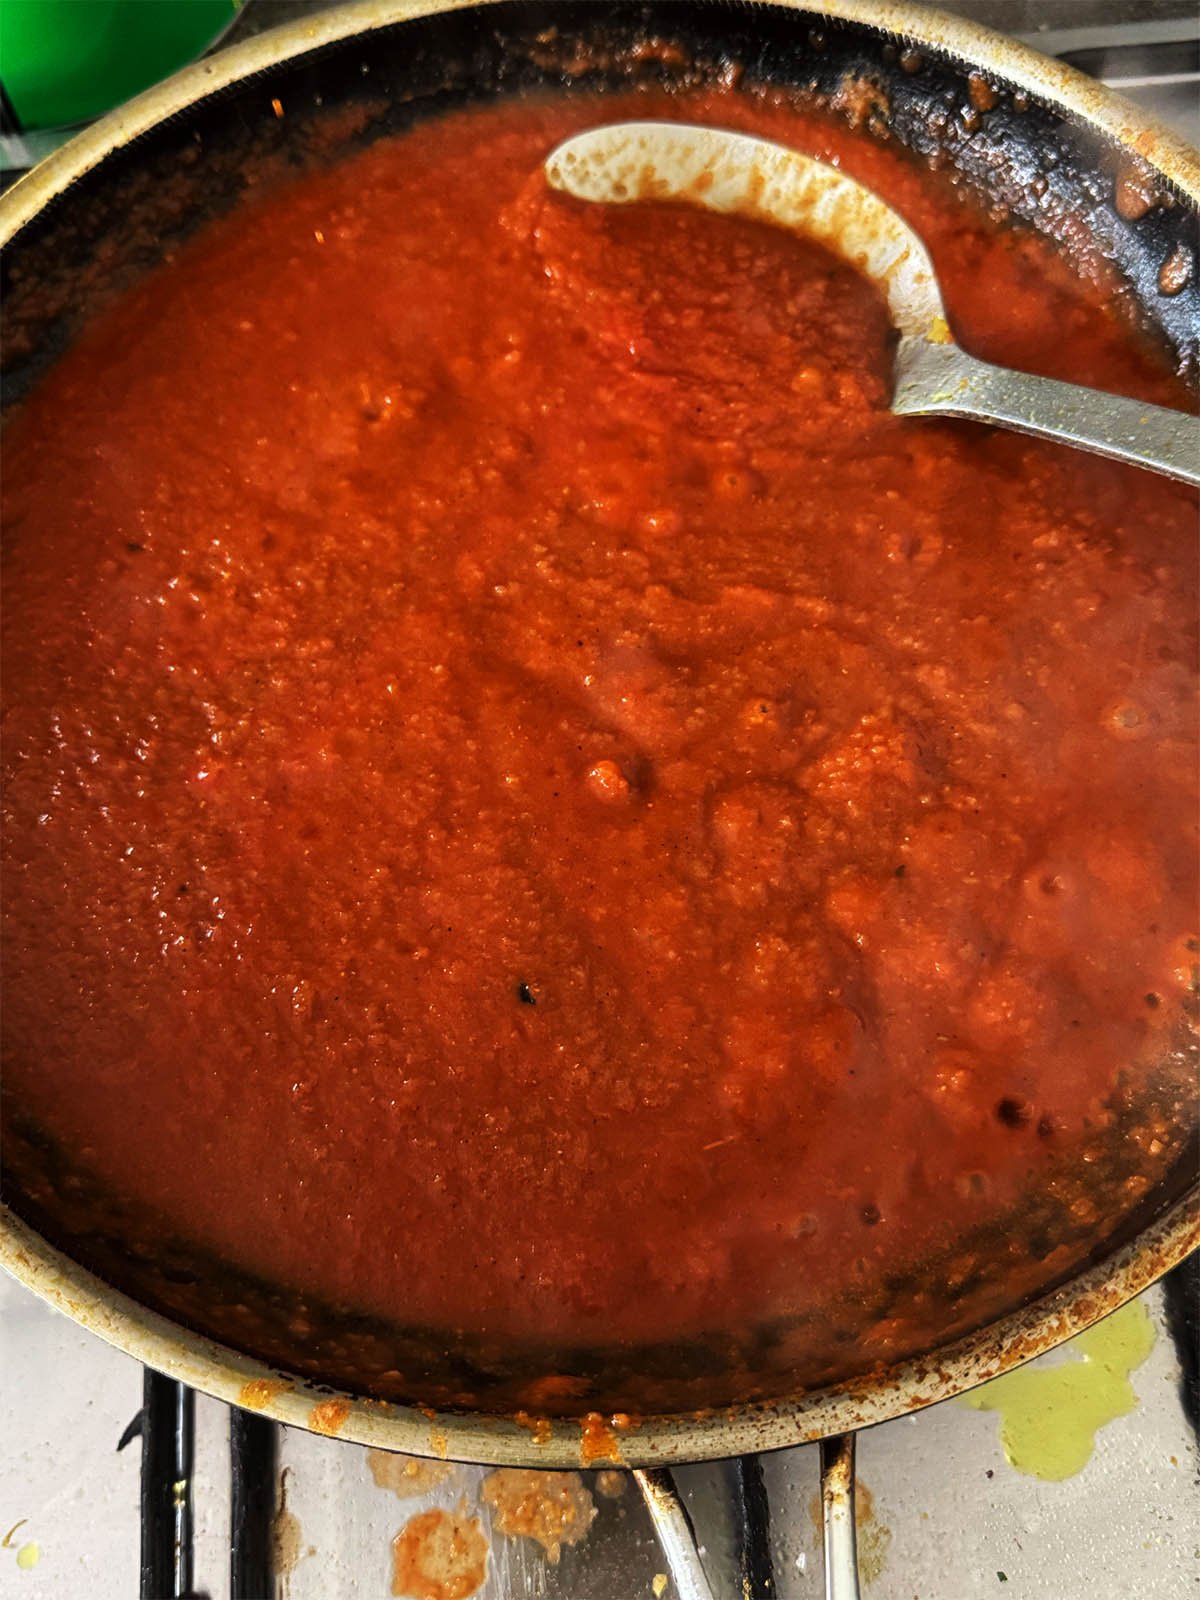
    1. Step 4: Add your blended tomatoes or passata and a splash of chicken stock to thin out the sauce.

    Spices added to sauce
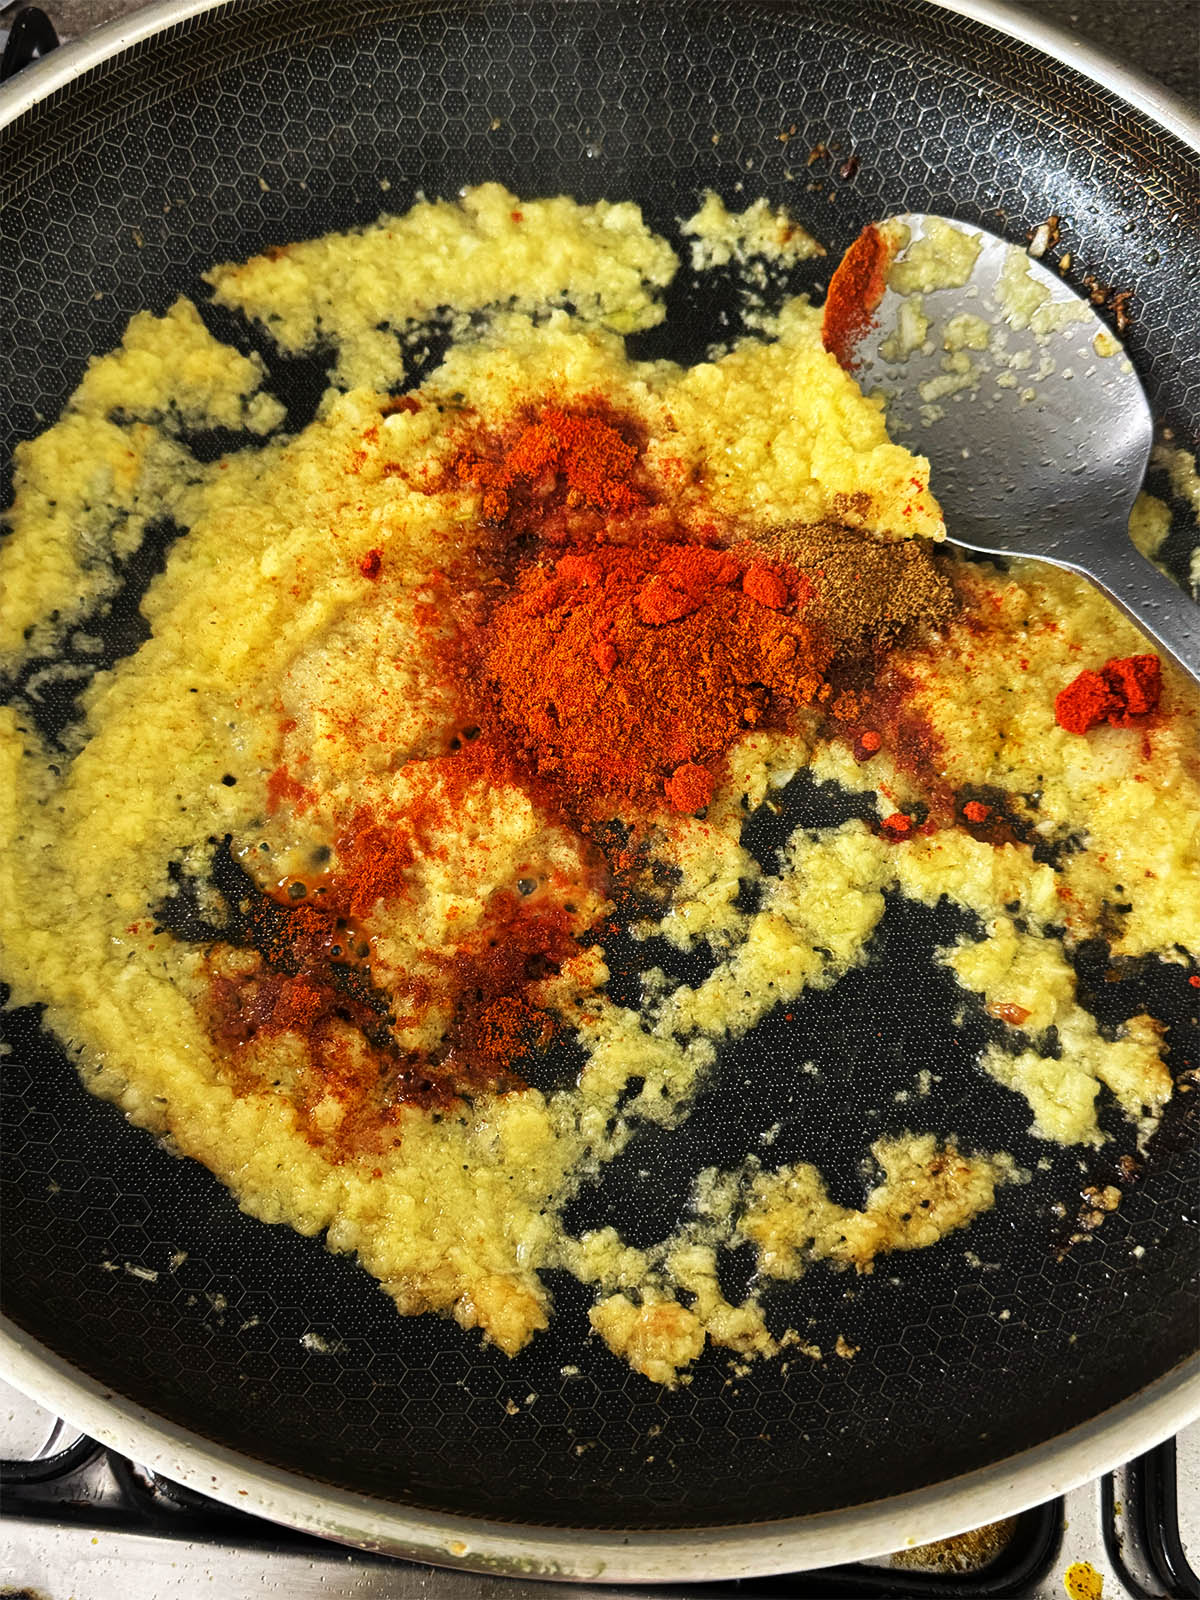
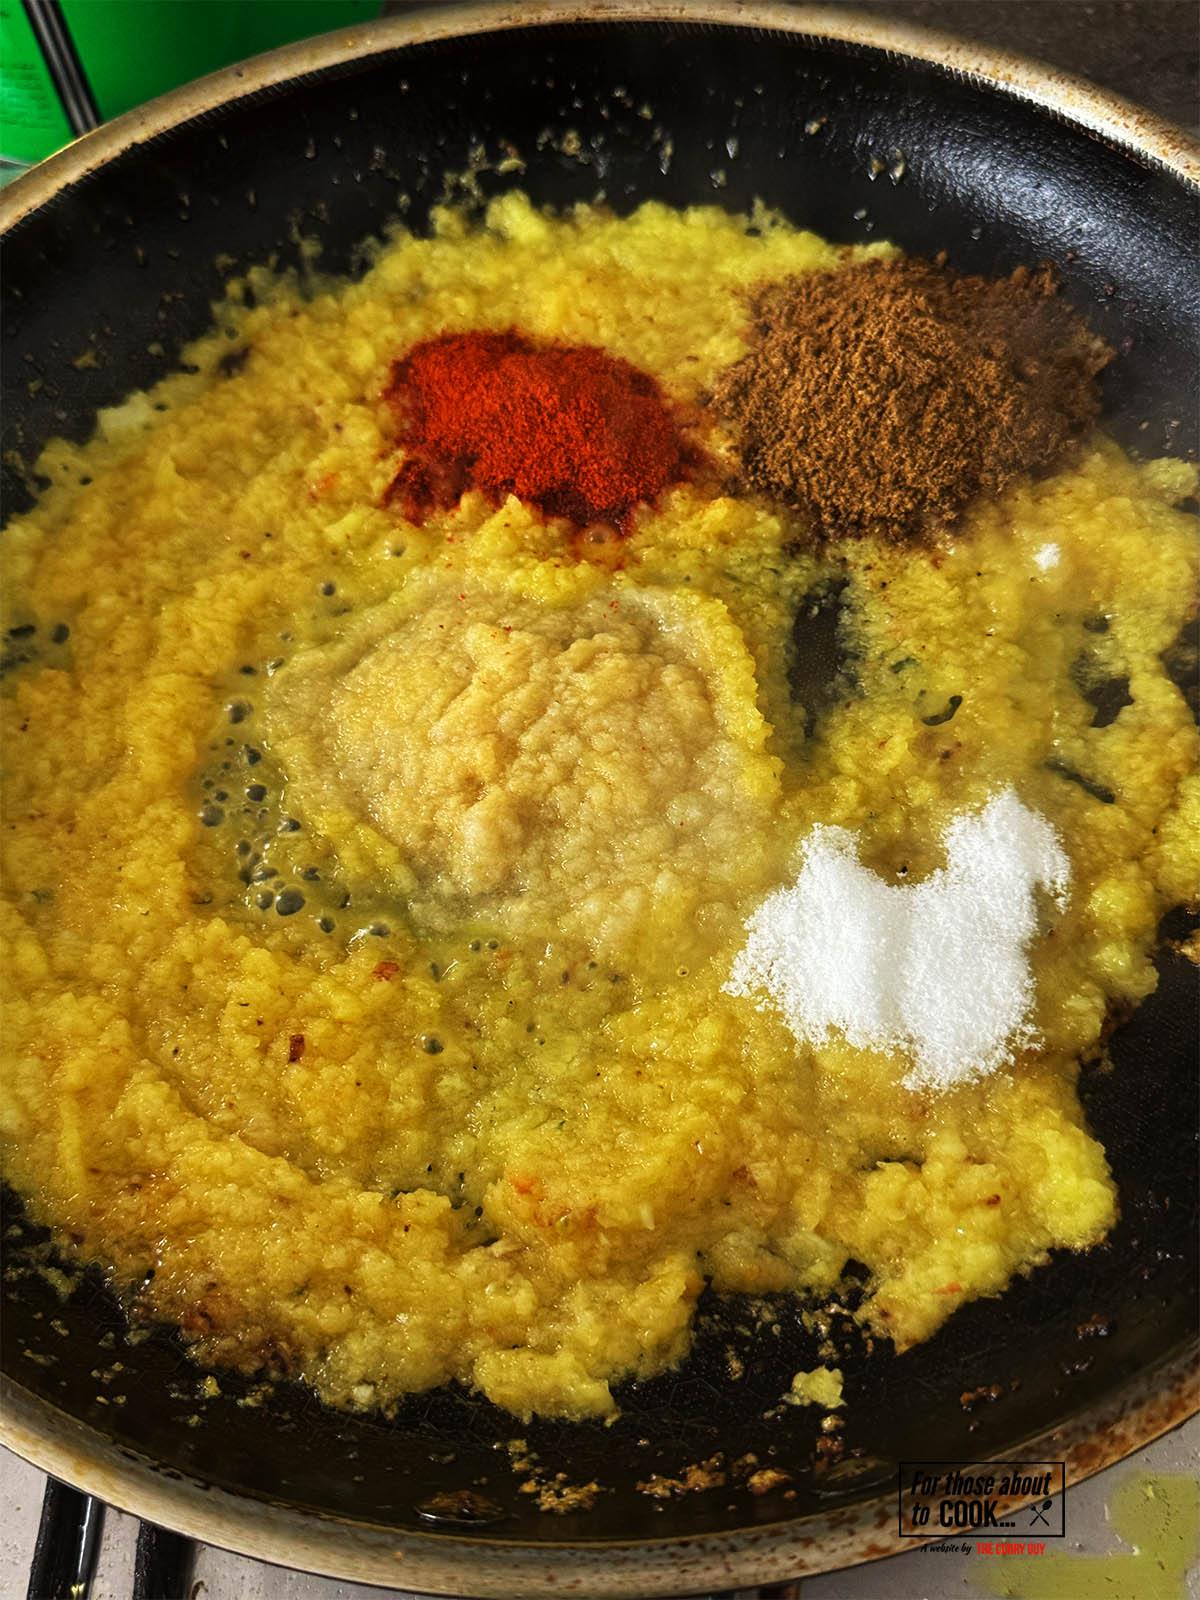
    1. Step 5: Add your ground spices.
    Cashews added to the sauce
    1. Step 6: Then add your cashews and more stock, stir well to combine.

    Butter chicken sauce blended
    1. Step 7: Pour the sauce into a blender and blend until smooth.
    Sauce strained to make smooth
    1. Step 8: Return your sauce to the pan. OPTIONAL: To create the silky smooth sauce that butter chicken is famous for, you can strain it back into the pan.

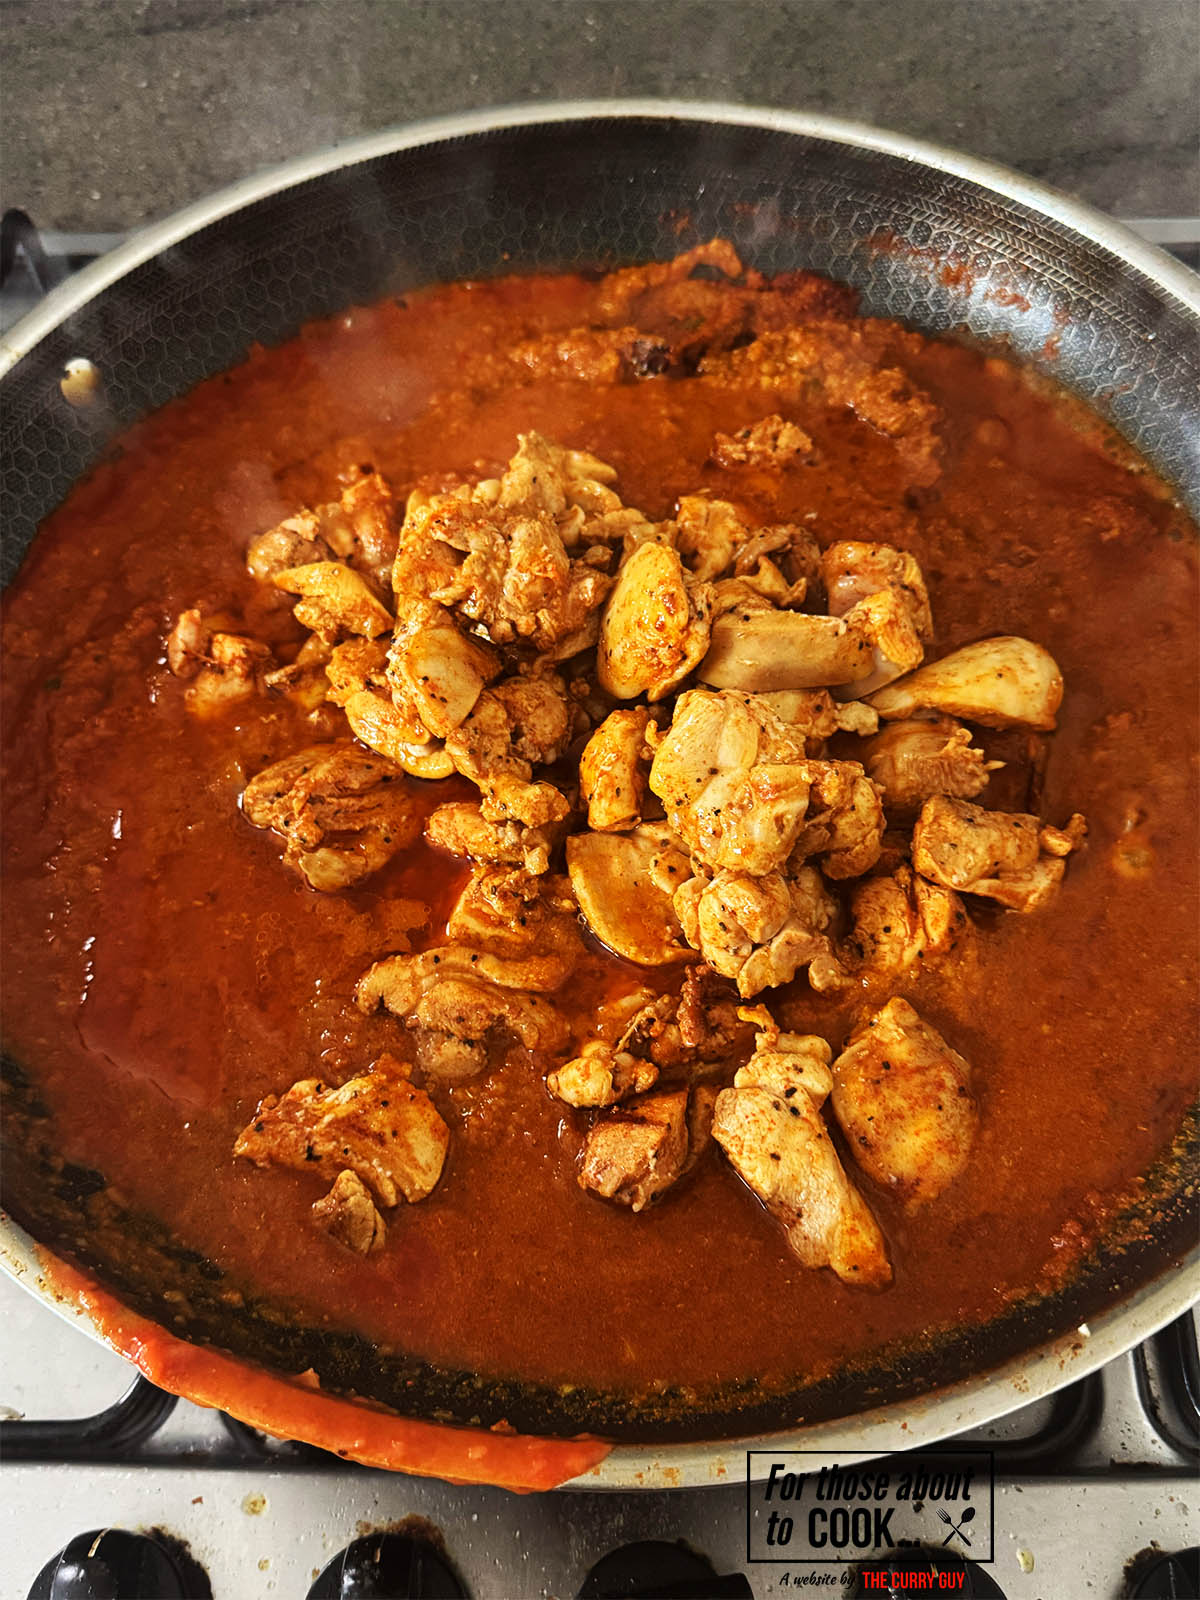
    Chicken returned to the sauce
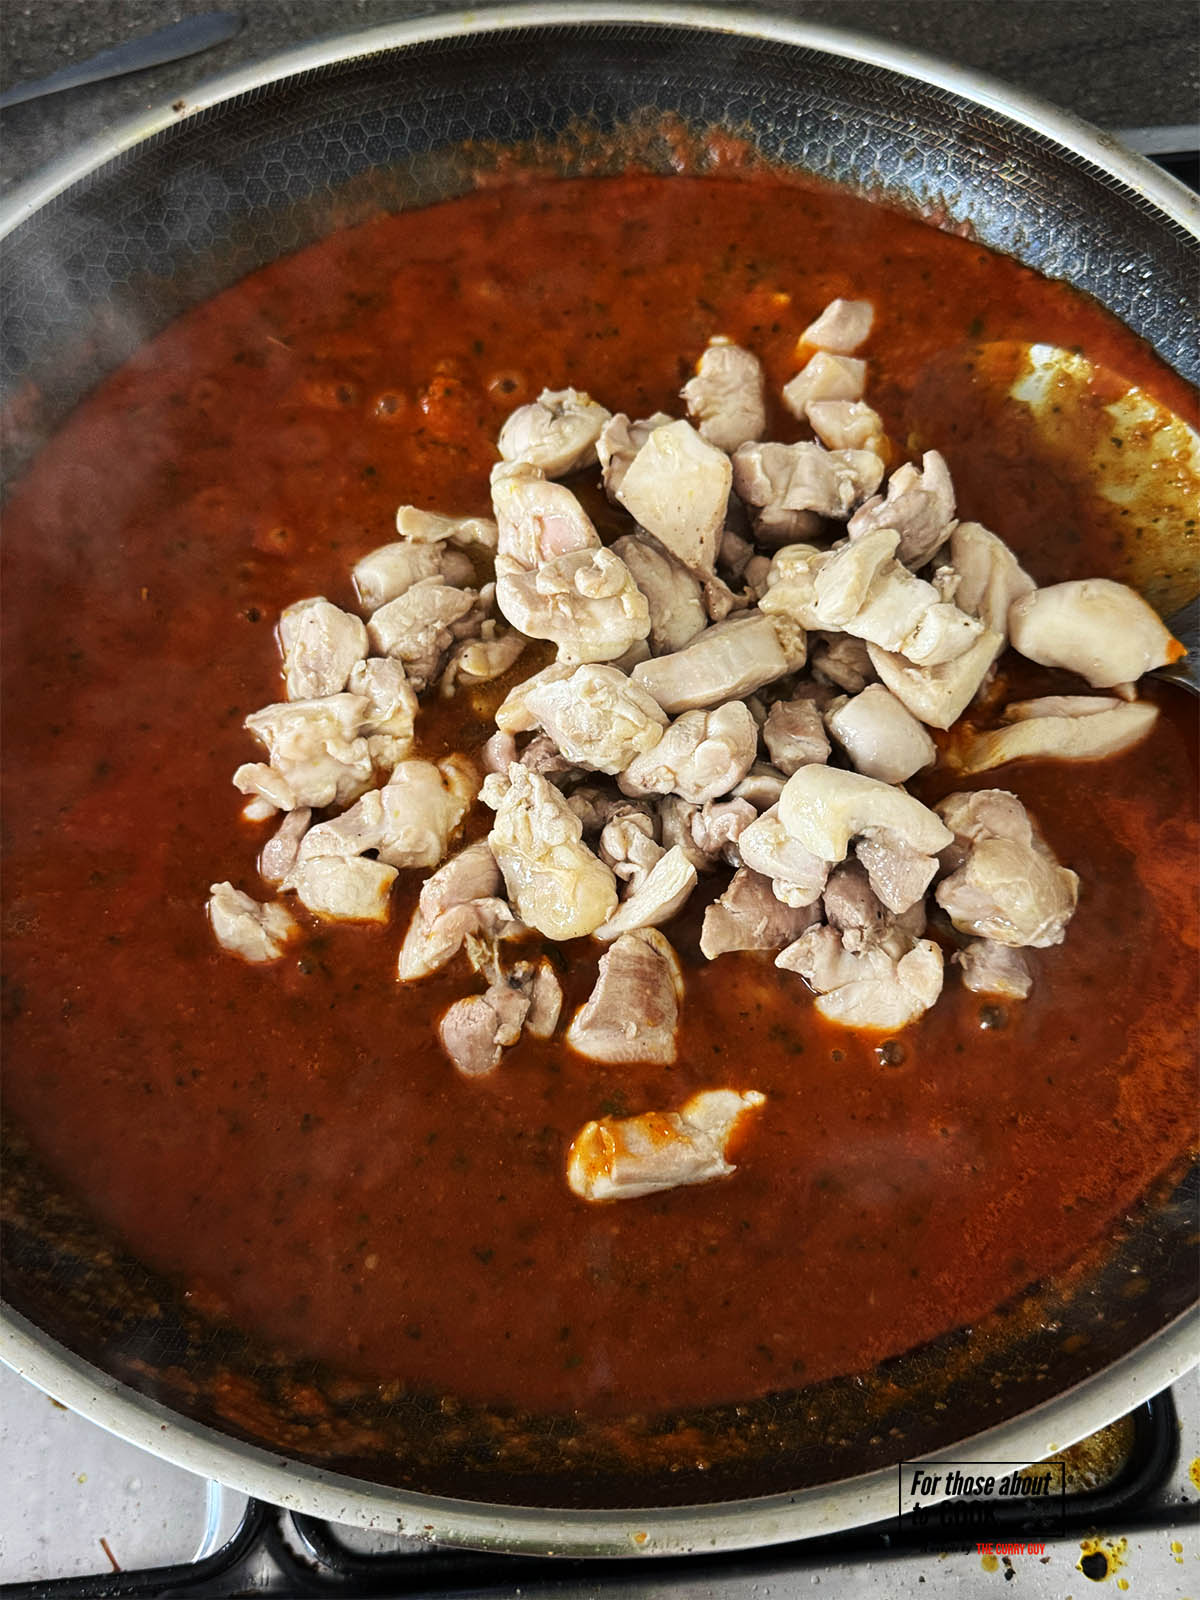
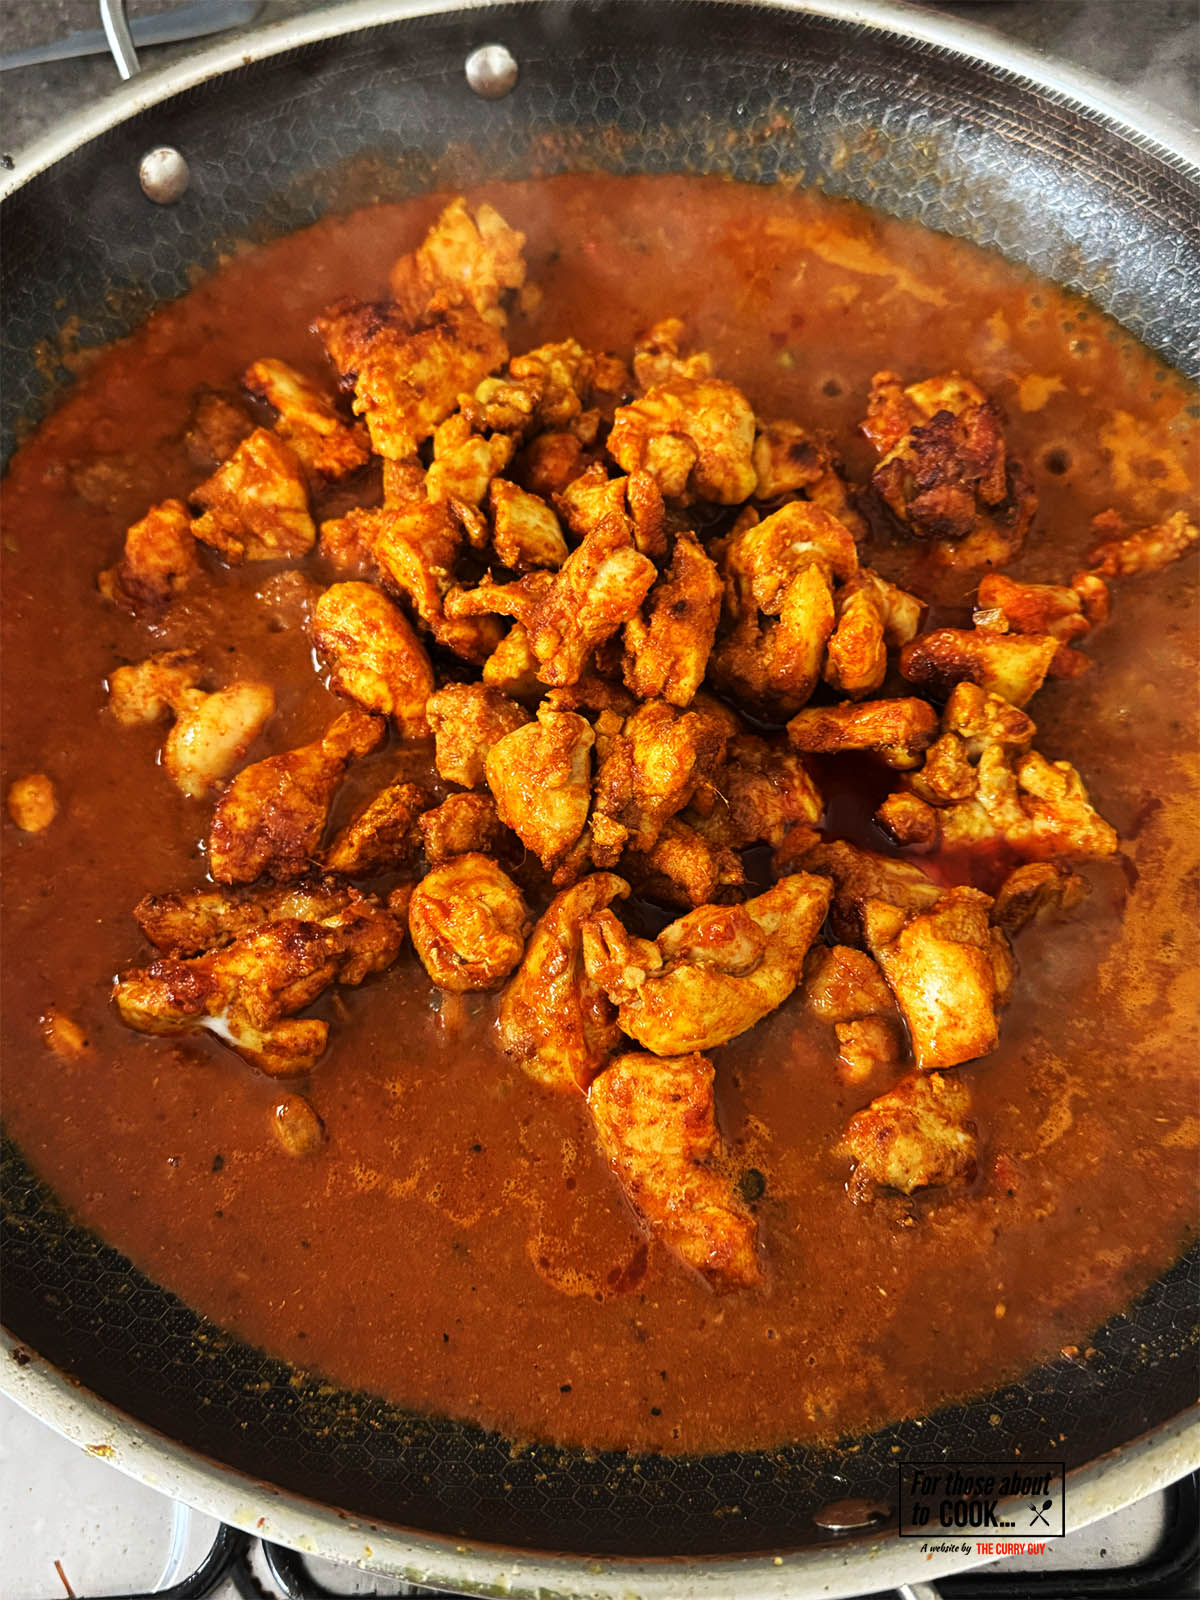
    1. Step 9: On a medium-high heat, return your chicken and all the juices and simmer until your meat is cooked through.
    Cream added to the sauce
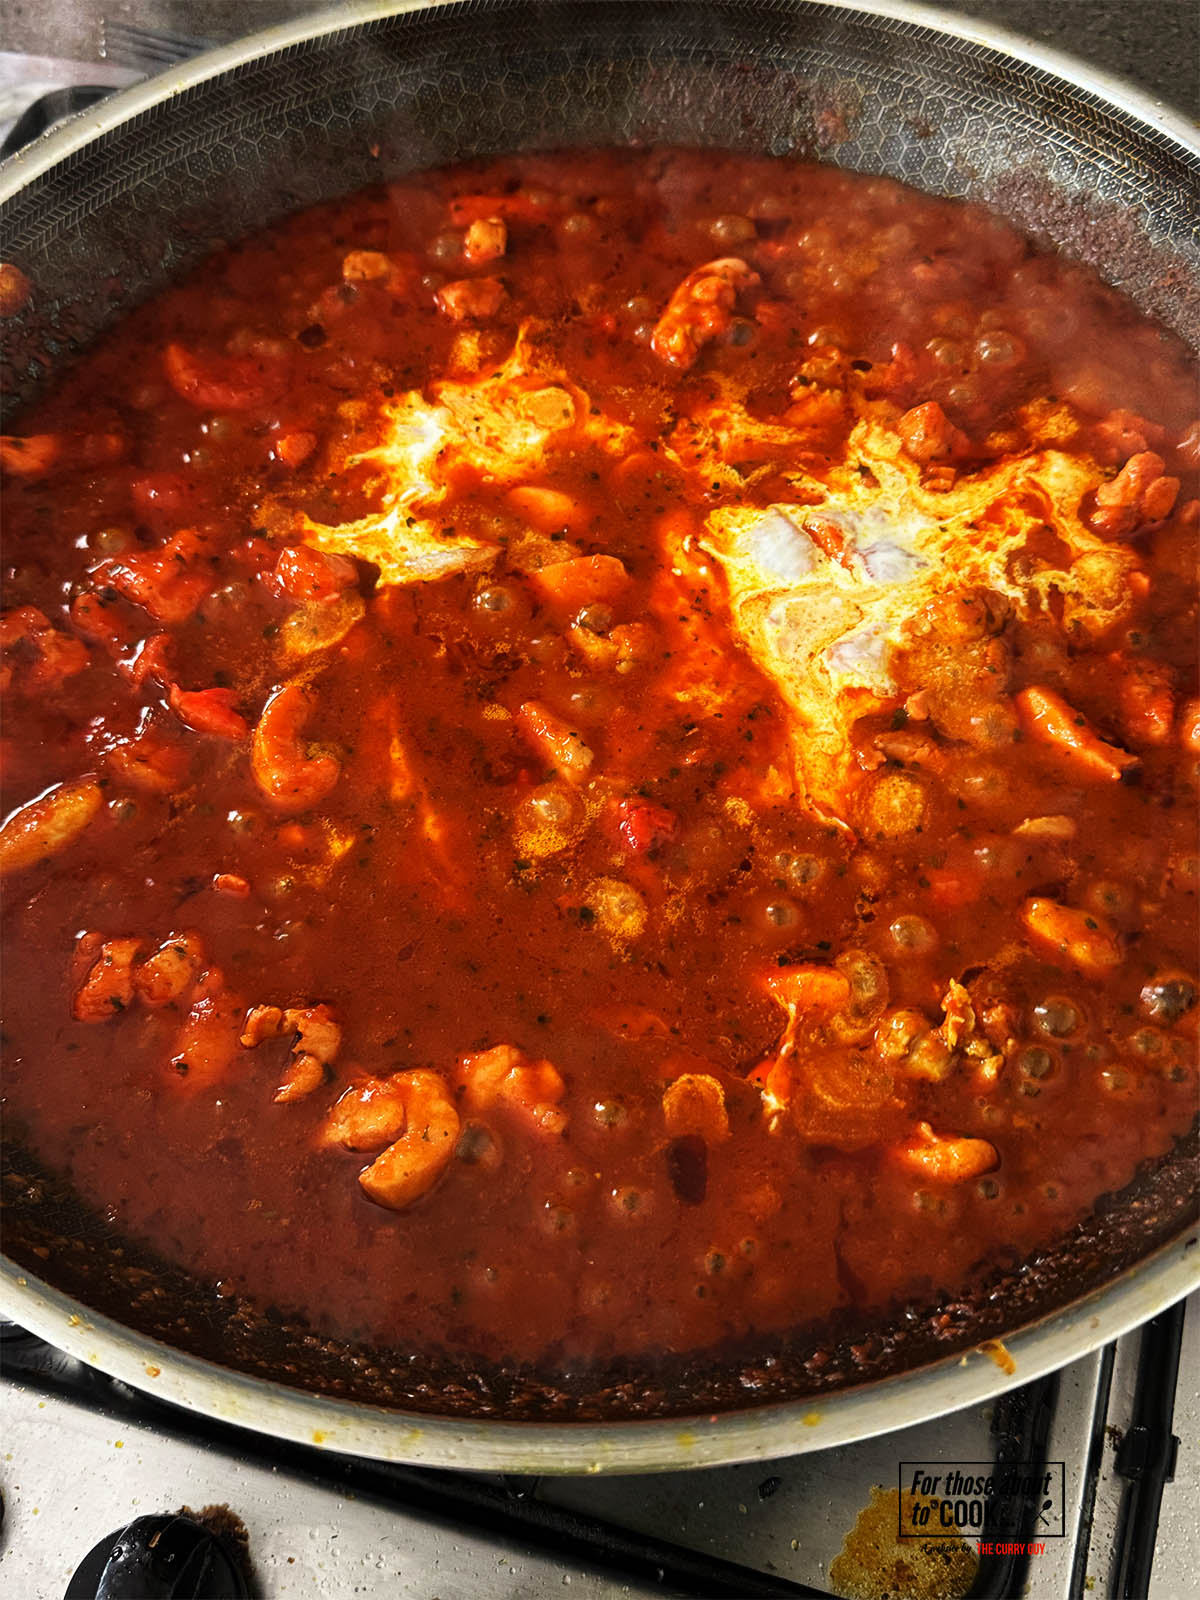
    1. Step 10: Swirl in the cream and sugar to taste.

    Butter added to finish the sauce
    1. Step 11: Optional but delicious, stir in a couple more tablespoons of butter and let it melt into the sauce. Season with salt to taste.
    Finished butter chicken with rice and naan
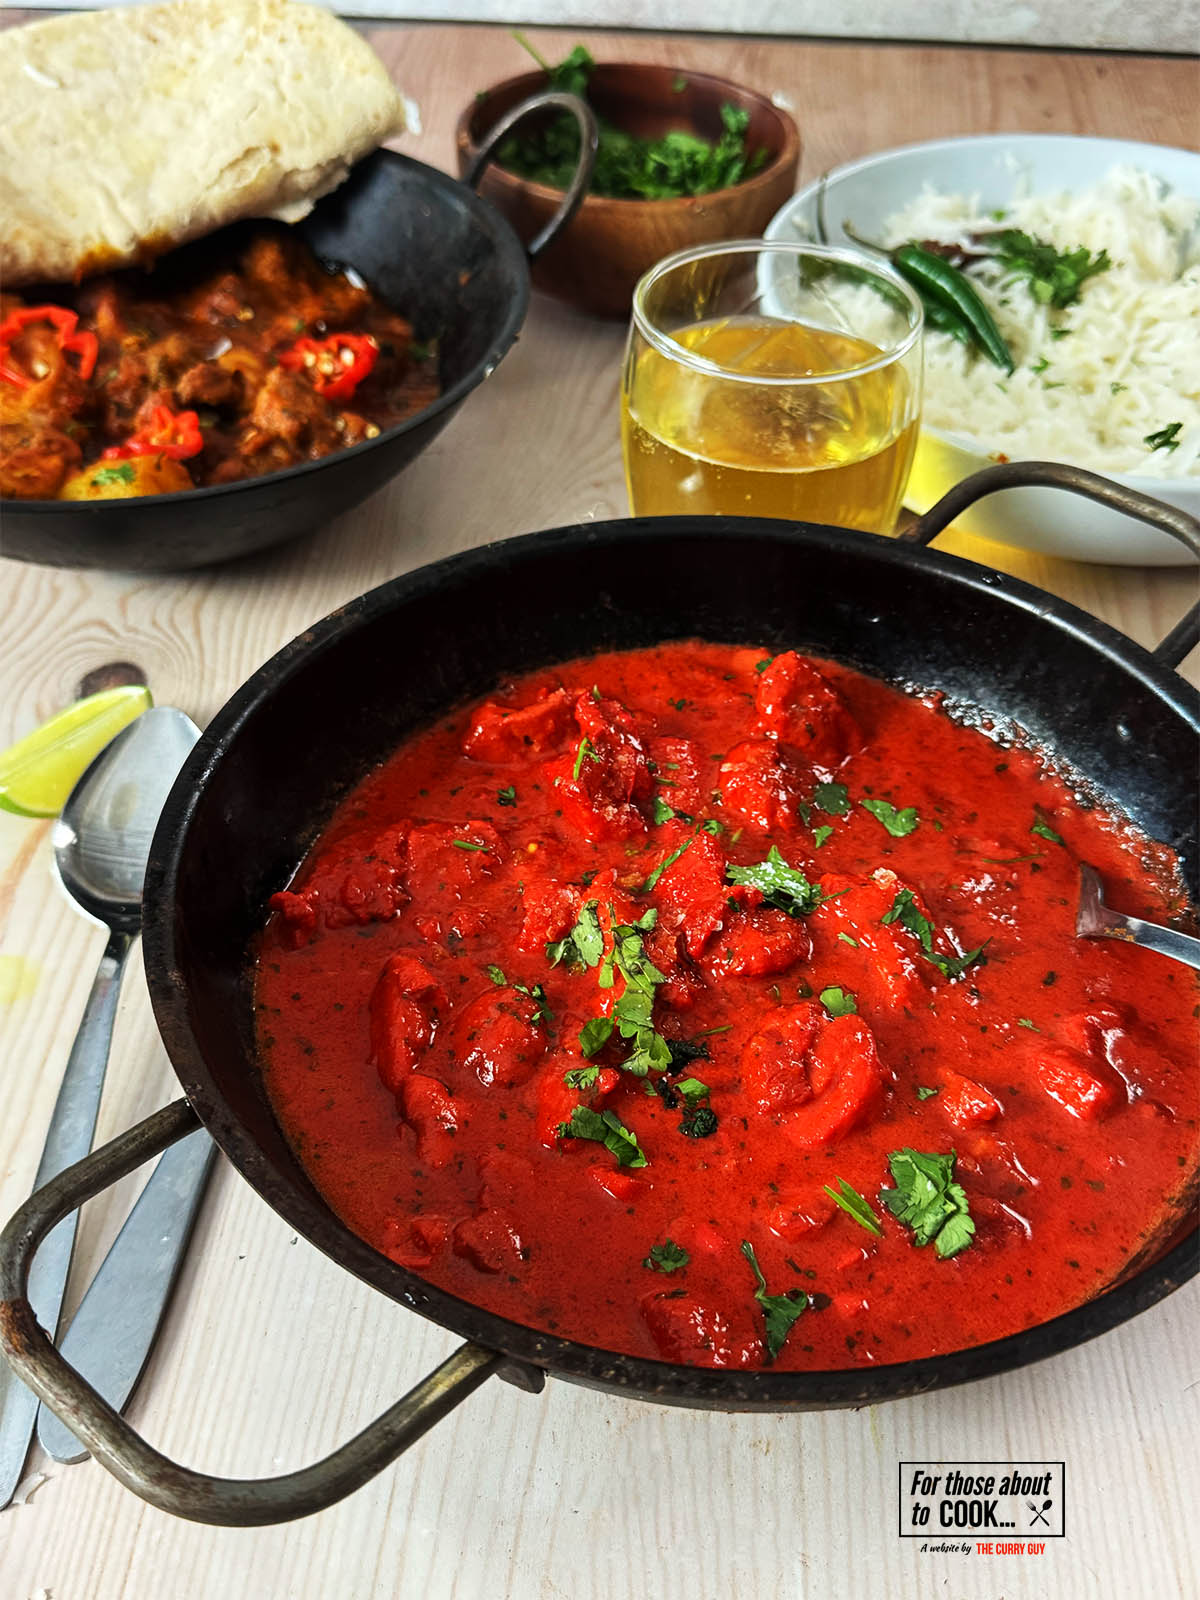
    1. Step 12: Finish with a splash of extra cream and chopped coriander. Dig in!

    Don't you need to use tandoor cooked chicken?

    Ideally yes, butter chicken is normally cooked using tandoor cooked chicken as it adds that amazing smoky flavor you can't get from simply pan frying. Since this is my 30 minute version, I saved time by frying the chicken straight after being covered in the marinade. However, If you have a few extra minutes spare I have an amazing quick method for smoking your chicken without having to use a tandoor:

    Chicken smoking with hot coal and oil
    1. Step 1: Place your marinated chicken in a pan and create a well in the middle. Create a bowl using foil and place it in the middle of your chicken. Take a piece of glowing charcoal and use tongs to place it into the foil bowl. Add a splash of oil on top of the charcoal.
    Chicken smoking in pot
    1. Step 2: Cover with a pan lid immediately to trap the smoke and remove when most of the smoke has disappeared. Don't wait until the smoke has vanished completely as I find that this leaves an unpleasant taste.

    Storage

    Fridge:
    Store cooled butter chicken in an airtight container and eat within 2–3 days. Reheat on the hob or microwave until piping hot. Reheating on the hob (stove) is my preferred method. To do this, heat it up gently over a medium heat until hot.

    Freezer:
    For best results, leave out the cream and butter until you would like to reheat your butter chicken as these don't freeze well. Freeze cooled butter chicken in a sealed container for up to 3 months. Defrost in the fridge overnight or reheat from frozen on the hob or in the microwave until steaming hot. Add your cream and butter once the curry is reheated.


    Top Tip

    If you have the time, I strongly recommend straining your butter chicken sauce using a fine mesh strainer. This takes a bit of time but the results are a super smooth and silky sauce.


    FAQ

    Can I use pre-cooked chicken?

    Yes! Pre-cooked or leftover chicken works well—just add it during the final 5 minutes of cooking to avoid drying it out.

    Can I make it vegetarian or vegan?

    Absolutely. Swap chicken for firm tofu, paneer, or chickpeas, and ensure you're using oil instead of ghee or butter.


    More 30 Minute Curries...

    • Finished chicken tikka masala sreved with rice and naan
      30 Minute Chicken Tikka Masala
    • finished lamb rogan josh served with naan
      30 Minute Lamb Rogan Josh
    • Butter chicken topped with cream
      30 minute Butter Chicken
    • 30 Minute Chicken Madras in a serving bowl next to pilau rice.
      30 Minute Chicken Madras
    • Chicken chilli garlic curry in a serving bowl next to rice and naans.
      30 Minute Chicken Chilli Garlic Curry
    • finished chicken jalfrezi plated with rice and naan
      30 Minute Chicken Jalfrezi
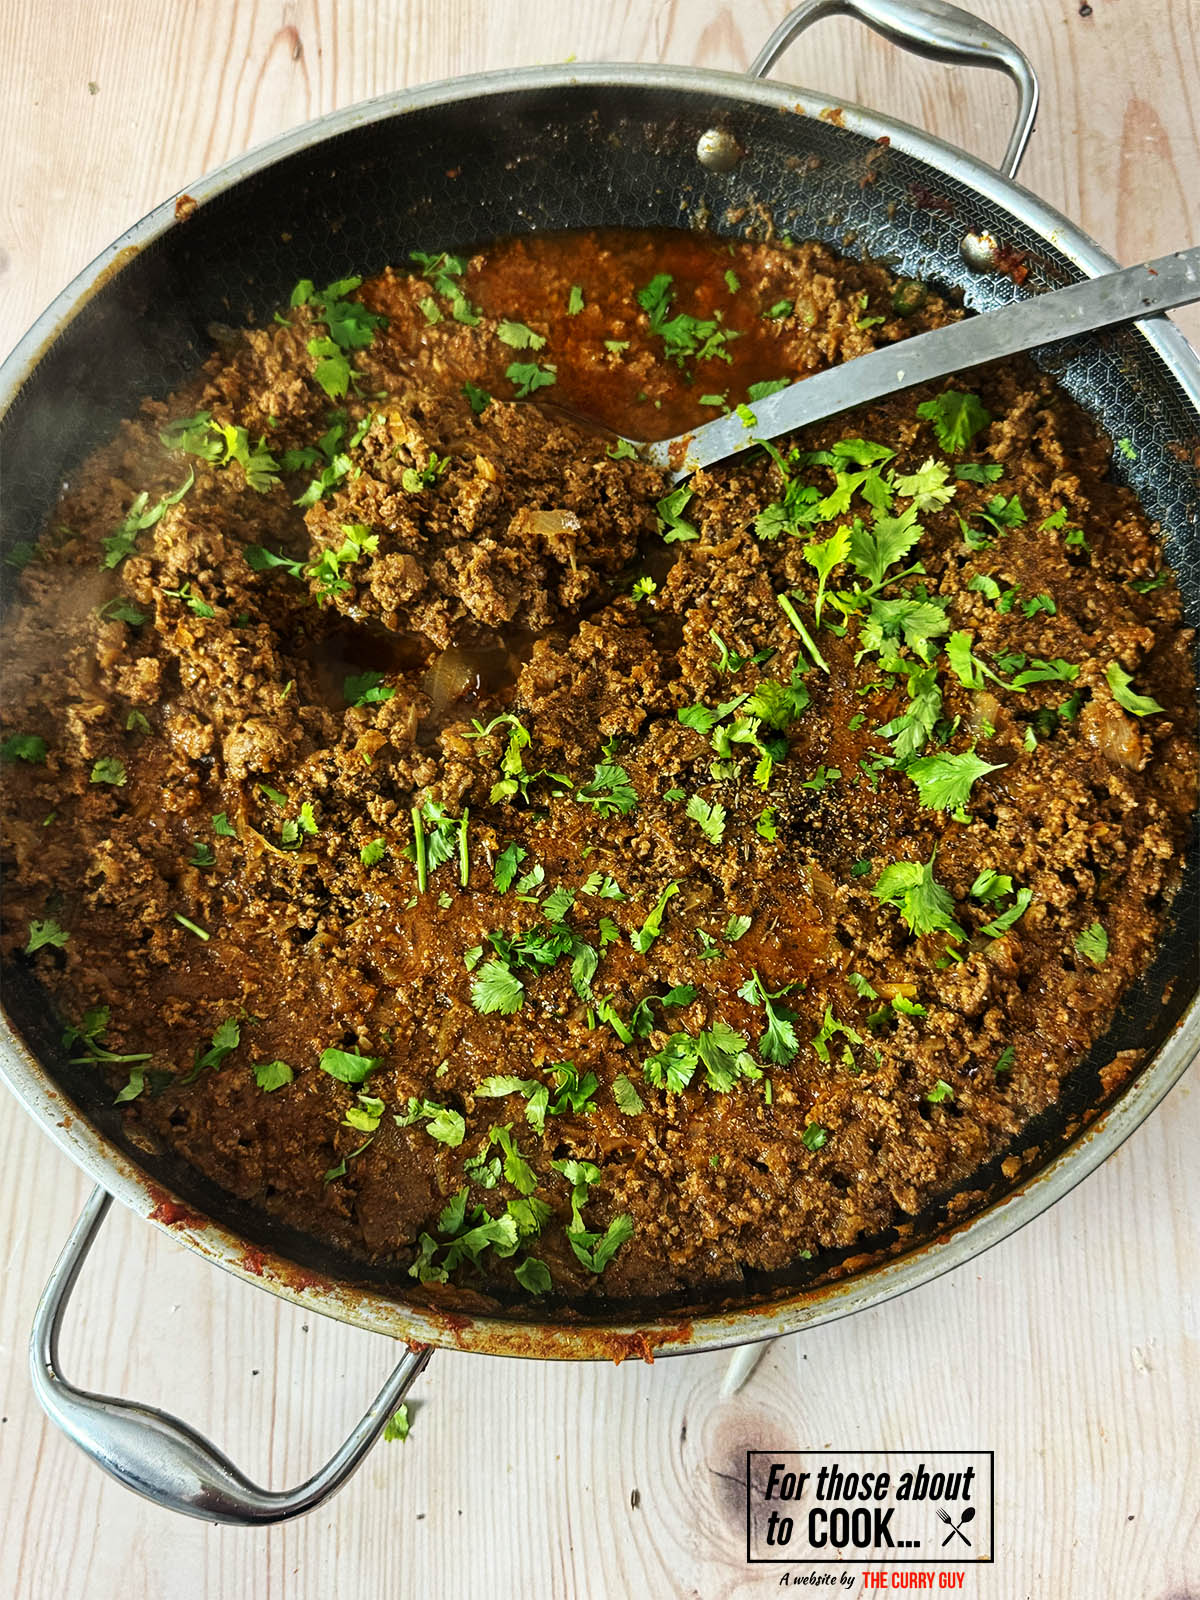
    • 30 Minute Keema in the pan it was cooked in.
      30 Minute Keema
    • 30 Minute Chicken Pathia on a serving plate next to rice and naans.
      30 Minute Chicken Pathia
    • Chicken vindaloo curry in a serving dish.
      30 Minute Chicken Vindaloo
    • Chicken Chasni in a serving bowl.
      30 Minute Chicken Chasni
    • 30 minute beef madras served with rice
      30 Minute Beef Madras

    Rice and Naan

    • Easy Basmati Rice in a serving bowl next to a curry.
      Easy Basmati Rice
    • Delicious fluffy naan
      3 Ingredient Naan - Flatbread with no yeast
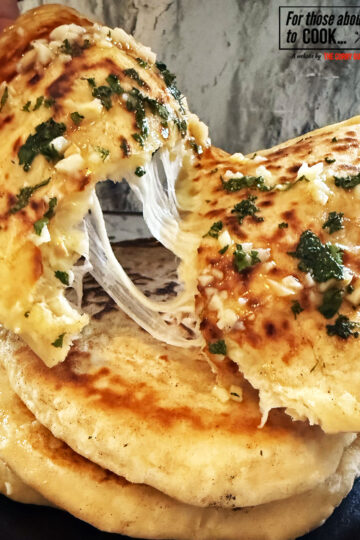
    • Chili cheese naan breads stacked and topped with garlic butter and chillies
      Chili Cheese Naan
    • cheese naan
      Cheese Naan
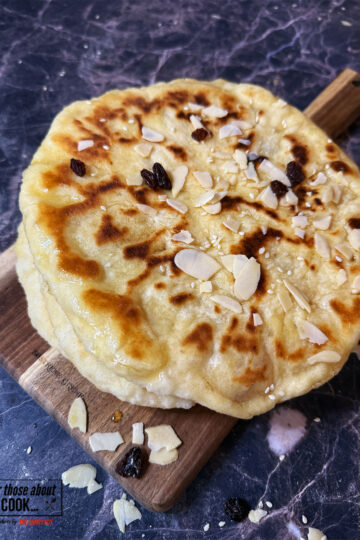
    • Peshwari naan with flaked almonds and sultanas
      Peshwari Naan
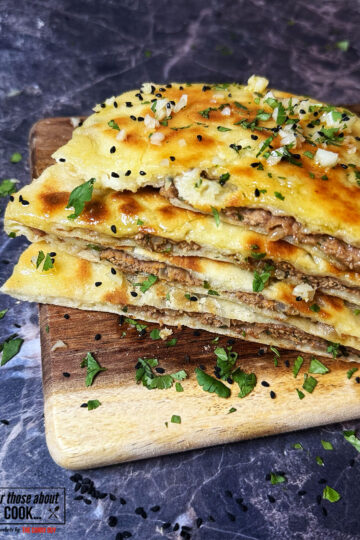
    • Keema naan cut in half to see the lamb meat
      Keema Naan

    More categories for you to explore...

    • Spanish
    • Mexican
    • Italian
    • French

    Recipe

    Butter chicken topped with cream

    30 Minute Butter Chicken

    Yield: 4
    Prep Time: 10 minutes
    Cook Time: 30 minutes
    Total Time: 40 minutes

    Butter chicken is usally made with marinated chicken that is grilled over fire. You can do that with this recipe too but to keep it all under 30 minutes, I simplified the recipe for you. Very quick and easy!

    Ingredients

    • 700g(1 ½ lbs) boneless, skinless chicken breasts or thighs, cut into bite sized pieces
    • FOR THE FIRST MARINADE
    • 1 teaspoon Kashmiri red chilli powder
    • 2 tablespoon garlic and ginger past
    • 1.2 teaspoon salt
    • Juice of one lime
    • 6 tablespoon Greek yoghurt, whisked
    • 1 tablespoon neutral vegetable oil
    • FOR THE SECOND MARINADE
    • 2 tablespoon garlic and ginger paste
    • 1 ½ teaspoon garam masala
    • 1 teaspoon ground cumin
    • 1 teaspoon ground coriander
    • 1 teaspoon Kasoori methi (dried fenugreek leaves)
    • 2 tablespoon rapeseed (canola) oil
    • FOR THE SAUCE
    • 4 tablespoon butter
    • 1 x 5cm (2 inch) cinnamon stick
    • 4 green cardamom pods, bruised
    • 4 cloves
    • 1 blade mace
    • 2 tablespoon garlic and ginger paste
    • 700g fresh tomatoes or 1 ½ cups Passata
    • 30 raw cashews
    • 1 tablespoon Kashmiri chilli powder or paprika for a milder version
    • 2 teaspoon garam masala
    • 2 teaspoon ground coriander
    • 1 teaspoon ground cumin
    • 125ml (½ cup) water or unsalted chicken stock
    • 125ml (½ cup) double (heavy) cream
    • Salt to taste
    • 1 teaspoon sugar (more or less to taste)
    • 3 tablespoon coriander, finely chopped

    Instructions

    1. Whisk all of the first marinade ingredients together in a mixing bowl. Add the chicken and stir well to combine. Now whisk together the ingredients for the second marinade and stir them into the chicken to coat. Leave to marinate for 30 minutes or over night. If you are in a real rush, you can go straight to cooking but letting the chicken marinate will have its flavour benefits.
    2. When ready to cook, heat two tablespoons butter in a pan over a medium-high heat. Rub off as much of the marinade from the chicken as you can and retain it. Place the chicken pieces in one layer in the pan and let it fry for about 4 minutes. Then flip the chicken over to cook for another 4 minutes.
    3. When the chicken has a nice golden char, transfer it back to the bowl you marinated it in. It may not be completely cooked through yet.
    4. Returning to your pan, add the remaining butter and let it melt. Stir in the cinnamon sticks, cardamom pods, cloves and mace. Stir these spice into the butter for about 30 seconds and then stir in the garlic and ginger paste.
    5. Fry for another minute and then add the tomatoes. Cover the pan and let them steam over a medium for about 10 minutes. If you’re in a real rush, you could just add 1 ½ cups (275ml) passata, skip the next step and carry on with the recipe.
    6. After 10 minutes, the skin from the tomatoes will be peeling away. Remove the skins with tongs and squeeze the tomatoes as you do.
    7. Add the cashews, chilli powder or paprika, garam masala, ground coriander and cumin and stir to combine.
    8. Pour in the water or stock and bring to a simmer over a medium-high heat.
    9. Now pour this all into a blender and blend until smooth. Butter chicken is meant to be silky smooth so if you really want to up your game, pour it back into the pan through a fine mesh strainer, discarding any spices or gook that didn’t blend.
    10. Over a medium-high heat, pour the chicken and any juices and marinade that are left in the bowl into the pan and stir well to combine. Continue simmering for a couple minutes until the chicken is cooked through and hot. You can always add more water or stock if the sauce is looking too thick or just cook it down if too runny.
    11. Swirl in the cream and sugar and season with salt to taste. If you prefer a sweeter flavour, add more sugar. Optional but good, stir in a couple tablespoons more butter and let it melt into the sauce.
      To serve, garnish with the chopped coriander and serve with rice or naans.
    Nutrition Information:
    Yield: 4 Serving Size: 1
    Amount Per Serving: Calories: 860Total Fat: 55gSaturated Fat: 21gTrans Fat: 1gUnsaturated Fat: 30gCholesterol: 258mgSodium: 2639mgCarbohydrates: 25gFiber: 5gSugar: 11gProtein: 69g
    © Dan
    Cuisine: Indian / Category: Indian

    30 Minute Chicken Jalfrezi

    June 5, 2025 By Dan

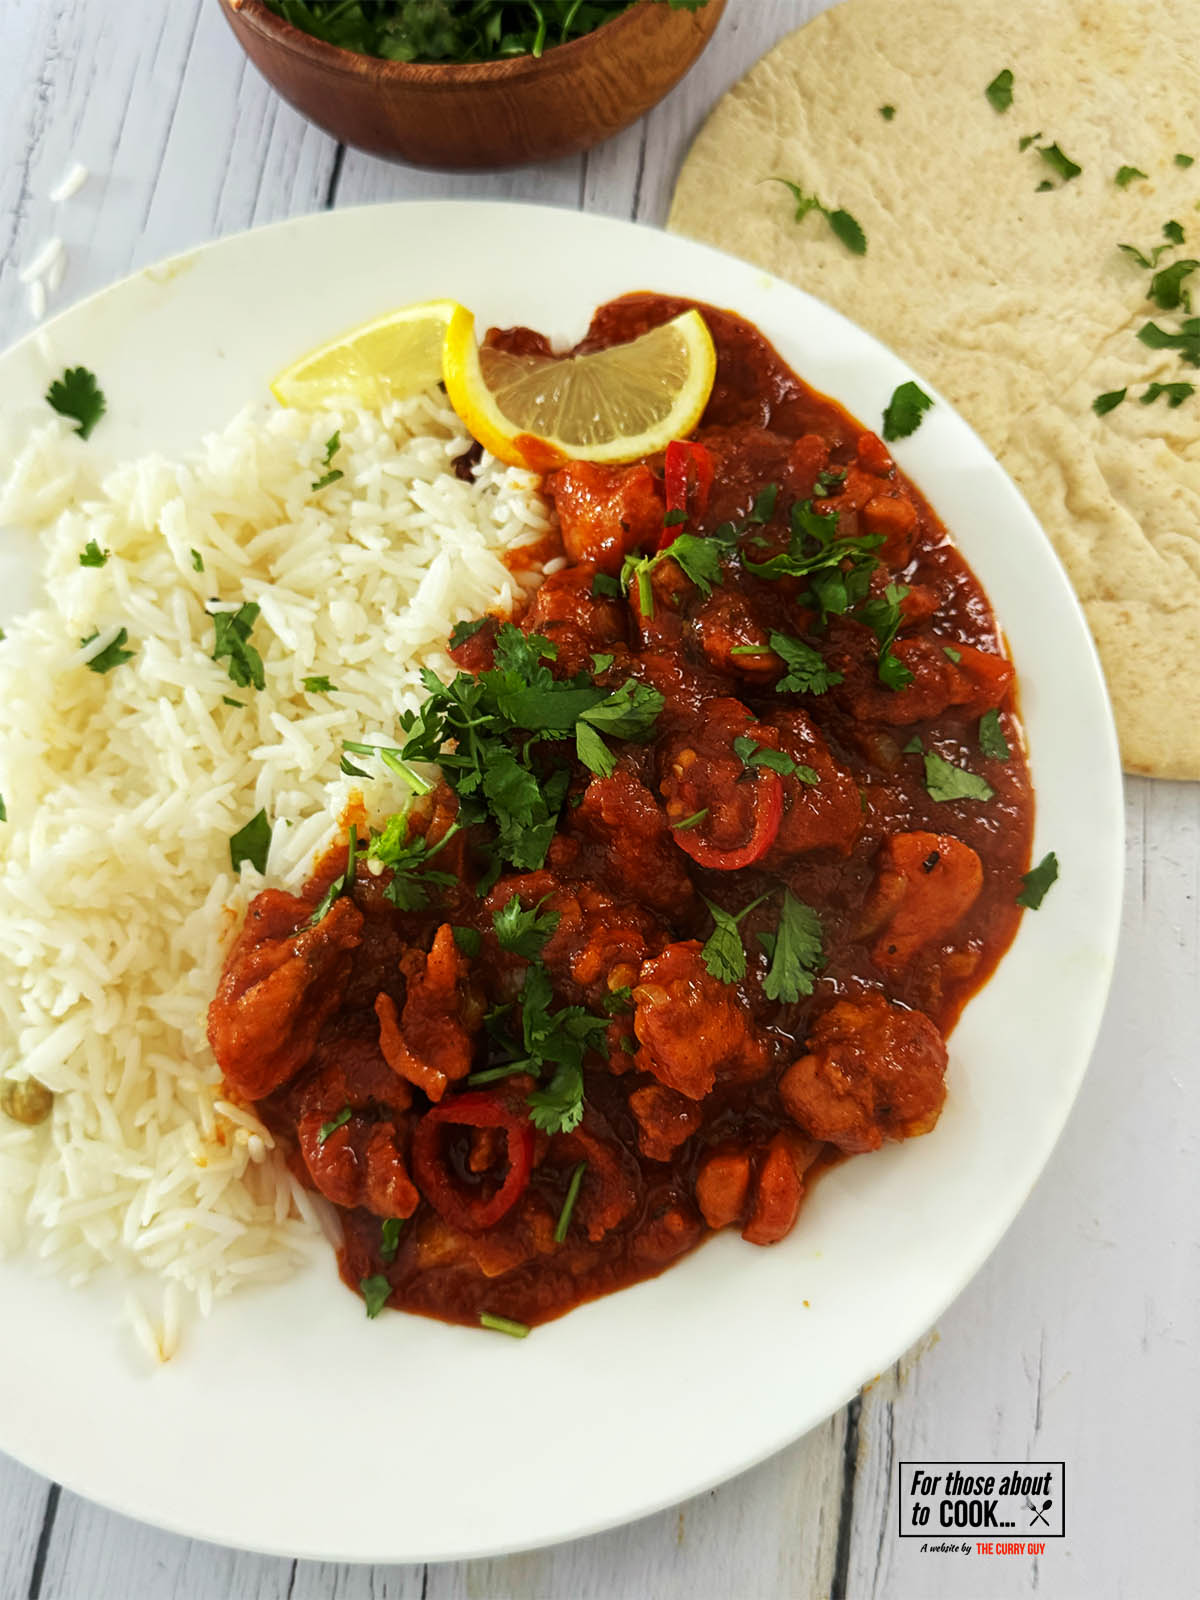
    finished chicken jalfrezi plated with rice and naan

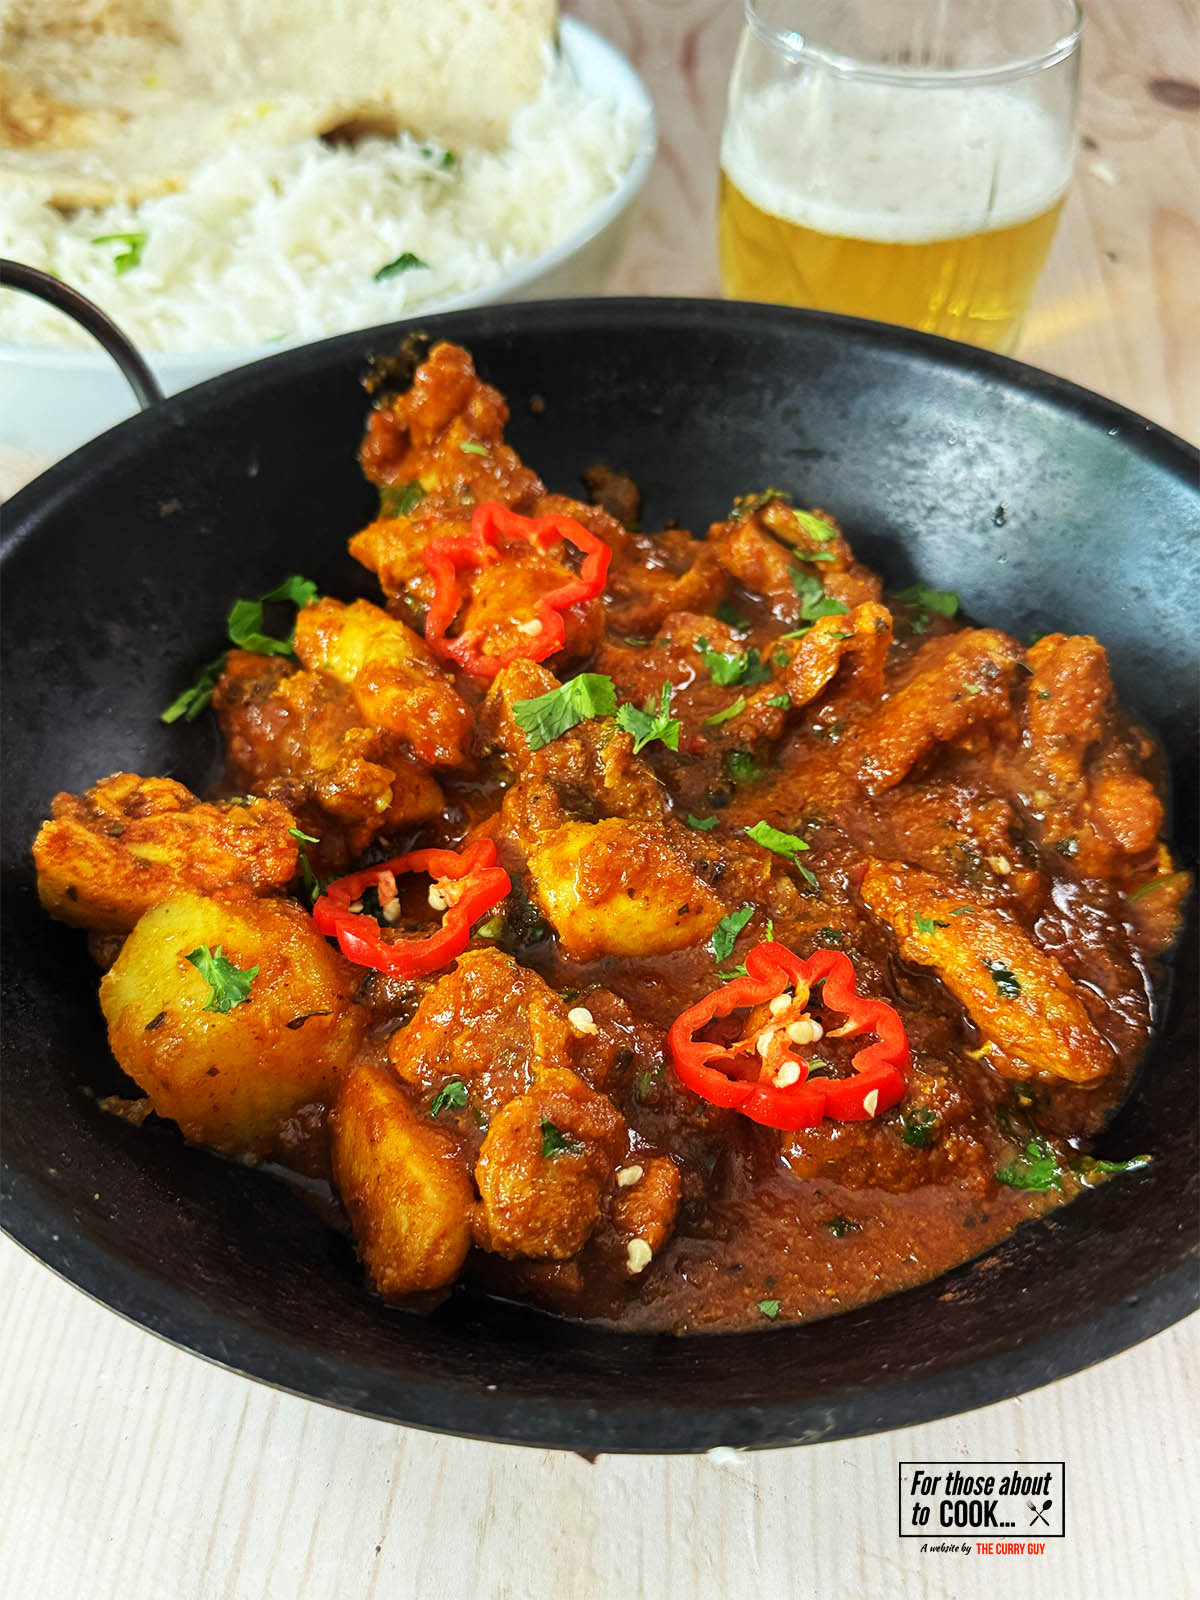
    Vibrant, rich and so simple! This 30 minute Chicken Jalfrezi can be whipped up in only 30 minutes and is packed full of flavour. This recipe will probably feature in a book I'm currently writing but I wanted to let you give it a try first, before it goes to print. The curry is delicious served over this Easy Basmati Rice.

    finished chicken jalfrezi plated with rice and naan

    About this Chicken Jalfrezi recipe:

    The inspiration behind this recipe is simple and it started with a challenge - Can I develop a Chicken Jalfrezi recipe that can be made quicker than ordering it from a takeaway, with no base sauce and starting with raw chicken?

    The recipe is done in stages. First you stir fry the vegetables, then quickly fry the meat and finally, you throw it all together in a delicious thick sauce. This is how chicken jalfrezi is prepared all over India and it is now one of my favorite recipes for an amazing jalfrezi.

    You can do all of the cooking in less than 30 minutes. The chicken will benefit from marinating for at least 30 minutes but if you're in a rush, you could just apply the marinade and go straight to cooking.

    Ingredients

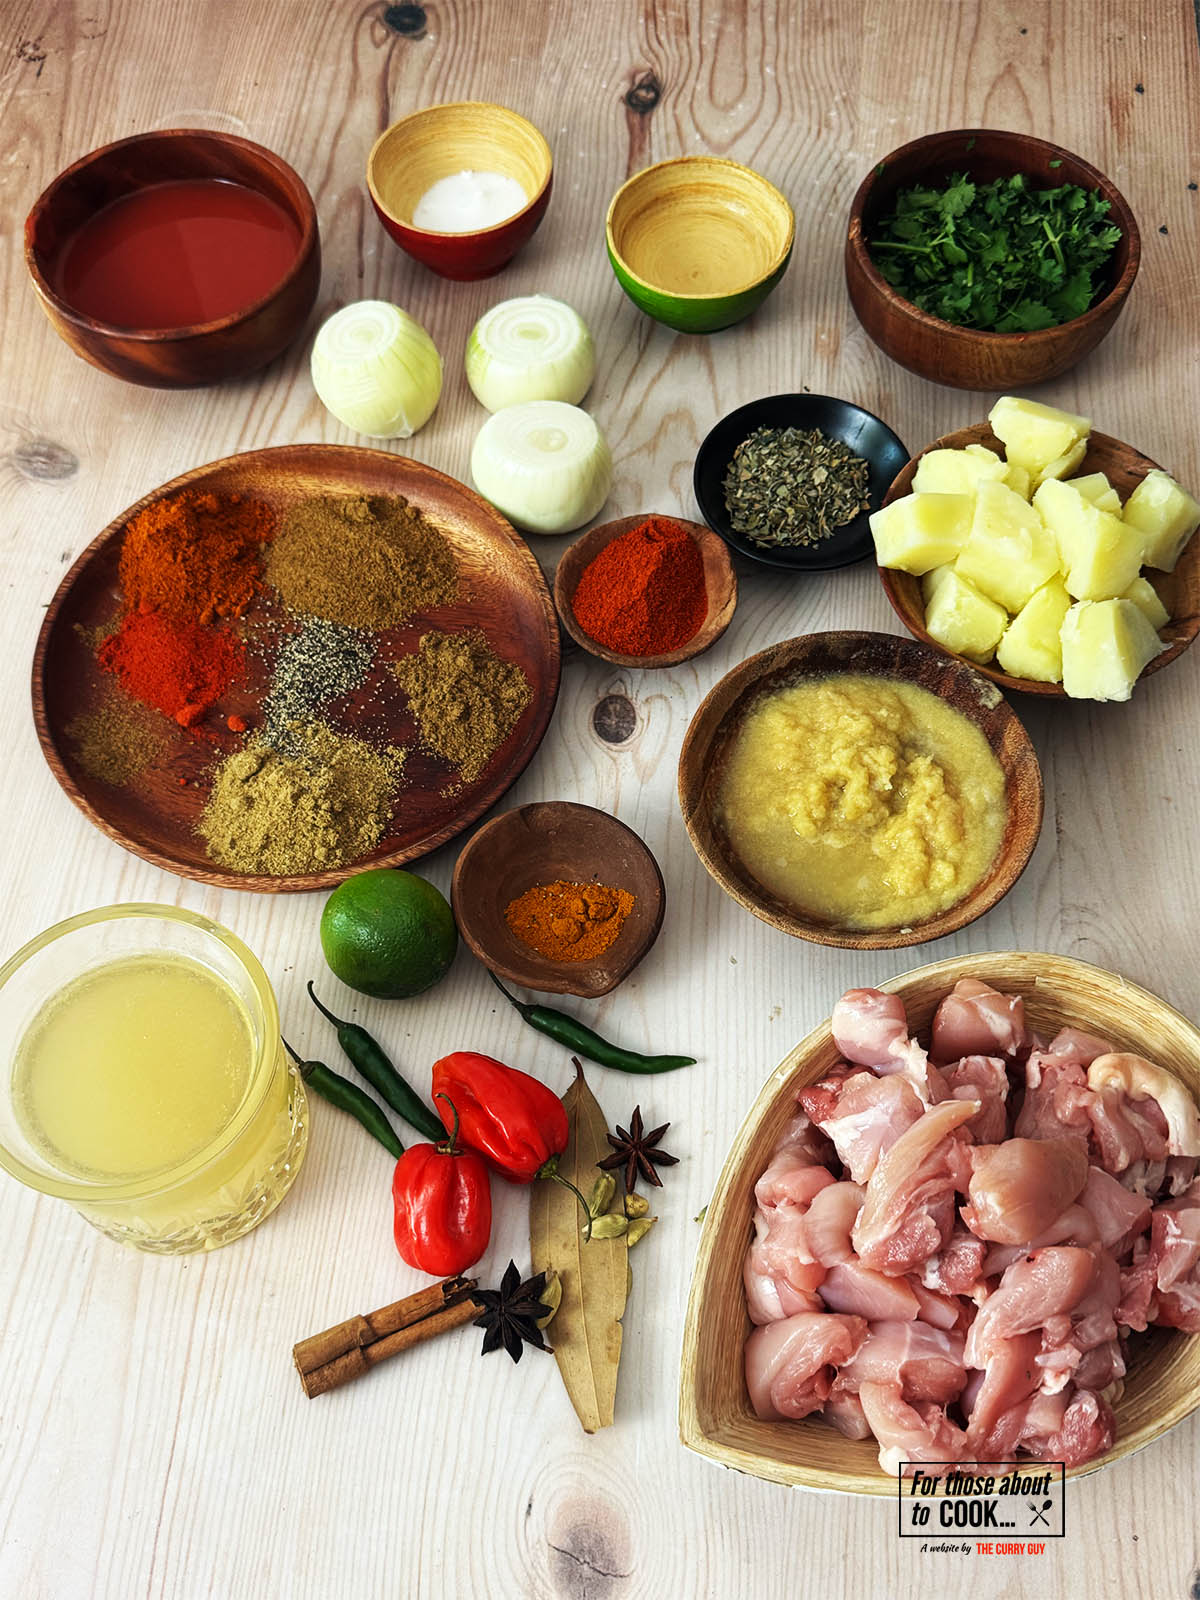
    Although it looks like there are a lot of ingredients in this 30 minute chicken jalfrezi, that's the nature of the curry. You can make this curry in stages to make it easier on yourself. For example, fry up the meat a day earlier. That or use a completely different marinade or just add pre-cooked leftover meat. If cooking all in the same day, be sure to get all your ingredients prepared and ready before you start cooking. It's a lot easier that way.

    Ingredients for chicken jalfrezi
    • Chicken thighs or breasts
    • Red, yellow and green bell peppers
    • Red onion
    • Ginger
    • FOR THE MARINADE
    • Lime juice
    • Garlic and ginger paste
    • Salt
    • Black pepper
    • Kashmiri red chilli powder
    • FOR THE CURRY
    • Rapeseed (canola) or coconut oil
    • Black mustard seeds
    • Kashmiri chillies
    • Fresh or frozen curry leaves
    • Red onions
    • Garlic and ginger paste
    • Green finger chillies
    • Kashmiri chilli powder
    • Garam masala
    • Turmeric
    • Ground cumin
    • Ground coriander
    • Passata
    • Water or chicken stock
    • Sugar
    • Worcestershire sauce
    • Kasoori methi (dried fenugreek leaves)
    • Coriander

    See recipe card for quantities.

    Step by step photographs:

    As you will see from my step by step photos below, this chicken jalfrezi could not be easier to prepare.

    vegetables frying in a pan
    1. Step 1: Heat one tablespoon oil in a pan or wok over a medium-high heat. When the oil begins to shimmer, add the bell peppers, onion and ginger. Fry for about 8 minutes or until slightly charred.
    vegetables removed from the pan
    1. Step 2: Transfer the lightly charred vegetables to a bowl and set aside.

    chicken cooking in a pan
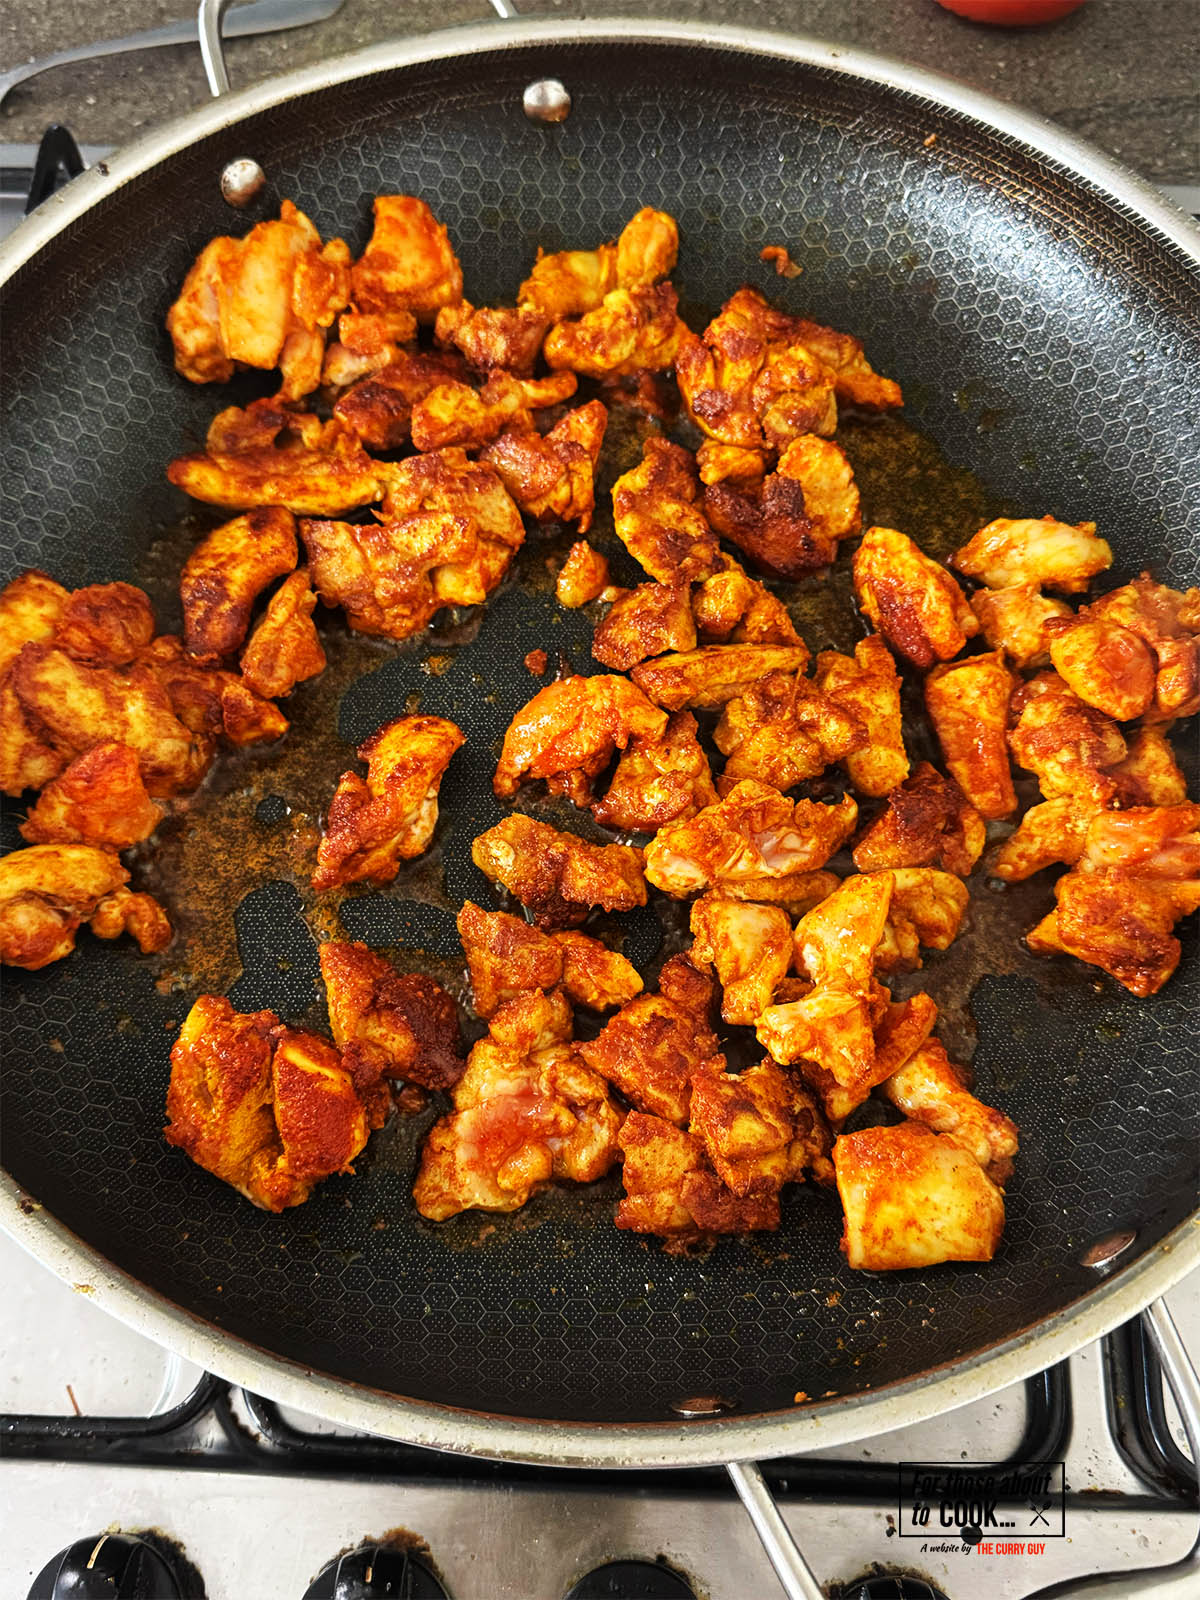
    1. Step 3: Add another tablespoon of oil to the pan. Take your marinated chicken pieces (see recipe card below for the marinade) and add them in one layer to the hot pan. Fry until browned all over. About 8 minutes should do.
    cooked chicken removed from the pan
    1. Step 4: Transfer the browned chicken to a bowl. It might not be completely cooked at this stage which is fine as it will continue to cook in the sauce.

    oil, onion and spices added to the pan
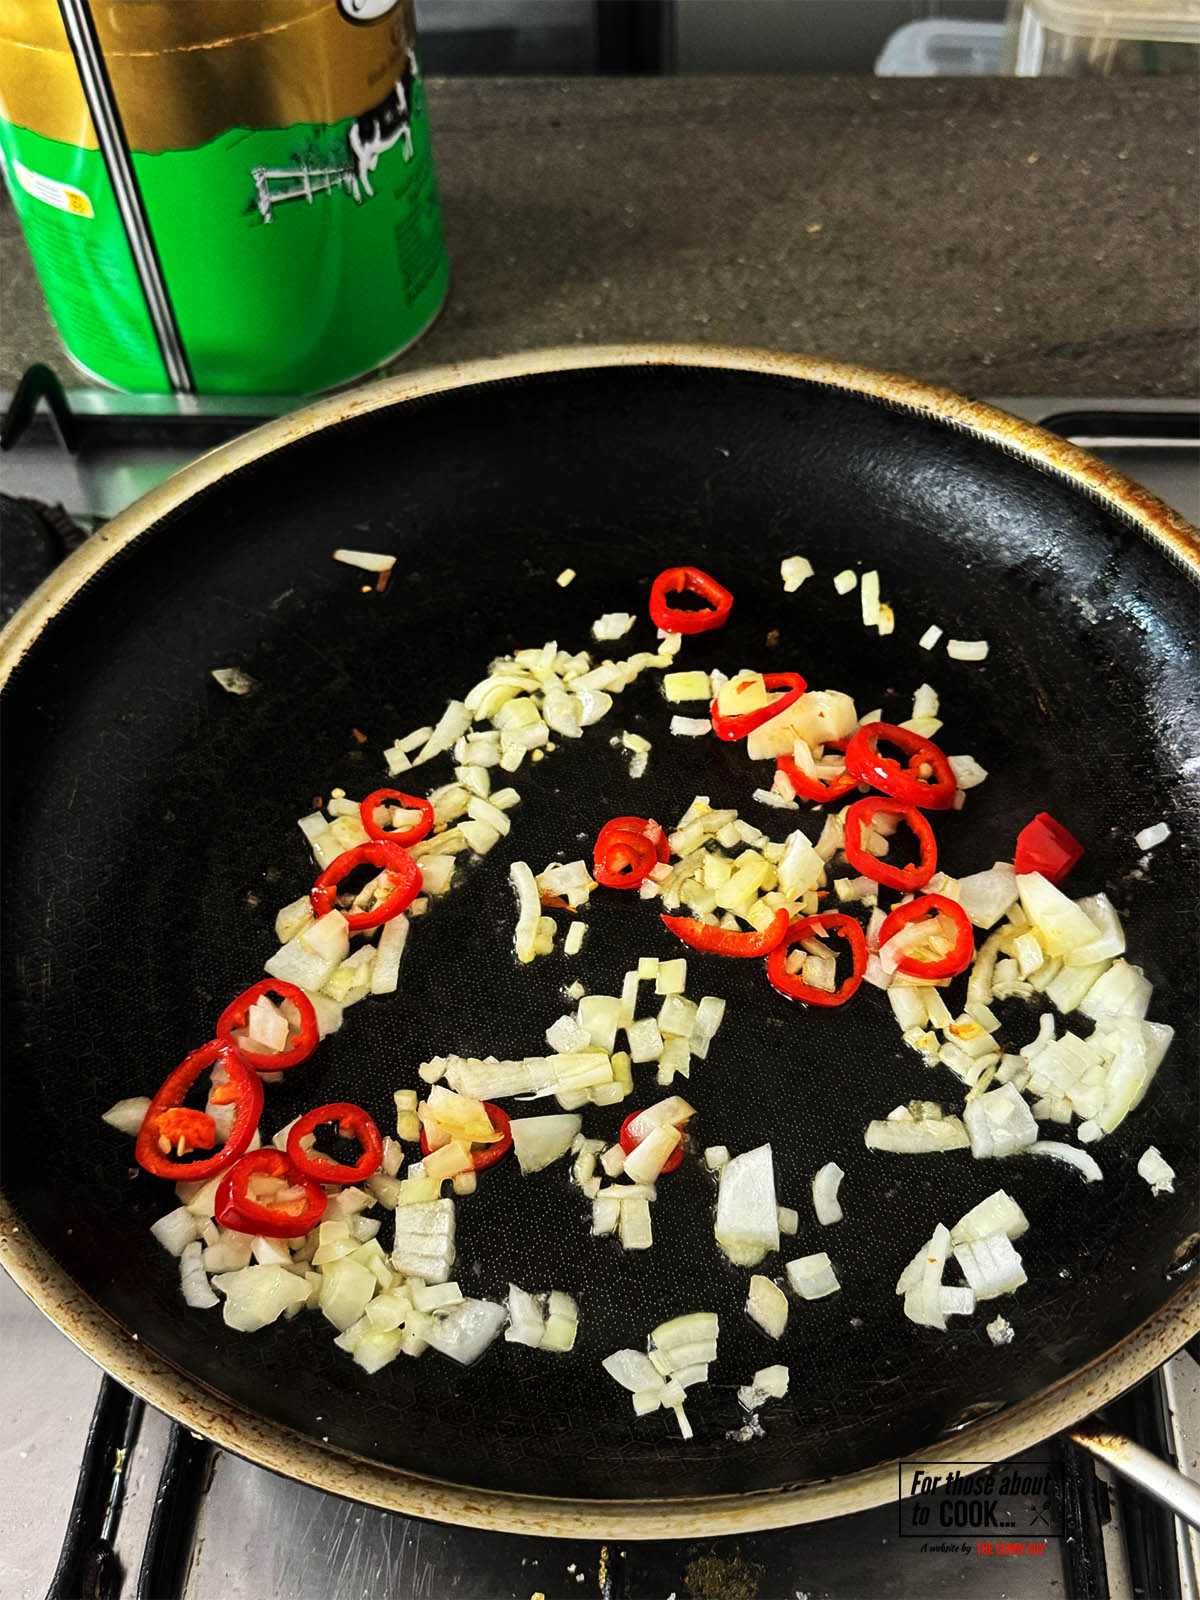
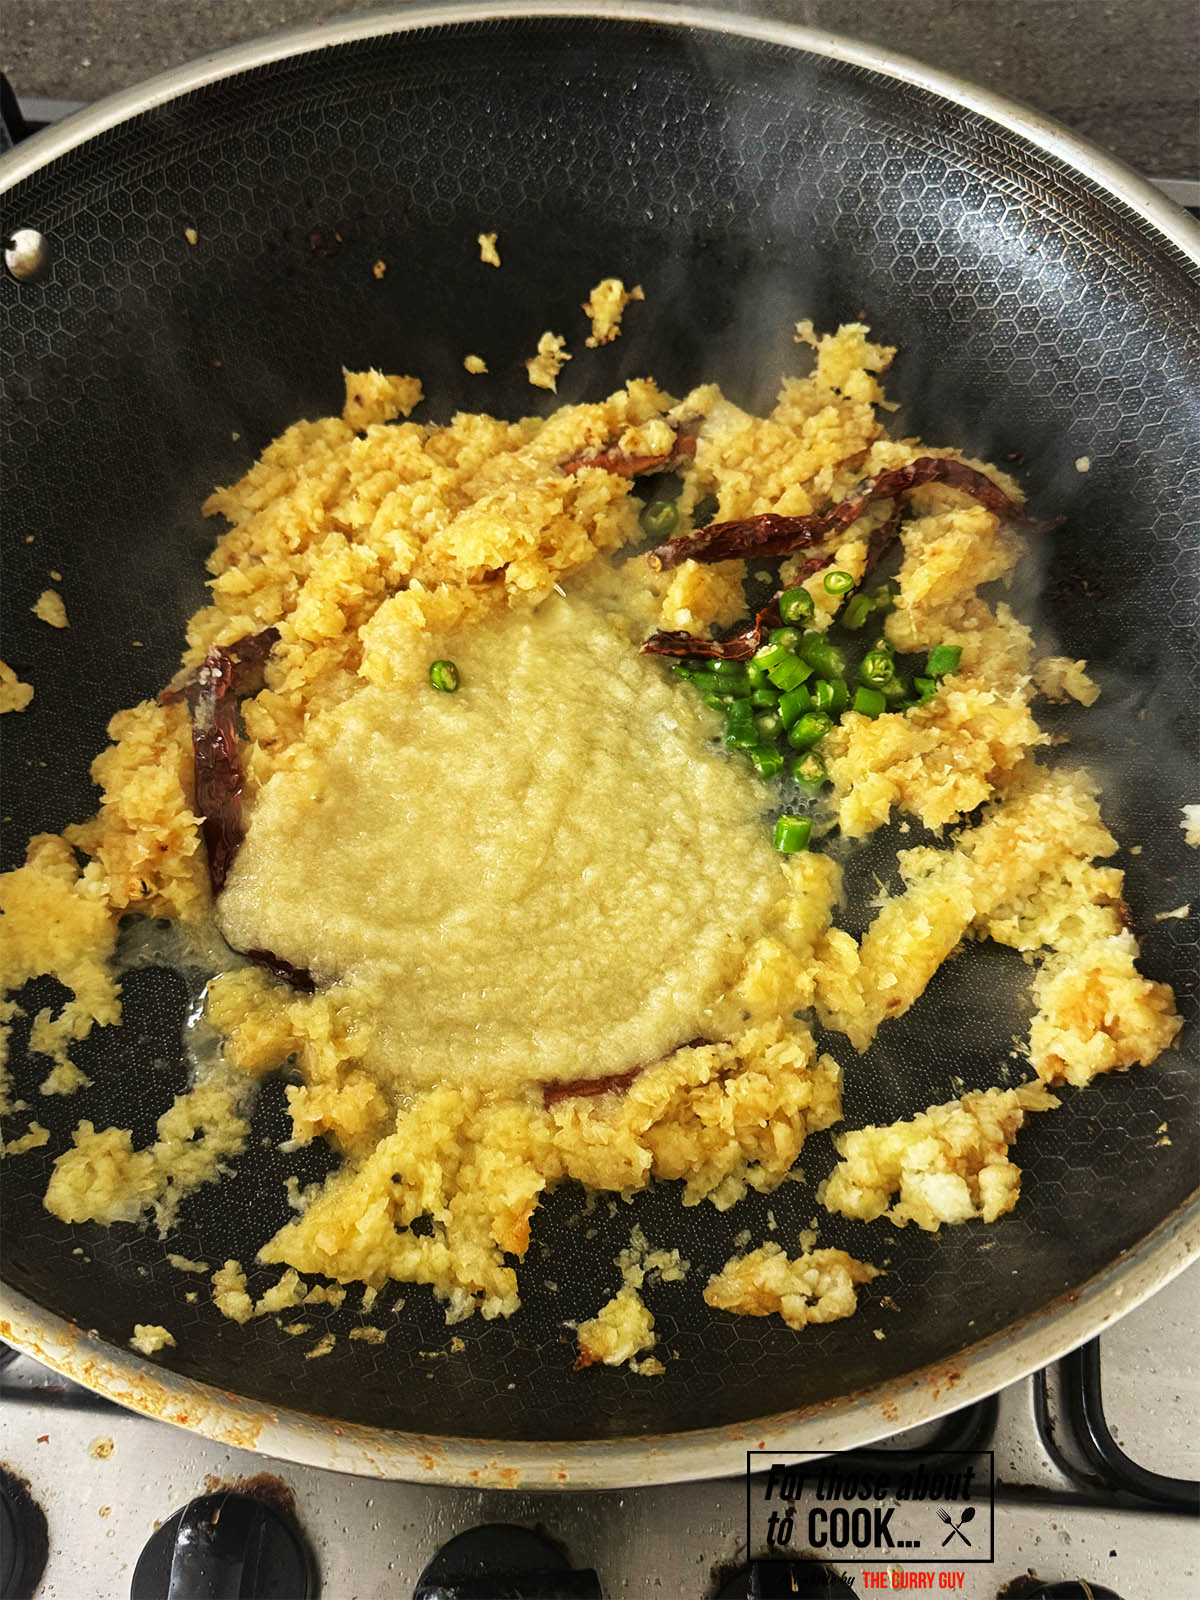
    1. Step 5: Add the remaining two tablespoons of oil to your hot pan and stir in mustard seeds. When they begin to crackle, stir in the Kashmiri chillies and curry leaves. Fry for about 30 seconds to infuse their flavour into the oil. Add your diced red onion and chopped chillies and fry it for about 5 minutes to soften and then add the ground spices.
    passata paste added to the pan for the jalfrezi sauce
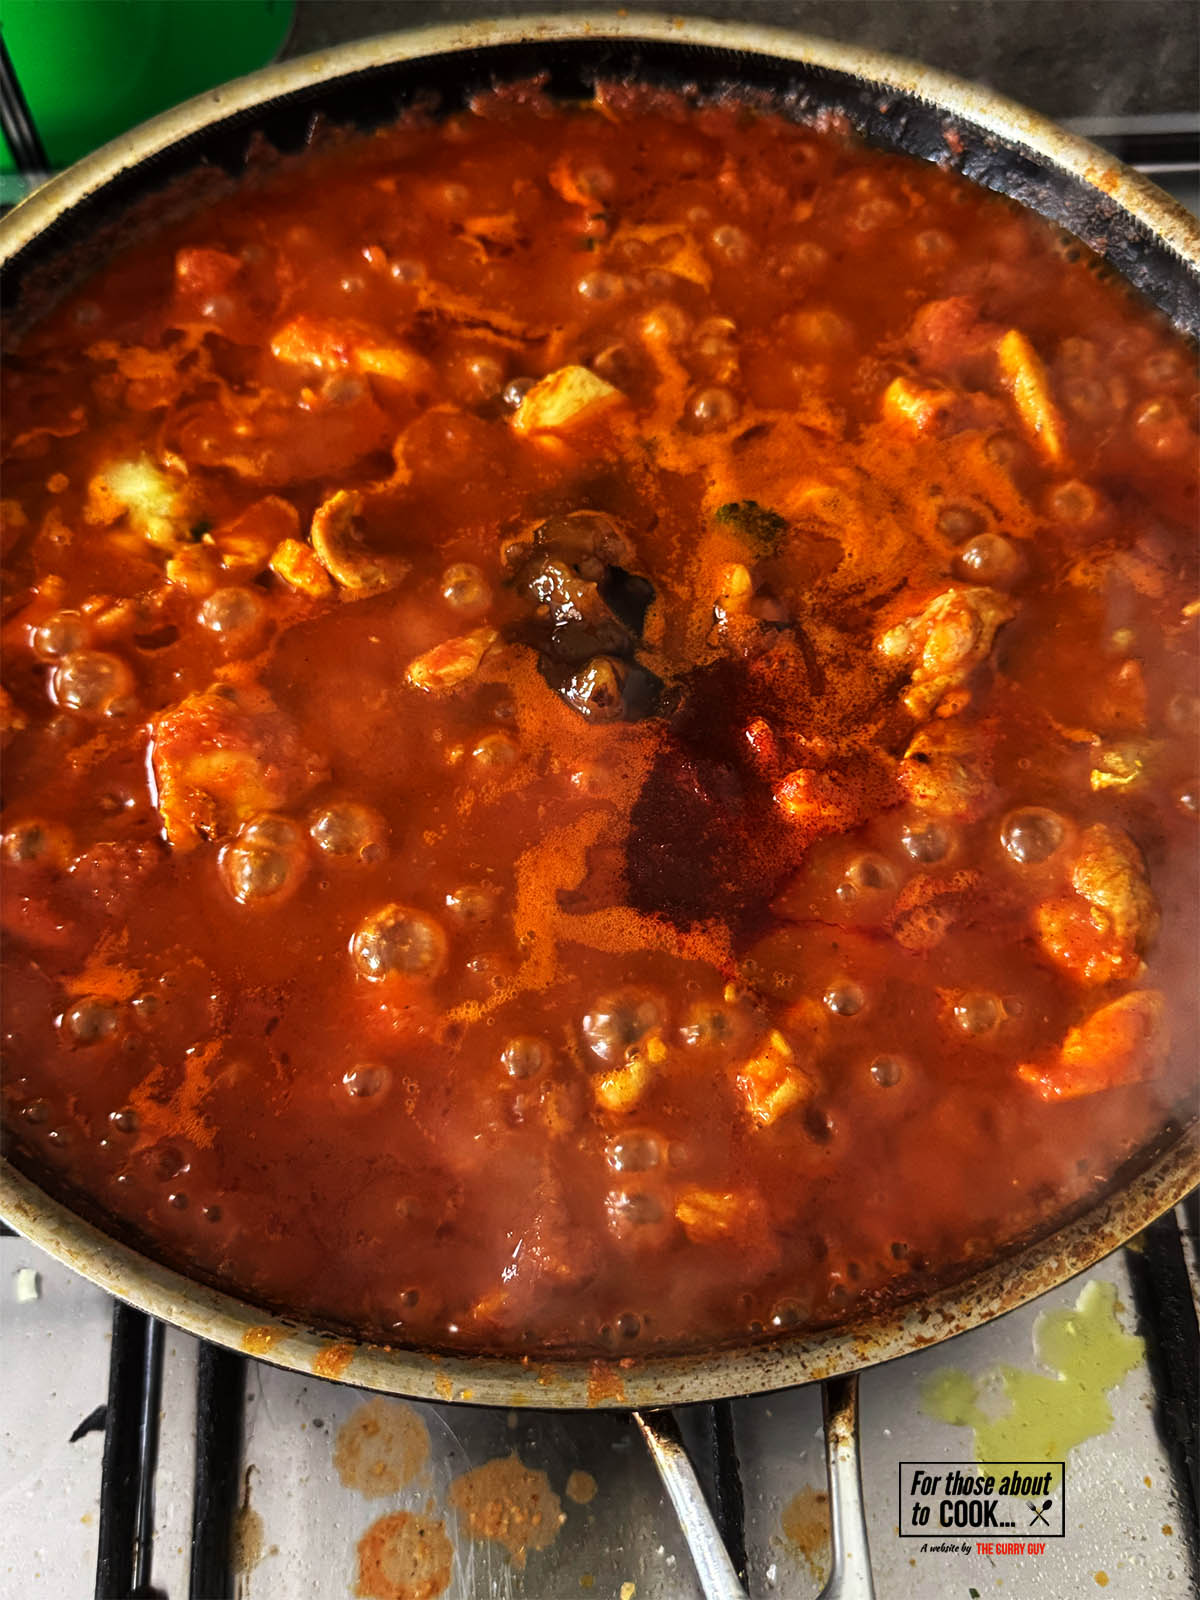
    1. Step 6: Stir in the passata and bring to a simmer.

    chicken stock added to the pan
    1. Step 7: Then stir in the hot chicken stock and stir it all into a thick sauce.
    vegetables and chicken returned to the pan
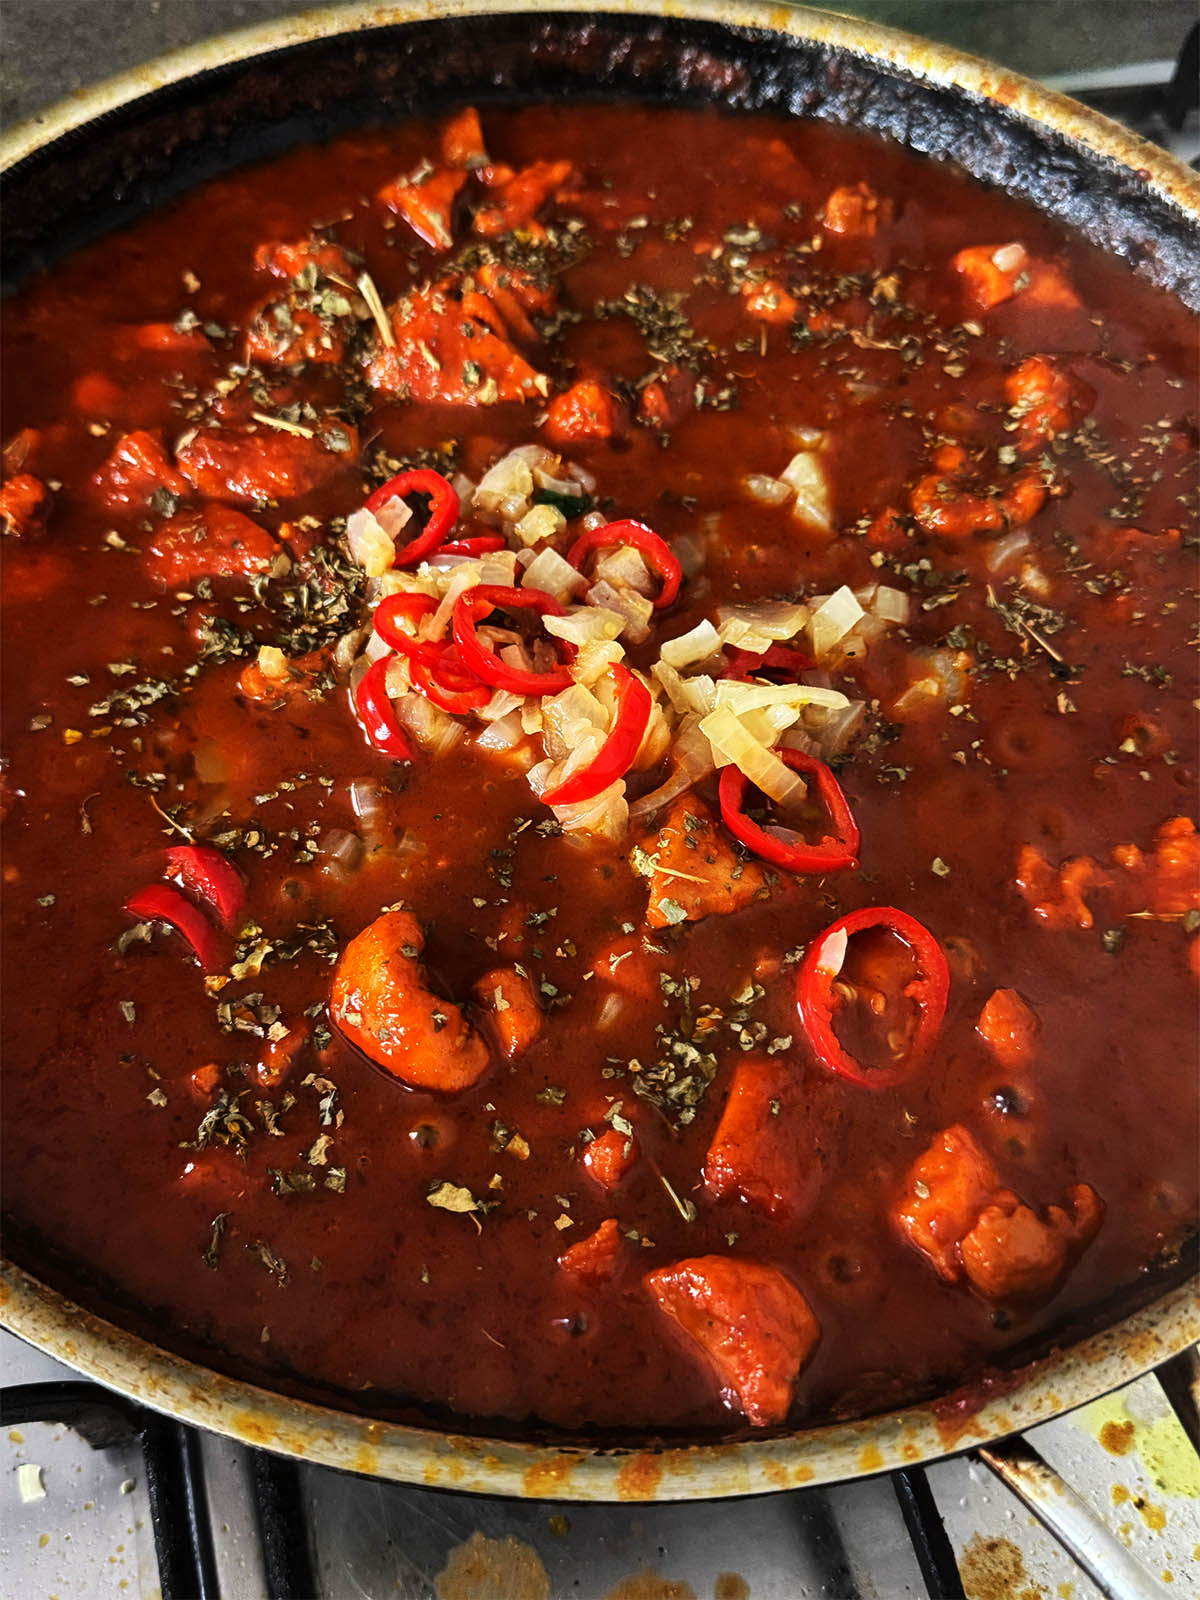
    1. Step 8: Return your chicken and vegetables to the pan and allow to simmer for a few minutes until the chicken is cooked through. This is a dry jalfrezi but you can add more stock if you think it is looking too dry.

    chicken jalfrezi topped with kasuri methi
    1. Step 9: Add a splash of worchester sauce and a sprinkle of Kasoori methi (dried fenugreek leaves).
    Chicken jalfrezi plated up with rice and naan
    1. Step 10: Try the curry and season with salt and pepper to taste. Enjoy!

    Substitutions

    For the authentic Chicken Jalfrezi flavors, I recommend using the ingredients above and in the recipe card below. However, if you have some ingredients you want to use up then here are some suggestions:

    • Vegetarian - Why not replace the chicken for cubed paneer? simply follow the steps in this recipe and brown the paneer in the pan instead of the chicken. You can even marinate it in the same way!
    • Try lamb or beef - Jalfrezi curries are traditionally made with leftover cooked meats. You could give some new life to your Sunday roast leftovers or fry up some lamb leg meat or beef until tender and add it instead of the chicken.
    • Seafood - Prawns work really well in a jalfrezi as does any meaty fish like cod, halibut or swordfish. When adding seafood, add it right at the end of cooking when your sauce is seasoned and cooked to your liking. If you add prawns too soon, they will overcook and become rubbery. Meaty fish will break apart when added too soon.

    Equipment

    You don't need any special equipment to make this 30 minute chicken jalfrezi. I used a hot wok to show you can cook a great curry with whatever you have. That said, the best pans for hot curries and high-heat frying are a carbon steel wok, heavy-based frying pan, or a cast iron skillet — all hold heat well and give you that proper sizzle and flavour.

    Storage

    Fridge:
    Store cooled jalfrezi in an airtight container and eat within 2–3 days. Reheat on the hob or microwave until piping hot. Reheating on the hob (stove) is my preferred method. To do this, heat it up gently over a medium heat until hot.

    Freezer:
    Freeze cooled jalfrezi in a sealed container for up to 3 months. Defrost in the fridge overnight or reheat from frozen on the hob or in the microwave until steaming hot.

    Top Tip

    Cook on a high heat and don’t overcrowd the pan – This 30 minute chicken jalfrezi is all about that stir-fried texture. Searing the chicken and vegetables quickly on high heat keeps everything juicy with a lovely char, just like a takeaway.

    FAQ

    Can I use pre-cooked chicken?

    Yes! Pre-cooked or leftover chicken works well—just add it during the final 5 minutes of cooking to avoid drying it out.

    How spicy is this recipe?

    This version is medium-hot, but easily adjustable. Reduce or omit fresh chillies for a milder version, or add extra chilli powder or fresh green chillies for more heat.

    Can I make it vegetarian or vegan?

    Absolutely. Swap chicken for firm tofu, paneer, or chickpeas, and ensure you're using oil instead of ghee or butter.

    More 30 Minute Curries...

    • Finished chicken tikka masala sreved with rice and naan
      30 Minute Chicken Tikka Masala
    • finished lamb rogan josh served with naan
      30 Minute Lamb Rogan Josh
    • Butter chicken topped with cream
      30 minute Butter Chicken
    • 30 Minute Chicken Madras in a serving bowl next to pilau rice.
      30 Minute Chicken Madras
    • Chicken chilli garlic curry in a serving bowl next to rice and naans.
      30 Minute Chicken Chilli Garlic Curry
    • finished chicken jalfrezi plated with rice and naan
      30 Minute Chicken Jalfrezi
    • 30 Minute Keema in the pan it was cooked in.
      30 Minute Keema
    • 30 Minute Chicken Pathia on a serving plate next to rice and naans.
      30 Minute Chicken Pathia
    • Chicken vindaloo curry in a serving dish.
      30 Minute Chicken Vindaloo
    • Chicken Chasni in a serving bowl.
      30 Minute Chicken Chasni
    • 30 minute beef madras served with rice
      30 Minute Beef Madras

    Rice and Naan

    • Easy Basmati Rice in a serving bowl next to a curry.
      Easy Basmati Rice
    • Delicious fluffy naan
      3 Ingredient Naan - Flatbread with no yeast
    • Chili cheese naan breads stacked and topped with garlic butter and chillies
      Chili Cheese Naan
    • cheese naan
      Cheese Naan
    • Peshwari naan with flaked almonds and sultanas
      Peshwari Naan
    • Keema naan cut in half to see the lamb meat
      Keema Naan

    More categories for you to explore...

    • Spanish
    • Mexican
    • Italian
    • French

    Recipe

    finished chicken jalfrezi plated with rice and naan

    30 Minute Chicken Jalfrezi

    Yield: 4
    Prep Time: 10 minutes
    Cook Time: 30 minutes
    Total Time: 40 minutes

    This chicken jalfrezi might be a bit different to the jalfrezis you have had at curry houses. All of the same flavours are there though and it is much closer to the original jalfrezis prepared in India today.

    Ingredients

    • 700g (1 ½ lbs) chicken thighs or breasts, cut into bite sized pieces
    • 1 each, red, yellow and green bell peppers
    • 1 small red onion, quartered and divided into small petals
    • 1 x 5cm (2 inch) ginger, julienned
    • FOR THE MARINADE
    • Juice of one lime
    • 1 tablespoon garlic and ginger paste
    • ½ teaspoon salt
    • ½ teaspoon black pepper
    • 1 teaspoon Kashmiri red chilli powder
    • FOR THE CURRY
    • 4 tablespoon rapeseed (canola) or coconut oil
    • 1 teaspoon black mustard seeds
    • 2 dried Kashmiri chillies
    • 20 fresh or frozen curry leaves
    • 2 medium red onions, finely chopped
    • 2 tablespoon garlic and ginger paste
    • 1 to 4 green finger chillies, finely chopped
    • 2 teaspoon Kashmiri chilli powder
    • 1 teaspoon garam masala
    • ½ teaspoon turmeric
    • 1 teaspoon ground cumin
    • 1 teaspoon ground coriander
    • 250ml (1 cup) passata
    • 125ml (½ cup) water or chicken stock
    • 1 teaspoon sugar
    • 1 tablespoon Worcestershire sauce
    • 2 teaspoon Kasoori methi (dried fenugreek leaves)
    • 3 tablespoon fresh coriander, finely chopped

    Instructions

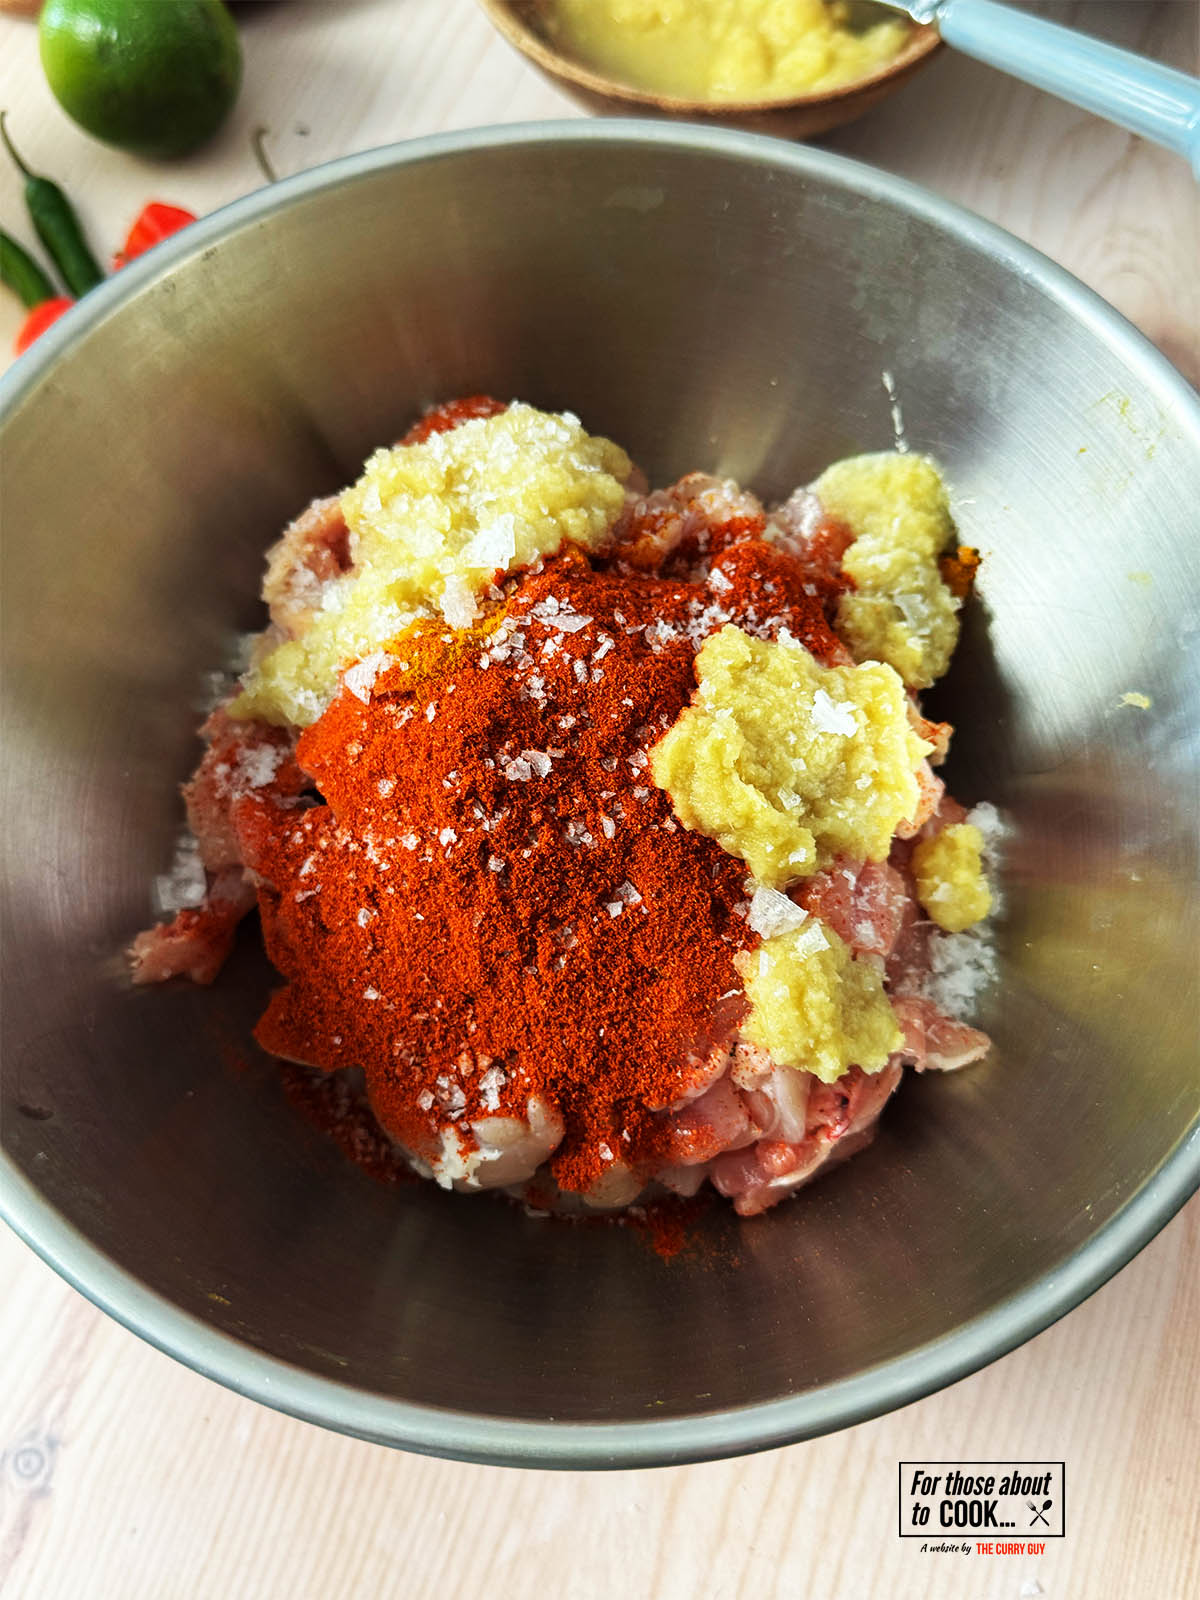
    1. Pour the chicken into a mixing bowl and add the lime juice, garlic and ginger paste, salt, pepper and Kashmiri chilli powder.
    2. Rub this all right into the flesh of the chicken and allow to marinate for 30 minutes or up to 4 hours. If in a rush, you can go straight to cooking but letting the chicken marinate will be better.
    3. When ready to cook, heat 1 tablespoon of oil in a large frying pan or wok over a medium-high heat. When the oil begins to smoke a little, add the chopped bell peppers, onion petals and julienned ginger and fry, stirring regularly until cooked through and beginning to char but still a bit fresh looking. Transfer the charred vegetables to a plate and set aside.
    4. Now in the same pan, add another tablespoon of oil over a medium-high heat. Add the chicken and cook it in one layer. If needed, you can do this in two batches. Fry until the chicken is nicely charred and then transfer back to the bowl you marinated it in. It may not be completely cooked at this point.
    5. Add the remaining oil to the pan and when it begins to bubble, stir in the mustard seeds. When they begin to pop and crackle, add the dried Kashmiri chillies and the curry leaves and let them sizzle for about 30 seconds.
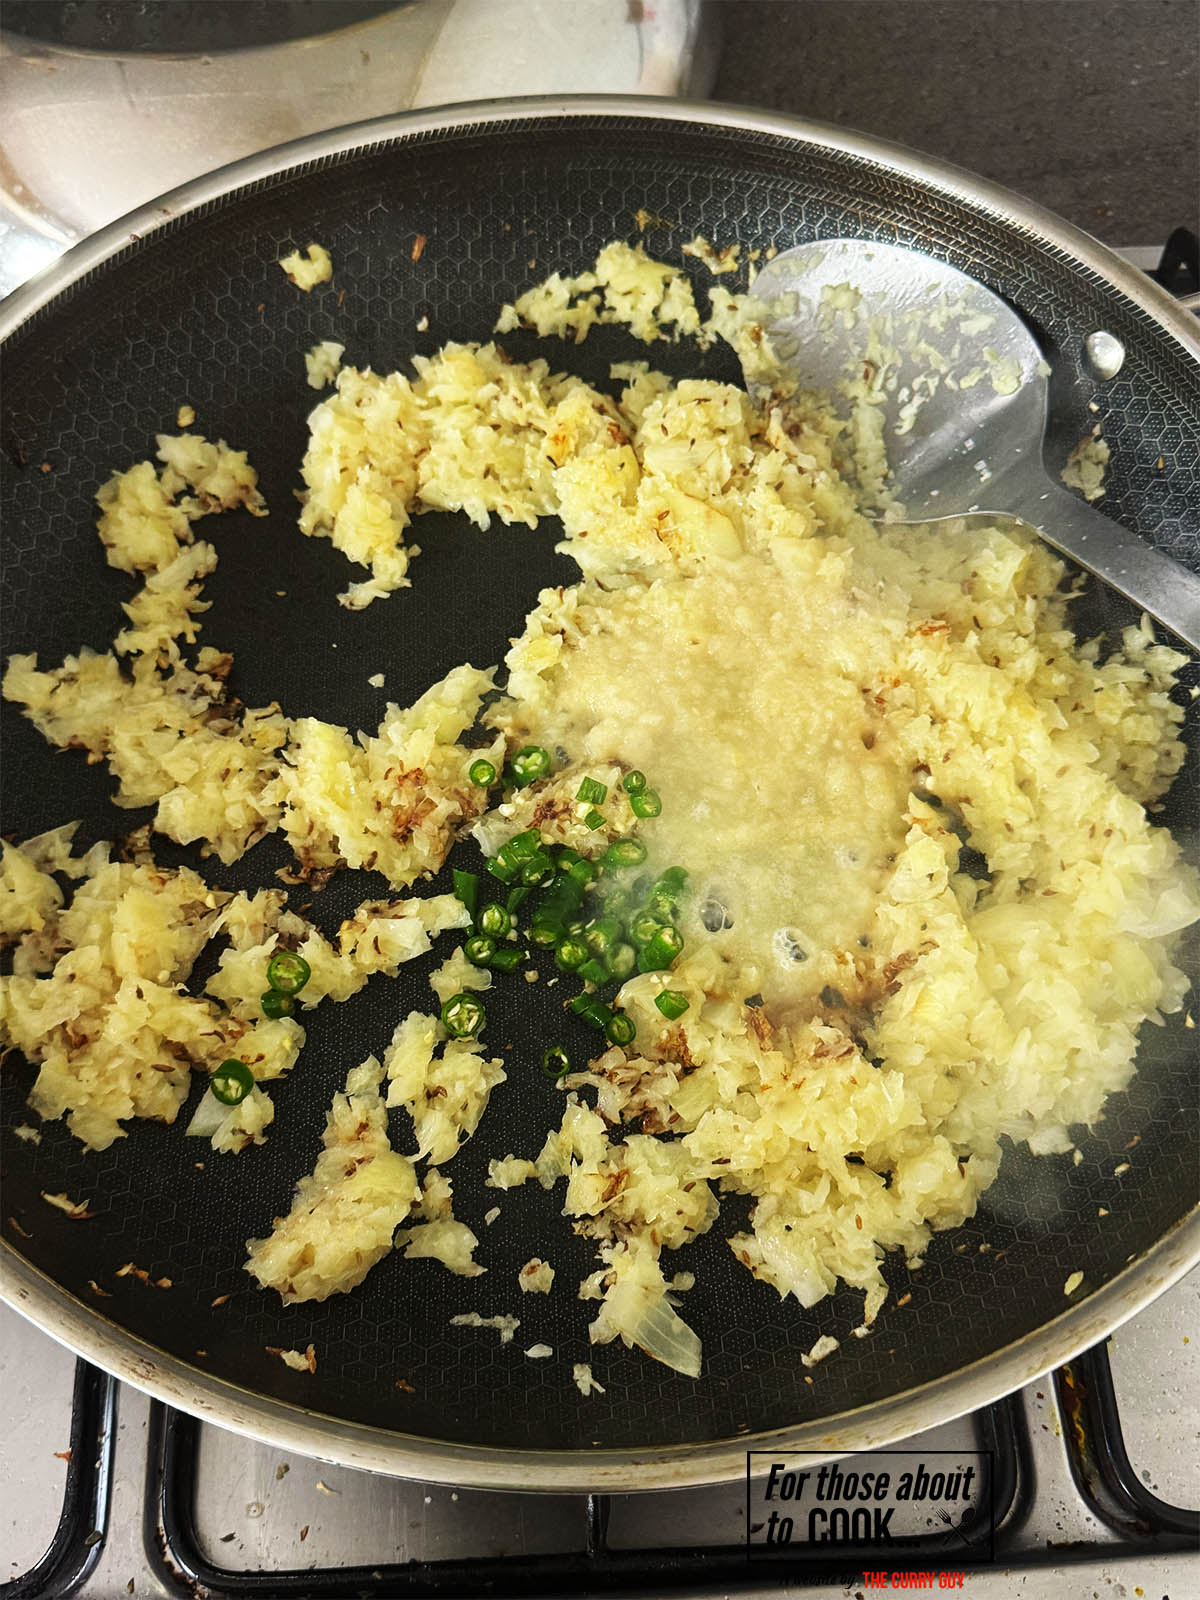
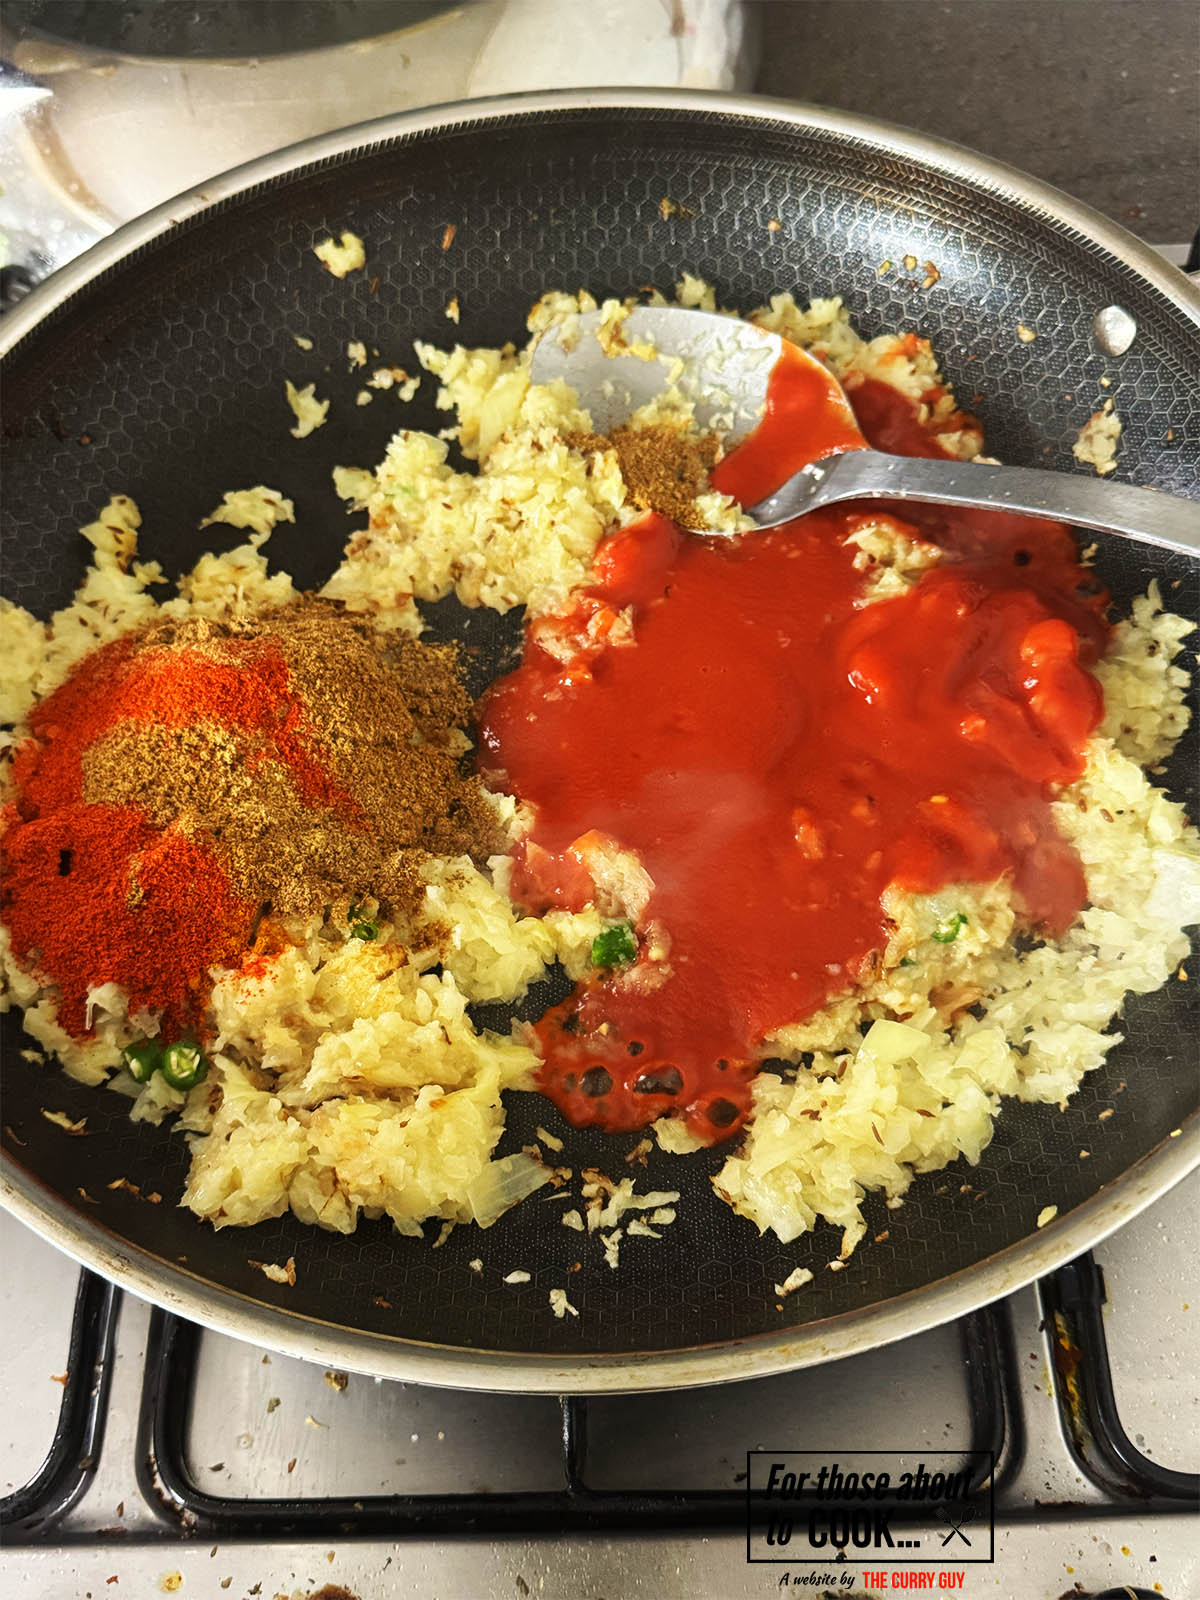
    6. Now add the finely chopped onion and chillies and fry, stirring often until it turns the onion turns golden brown. This will take about 7 minutes. Then stir in the garlic and ginger paste to fry for another 30 seconds. Add the Kashmiri chilli powder, garam masala, turmeric, ground coriander and cumin and stir well to combine.
    7. Immediately, stir in the passata and about half of the water or chicken stock and bring it all to a simmer.
    8. Return the cooked chicken and any meat juices and the fried vegetables to the pan and stir it all into the simmering sauce. Allow to simmer for a couple of minutes to ensure the chicken is cooked through. If the sauce is looking dry, add a little more water or stock but this is a dry stir fry so don't add too much. Remember, you can always cook it down if to liquidy or add more water or stock if too dry for your liking.
    9. Add the Worcestershire sauce and try some of the sauce. Season it with salt to taste and add the sugar if you think it needs it. Add the kasoori methi by rubbing it between your fingers over the sauce.
    10. To serve, garnish with the chopped coriander and serve with Basmati rice.
    Nutrition Information:
    Yield: 4 Serving Size: 1
    Amount Per Serving: Calories: 489Total Fat: 35gSaturated Fat: 14gTrans Fat: 0gUnsaturated Fat: 18gCholesterol: 25mgSodium: 1947mgCarbohydrates: 33gFiber: 5gSugar: 15gProtein: 15g
    © Dan
    Cuisine: Indian / Category: Indian

    Grilled Rabbit - French Style

    May 27, 2025 By Dan

    Grilled rabbit on a serving plate with lemon wedges.

    There’s something beautifully rustic about rabbit on the grill. In this post, I’ll walk you through how to prepare grilled rabbit French-style, from butchering (if needed) and marinating, to grilling and serving. It’s a dish that brings a touch of Provence or the Loire Valley right to your backyard.

    Grilled rabbit on a serving plate with lemon wedges.

    About this grilled rabbit recipe.

    During my recent trip to Royan in South West France, I cooked a lot of rabbit on our little campground barbecue. It's so easy to find there.

    In France, rabbit (or lapin) is a beloved meat, especially in the countryside where grilling over open flames is as much about the moment as it is about the food. French-style grilled rabbit is simple, elegant, and bursting with flavor. It's smoky, tender and in this case enriched with herbs, garlic, olive oil and lemon juice but there are many other ways you can marinate it as I explain below.

    [feast_advanced_jump_to]

    Ingredients

    This is an easy recipe with few ingredients. Get them all ready and prepared before you start.

    Ingredients for the recipe on a counter top.
    • 1 whole rabbit
    • Olive oil
    • Red chili flakes
    • Herbs de Provence
    • Garlic
    • Salt and pepper
    • Lemons

    See recipe card for quantities.

    Step by step photos

    Check out my step by step photos below to see just how easy this grilled rabbit recipe is!

    Cutting the rabbit into about eight pieces and scoring the meat.
    1. Step 1: Cut the rabbit into about 8 pieces and score the meat in several places. This will help the marinade get right into the flesh.
    Mixing the marinade ingredients together.
    1. Step 2: Whisk the olive oil, the juice of one lemon, garlic, herbs de Provence, chili flakes, salt and pepper together.
    Marinating the rabbit with the marinade mixture.
    1. Step 3: Rub the marinade right into the flesh of the rabbit and let it marinate for 30 minutes to 4 hours.
    Placing the rabbit pieces over a direct heat fire.
    1. Step 4: Build a direct heat fire and place the marinated rabbit pieces on top to cook and brown for about 4 minutes.
    Finishing the cooked rabbit on the barbecue.
    1. Step 5: Once the rabbit is a nice golden brown, flip it over to cook the other side. Then continue cooking until completely cooked through and be sure to baste with any leftover marinade you have. Remember that rabbit can dry out fast so you might want to spread out your coals and cook over a lower heat after the initial searing.
    Serving the rabbit, seasoned with salt and pepper and lemon wedges to garnish.
    1. Step 6: Season with more salt and pepper if needed and serve with the quartered lemons that can be squeezed over the rabbit to taste.

    What is direct heat cooking?

    Direct heat cooking on a barbecue involves placing food directly over the heat source—typically hot coals or gas burners. This method is ideal for quick-cooking foods like steaks, burgers, sausages, seafood, vegetables and for this grilled rabbit.

    The high, consistent heat sears the outside of the food, creating a flavorful crust while cooking the interior quickly. It’s best suited for items that take less than 20 minutes to cook.

    With direct heat, it’s important to monitor food closely to prevent burning and to flip as needed for even cooking. This technique is perfect for achieving a classic French grilled rabbit.

    Butchering a rabbit.

    I made the mistake once of showing a rabbit I purchased to cook in France on my Instagram channel. In most Mediterranean countries, the rabbit is sold whole with the head on so that you can check the eyes for freshness. I think I lost about 200 followers that day!

    If your rabbit isn’t already cut into pieces, you’ll want to break it down into manageable parts: two front legs, two hind legs, loin section, and optionally the ribs (which tend to be bony and dry out quickly—some prefer to discard or reserve these for stock). The head is also good in a stock by the way. Yes, rabbits do have heads before they are cut up and sold at butchers in the UK and US.

    Use a sharp chef’s knife or boning knife, and take your time cutting through the joints. If you’re unsure, ask your butcher to portion it for you, or look for pre-cut rabbit pieces.

    Substitutions

    This is just one of the ways I grilled rabbit in France. By slightly changing the ingredients, you will get a different flavor with equally delicious results.

    • Dry White Wine - Leave out the chili flakes and add about a half cup (125ml) dry white wine to the marinade. Reheat any leftover marinade to spoon over the top just before serving.
    • Fresh Herbs - In this recipe I use dried herbs de Provence. You could also try finely chopping fresh herbs like rosemary, parsley, sage and thyme instead of the dried herbs.
    • Extra Spicy - The French don't use a lot of chilies in their cooking. If you like spicy food, though, consider adding more dried chili flakes to taste.

    Equipment

    Charcoal or gas grill

    A sharp chefs knife

    Grill-safe tongs

    Meat thermometer (optional, but useful)

    A large bowl or zip-top bag for marinating

    Storage

    If you have any leftovers, you can store them in an air-tight container in the fridge for 3 to 4 days. To reheat, you can fry them up in a pan or reheat in an oven set to 400°F/200°C for about 10 minutes or until heated through.

    Leftover grilled rabbit is also good added to a stew or soup.

    Top Tip

    Watch the heat. Rabbit can dry out quickly, so keep it on the cooler side of the grill once seared. Then just continue to cook and baste with the marinade until cooked through.

    FAQ

    How long does it take to grill rabbit?

    After searing over direct heat for 2–3 minutes per side, rabbit should cook over indirect heat for about 20 minutes, depending on the size of the pieces. Use a meat thermometer to check for doneness—160°F (71°C) is the target.

    What flavors go best with grilled rabbit?

    Remember that this recipe is only one of many popular options. Classic French flavors work beautifully: garlic, rosemary, thyme, Dijon mustard, lemon, and white wine. For a Provençal twist, a splash of Pernod or a sprinkle of Herbes de Provence adds depth. Serve with simple sides like grilled vegetables or rustic bread.

    Related

    Looking for other popular French main course recipes? Try these:

    • 40 clove garlic chicken in the bowl it was cooked in.
      40 Clove Garlic Chicken Recipe
    • cassoulet on a serving plate with crusty French bread and salad.
      Cassoulet
    • Spooning the chicken and asparagus onto a plate.
      Chicken and Asparagus
    • The cooked fish on a serving platter drizzled with the herb mixture.
      Mediterranean Fish - Grilled
    • Moules Mariniere on a serving plate.
      Moules Mariniere
    • Finished french onion burger
      French Onion Burger

    Recipe

    Grilled rabbit on a serving plate with lemon wedges.

    Grilled Rabbit

    Yield: 3 to 4
    Prep Time: 10 minutes
    Cook Time: 20 minutes
    Total Time: 30 minutes

    This is one of the easiest ways to cooked grilled rabbit the French way. Actually, this method is equally as popular all over the Med. You can prepare this in about 30 minutes and it is so good!

    Ingredients

    • 1 whole rabbit, cleaned and cut into about 8 pieces
    • ¼ cup (70ml) olive oil
    • 1 to 2 teaspoon red chili flakes
    • 1 tablespoon Herbes de Provence
    • 8 cloves garlic, finely chopped
    • Salt and pepper to taste
    • 2 lemons, quartered

    Instructions

    1. Cut the rabbit into about 8 pieces and score the meat in several places. This will help the marinade get right into the flesh.
    2. Whisk the olive oil, the juice of one lemon, garlic, herbs de Provence, chili flakes, salt and pepper together.
    3. Rub the marinade right into the flesh of the rabbit and let it marinate for 30 minutes to 4 hours.
    4. Build a direct heat fire and place the marinated rabbit pieces on top to cook and sear for about 2 minutes. Once the rabbit is a nice golden brown, flip it over to cook the other side. Then continue cooking until completely cooked through. Be sure to baste the meat with any leftover marinade you have.
    5. Be careful as rabbit meat can dry out fast. Depending on the size of your rabbit pieces, you might need to spread out the coals so that you have a less intense heat on one side of your barbecue and continue cooking over the cooler heat for about 20 minutes.
    6. Use a meat thermometer to check for doneness—160°F (71°C) is the target. Once cooked through, allow to rest for about 5 minutes before serving.
    7. Season with more salt and pepper if needed and serve with the quartered lemons that can be squeezed over the rabbit to taste.
    Nutrition Information:
    Yield: 3 Serving Size: 1
    Amount Per Serving: Calories: 104Total Fat: 4gSaturated Fat: 1gTrans Fat: 0gUnsaturated Fat: 2gCholesterol: 24mgSodium: 112mgCarbohydrates: 9gFiber: 3gSugar: 2gProtein: 10g
    © Dan
    Cuisine: French / Category: French

    Caesar Salad

    May 27, 2025 By Jennifer

    Caesar salad finished with dressing tossed in a bowl

    Crisp Romaine lettuce, creamy Caesar dressing and golden croutons. This Caesar Salad is utterly divine and the perfect side dish to your favorite meals.

    Caesar salad finished with dressing tossed in a bowl

    About this recipe:

    There's a reason that Caesar salad is so popular, every mouthful is the perfect balance of creamy and crunchy. Traditionally, romaine lettuce is used and the creamy dressing uses egg yolks, anchovies, garlic and parmesan. Its the perfect side dish to compliment hearty pasta dishes or you can even make it a main course by adding chicken and bacon. This recipe shows you how to easily make the creamy dressing using a blender and gives suggestions for how to make this recipe your own!

    [feast_advanced_jump_to]

    Ingredients

    Caesar salad ingredients

    For the dressing:

    • Cloves garlic 
    • Anchovies 
    • Worcestershire sauce
    • Olive oil
    • Parmasan 
    • Dijon mustard 
    • Lemon juice
    • Egg yolks 

    For the salad and croutons:

    • Baguette
    • Little gem lettuce or romaine lettuce 
    • Salt 
    • Black pepper 
    • Vegetable oil

    See recipe card for quantities.

    Step by step photographs:

    bread chopped into crouton pieces
    1. Step 1: Chop your baguette into crouton sized pieces.
    crouton pieces in a bowl seasoned
    1. Step 2: Drizzle over olive oil and season with salt and pepper.
    Crouton pieces air fried until crispy
    1. Step 3: Place croutons in the air fryer and cook at 350 f (180 C) for 3 minutes, shake to turn over and cook for a further 2- 3 minutes until golden.
    lettuce chopped for caesar salad
    1. Step 4: Meanwhile, chop your lettuce head into bitesize strips.
    ingredients for dressing in a blender
    1. Step 5: While the croutons are cooking, add all your dressing ingredients to a blender.
    sauce blended
    1. Step 6: Blend until fully combined.
    salad and dressing tossed in a bowl
    1. Step 7: To a salad bowl, add your lettuce, croutons and dressing. Toss well to combine.
    caesar salad plated up
    1. Step 8: Dig in!

    What are the origins of Caesar salad?

    Despite what the name might suggest, this recipe has no Italian origin and isn't connected to Julius Caesar at all! It was in fact created by Caesar Cardini in Tijuana, Mexico! A great fun fact that might come up in your next pub quiz!

    Substitutions

    A classic Caesar Salad is exactly as written in this post. However, if you want to use up other items you have in your refrigerator or you need to switch it up for dietary requirements, then here are some suggestions:

    • Parmesan - Parmesan should be very easy to get your hands on, however Grana Padano or Pecorino Romano will work just as well if you have some that needs using up
    • Anchovies - I highly recommend using anchovies in the dressing, some people can be a bit sceptical about using them but they add no fishy flavour and add a delightful saltiness that you just cant replicate. However, if you really want to substitute them, a spoonful of Capers are a great replacement.
    • Croutons - For a gluten free alternative, roasted chickpeas work beautifully to add that much needed crunch.

    Variations

    There are so many ways to make your Caesar salad into a main dish just by adding various proteins, here are my suggestions:

    • Grilled chicken - grill boneless and skinless chicken breasts for 8 minutes at 400 F/ 200 C. Slice your cooked chicken breasts into bite size strips and toss into your salad.
    • Bacon - fry streaky bacon or crisp it up in your air fryer. Crumble the strips into bacon pieces and sprinkle over your Caesar salad.
    • Caesar Pasta Salad - cook your favorite pasta (fusilli or penne recommended), allow to cool then toss it into your salad to make it a hearty main meal.

    Equipment

    I make this recipe super simple by adding all the dressing ingredients to a blender. This emulsifies the egg, oil and dressing ingredients and creates an easy, super silky dressing. However, if you don't have a blender to hand, the sauce can be made simply in a bowl with a fork and whisk. Using your fork, mash your anchovies and garlic into a fine paste. Add your egg yolks, Dijon mustard, Worchester sauce, lemon juice and parmesan and whisk to combine. Then, slowly drizzle in your olive oil, whisking at the same time to emulsify and create your delicious, creamy dressing.

    Storage

    • Fully dressed Caesar salad - if you've already tossed your salad ingredients and dressing together and have some left over simply add to an airtight container and transfer to the fridge. Good for 24 hours.
    • Working ahead of time - If you are thinking ahead and preparing your salad to be served at a later date then here are my tips. Store the lettuce, dressing and croutons separately. Place each part in a separate airtight container and store in the fridge for up to 3-4 days. When you're ready to serve you Caesar Salad, simply toss all your ingredients together in a bowl.

    Top Tip

    My top tip for this recipe is simple - toss the dressing and lettuce together just before serving for the crispest result. If you toss them together too early the dressing will start to wilt the lettuce and you won't get the wonderful crunch!

    FAQ

    Does Caesar Salad always contain anchovies?

    Traditionally, yes! The anchovies add a salty depth that you just can't replicate with anything else. However if you have a fussy eater then I recommend replacing them with a spoonful of mashed capers.

    Is this recipe gluten free?

    If made without the croutons then yes, just double check your Dijon mustard to ensure it is free from gluten. As a perfect alternative, why not air fry some chickpeas to create a naturally gluten free crunch.

    Related

    Looking for other recipes like this? Try these:

    • Finished roasted chickpea salad
      Roasted Chickpea Salad
    • Caesar salad finished with dressing tossed in a bowl
      Caesar Salad
    • Finished arugula salad with parmesan and balsamic dressing
      Arugula salad
    • Big mac salad
      Big Mac Salad

    Pairing

    These are my favorite dishes to serve with Caesar Salad:

    • Nashville hot chicken burger served with hot sauce and topped with pickles and lettuce
      Nashville Hot Chicken Burger
    • Pasta alla zozzona served in a bowl topped with pancetta and basil
      Pasta Alla Zozzona (Dirty Pasta)
    • Chicken Chukauni served with rice and naan in a bowl
      Chicken Chukauni
    • Kerala tawa prawns on a bed of curry leaves
      Kerala Tawa Prawn Fry

    Recipe

    Caesar salad finished with dressing tossed in a bowl

    Caesar Salad Dressing

    Yield: 4
    Prep Time: 5 minutes
    Cook Time: 5 minutes
    Total Time: 5 minutes

    Crisp Romaine lettuce, creamy Caesar dressing and golden croutons. This Caesar Salad is utterly divine and the perfect side dish to your favorite meals.

    Ingredients

    • For the dressing:
    • 3-4 cloves garlic 
    • 4 anchovies 
    • 1 tablespoon Worcestershire sauce
    • 2 egg yolks
    • ½ cup (8 tablespoons) olive oil
    • 4 cups (150g) Parmesan 
    • 1 teaspoon Dijon mustard 
    • 4 tablespoons lemon juice
    • For the salad and croutons:
    • 4 whole little gem lettuce/ 2 whole romaine lettuce 
    • ½ teaspoon salt 
    • ½ teaspoon black pepper 
    • 1 medium baguette
    • 1 tablespoon vegetable oil

    Instructions

      1. Chop your baguette into crouton sized pieces.
      2. Drizzle over olive oil and season with salt and pepper.
      3. Place croutons in the air fryer and cook at 350 f (180 C) for 3 minutes, shake to turn over and cook for a further 2- 3 minutes until golden.
      4. Meanwhile, chop your lettuce head into bitesize strips.
      5. While the croutons are cooking, add all your dressing ingredients to a blender.
      6. Blend until fully combined.
      7. To a salad bowl, add your lettuce, croutons and dressing. Toss well to combine.
    Nutrition Information:
    Yield: 4 Serving Size: 1
    Amount Per Serving: Calories: 330Total Fat: 10gSaturated Fat: 2gTrans Fat: 0gUnsaturated Fat: 7gCholesterol: 96mgSodium: 996mgCarbohydrates: 49gFiber: 4gSugar: 6gProtein: 13g
    © Jennifer
    Cuisine: British/American/European / Category: Salad

    Veal Scallopini

    May 27, 2025 By Dan

    Veal Scallopini served in the pan it was cooked in.

    Today, I want to share a recipe that proves less really can be more: Veal Scallopini. It’s one of those timeless Italian dishes that takes simple ingredients and turns them into something you’d expect in a fancy trattoria, yet it’s quick enough for a weeknight dinner.

    So, grab a pan, a few pantry staples, and let’s get cooking. You’re going to love this one.

    Veal Scallopini served in the pan it was cooked in.

    What Is Veal Scallopini?

    At its core, Scallopini simply refers to thinly sliced meat, veal in this case, that’s lightly floured, quickly pan-fried, and finished in a sauce. It’s fast, elegant, and seriously delicious.

    The sauce can vary. Some go for lemon and capers (piccata style), others with marsala wine, but today I’m sticking with the white wine, chicken stock, lemon, and butter combo — light, fresh, and perfect for spring or summer.

    [feast_advanced_jump_to]

    Ingredients

    There aren’t a lot of ingredients in veal Scallopini but they all work so well together. Get them all prepared and ready before you start cooking.

    The ingredients for the recipe laid out on a counter top.
    • veal escalopes, about ½ inch thick, pounded to ¼ inch thickness
    • All purpose (plain) flour
    • Herbs de province
    • Salt
    • Olive oil
    • Butter
    • Dry white wine
    • Chicken stock
    • Lemons
    • Capers
    • Double cream
    • Dried chilli flakes, to taste
    • Salt and pepper to taste

    See recipe card for quantities.

    Step by Step Photos

    Check out the step by step photos below to see how easy it is to make veal Scallopini. This is so good!

    Dusting the veal pieces with the flour mixture.
    1. Step 1: Pour the flour onto a plate and add 1 tablespoon herbs de province and 2 teaspoon salt. Mix well and then dust each of the veal escalopes with the flour.
    Adding the flour dusted veal to the butter and olive oil in the pan over a medium-high heat.
    1. Step 2: Heat the oil and butter in a frying pan over a medium-high heat. Shake off any excess flour from the escalopes and add them to the pan.

    Adding the garlic to fry for a few seconds and then adding the white wine to deglaze the pan.
    1. Step 3: Fry for about 3 to 4 minutes on each side or until the meat is turning a golden brown.
      Stir in the garlic and fry it with them meat for about 30 seconds. Then add the white wine to the pan to deglaze.
    Adding the lemon juice and chicken stock to the pan to simmer with the meat.
    1. Step 4: Pour in the chicken stock and lemon juice and bring to a simmer. Then stir in the capers and add the sliced lemons to flavour the sauce.

    Adding the cream to the sauce along with the remaining herbs de province.
    1. Step 5: Stir in the cream along with the remaining herbs de province.
    Season with salt and pepper to taste. Garnish with chopped parsley and dried chilli flakes.
    1. Step 6: Stir the cream right in and then season with salt and pepper to taste. Garnish with chopped parsley and dried chilli flakes.

    The veal Scallopini garnished with parsley, dried chilli flakes and grated Parmesan.
    1. Step 7: You might also like to garnish your veal Scallopini with freshly grated Parmesan.

    Prepping the Veal

    Prepping the veal correctly is important. Your veal should be about ¼ inch thick — you can ask your butcher to do this or give it a gentle bash between two sheets of cling film with a meat mallet or rolling pin.

    Season both sides with salt and pepper, then lightly dredge in flour. Shake off any excess — we’re not deep frying here. That thin coating helps the veal brown beautifully and gives the sauce something to cling to.

    Why Veal?

    I know veal can be a bit divisive, but when ethically sourced and treated right, it’s a delicate, tender meat that shines in dishes like this. It’s lean, cooks fast, and soaks up flavour beautifully.

    If veal isn’t your thing, you can substitute chicken or pork using the same method.

    Substitutions

    As I mention above, you don’t have to use veal. Here are a few other possibilities:

    • Chicken - Chicken works really well in this sauce. I prefer chicken thighs but thinly pounded chicken breasts will also work.
    • Pork - Pork has a similar flavour to veal. Personally, I prefer the texture of veal but pork is equally as delicious and a lot easier to source. I recommend using thinly pounded pork chops.
    • Tofu or potatoes - Neither of these options are in any way authentic but if you are on a vegetarian diet, they do work. Both tofu and potatoes will soak up that amazing sauce nicely.

    Variations

    Want to mix it up?

    Don’t add cream – I like a little cream in my veal Scallopini but cream is not always added. Leave it out for a slighter version of this famous dish.

    Veal Scallopini Marsala – Swap wine and lemon for sweet Marsala and add sautéed mushrooms.

    Chicken Piccata – Same method, using chicken breast and extra capers.

    Add fresh herbs – Fresh thyme, rosemary or sage all work beautifully.

    Equipment

    Veal Scallopini is the ultimate one pan dish. All you need is a good frying pan and a spatula for turning the veal as it cooks. A good chef’s knife and meat mallet will also come in handy.

    Storage

    You can store leftovers in the fridge for up to 4 days. Cover tightly with cling film. To reheat, place it in your microwave or heat it slowly in a pan over a medium heat until hot.

    You can also freeze veal Scallopini. Cream does not freeze well but as you use so little cream in this recipe, it doesn’t hurt to freeze it.

    Top Tip

    Thin veal is key – Uniform thickness means even cooking and tender meat.

    FAQ

    Which cut of veal is best for veal scallopini?

    The best cut for veal scallopini is veal top round or veal leg, sliced thin. These cuts are tender and cook quickly. You can also ask your butcher for "veal scallopini" cuts, which are usually pre-sliced and ready for pounding.

    How do you tenderize veal for veal scallopini?

    Place the veal slices between two sheets of plastic wrap or parchment paper and gently pound them with a meat mallet until they’re about ⅛ to ¼ inch thick. This not only tenderizes the meat but also ensures even, quick cooking.

    What’s the difference between veal scallopini, piccata, and marsala?

    Scallopini refers to the thin slices of veal, usually lightly floured and pan-fried. The dish’s name changes based on the sauce:
    Piccata: lemon, capers, white wine, and butter.
    Marsala: sweet Marsala wine, mushrooms, and sometimes cream.
    Saltimbocca: topped with prosciutto and sage, often deglazed with white wine.

    Why is my veal tough after cooking?

    Overcooking is the most common reason. Veal is very lean and thin, so it only needs 1–4 minutes per side depending on the thickness. Also, make sure it's pounded thin and cooked quickly over medium-high heat.

    Can you substitute another meat for the veal?

    Yes, chicken, turkey, or pork can be substituted and prepared in the same way. Just make sure to pound them to a similar thinness and adjust cooking time as needed.

    Related

    Looking for other recipes like this? Try these:

    • Chicken Achaar finished in the pan
      Chicken Achaar
    • Cottage pie served with garden peas
      Cottage Pie Recipe
    • Lasagne served on a plate with rocket salad
      Lasagne
    • Salsa verde tacos topped with salsa and cheese
      Salsa Verde Tacos

    Pairing

    These are my favorite dishes to serve with [this recipe]:

    • Curried brussels sprouts served in a side dish
      Curried Brussels Sprouts
    • Honey harissa chicken served on a bed of mashed potato with harissa chicken gravy
      Honey Harissa Chicken
    • Refried bean taquitos served with chipotle dip
      Refried Bean Taquitos
    • Chipotle chicken taquitos served with chipotle dip
      Chipotle Chicken Taquitos

    Recipe

    Veal Scallopini served in the pan it was cooked in.

    Veal Scallopini

    Yield: 4 to 6
    Prep Time: 10 minutes
    Cook Time: 20 minutes
    Total Time: 30 minutes

    This restaurant style veal Scallopini is so easy to prepare and can be cooked in about 30 minutes. No need to go out for the best veal Scallopini when you can make it even tastier at home.

    Ingredients

    • 6 veal escalopes, about ½ inch thick, pounded to ¼ inch thickness
    • 1 cup all purpose (plain) flour
    • 2 tablespoon herbs de province
    • 3 teaspoon salt
    • 2 tablespoon olive oil
    • 2 tablespoon butter
    • 80ml (⅓ cup) dry white wine
    • 320ml (1 ¼ cups) chicken stock
    • 2 lemons
    • 3 tablespoon capers
    • 80ml (⅓ cup) double cream
    • Dried chilli flakes, to taste
    • Salt and pepper to taste

    Instructions

    1. Place a veal escalope on a clean work surface and pound it with a meat mallet until it is about ¼ inch thick. Repeat with the remaining veal escalopes.
    2. Pour the flour onto a plate and add 1 tablespoon herbs de province and 2 teaspoon salt. Mix well and then dust each of the veal escalopes with the flour.
    3. Heat the oil and butter in a frying pan over a medium-high heat. Shake off any excess flour from the escalopes and add them to the pan. Fry for about 3 to 4 minutes on each side or until the meat is turning a golden brown.
    4. Deglaze the pan by adding the wine and when it bubbles up, add the chicken stock and the juice of one of the lemons.
    5. Bring this to a simmer and then stir in the capers and cream.
    6. Slice the remaining lemon into thin rounds and place them in the sauce. Let it all simmer for another 5 minutes.
    7. To serve, season with salt and pepper to taste and garnish with more herbs de province and dried chilli flakes.
    Nutrition Information:
    Yield: 6 Serving Size: 1
    Amount Per Serving: Calories: 427Total Fat: 26gSaturated Fat: 10gTrans Fat: 0gUnsaturated Fat: 13gCholesterol: 131mgSodium: 1808mgCarbohydrates: 10gFiber: 1gSugar: 3gProtein: 33g
    © Dan
    Cuisine: Italian/American / Category: Italian

    Moules Mariniere

    May 27, 2025 By Dan

    Moules Mariniere on a serving plate.

    Today, let’s head over to the coast of France for a dish that’s been winning hearts and filling bellies for centuries:  Moules Mariniere. This recipe is a personal favourite of mine when I want something quick, elegant, and packed with flavour. And best of all? It’s done in less than 30 minutes start to finish.

    Moules Mariniere on a serving plate.

    What Is Moules Marinière?

    This dish originates from the northern coast of France, particularly Normandy and Brittany — regions known for their rich seafood traditions. "Marinière" refers to the style of preparation: mussels cooked quickly in white wine, garlic, shallots, parsley, and butter. That's it.

    You might have seen variations with cream (which is lovely too), but the original is dairy-light, wine-forward, and intensely aromatic. It’s often served with crusty bread or French fries (yes, moules-frites!) and a glass of the same dry white wine used in the cooking.

    [feast_advanced_jump_to]

    Ingredients

    Moules mariniere is a simple dish. There aren’t a lot of ingredients but they all work amazingly well together. Get them prepared before you start cooking.

    Ingredients for the recipe laid out on a counter top.
    • Live mussels
    • Unsalted butter
    • Light olive oil
    • Shallots
    • Garlic cloves
    • Dry white wine
    • Double cream
    • Dried chilli flakes (optional)
    • Salt and pepper to taste
    • Flat leaf parsley
    • Chives

    See recipe card for quantities.

    Step by step photos

    As you will clearly see from the step by step photos below, Moules mariniere could not be easier to make. This is pure comfort food that you can whip up in about 30 minutes.

    Washing and debearding the mussels under water.
    1. Step 1: Wash and debeard the mussels under water. Discard any mussels that don't close completely during this process.
    Frying off the shallots in the oil and better.
    1. Step 2: Heat the oil and butter over a medium heat and then stir in the shallots. Fry the shallots for about 5 minutes or until soft and translucent.
    Adding the garlic to the shallots in the pot.
    1. Step 3: Stir in the garlic and let it soften in the butter and oil for about a minute.
    Adding the wine to the pot and bringing it to a simmer.
    1. Step 4: Pour in the wine and add the herbs de Provences and bring it to a rolling simmer.
    Adding the mussels to the pot and stirring them into the shallots and garlic.
    1. Step 5: Add the mussels to the pot and stir well to coat with the shallots, garlic and herbs.
    Covering the pot to let the mussels steam for 3 to 5 minutes or until they open.
    1. Step 6: Cover the pot and let them mussels steam until they open. It will take about 3 to 5 minutes. Discard any mussels that don't open.
    Adding the cream, parsley and dried chili flakes to the mussels.
    1. Step 7: Add the cream, chopped parsley and dried chili flakes and stir well to combine. Continue cooking until the sauce is hot. About two minutes.
    Heating the creamy sauce in the pot with the mussels.
    1. Step 8: When the sauce is hot, season with salt and pepper to taste. You probably won't need to add salt.

    Cleaning Mussels – Don’t Skip This Part

    Before you cook, you’ll need to prep the mussels. This is your mise en place moment — just like prepping for curry night.

    1. Rinse the mussels under cold water.
    2. Scrub the shells with a stiff brush to remove sand or barnacles.
    3. Debeard them — that’s the stringy bit sticking out of some shells. Tug it towards the hinge of the shell and discard.
    4. Check for freshness: Discard any mussels with broken shells or any that don’t close when tapped firmly.

    Do all this and you’re good to go. It sounds fiddly, but it only takes 10 minutes, and it’s absolutely worth it for a clean, tasty result.

    Equipment

    A large pot with a lid: You will need a good pot with a tight fitting lid to cook the mussels.

    A colander: For washing a de-bearding the mussels.

    Storage for moules mariniere

    Cool Quickly: Let the mussels cool to room temperature as quickly as possible — ideally within an hour of cooking.

    Remove from Shells: For best results, remove the mussels from their shells before storing. This helps prevent overcooking when reheating and makes them easier to use.

    Store in Airtight Container: Transfer the mussels and broth into an airtight container.

    Refrigerate Immediately: Place the container in the fridge and use within 1–2 days.

    Serving Suggestions

    Traditionally, Moules Marinière is served with fries or baguette. Personally, I love dunking crusty sourdough into the broth — it soaks up every last drop of that garlicky, winey goodness. If you’re feeling extra, whip up a quick aioli on the side or serve with a lemon mayo for dipping.

    And yes, don’t forget the wine. Serve it chilled and dry. This dish was made for sipping between bites.

    Top Tip

    When adding the white wine, be sure it is a good one. If you wouldn't drink it, don't add it!

    FAQ

    How do you clean the mussels?

    Scrub the shells under cold running water to remove dirt and seaweed. Remove the "beard" (the fibrous tuft sticking out) by pulling it toward the hinge of the shell. Discard any mussels that are cracked or remain open after a gentle tap as they may be dead and unsafe to eat.

    Do you need to soak mussels before cooking?

    Not usually. Unlike clams, it's not necessary if the mussels are farmed (as most are), since they contain very little grit. However, if you're using wild mussels, you can soak them in cold salted water for 20 minutes to help expel sand and grit.

    Which type of white wine is best to use in moules mariniere?

    A dry white wine such as Sauvignon Blanc, Muscadet, or Pinot Grigio works best. Avoid sweet wines or heavily oaked varieties, which can overpower the delicate flavour of the mussels.

    How long should you cook mussels?

    Mussels only need 3–5 minutes to cook once the pot is covered and heated. They are done when they have opened fully. Discard any mussels that remain closed after cooking.

    Can you make moules mariniere in advance?

    It's best served immediately after cooking. Mussels can become rubbery if reheated. You can prep all your ingredients ahead of time, but cook the mussels just before serving for the freshest taste and texture.

    Related

    If you like this Moules mariniere, try some of these French favorites too.

    • 40 clove garlic chicken in the bowl it was cooked in.
      40 Clove Garlic Chicken Recipe
    • cassoulet on a serving plate with crusty French bread and salad.
      Cassoulet
    • Spooning the chicken and asparagus onto a plate.
      Chicken and Asparagus
    • The cooked fish on a serving platter drizzled with the herb mixture.
      Mediterranean Fish - Grilled

    Recipe

    Recipe

    Moules mariniere on a serving plate.

    Moules Mariniere

    Yield: 4 to 6
    Prep Time: 15 minutes
    Cook Time: 10 minutes
    Total Time: 25 minutes

    Fresh, homemade moules mariniere is one of those dishes that looks and tastes as if it would be difficult to make but it's not! Try this authentic French recipe and you will love the results.

    Ingredients

    • 2 lbs (1kg) live mussels
    • 2 tablespoon unsalted butter
    • 1 tablespoon light olive oil
    • 4 shallots, finely chopped
    • 4 garlic cloves, finely chopped
    • ½ cup (125ml) dry white wine
    • 1 tablespoon Herbs de Provence
    • 80ml (⅓ cup) double cream
    • 1 tablespoon dried chilli flakes (optional)
    • Salt and pepper to taste
    • 3 tablespoon flat leaf parsley, finely chopped
    • 3 tablespoon chives, finely chopped
    • 2 lemons, quartered

    Instructions

    1. Wash and debeard the mussels under water. Discard any mussels that don't close completely during this process.
    2. Heat the oil and butter over a medium heat and then stir in the shallots. Fry the shallots for about 5 minutes or until soft and translucent.
    3. Stir in the garlic and let it soften in the butter and oil for about a minute.
    4. Pour in the wine and add the herbs de Provences and bring it to a rolling simmer.
    5. Add the mussels to the pot and stir well to coat with the shallots, garlic and herbs.
    6. Cover the pot and let them mussels steam until they open. It will take about 3 to 5 minutes. Discard any mussels that don't open.
    7. Add the cream, chopped parsley and dried chili flakes, if using and stir well to combine and continue cooking until the sauce is hot. About a minute or two should do.
    8. Season with salt and pepper to taste. You probably won't need to add salt. Serve with lemon wedges and a crusty loaf of bread for dipping into that delicious sauce.
    Nutrition Information:
    Yield: 6 Serving Size: 1
    Amount Per Serving: Calories: 167Total Fat: 10gSaturated Fat: 4gTrans Fat: 0gUnsaturated Fat: 4gCholesterol: 32mgSodium: 172mgCarbohydrates: 11gFiber: 2gSugar: 3gProtein: 8g
    © Dan
    Cuisine: French / Category: French

    Chicken Fettuccini Alfredo

    May 18, 2025 By Joe

    Finished chicken fettuccini Alfredo

    The perfect combination of golden pan-fried garlic and rich pecorino sauce, subtly infused with shallots and topped with crispy pancetta and pan-seared chicken breast. This Chicken Fettuccini Alfredo is the ultimate comfort food!

    Finished chicken fettuccini Alfredo

    About this Chicken Fettucine Alfredo Recipe

    Traditionally, Alfredo sauce is made with just butter, Parmigiano-Reggiano, and starchy pasta water. Simple and elegant. This version isn’t authentic in the Italian sense, but follows the more familiar American style: a quick, creamy mix of butter, garlic, and a hard Italian cheese like Parmesan. In this recipe, I use Pecorino for a bolder, sharper flavor that really stands out but Parmesan works perfectly too if you prefer a milder taste.

    Make it your own! I just cant resist crispy pancetta with a creamy Italian sauce so I decided to add it to this recipe. It's not the traditional method but that does not matter. What matters is that when you take a forkful of this homemade Chicken Fettucine Alfredo, you can't get enough.

    [feast_advanced_jump_to]

    Ingredients for Chicken Fettuccini Alfredo

    The ingredients are easily sourced from your local grocery store. You can still achieve true deliciousness by switching out some ingredients, if needed, such as switching pecorino for parmesan or fettucine for spaghetti. You could even switch it up completely and prepare this alfredo sauce with Italian Gnocchi.

    Ingredients for chicken fettuccine Alfredo
    • chicken breast
    • pancetta or bacon
    • heavy cream
    • garlic
    • shallots
    • fettuccini or tagliatelle
    • Parmesan or pecorino
    • salt
    • pepper
    • garlic powder
    • paprika
    • butter
    • olive oil
    • parsley

    See recipe card for quantities.

    Step by step photographs...

    See just how easy it is to prepare Chicken Fettuccine Alfredo.

    Butterflied chicken for the alfredo
    1. Step 1: Butterfly your chicken by slicing it in half, as pictured, then coat in the garlic powder, paprika, salt and pepper.
    Chicken cooking in a pan
    1. Step 2: Over a medium heat, add the olive oil and allow to heat for a minute. Then add your butterflied chicken breast. Cook on each side for 3 minutes or until cooked through and golden on the exterior.
    Pancetta crisping in a pan
    1. Step 3: Remove the chicken from the pan and add your pancetta. Cook on a medium heat to allow the fat to render out and crisp to perfection.
    Shallots and garlic frying in a pan
    1. Step 4: Remove the pancetta and add the butter. Allow to melt and add your garlic and shallots and cook until softened. Then add 3
    Pasta boiling in a pot
    1. Step 5: Meanwhile, add your pasta to boiled water and cook to packet instructions.
    Cream added for the chicken fettuccini Alfredo sauce
    1. Step 6: To your frying pan, add ¾ of the pancetta and cream.
    Parmesan added
    1. Step 7: Add parmesan and stir on a low heat with a wooden spoon. Loosen the sauce by adding a ladle of pasta water.
    Pasta transferred to the pan with the Alfredo sauce
    1. Step 8: When your pasta is cooked, drain (or use tongs and transfer to the pan. Stir to combine.
    Pasta on a plate
    1. Step 9: Transfer your pasta to a plate.
    Finished chicken Alfredo garnished with parsley
    1. Step 10: Top with sliced chicken and a garnish of parsley, parmesan and pancetta.

    Hint: Time when you cook the pasta well because you will need to ladle some of the pasta water to your sauce. These steps should work perfectly. If preparing the sauce ahead of time, when reheating, time it with teh cooking of the pasta so you can still include this step.

    Substitutions

    Ingredients for this Chicken Fettucine Alfredo can be substituted easily. Here are some suggestions.

    • Pasta - Switch out the fettucine for your pasta of choice. The alfredo sauce can be served with any pasta, included those that are gluten free.
    • Cheese - Traditionally alfredo sauce is made with parmesan but this recipe uses cream and garlic, so it's already leaning towards to more Americanised version. Go ahead and use any hard-Italian cheese just like I used pecorino in this recipe for a bolder flavor.
    • Vegetarian - Skip the meat and make a delicious alfredo sauce. It will still be perfect!

    Variations of Chicken Fettuccini Alfredo

    I encourage you to make this Chicken Fettuccini Alfredo your own so that it's your ultimate comfort food. Some variations include making it the true authentic way or adding even a deluxe twist to make it even more delicious.

    • Truly authentic - Skip the cream and garlic and make this Chicken Fettuccine Alfredo with just the cheese and butter (including the starchy pasta water). That's the authentic way.
    • Deluxe - add truffle oil to your finished dish. Perfection!
    • Milder (kid friendly) - This recipe asks for parmesan or pecorino. Parmesan is milder and not so bold.

    Prefer authentic Italian? Try this Authentic Italian Carbonara

    Storage

    Refrigerator: Store the sauce for this Chicken Fettuccini Alfredo, the pasta, and the chicken separately for best results. The sauce lasts 3–4 days, pasta up to 3 days, and cooked chicken up to 4 days in airtight containers. Toss pasta with a little oil to prevent sticking.

    If storing the dish fully assembled, use within 3 days. Reheat gently with a splash of milk or cream to loosen the sauce and avoid splitting.

    Top Tip

    Cook the chicken separately and slice it just before serving. This keeps the chicken juicy and allows you to perfectly sear it for flavor without overcooking it in the sauce. Add it on top of the creamy Alfredo pasta at the end for the best texture and presentation. Perfect Chicken Fettuccini Alfredo

    FAQ for Chicken Fettuccini Alfredo

    Can I use pre-cooked or leftover chicken?

    Yes! Just slice and warm it gently before adding it on top. Avoid simmering it in the sauce too long to keep it from drying out.

    What pasta works best?

    Fettuccine is the classic choice, but tagliatelle, linguine, or even penne work well — anything that holds the creamy sauce.

    Can I make it ahead of time?

    It’s best fresh, but you can store the sauce, pasta, and chicken separately in the fridge for up to 3–4 days. Reheat gently with a splash of milk or cream.

    Related

    Looking for more Italian recipes? Try these:

    • Finished plate of marry me chicken orzo
      Marry Me Chicken Orzo
    • Finished Italian chicken in a bowl with garlic bread
      Italian Chicken (Pollo allo Scarpariello)
    • Veal Scallopini served in the pan it was cooked in.
      Veal Scallopini
    • Finished chicken fettuccini Alfredo
      Chicken Fettuccini Alfredo

    Pairing

    This Chicken Fettuccini Alfredo recipe pairs perfectly with salad.

    • Green goddess salad served on a chilled plate next to a salad bowl.
      Green Goddess Salad
    • Broccoli Salad on a serving plate.
      Broccoli Salad
    • Chickpea & Carrot Salad
      Easy Chickpea and Carrot Salad
    • Salad Caprese
      Caprese Salad Recipe

    Recipe

    Finished chicken Alfredo garnished with parsley

    Chicken Fettuccini Alfredo

    Yield: 4
    Prep Time: 5 minutes
    Cook Time: 20 minutes
    Total Time: 5 minutes

    Savor the rich flavors of Chicken Fettuccini Alfredo, featuring crispy pancetta and a bold Pecorino sauce you will love

    Ingredients

    • 2 boneless, skinless chicken breasts
    • 7oz (200g) pancetta (or bacon lardons)
    • ¾ cup (200ml) heavy cream
    • 6 cloves garlic, minced
    • 3 shallots
    • 1lb (500g) fettuccini or tagliatelle
    • 1 cup (120g) grated parmesan or pecorino
    • teaspoon salt
    • teaspoon pepper
    • tablespoon garlic powder
    • ½ tablespoon paprika
    • 2 tablespoons butter
    • 1 tablespoon olive oil
    • parsley to garnish

    Instructions

    1. Start by butterflying your chicken by slicing it in half, then coat in the garlic powder, paprika, salt and pepper.
    2. Over a medium heat, add the olive oil to a pan and allow to heat for a minute. Then add your butterflied chicken breast. Cook on each side for 3 minutes or until cooked through and golden on the exterior.
    3. Remove the chicken from the pan and add your pancetta. Cook on a medium heat to allow the fat to render out and crisp to perfection. This should take 8-10 minutes.
    4. Remove the pancetta and add the butter. Allow to melt then add your garlic and shallots and cook until softened.
    5. Meanwhile, add your pasta to boiled water and cook to packet instructions.
    6. Back to your frying pan, add the cream and ¾ of the pancetta. Add parmesan and stir on a low heat with a wooden spoon. Loosen the sauce by adding a ladle of pasta water.
    7. When your pasta is cooked, drain (or use tongs and transfer to the pan. Stir to combine.
    8. Transfer your pasta to a plate. Top with sliced chicken and a garnish of parsley, parmesan and pancetta.
    Nutrition Information:
    Yield: 4 Serving Size: 1
    Amount Per Serving: Calories: 1036Total Fat: 68gSaturated Fat: 32gTrans Fat: 1gUnsaturated Fat: 30gCholesterol: 203mgSodium: 1306mgCarbohydrates: 61gFiber: 3gSugar: 6gProtein: 46g
    © Joe
    Cuisine: Italian / Category: 30 Minute Or Less

    Gnocchi and sausage recipe

    May 15, 2025 By Shannon

    Finished gnocchi with sausage recipe

    Crumbled sausage, soft pillowy gnocchi in a rich and creamy tomato sauce. This Gnocchi and Sausage recipe is a hearty and comforting dish that you just have to make!
    Finished gnocchi with sausage recipe

    About this recipe:

    This is a classic Italian dish that can be made with only a few simple ingredients that you probably already have in your refrigerator! This dish pairs crumbly sausage with a rich and creamy tomato based sauce, a heavenly pairing. In this recipe I use a homemade Italian Gnocchi Recipe however you can easily use store bought gnocchi and skip Step 1 in the step by step pictures below.

    [feast_advanced_jump_to]

    Ingredients

    This recipe only takes a handful of ingredients which are easily sourced in your local grocery store. You may want to make your own gnocchi like I did here in this Italian Gnocchi Recipe.

    Ingredients for the gnocchi recipe
    • Gnocchi
    • Sausages
    • Tinned tomatoes
    • Tomato puree
    • Onion
    • Garlic slithers
    • Spinach
    • Heavy cream
    • Parmesan

    See recipe card for quantities.

    Step by step pictures:

    Gnocchi boiling in a pot
    1. Step 1: In a pot of boiling water, add your gnocchi and boil for 3 minutes until they float to the surface. (Step not necessary for packet gnocchi)
    Sausages frying in a pot
    1. Step 2: Squeeze the sausage meat out of their skins and fry on medium heat. Use a spoon to break up the meat.
    Onions, garlic slithers and tomato paste added to the pot
    1. Step 3: Add onions, garlic and tomato puree. Fry until softened.
    Tinned tomatoes added to the pot
    1. Step 4: Add your tin of chopped tomatoes.
    Spinach added to the pot
    1. Step 5: Add your spinach and cook until reduced by half.
    Cream added to the pot with the sauage and onions
    1. Step 6: Add your heavy cream and mix.
    Gnocchi added to the sauce
    1. Step 7: Add your cooked.gnocchi or add your packet gnocchi at this step.
    Parmesan added to the gnocchi and sausage sauce
    1. Step 8: Finally, sprinkle in your parmesan and give it one final mix.

    Substitutions

    To keep this Gnocchi and Sausage recipe as authentic as possible, I recommend making your own gnocchi using this Italian Gnocchi recipe.

    However, you can substitute for store-bought gnocchi if you're short on time. Make sure you look for one made with real potato for the best texture.

    • Gluten free - you can use sweet potato gnocchi to make this recipe gluten free.
    • Cream - why not substitute heavy cream for mascarpone or Crème fraîche to maintain the sauce's creamy texture.

    Variations

    This Gnocchi with Sausage recipe has a perfect balance of flavor, however if an ingredient isn't to your liking or you want to use up ingredients in your fridge then here are a few suggestions:

    • Spicy Gnocchi and Sausage - for spice lovers who can't get through a recipe without adding some, try adding dried chilli flakes when you add the onion or even chopped fresh chili.
    • Sun-dried tomato Gnocchi - instead of adding tomato puree, swap it out for some chopped sun-dried tomatoes for an earthier flavor.
    • Sausages - the easiest way to experiment with flavors in this recipe is to use interesting flavored sausages. Why not use caramelized onion sausages or even chili and herb sausages to add an extra burst of flavor.

    Equipment

    You don't need any specialist equipment for this recipe and it can even be done all in one pan! I recommend using a large pot to boil your fresh gnocchi to allow room for them to float to the surface and cook evenly. To remove the gnocchi, simply use a slotted spoon to remove excess water.

    Storage

    Refrigeration: Allow your gnocchi to cool completely, store in an airtight container then transfer to the fridge. Good for up to 3 days. To reheat, simply transfer to a pan and heat through or reheat in the microwave, stirring halfway through.

    Freezing: I don't recommend freezing cooked gnocchi as the texture becomes mushy when reheated. However, if you would like to freeze it then I suggest leaving out the cream until reheated, allow to cool completely, transfer to an airtight container and transfer to the freezer. Good for 2 months. To reheat, defrost overnight and heat through in a pot then add the cream and parmesan.

    Top Tip

    Make your own gnocchi! Its super simple and can be a fun activity for the whole family! Follow this Italian Gnocchi Recipe and see just how easy it is!

    FAQ

    Can I make this Gnocchi and Sausage recipe ahead of time?

    Yes! Follow the steps above but leave out the cream and parmesan until you're ready to serve it in order for the sauce to avoid splitting.

    Do I need to boil my gnocchi?

    If you're using homemade gnocchi then you will need to boil it, it only takes 4 minutes! If you've used packet gnocchi then you only need to add it to the 7th step for it to cook through.

    Related

    Looking for other recipes like this? Try these:

    • Finished gnocchi with sausage recipe
      Gnocchi and sausage recipe
    • Pull apart garlic bread
      Pull Apart Garlic Bread
    • All Italian burger finished
      The All Italian Burger
    • gnocchi with brown butter and sage
      Gnocchi With Brown Butter And Sage

    Pairing

    These are my favorite dishes to serve with Gnocchi and Sausage Recipe:

    • honey and mustard dressing
      Honey Mustard Salad Dressing Recipe
    • Tandoori Salmon Salad
      Salmon Salad Recipe with Tandoori Salmon
    • ranch dressing
      Ranch Dressing Recipe
    • Italian fried cauliflower with Anchovies and garlic in a frying pan.
      Italian Fried Cauliflower With Anchovies and Garlic

    Recipe

    Finished gnocchi with sausage recipe

    Gnocchi and Sausage Recipe

    Yield: 4
    Prep Time: 5 minutes
    Cook Time: 15 minutes
    Total Time: 20 minutes

    Crumbled sausage, soft pillowy gnocchi in a rich and creamy tomato sauce. This Gnocchi and Sausage recipe is a hearty and comforting dish that you just have to make!

    Ingredients

    • 6 sausages - meat removed from the skin
    • 1 ½ lbs (650g) Gnocchi
    • 1 onion (diced)
    • 3 cloves garlic (thinly sliced)
    • 4 cups (125g) Baby spinach
    • 3 tablespoons Tomato puree
    • 1 can Tinned tomatoes
    • 350ml Heavy cream
    • 1 cup Parmesan

    Instructions

    1. If using fresh or homemade gnocchi - boil a pan of water and add your gnocchi. Allow to boil for 3-4 minutes until they start to float. Remove with a slotted spoon and set aside.
    2. To a cold pan, squeeze your sausage meat out of the casing and turn the heat to medium. Fry for 10 minutes, breaking the sausage up with a spoon.
    3. Add your onion, garlic slithers and tomato puree and fry until soft. Around 4 minutes.
    4. Add your tin of chopped tomatoes and a splash of water. Mix and heat on medium until the tomatoes have started to break down.
    5. Add your spinach and cook until the mass has halved.
    6. Add your heavy cream and mix.
    7. Add your boiled gnocchi or your packet gnocchi at this stage and combine with the sauce.
    8. Finish by stirring in your parmesan. Enjoy!
    Nutrition Information:
    Yield: 4 Serving Size: 1
    Amount Per Serving: Calories: 851Total Fat: 72gSaturated Fat: 35gTrans Fat: 2gUnsaturated Fat: 29gCholesterol: 210mgSodium: 1523mgCarbohydrates: 19gFiber: 6gSugar: 7gProtein: 36g
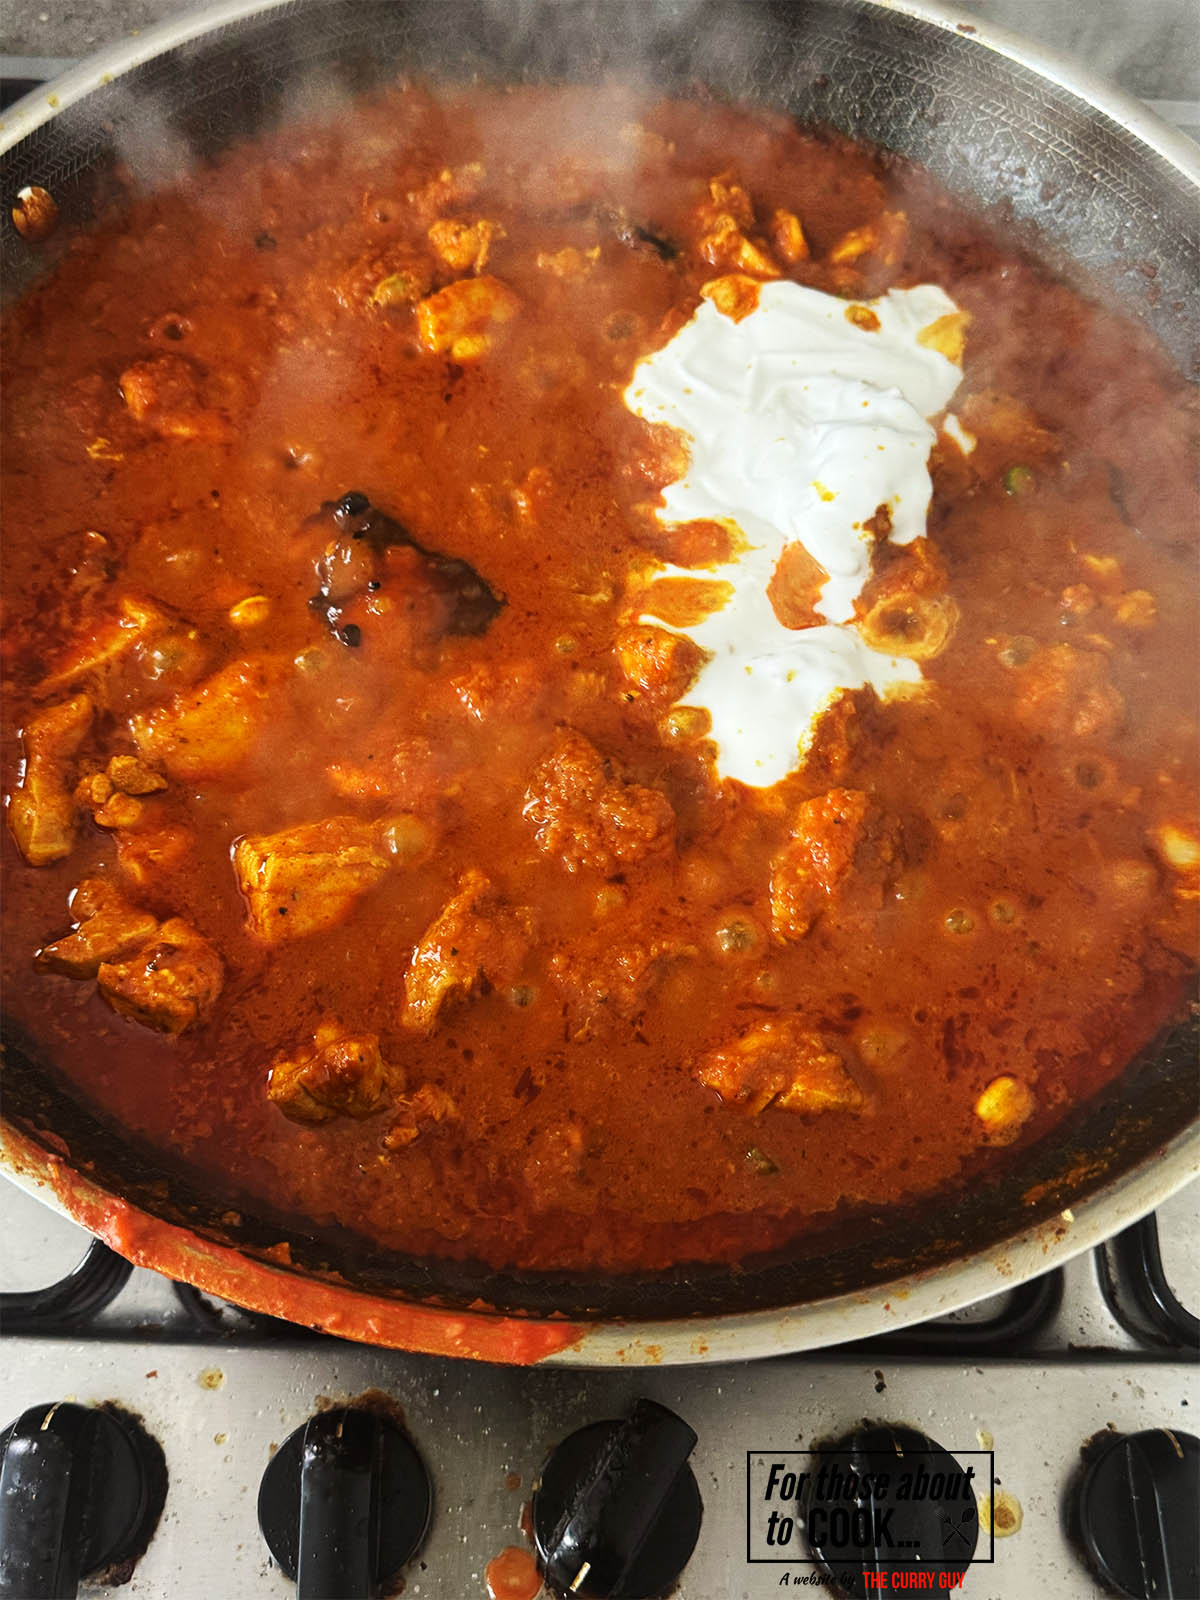
    © Shannon
    Cuisine: Italian / Category: 30 Minute Or Less

    Arugula salad

    May 2, 2025 By Shannon

    Finished arugula salad with parmesan and balsamic dressing
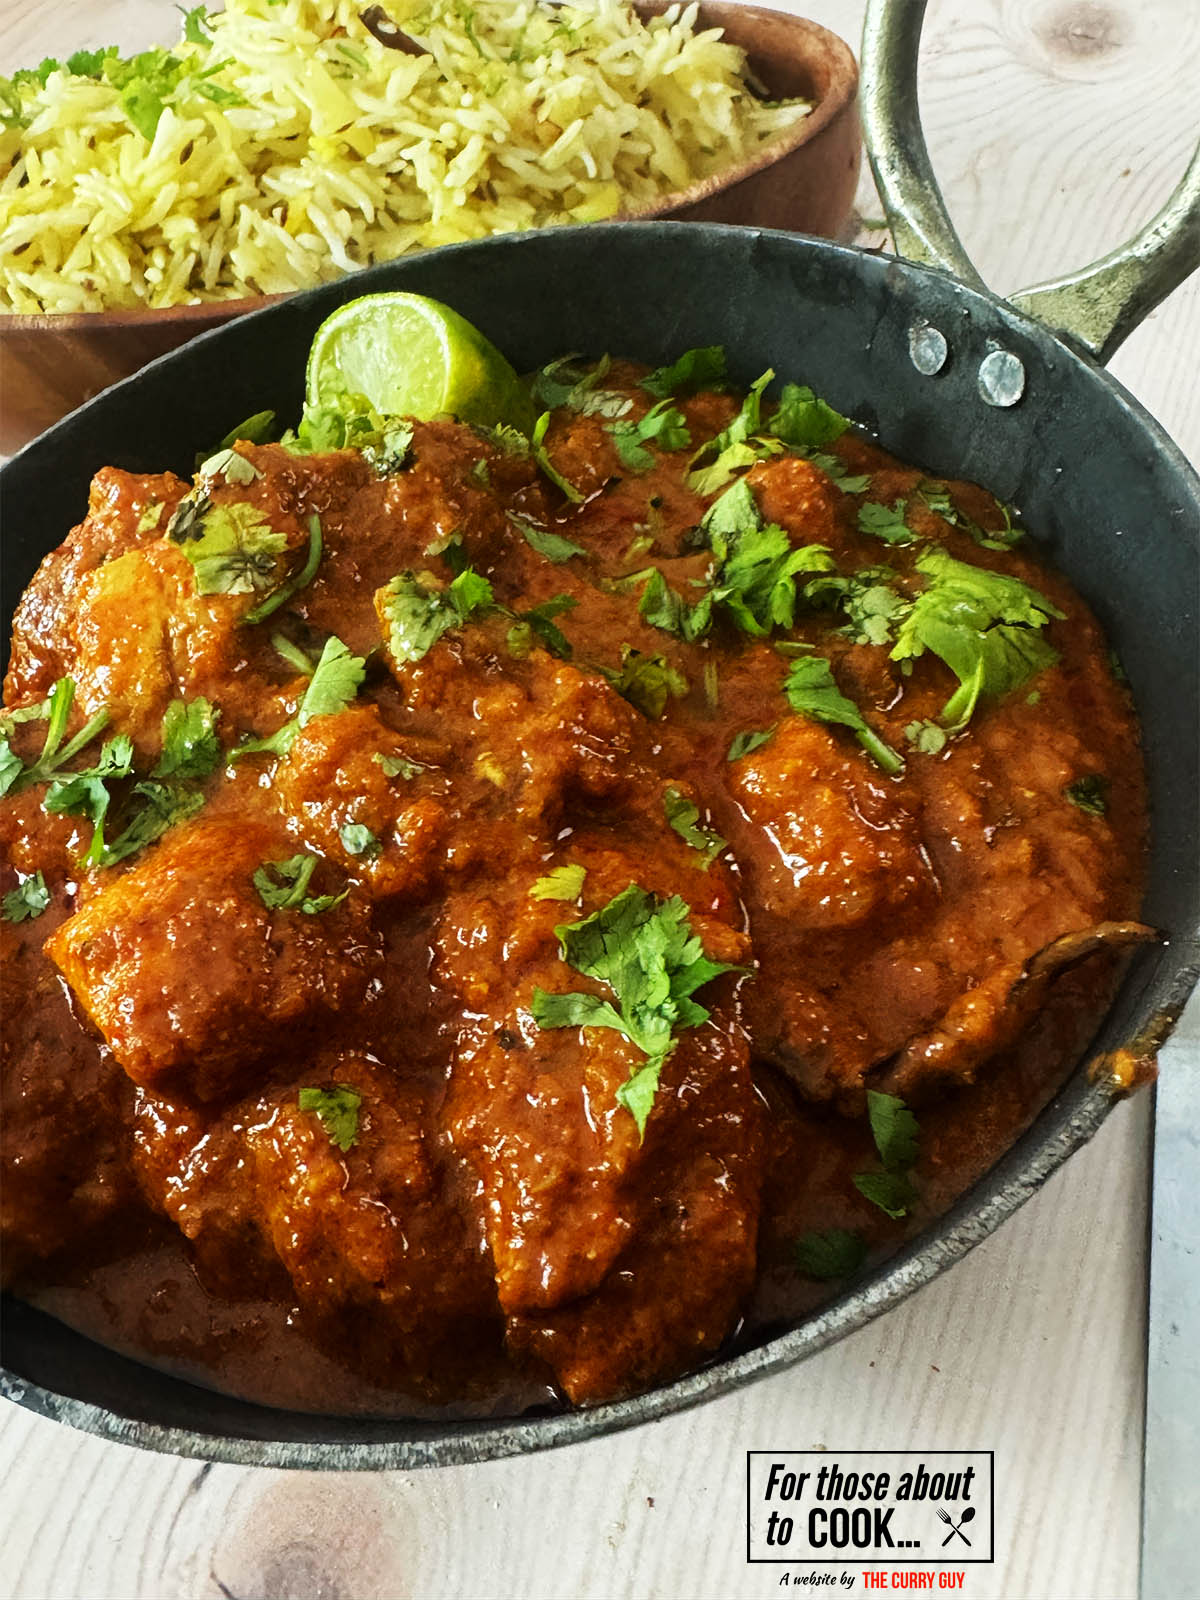
    Fresh and peppery Arugula (rocket), delicious parmesan shavings and a generous drizzle of rich balsamic glaze. This Arugula Salad is the perfect side dish for so many Italian favorites.

    Finished arugula salad with parmesan and balsamic dressing

    About this recipe:

    This Arugula salad recipe will show you how to make a beautifully rich balsamic glaze using only two ingredients!

    [feast_advanced_jump_to]

    Ingredients

    Ingredients for arugula salad
    • Arugula (rocket)
    • Parmesan
    • Balsamic vinegar
    • Brown sugar

    See recipe card for quantities.

    Step by step photographs:

    Balsamic vinegar in pan with brown sugar
    1. Step 1: To a pan, add your balsamic vinegar and brown sugar.
    Balsamic mixture simmering
    1. Step 2: Bring to a boil, then turn the heat down and allow to simmer for 15 minutes.
    Cooling balsamic dressing
    1. Step 3: Turn the heat off and allow to cool, the balsamic glaze will gradually thicken when cooling.
    Arugula in a salad bowl
    1. Step 4: To a salad bowl, add your arugula.
    Grated parmesan added to bowl
    1. Step 5: Sprinkle with your shavings of parmesan cheese.
    Balsamic dressing drizzled onto salad
    1. Step 6: Drizzle with a generous amount of your balsamic glaze.

    Variations

    I paired this Arugula salad with a rich balsamic glaze, however there are other dressings that will also compliment the peppery Arugula:

    • Lemon and balsamic vinaigrette - combine olive oil, freshly squeezed lemon juice, a splash of balsamic vinegar and a touch of honey to create a beautiful lemon and balsamic vinaigrette
    • Honey and mustard dressing- combine olive oil, a splash of apple cider vinegar, teaspoon of honey and dijon mustard and you will create a perfectly balanced honey mustard dressing.

    Which recipes can I pair this Arugula salad with?

    This salad is the perfect side dish for so many of your Italian favorites, here are some suggestions and the links to the recipes:

    • Easy Pesto pasta - the perfect accompaniment to this fresh and vibrant pasta dish.
    • Authentic Italian Carbonara - Compliment this rich, creamy pasta recipe with a crips Arugula Salad.
    • Gnocchi with brown butter and sage - brighten up this comforting gnocchi recipe by pairing it with this Arugula salad.

    Equipment

    To make the Parmesan shavings that you need for this recipe all you need is a vegetable peeler. Carefully run your peeler across your block of Parmesan and see just how easy it is to make perfect shavings. Alternatively, most cheese graters have a side that creates shavings rather than grating.

    Storage

    Refrigeration - Add your salad to an airtight container and place in the fridge, good for up to 3 days. For the balsamic glaze, add to an airtight container and keep in the fridge for up to 1 month!

    Top Tip

    Be patient with your balsamic glaze! When you first remove it from the heat, it will not be the consistency that you want. Don't panic though! As the mixture cools down it slowly thickens into the gorgeous sticky glaze that you want for your Arugula salad.

    FAQ

    Can I substitute Arugula for another green?

    Yes, but it won't be an Arugula salad anymore! Other leafy greens that pair well with this balsamic glaze are watercress and baby spinach.

    Related

    Looking for other recipes like this? Try these:

    • Salad Nicoise
      Salad Nicoise With Creamy Vinaigrette Dressing
    • Caesar Salad
      The Best Caesar Salad Recipe
    • Green goddess salad dressing in a pouring bottle.
      Green Goddess Salad Dressing

    Pairing

    These are my favorite dishes to serve with [this recipe]:

    • Homemade easy pesto pasta
      Easy Pesto Pasta
    • Finished Italian carbonara with garlic bread and salad
      Authentic Italian Carbonara
    • Linguini Vongole on a serving plate.
      Linguini Vongole
    • Roman Chicken served over spaghetti.
      Roman Style Chicken - Polo Alla Romana

    Recipe

    Finished arugula salad with parmesan and balsamic dressing

    Arugula Salad

    Yield: 1
    Prep Time: 5 minutes
    Cook Time: 15 minutes
    Total Time: 20 minutes

    Fresh and peppery Arugula (rocket), delicious parmesan shavings and a generous drizzle of rich balsamic glaze. This Arugula Salad is the perfect side dish for so many Italian favorites.

    Ingredients

    • 2 ½ cups (60g) Arugula (rocket)
    • ¼ cup (30g) Parmesan cheese shavings
    • 1 cup (250ml) balsamic vinegar
    • ¼ cup (30g) brown sugar

    Instructions

      1. To a pan, add your balsamic vinegar and brown sugar.
      2. Bring to a boil, then turn the heat down and allow to simmer for 15 minutes.
      3. Turn the heat off and allow to cool, the balsamic glaze will gradually thicken when cooling.
      4. To a salad bowl, add your arugula.
      5. Sprinkle with your shavings of parmesan cheese.
      6. Drizzle with a generous amount of your balsamic glaze.
    © Shannon
    Cuisine: Italian / Category: Salads

    Pull Apart Garlic Bread

    May 1, 2025 By Shannon

    Pull apart garlic bread

    Buttery, golden and unbelievably garlicky! This pull apart garlic bread recipe is super simple, delicious and perfect for sharing at any family meal! Be careful you're not all fighting over the last piece of this incredible pull apart garlic bread!

    Pull apart garlic bread

    About this recipe:

    This recipe came about when we had a large family meal and we had plenty of mouths to feed. Store bought garlic bread just wasn't going to hit the spot and we wanted to create a side dish that had a WOW factor! This Pull Apart Garlic Bread recipe is perfect for sharing and is sure to impress at any summer barbecue or family event!

    [feast_advanced_jump_to]

    Ingredients

    Ingredients for pull apart garlic bread
    • Bread loaf
    • Butter
    • Garlic
    • Rosemary
    • Parsley
    • Salt

    See recipe card for quantities.

    Step by step pictures:

    Butter, garlic and herbs in a food processor
    1. Step 1: To a food processor, add your butter, garlic, rosemary, parsley and salt.
    Garlic butter blended in a food processor
    1. Step 2: Blend your ingredients until fully combined.
    cutting the bread lengthways
    1. Step 3: Using a bread knife, cut the bread loaf length ways leaving an inch gap between each cut. Make sure not to cut all the way through the loaf. Rotate the bread 90 degrees and cut the bread widthways, again leaving an inch between each cut.
    Adding garlic butter to the bread
    1. Step 4: Spread an even layer of garlic butter between each slice lengthways. Rotate the bread 90 degrees and spread an even layer of garlic butter between each slice widthways.
    covering with foil
    1. Step 5: Wrap your garlic bread in foil and bake for 15 minutes in an oven at 400F (200C).
    Finished pull apart garlic bread
    1. Step 6: Pull apart and dig in!

    Substitutions

    There are some simple substitutions you can make to this recipe to suit your specific dietary requirements. Here are some ideas:

    • Gluten free- Use a gluten free loaf of bread and follow the steps as stated above to create an incredible gluten free pull apart garlic bread.
    • Vegan - swap out the butter in this recipe for your preferred plant based spread and you'll have created a vegan pull apart garlic bread.

    Variations

    The variations for this recipe are endless, there are so many ways to use up ingredients you might have in your refrigerator and making this recipe your own! Here are some ideas:

    • Spicy - add chili pepper flakes or fresh chillies to your food processor to create a spicy garlic butter!
    • Cheesy - easily make this a cheesy pull apart garlic bread by adding a handful of mozzarella, parmesan or cheddar cheese to your food processor to create a cheesy garlic butter. Sprinkle any left over cheese over the top of your loaf 5 minutes before it's finished baking to add an extra level of indulgence.
    • Pesto - follow this homemade pesto recipe and smother a generous layer in-between every other cut, alternating between pesto and garlic butter to create a deliciously moreish pesto garlic bread.
    • Caramelized onion - follow this homemade caramelized onion recipe and add a tablespoon to your food processor to create a deliciously moreish caramelized onion garlic butter.

    Storage

    Refrigeration - Allow your garlic bread to cool completely, wrap in foil and add to an airtight container. Refrigerate for up to 2 days.

    Reheating - Wrap your left over garlic bread in foil, add to a preheated oven 400f (200C) and bake for 10-15 minutes.

    Top Tip

    Be very careful when cutting your loaf, you want perfectly even, bitesize pieces. Make sure you don't cut all the way through the loaf, leaving about half an inch of bread left at the bottom. Ensure your cuts are spaced an inch apart to create the best bite size pieces.

    FAQ

    Can I make pull apart garlic bread ahead of time?

    Of course! You can make the garlic butter ahead of time and it will keep in the fridge for up to 1 week until you're ready to make your garlic bread. You can also follow steps 1 - 4, then store your buttered loaf in the fridge for up to 2 days before baking in the oven.

    Related

    Looking for other recipes like this? Try these:

    • Spicy beef taquitos served with guacamole
      Spicy Beef Taquitos
    • potato chorizo taquitos
      Potato Chorizo Taquitos
    • Chorizo in red wine served in a tapas dish
      Chorizo Al Vino
    • Patatas bravas served with a spicy tomato sauce
      Patatas Bravas

    Pairing

    These are my favorite dishes to serve with pull apart garlic bread:

    • Homemade easy pesto pasta
      Easy Pesto Pasta
    • Finished Italian carbonara with garlic bread and salad
      Authentic Italian Carbonara
    • Linguini Vongole on a serving plate.
      Linguini Vongole
    • Roman Chicken served over spaghetti.
      Roman Style Chicken - Polo Alla Romana

    Recipe

    Finished pull apart garlic bread

    Pull Apart Garlic Bread

    Yield: 1
    Prep Time: 10 minutes
    Cook Time: 15 minutes
    Total Time: 25 minutes

    Buttery, golden and unbelievably garlicky! This pull apart garlic bread recipe is super simple, delicious and perfect for sharing at any family meal!

    Ingredients

    • 1 White bloomer loaf
    • ⅔ cups (150g) unsalted butter
    • 3 gloves garlic
    • 2 sprigs of rosemary
    • 1 small bunch of parsley

    Instructions

      1. To a food processor, add your butter, garlic, rosemary, parsley and salt.
      2. Blend your ingredients until fully combined.
      3. Using a bread knife, cut the bread loaf length ways leaving an inch gap between each cut. Make sure not to cut all the way through the loaf. Rotate the bread 90 degrees and cut the bread widthways, again leaving an inch between each cut.
      4. Spread an even layer of garlic butter between each slice lengthways. Rotate the bread 90 degrees and spread an even layer of garlic butter between each slice widthways.
      5. Wrap your garlic bread in foil and bake for 15 minutes in an oven at 400F (200C).
    © Shannon
    Cuisine: Italian / Category: Side Dish
    • « Previous Page
    • 1
    • …
    • 6
    • 7
    • 8
    • 9
    • 10
    • …
    • 24
    • Next Page »
    For Those About To Cook

    Welcome To For Those About To Cook

    We're a family-run food blog sharing brand-new recipes every week. From easy weeknight staples to indulgent weekend favorites. We're a team of five: Dan (The Curry Guy), Caroline, Joe, Shannon, and Jennifer, bringing you a wide variety of dishes inspired by Europe, the Mediterranean, the Americas, and more.

    This site focuses on Western-inspired recipes, while Eastern flavors are covered in depth over at greatcurryrecipes.net Between the two, you'll find everything you need to cook up something amazing so don't forget to subscribe!

    Subscribe

    Footer

    Contact Privacy Policy

    Subscribe for weekly updates!

    Subscribe
    ↑ back to top

    Copyright © 2024 For Those About to Cook