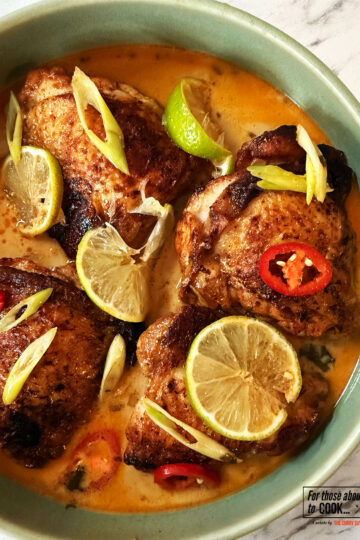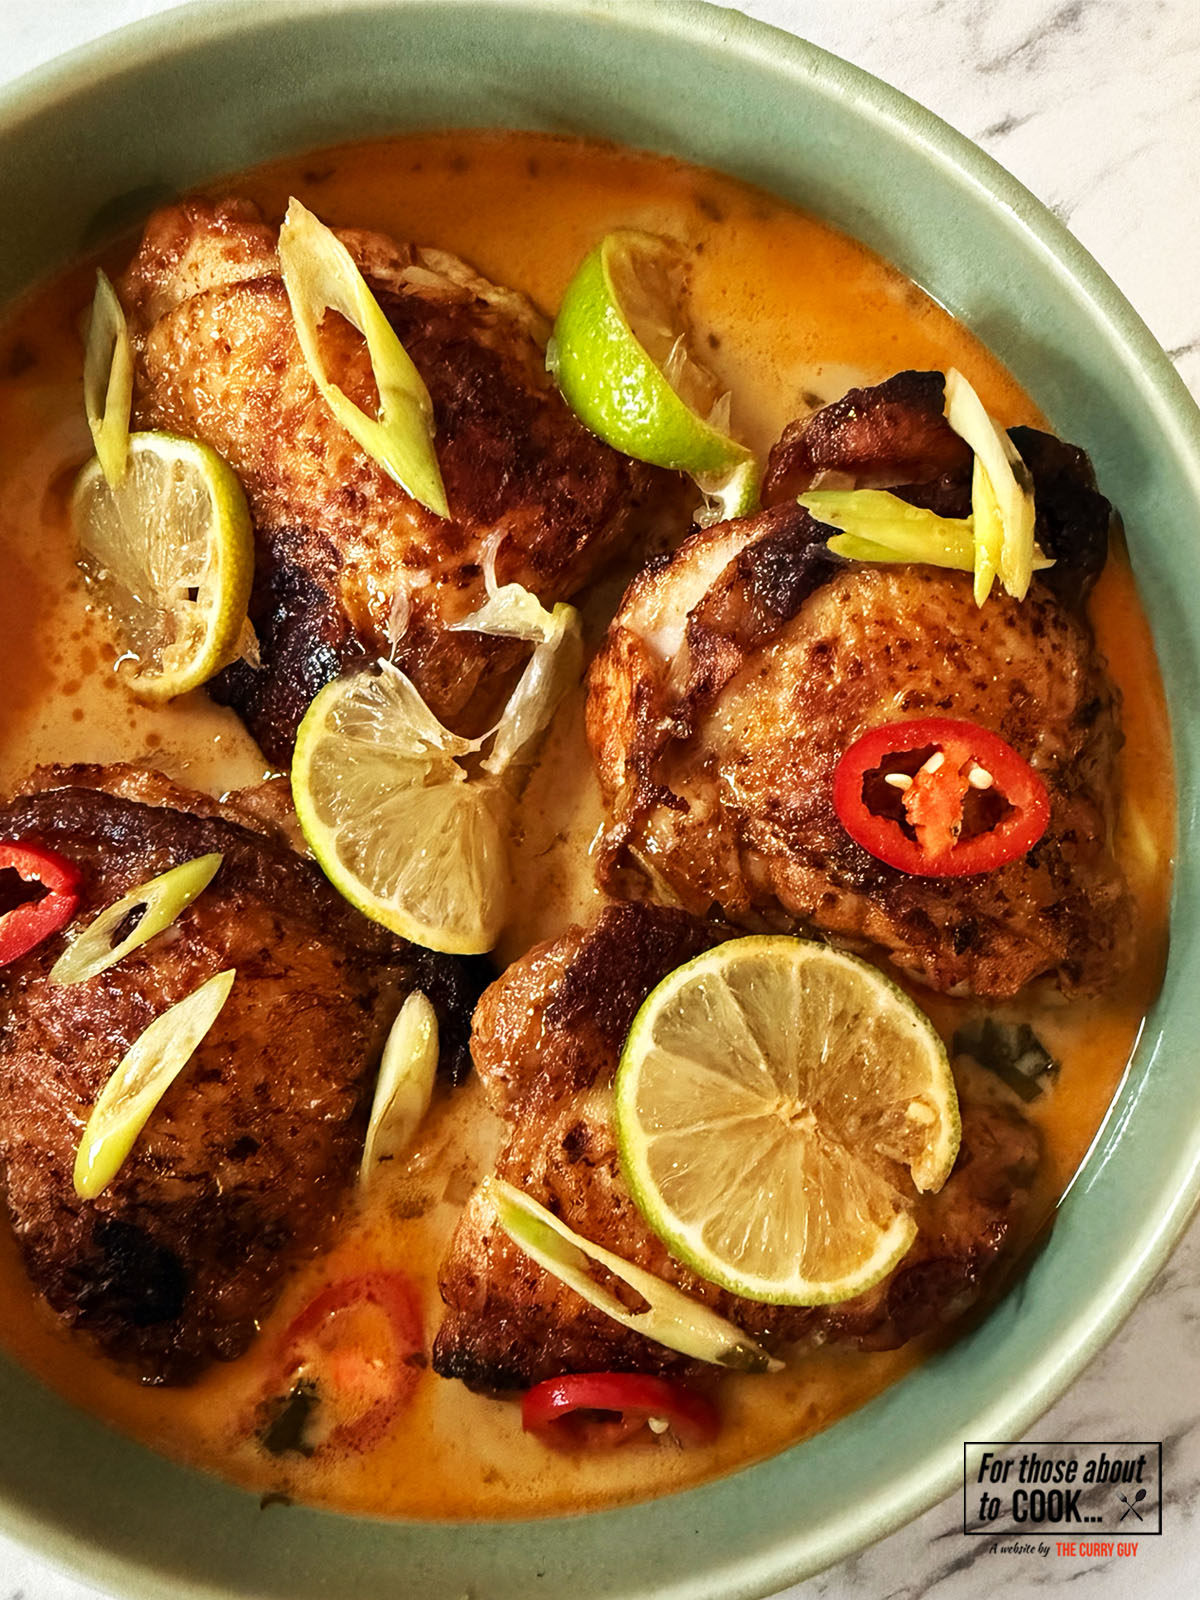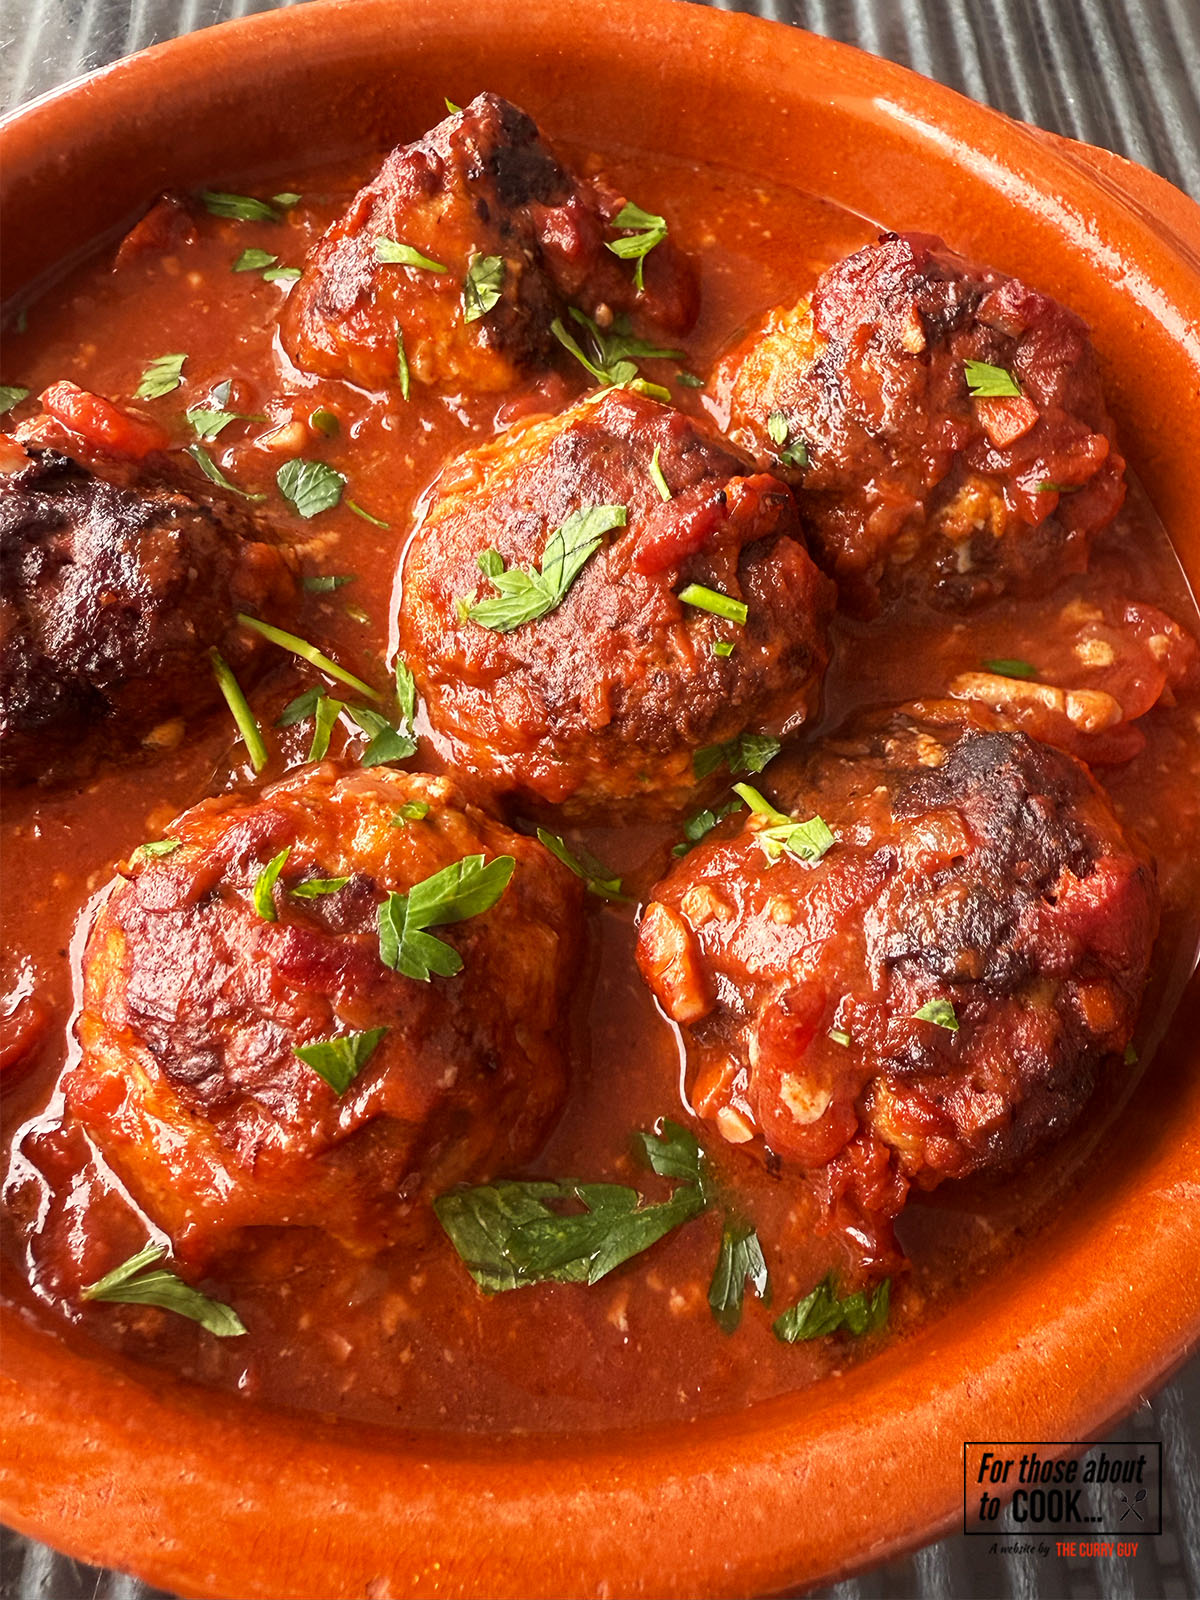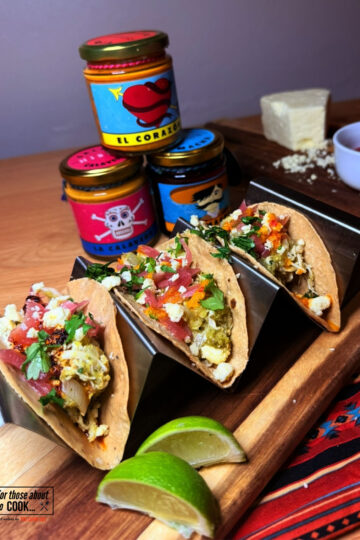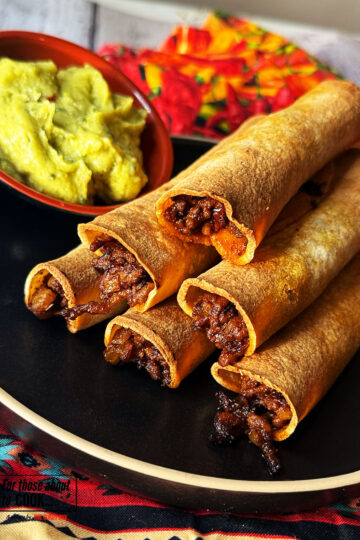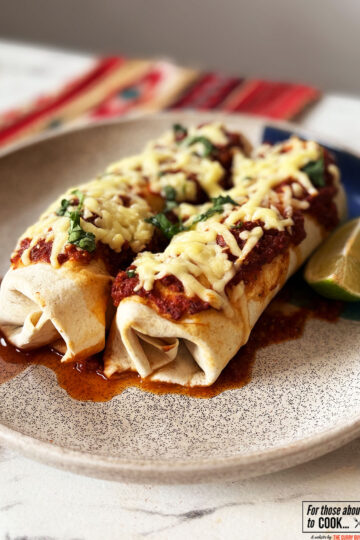
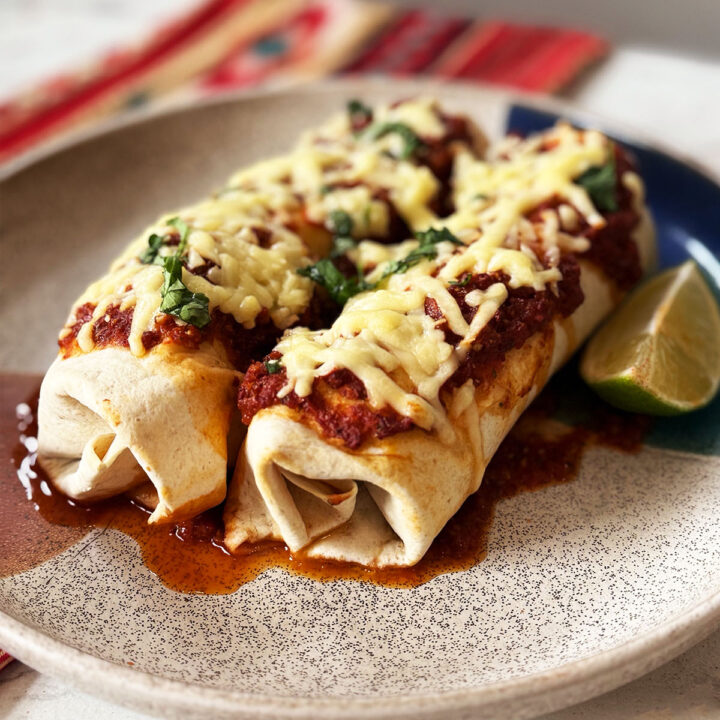
Smoky, cheesy and just the right amount of spicy! These Shredded Chicken Enchiladas are the ultimate comfort food.
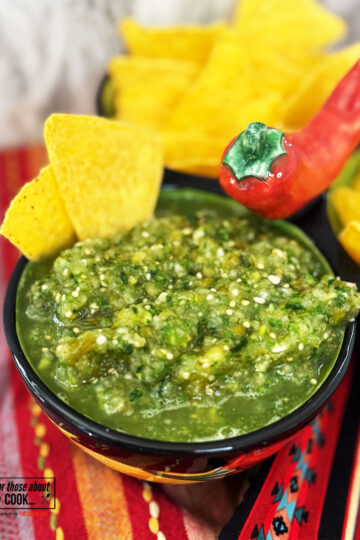
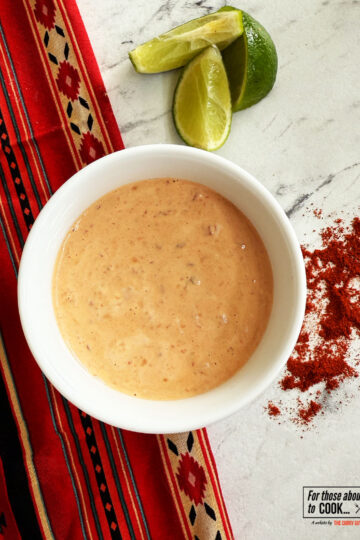
They’re quick to put together, easy to make your own and perfect for a busy weeknight dinner or a casual weekend treat. Serve them with your favorite dip such as Guacamole, Pico de Gallo, Salsa de Aguacate or Chipotle Mayo

About This Shredded Chicken Enchiladas Recipe
This Shredded Chicken Enchiladas recipe takes simple ingredients and turns them into something delicious. The chicken is first poached until juicy and ready to pull apart, then tossed in a smoky chipotle sauce. The chicken is filled into soft flour tortillas with plenty of sharp cheddar (or your favorite melting cheese). As the enchiladas cook, the tortillas turn golden and crisp on the outside while the cheese melts into the chicken on the inside. The ultimate comfort food.
They’re quick to make and extremely versatile. You can keep them simple with chicken and cheese or load them up with extras like peppers, onions, or sweetcorn. Have fun with this recipe and make it your own.
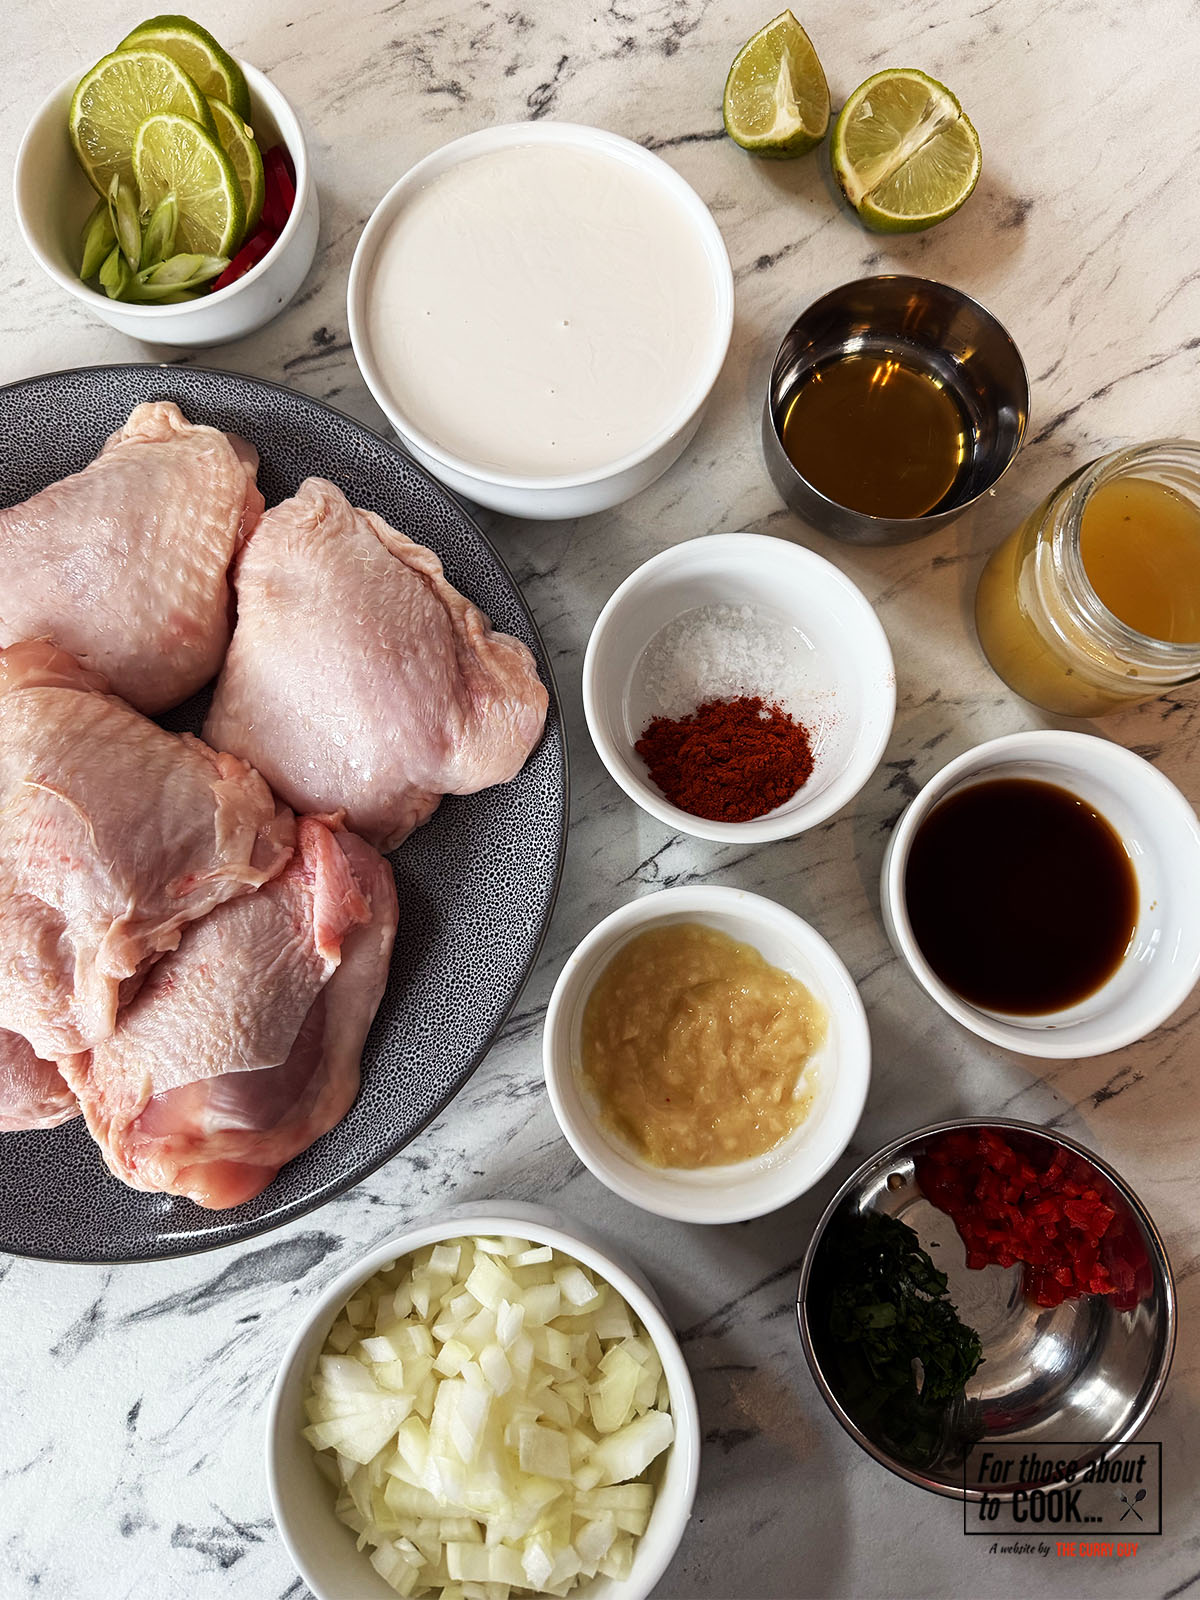
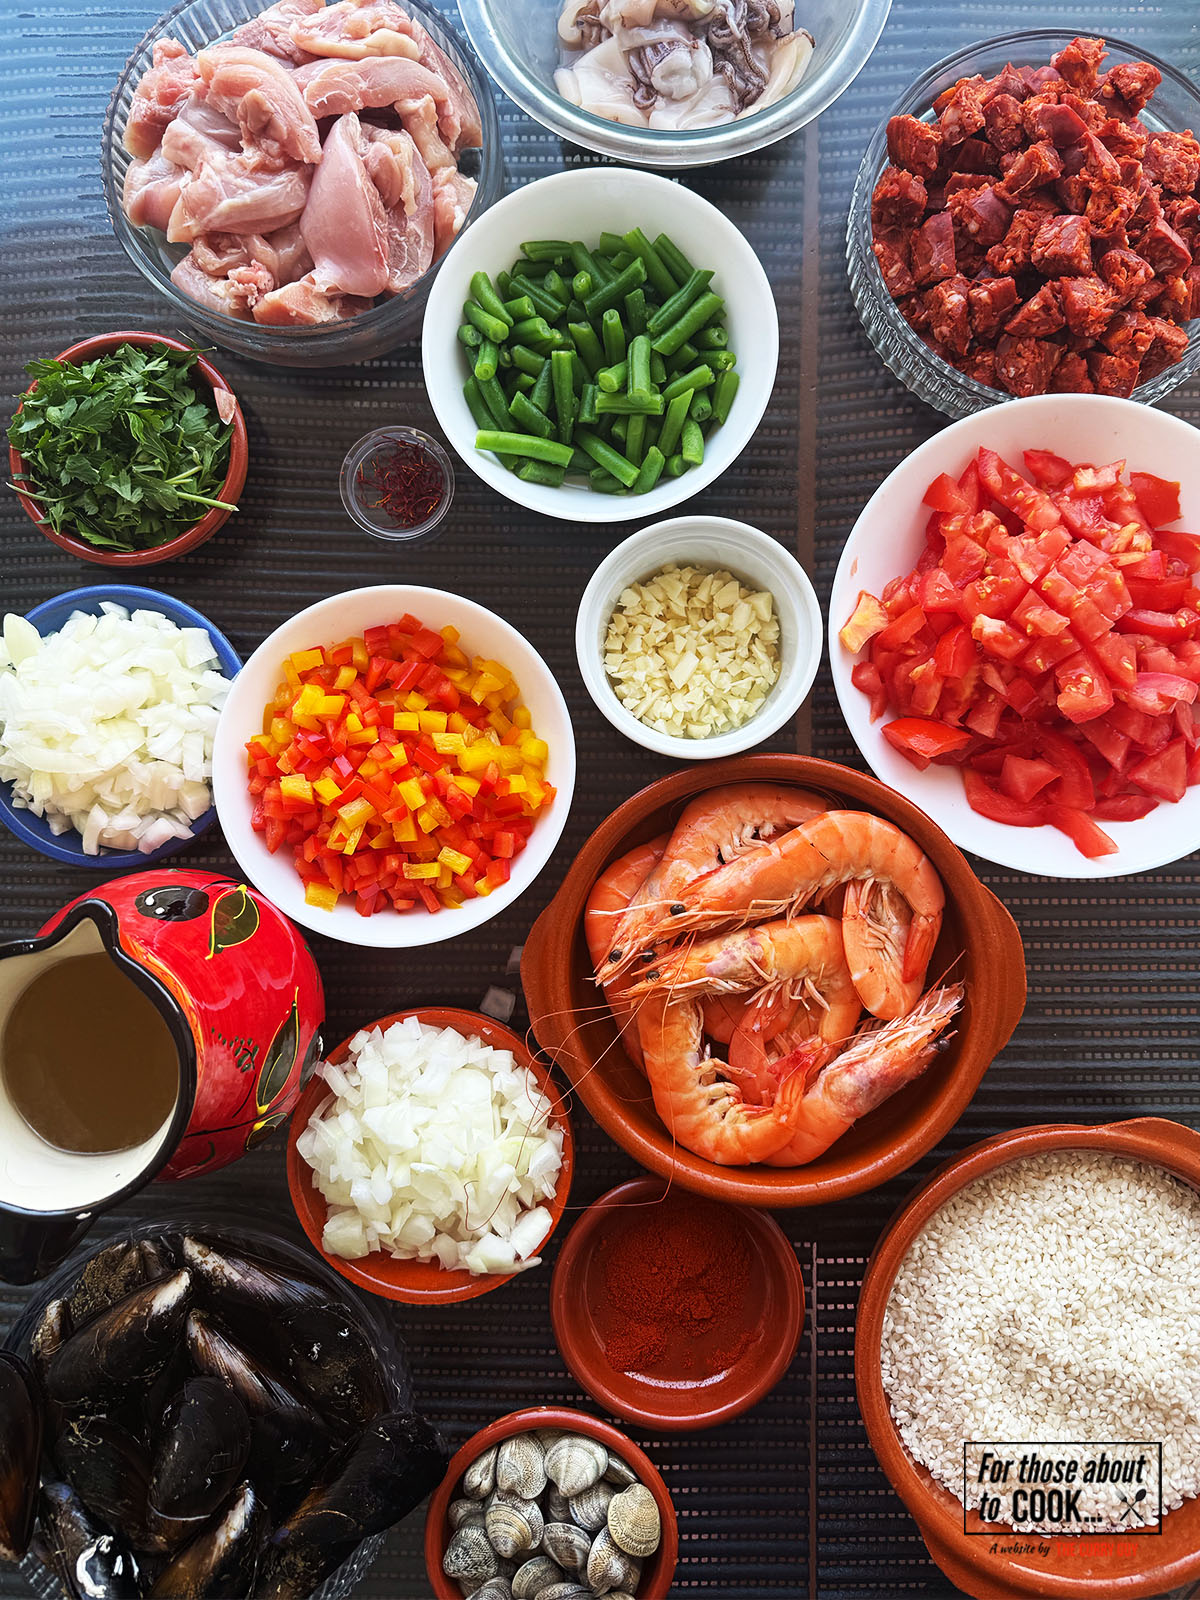
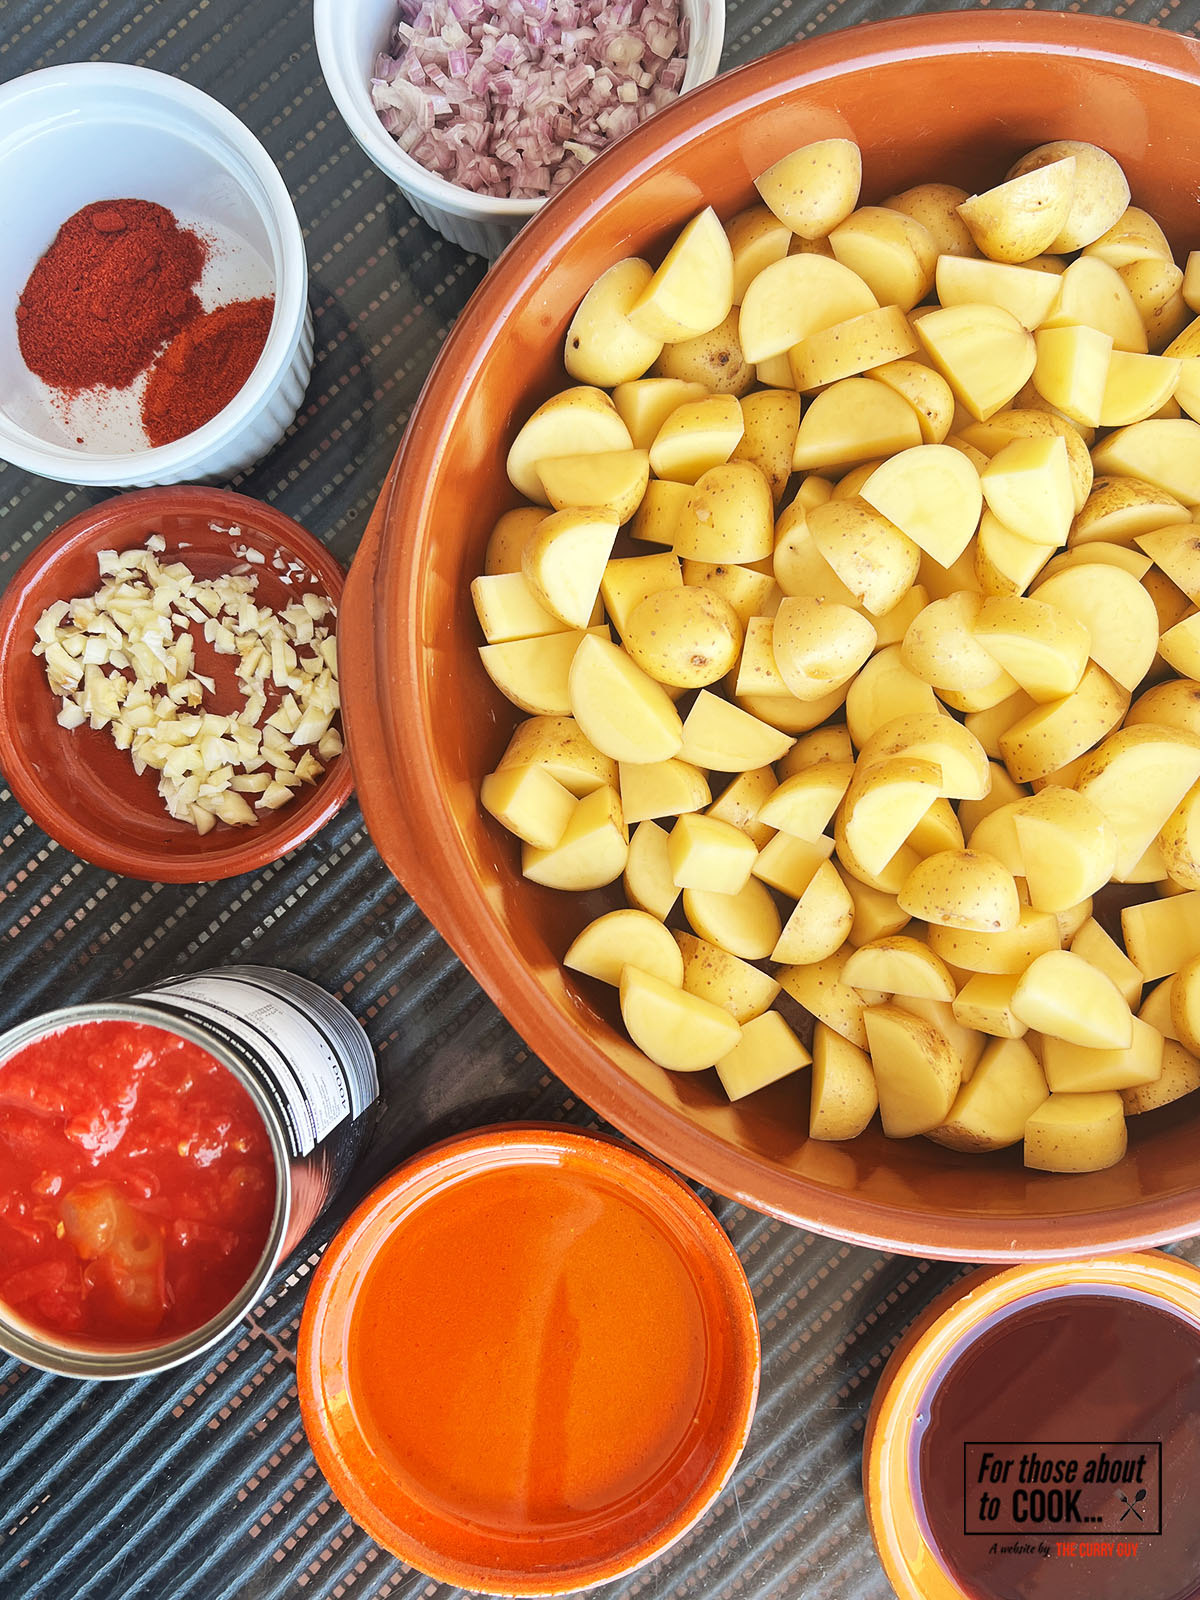
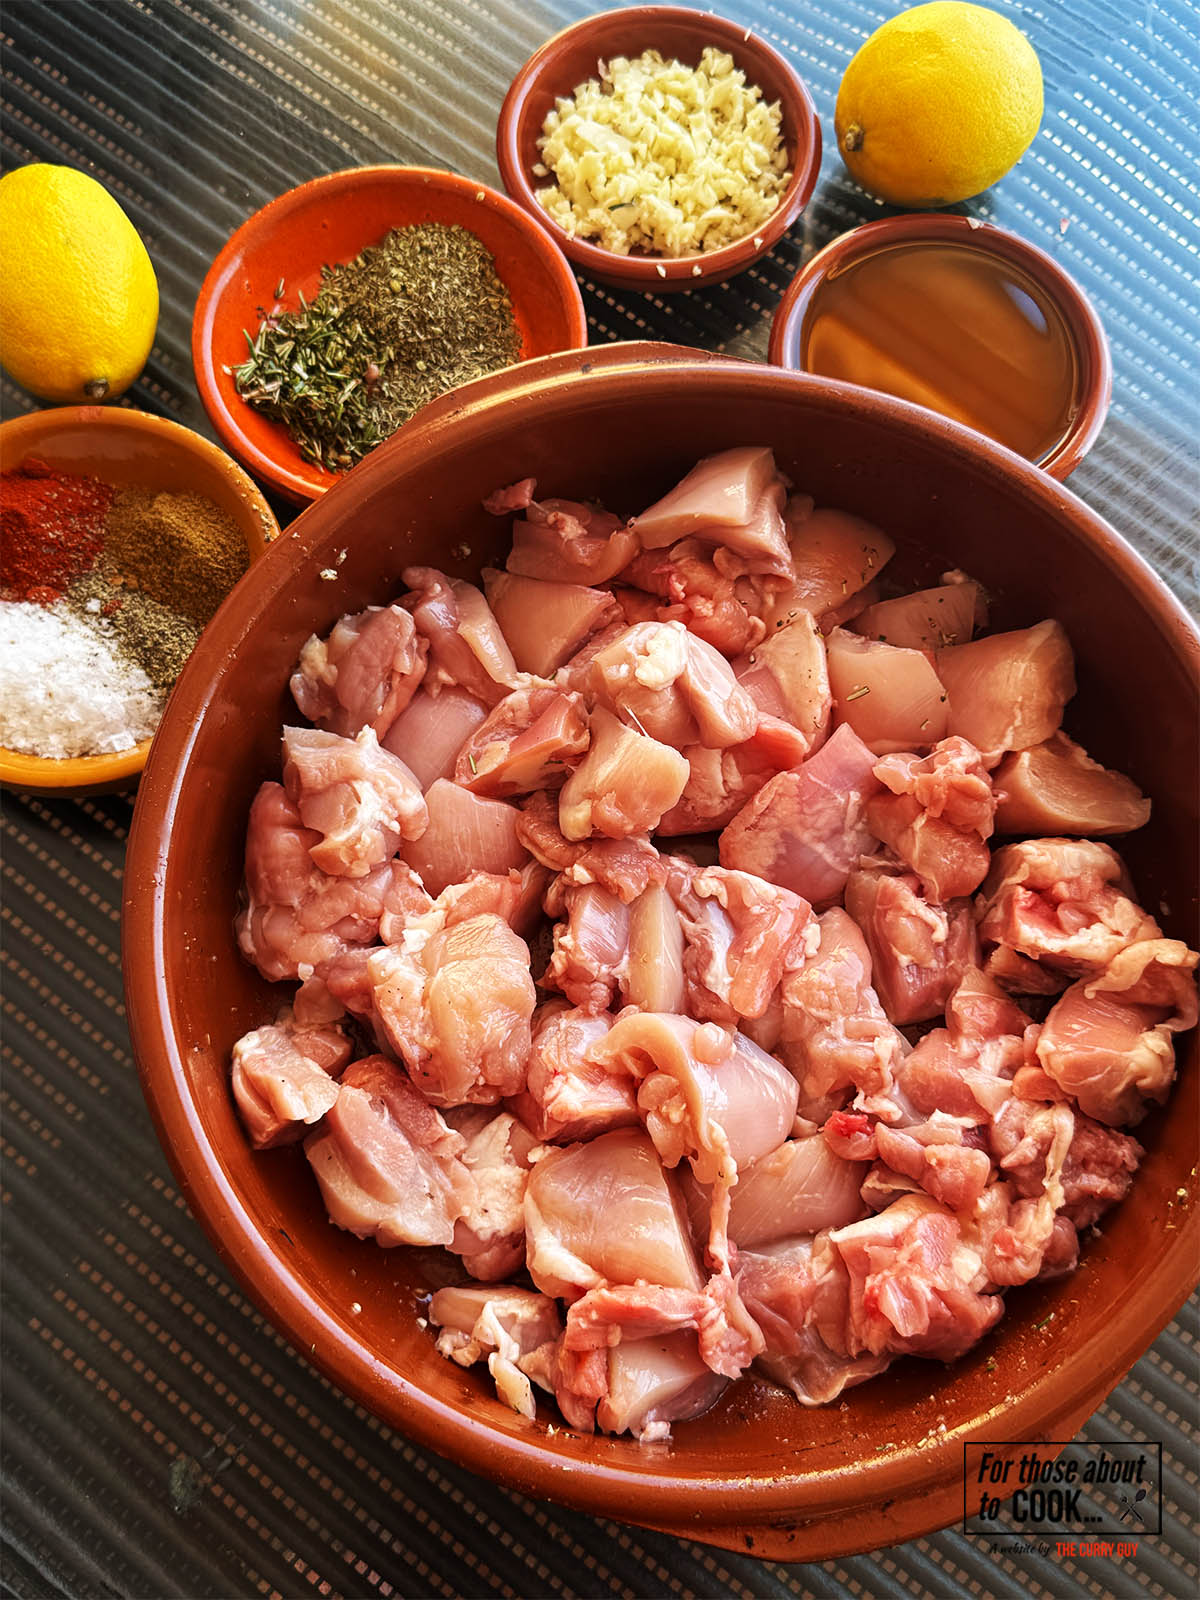
Ingredients
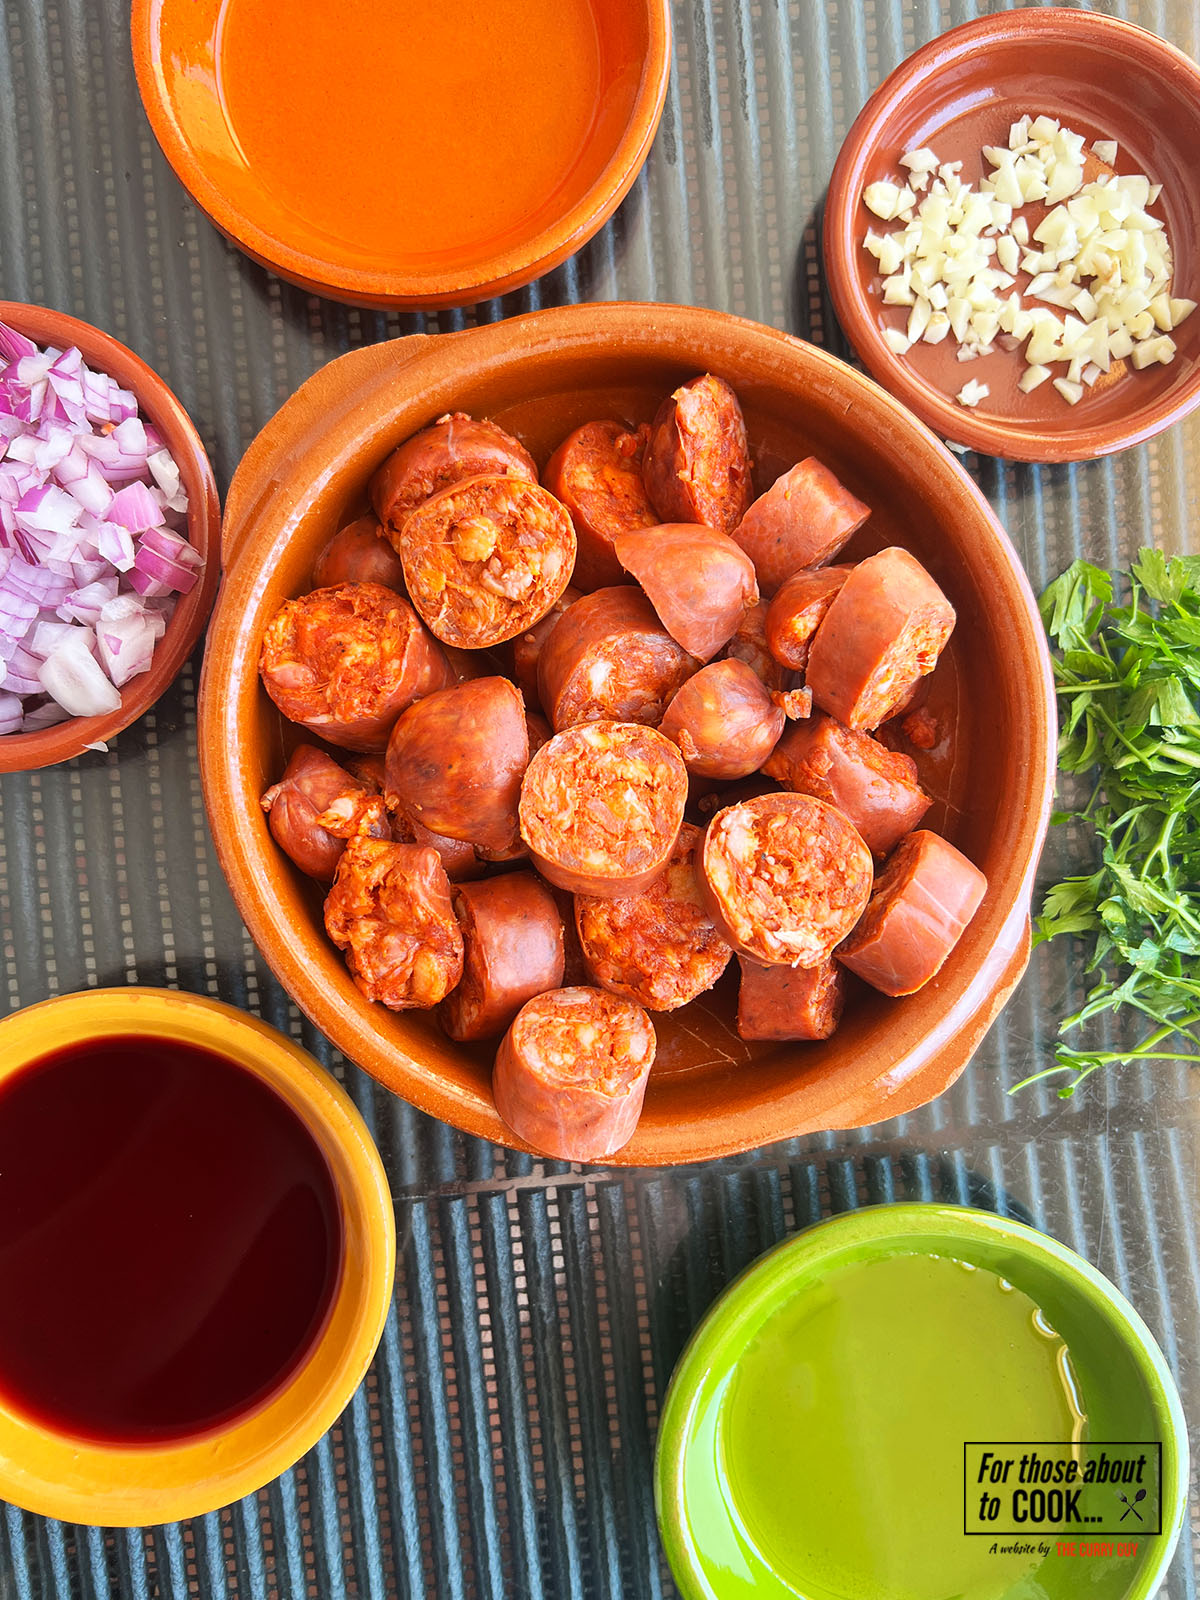
Using the freshest ingredients in this Shredded Chicken Enchiladas recipe makes all the difference. Below, you will see the ingredients laid out along with a list. Exact measurements and quantities can be found in the recipe card at the bottom of this page. Make sure to have everything ready and prepared before you start cooking for best results.

See recipe card for quantities.
- Flour tortillas
- Chicken breast or boneless chicken thigh
- Chicken broth
- Onion
- Garlic
- Spring onion (scallions)
- Chipotle Peppers in Adobo sauce (see substitutions below if needed)
- Vine tomatoes
- Sugar
- Salt
- Bunch of fresh coriander (cilantro), finely chopped
- Cooking (vegetable) oil
- Sharp cheddar cheese
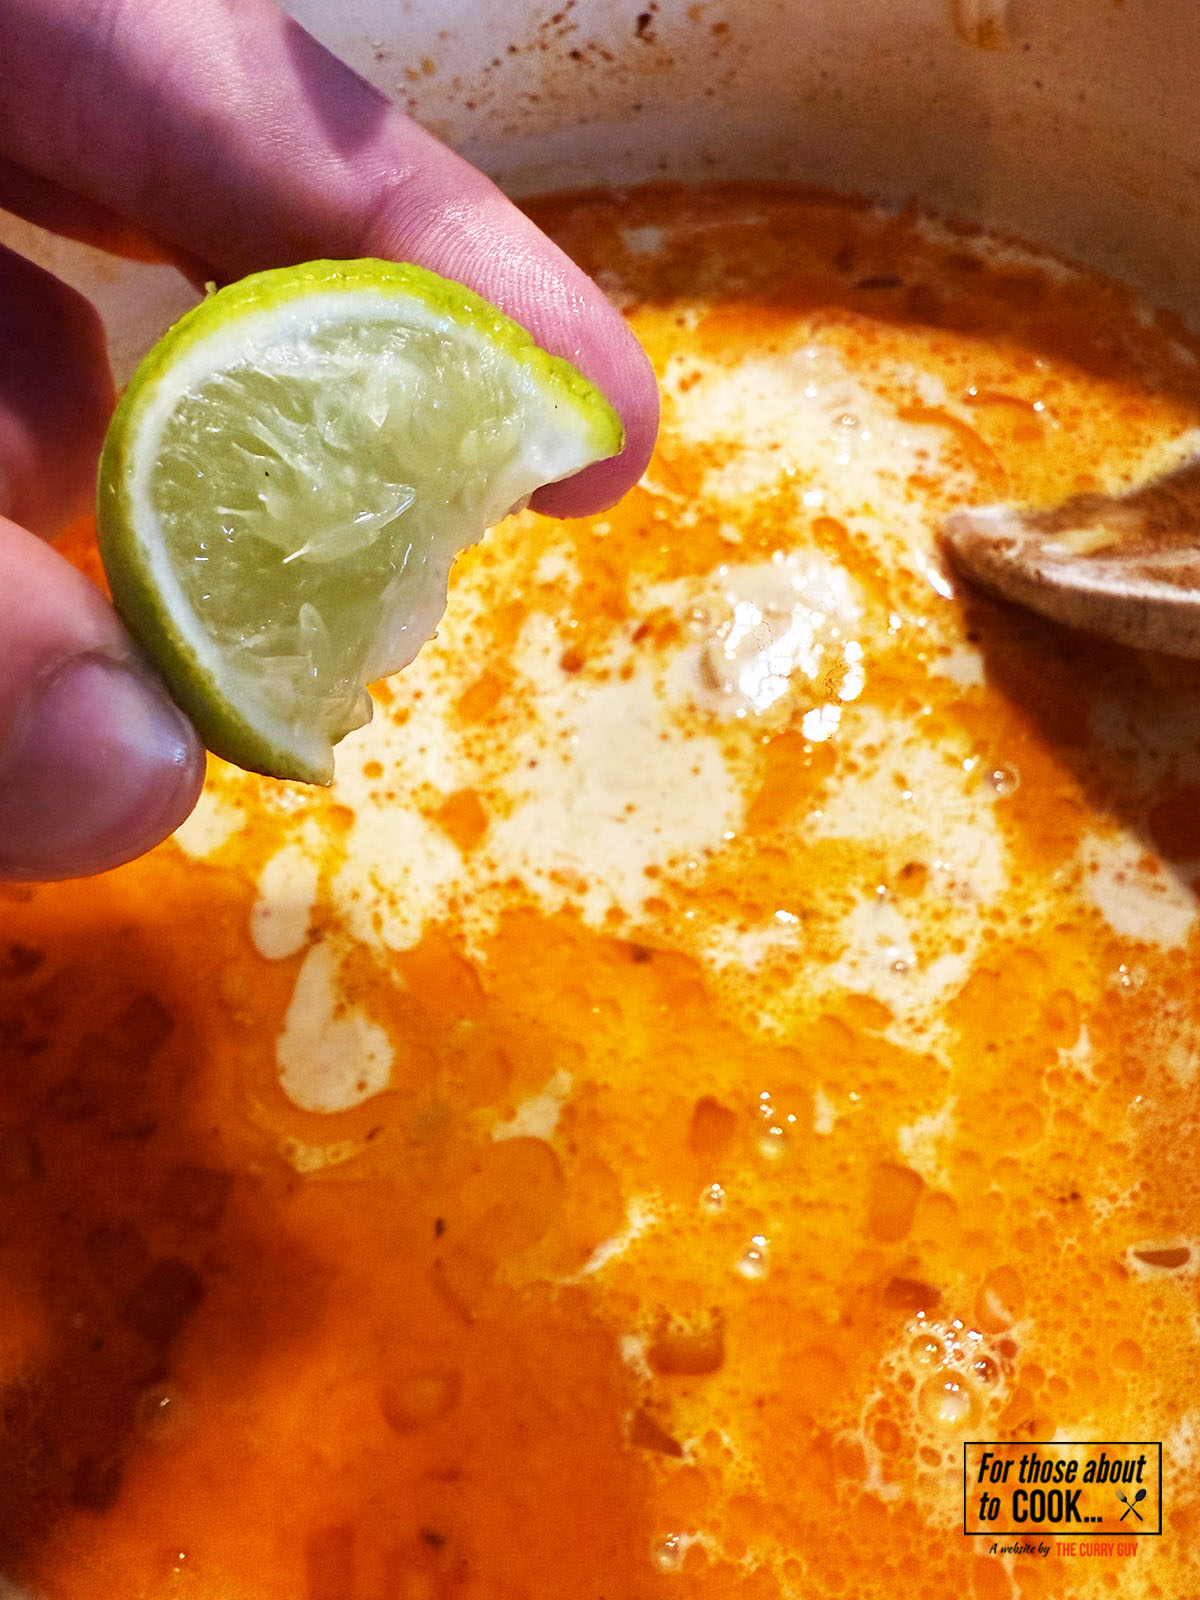
- For Serving: Sour cream, lime wedge
See recipe card for quantities.
Instructions
You will find photographs of each step below, along with a full layout including the ingredients in the recipe card. Use whichever format works best for you. These steps are clear and easy to follow, so you can cook along with confidence.
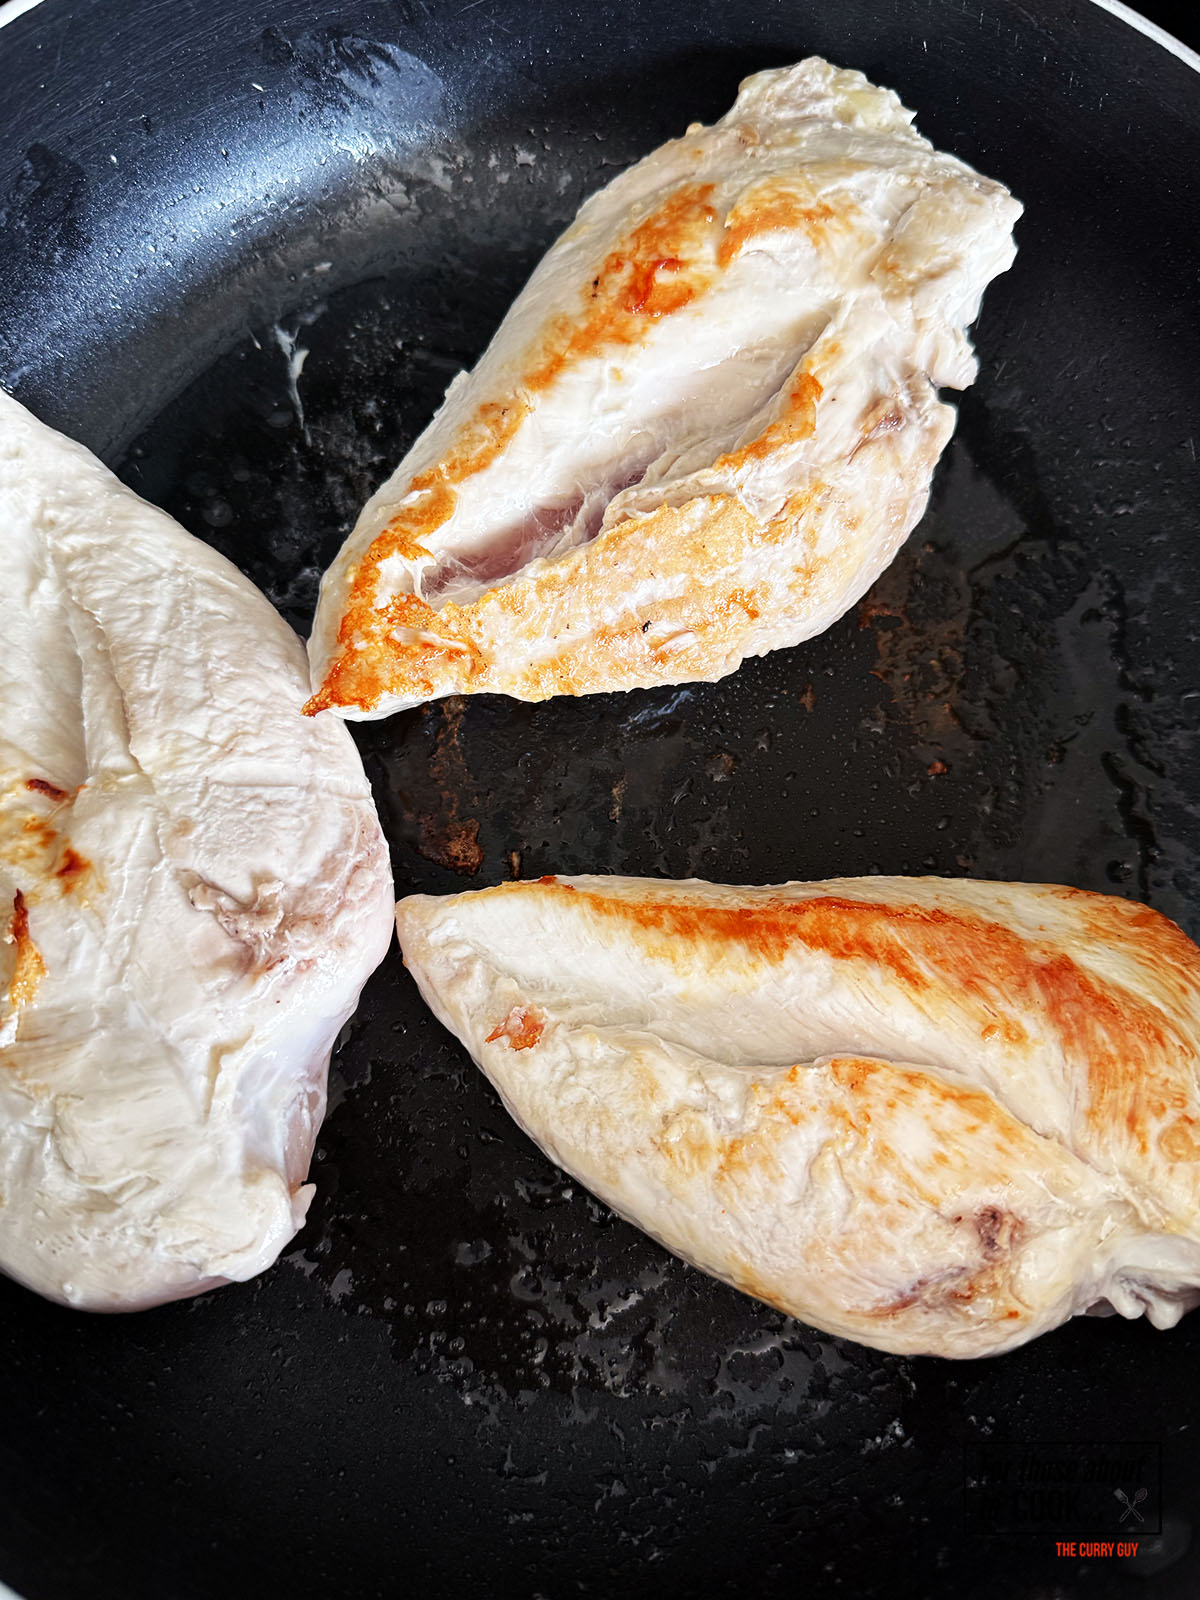
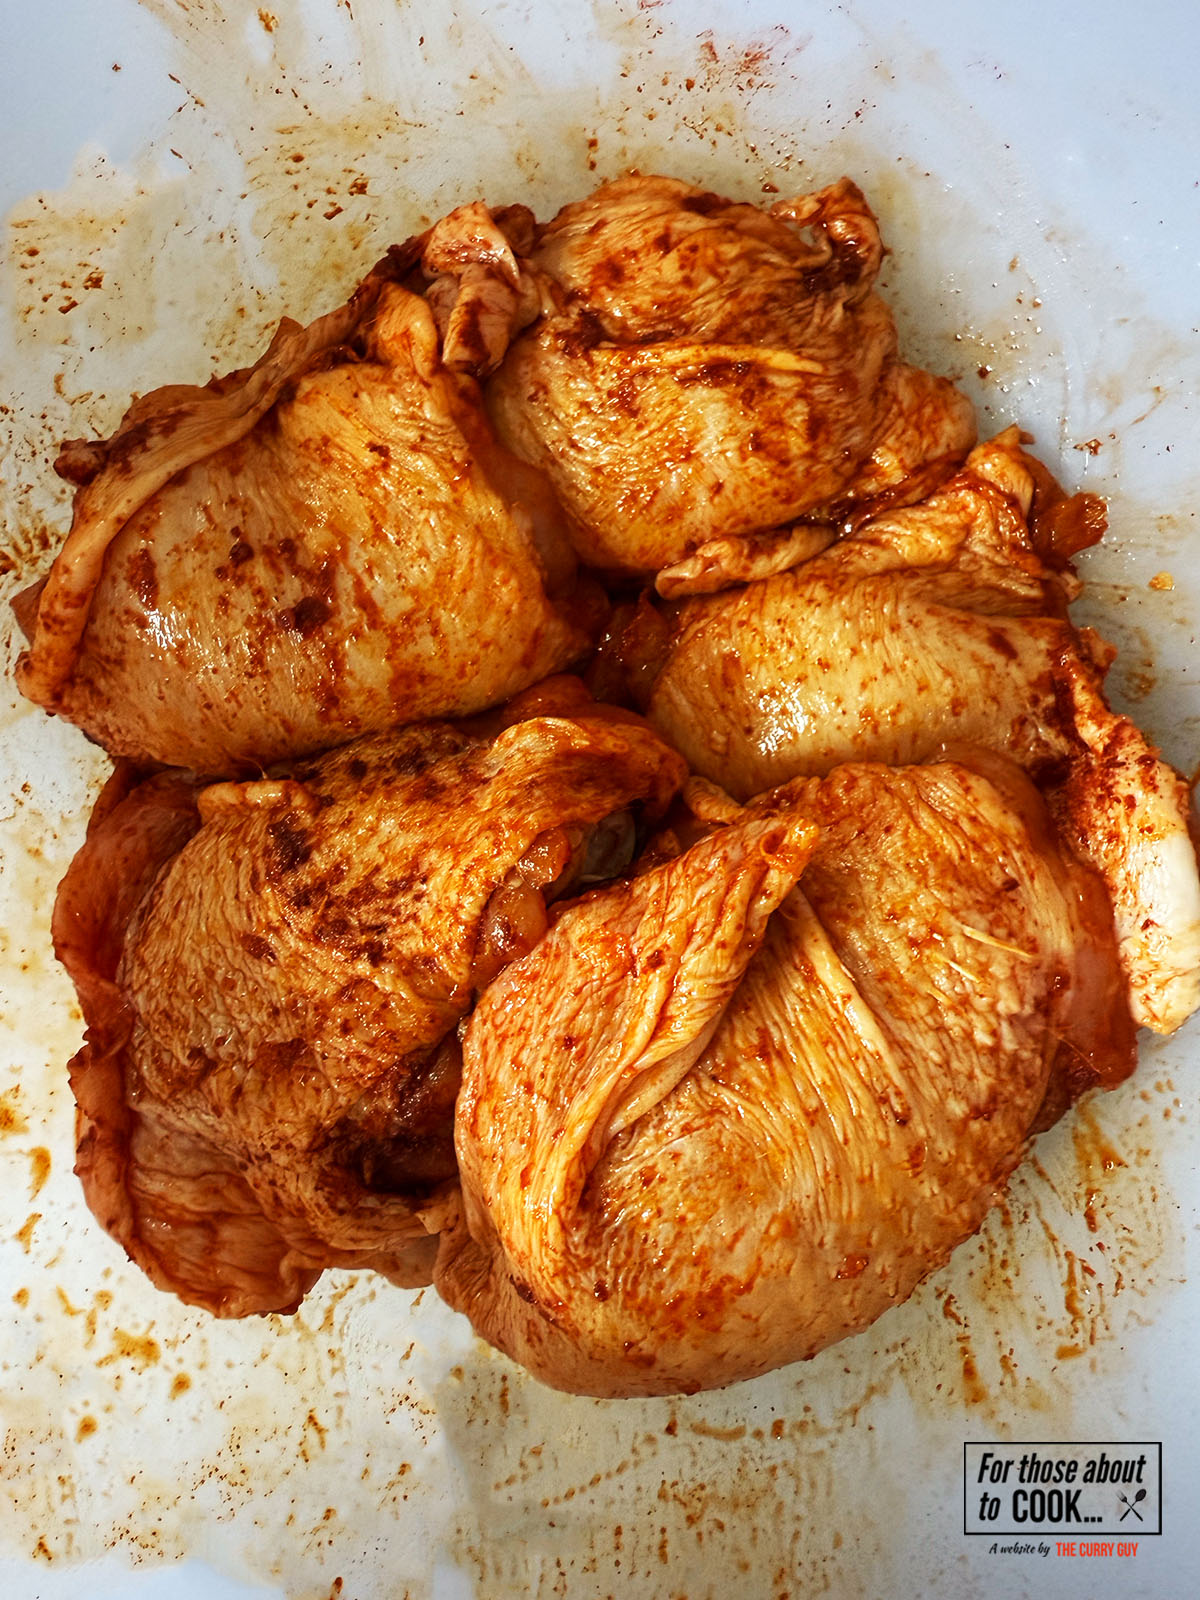
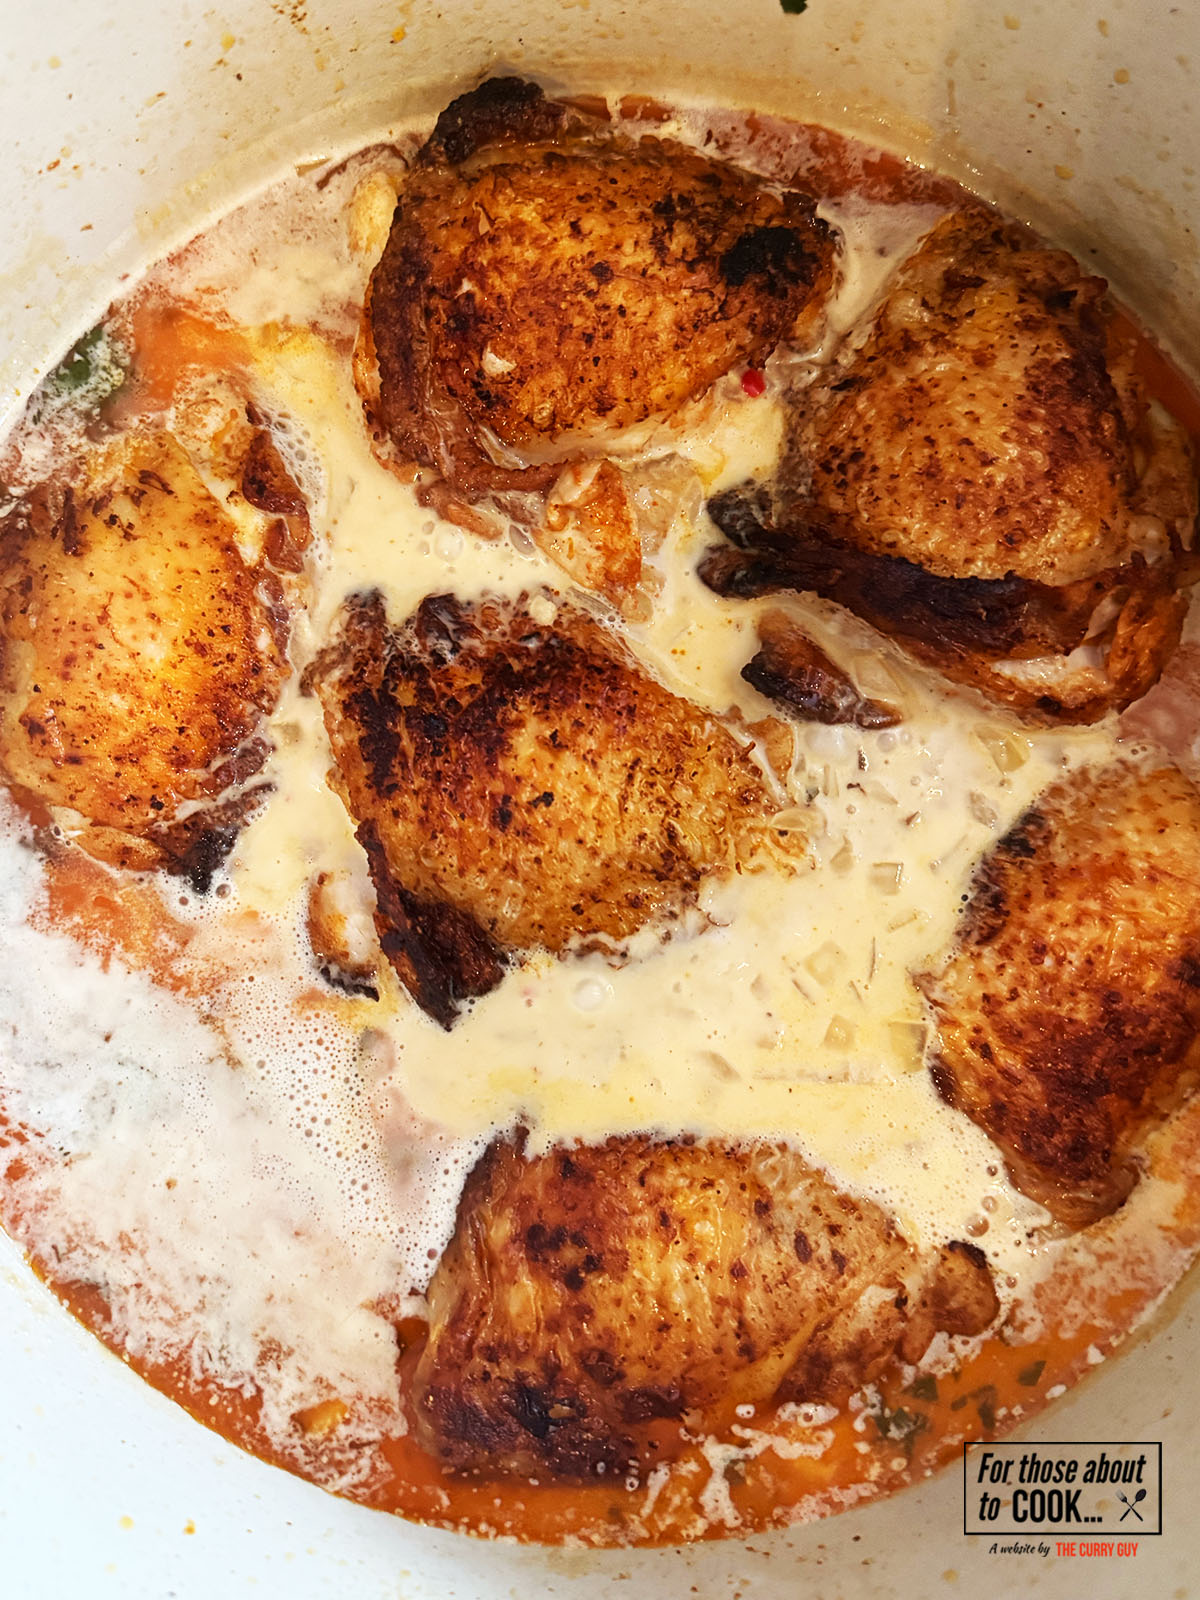
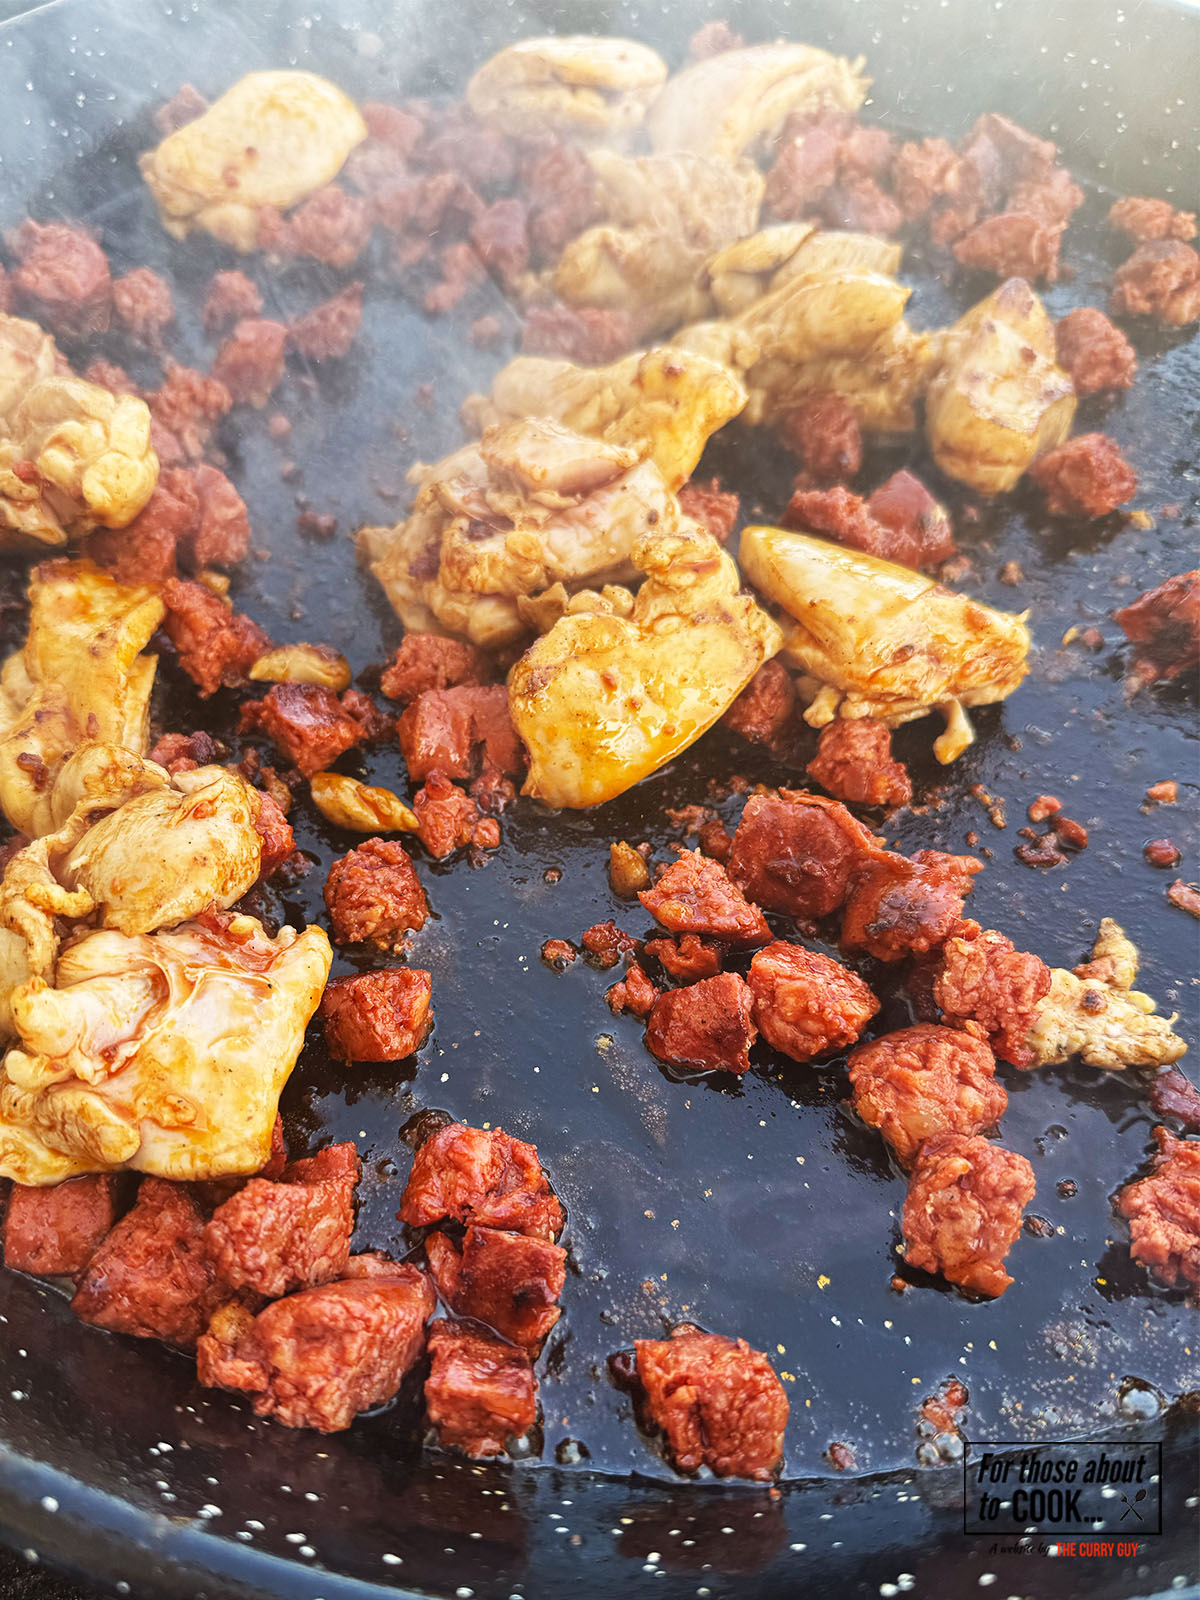
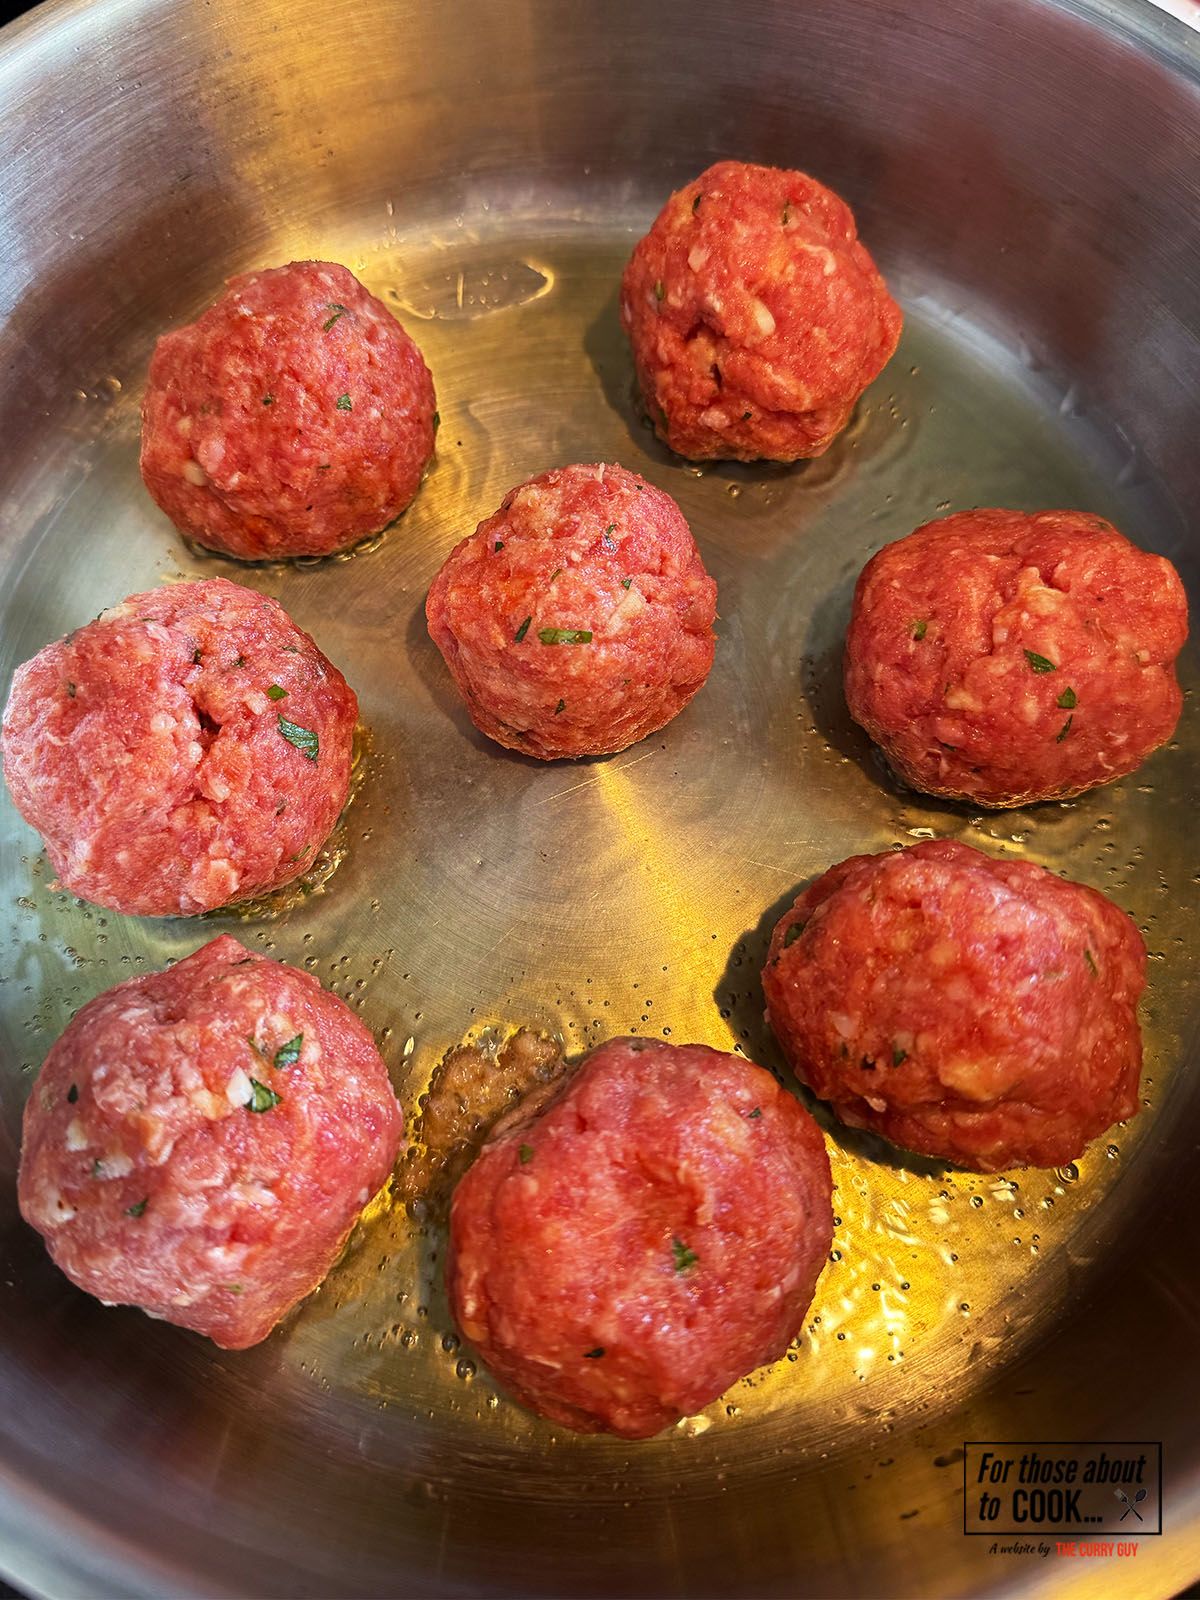
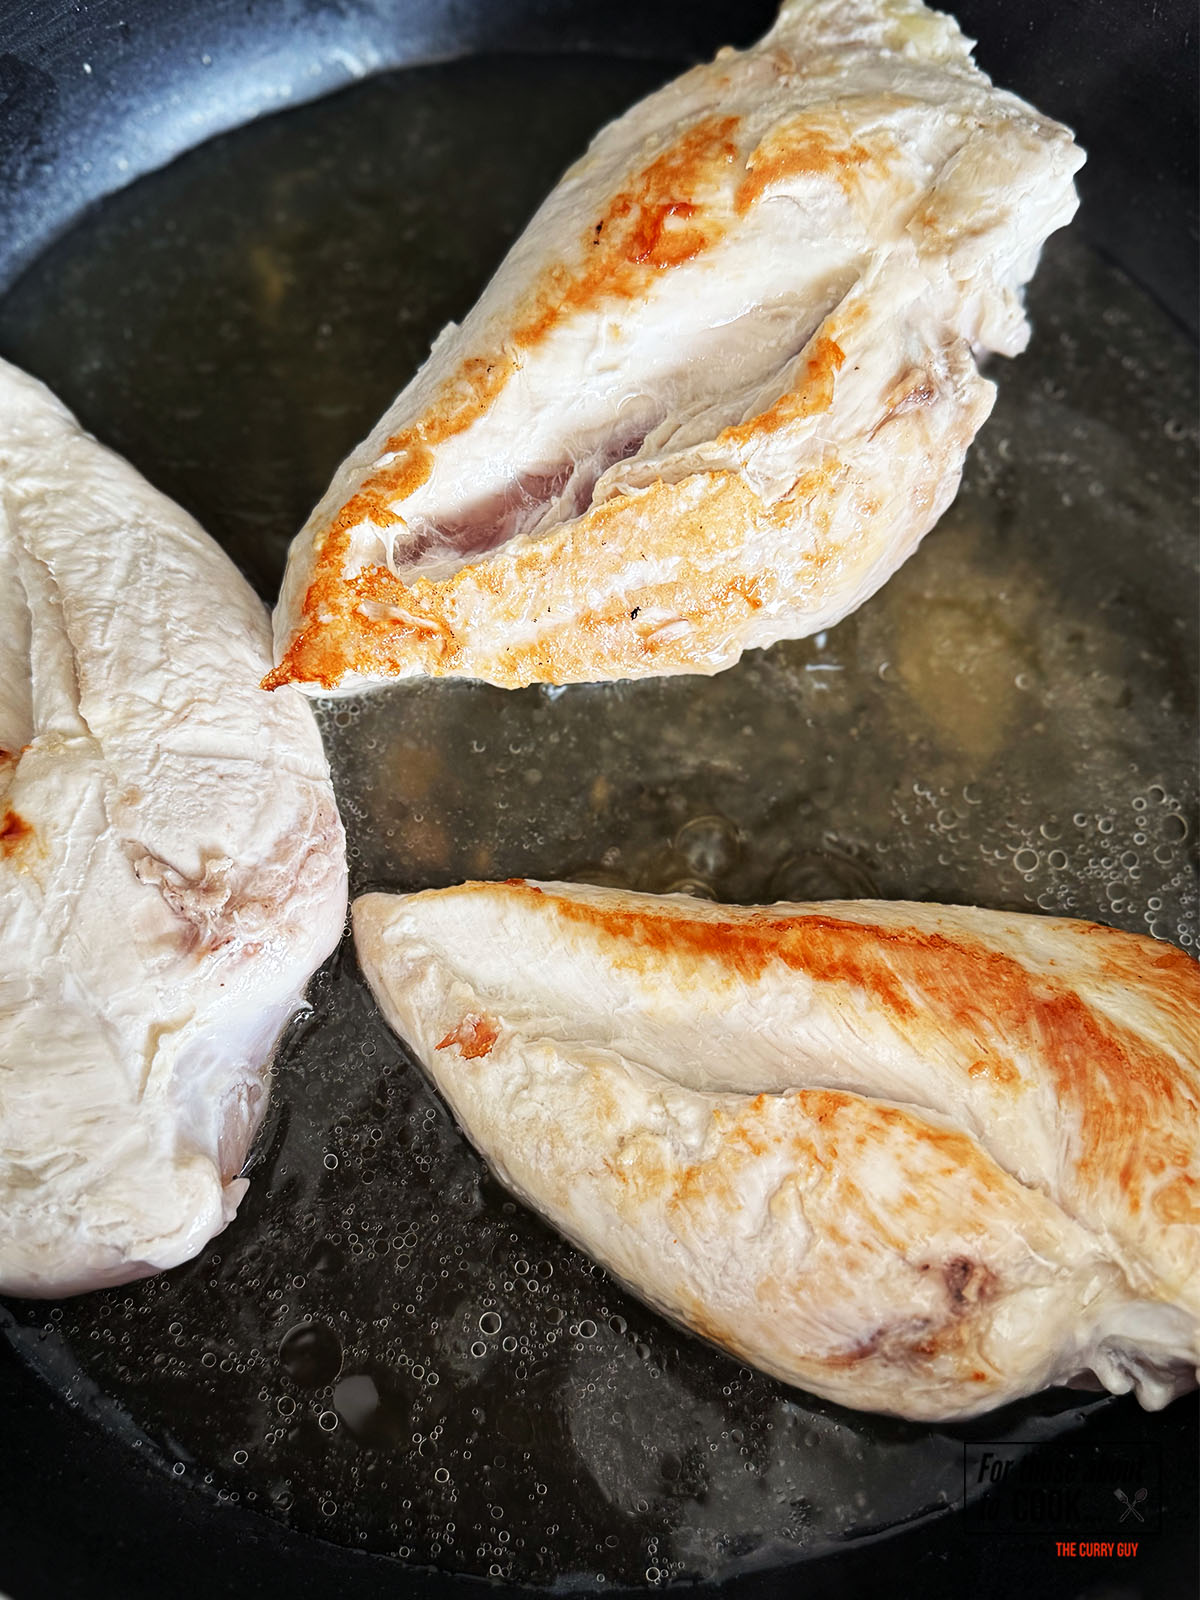
- Step 1: (pre-heat oven to 350F/180C) In a pan on a medium heat, add a splash of olive oil and brown your chicken breasts.
- Step 2: Add ¼ cup (60ml) of chicken chicken.
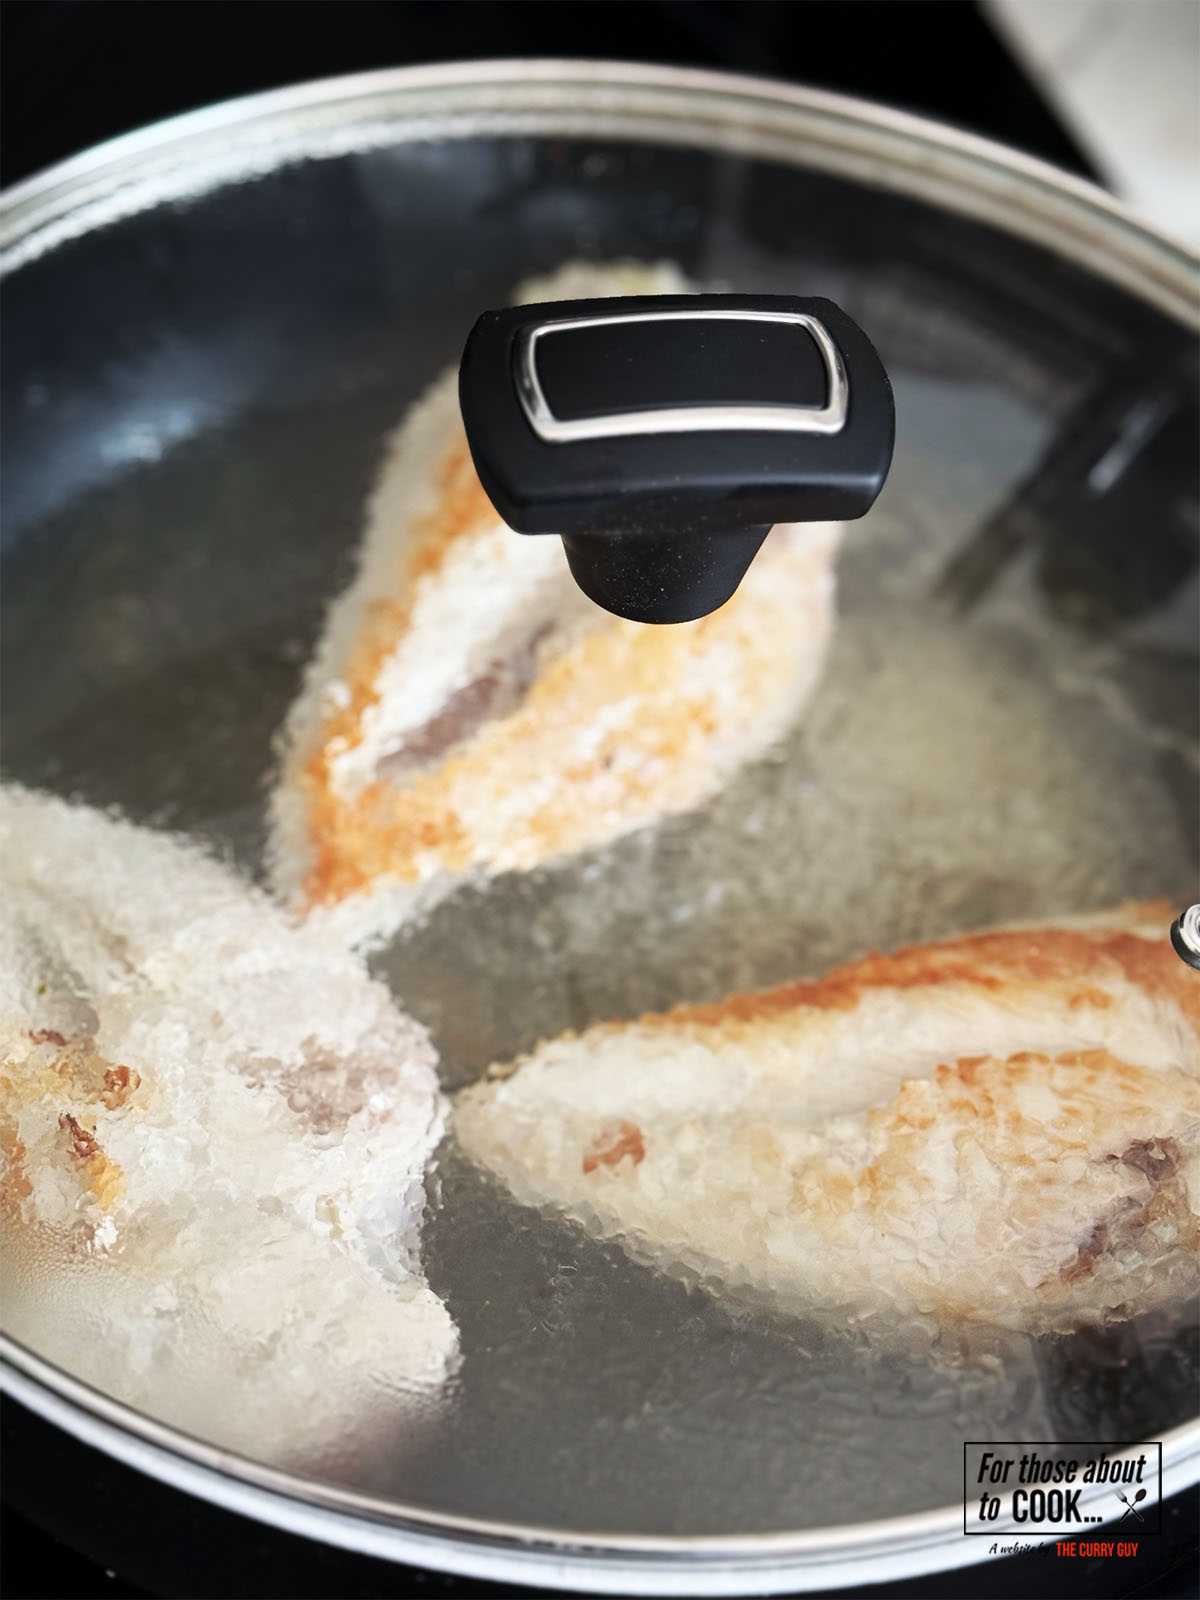
- Step 3: Cover your pan with a lid and allow to poach for 10-12 minutes.
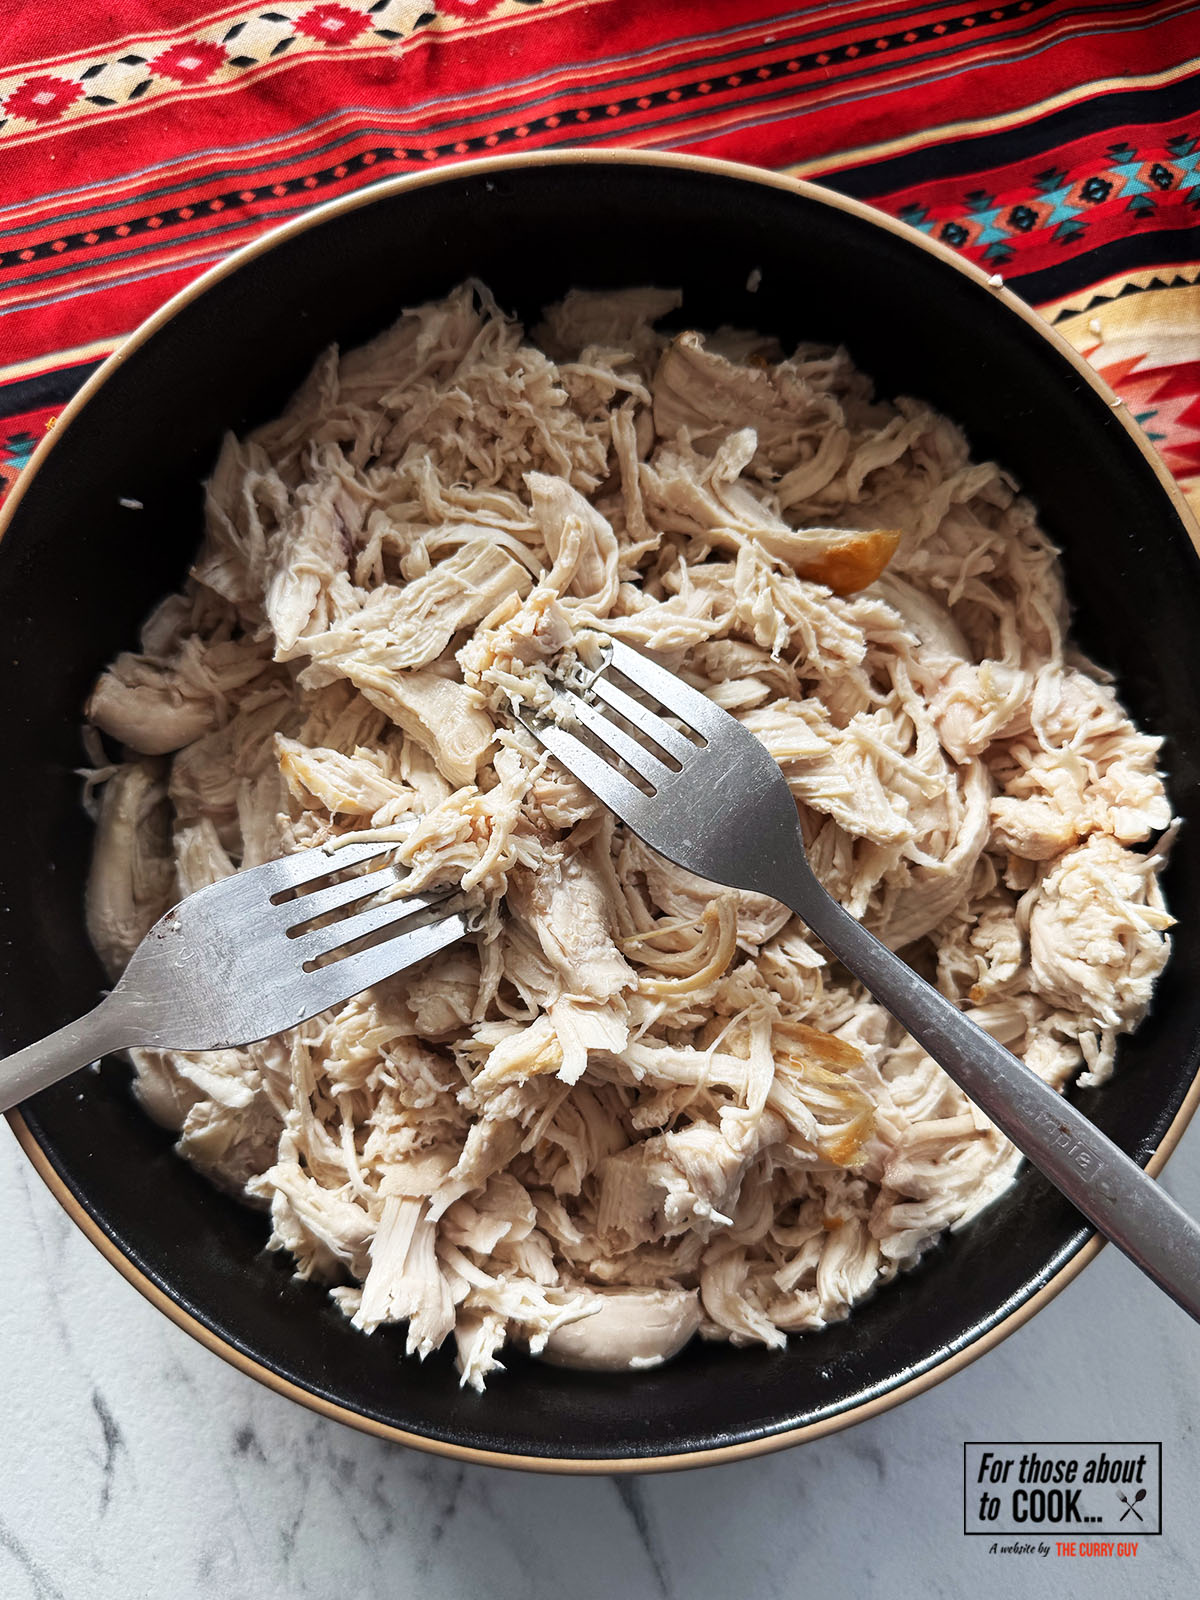
- Step 4: Once cooked, shred your chicken in a bowl with forks.

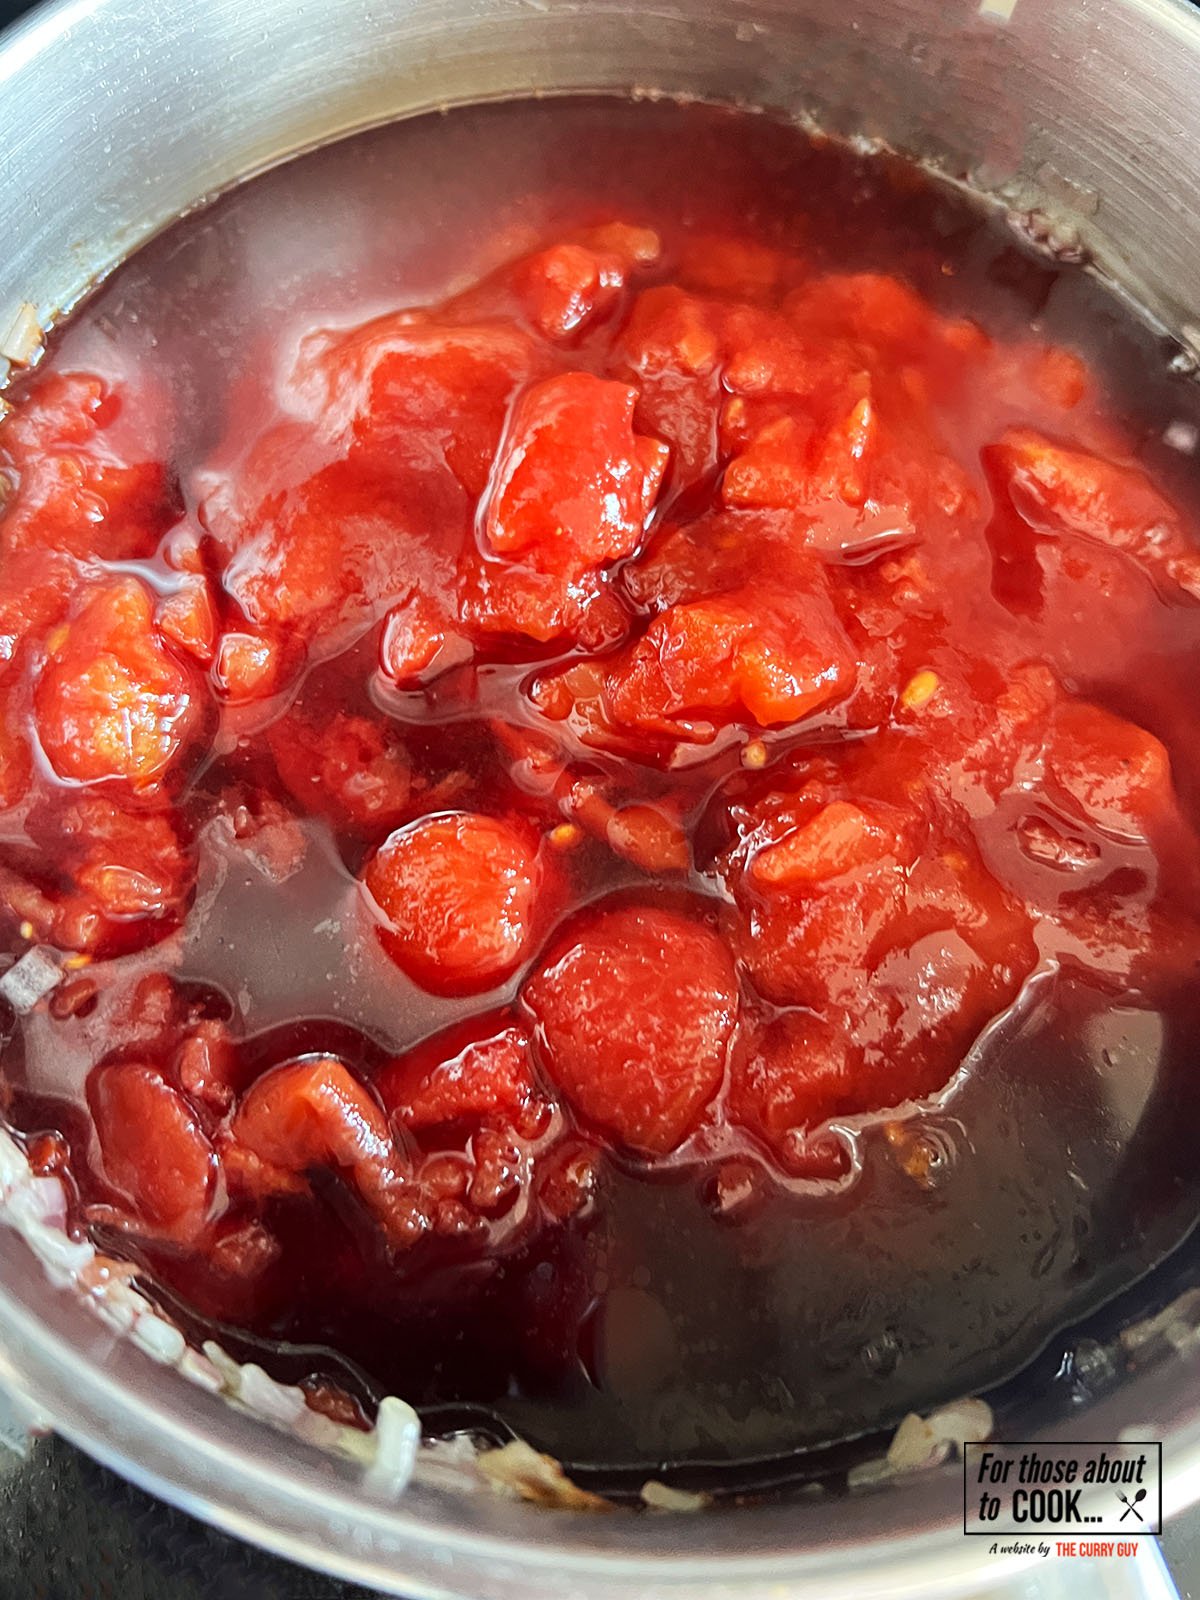
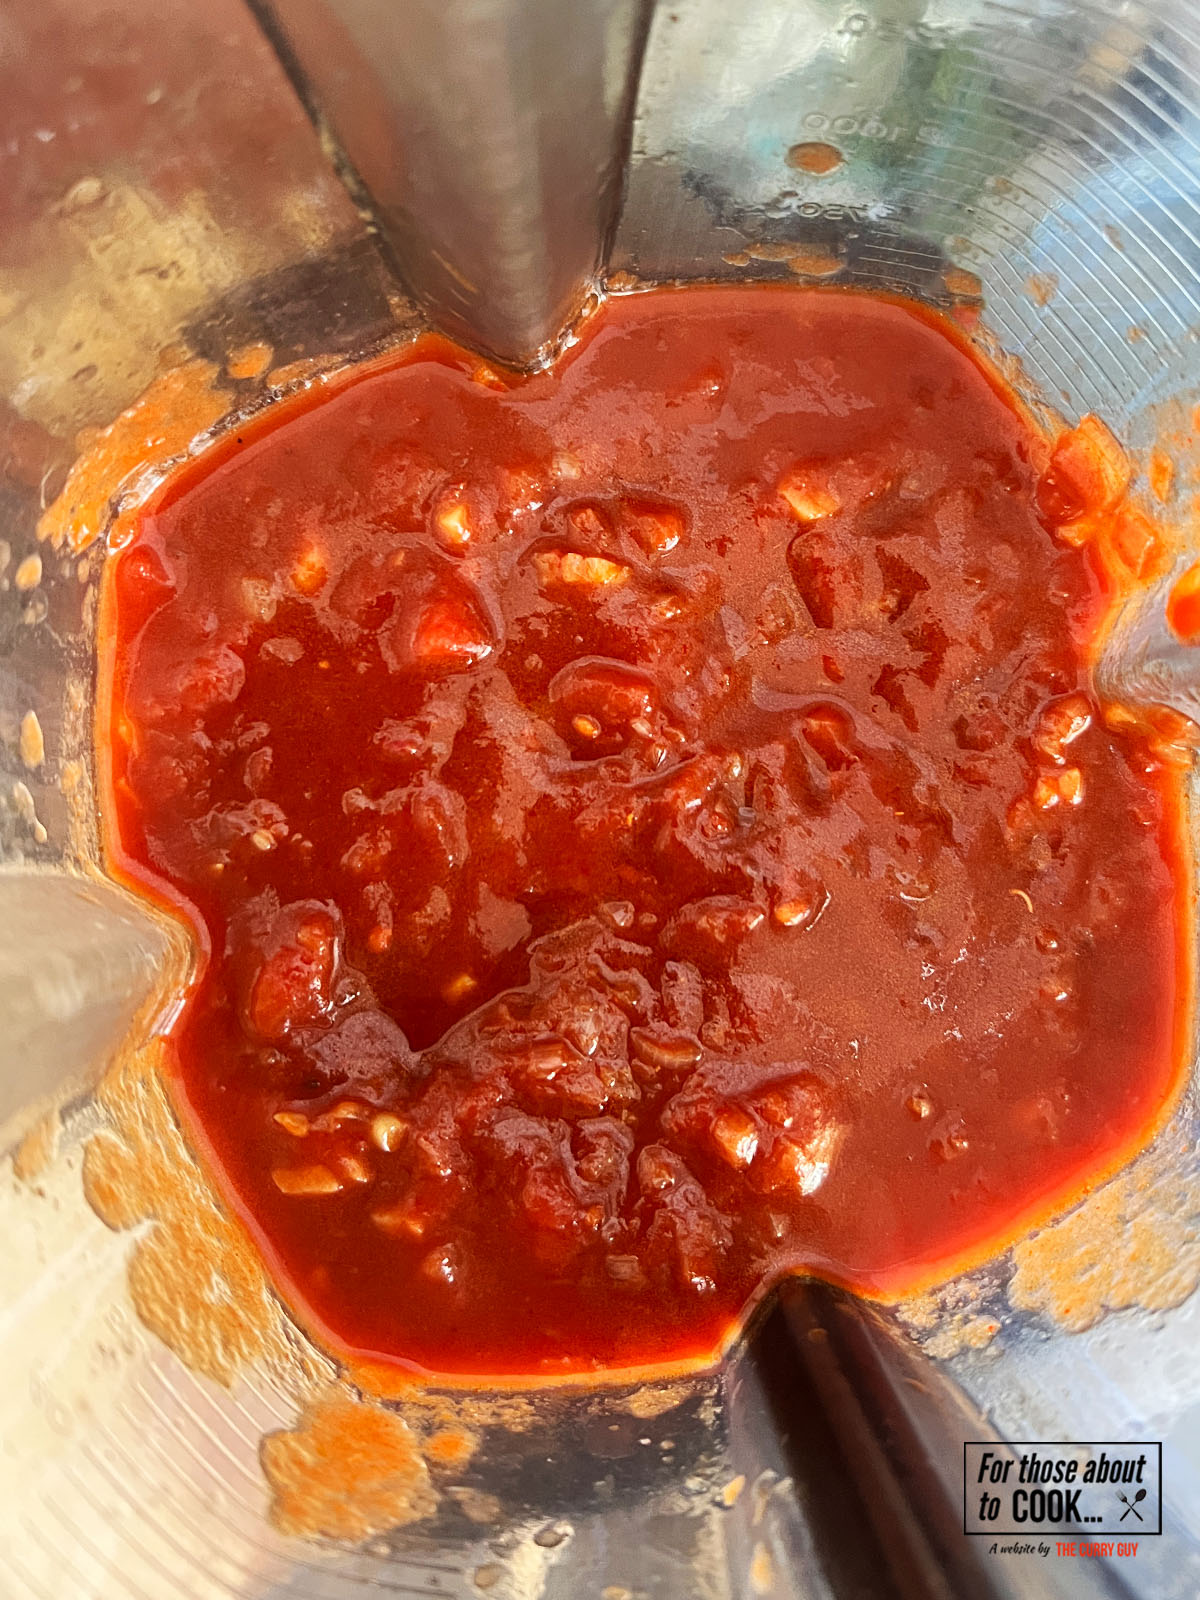
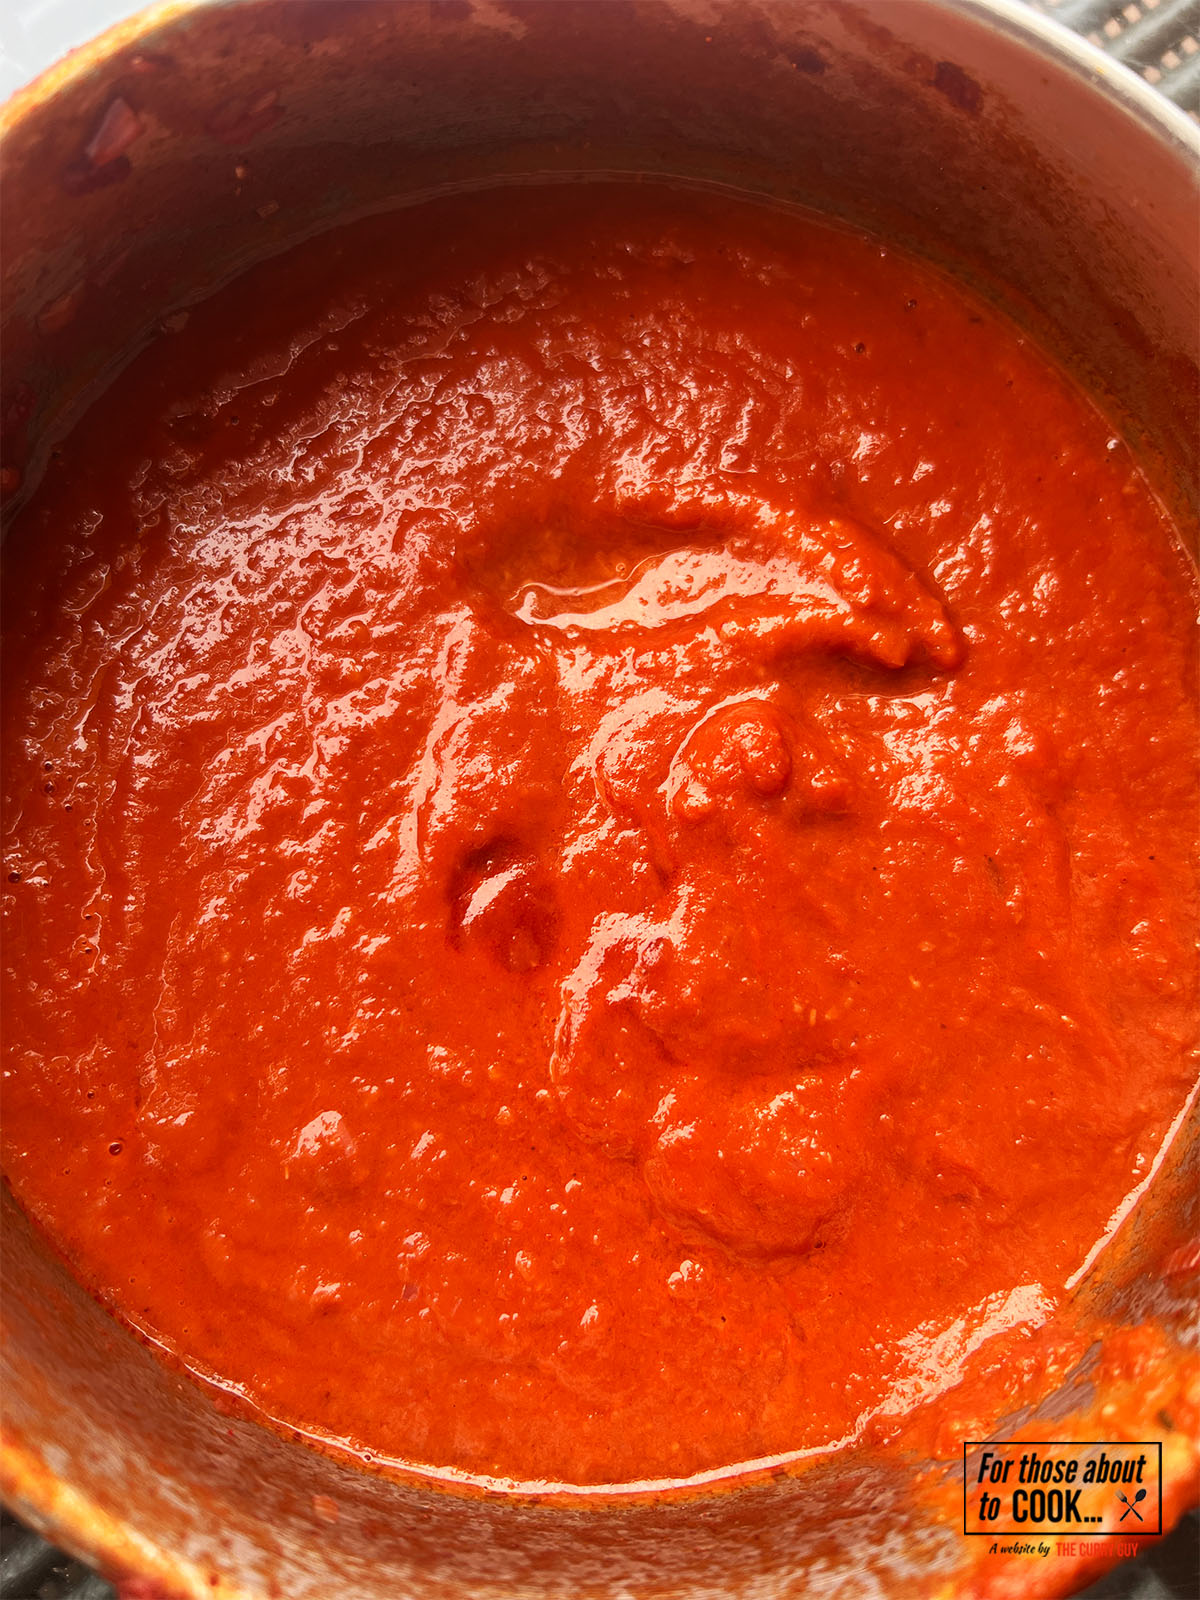
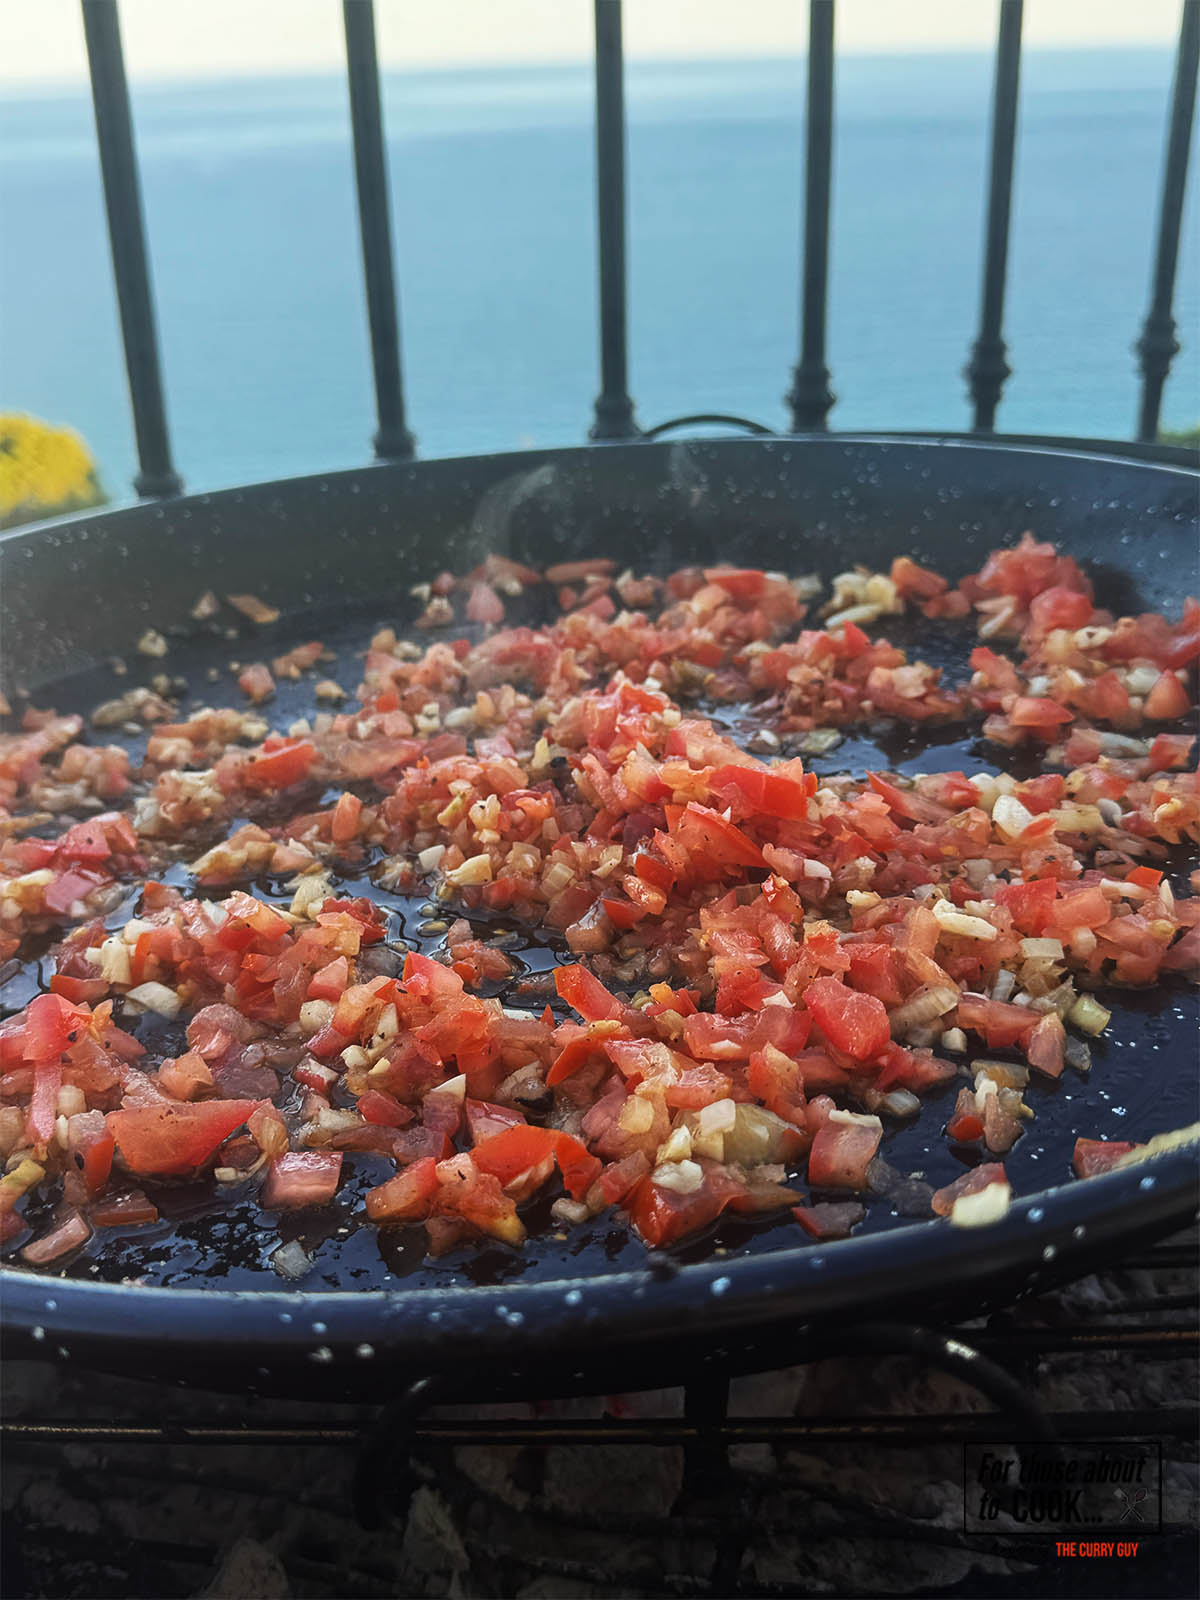
- Step 5: In a blender or food processer, add the tomatoes, coriander, chipotle peppers, sugar, salt and spring onion (scallions). Blitz until a smooth paste. Set roughly ⅓ of the sauce to one side to layer on top of the enchiladas.

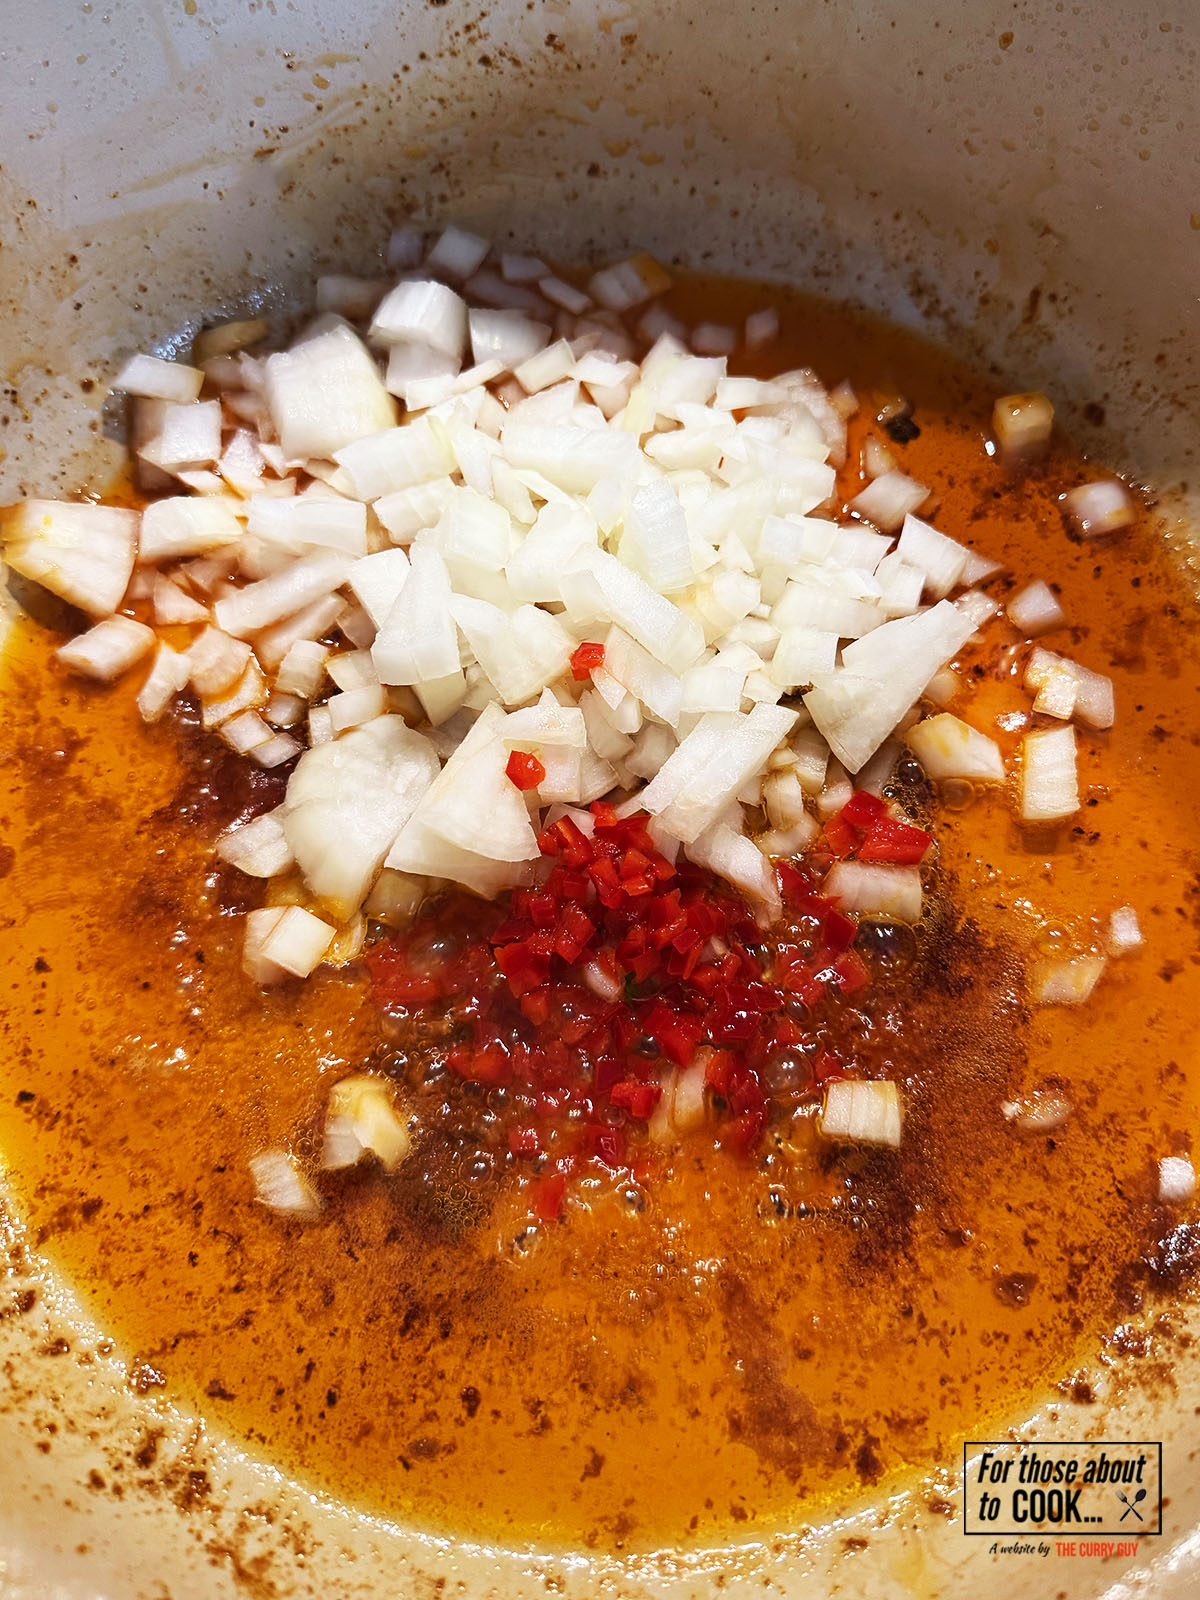
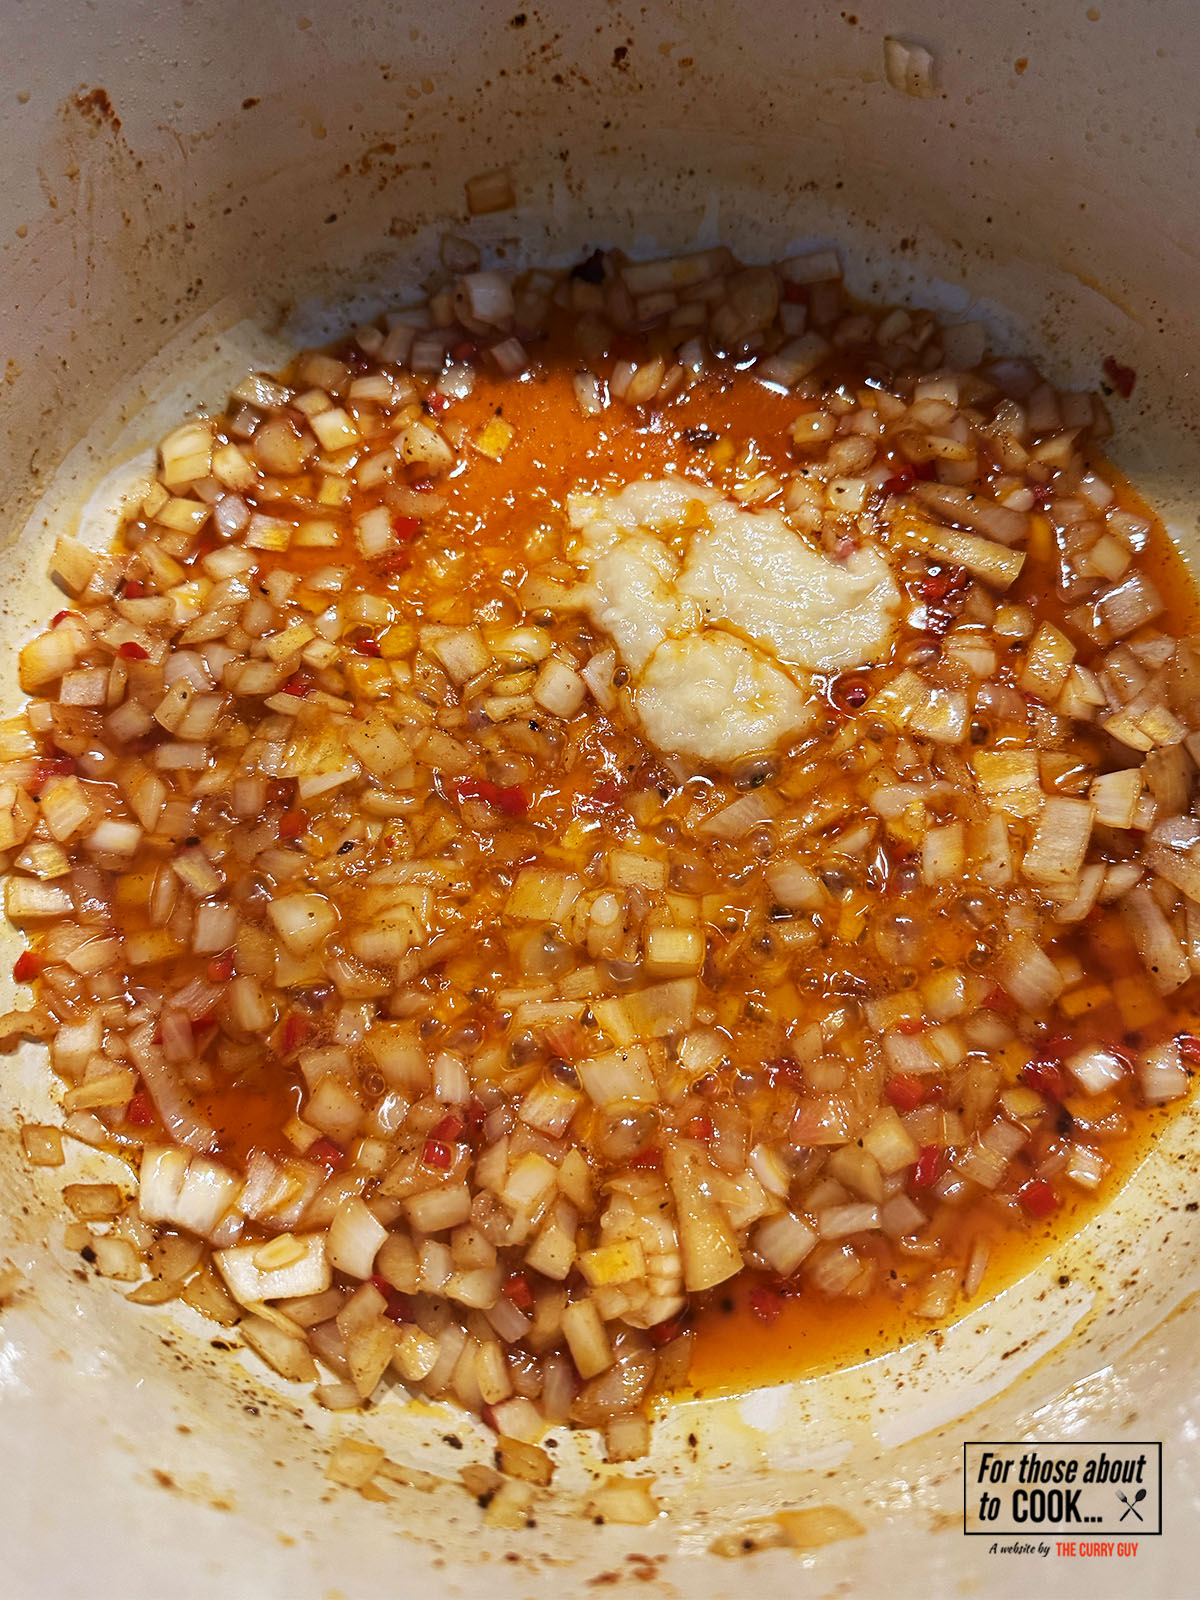
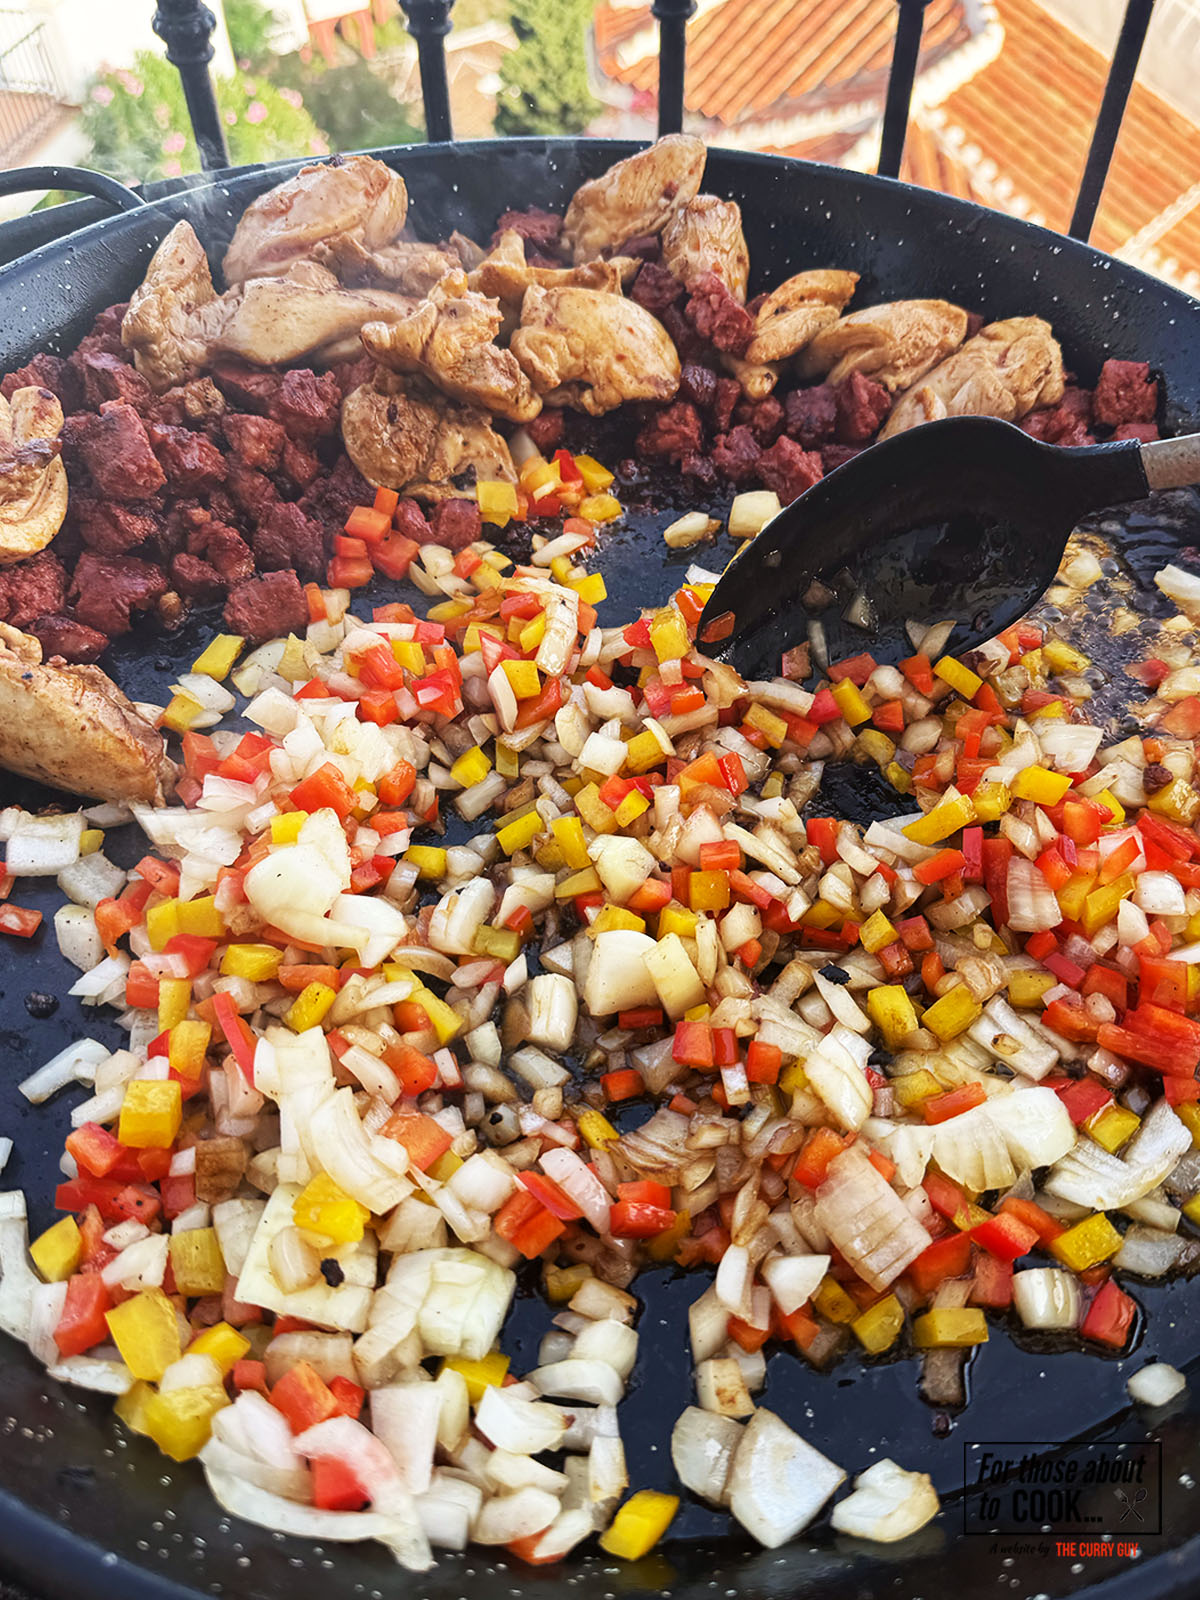
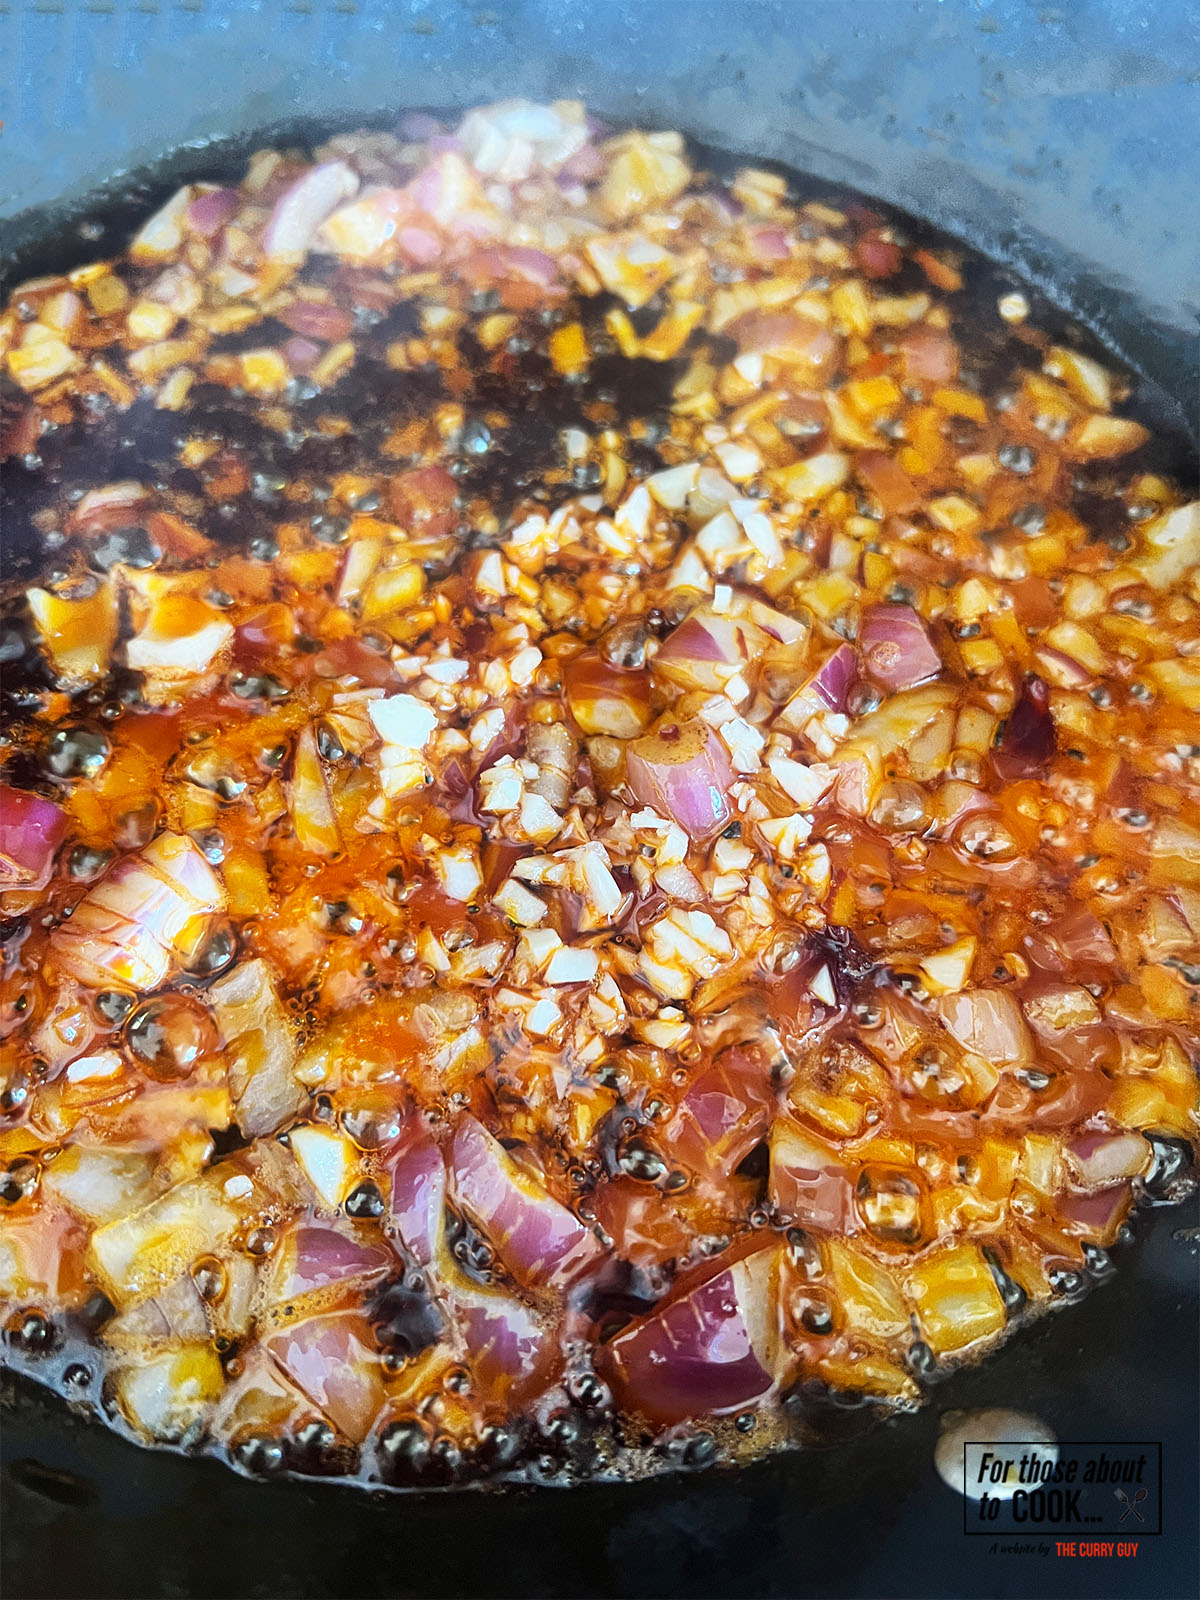
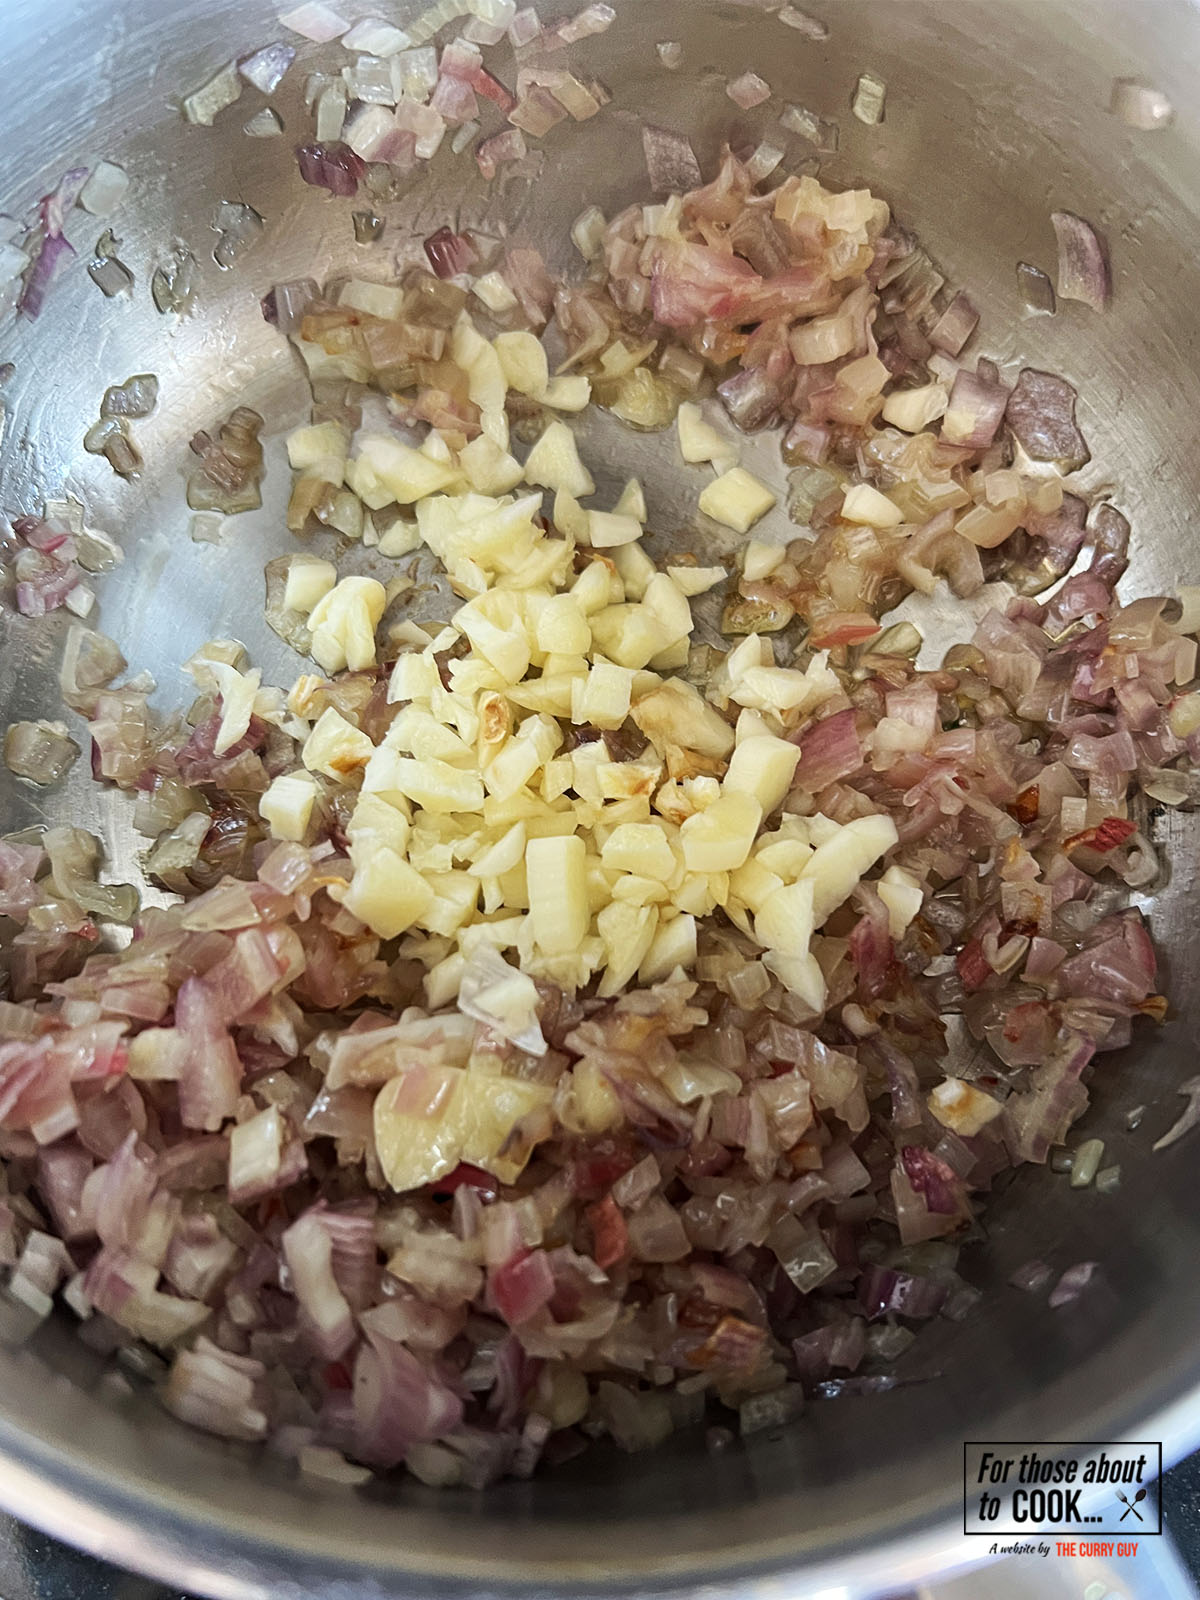
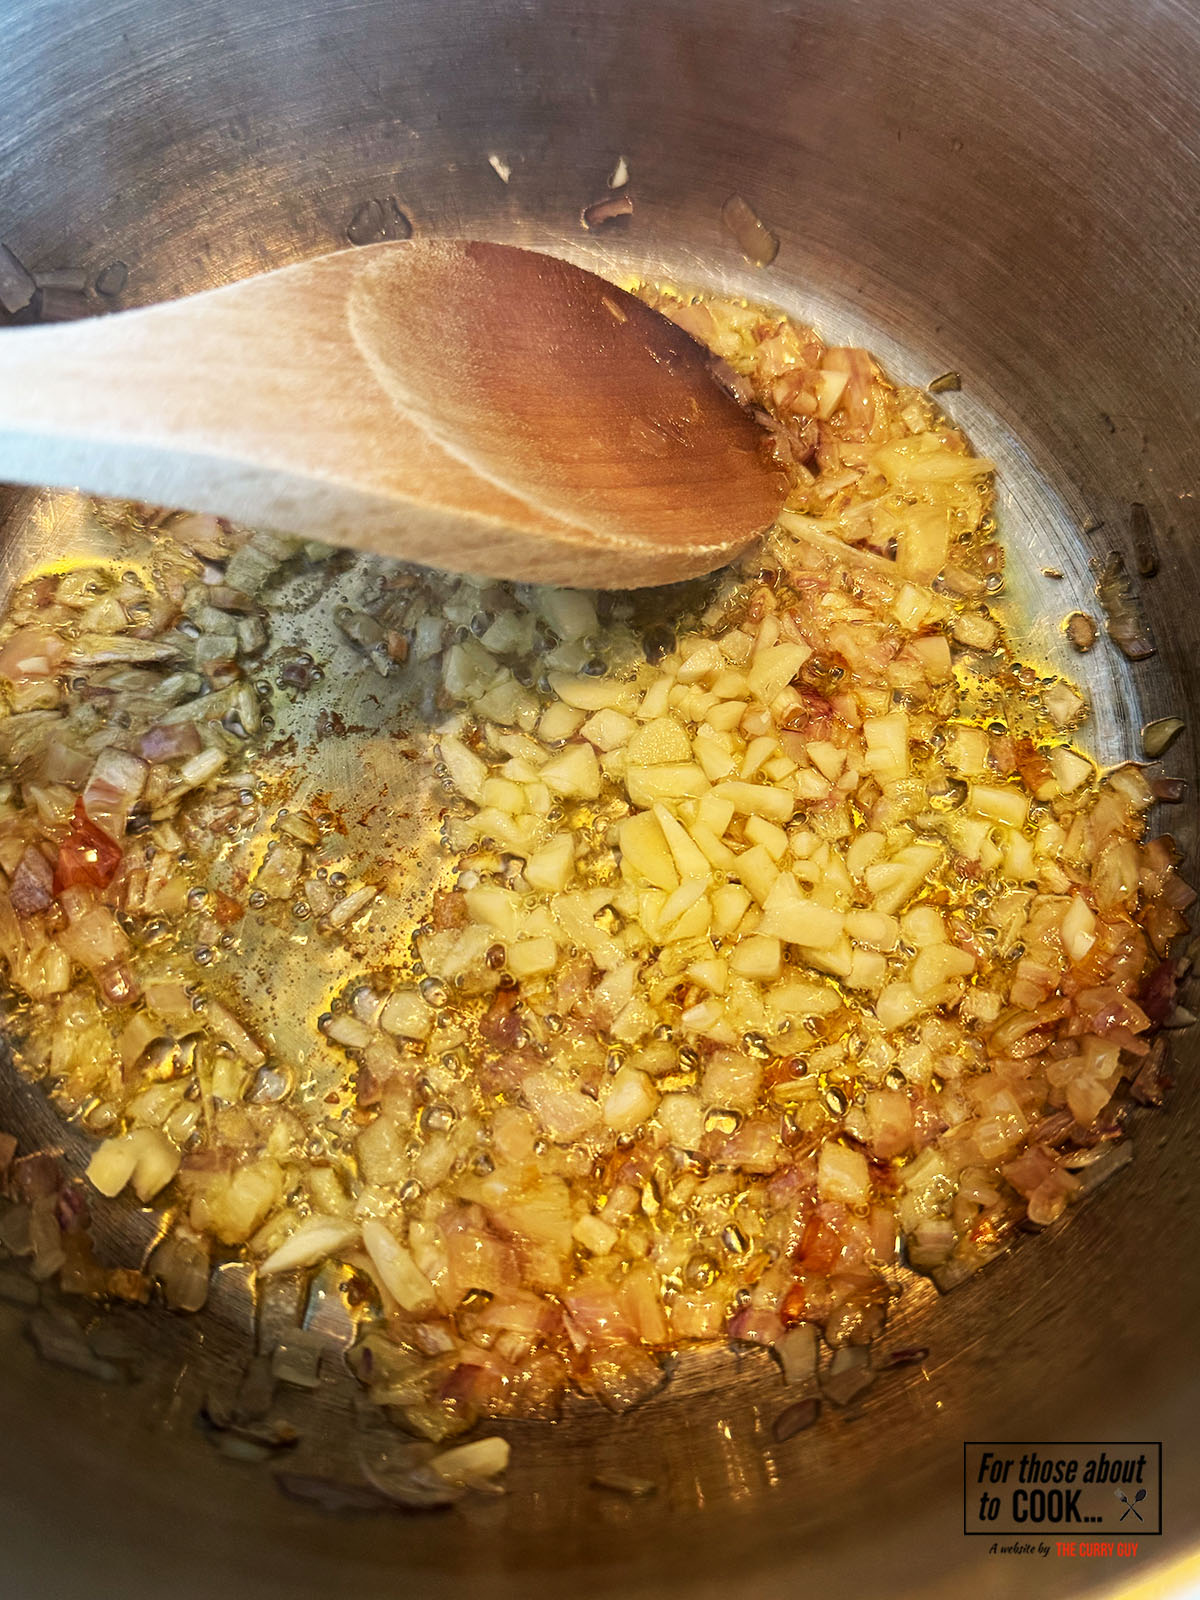
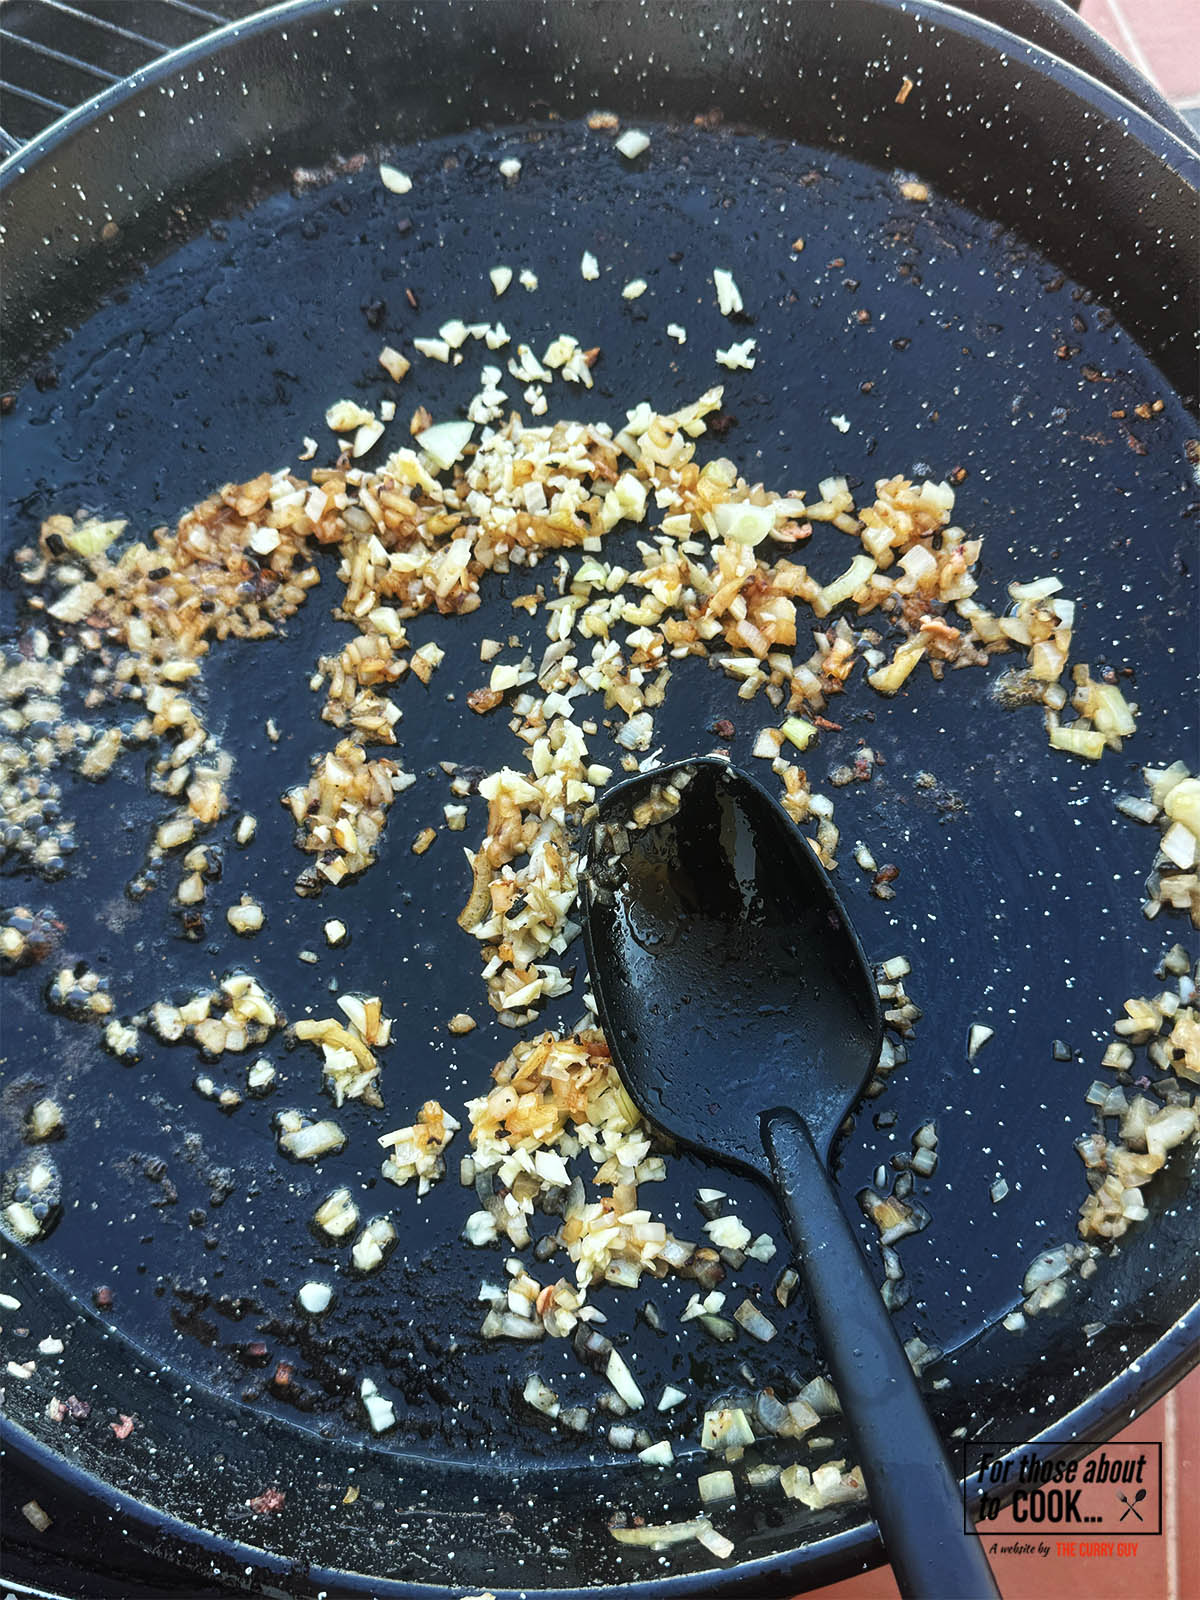
- Step 6: In a pan over a med-low heat, add 1 tablespoon of oil then fry the onions until translucent (5 minutes) then stir in the garlic for a further one minute

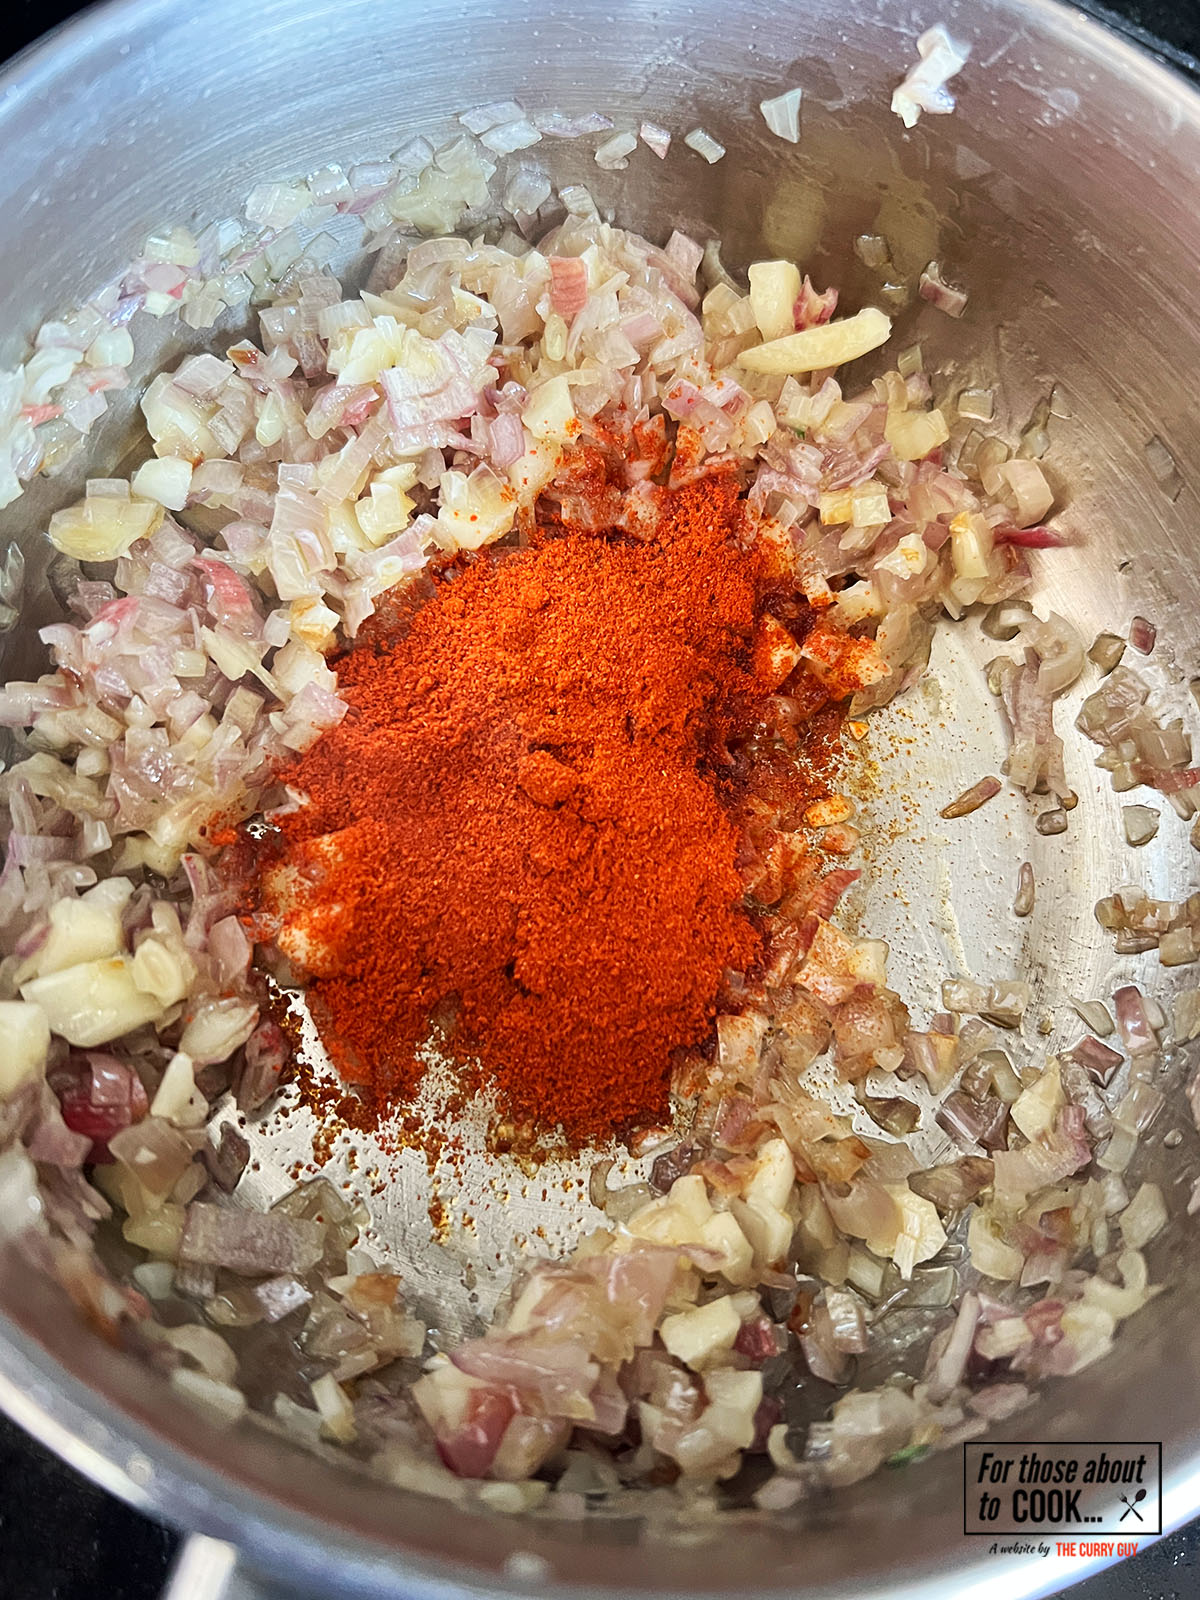
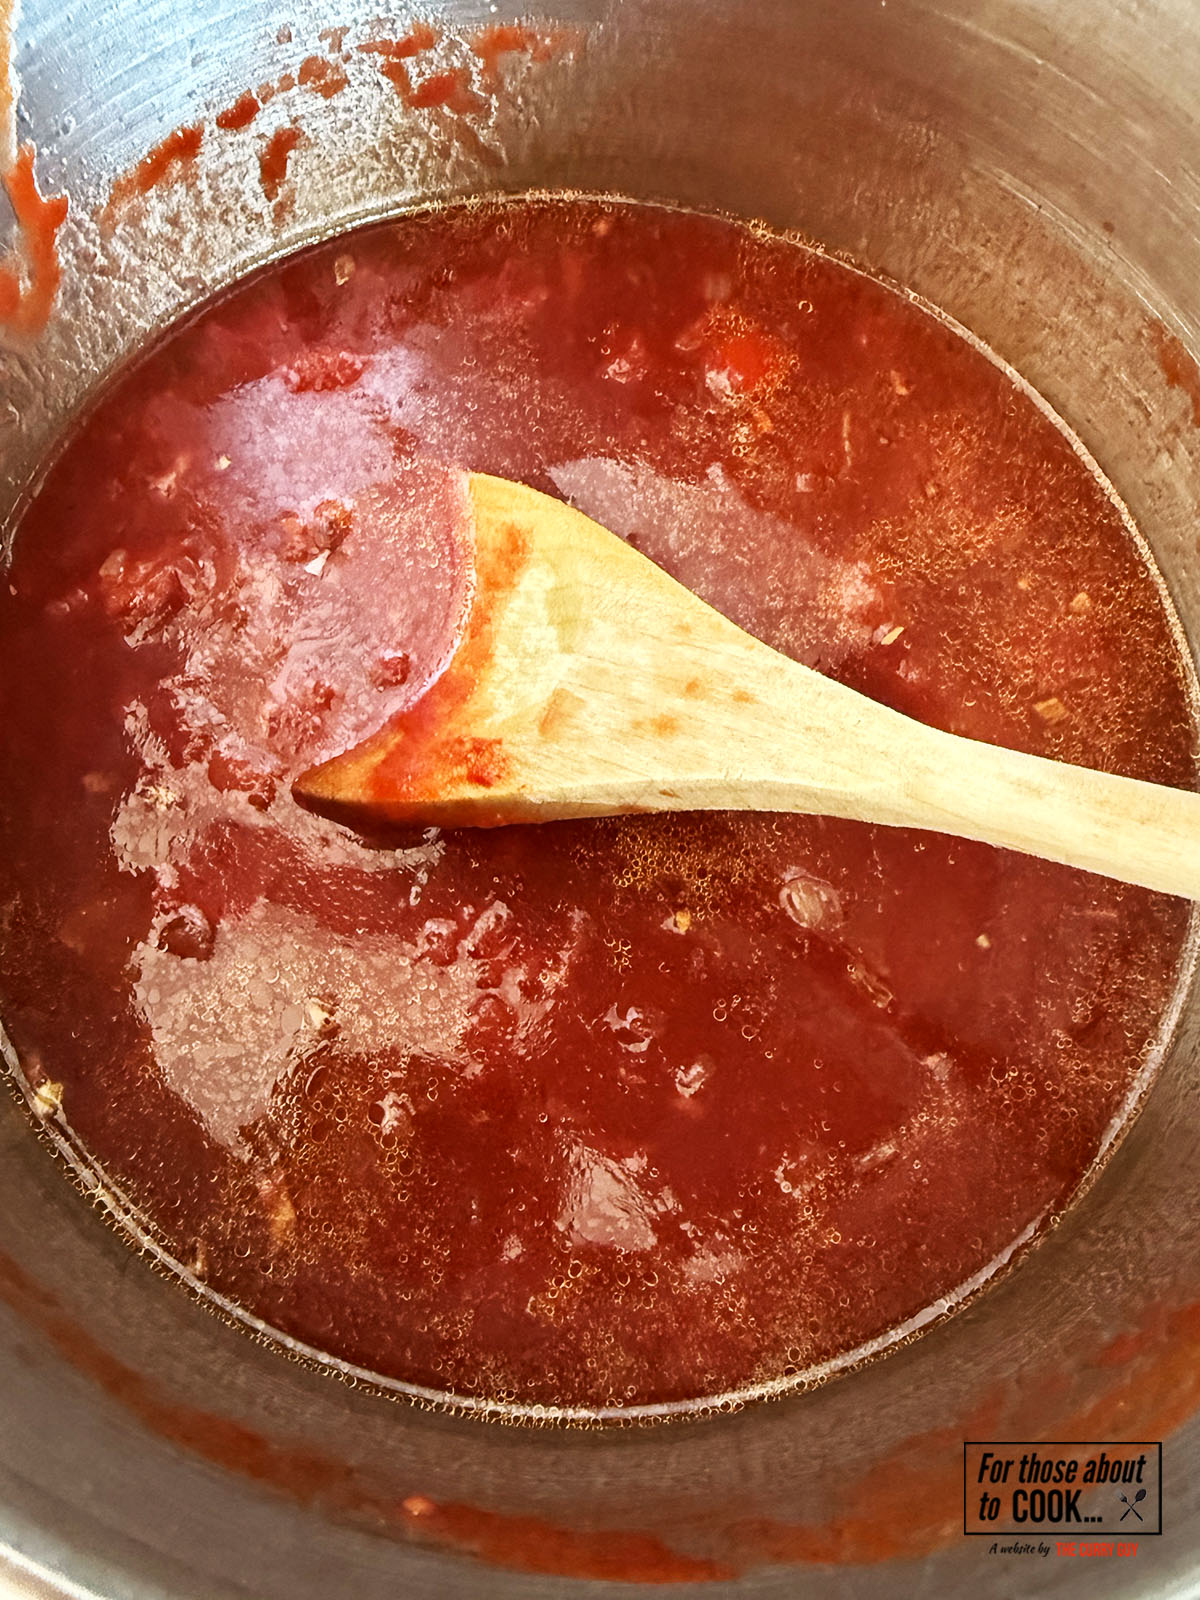
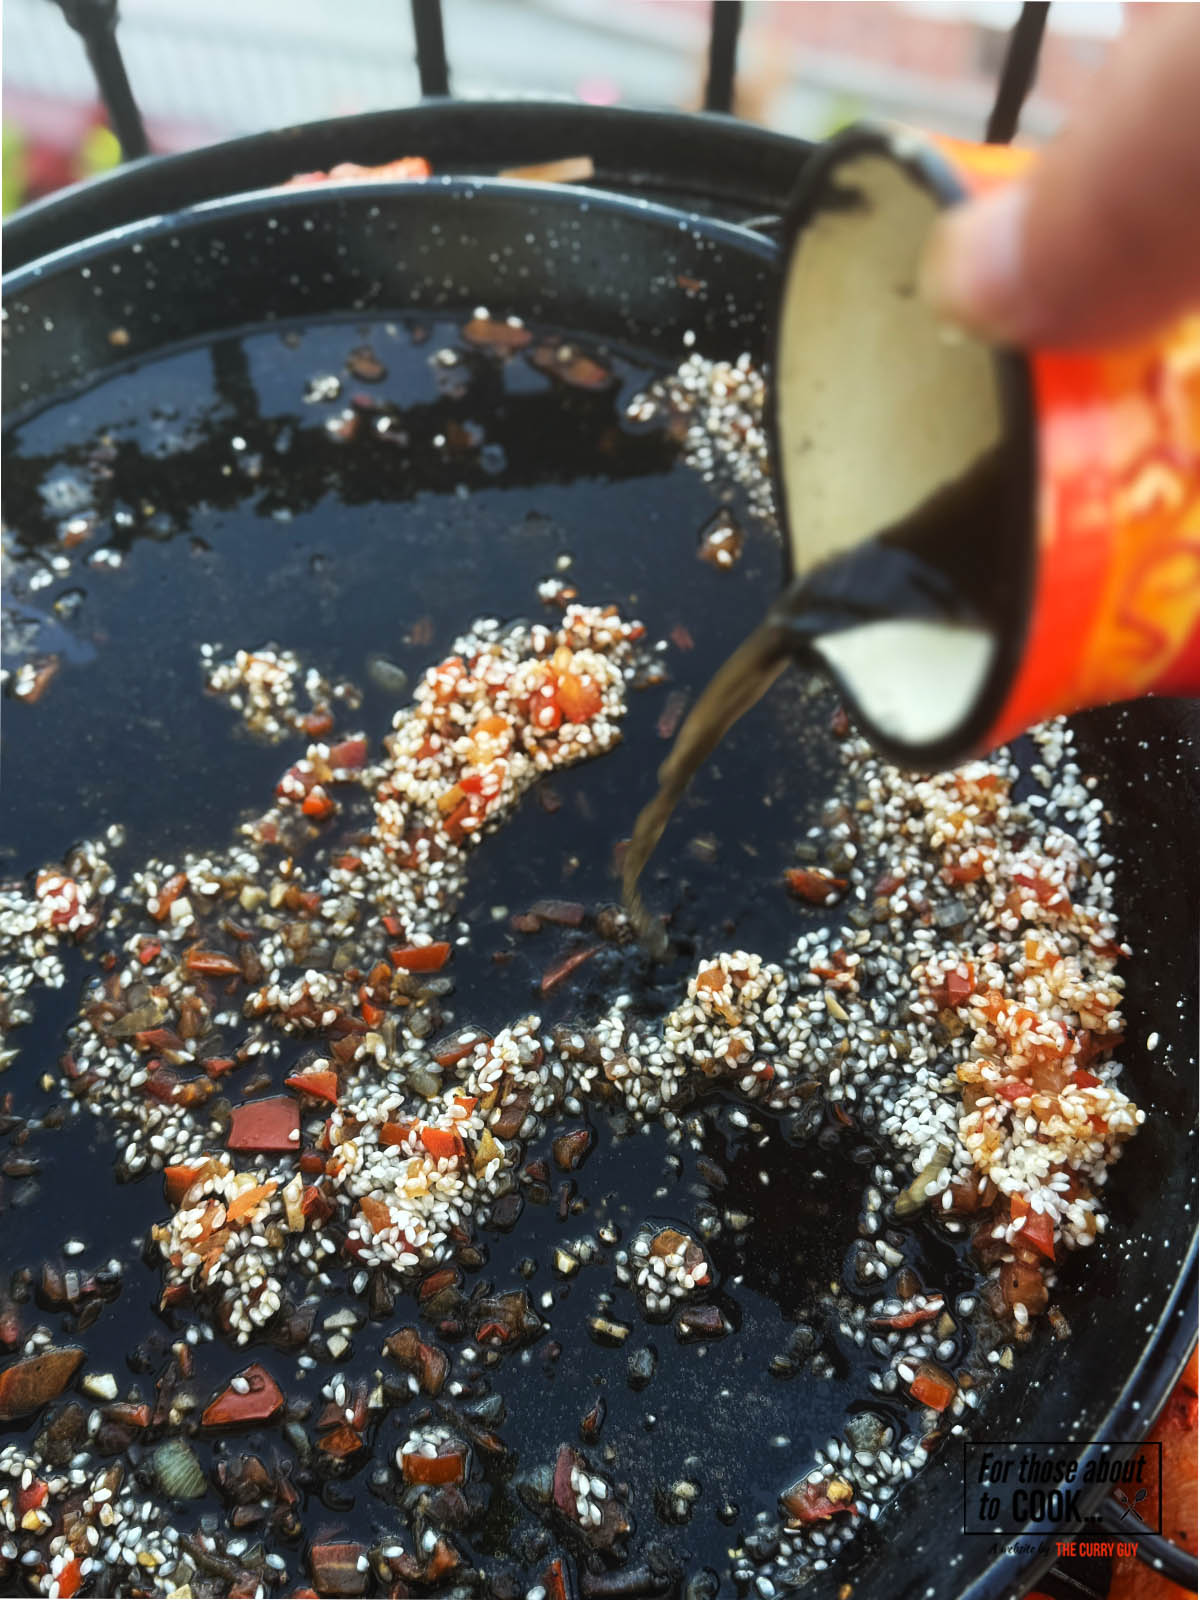
- Step 7: Add the remaining blended chipotle paste to the onions and garlic. Then add ¼ cup of chicken broth (you can add more if it's looking dry).
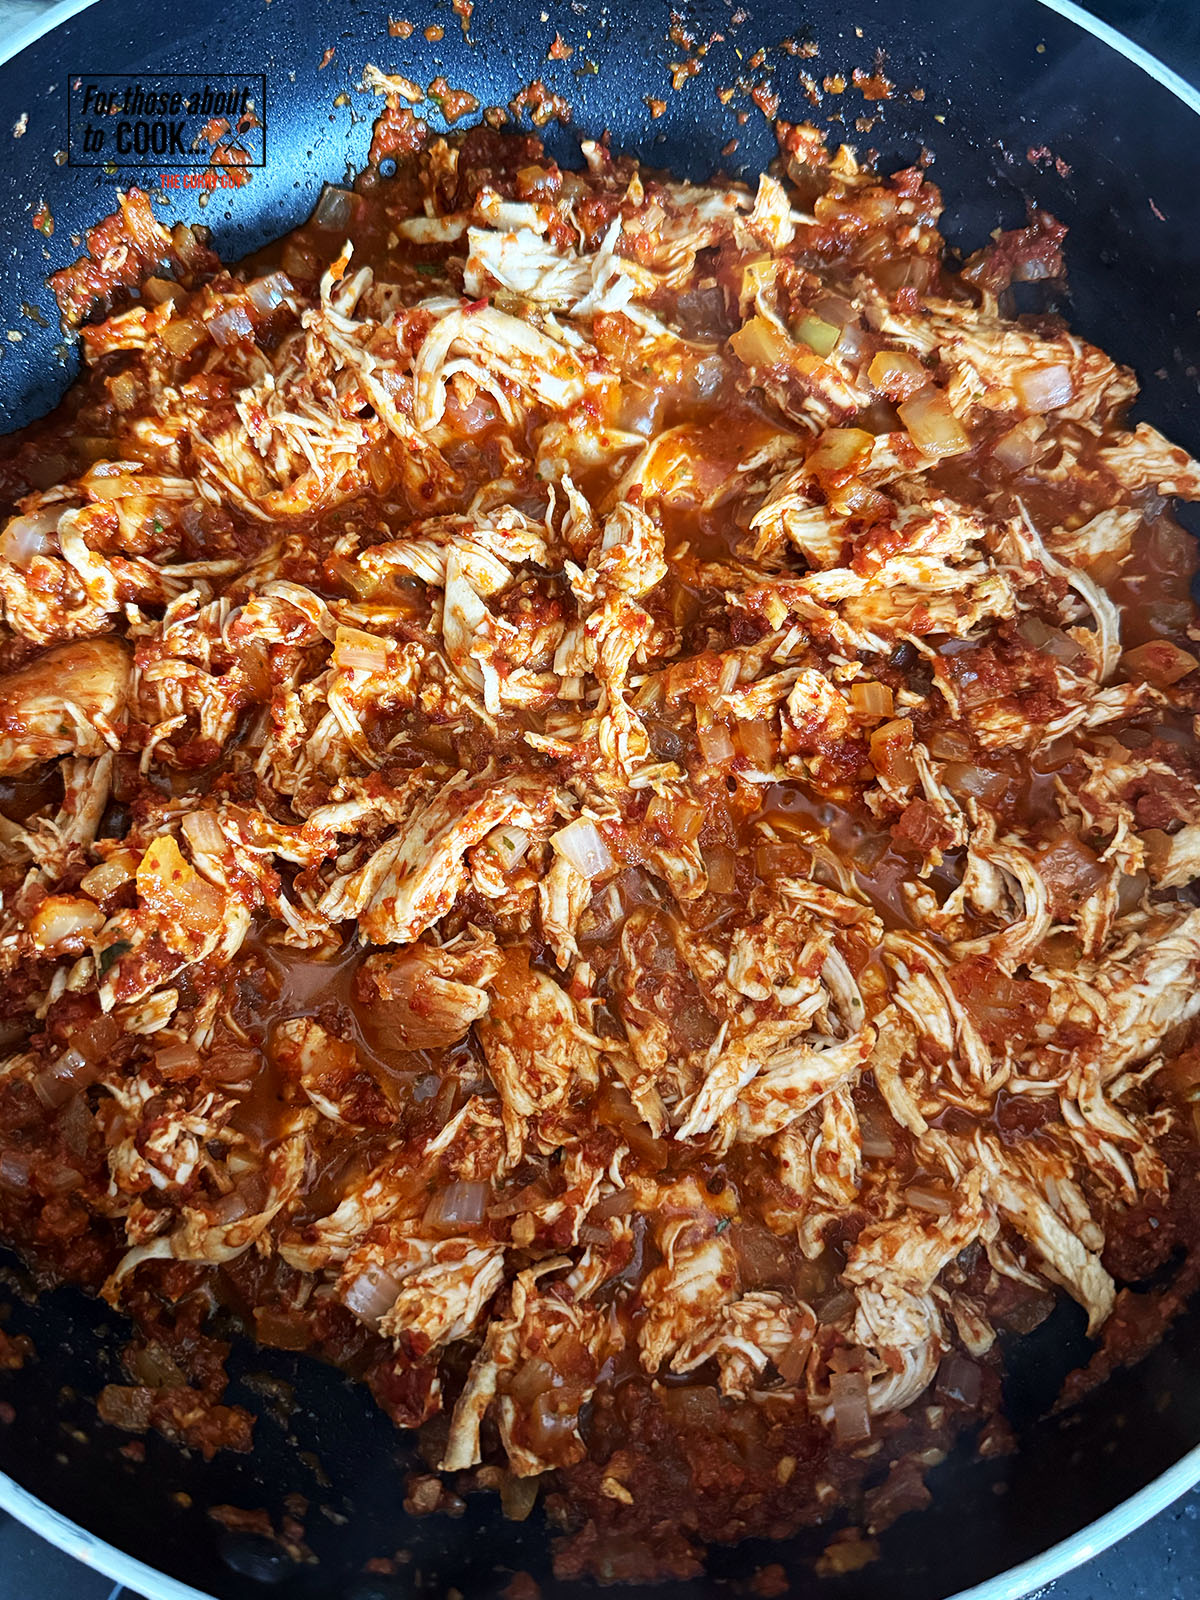
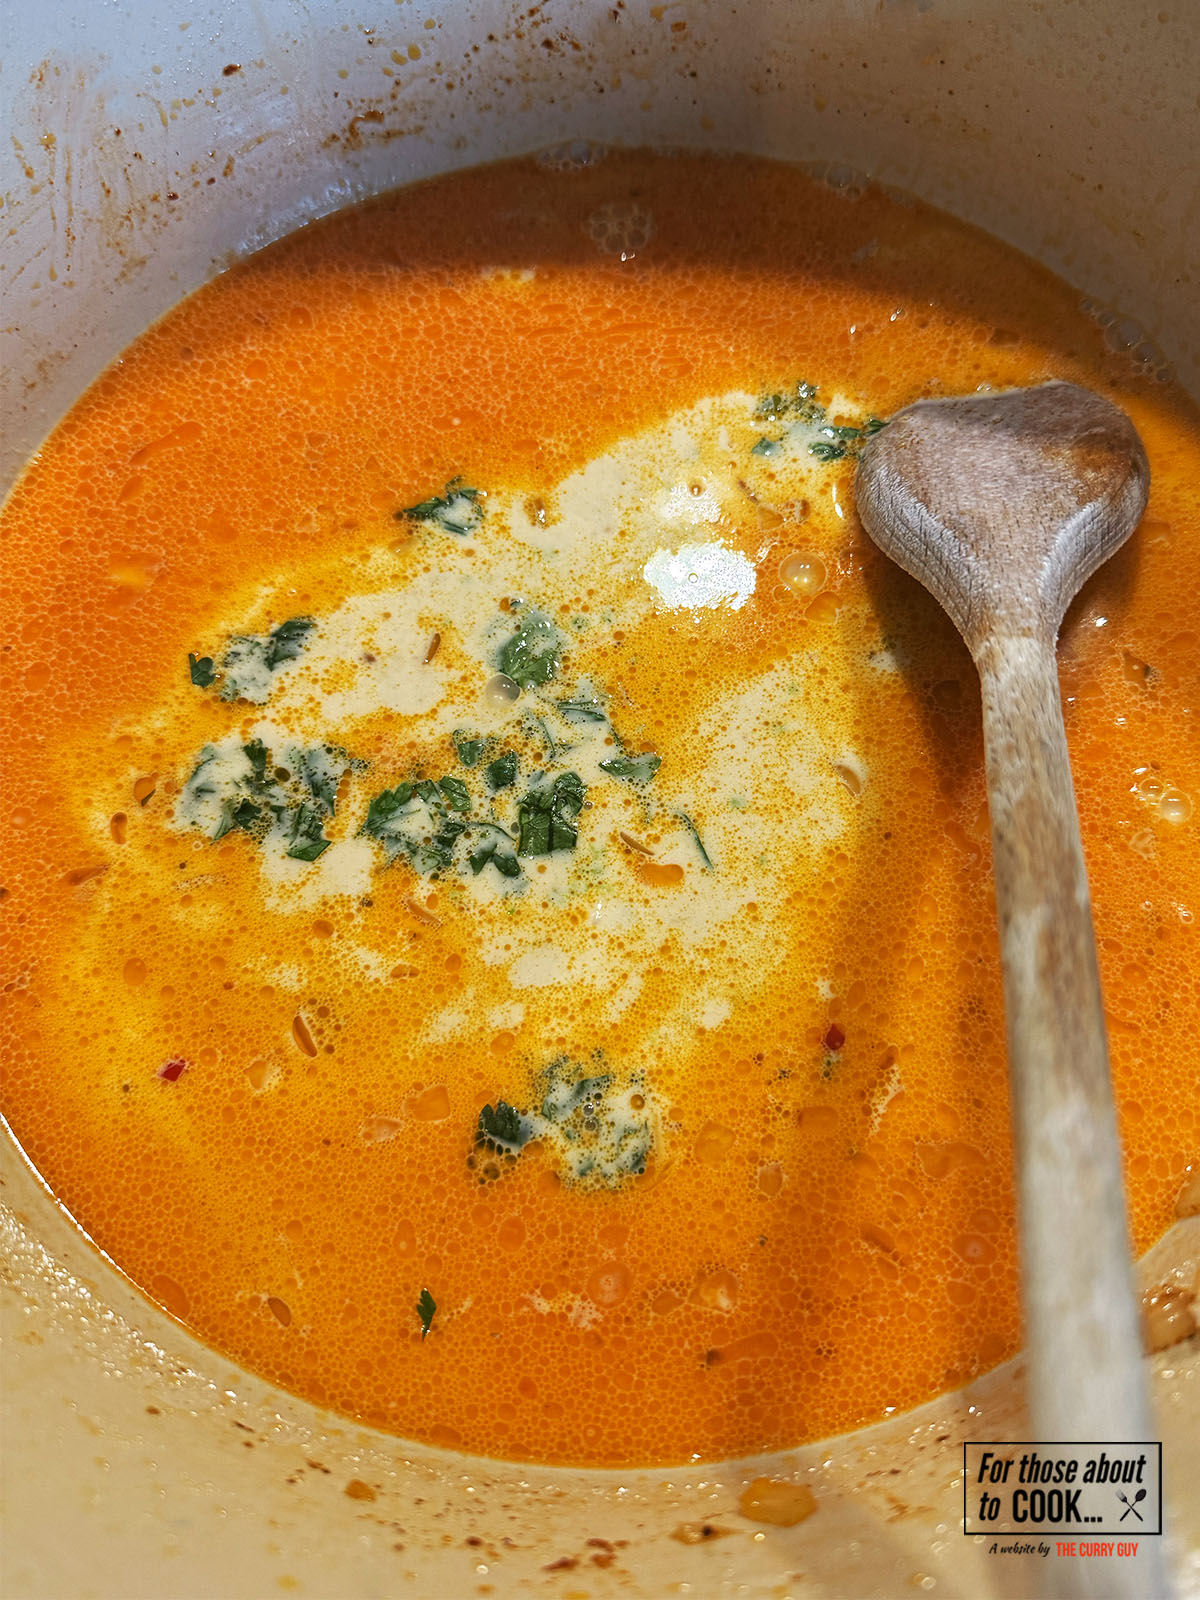
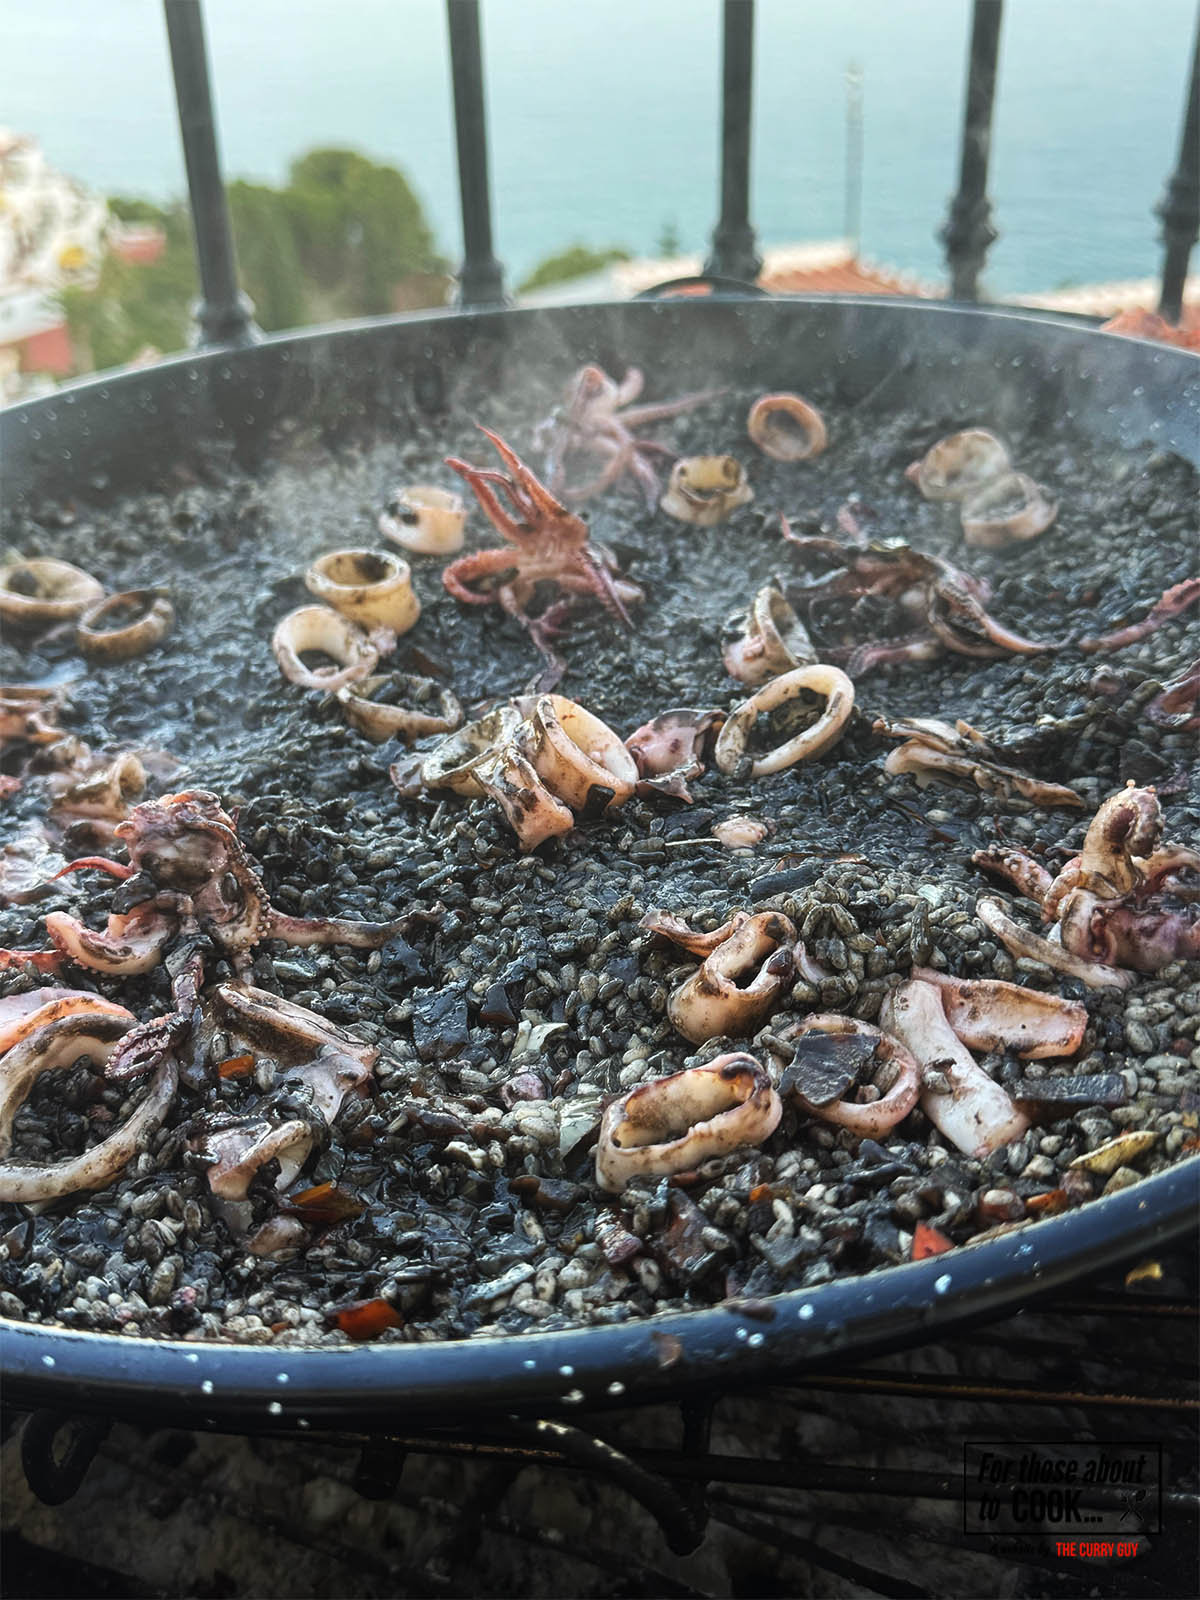
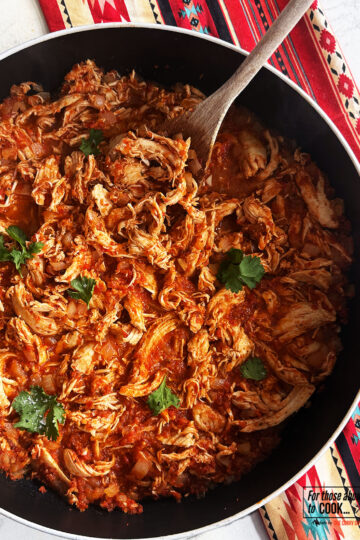
- Step 8: Add the shredded chicken to the pan, simmer and stir occasionally for up to 10 minutes for the flavors to develop.
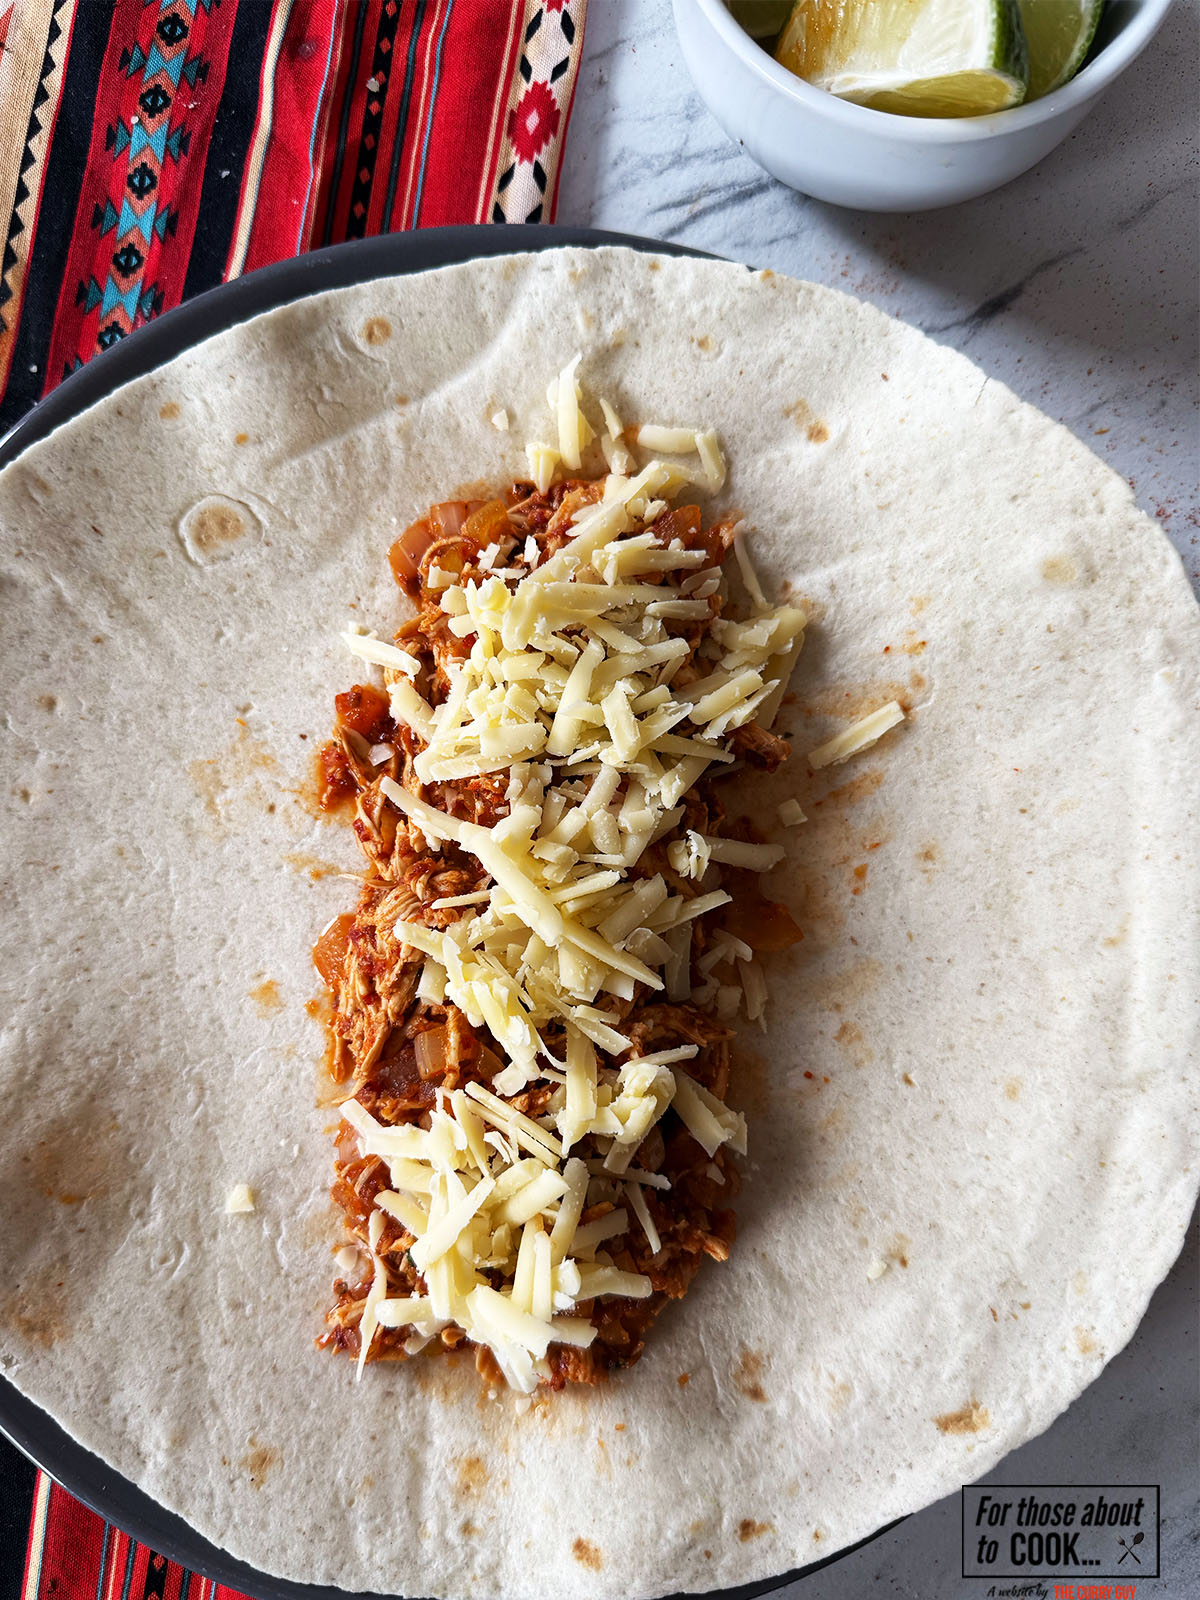
- Step 9: Load one flour tortilla at a time with the chipotle chicken and top with sharp cheddar cheese and chopped coriander. Roll each tortilla, turning in the sides first into a wrapped enchilada
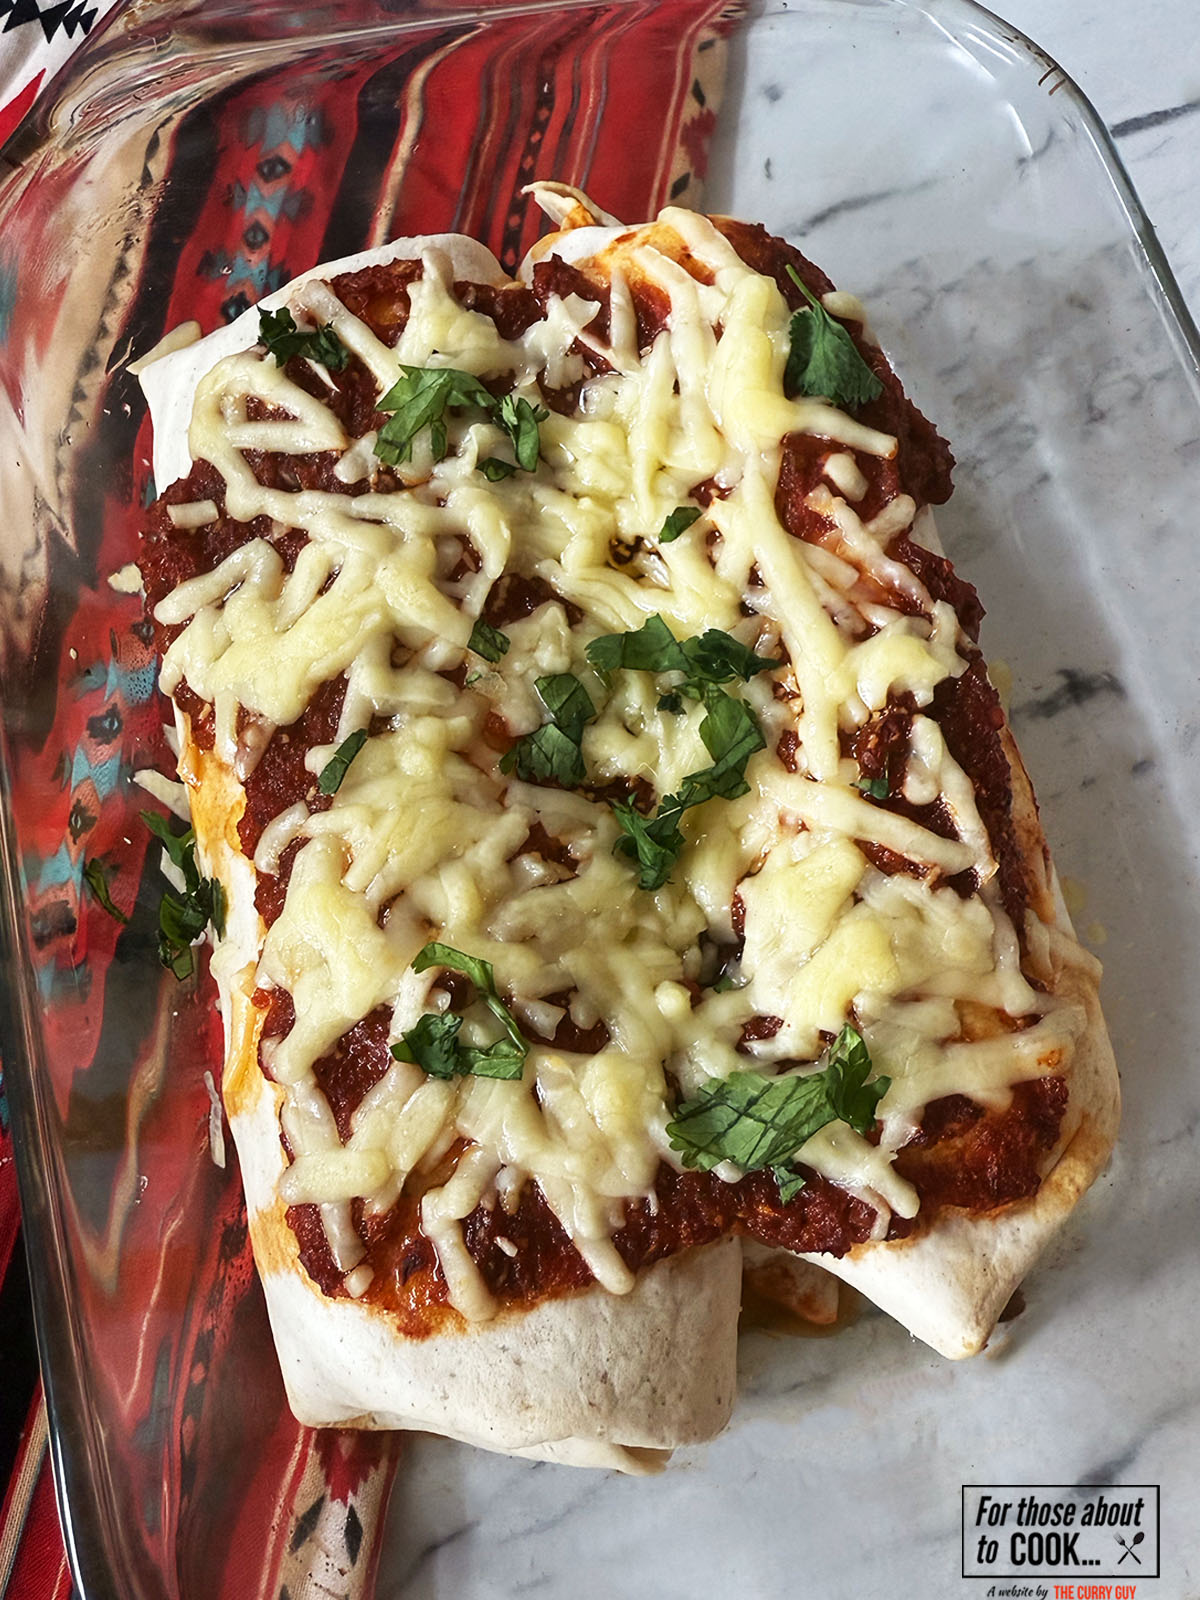
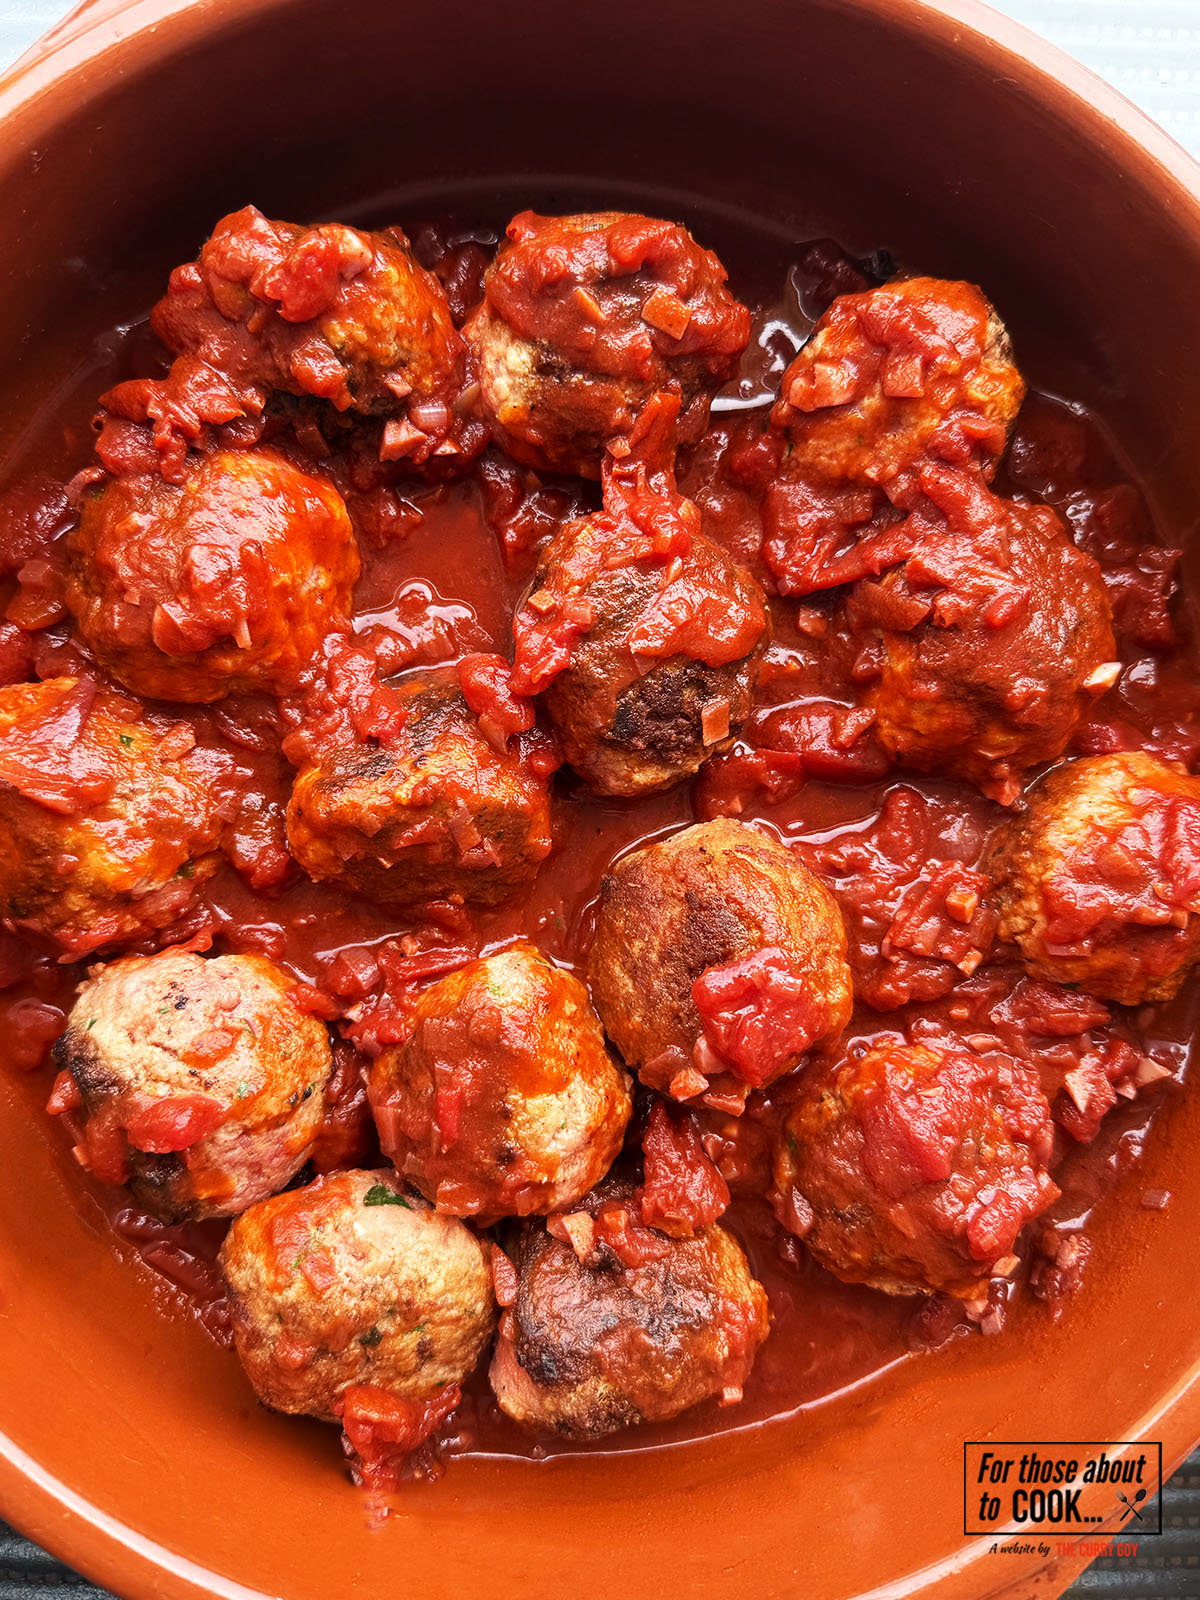
- Step 10: In a greased baking dish, place the enchiladas and top with the remaining chipotle sauce and cheese. Bake for 20 minutes, serve and enjoy!
Substitutions
- Chipotle Peppers in Adobo sauce - I think it is important to mention this ingredients in particular, as here in the UK, they can be more difficult to find. The chipotle peppers in tomato sauce can actually be substituted with more easily accessible Chipotle paste. Use 2–3 tablespoons adobo paste + ½–1 teaspoon smoked paprika (or chipotle powder if you have it).
Variations
- Deluxe - To make your shredded chicken enchiladas deluxe, load them up with extras like sautéed peppers, onions, or sweetcorn, and use a mix of cheeses for extra melt and flavor. Serve them with Guacamole.
- Kid friendly - To make shredded (chipotle) chicken enchiladas kid-friendly, use just a small amount of chipotle sauce for smoky flavor without too much heat, or swap it for mild paprika. You can also add extra cheese and sneak in some finely chopped veggies like peppers or sweetcorn for a gentler, more balanced filling. Serve with cooling dips like sour cream or guacamole to soften the spice.
Can I cook the enchiladas in the air fryer?
Absolutely! Most of the time i do just that. 5-10 minutes on 200C/400F should do just fine but watch them.
In fact, you can actually cook most of the chipotle chicken in the air fryer, all but the poaching of the chicken. If you're interested, check out how Dan prepares this Chicken Tikka Masala in the air fryer for the process of sautéing onions and more.
Equipment
The only must have equipment you will need is a baking dish wide enough to fit the enchiladas without squishing them.
Serving Size (Serves 4)
This recipe is written to serve 4. Most of the time, we cook for 2 and enjoy the leftovers the next day - it makes the effort of cooking something fresh and delicious even more worthwhile. If you’re feeding 5 or 6, you can easily double the recipe, or sometimes it’s as simple as adding an extra piece of protein and adjusting the sides. Make it yours, enjoy the process, and don’t stress about being exact.
Note: Nutritional information provided in the recipe card below is a rough guide only. Values can vary depending on the exact ingredients and quantities you use.
Storage
I recommend storing the filling (chicken and cheese) separately if you can for best results when reheated. Then, simply heat them back up and load into your flour tortillas.
Fridge: Allow your dish to cool completely, then store in an airtight container for up to 3 days. Flavours often develop even more after a night in the fridge.
Freezer: Portion and freeze for up to 3 months. Defrost overnight in the fridge, then reheat gently on the hob or in the oven until piping hot.
Top Tip
Toast your tortillas briefly in a dry pan before rolling. It stops them from going soggy and adds a subtle smoky flavour that pairs perfectly with the chipotle chicken.
FAQ
Yes! Cook the chicken filling in advance, then assemble and cook the enchiladas just before serving for the best crispness.
Sharp cheddar, Monterey Jack, or a blend of both melt beautifully and pair well with the smoky chipotle flavor.
Yes! Use just a small amount of chipotle sauce or replace it with mild paprika, and serve with cooling dips like sour cream or guacamole to balance the heat.
Related
Looking for other Mexican recipes like this? Try these:


Pairing
These are my favorite dishes to serve with Chipotle Chicken Quesadillas:


Recipe
Shredded (Chipotle) Chicken Enchiladas
Enjoy the delicious flavors of Chipotle chicken enchilada for a quick and comforting weeknight dinner or a weekend treat.
Ingredients
- 4 Flour Tortillas
- 1lb (500g) Chicken breast or boneless chicken thigh
- 1 cup chicken broth
- 1 white Onion
- 3 cloves Garlic
- 2 Spring onion (scallions)
- Chipotle Peppers in Adobo sauce (see substitutions below if needed)
- 3 vine tomatoes (quartered)
- 1 teaspoon sugar
- 1 teaspoon salt
- bunch of fresh coriander (cilantro), finely chopped
- 1 tablespoon cooking (vegetable) oil
- For Serving: Sour cream, lime wedge
Instructions
- (pre-heat oven to 350F/180C)
- In a pan on a medium heat, add a splash of olive oil and brown your chicken breasts. Add
¼ cup (60ml) of chicken chicken. Cover your pan with a lid and allow to poach
for 10-12 minutes. Once cooked, shred your chicken in a bowl
with forks. - In a blender or food processer, add the tomatoes, coriander, chipotle peppers, sugar, salt and spring onion
(scallions). Blitz until a smooth paste. Set roughly ⅓ of the sauce to one side to layer on top of the enchiladas. - In a pan over a med-low heat, add 1 tablespoon of oil then fry the onions until translucent (5 minutes) then stir
in the garlic for a further one minuteAdd the remaining blended chipotle paste to the onions and garlic. Then add ¼ cup of chicken broth (you can add more if it's looking dry). - Add the shredded chicken to the pan, simmer and stir occasionally for up to 10 minutes for the flavors to develop. Load one flour tortilla at a time with the chipotle chicken and top with sharp cheddar cheese and chopped coriander. Roll each tortilla, turning in the sides first into a wrapped enchiladaIn
a greased baking dish, place the enchiladas and top with the remaining chipotle
sauce and cheese. - Bake for 20 minutes, serve and enjoy!
Nutrition Information:
Yield: 4 Serving Size: 1Amount Per Serving: Calories: 468Total Fat: 11gSaturated Fat: 3gTrans Fat: 0gUnsaturated Fat: 7gCholesterol: 143mgSodium: 1229mgCarbohydrates: 38gFiber: 4gSugar: 6gProtein: 52g
Have you tried this recipe?
If yes, please give it a star rating in the recipe card below and leave a comment. We love receiving your feedback and I’m sure other readers of my blog do too. Thank you.
If you are not already doing so, please follow For Those About To Cook on Instagram and Facebook for all our latest recipes.