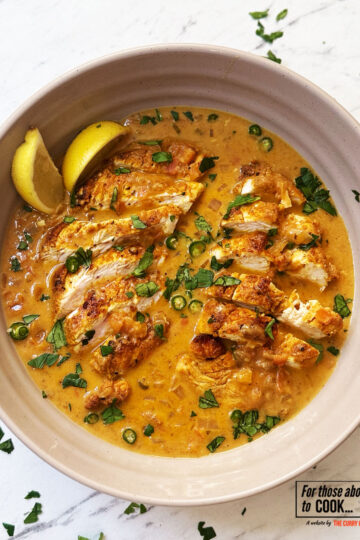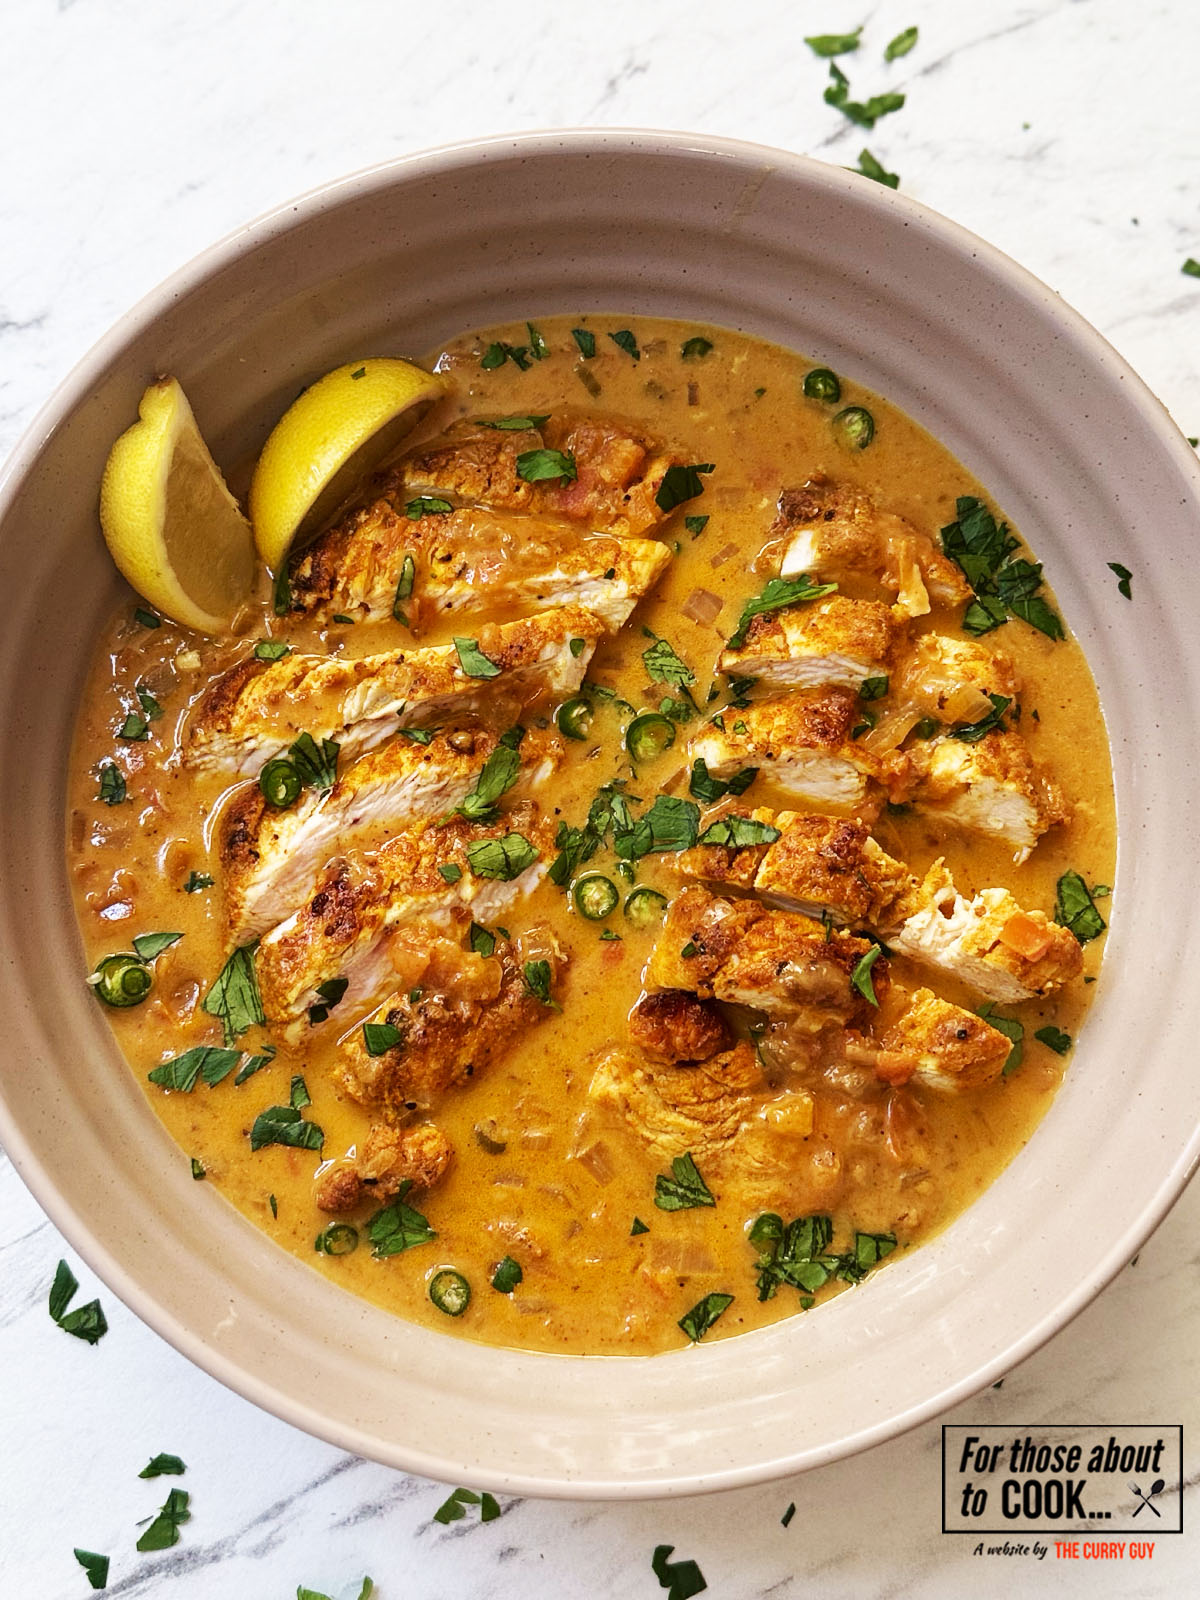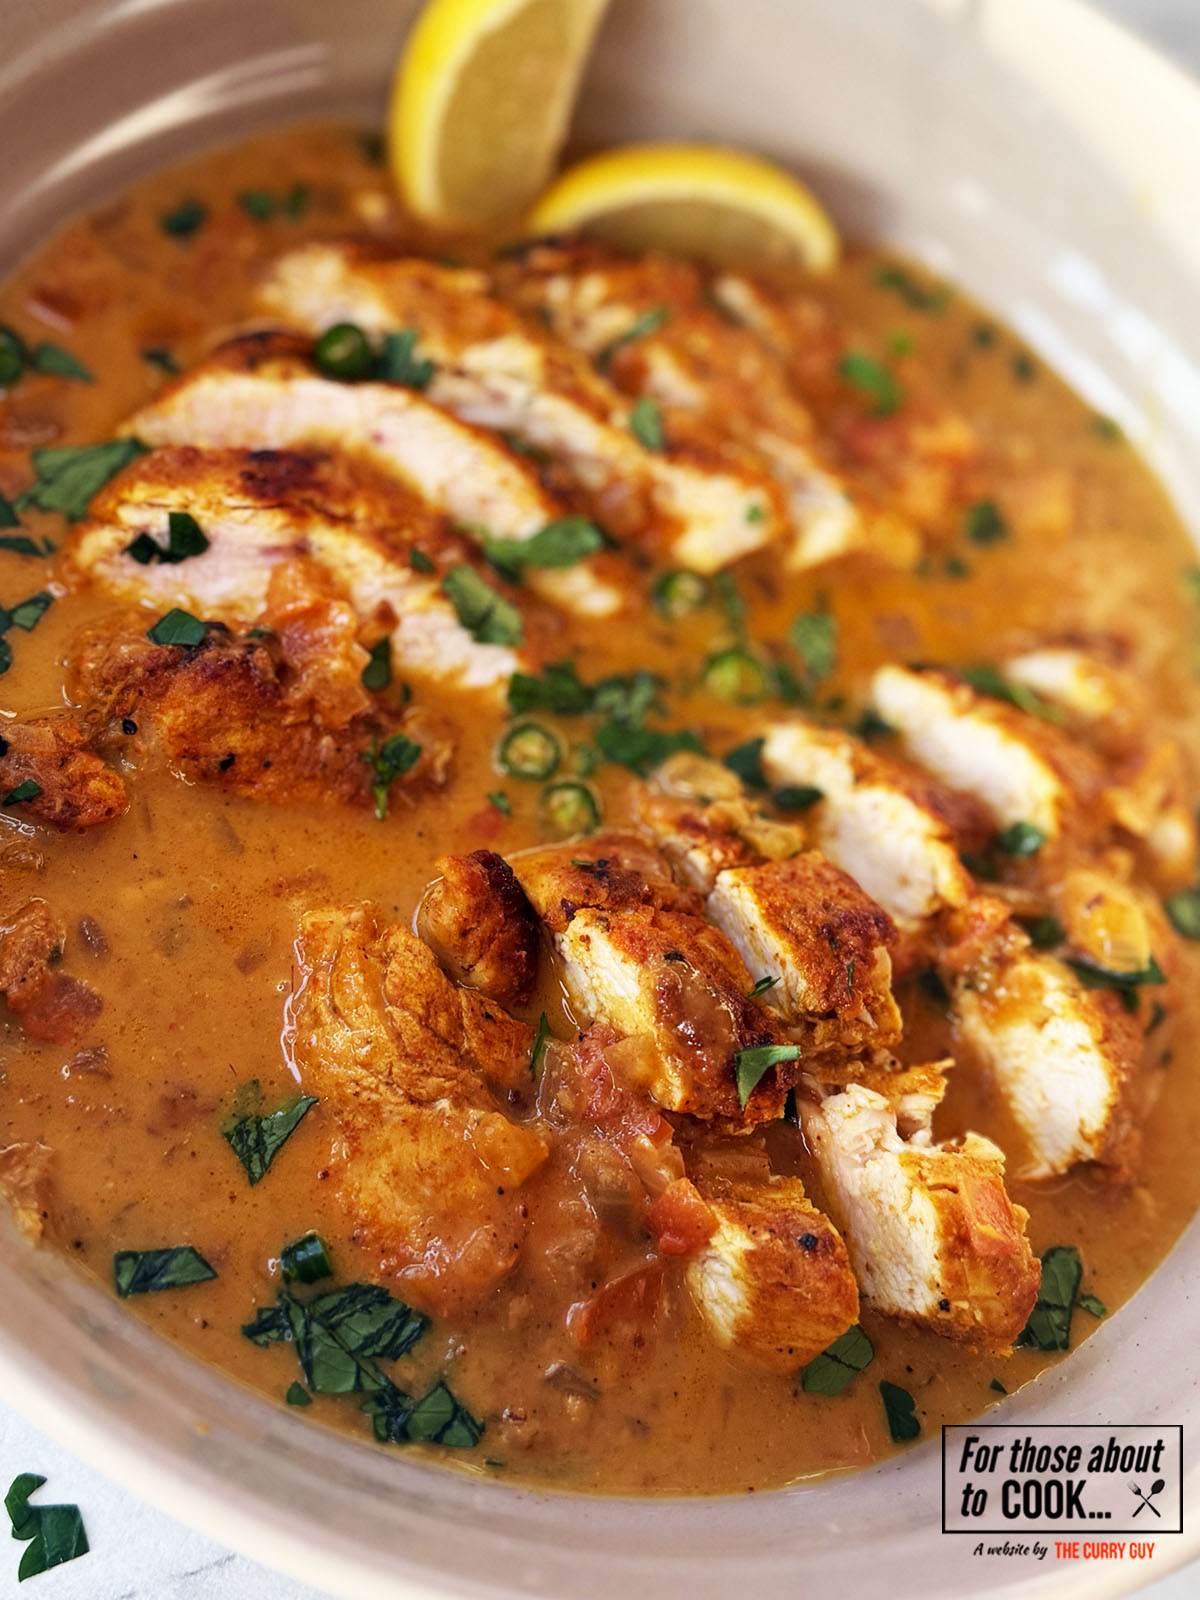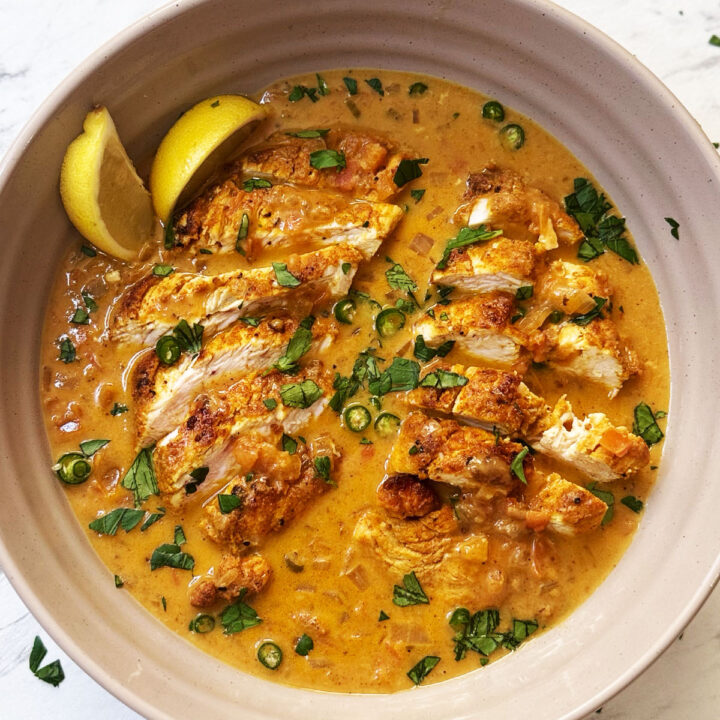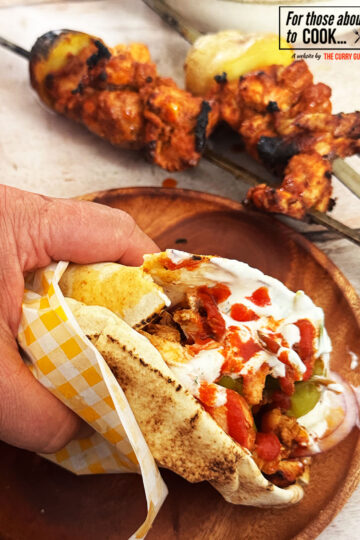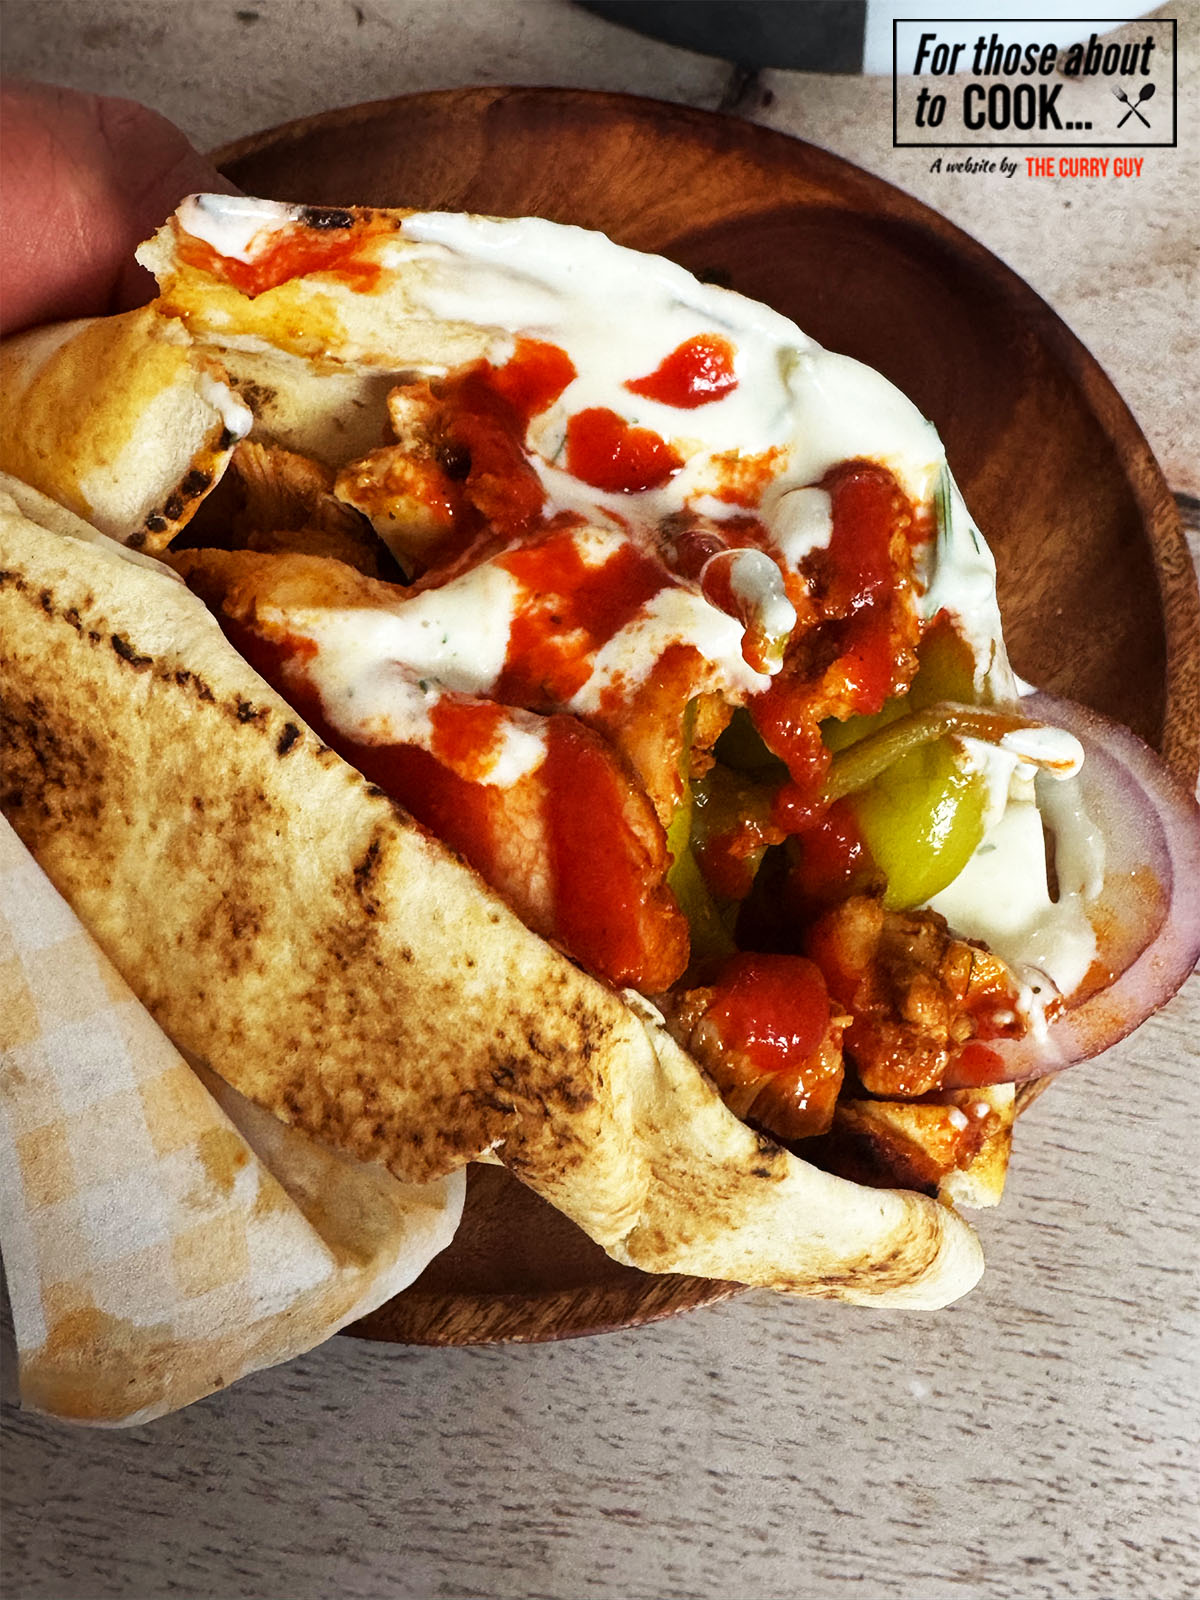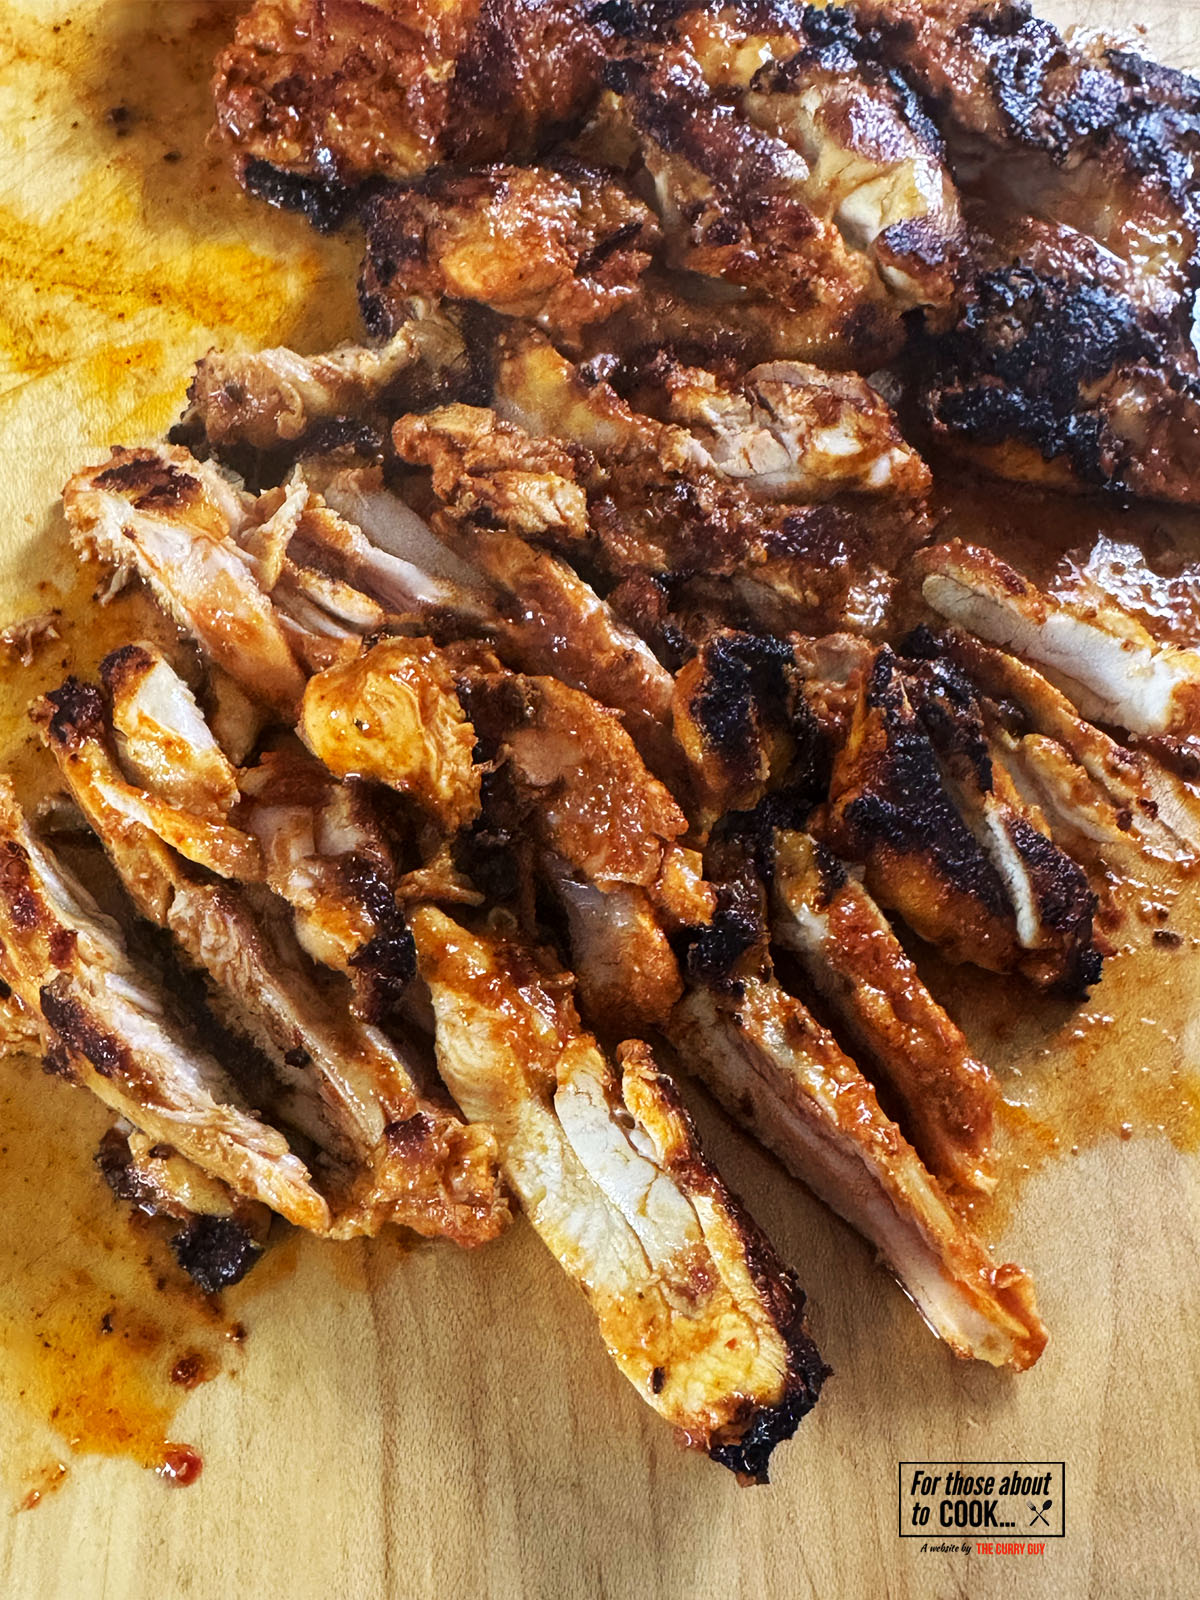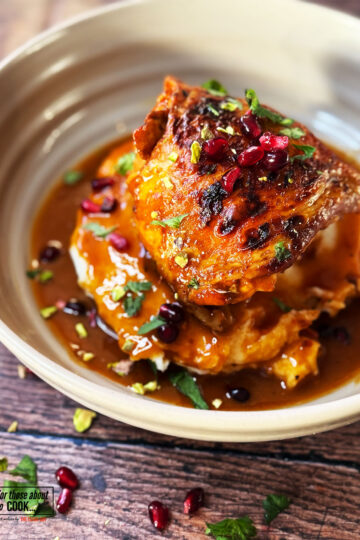
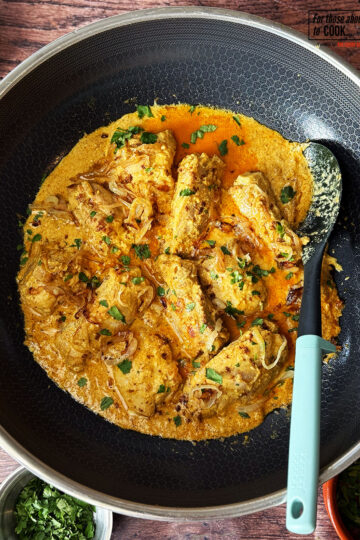
Golden, bright and a hint of spice! This Honey Harissa Chicken is a flavor sensation! Juicy, skin-on chicken thighs are fried until beautifully golden, then simmered in a glossy harissa sauce made with rich chicken stock, harissa paste and a squeeze of lemon. You have to give this recipe a try!

About This Honey Harissa Chicken Recipe
If you like simple recipes with huge flavour, this Honey Harissa Chicken is one you’ll cook again and again. I use skin-on chicken thighs because they stay juicy and take on the harissa flavour really well. The dish is so simple! Brown the chicken, stir together a quick harissa sauce with chicken stock, and let everything bubble down until the thighs are coated in a glossy, sweet and slightly fiery glaze.
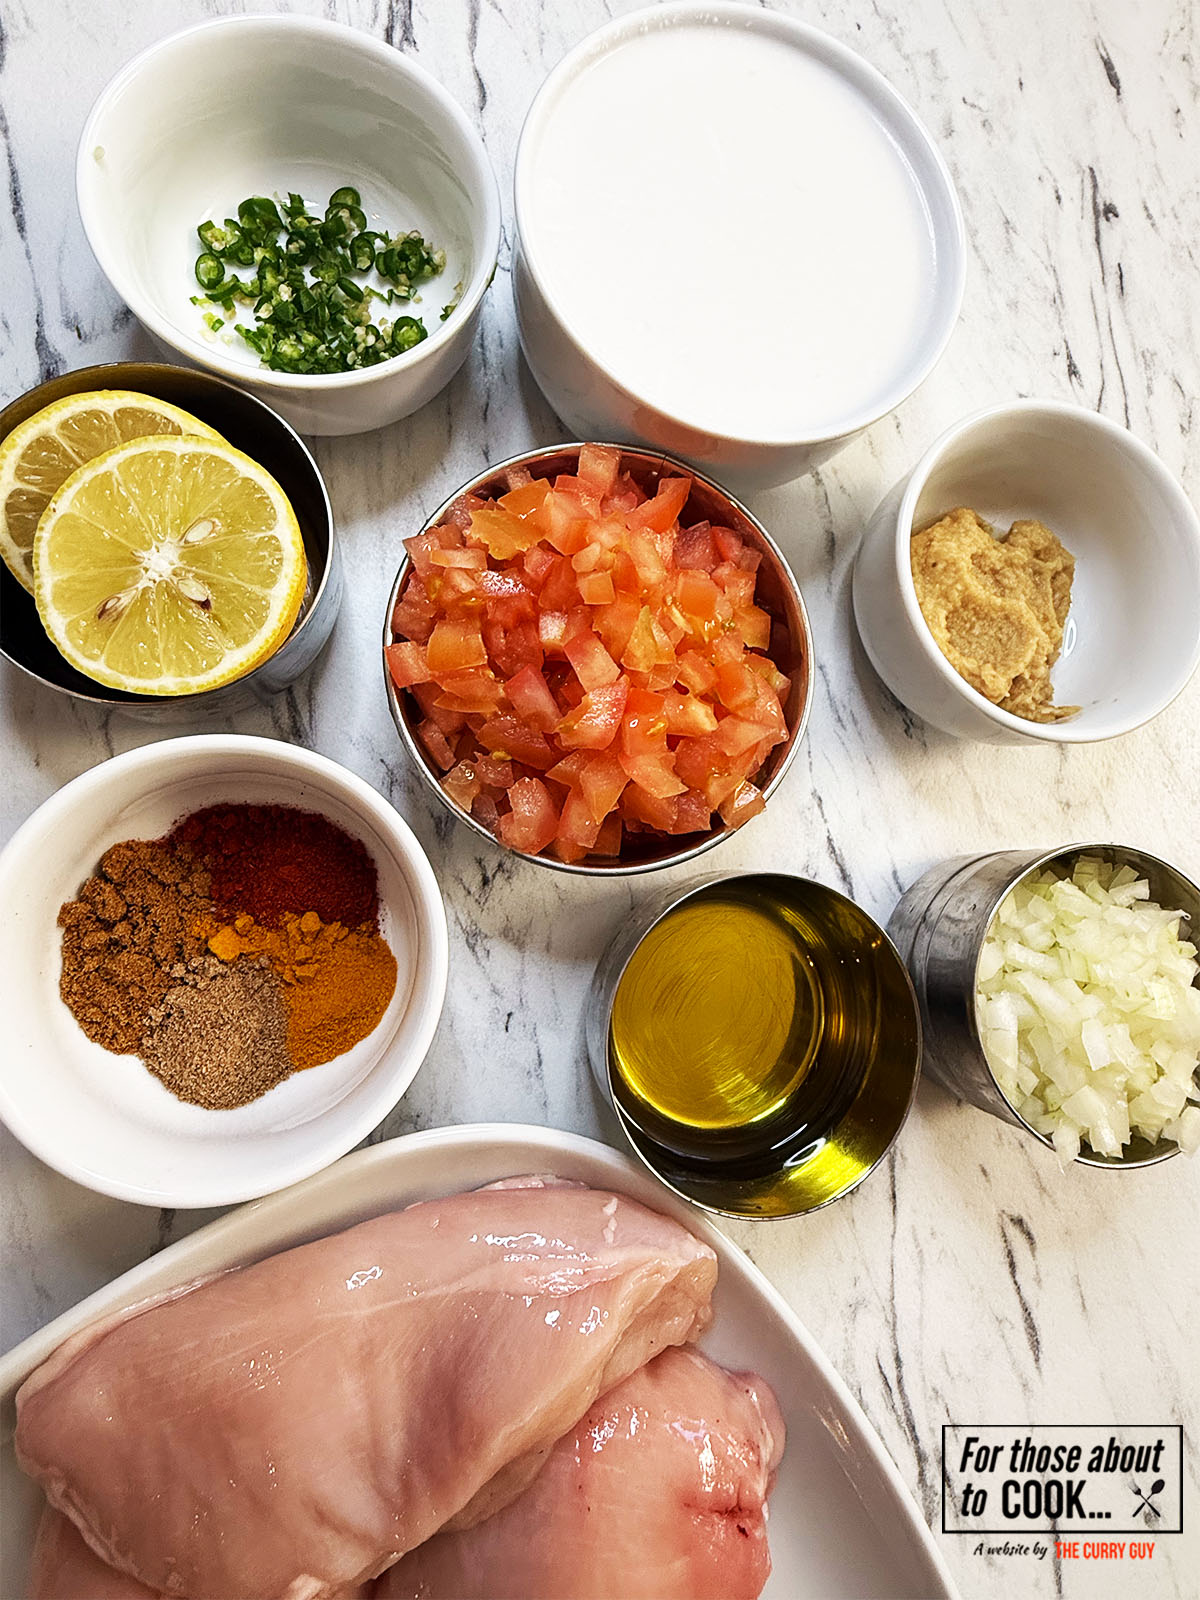
Ingredients
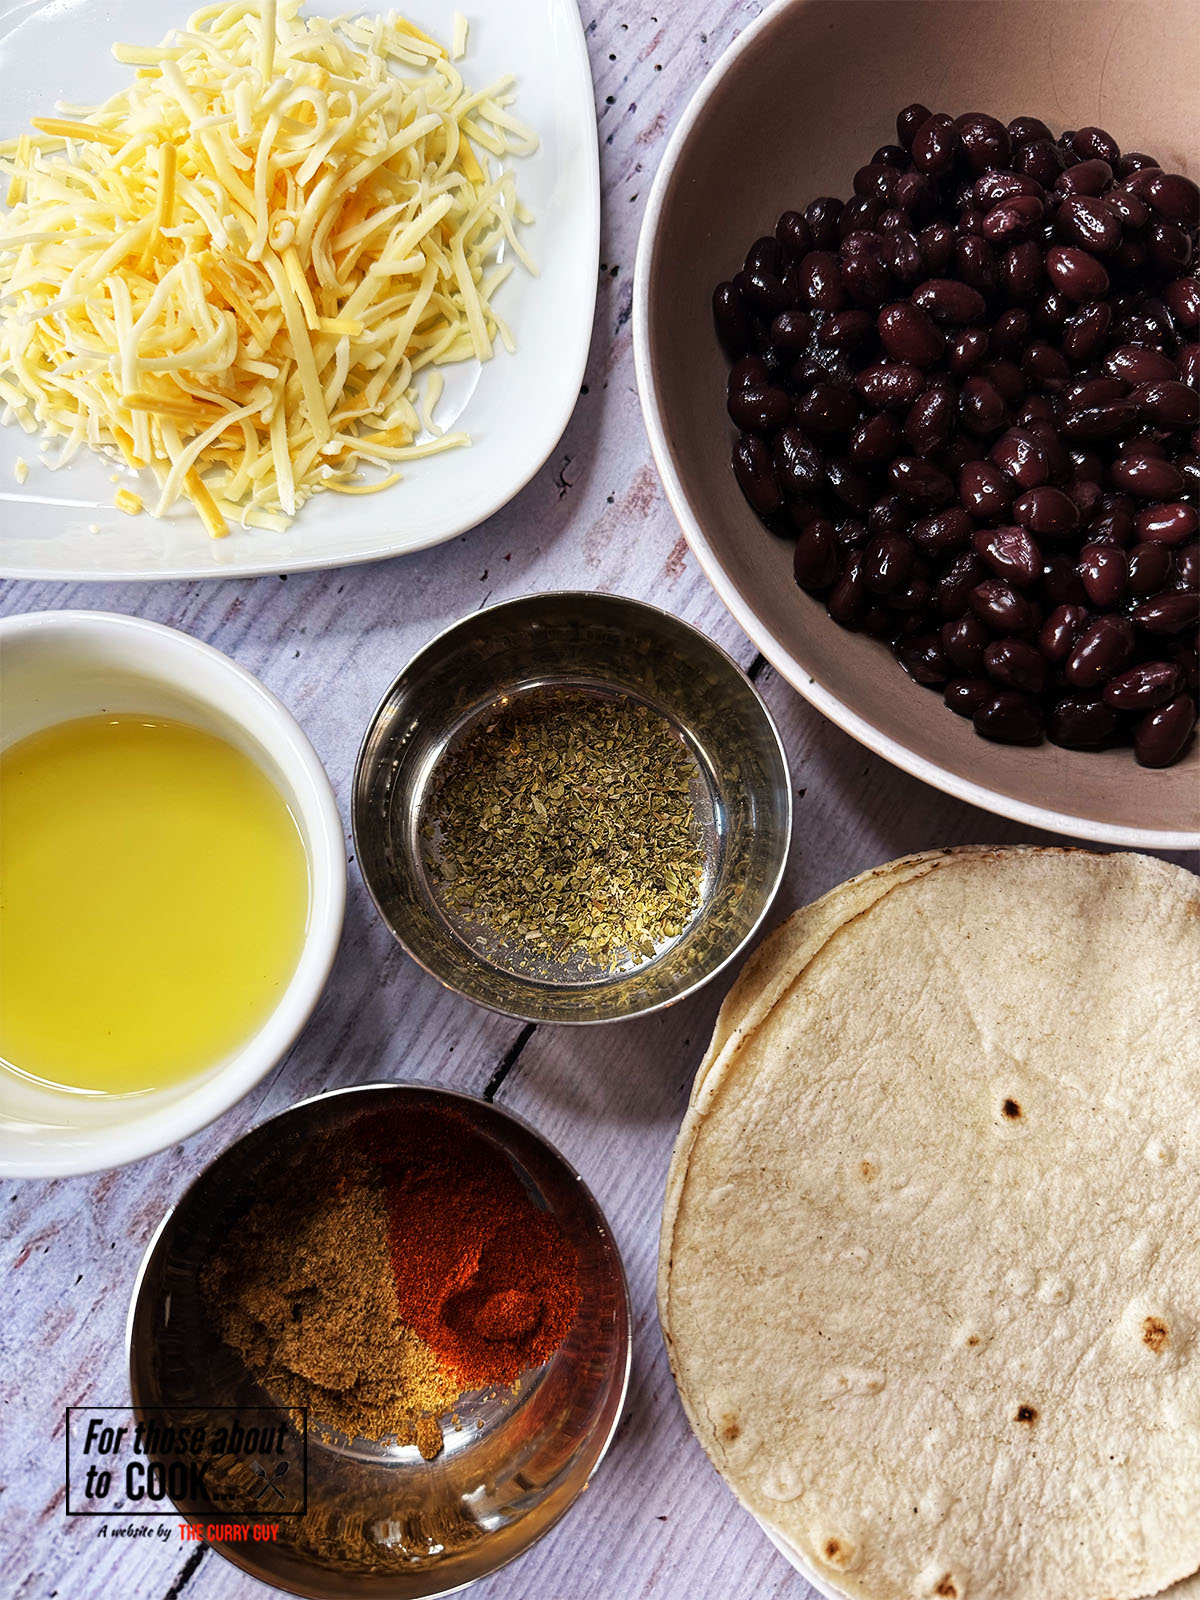
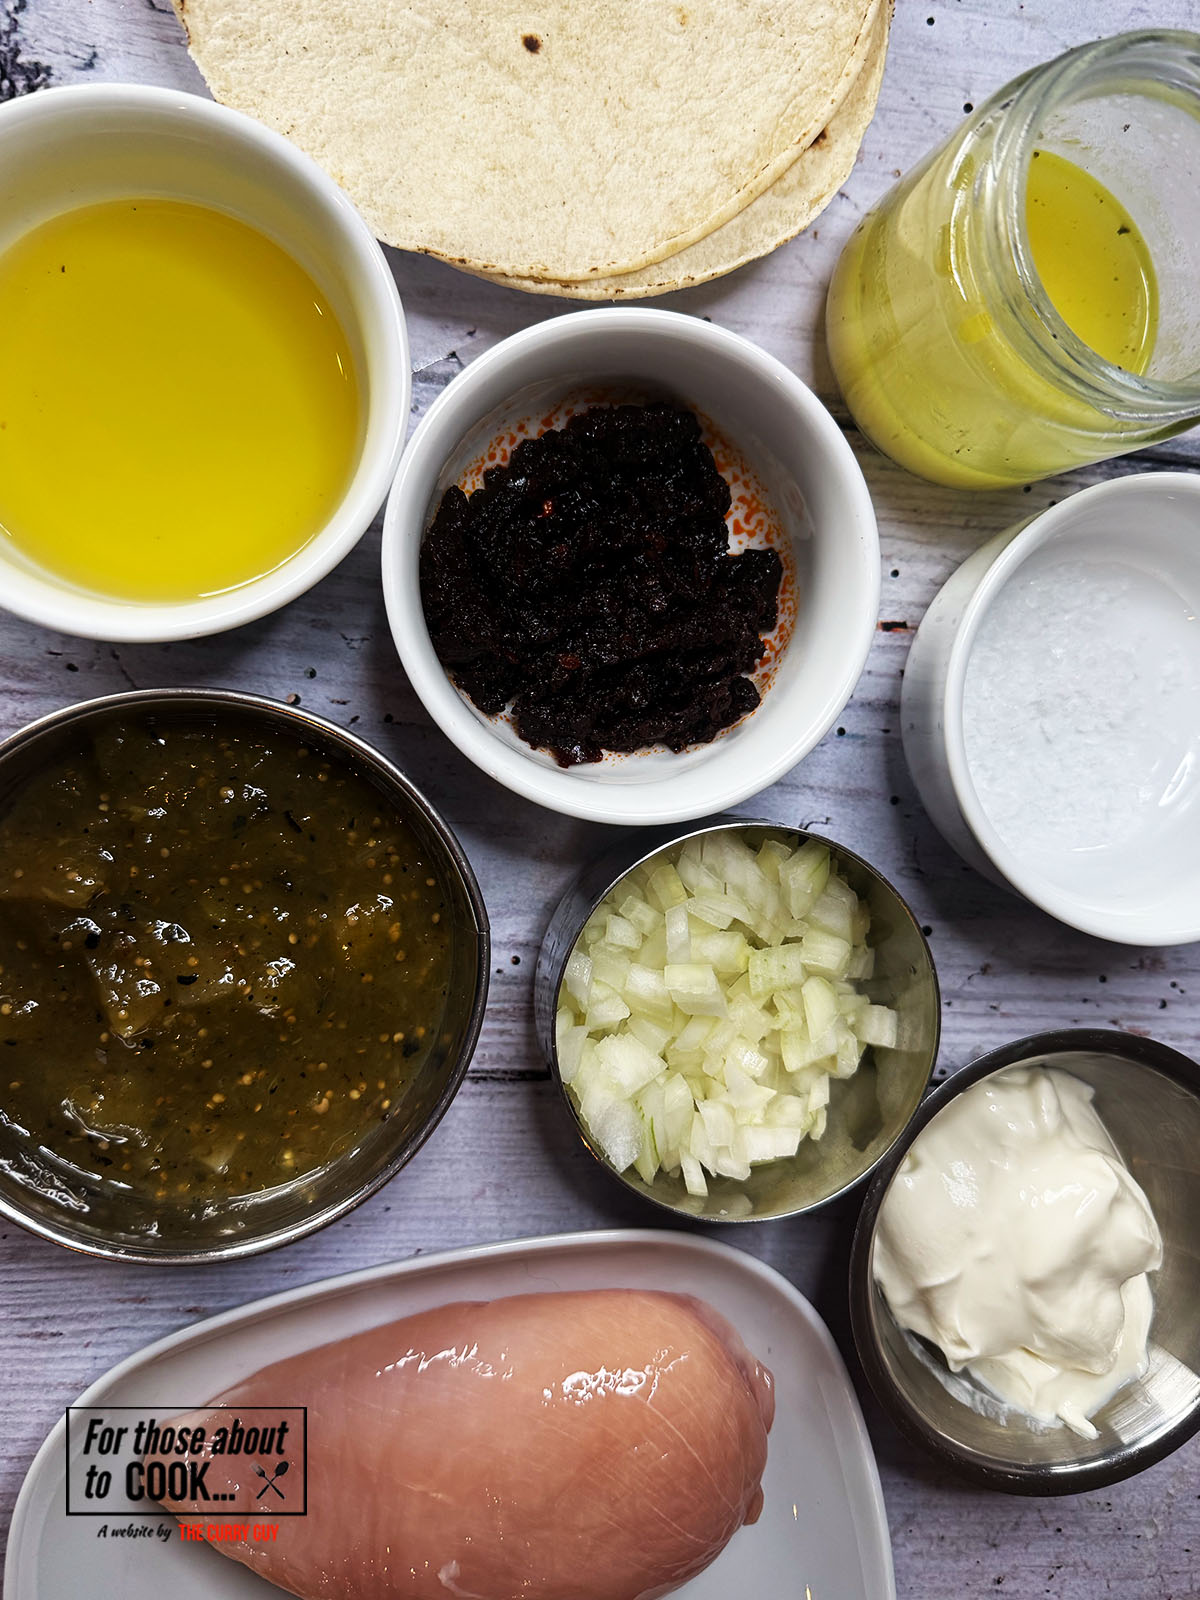
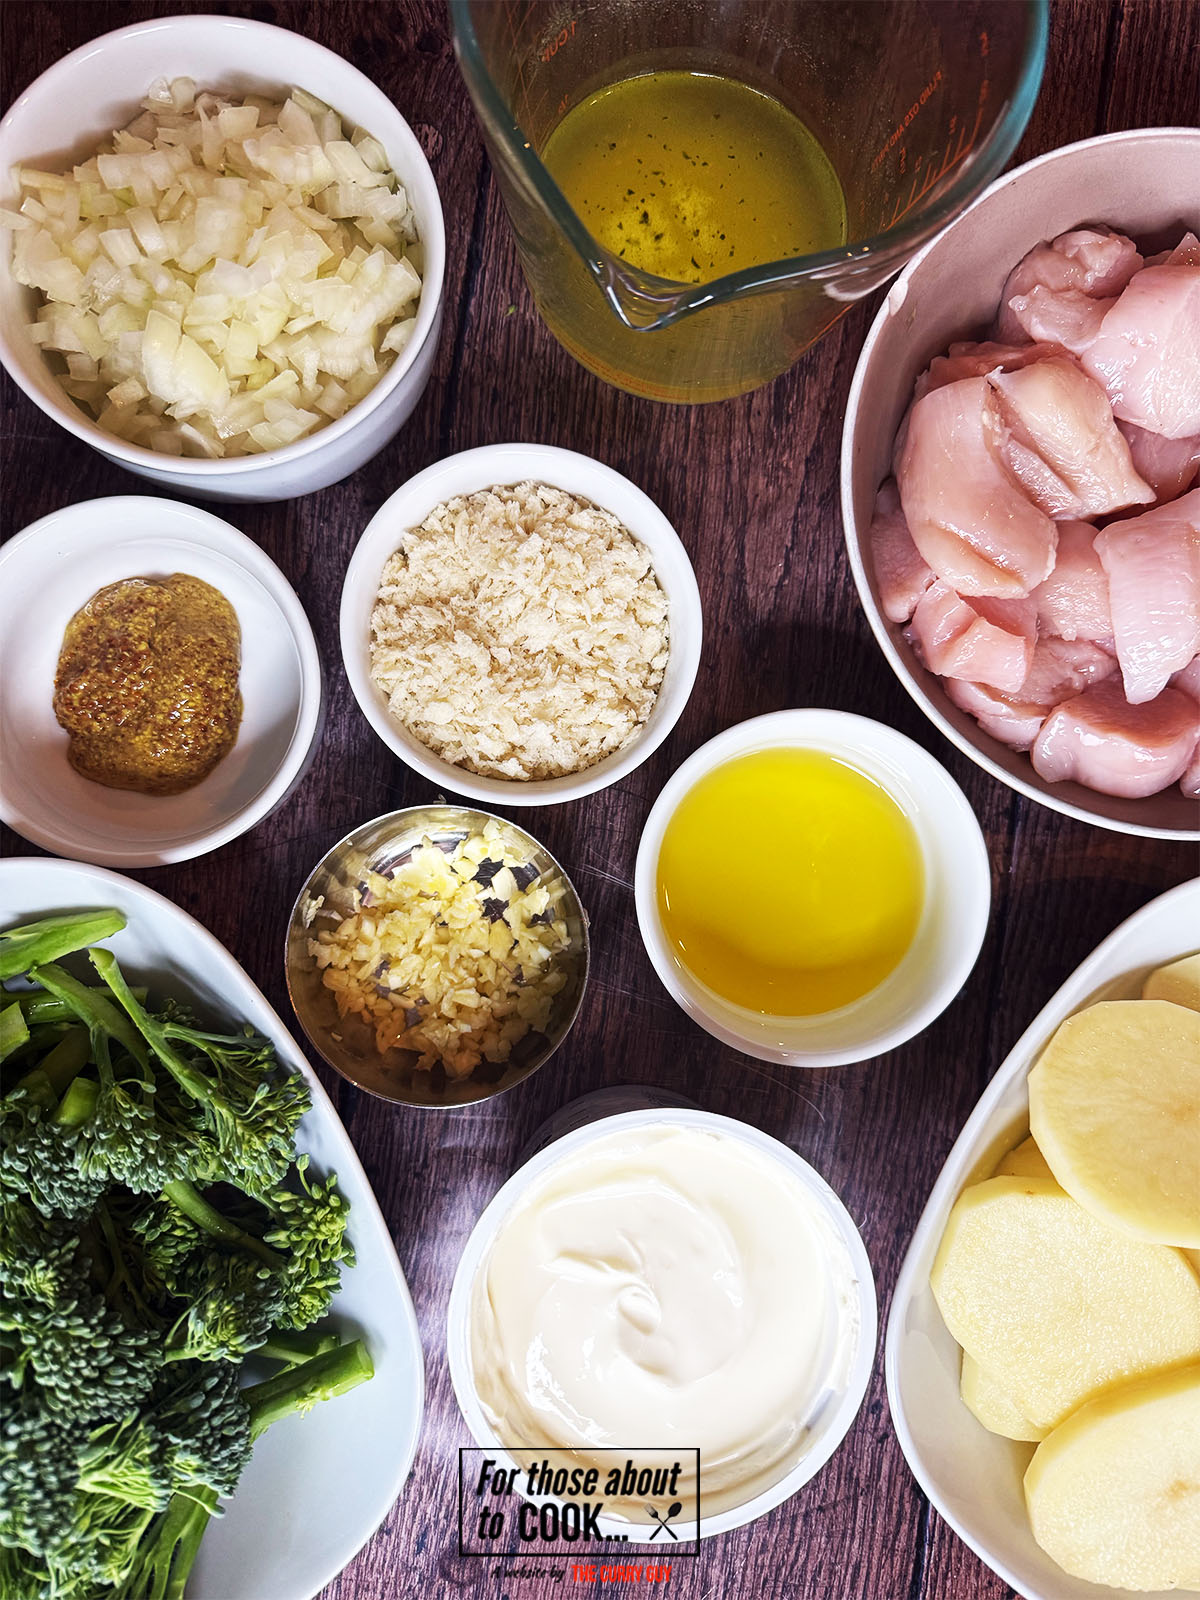
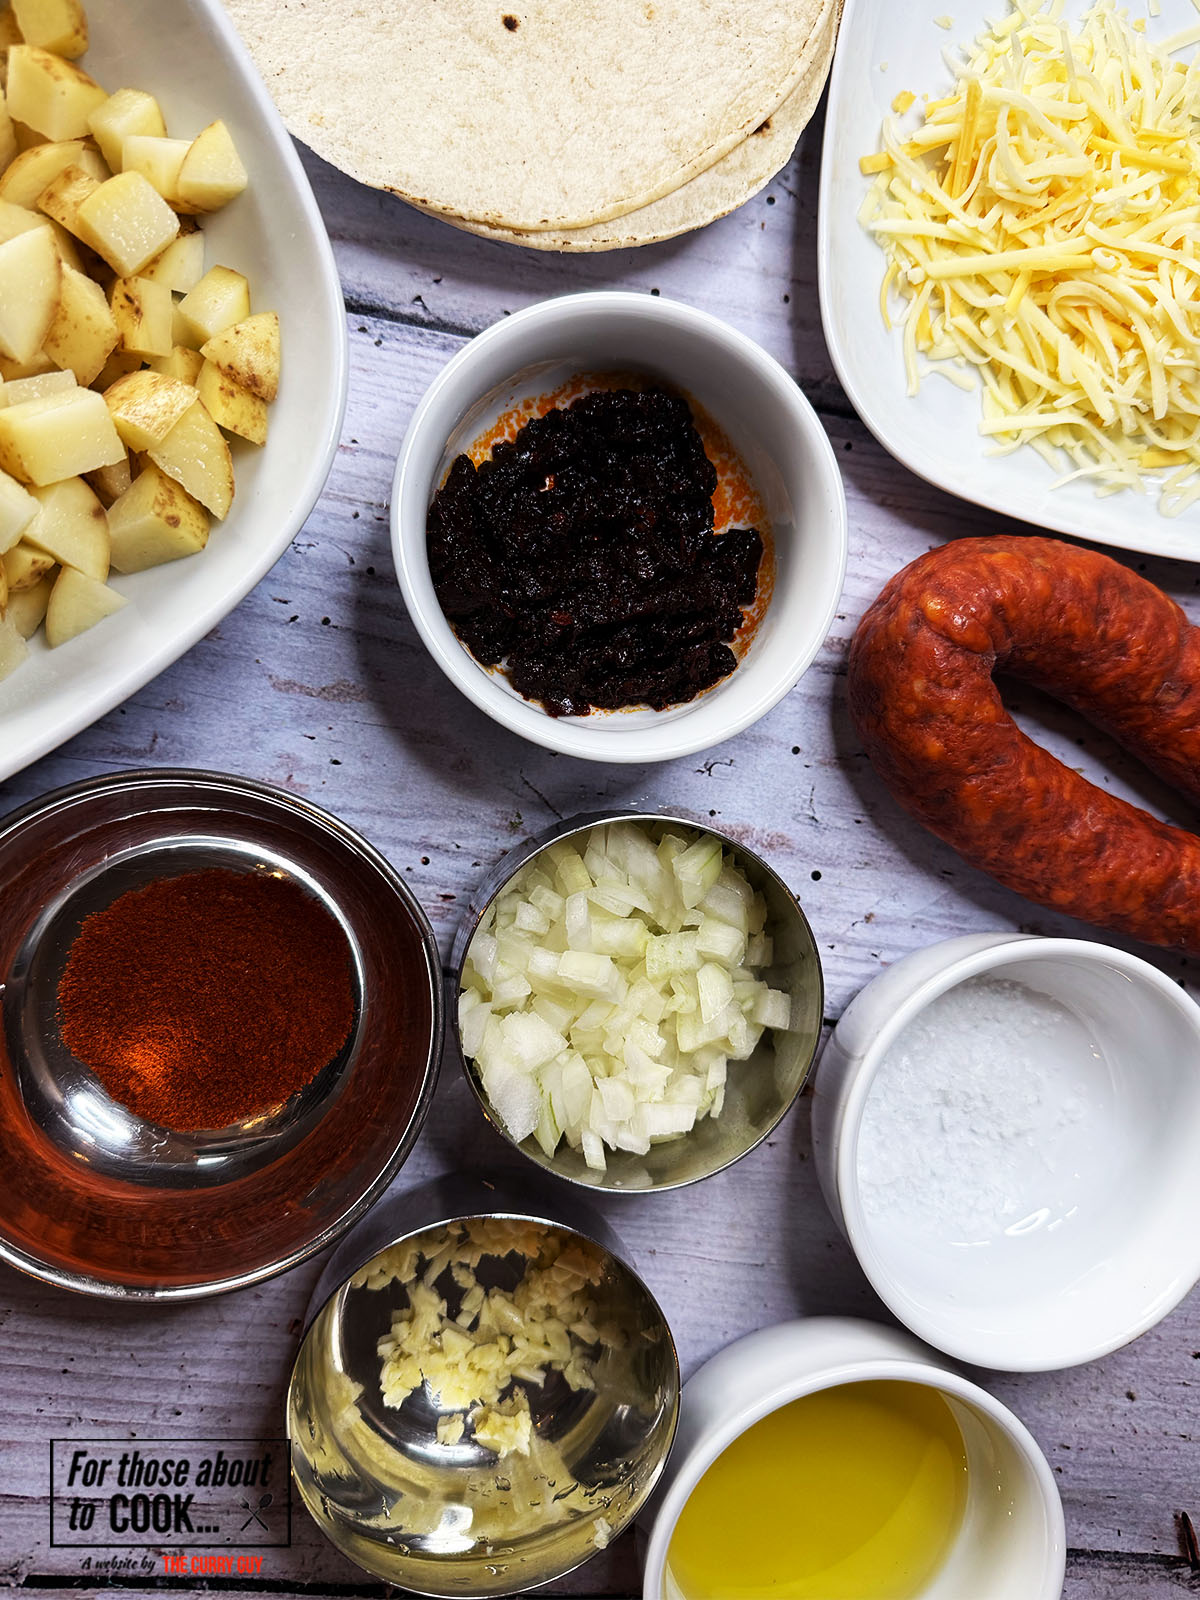
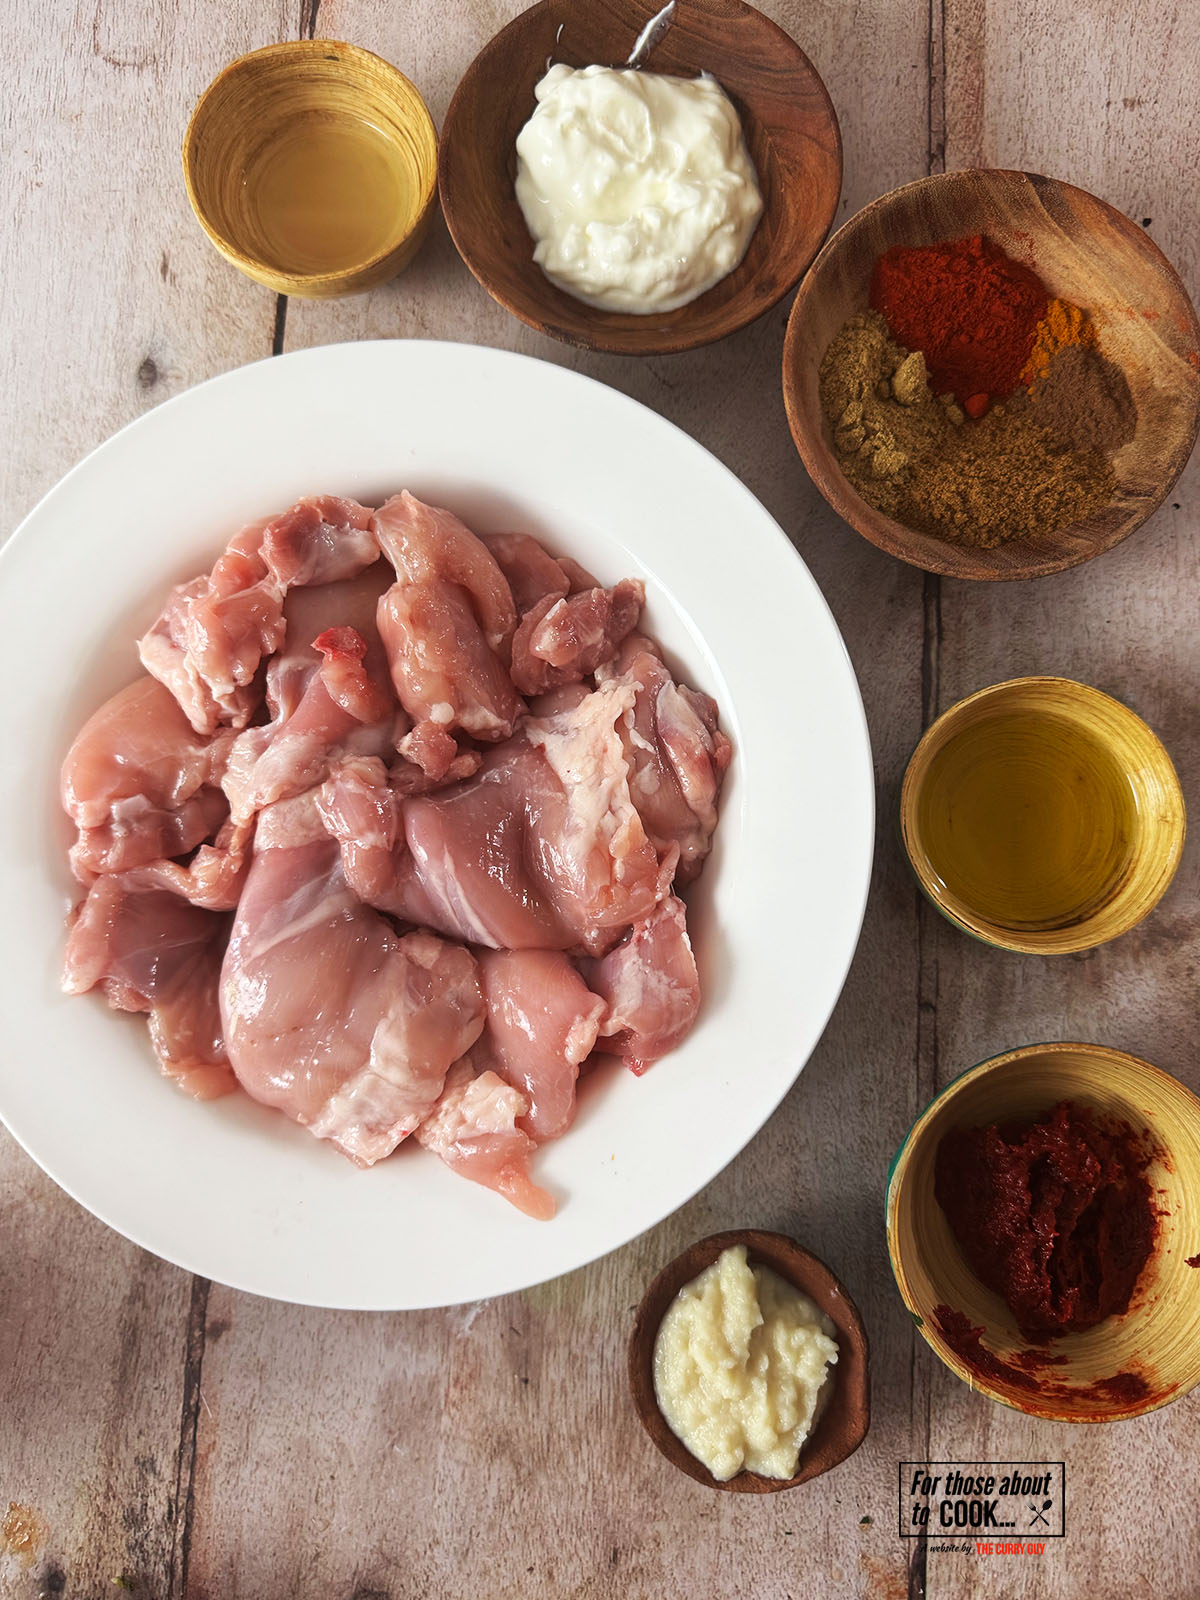
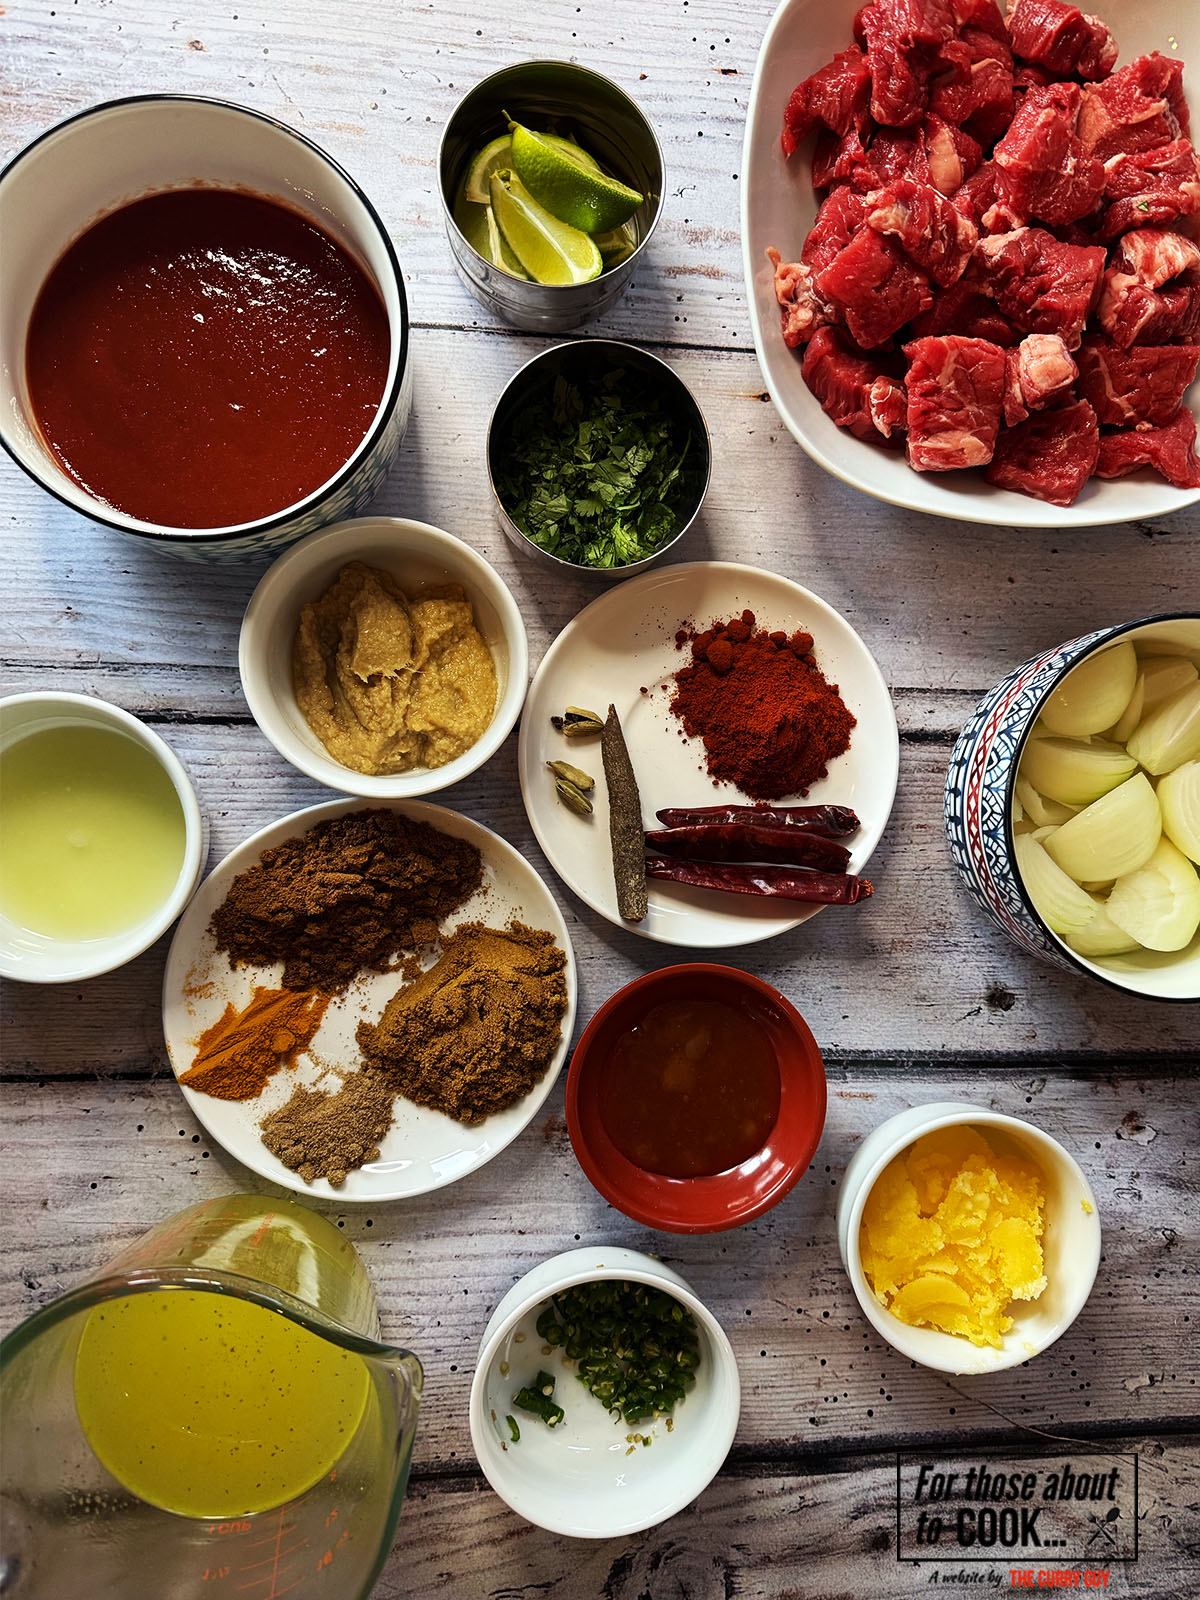
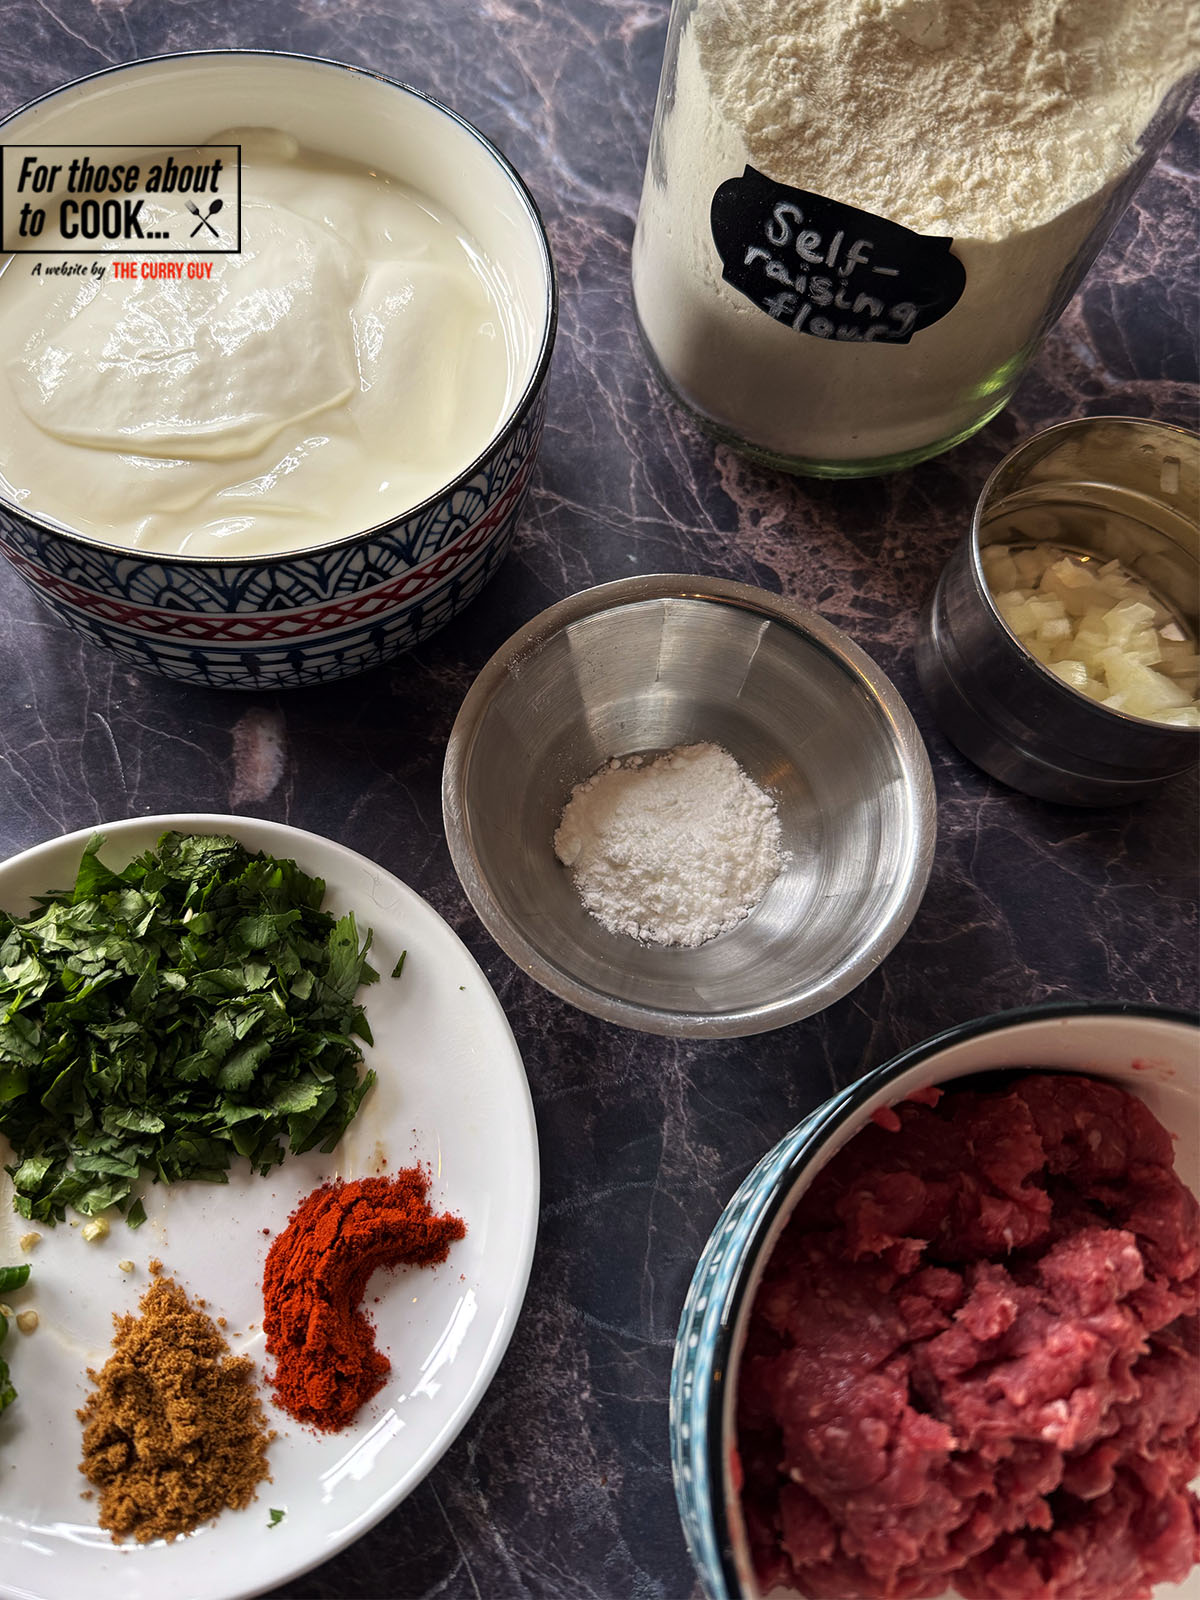
Using the freshest ingredients in this Honey Harissa Chicken recipe makes all the difference. Below, you will see the ingredients laid out along with.a list. Exact measurements and quantities can be found in the recipe card at the bottom of this page. Make sure to have everything ready and prepared before you start cooking for best results.
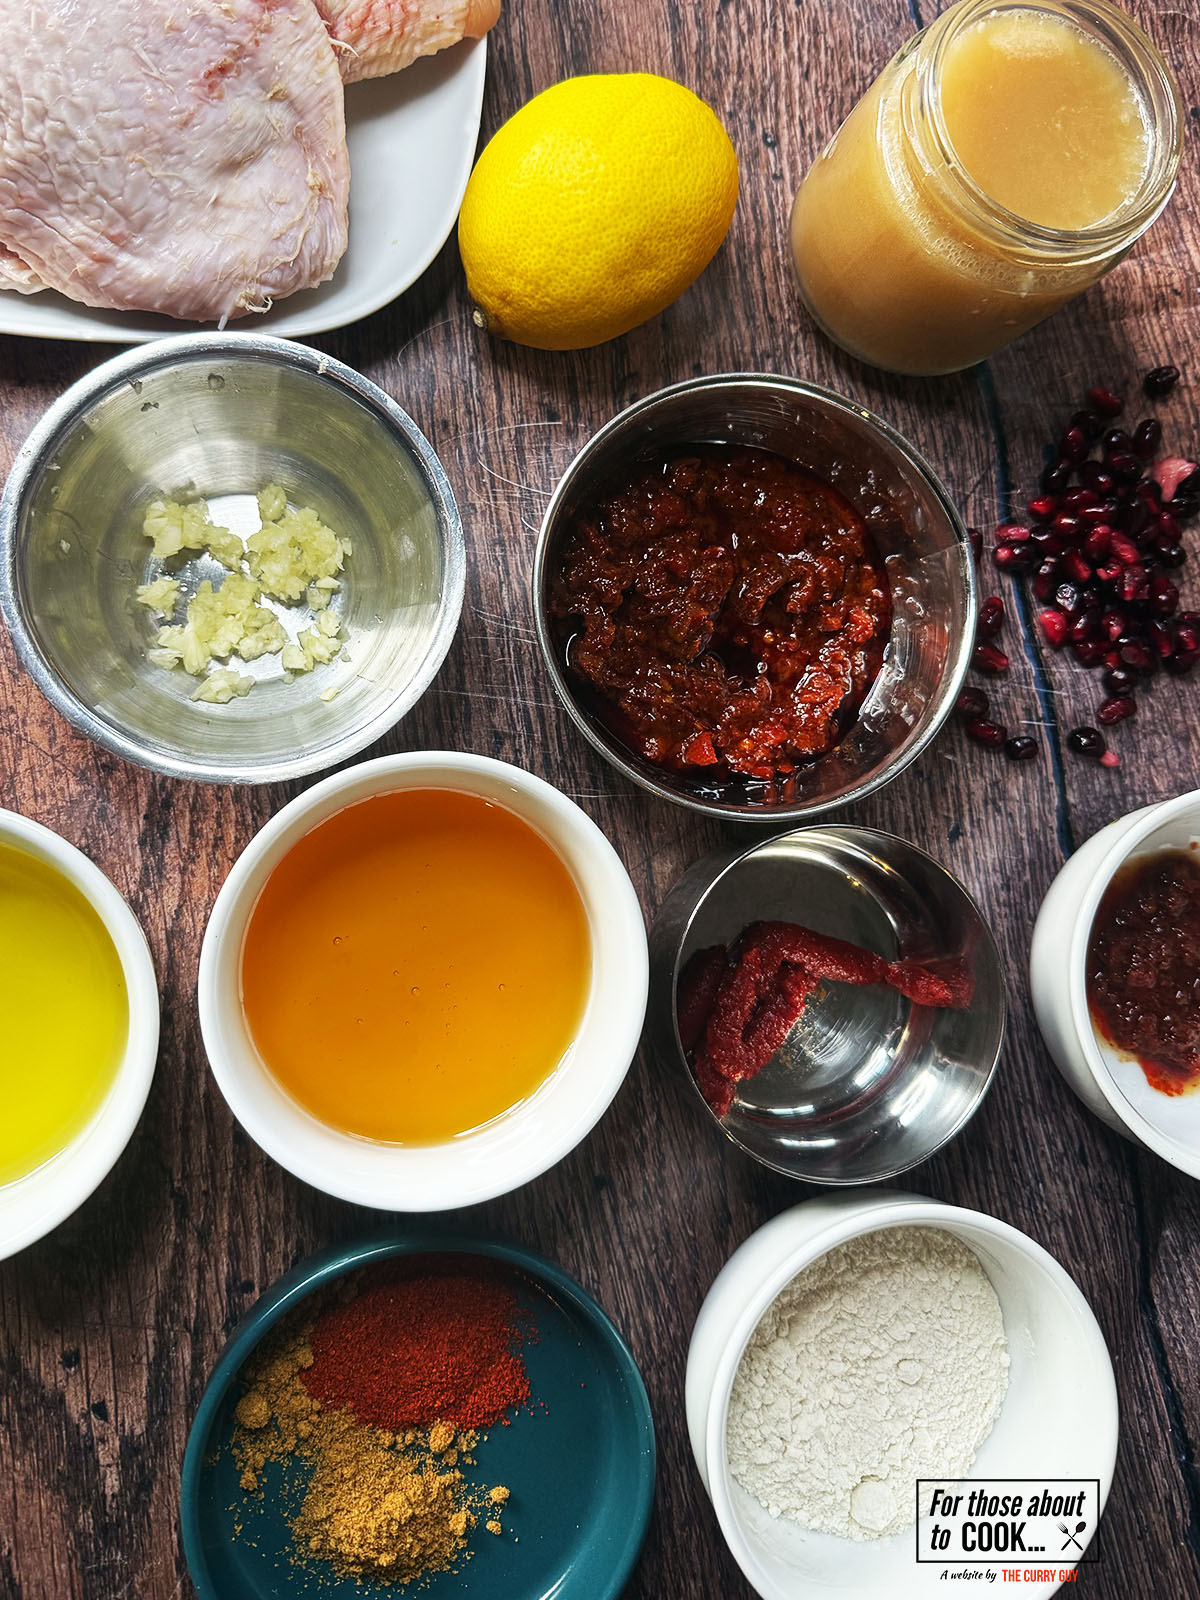
See recipe card for quantities.
- FOR THE CHICKEN:
- Skin on chicken thighs
- Olive oil
- Harissa paste
- Tomato puree
- Honey
- Lemon juice
- Coriander powder
- Paprika
- Garlic cloves (minced)
- Salt and pepper to taste
- FOR THE SAUCE:
- Plain flour
- Chicken Stock
- Harissa paste
- Lemon juice
See recipe card for quantities.
Instructions
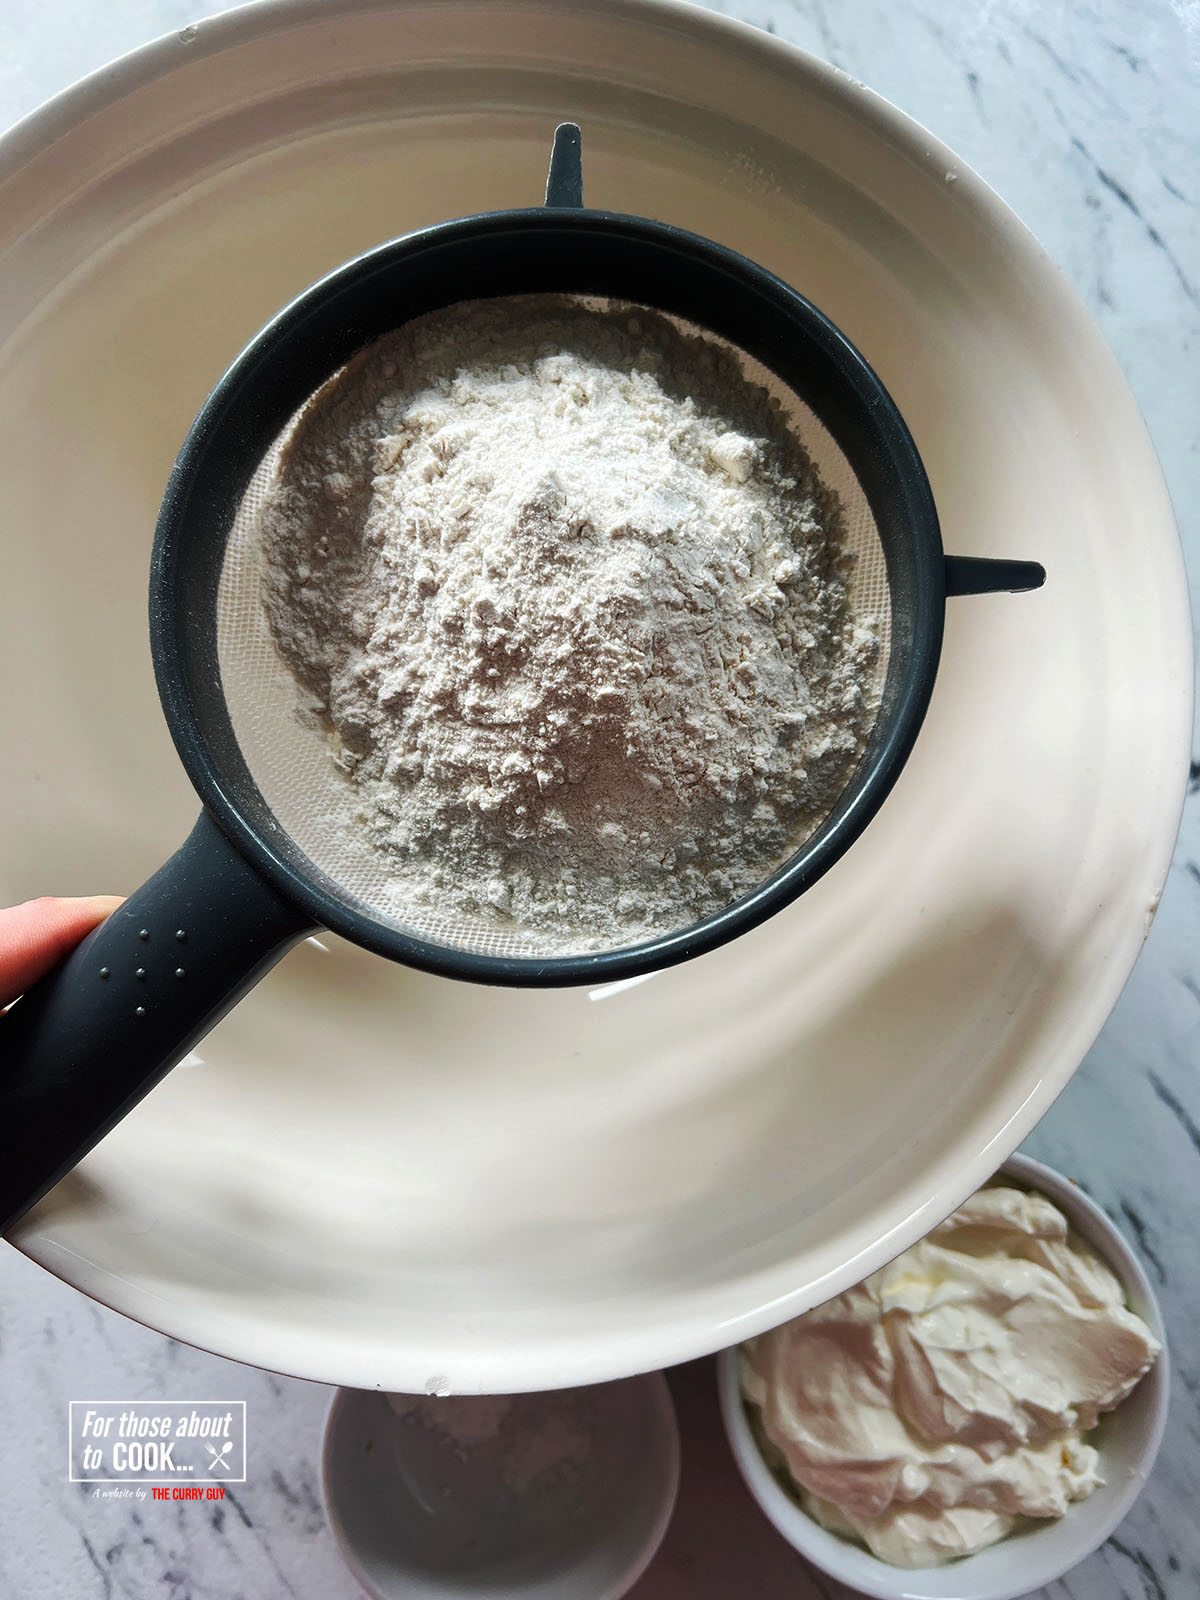
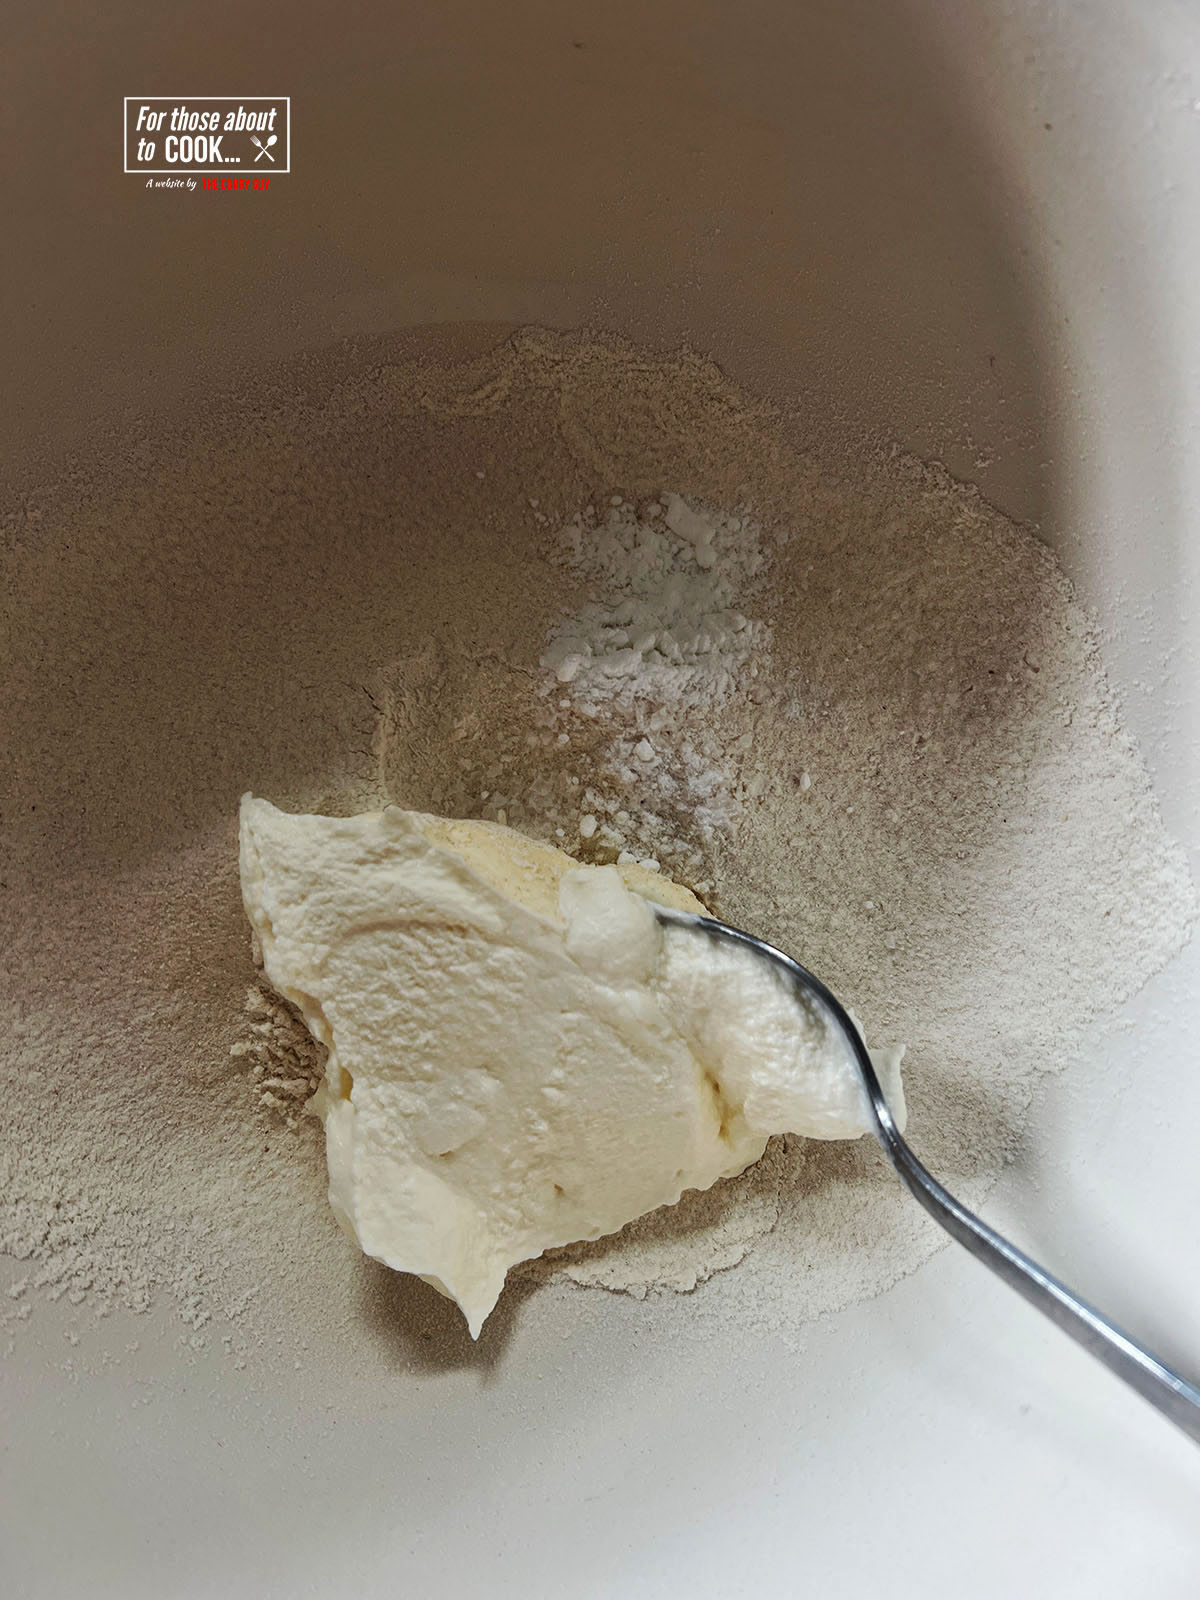
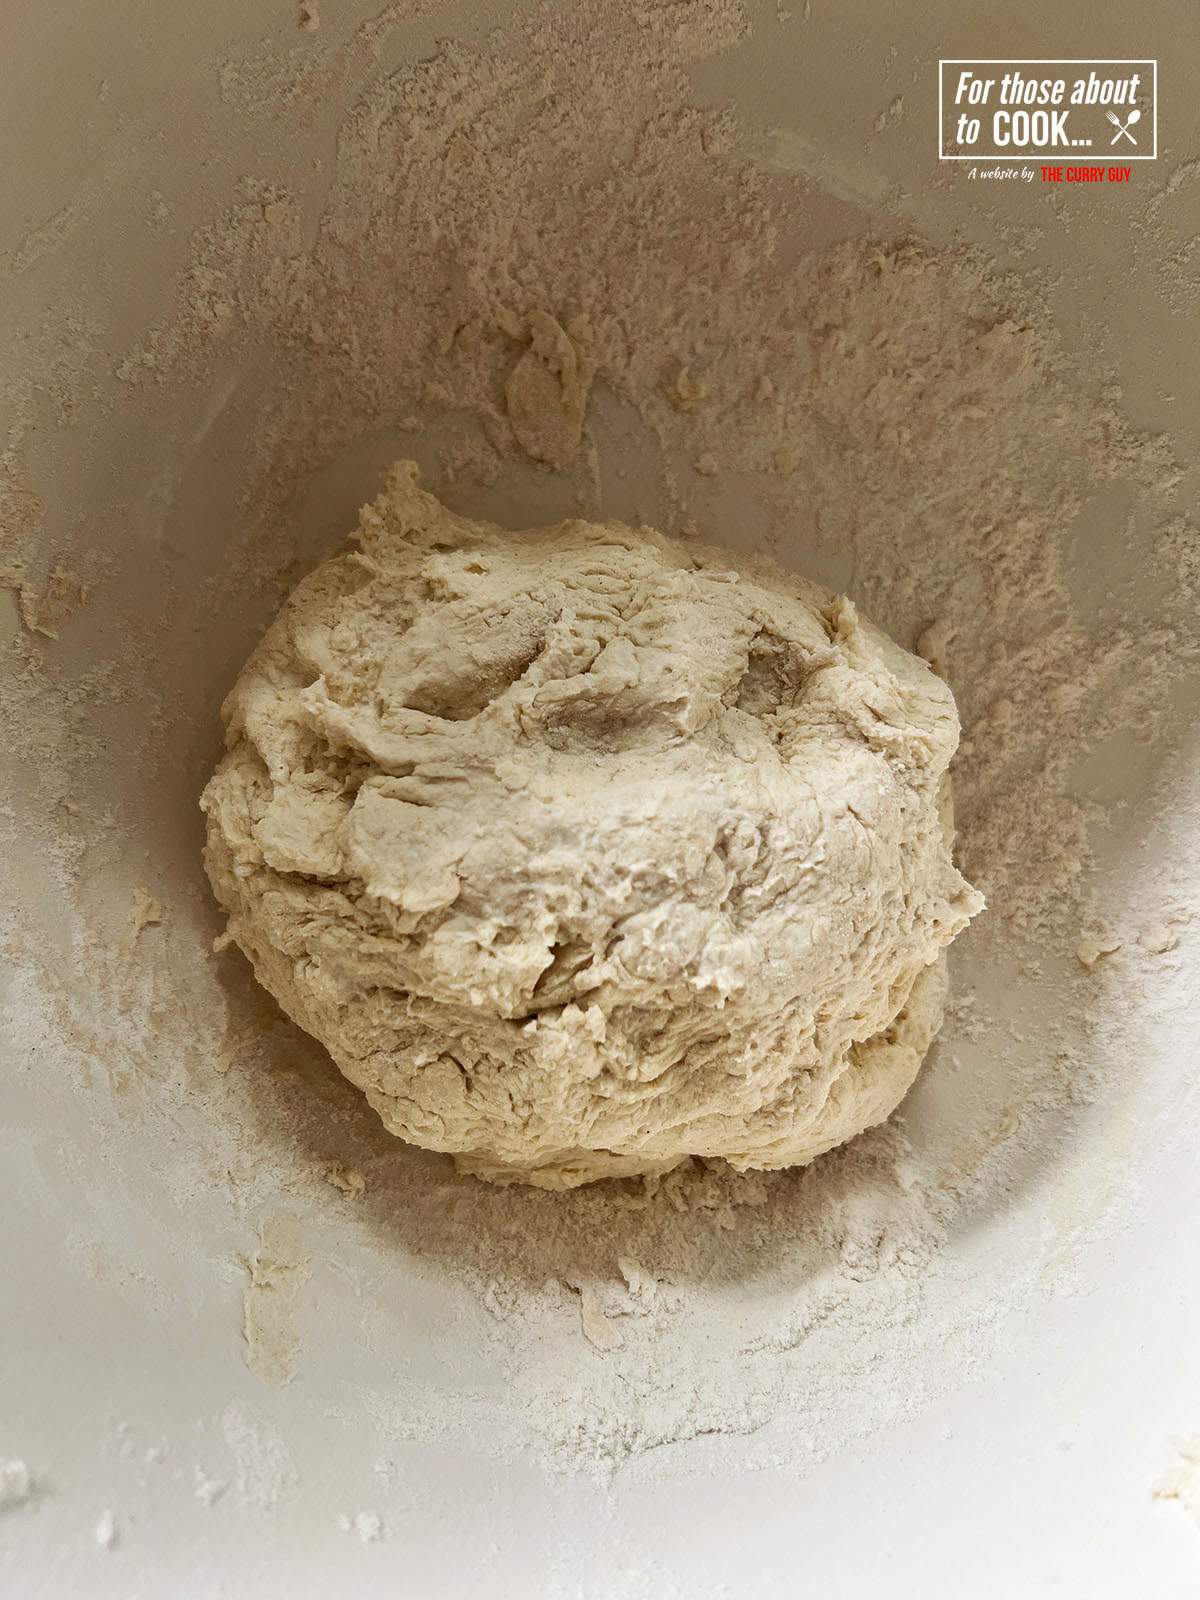
You will find photographs of each step below, along with a full layout including the ingredients in the recipe card. Use whichever format works best for you. These steps are clear and easy to follow, so you can cook along with confidence.
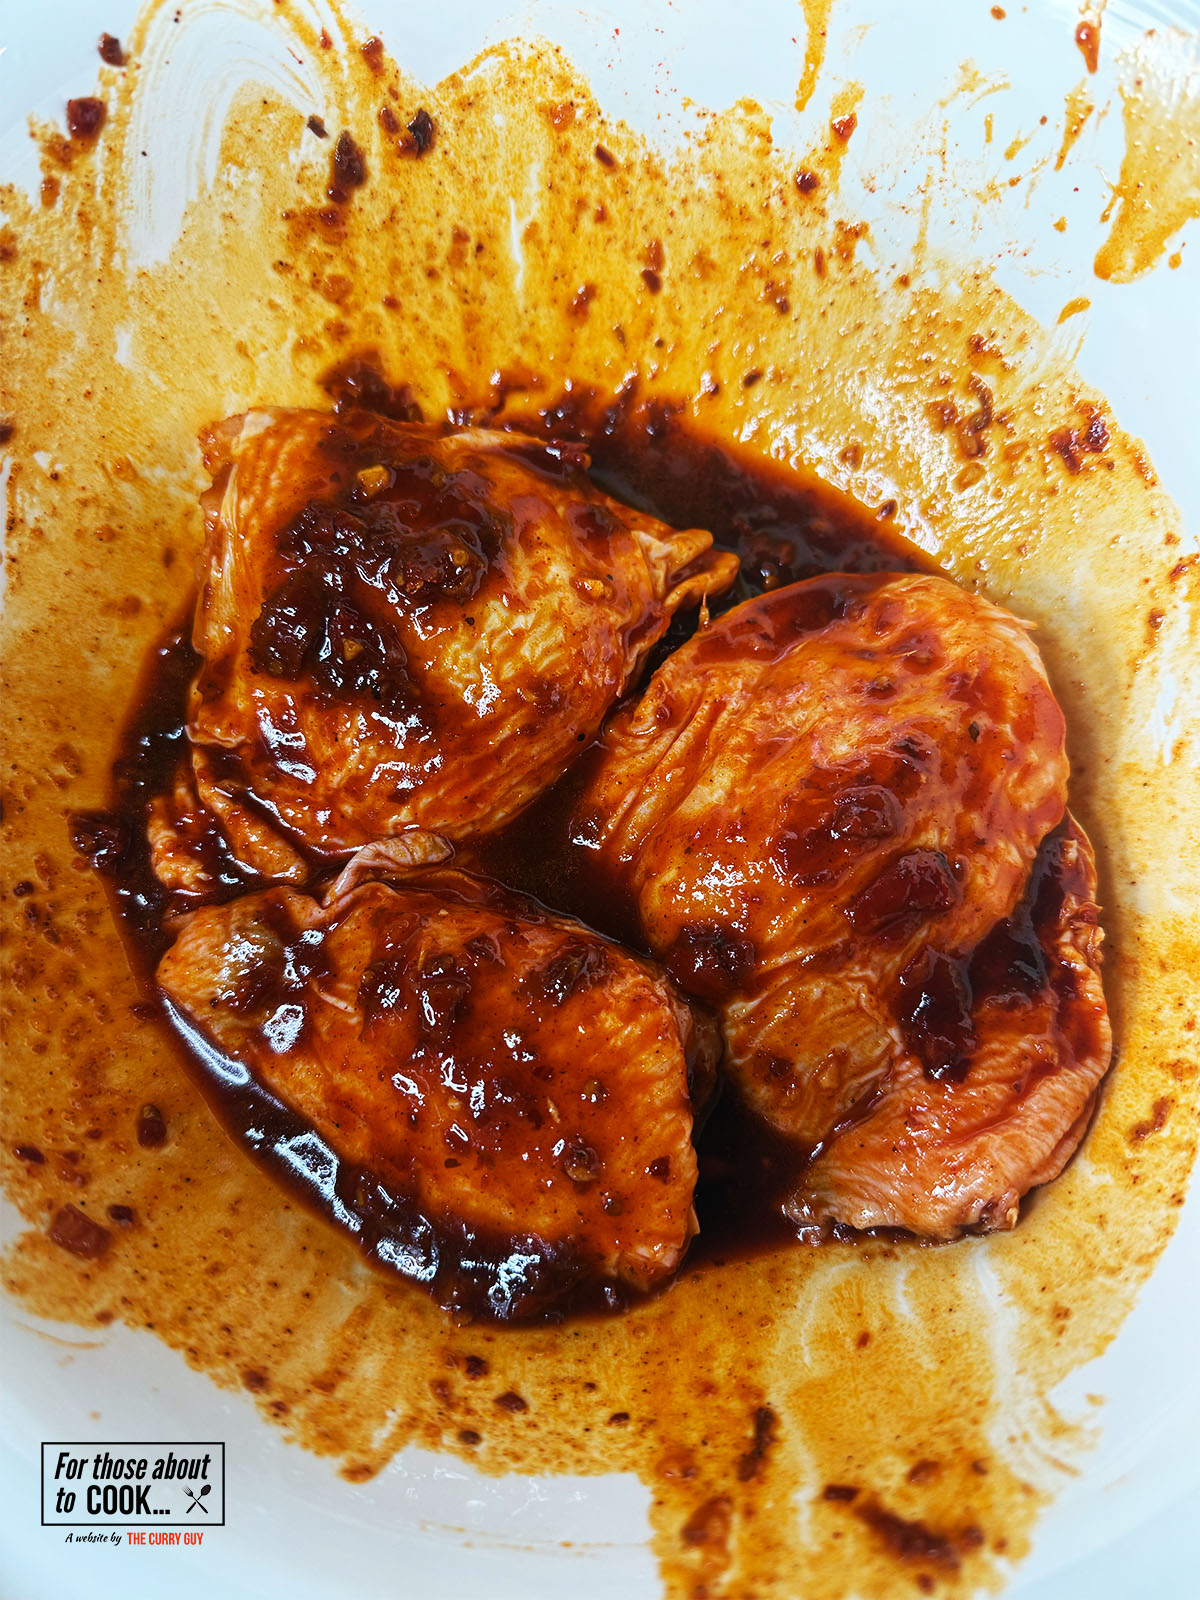
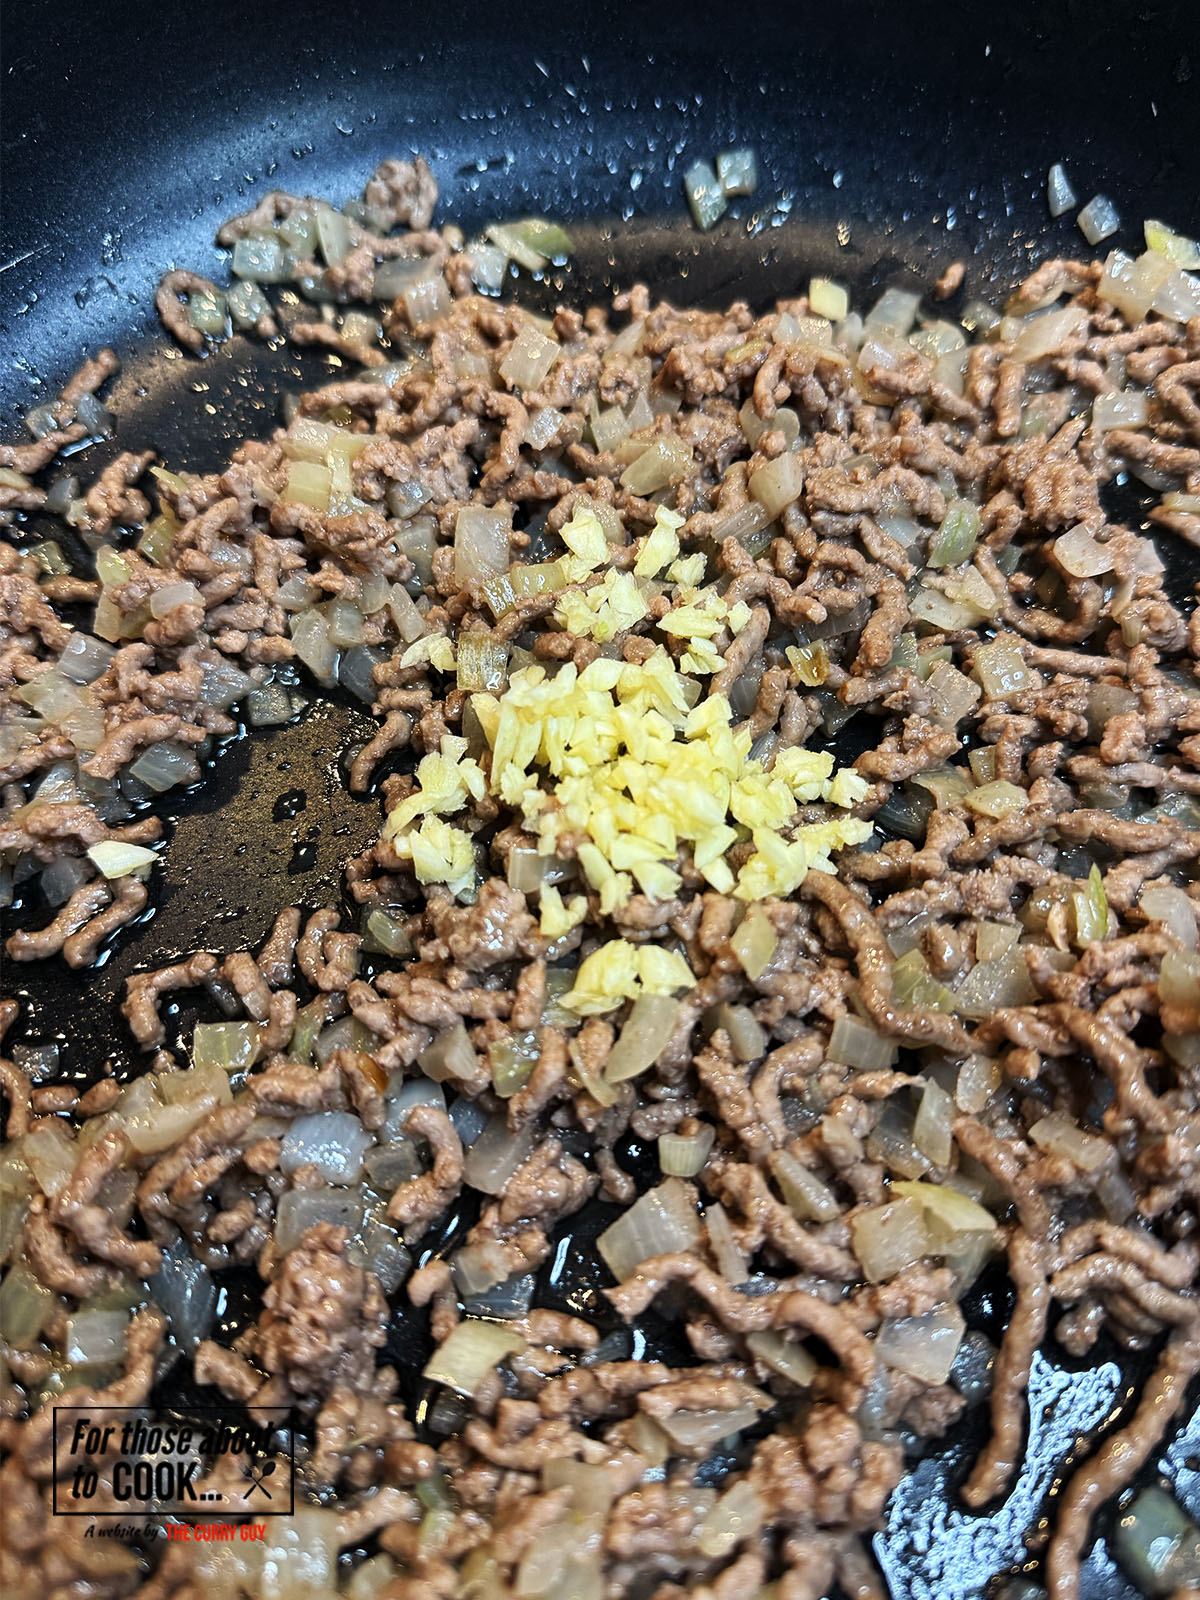
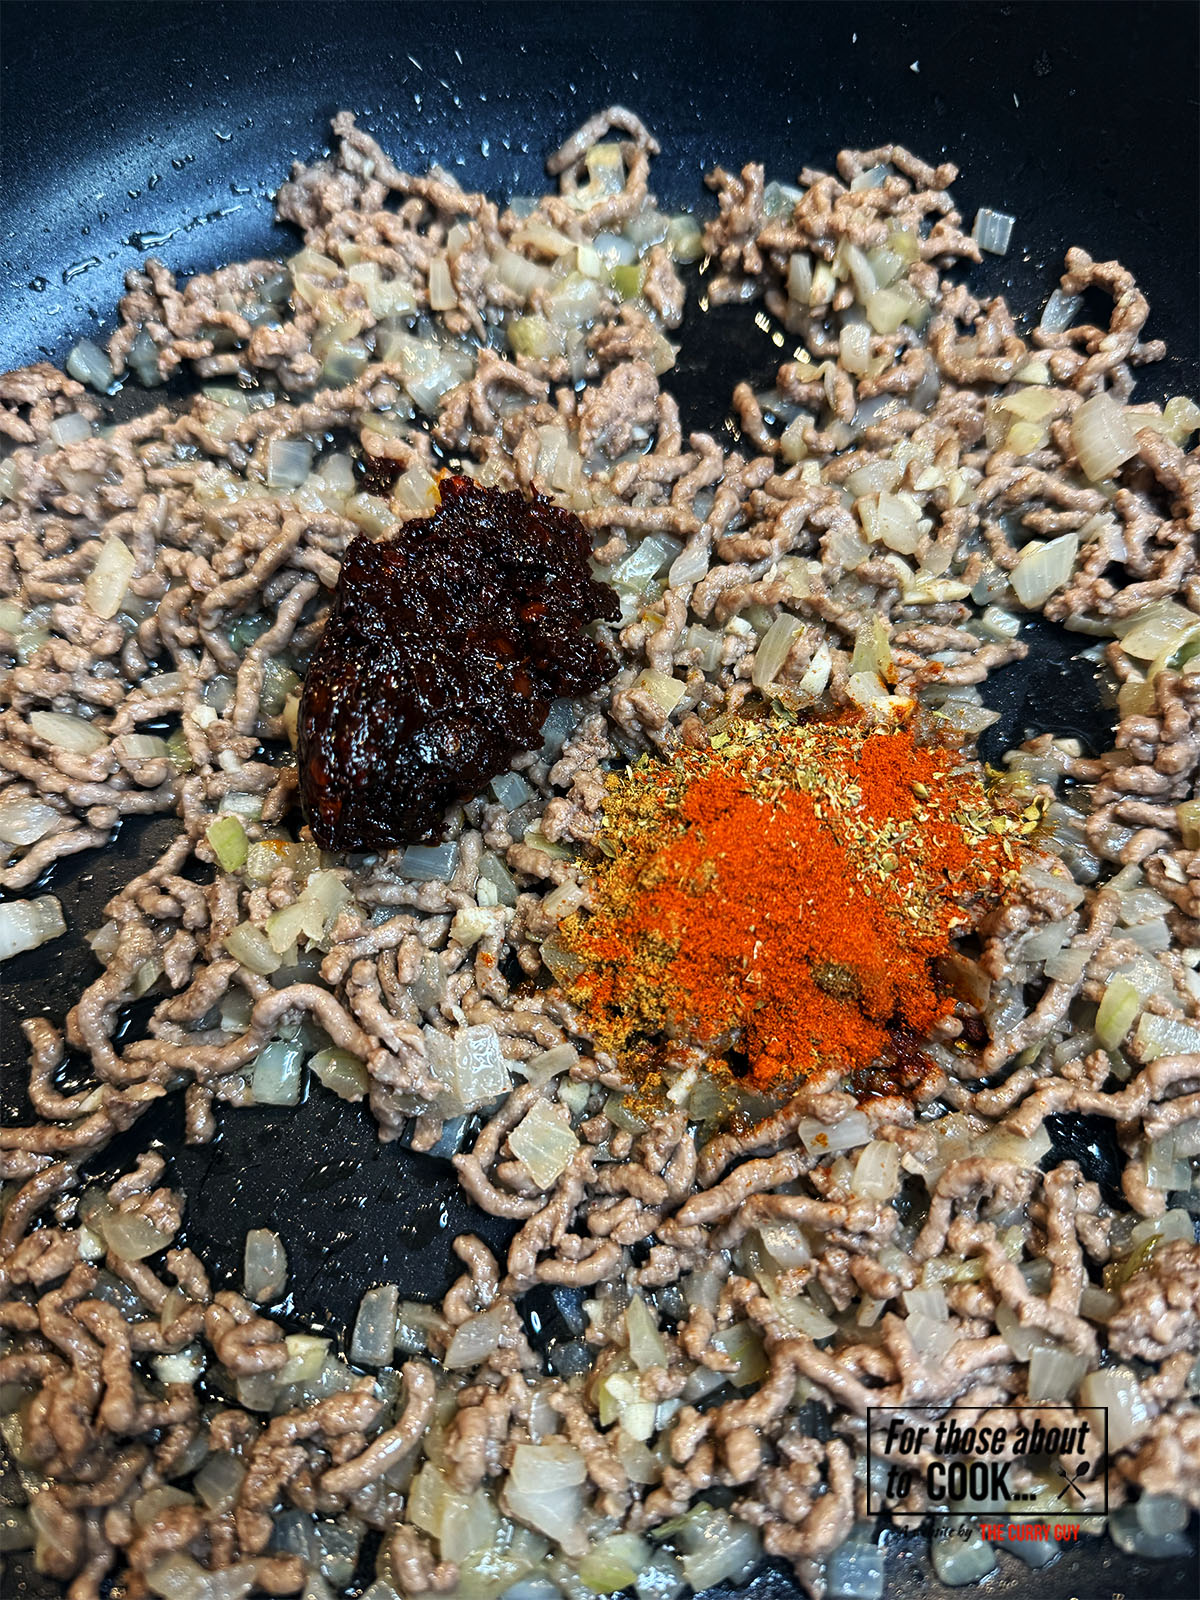
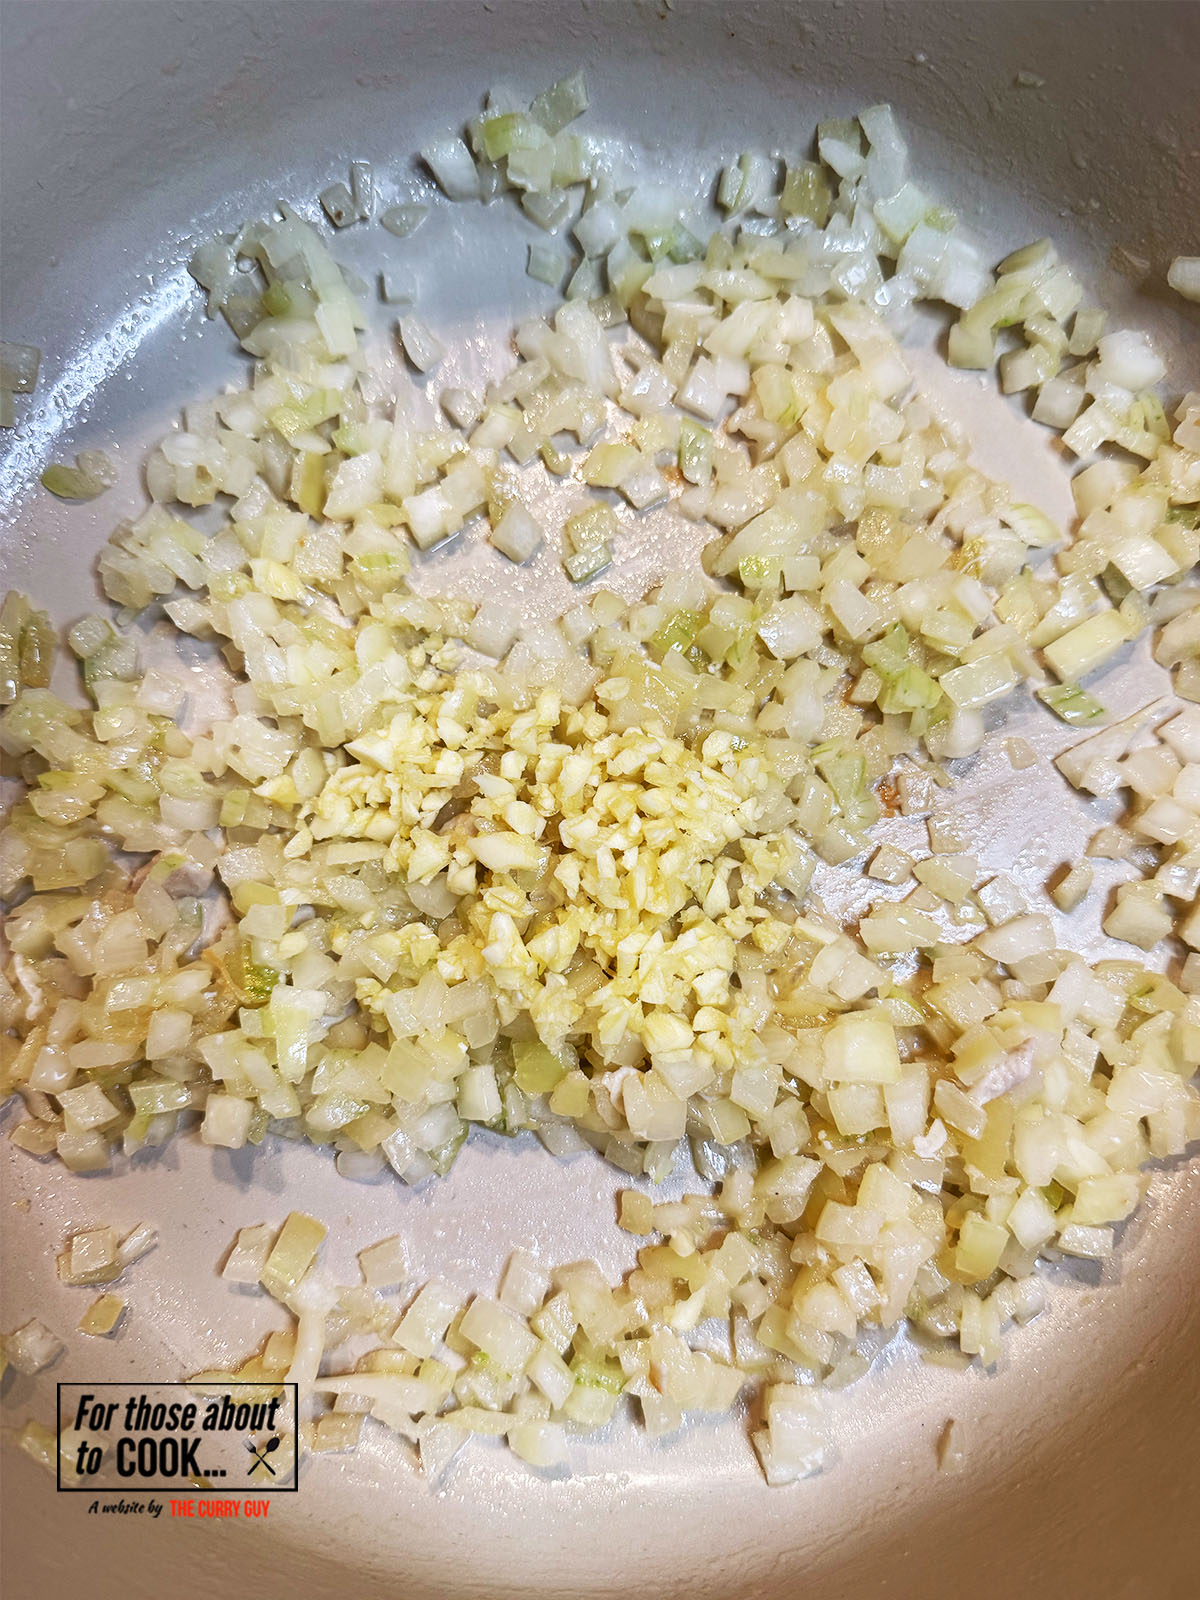
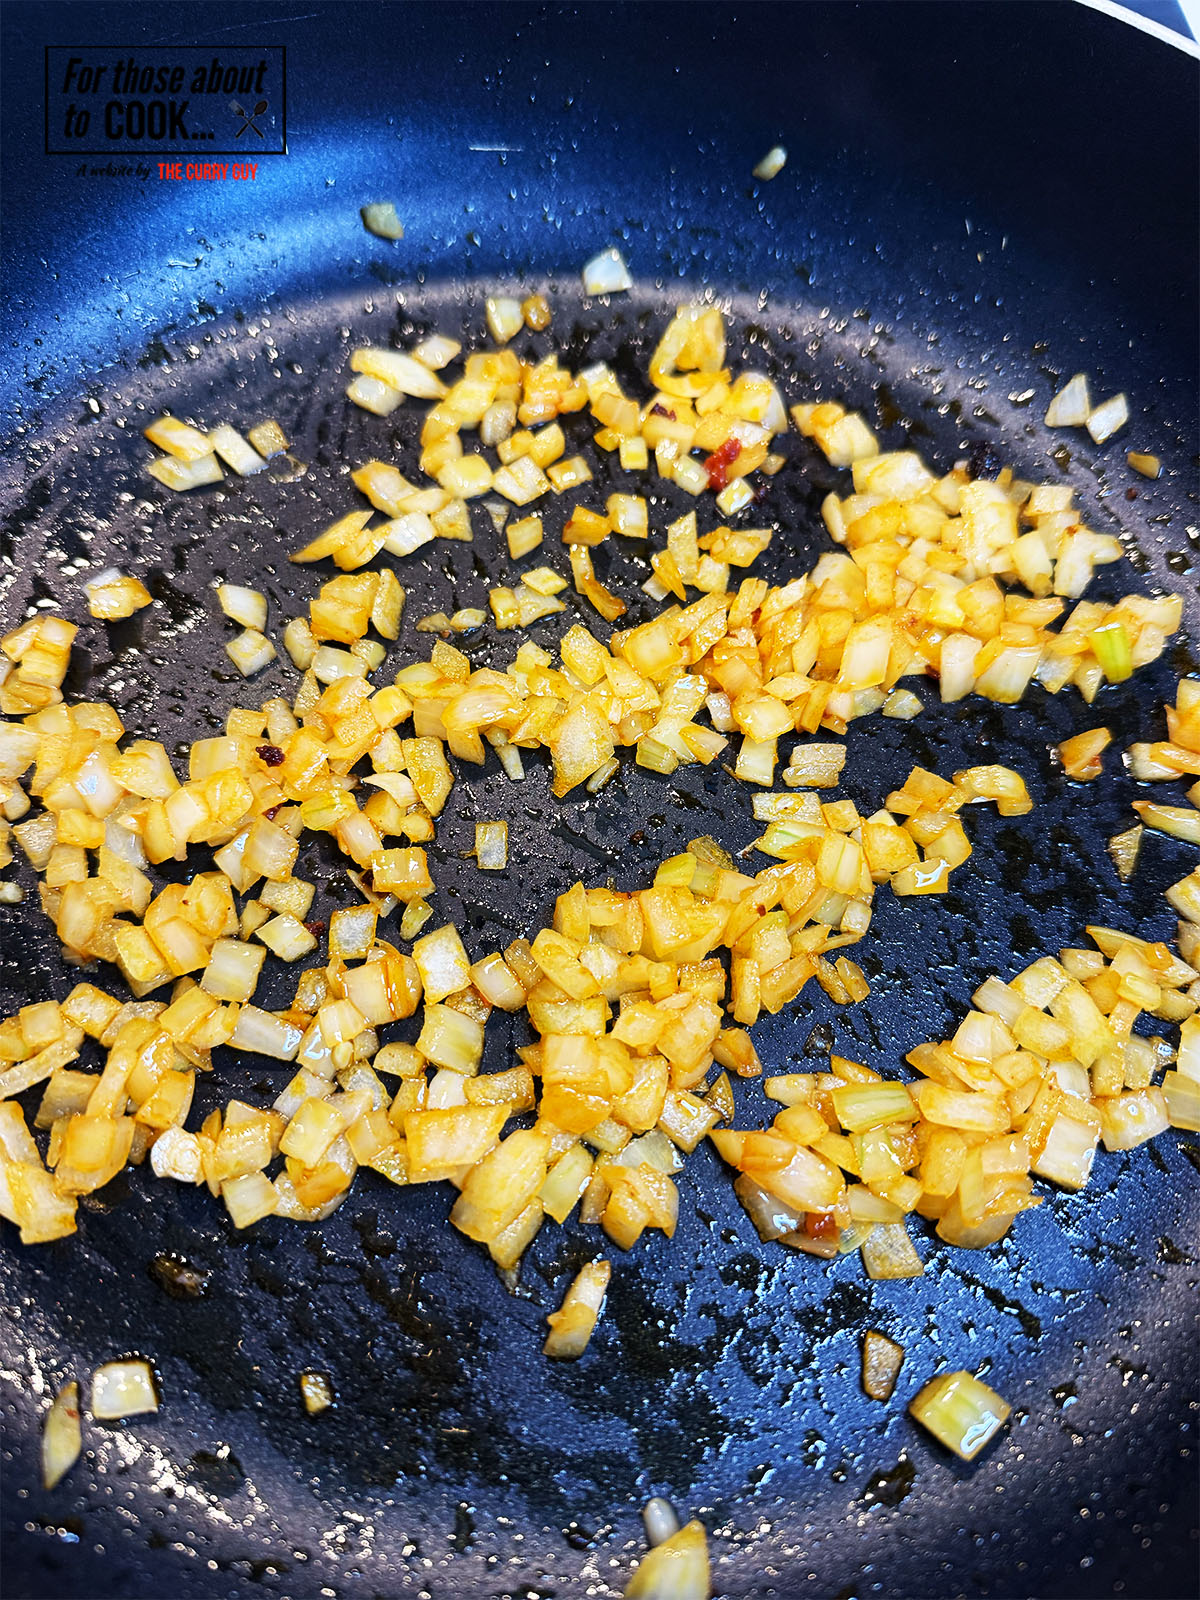
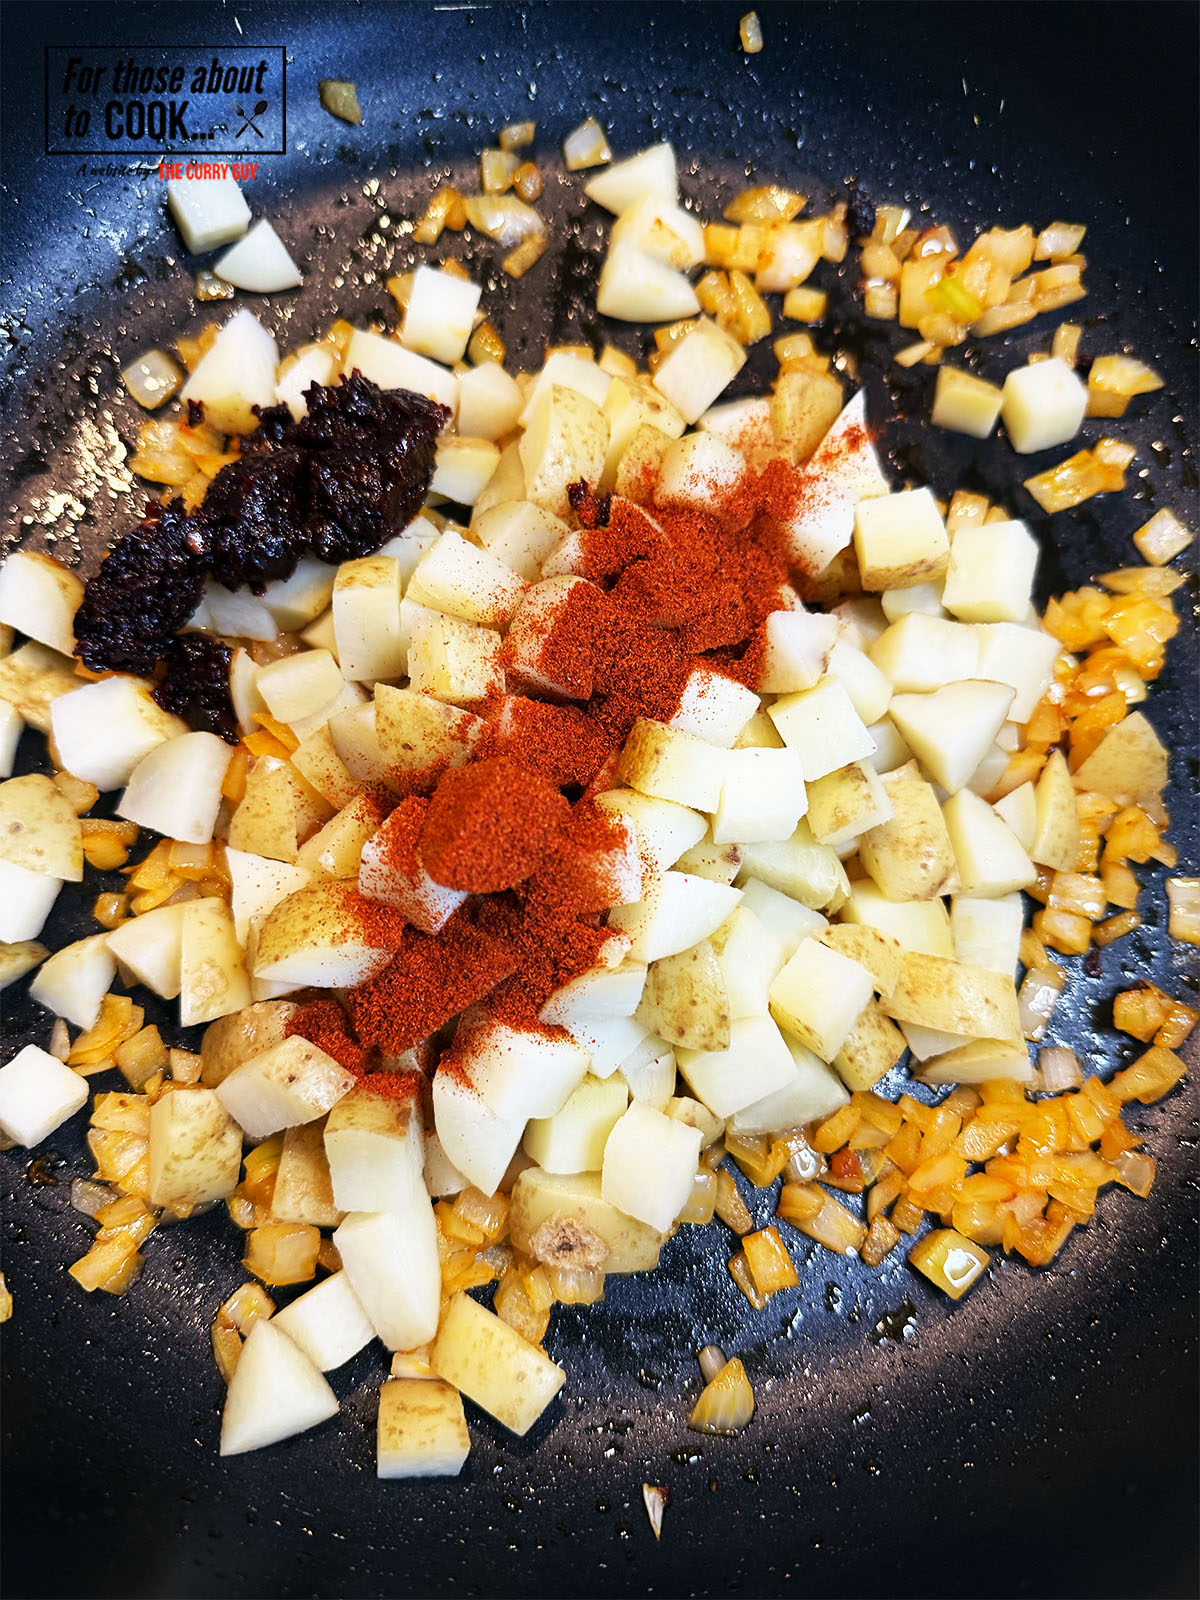
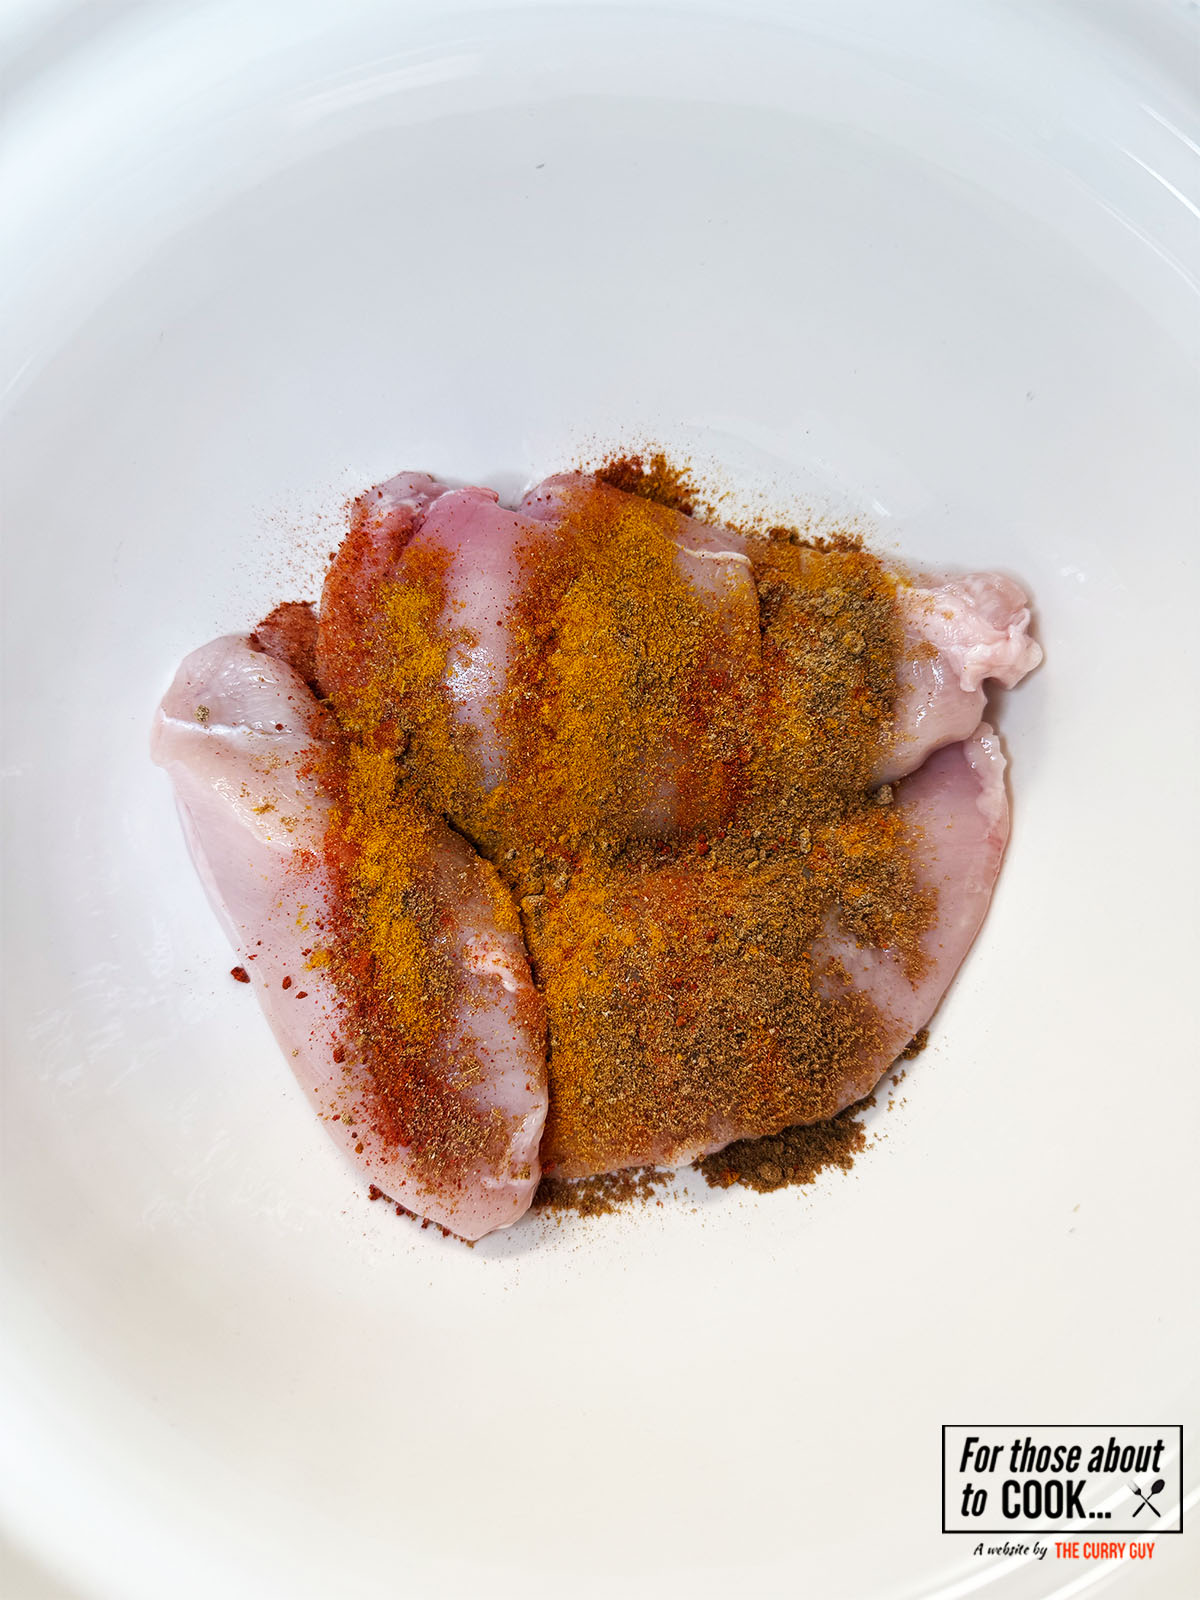
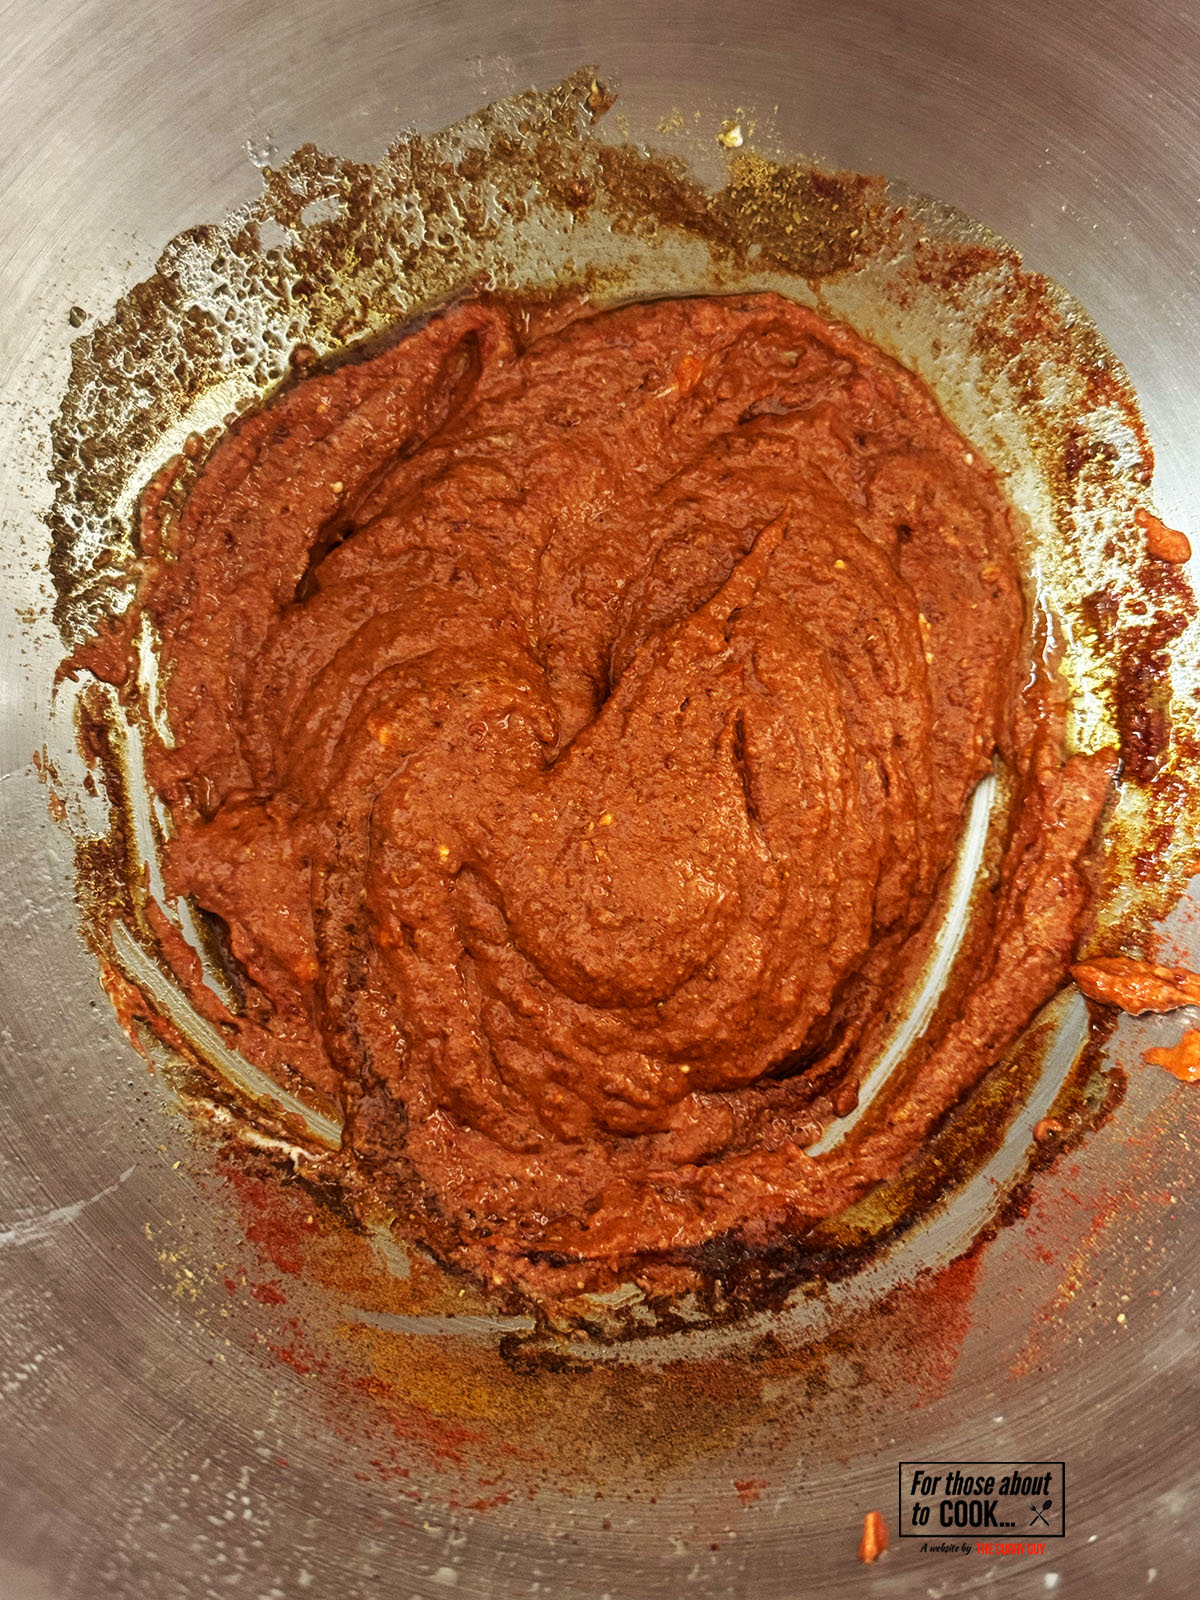
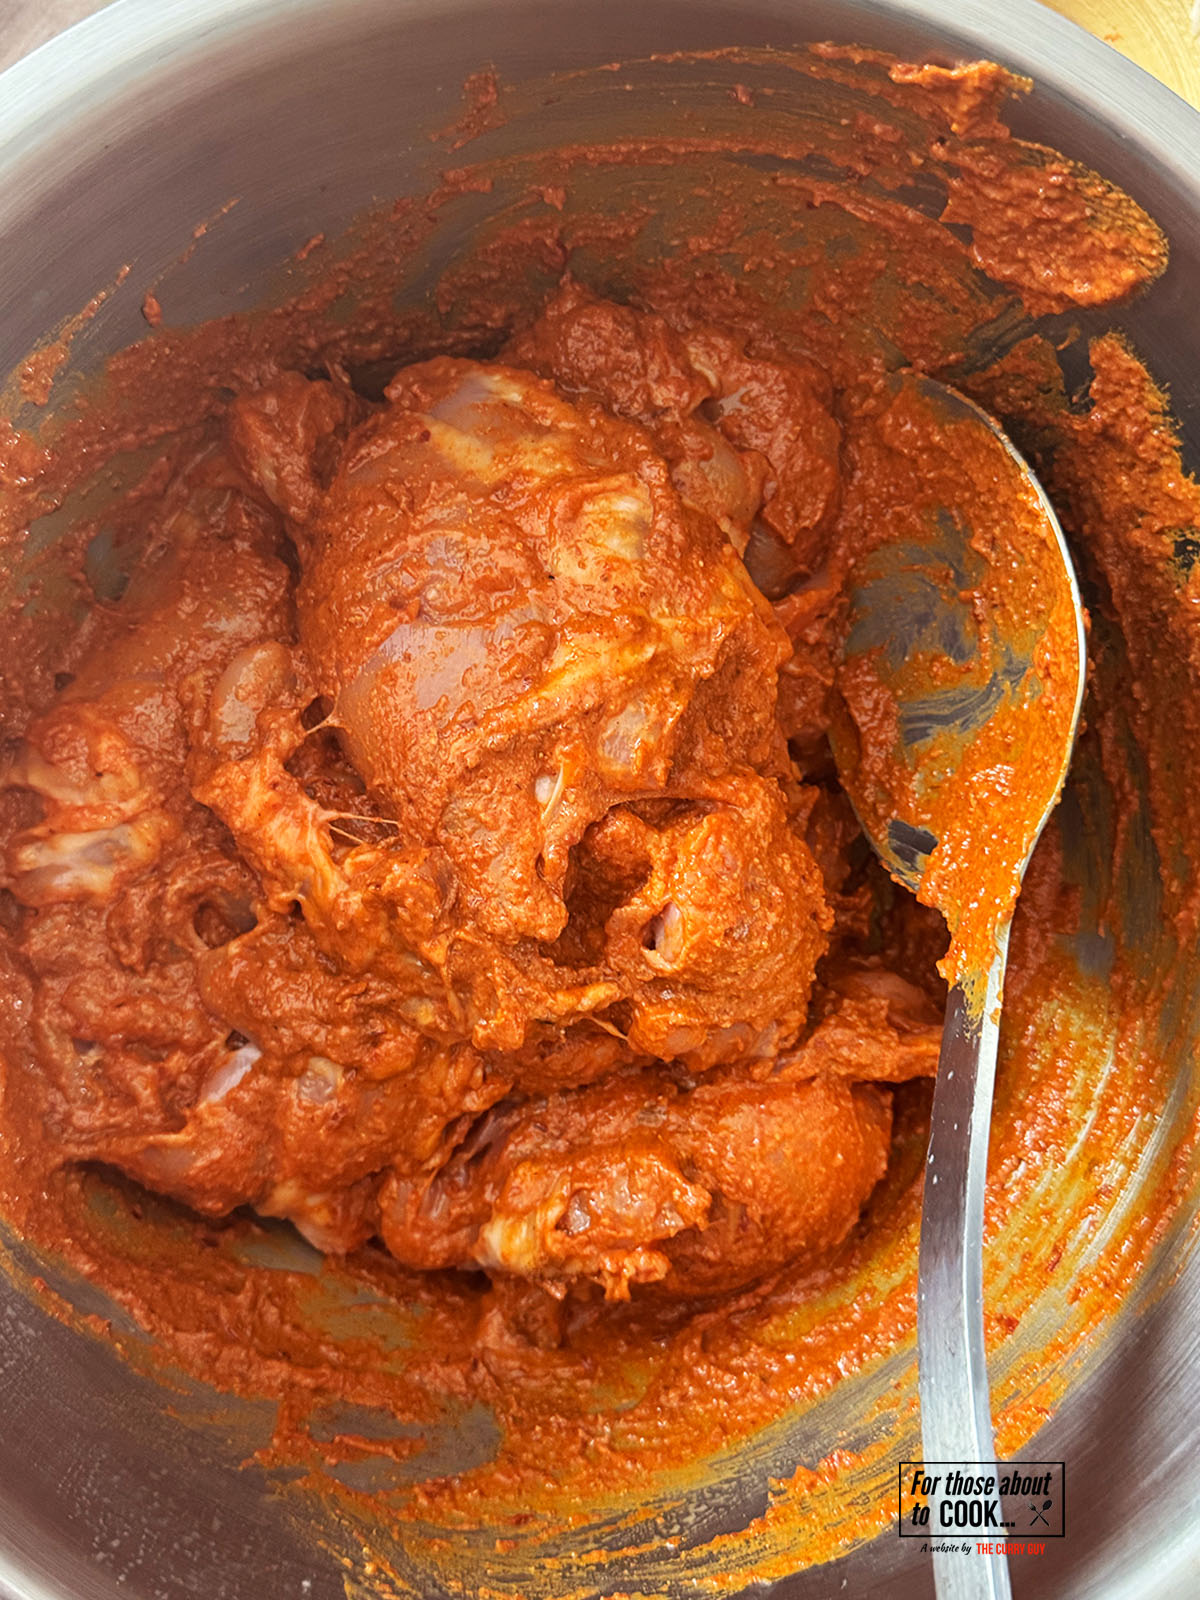
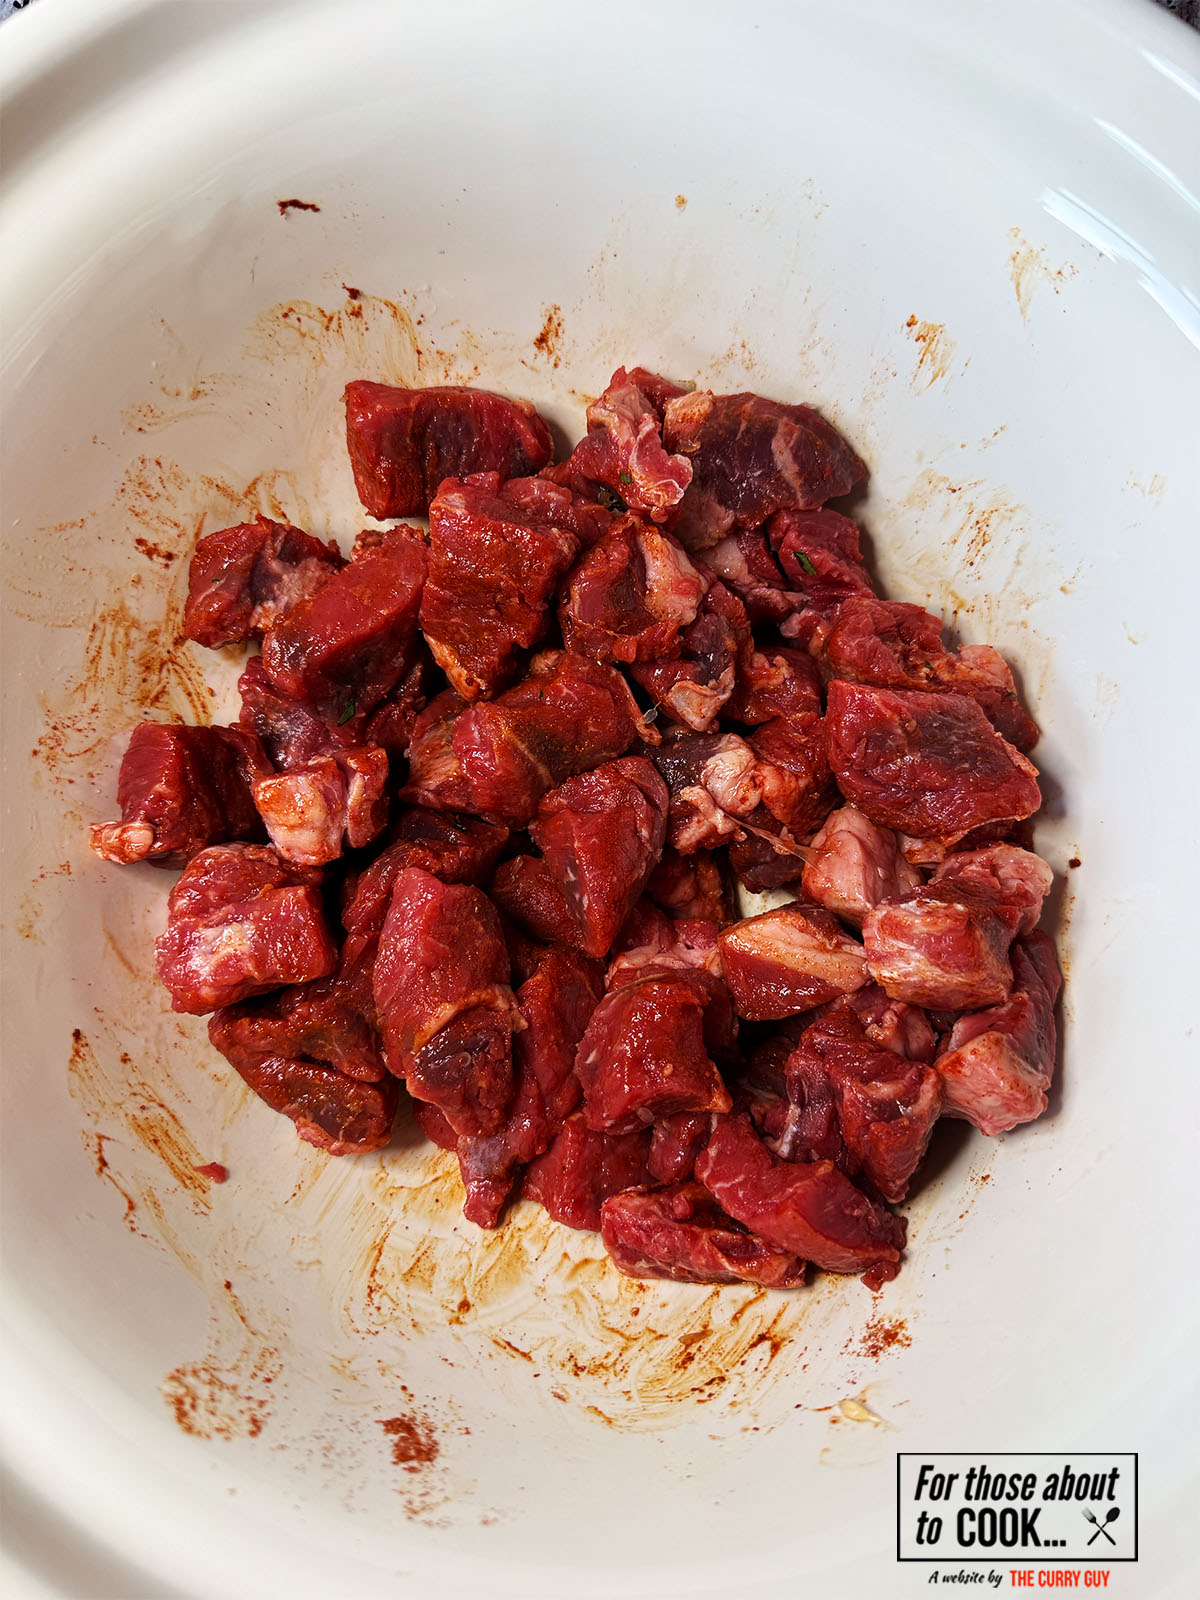
- Step 1: To a large bowl, add your harissa paste, honey, lemon juice, coriander powder, paprika and minced garlic. Add 3 tablespoon of olive oil and mix well. Add your chicken thighs and coat. Marinade for 2 hours or overnight.

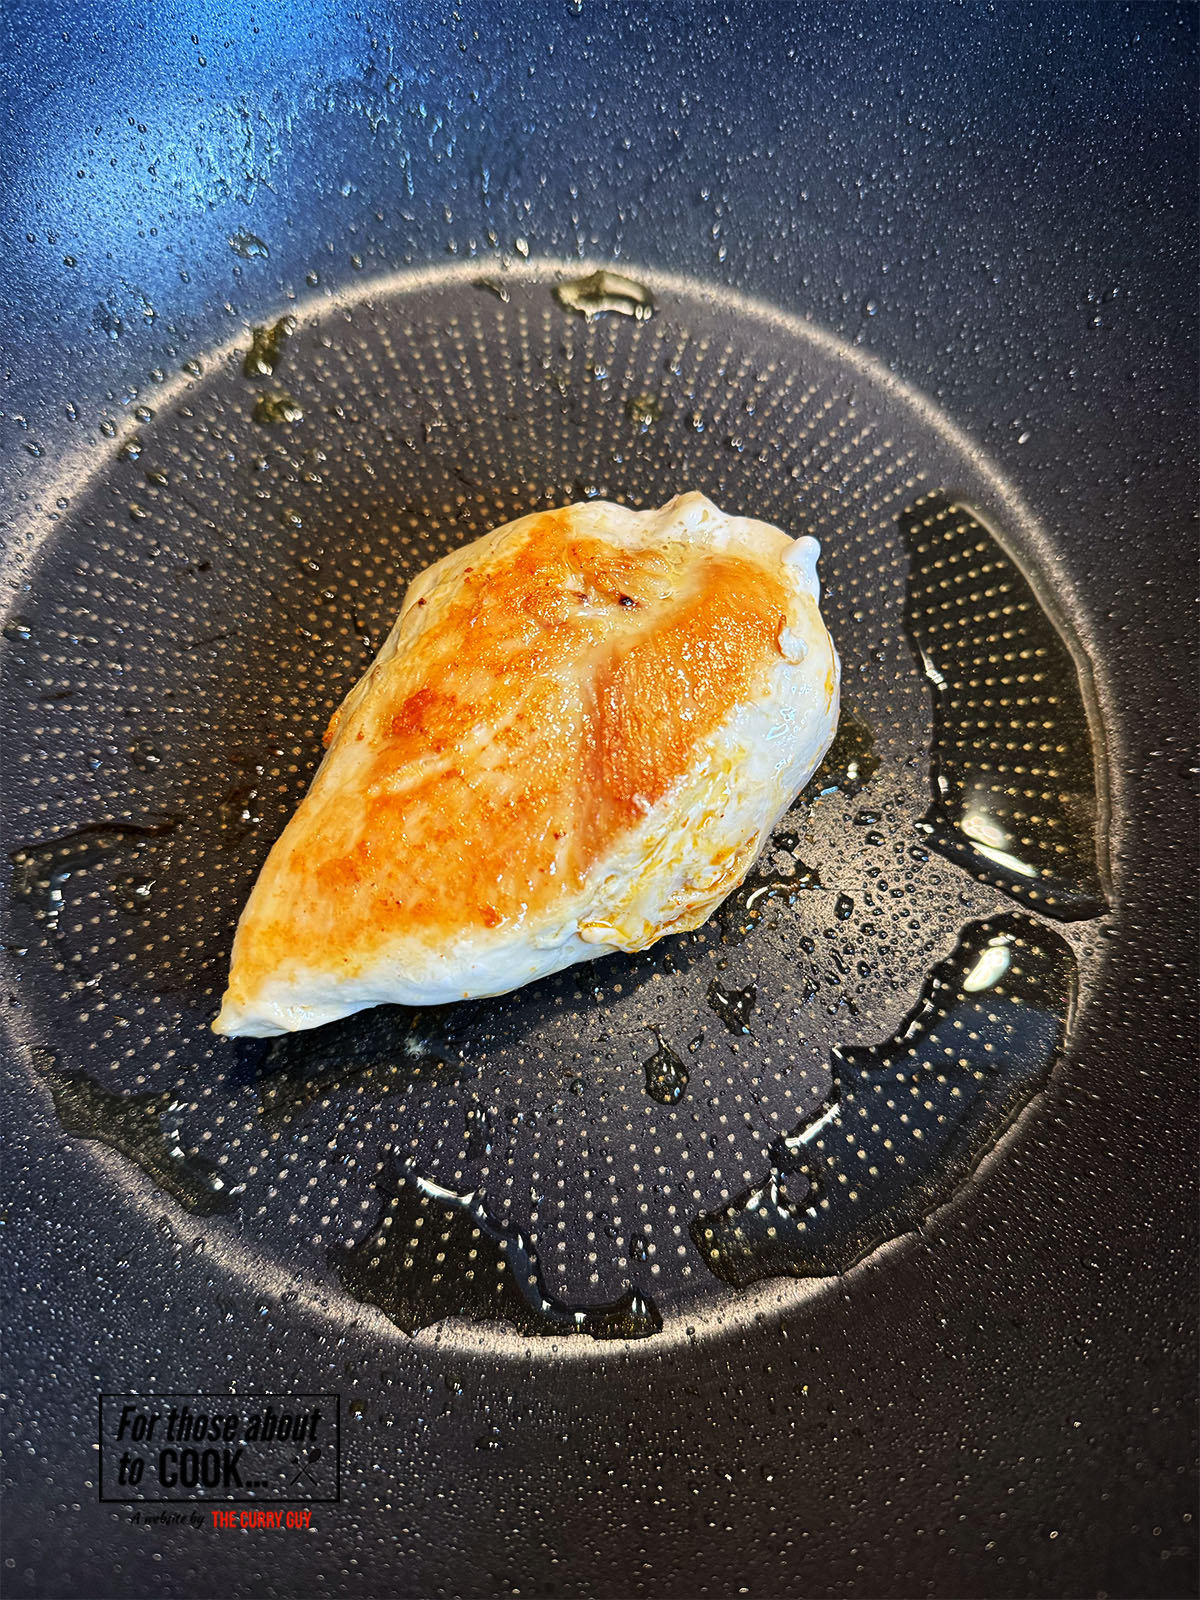
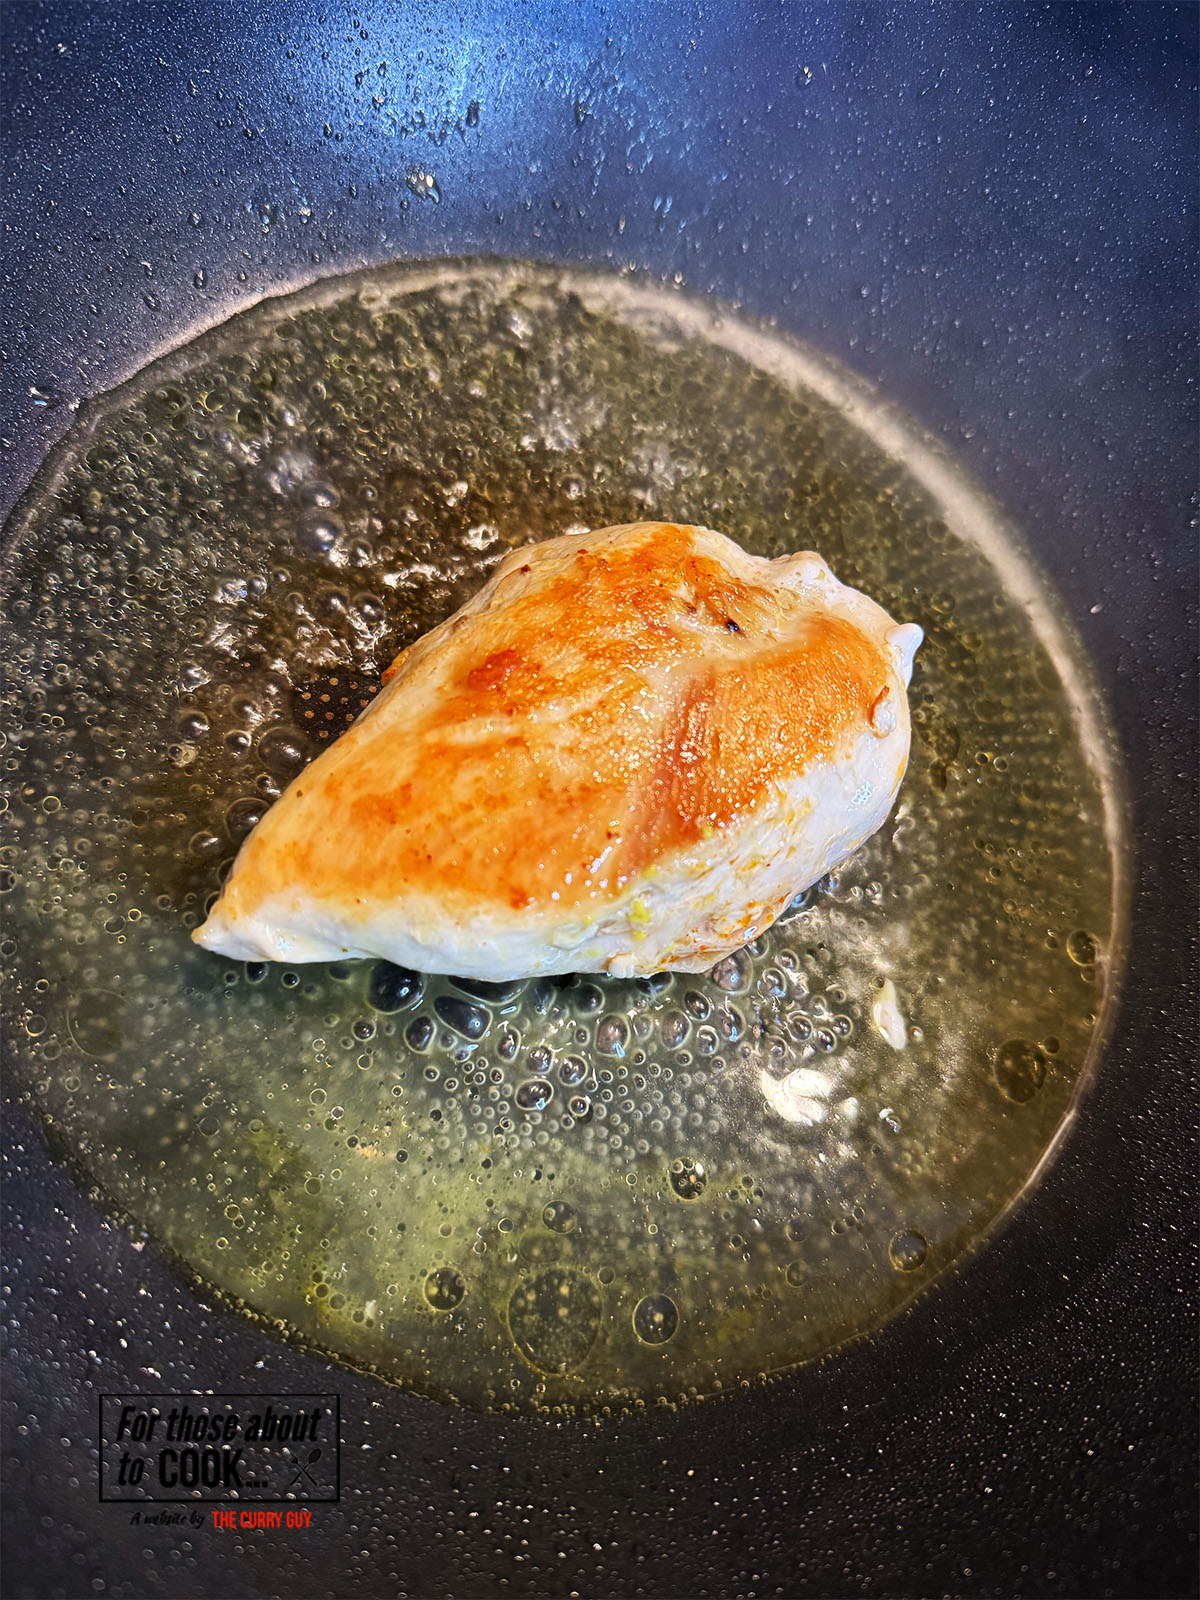
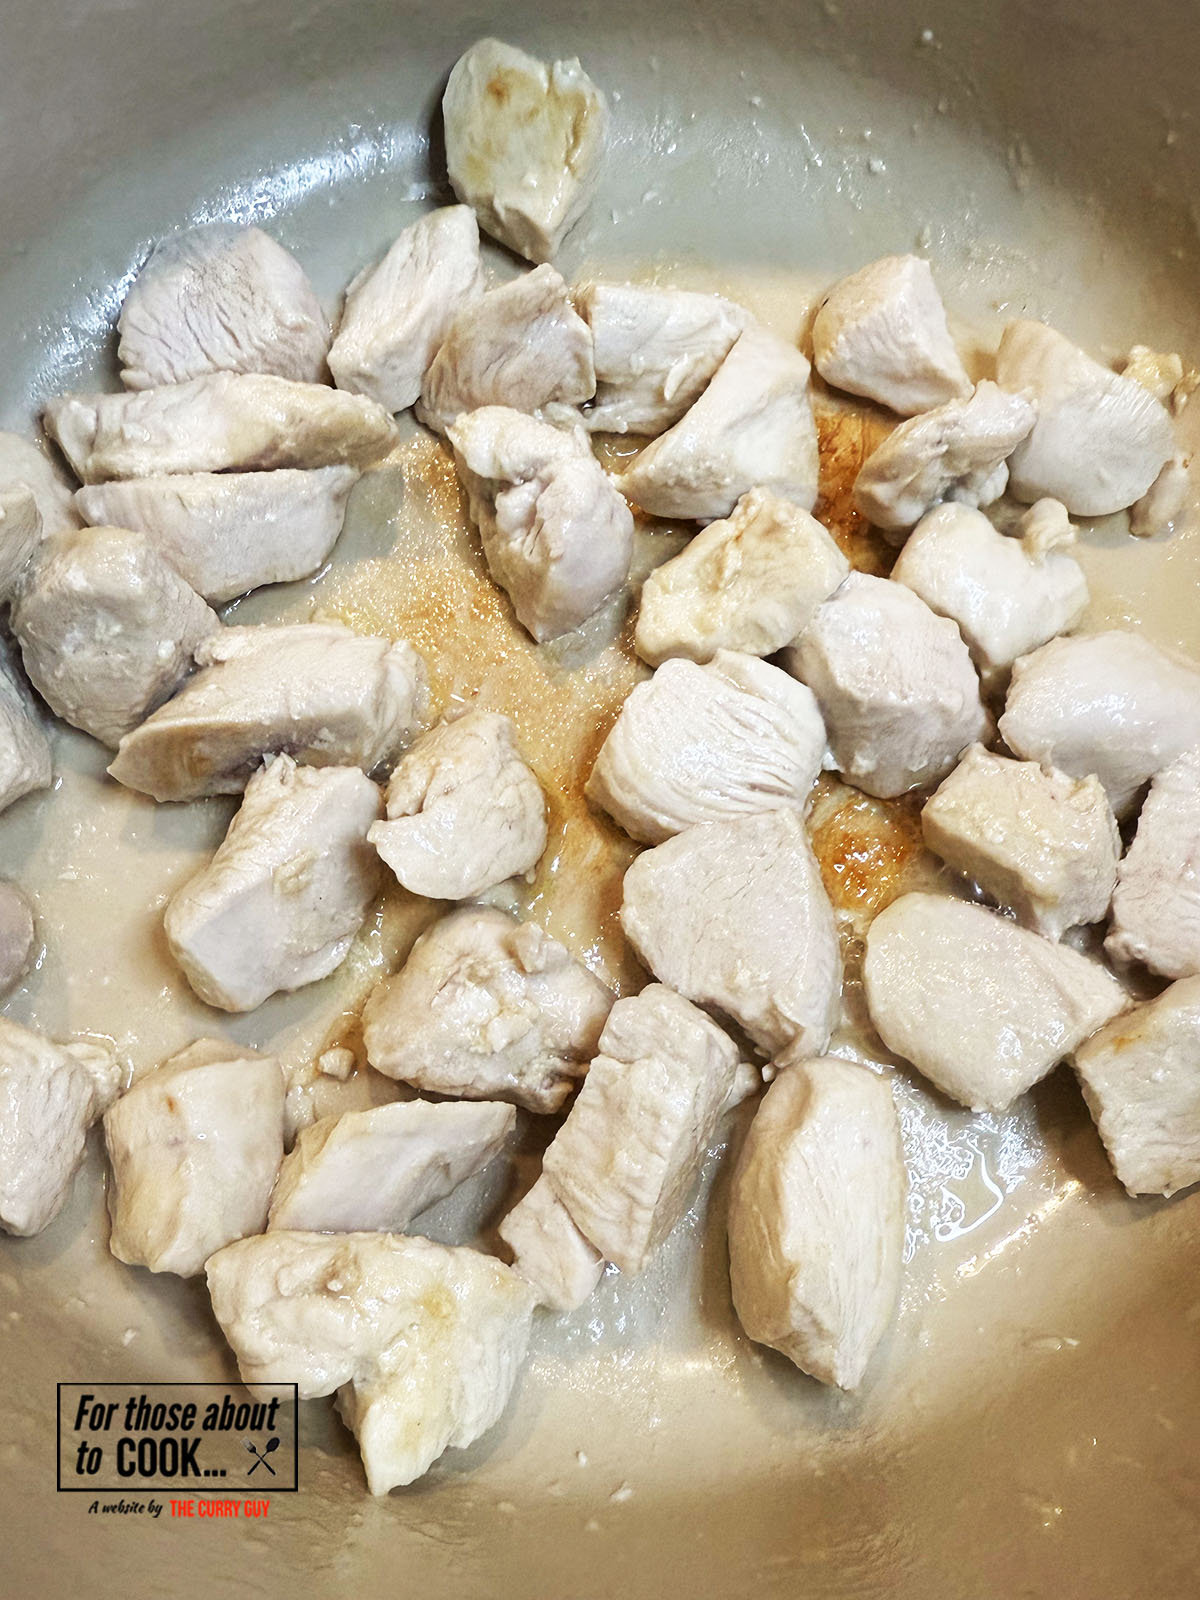
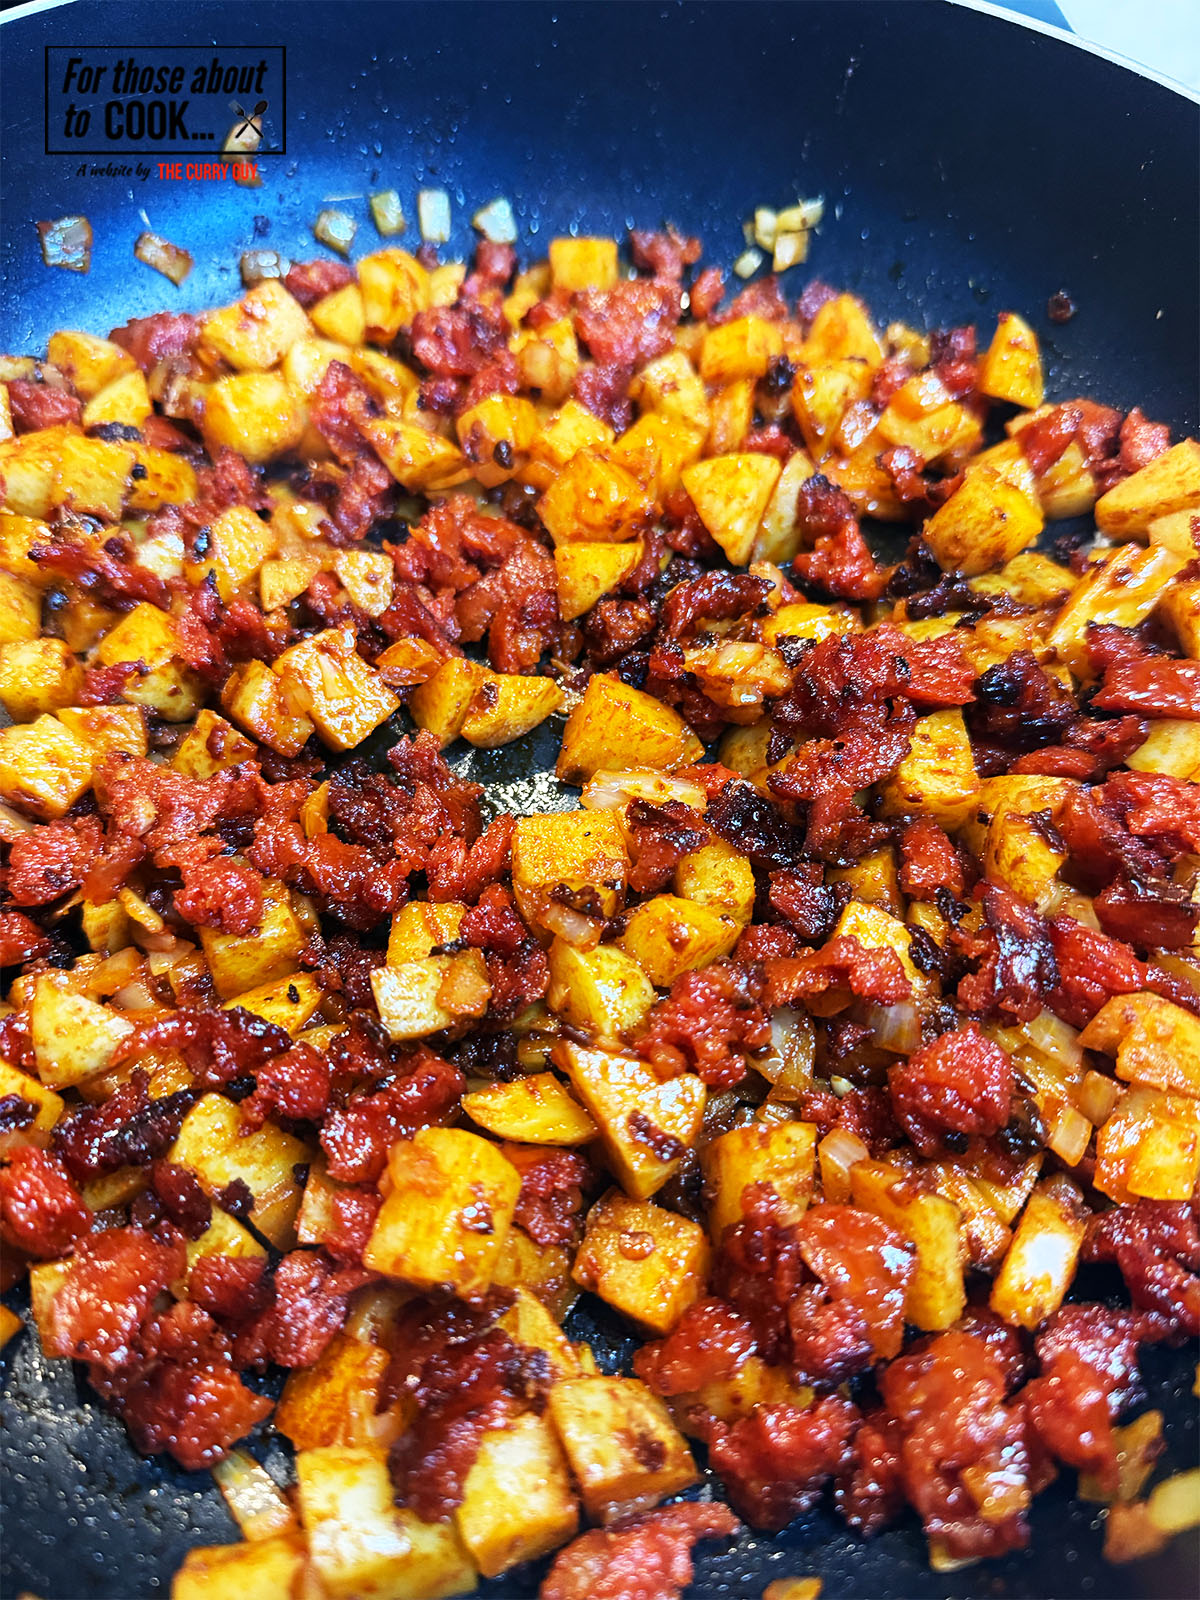
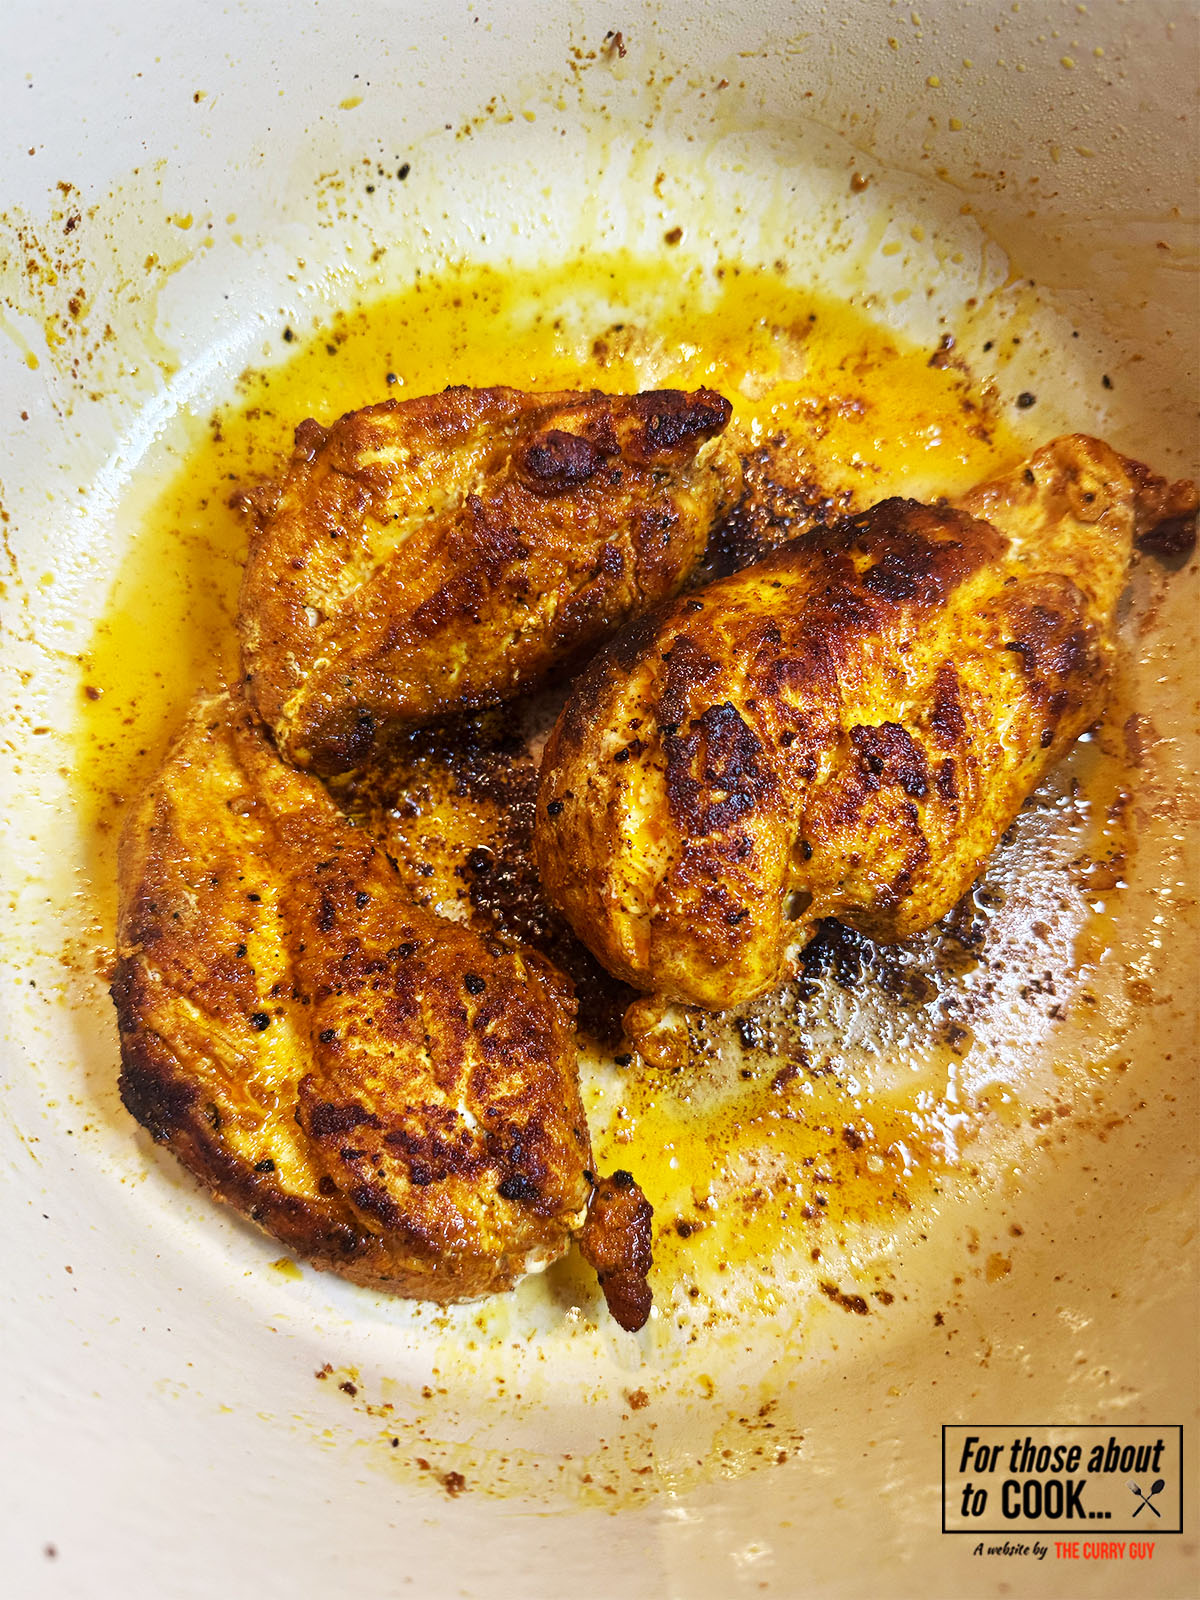
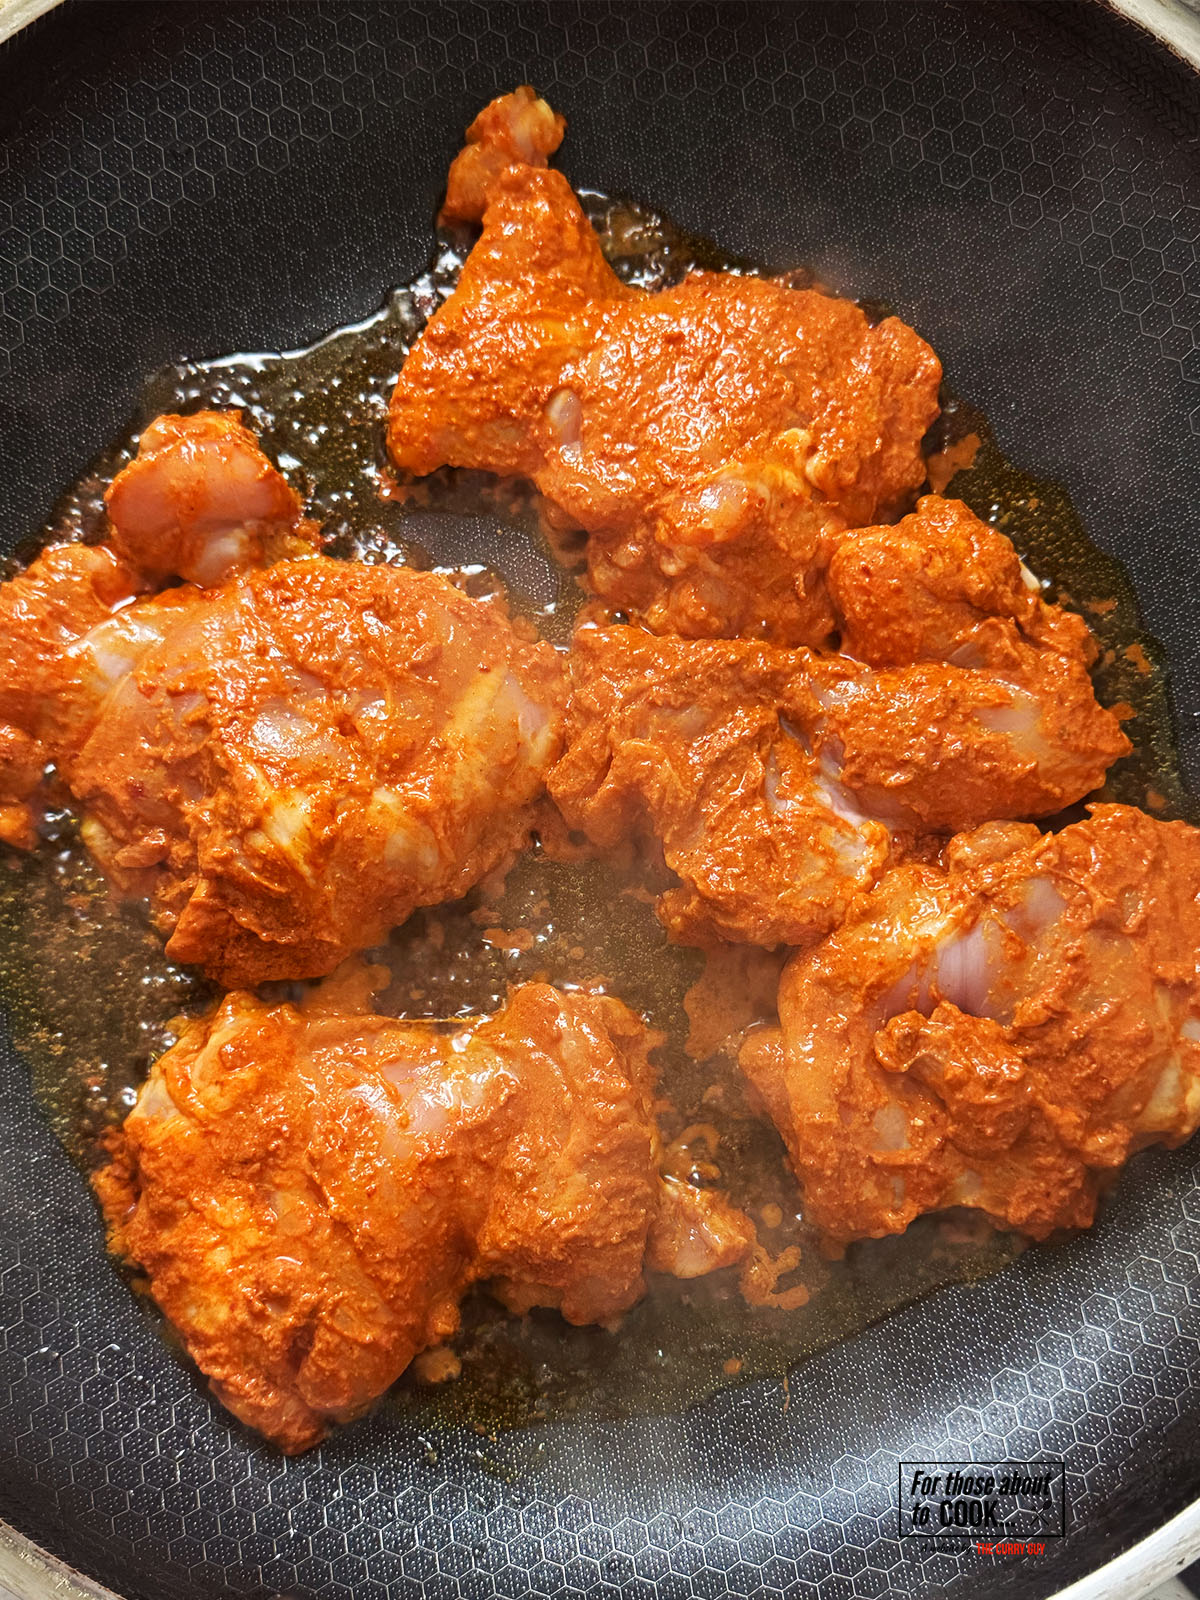
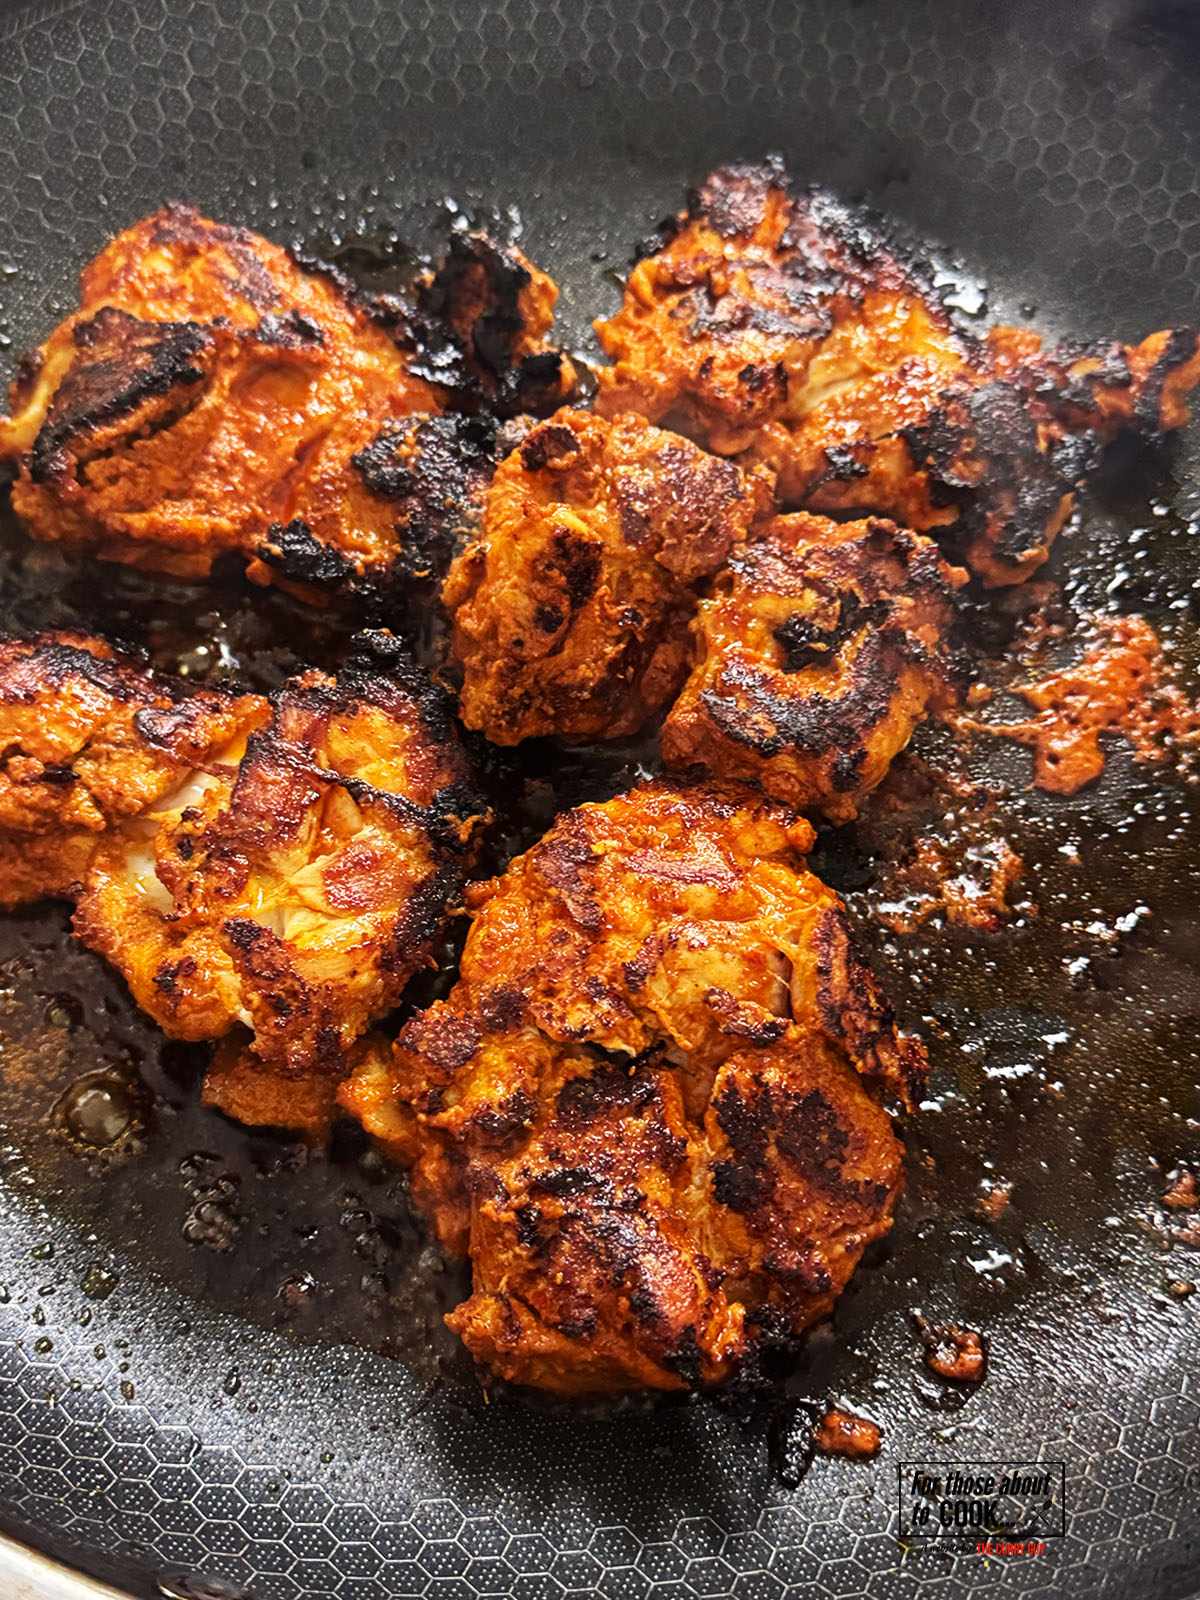
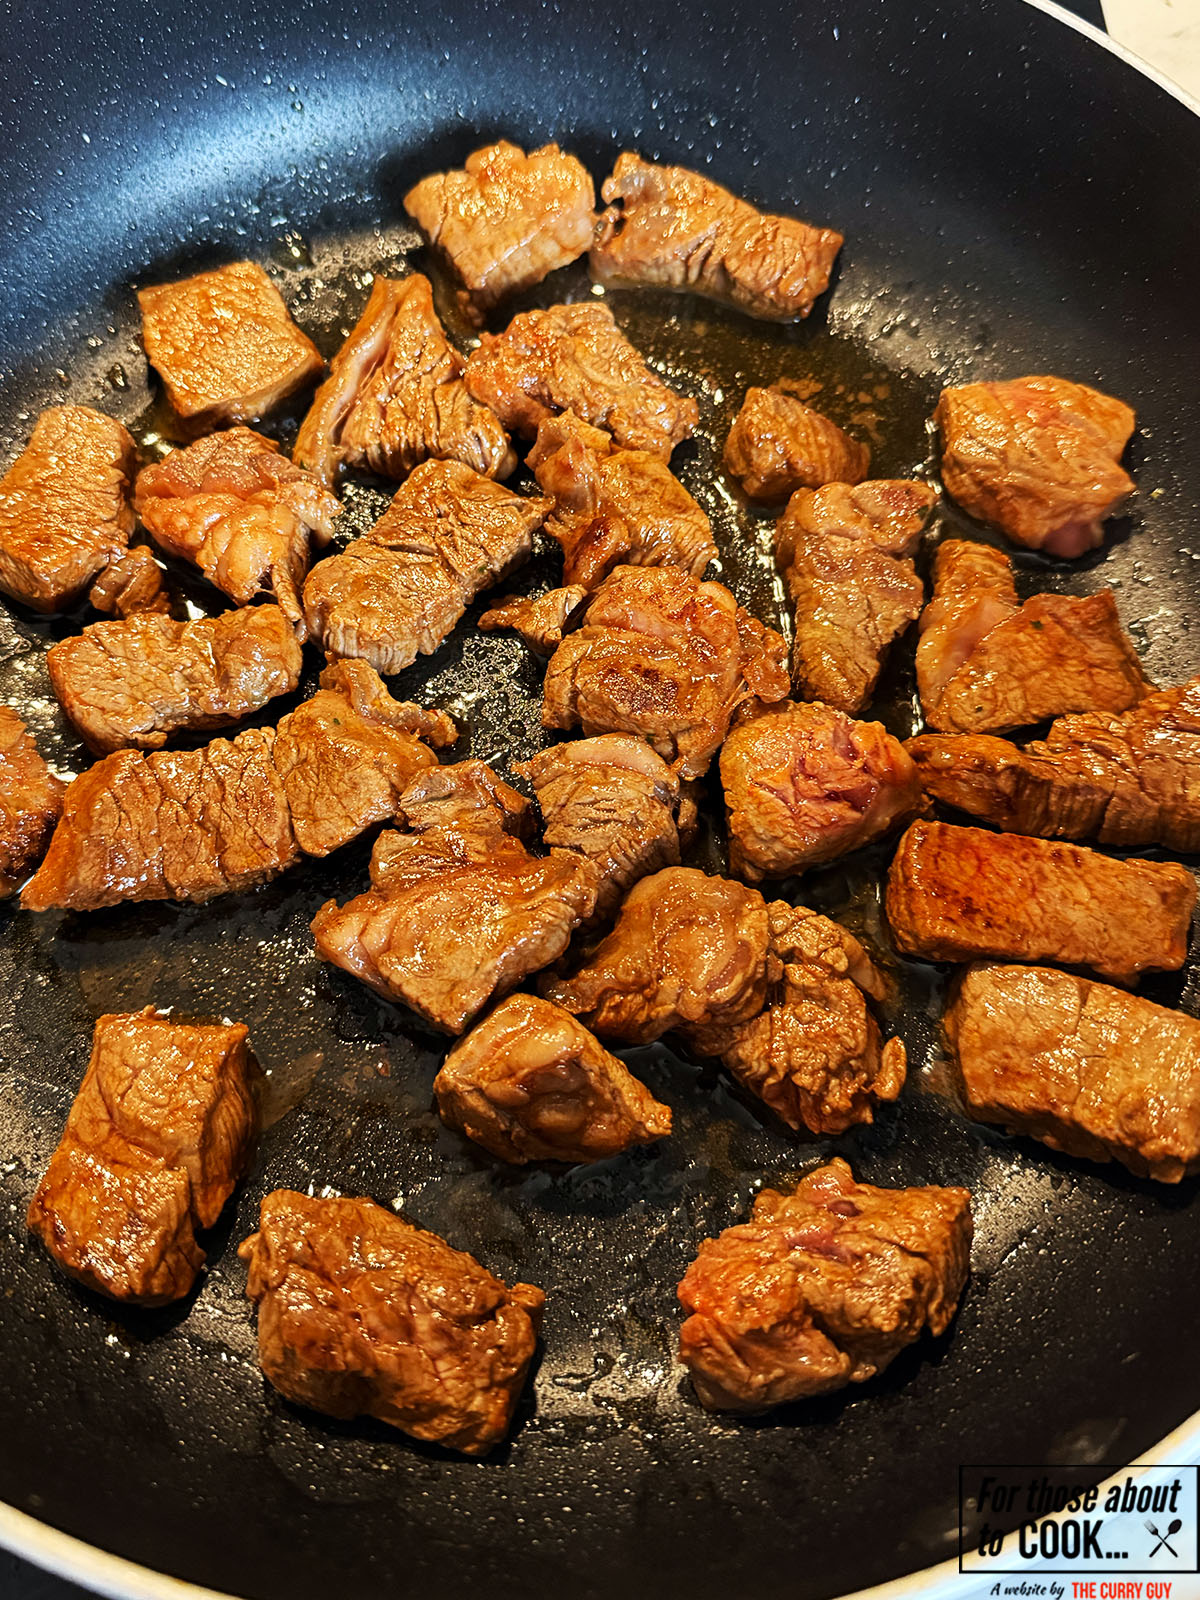
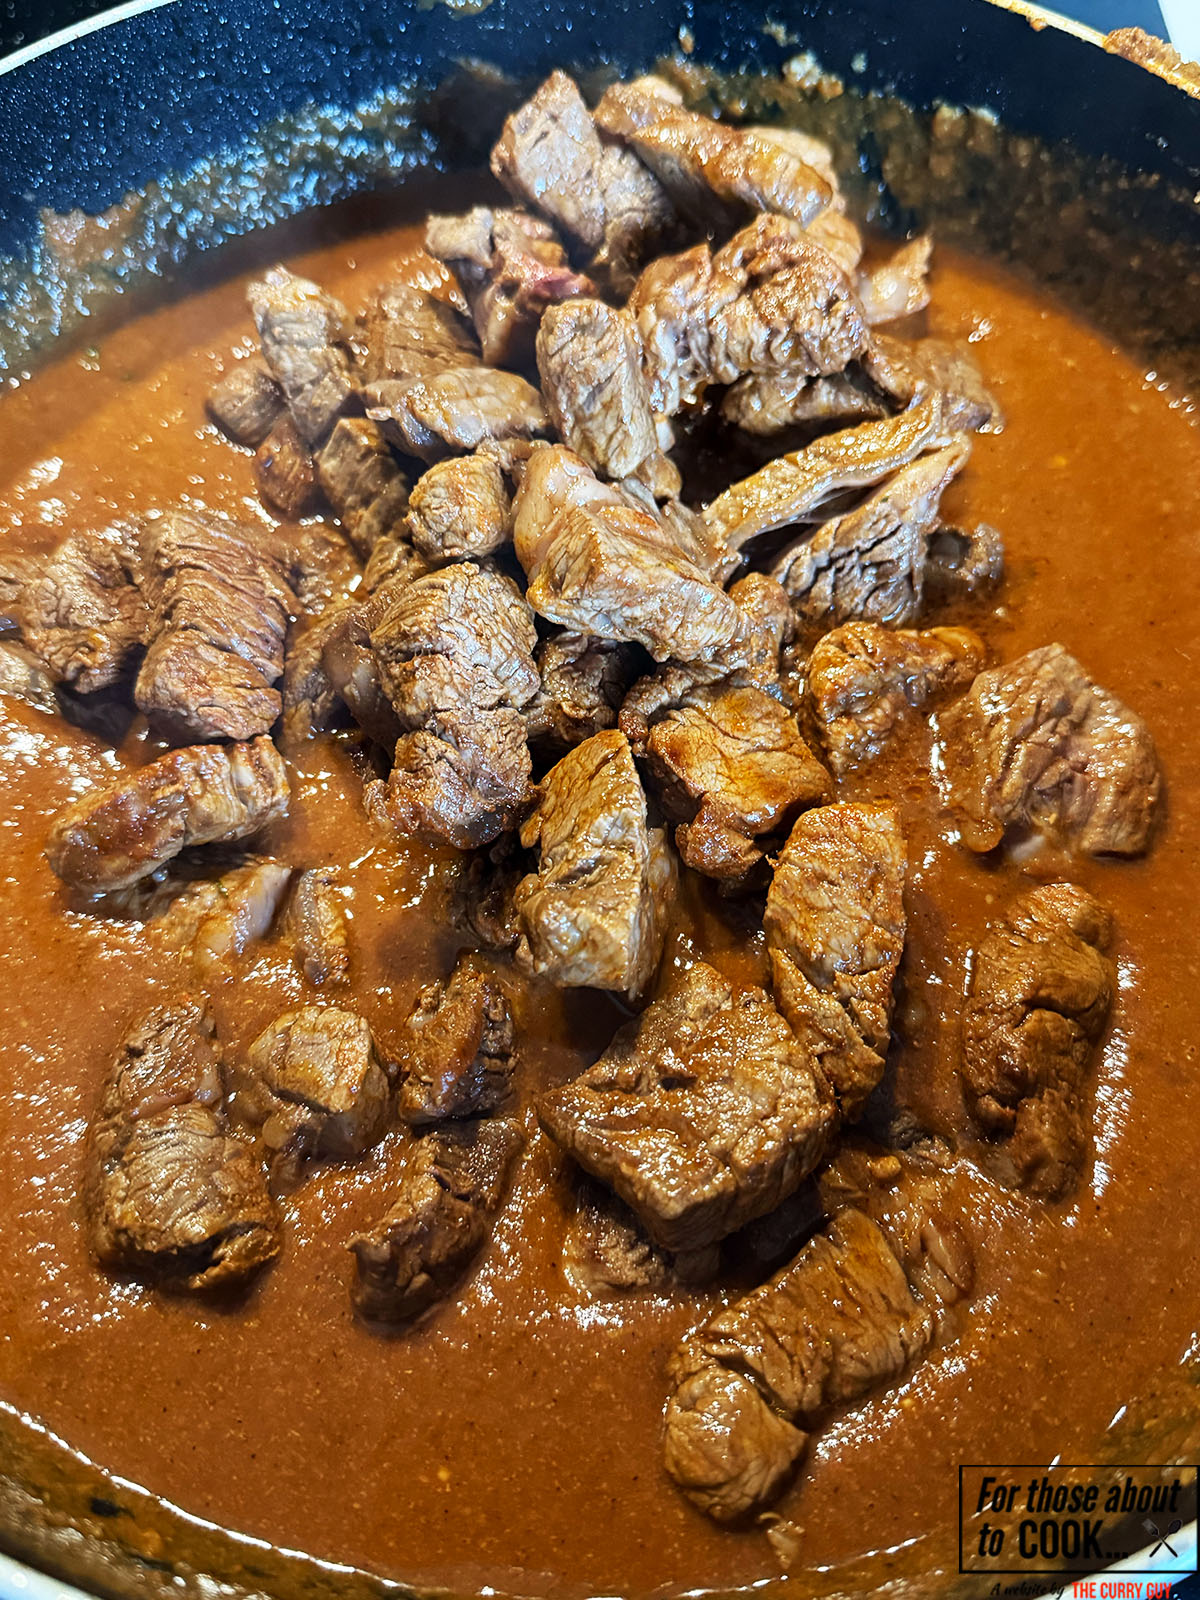
- Step 2: To a large pot, on a low-medium heat, fry the chicken thighs skin side down for 20 minutes or until the skin is crispy. Flip the thighs over, turn the heat up to medium and fry for a further 12 minutes. Set to one side for later.

- Step 3: In the same pan your fried your chicken in, add your flour and whisk around to pick up the excess flavours. Toast for 2 minutes until golden brown.

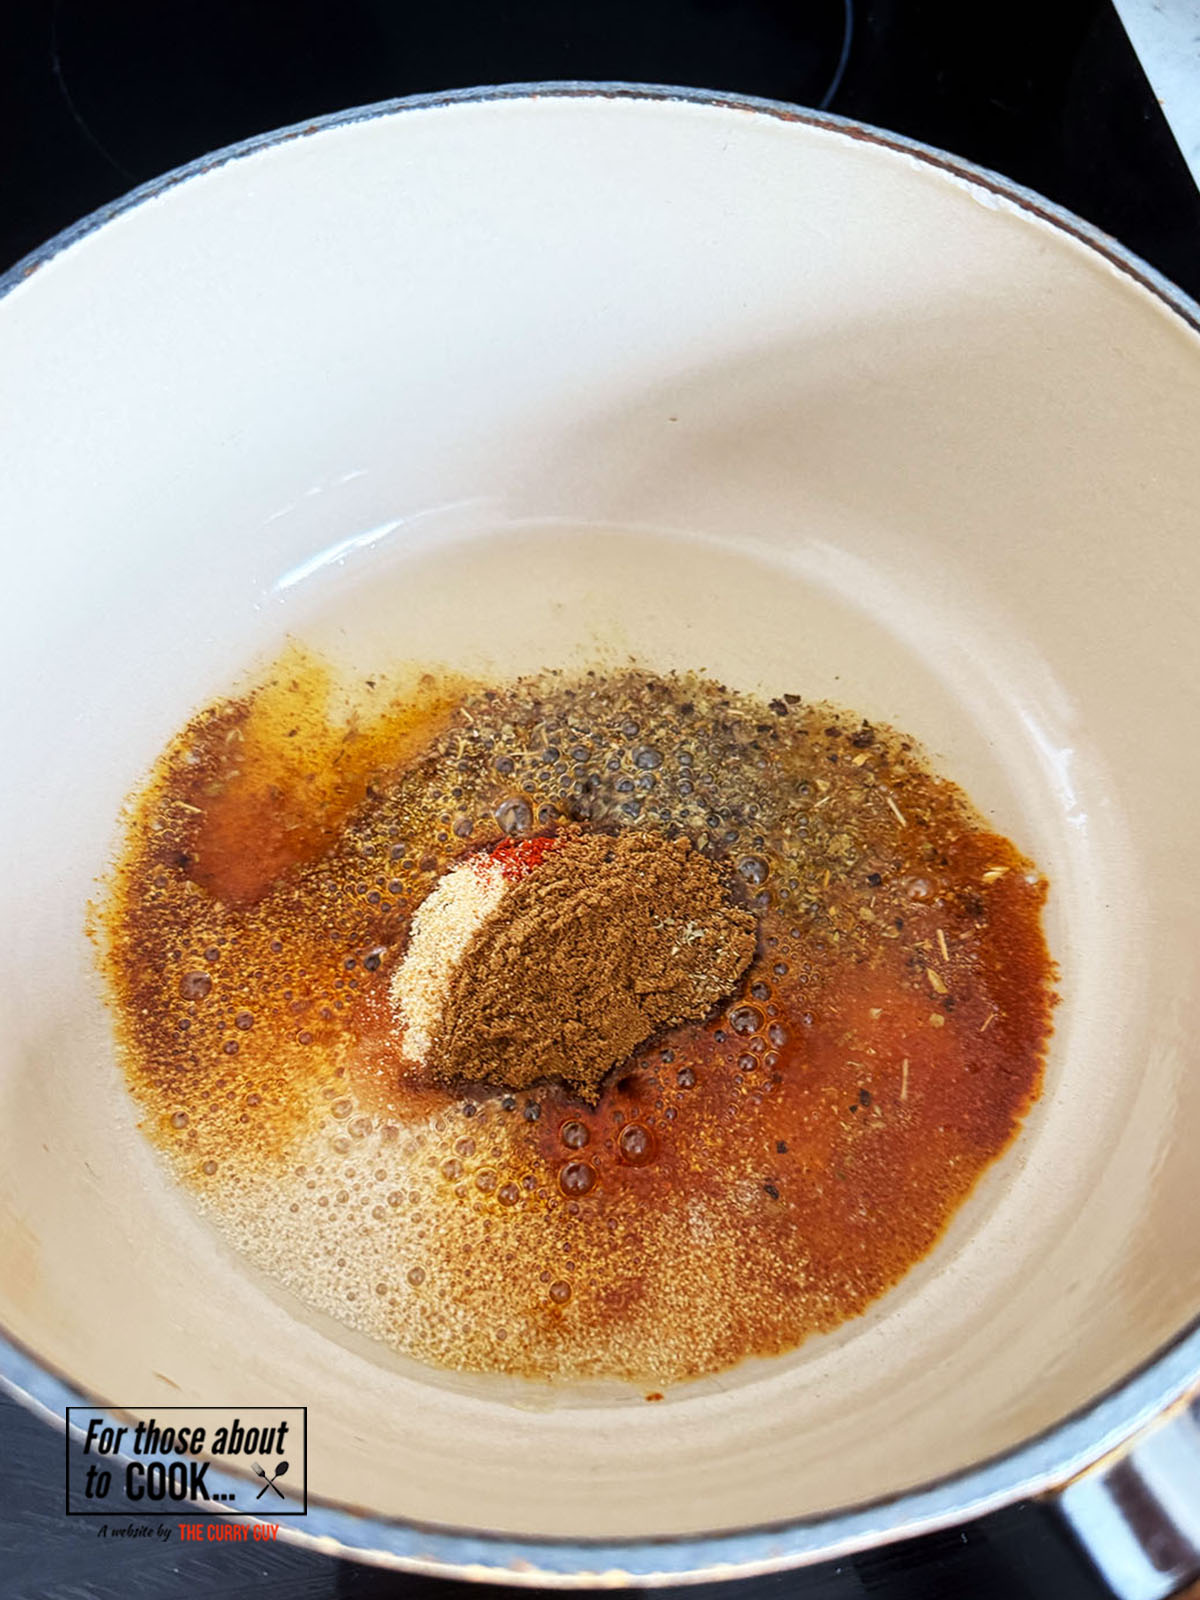
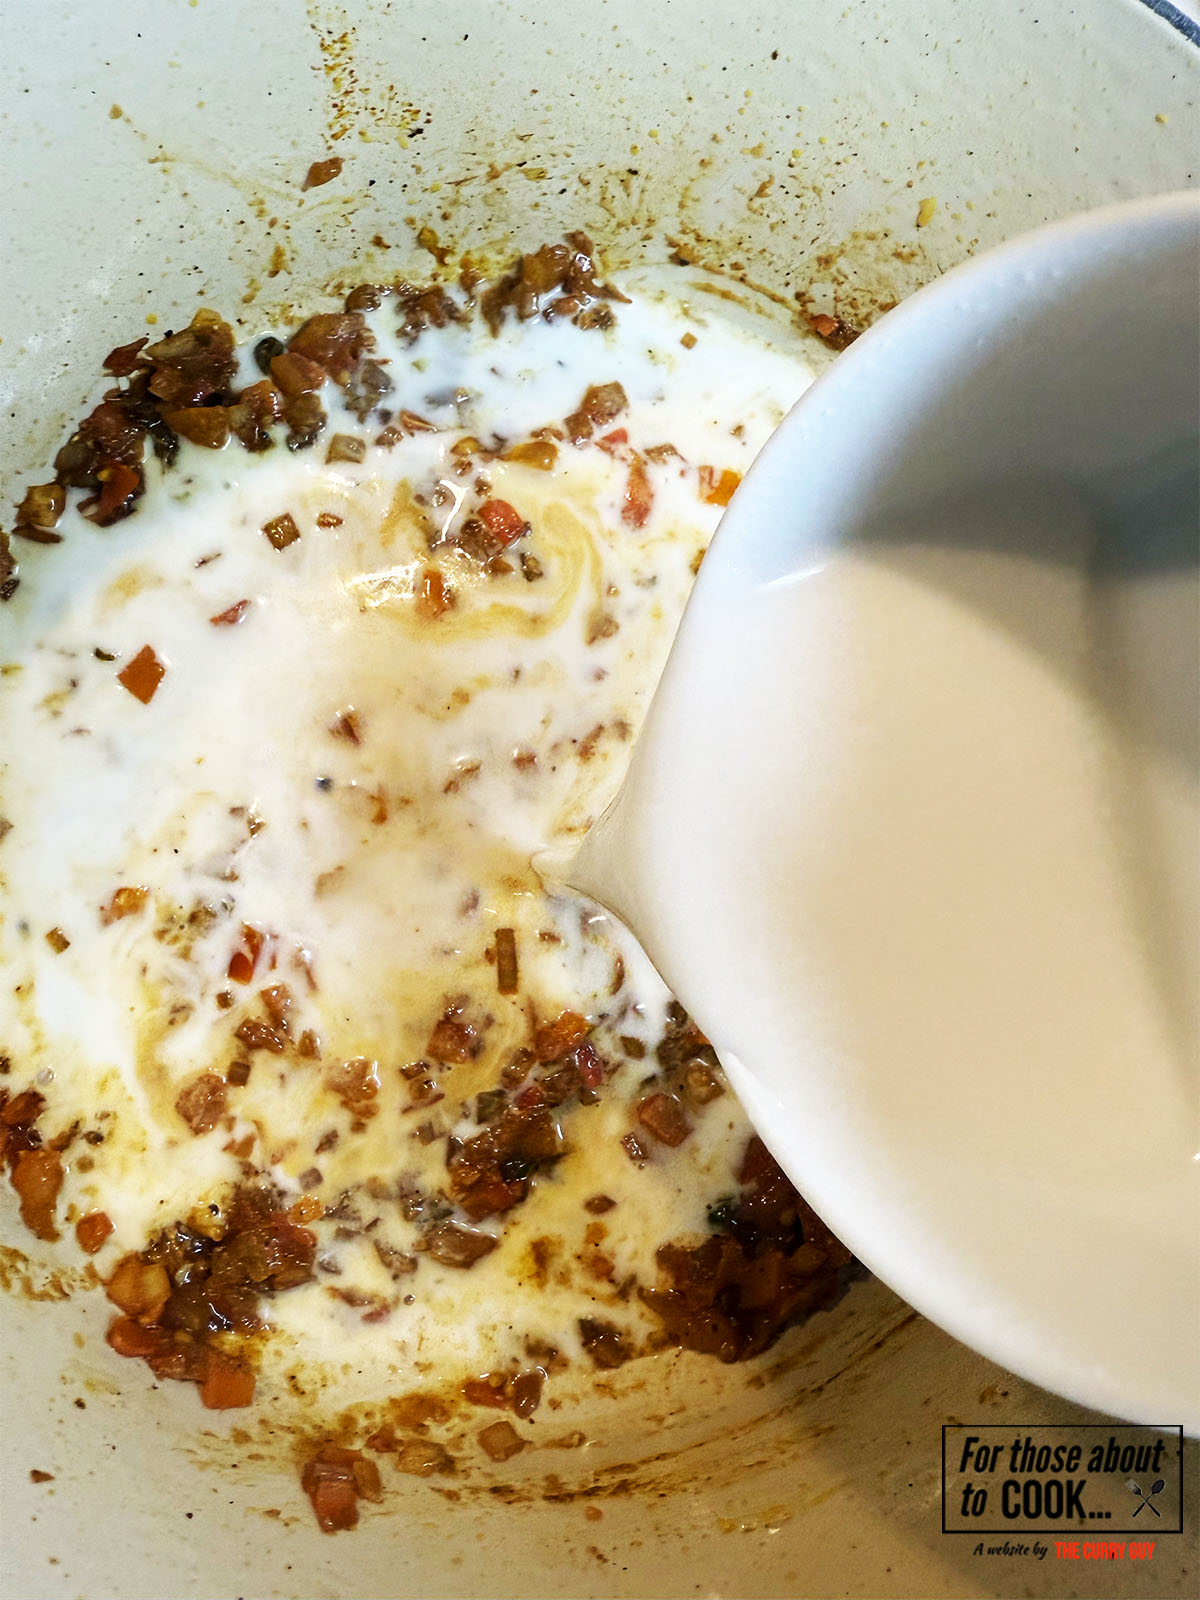
- Step 4: Mix a teaspoon of your harissa paste with your chicken stock. Slowly add your harissa chicken stock to the pan and whisk together. Keep adding until your achieve your desired thickness.

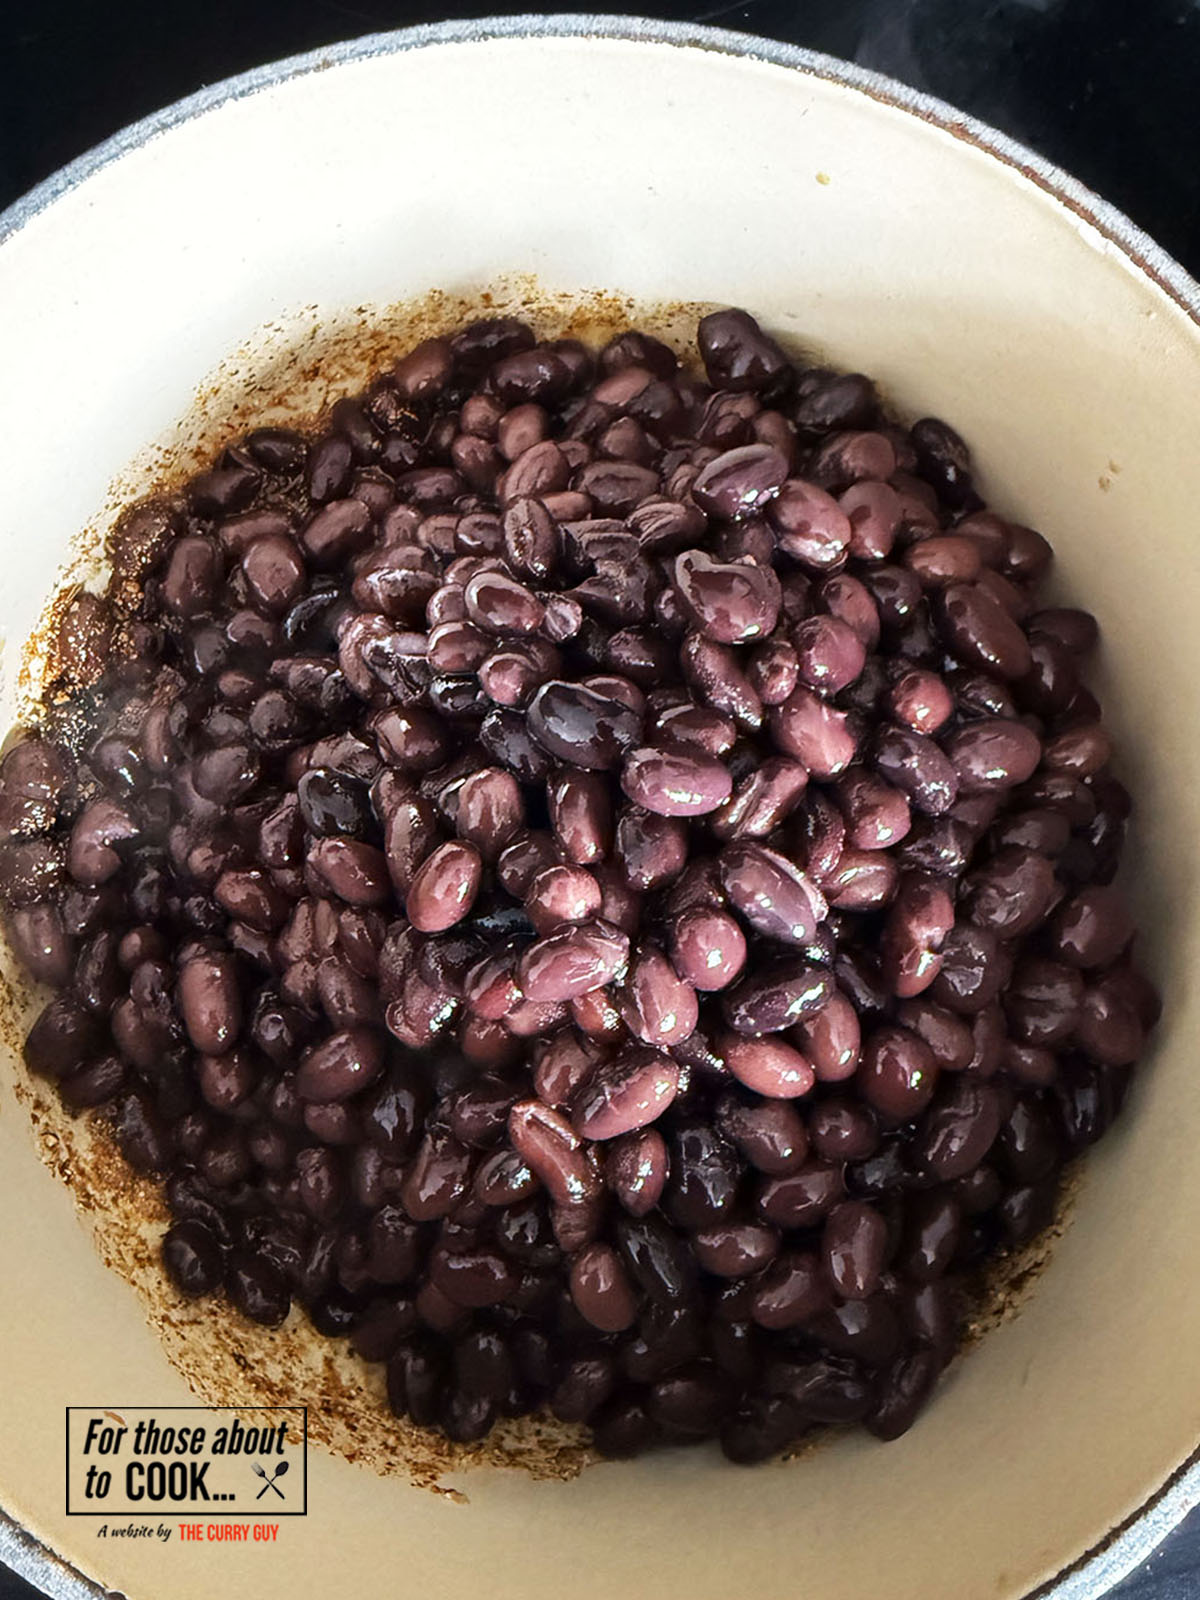
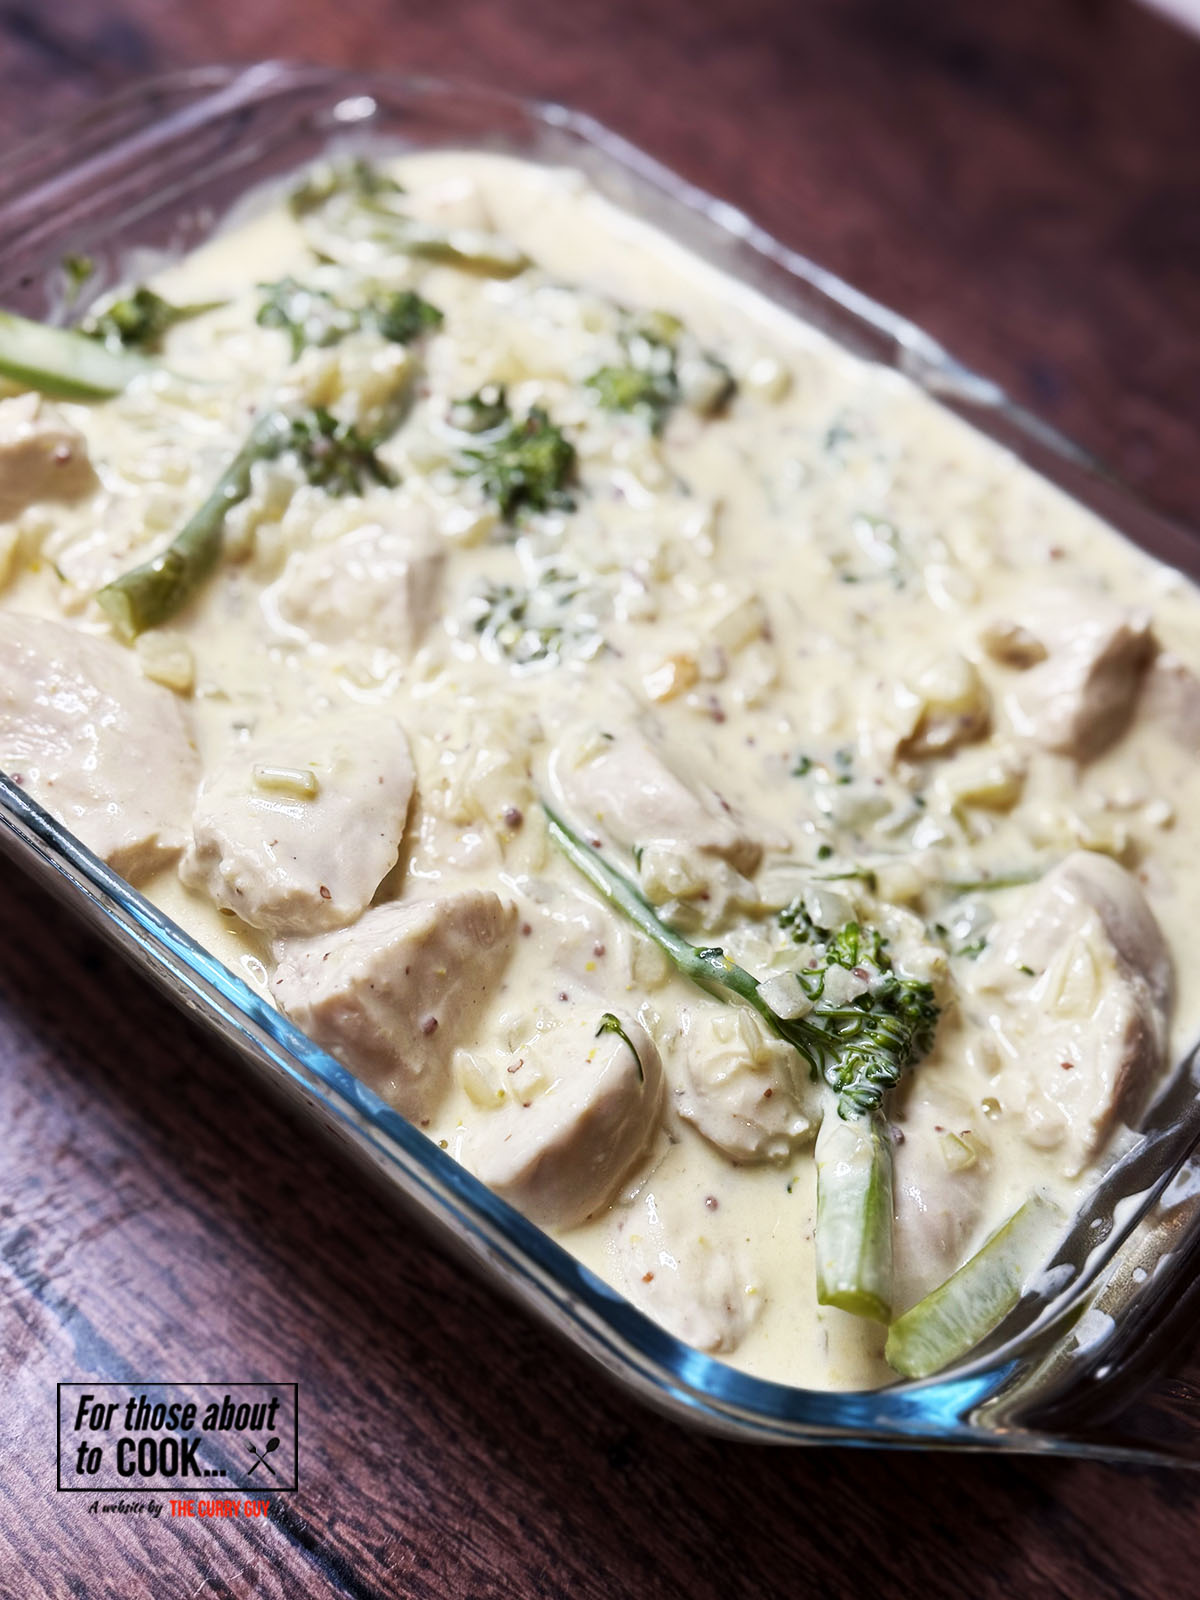
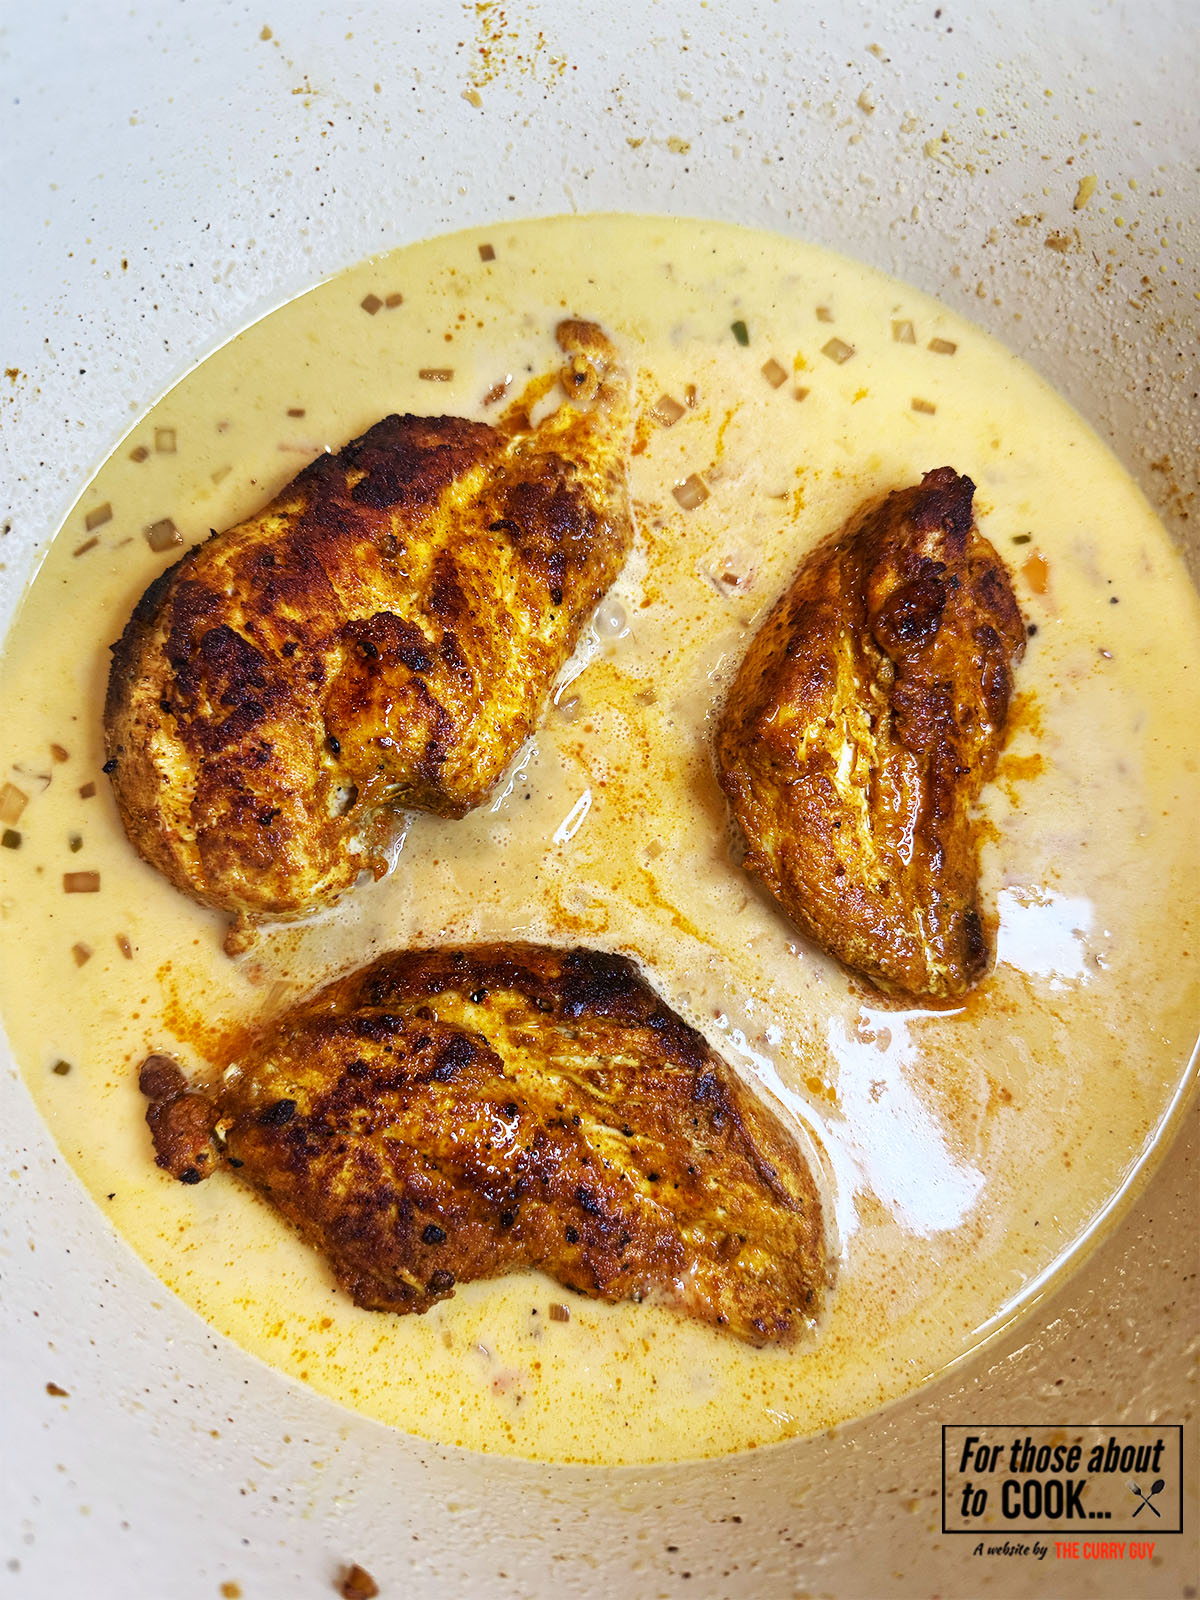
- Step 5: Return your chicken thighs to the pan and simmer for 10 minutes.

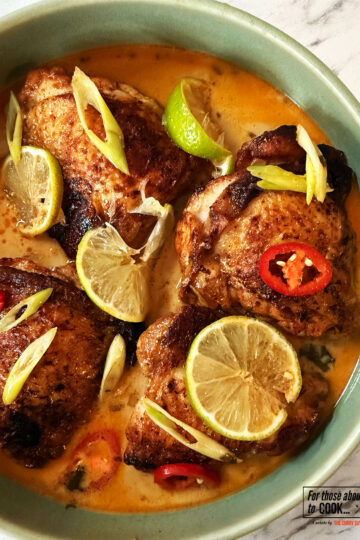
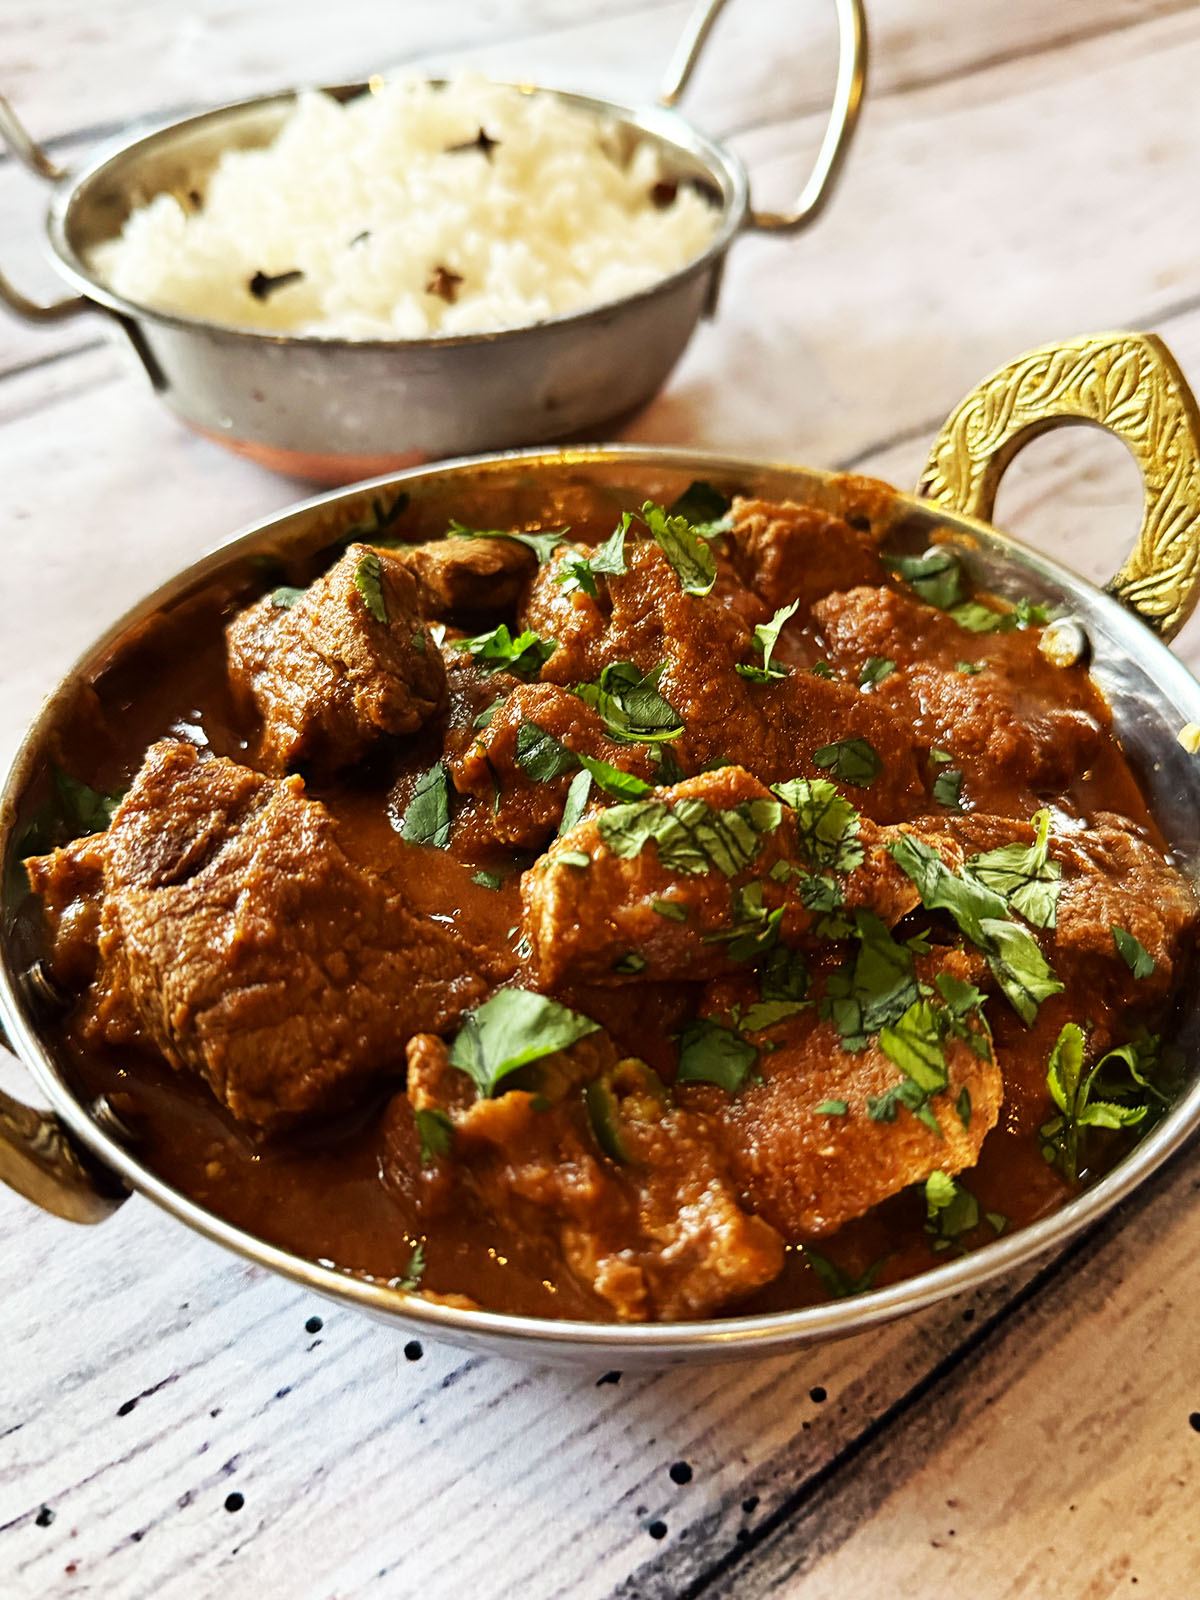
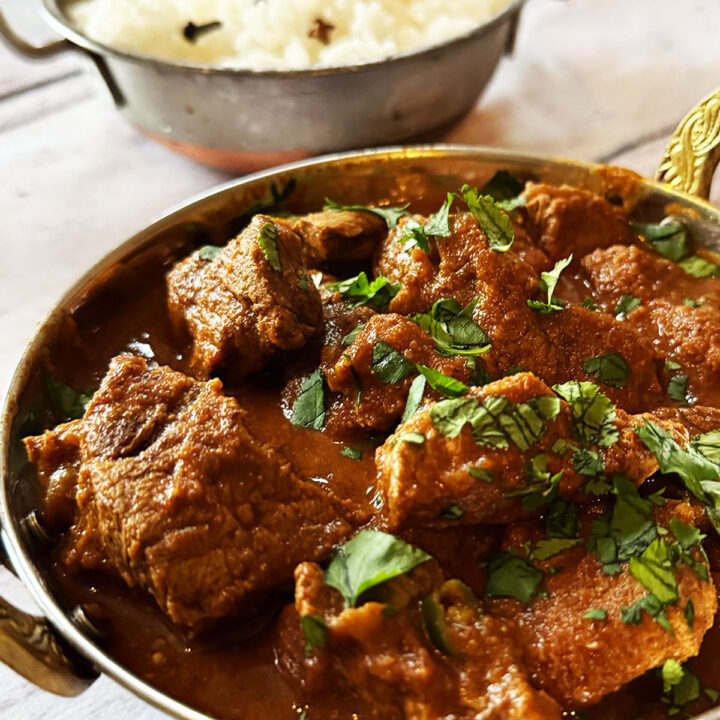
- Step 6: Top with pomegranate seeds and pistachios. Serve with mashed or roasted potatoes and Mediterranean salad. Dig in!
Hint: Brush off any excess marinade and garlic pieces before frying your chicken to avoid burning.
Substitutions
This Honey Harissa Chicken recipe is so unbelievably flavorful with minimal ingredients, but if you're wanting to change up a few flavors then here are a few ideas:
- Chicken thigh - Skin on chicken breast would work beautifully for this recipe. If you can source, bone-in skin-on chicken breast they will stay juicy and keep the crispy skin that makes this recipe so delicious.
- Chicken stock - You can use good quality vegetable stock instead of chicken stock as the chicken juices from the pan will add plenty of flavor to the sauce.
What can I serve this with?
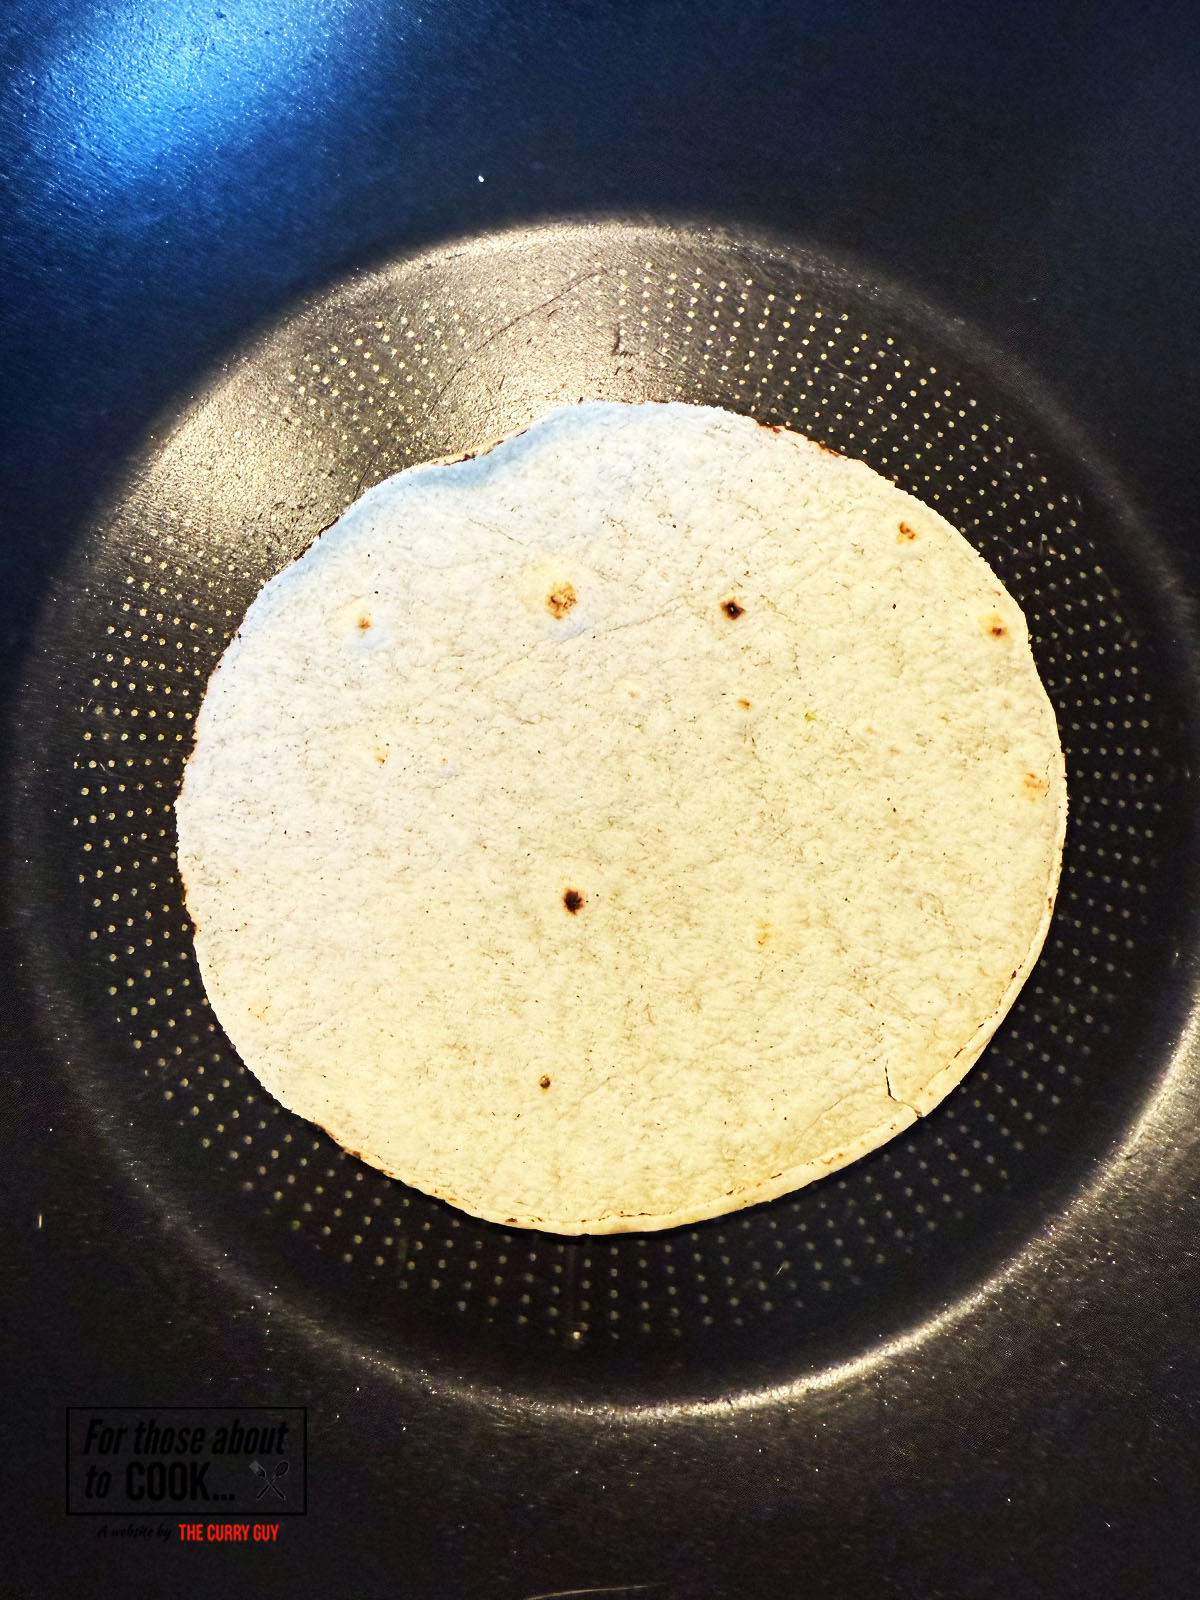
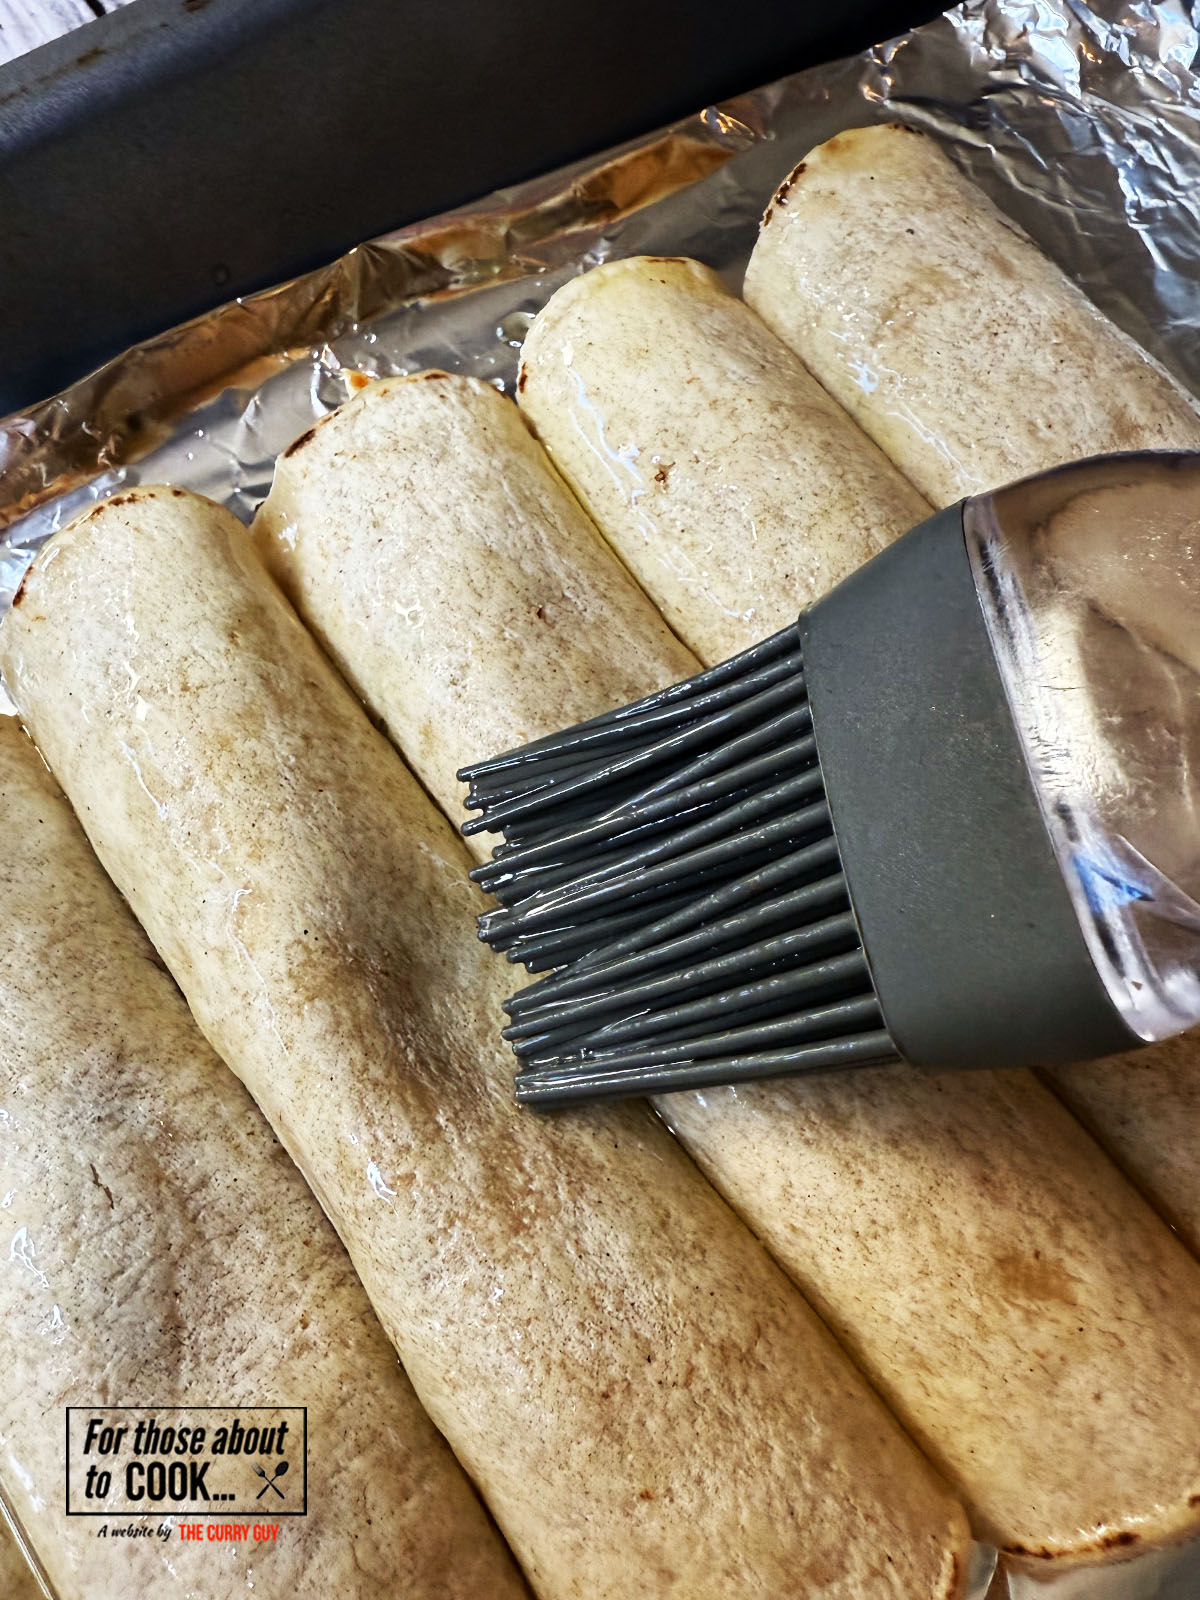
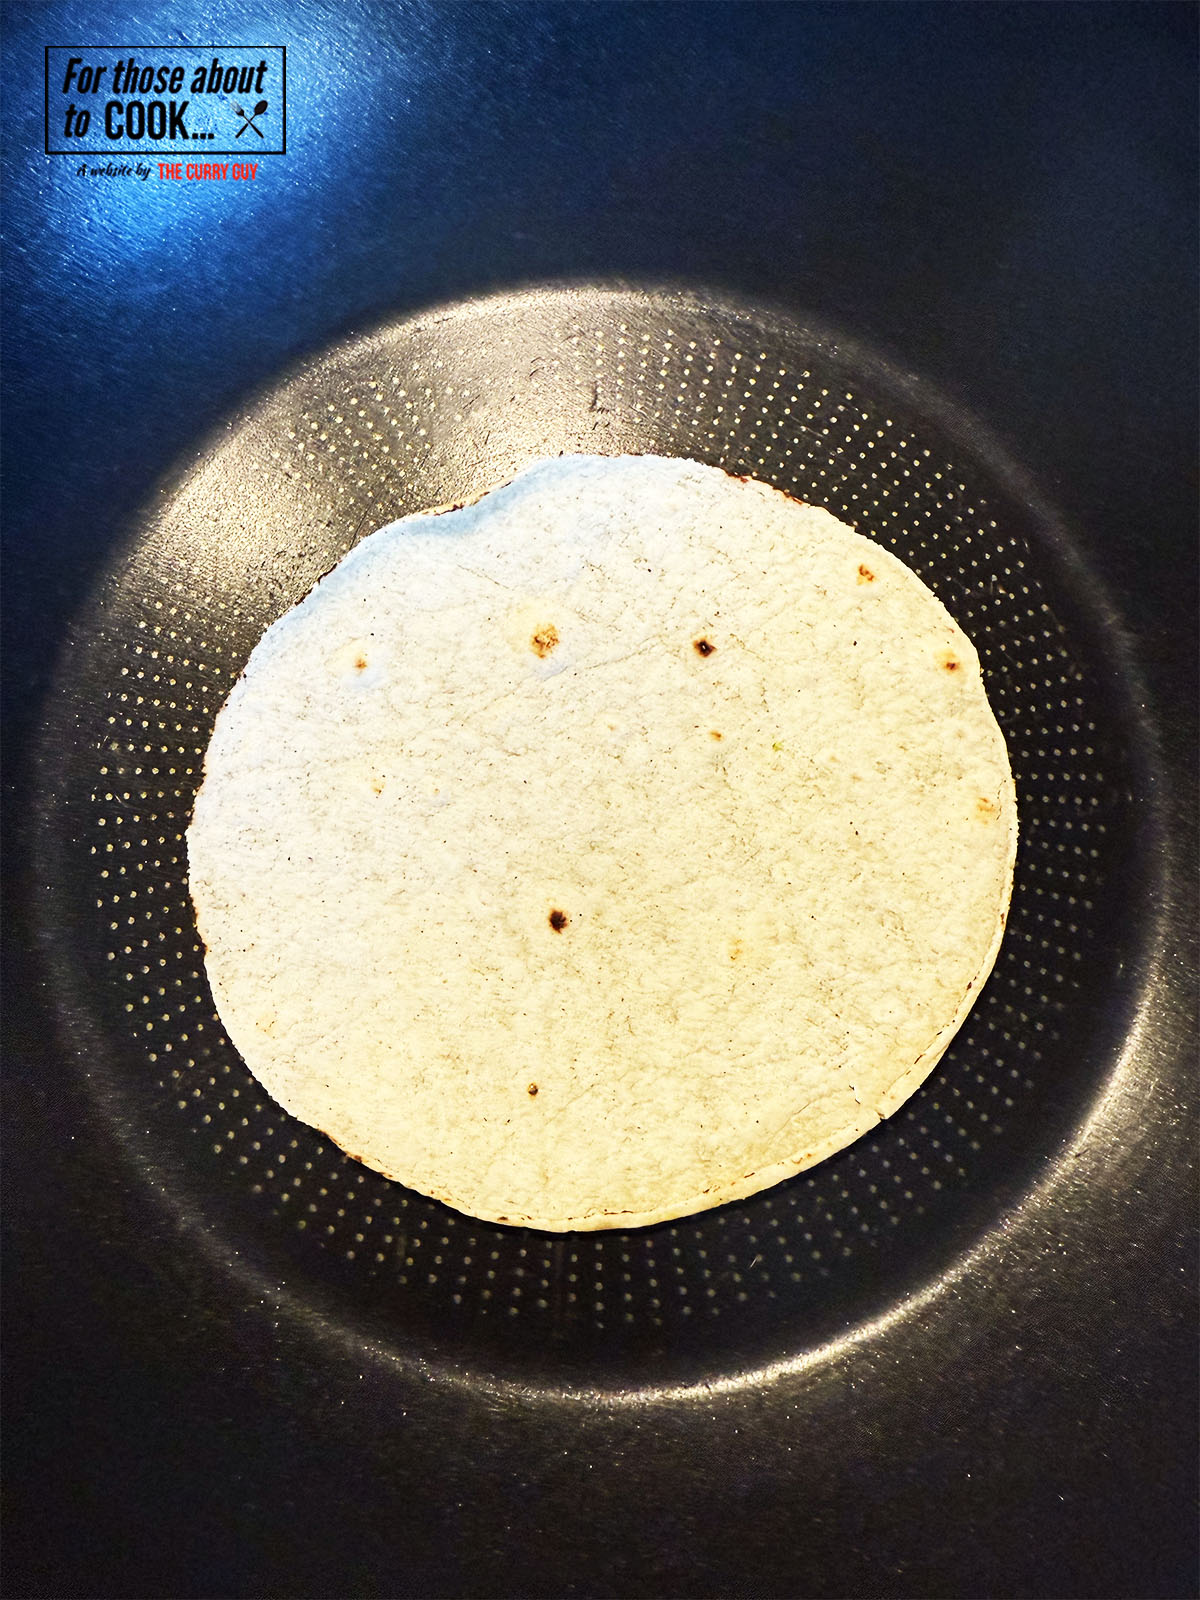
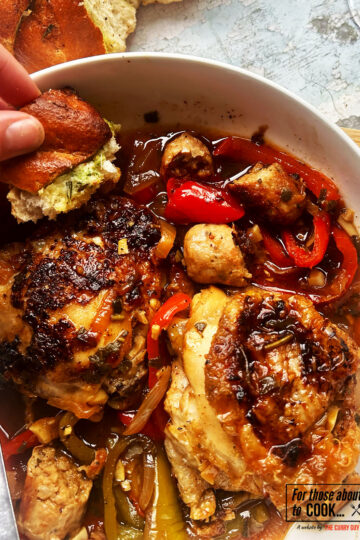
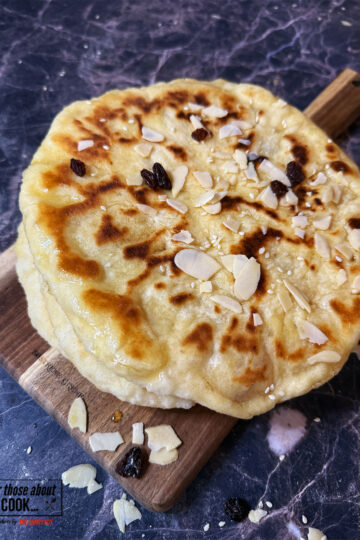
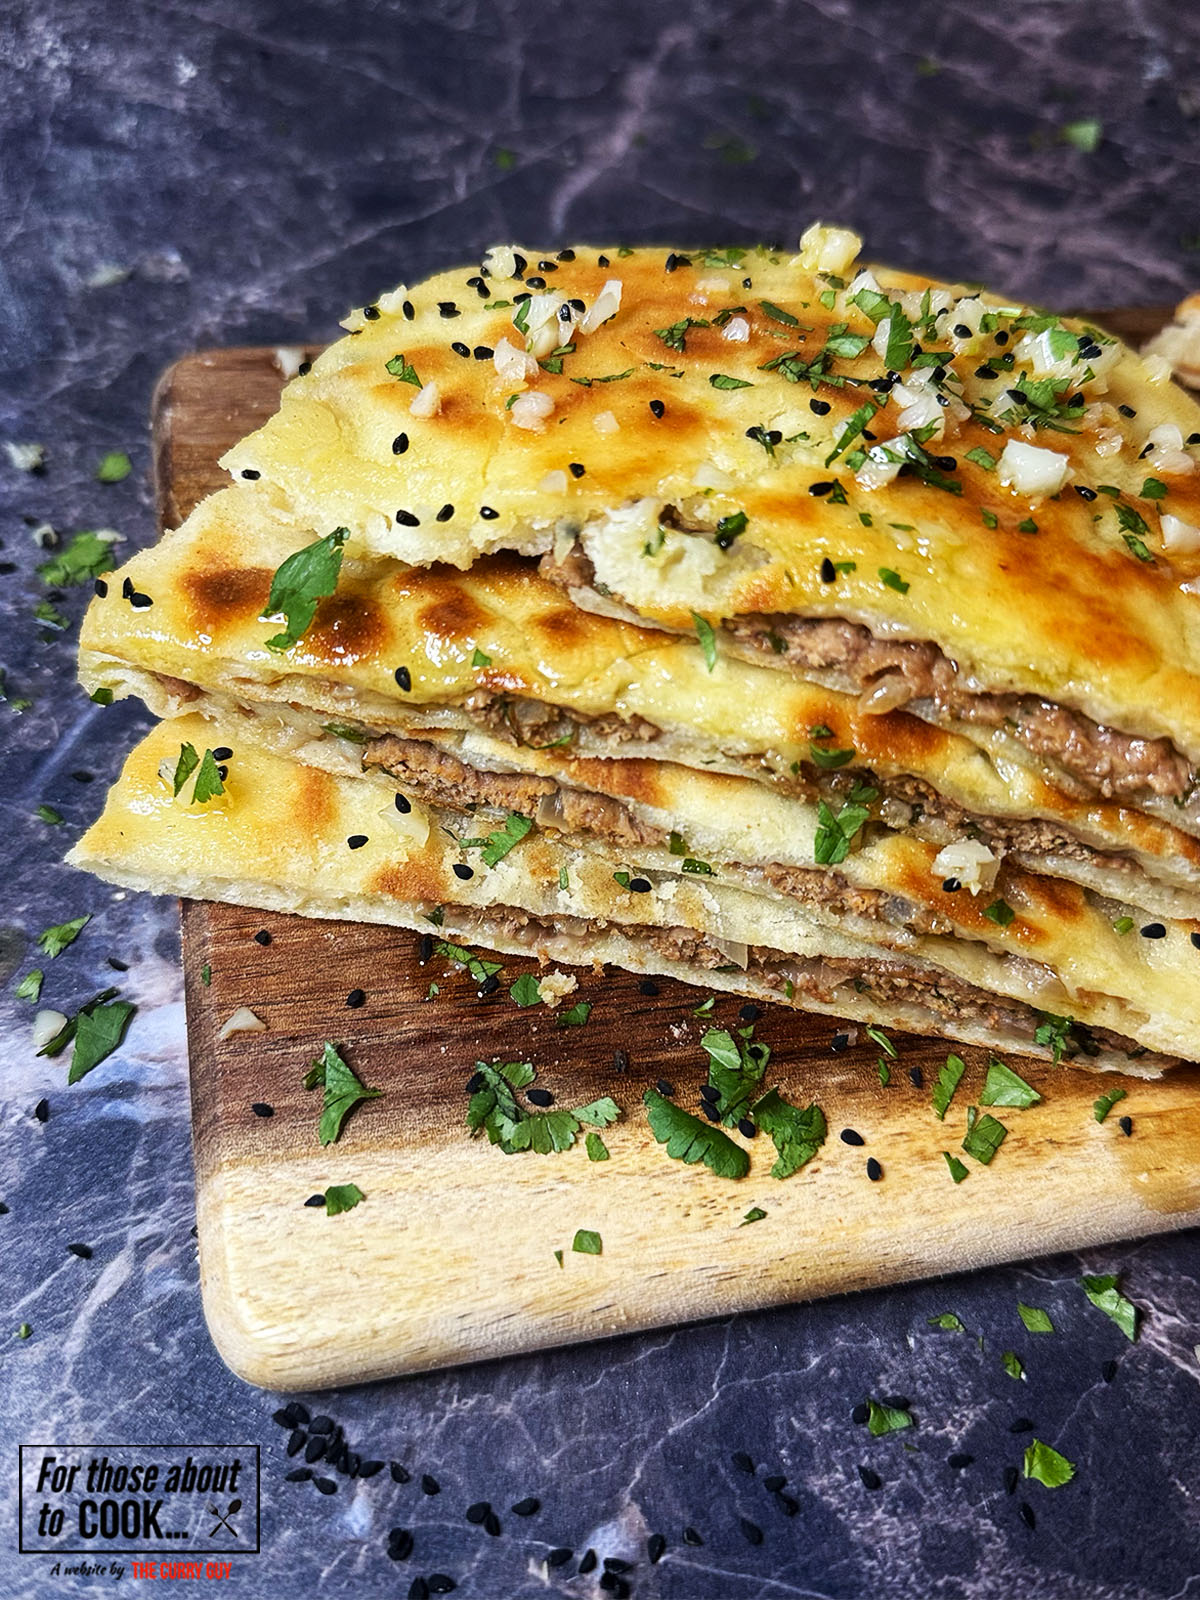
- Flatbreads - Mop up every last bit of the harissa sauce with these 3 ingredient flat breads.
- Rice - Soak up all the gorgeous harissa sauce with this easy basmati rice recipe!
- Mashed potatoes - Serve on a bed of Perfect Creamy Mashed Potatoes and drizzle over the gorgeous harissa sauce.
Equipment
Large pot for frying
Large bowl for marinating
Serving Size (Serves 2)
This recipe is written to serve 2. If you’re feeding 5 or 6, you can easily double or triple the recipe, or sometimes it’s as simple as adding an extra piece of protein and adjusting the sides. Make it yours, enjoy the process, and don’t stress about being exact.
Note: Nutritional information provided in the recipe card below is a rough guide only. Values can vary depending on the exact ingredients and quantities you use.
Storage
Fridge: Allow your Honey Harissa Chicken to cool completely, then store in an airtight container for up to 3 days. Flavours often develop even more after a night in the fridge.
Freezer: Portion and freeze for up to 3 months. Defrost overnight in the fridge, then reheat gently on the hob or in the oven until piping hot.
Top Tip
When frying your chicken thighs to get that crispy skin, make sure you're frying on a medium heat and don't move the chicken around the pan! Allow the skin to crisp and caramelise to the bottom of the pan.
FAQ
Yes, but thighs stay juicier and handle high heat better. If using breast, be careful not to overcook, as it can dry out. Try finding skin on chicken breast to best replicate this Honey Harissa Chicken recipe.
Avoid microwaving. Reheat in a preheated oven or air fryer at 400F (200C) until hot. Adding a fresh squeeze of lime after reheating brightens the flavor.
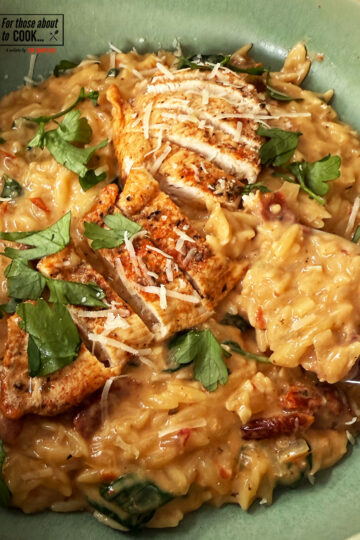
Related
Looking for other recipes like this? Try these:

Pairing
These are my favorite dishes to serve with Honey Harissa Chicken:


Recipe

Honey Harissa Chicken
This Honey Harissa Chicken is a flavor sensation! Juicy chicken thighs fried until beautifully golden then simmered in a glossy harissa sauce
Ingredients
- FOR THE CHICKEN:
- 17 oz (500g) Skin on chicken thighs
- Olive oil
- 2 tablespoon Harissa paste
- 1 tablespoon Tomato puree
- 2 tablespoon Honey
- 1 tablespoon Lemon juice
- ½ teaspoon Coriander powder
- ½ teaspoon Paprika
- 2 Garlic cloves (minced)
- Salt and pepper to taste
- FOR THE SAUCE:
- 1 ½ tablespoon Plain flour
- 1 cup (250ml) Chicken Stock
- 1 teaspoon Harissa paste
- Lemon juice
Instructions
- To a large bowl, add your harissa paste, honey, lemon juice, coriander powder, paprika and minced garlic. Add 3 tablespoon of olive oil and mix well. Add your chicken thighs and coat. Marinade for 2 hours or overnight.
- To a large pot, on a low-medium heat, fry the chicken thighs skin side down for 20 minutes or until the skin is crispy. Flip the thighs over, turn the heat to medium and fry for a further 12 minutes. Set to one side for later.
- In the same pan your fried your chicken in, add your flour and whisk around to pick up the excess flavours. Toast for 2 minutes until golden brown.
- Mix a teaspoon of your harissa paste with your chicken stock. Slowly add your harissa chicken stock to the pan and whisk together. Keep adding until your achieve your desired thickness.
- Return your chicken thighs to the pan and simmer for 10 minutes.
- Top with pomegranate seeds and pistachios. Serve with mashed or roasted potatoes and Mediterranean salad. Dig in!
Nutrition Information:
Yield: 2 Serving Size: 1Amount Per Serving: Calories: 705Total Fat: 40gSaturated Fat: 11gUnsaturated Fat: 29gCholesterol: 313mgSodium: 868mgCarbohydrates: 33gFiber: 4gSugar: 14gProtein: 63g
Have you tried this Honey Harissa Chicken recipe?
If yes, please give it a star rating in the recipe card below and leave a comment. We love receiving your feedback and I’m sure other readers of my blog do too. Thank you.
If you are not already doing so, please follow For Those About To Cook on Instagram and Facebook for all our latest recipes.