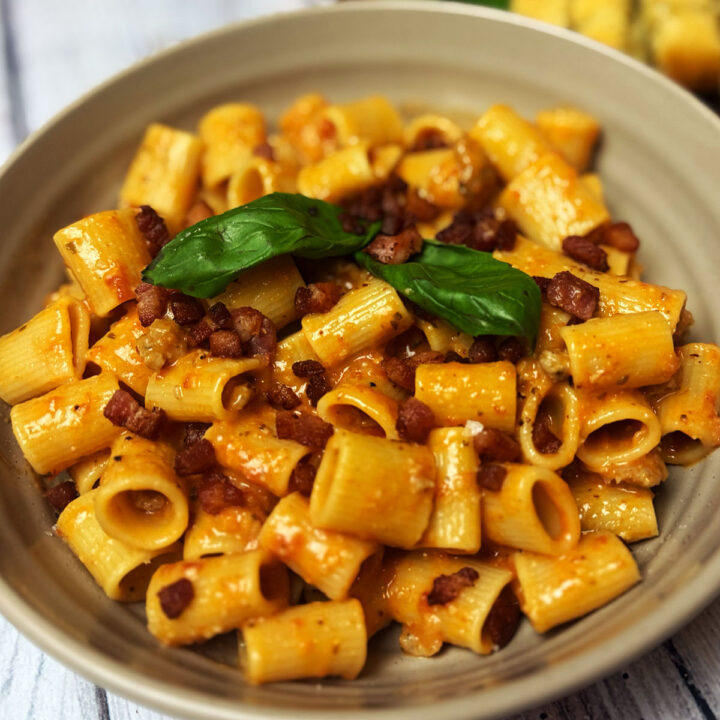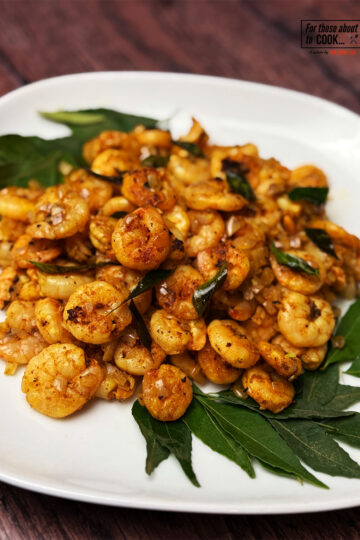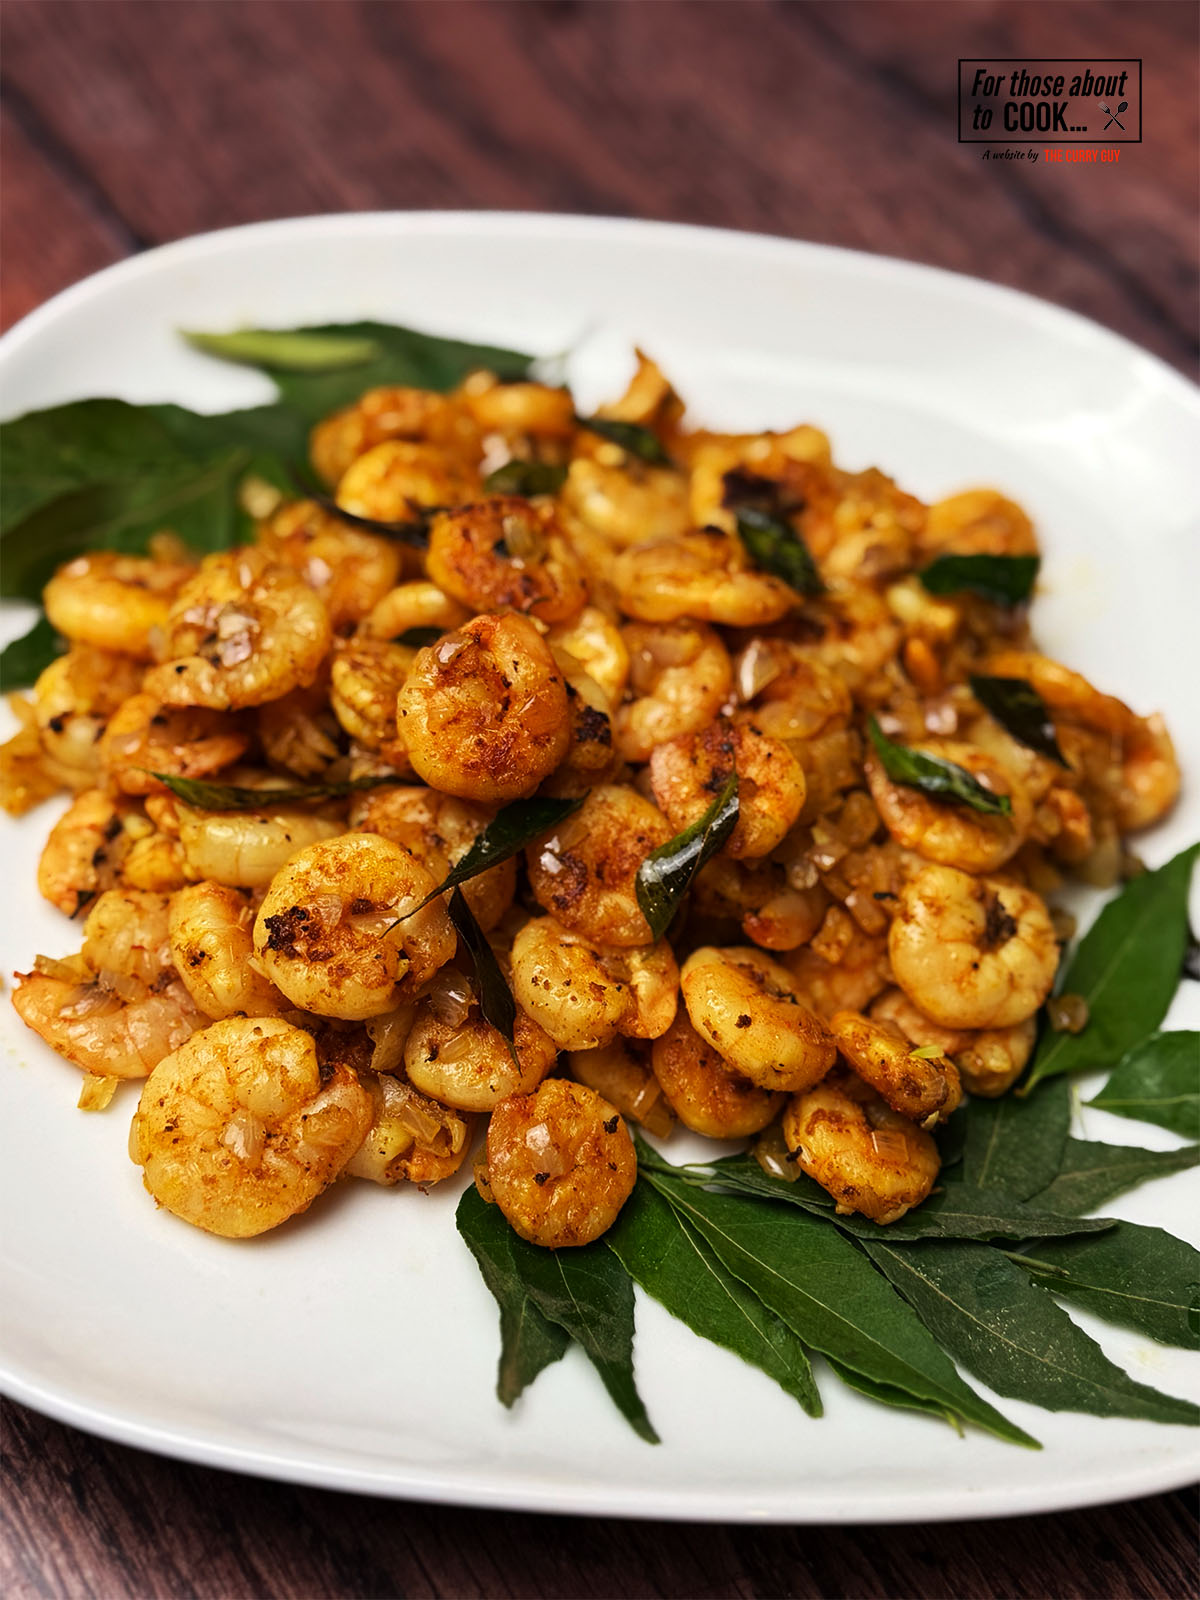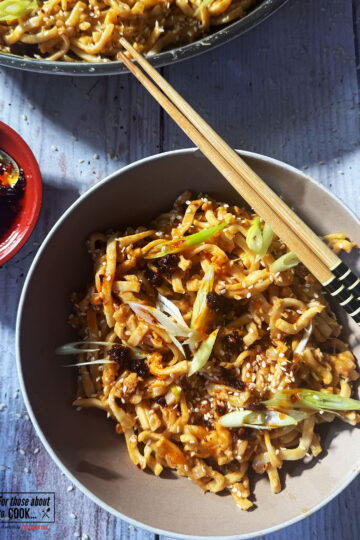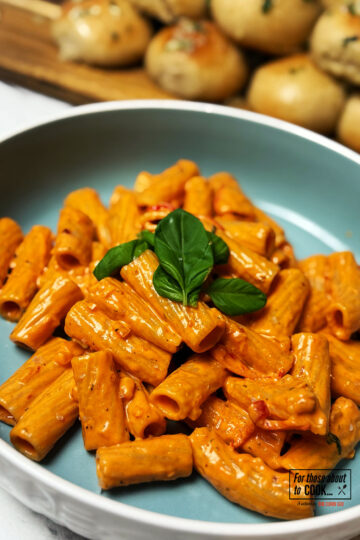
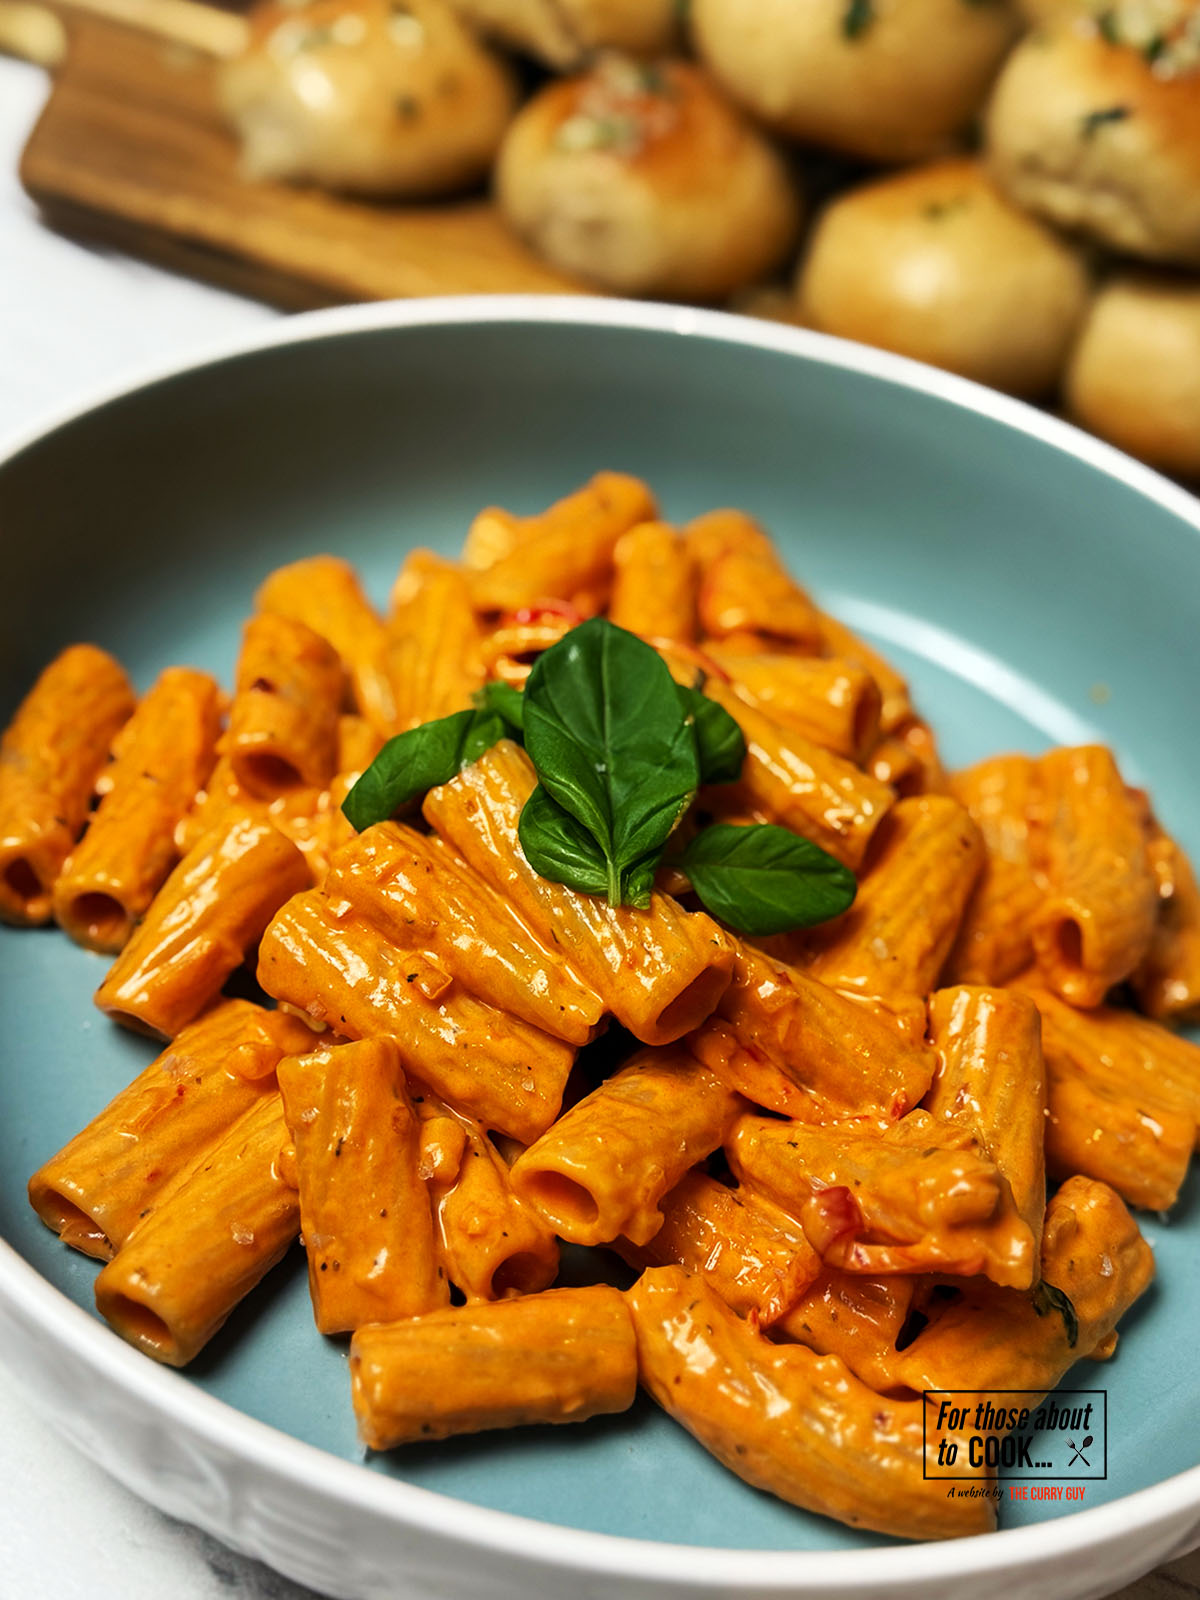
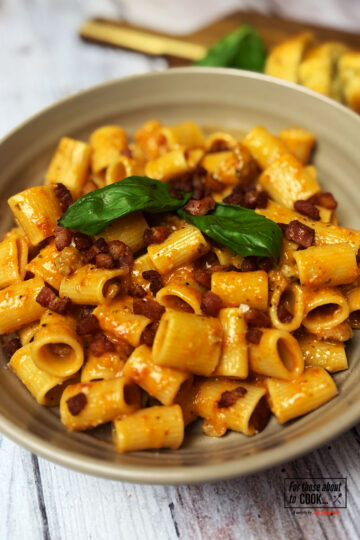
Spicy, creamy and comforting! This Spicy Vodka Pasta is the perfect quick and easy mid-week meal that layers Italian flavors beautifully! If you're after a creamy, tomato pasta with a kick of spice, this recipe is for you!

About This Spicy Vodka Pasta Recipe
This Spicy Vodka Pasta combines a rich tomato base with shallots, garlic, chilli, cream and a splash of vodka. The result is a silky, glossy sauce that clings beautifully to short pasta shapes like penne or rigatoni, coating every bite in a perfect balance of heat, sweetness and indulgent creaminess.
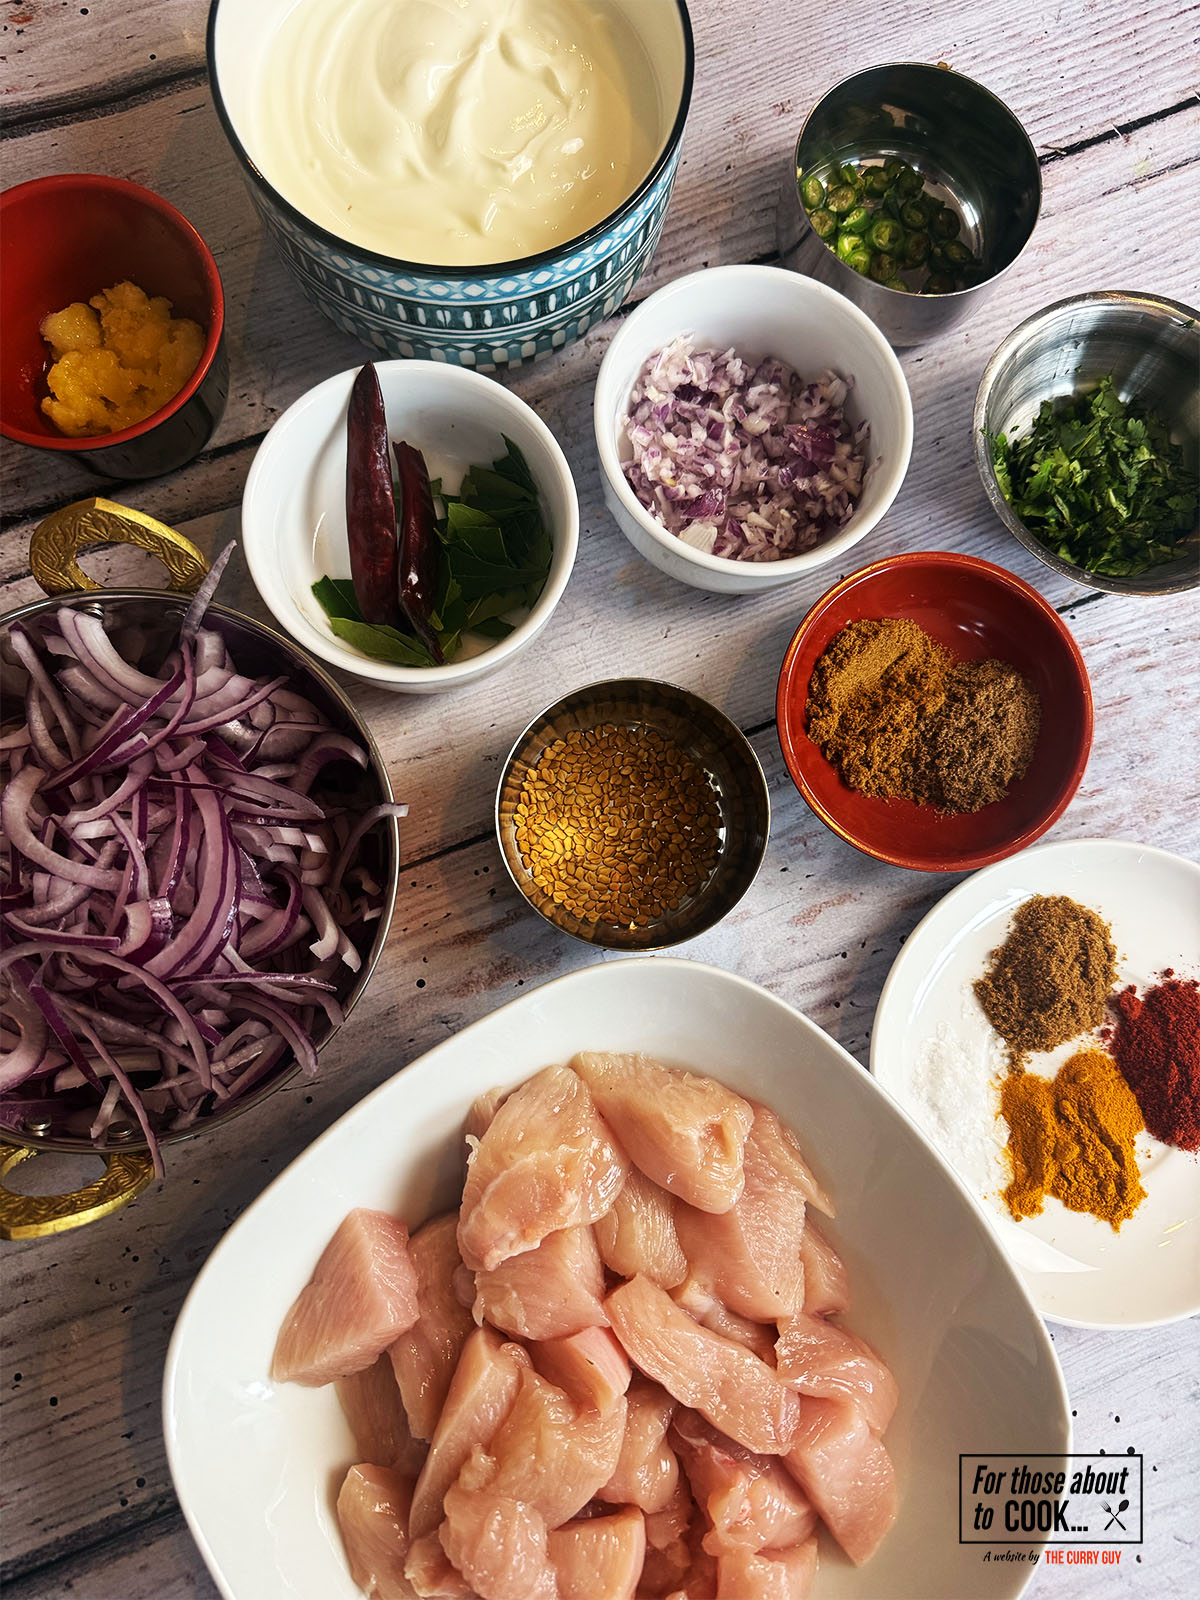
Ingredients
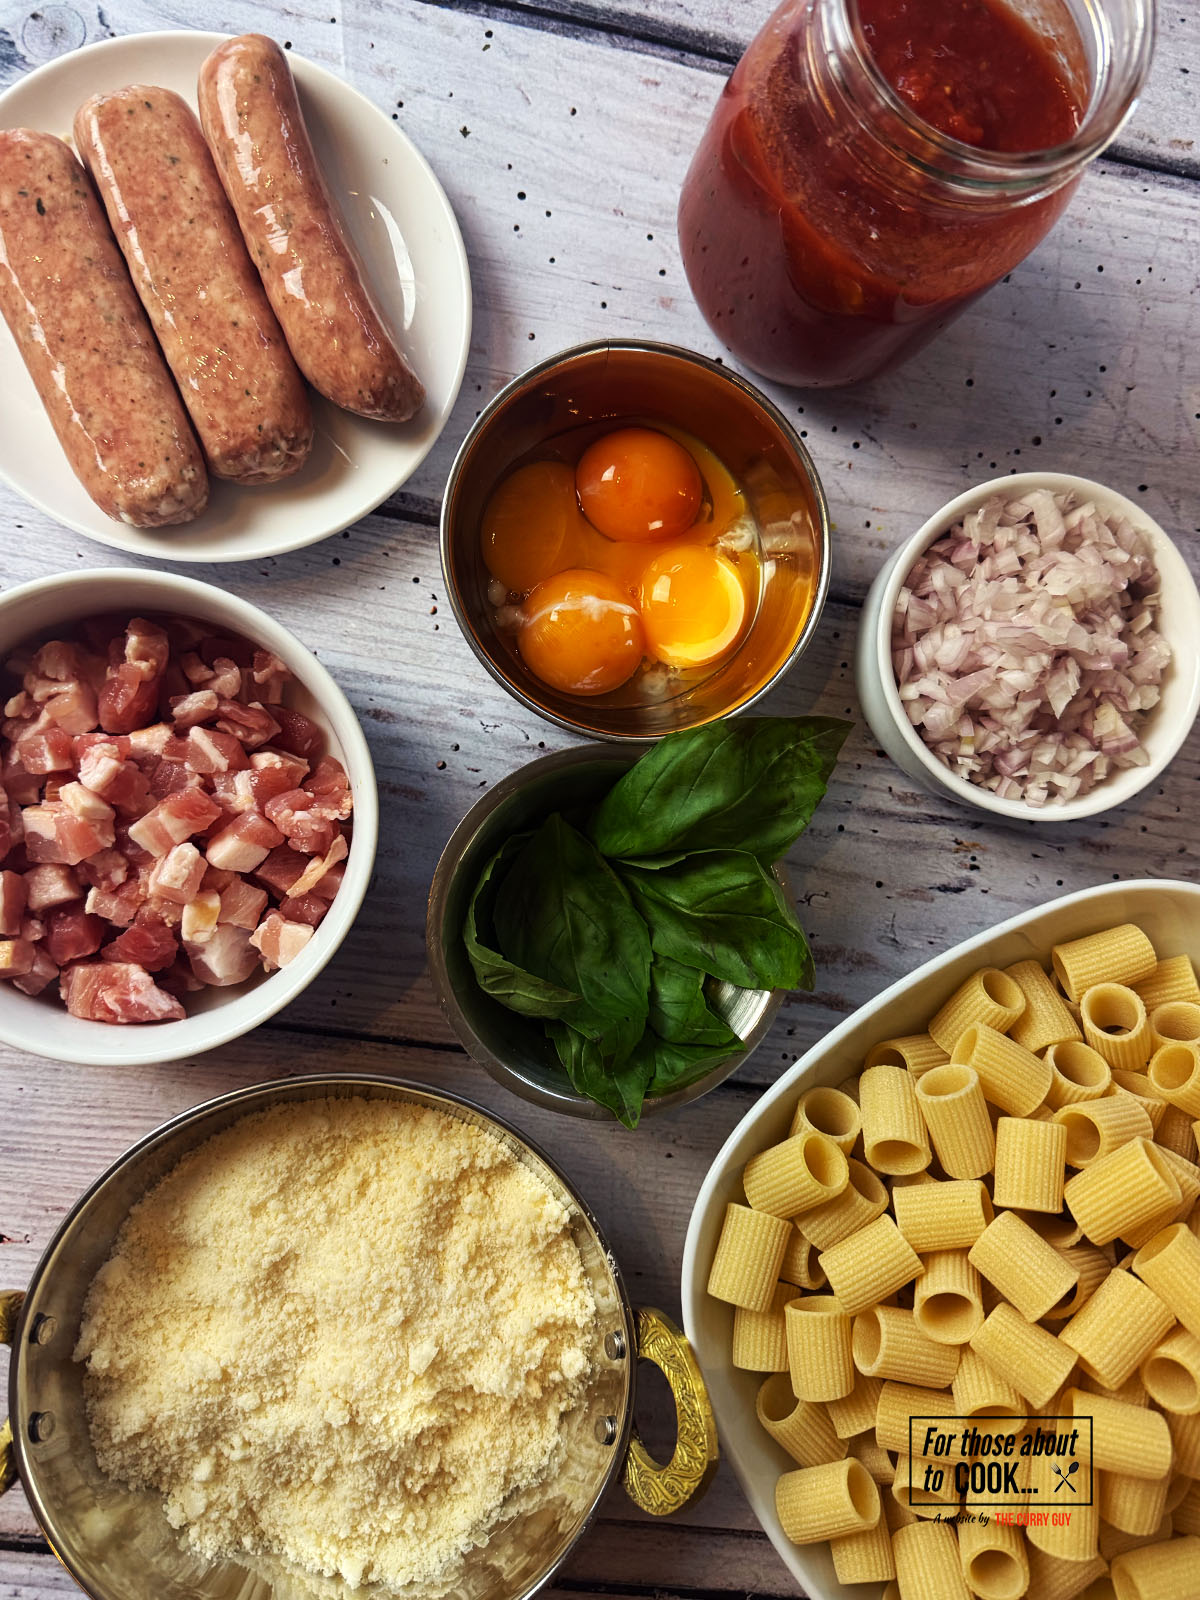
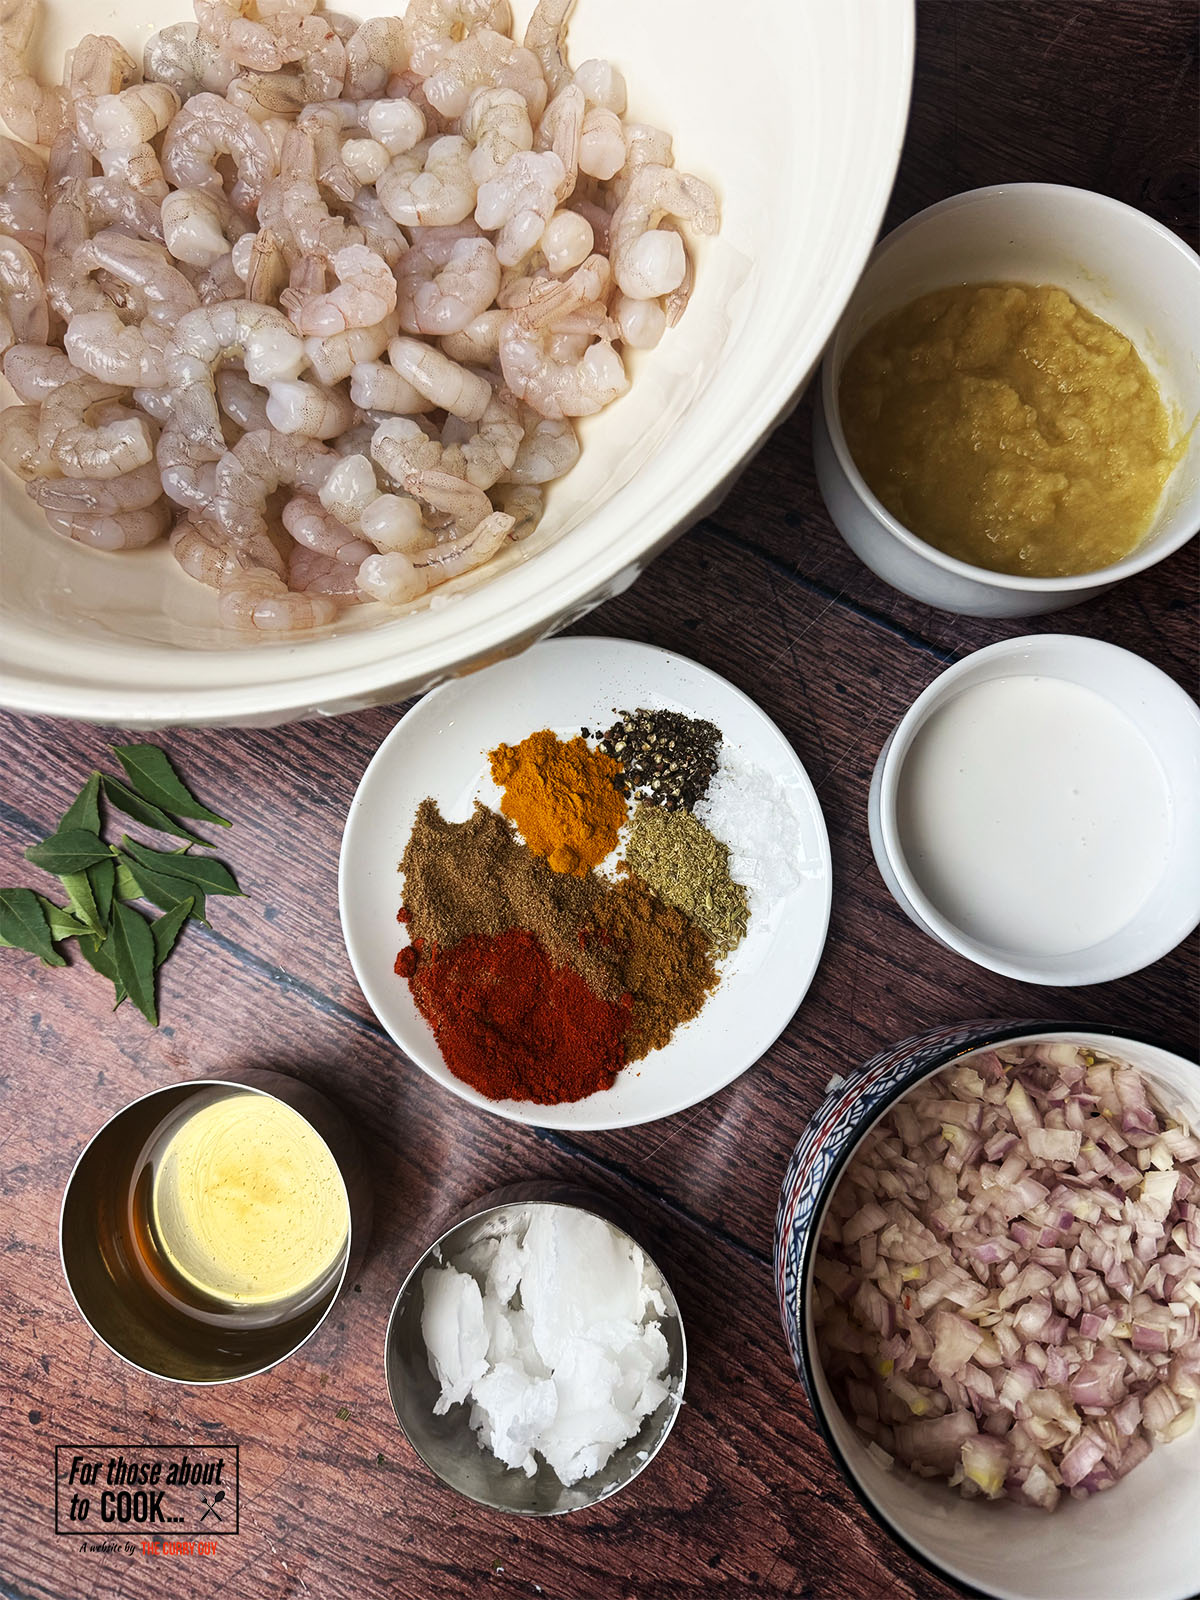
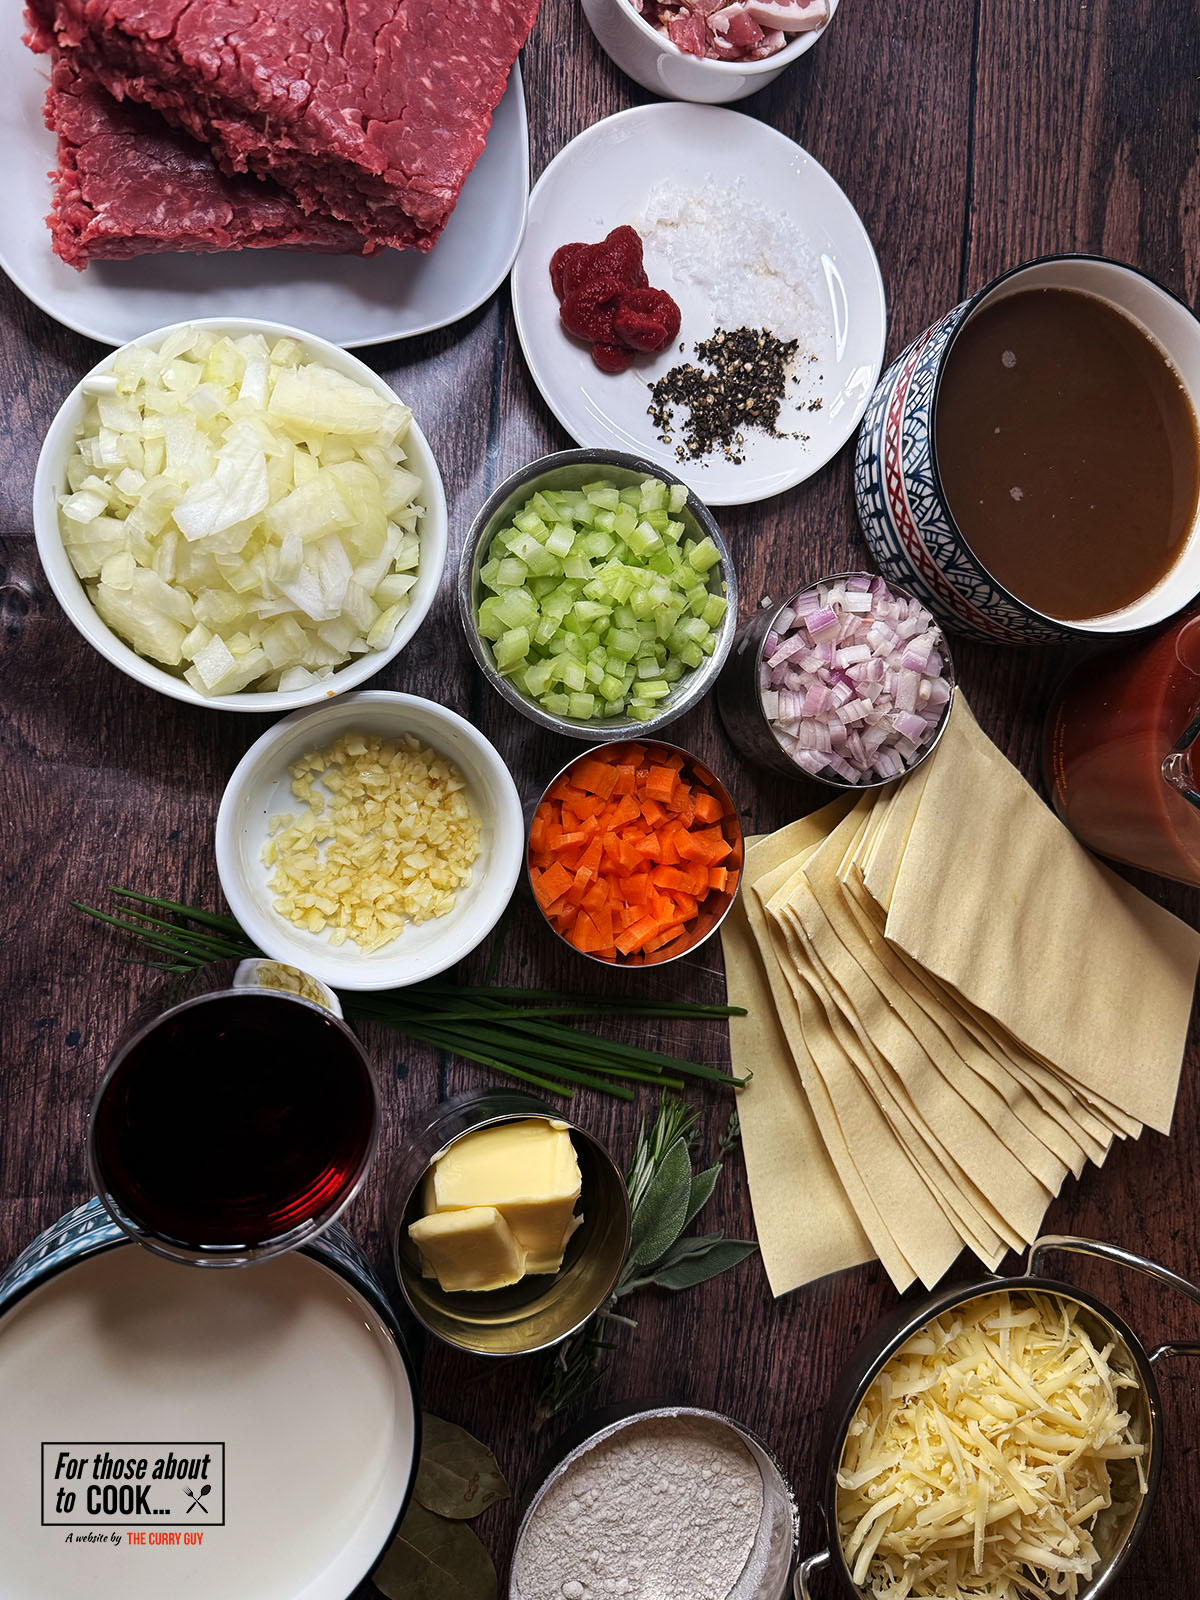
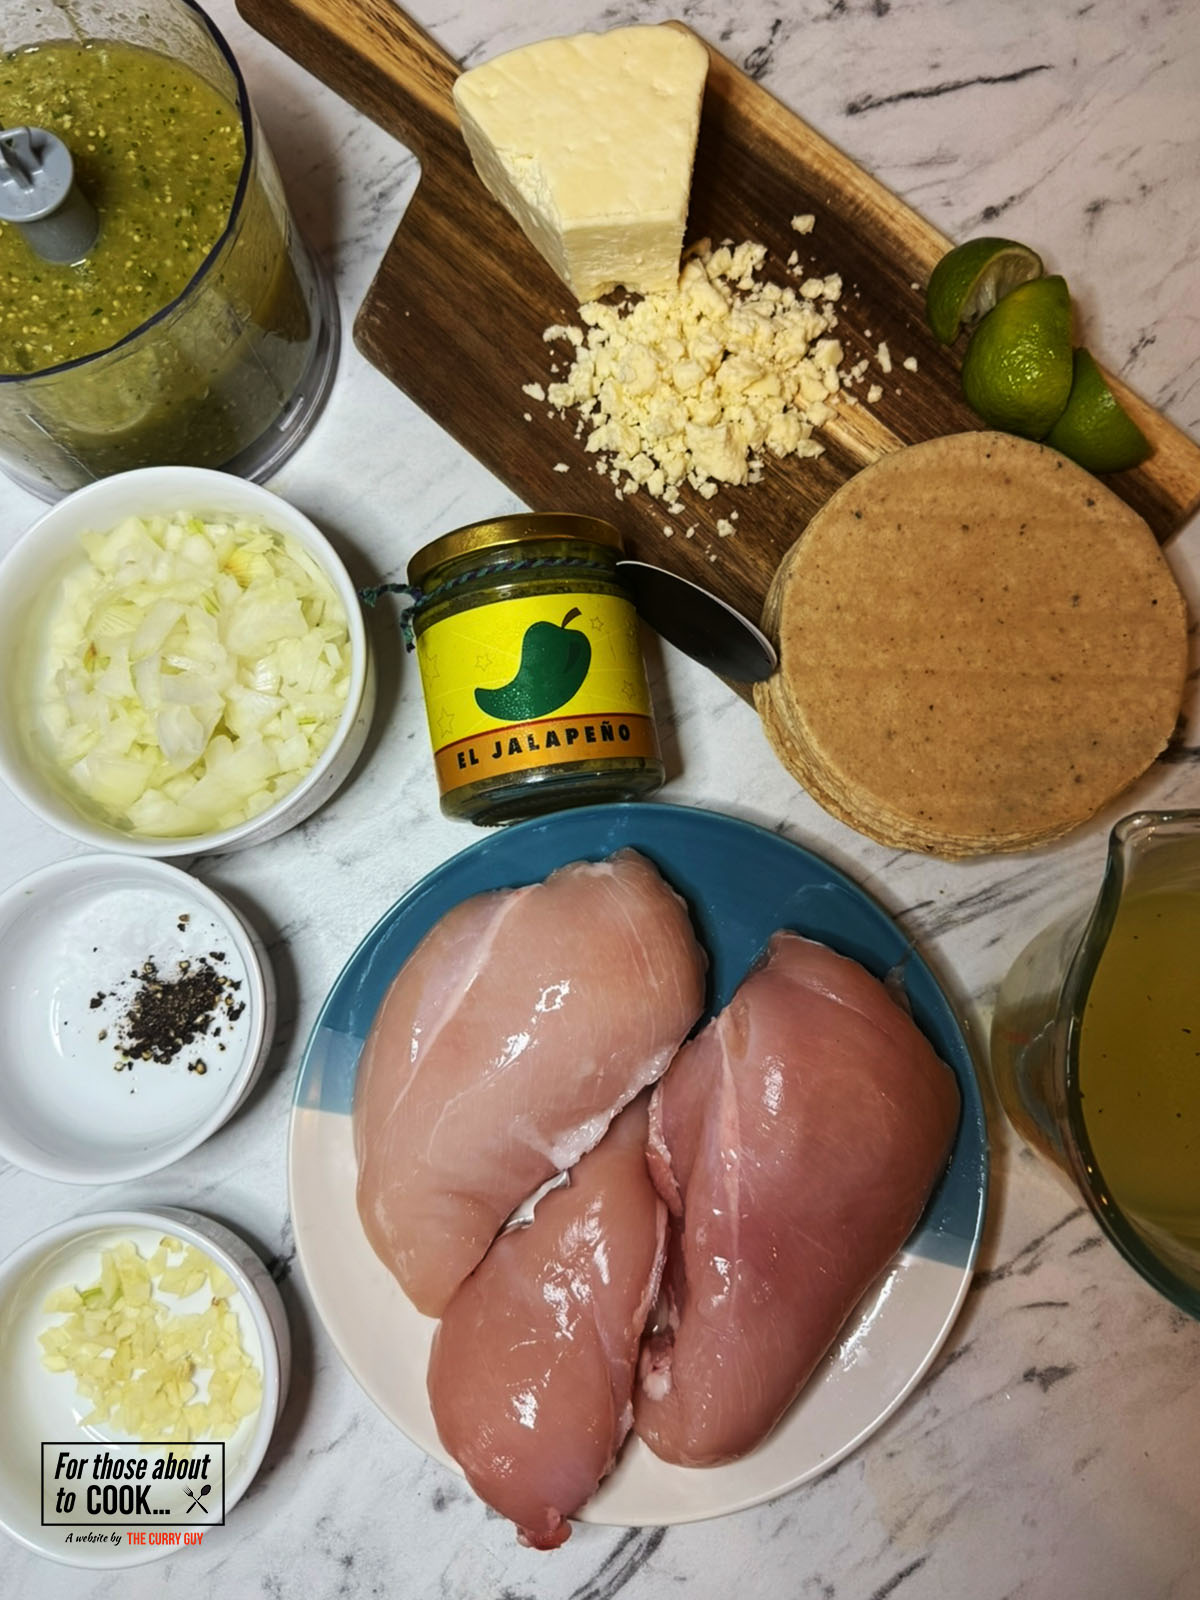
Using the freshest ingredients in this Spicy Vodka Pasta recipe makes all the difference. Below, you will see the ingredients laid out along with a list. Exact measurements and quantities can be found in the recipe card at the bottom of this page. Make sure to have everything ready and prepared before you start cooking for best results.

See recipe card for quantities.
- Rigatoni
- Shallots
- Clove garlic
- Chilli flakes
- Fresh red chillies
- Basil leaves
- Olive oil
- Mixed Italian herbs
- Tomato puree
- Vodka
- Heavy cream
- Parmesan cheese
- Basil to garnish
See recipe card for quantities.
Step by step photographs
You will find photographs of each step below, along with a full layout including the ingredients in the recipe card. Use whichever format works best for you. These steps are clear and easy to follow, so you can cook along with confidence.
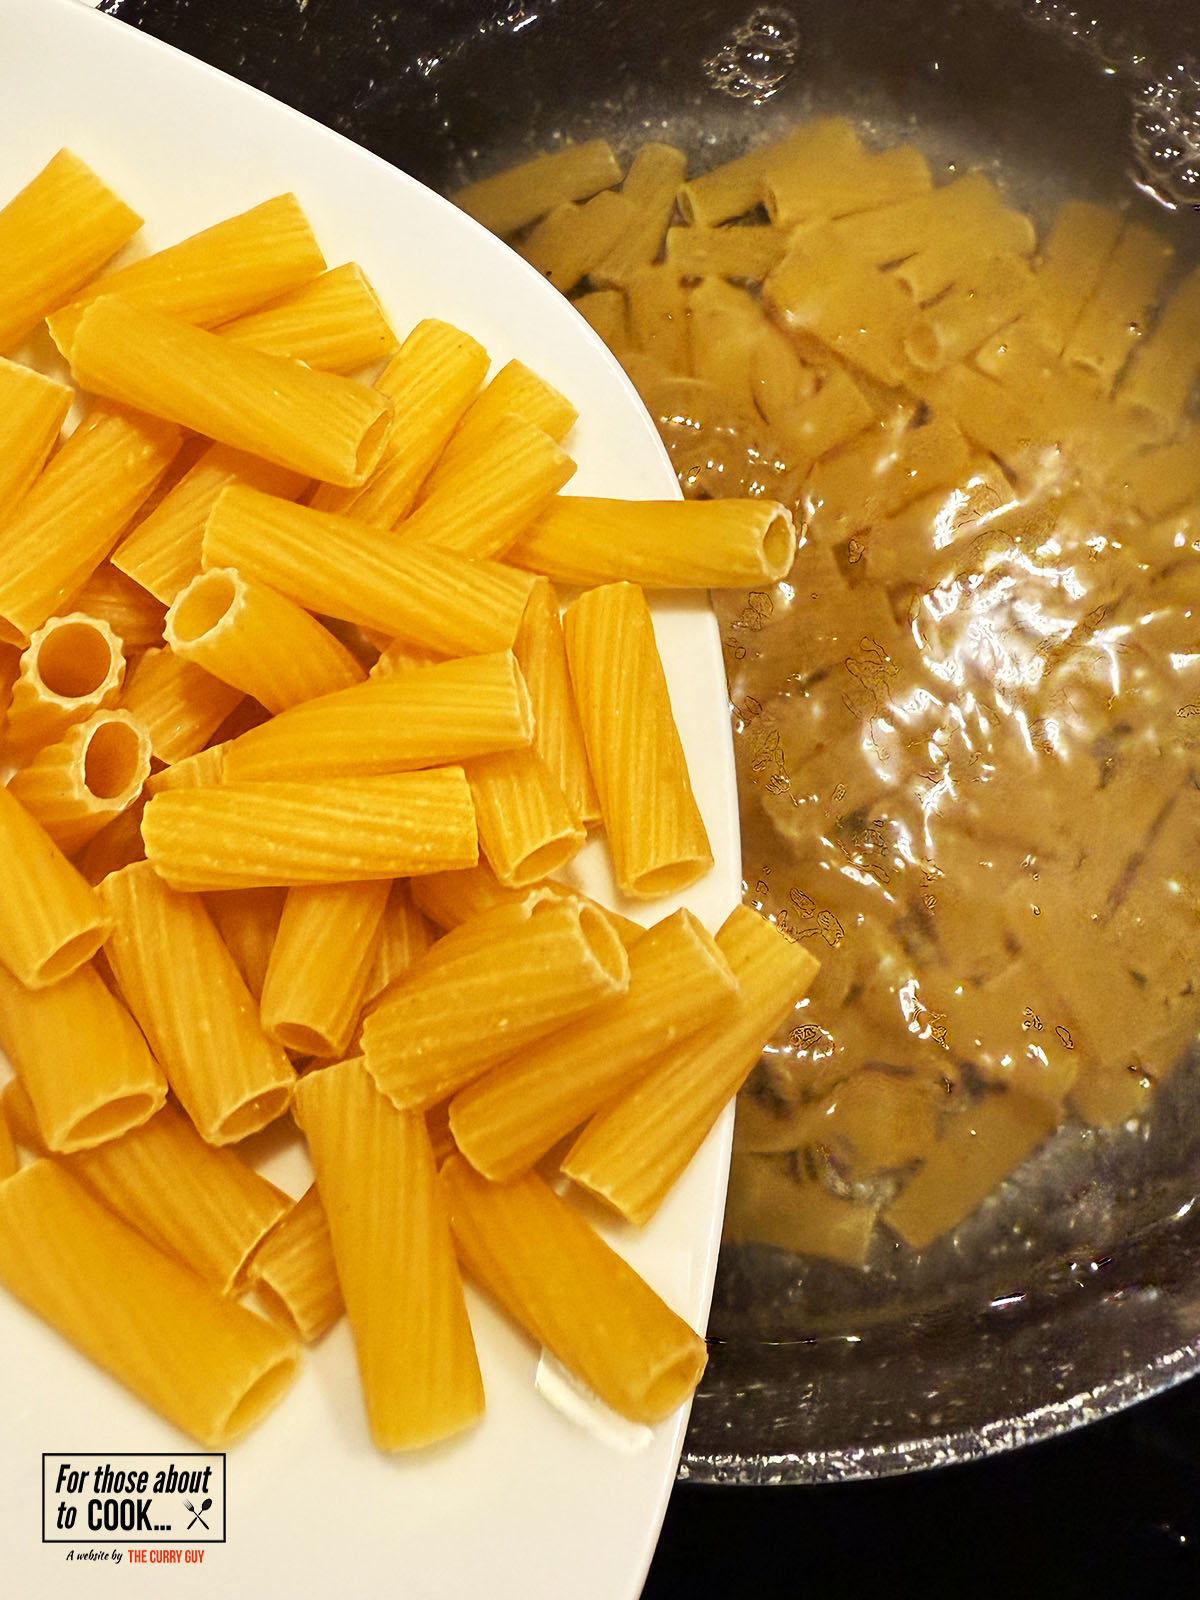
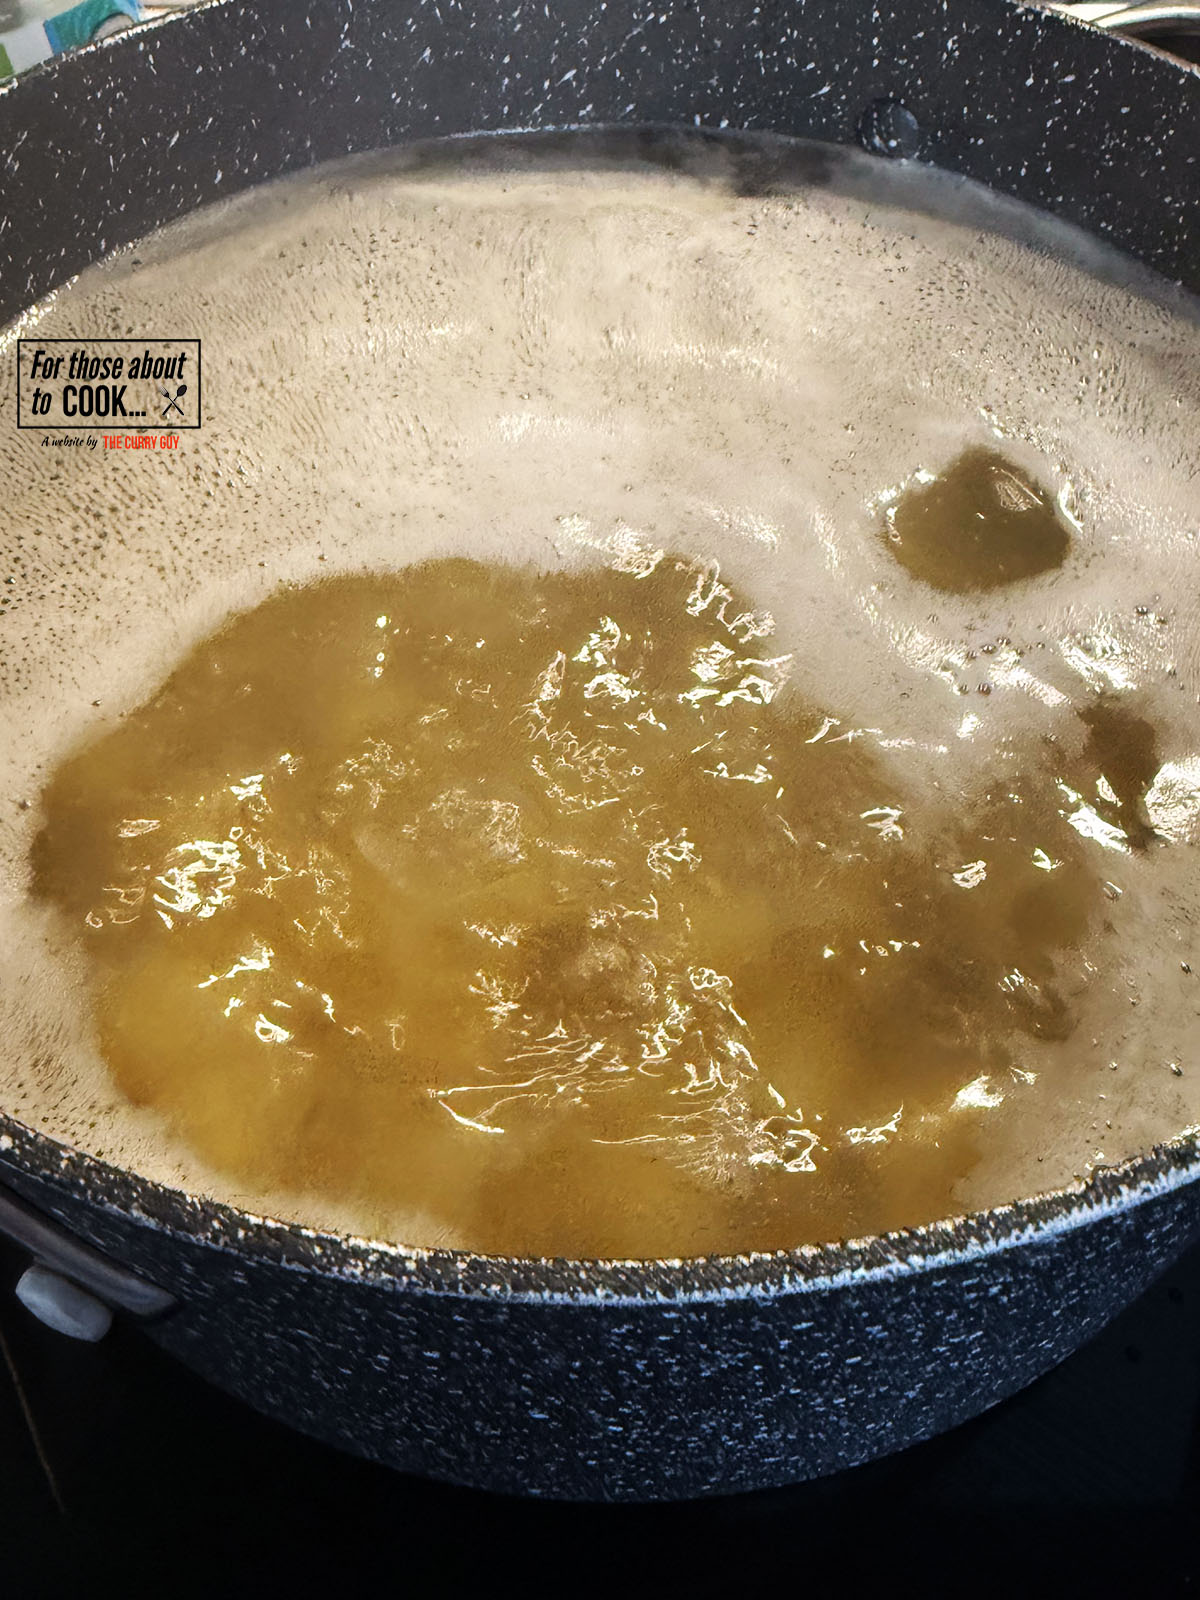
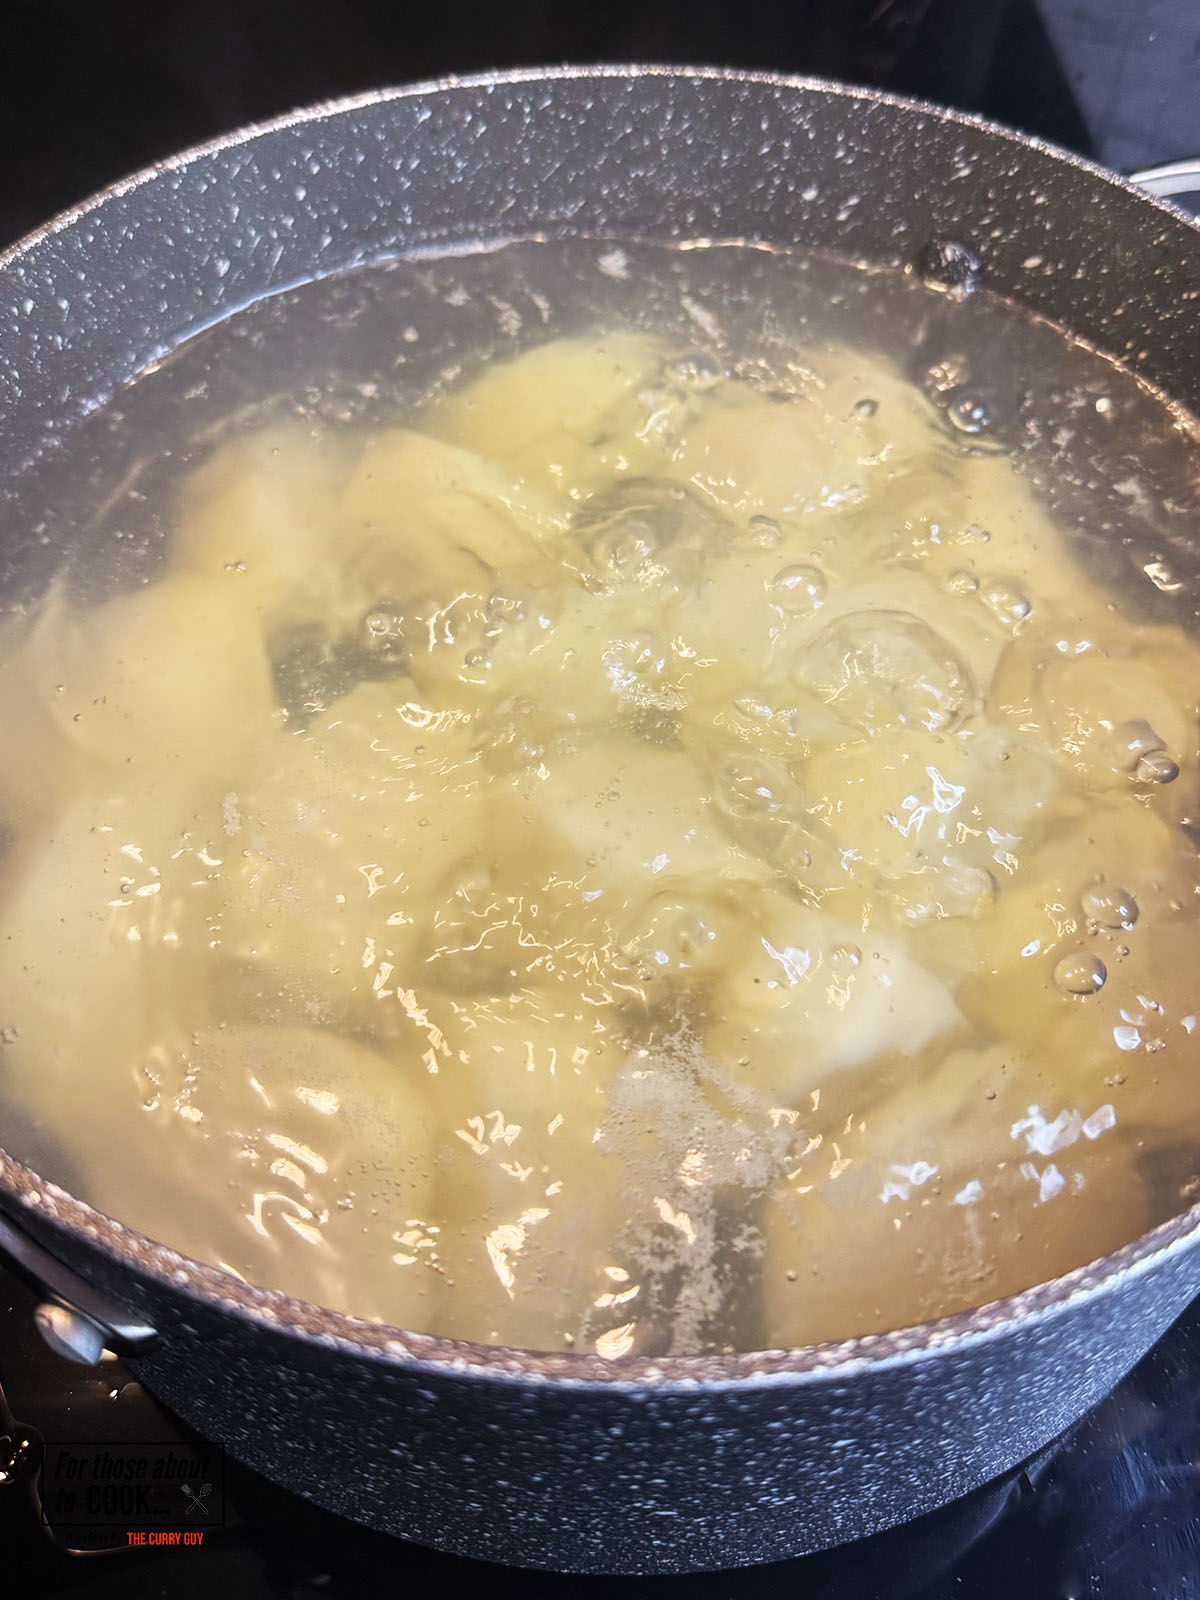
- Step 1: Firstly, bring a large pot of water to the boil, add a generous amount of salt and add your rigatoni. Cook to packet instructions.
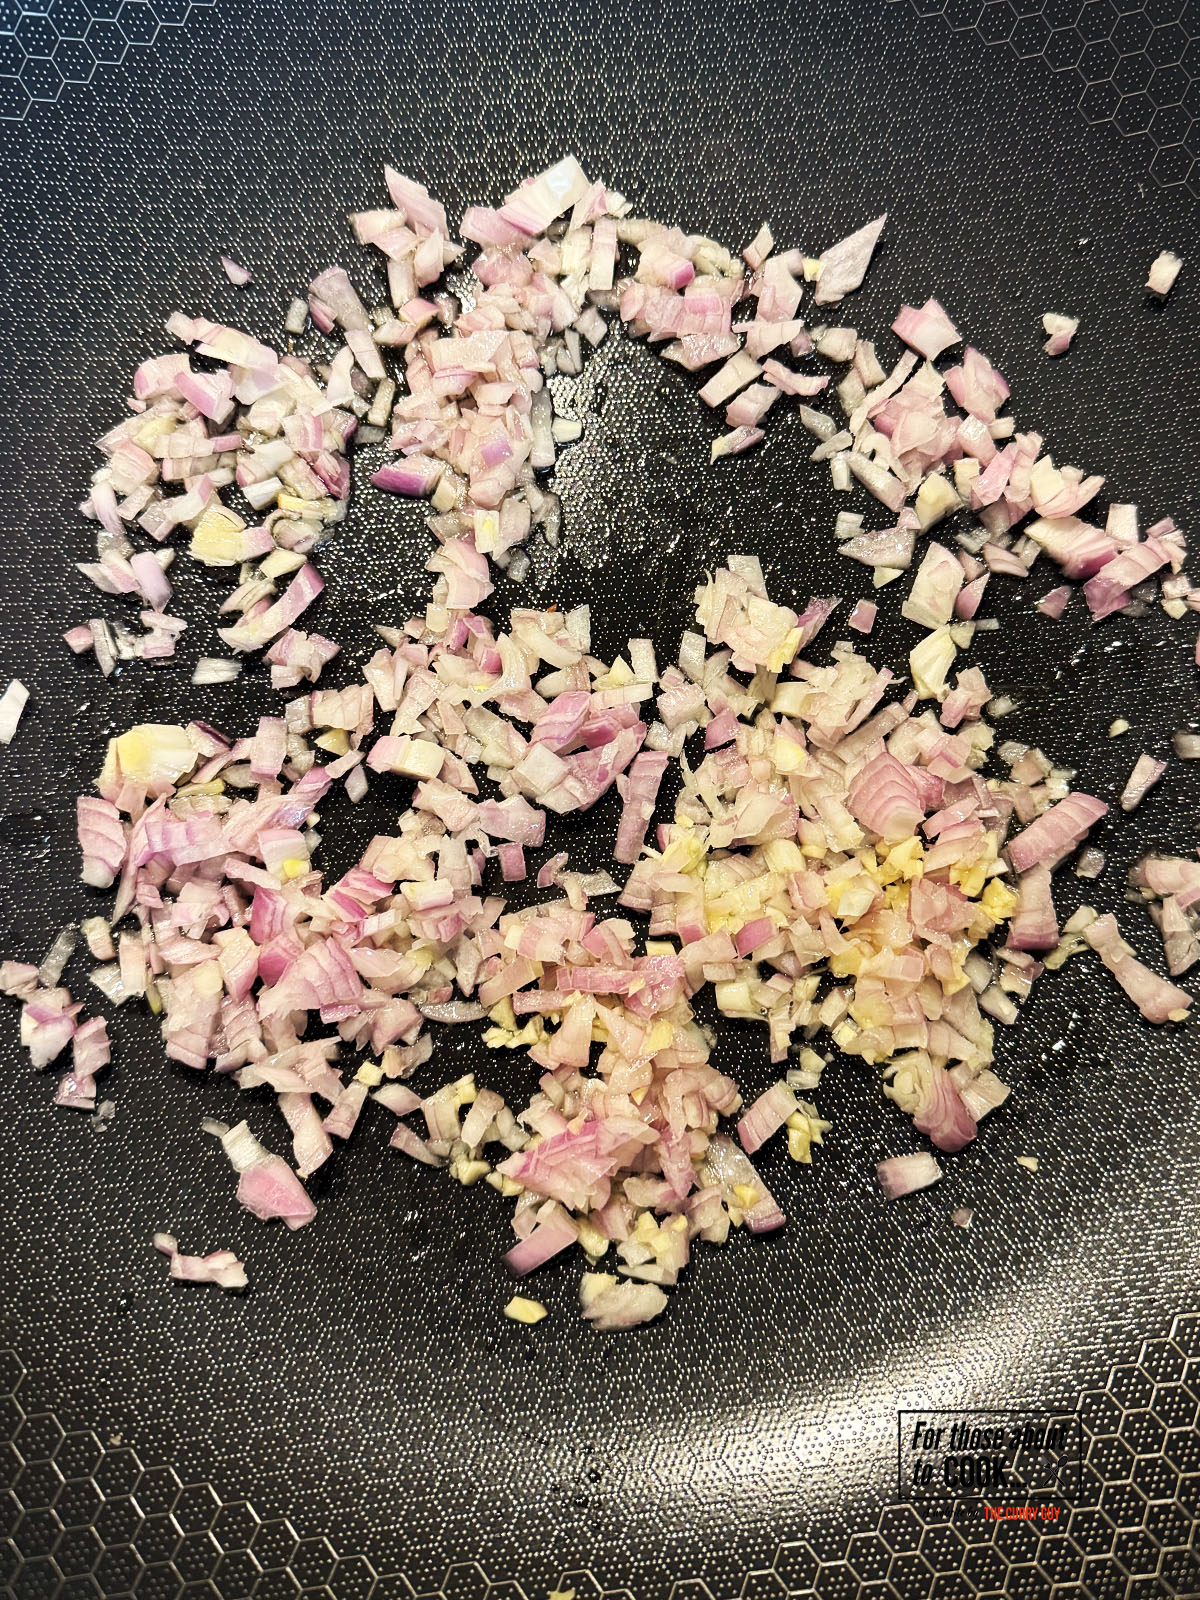
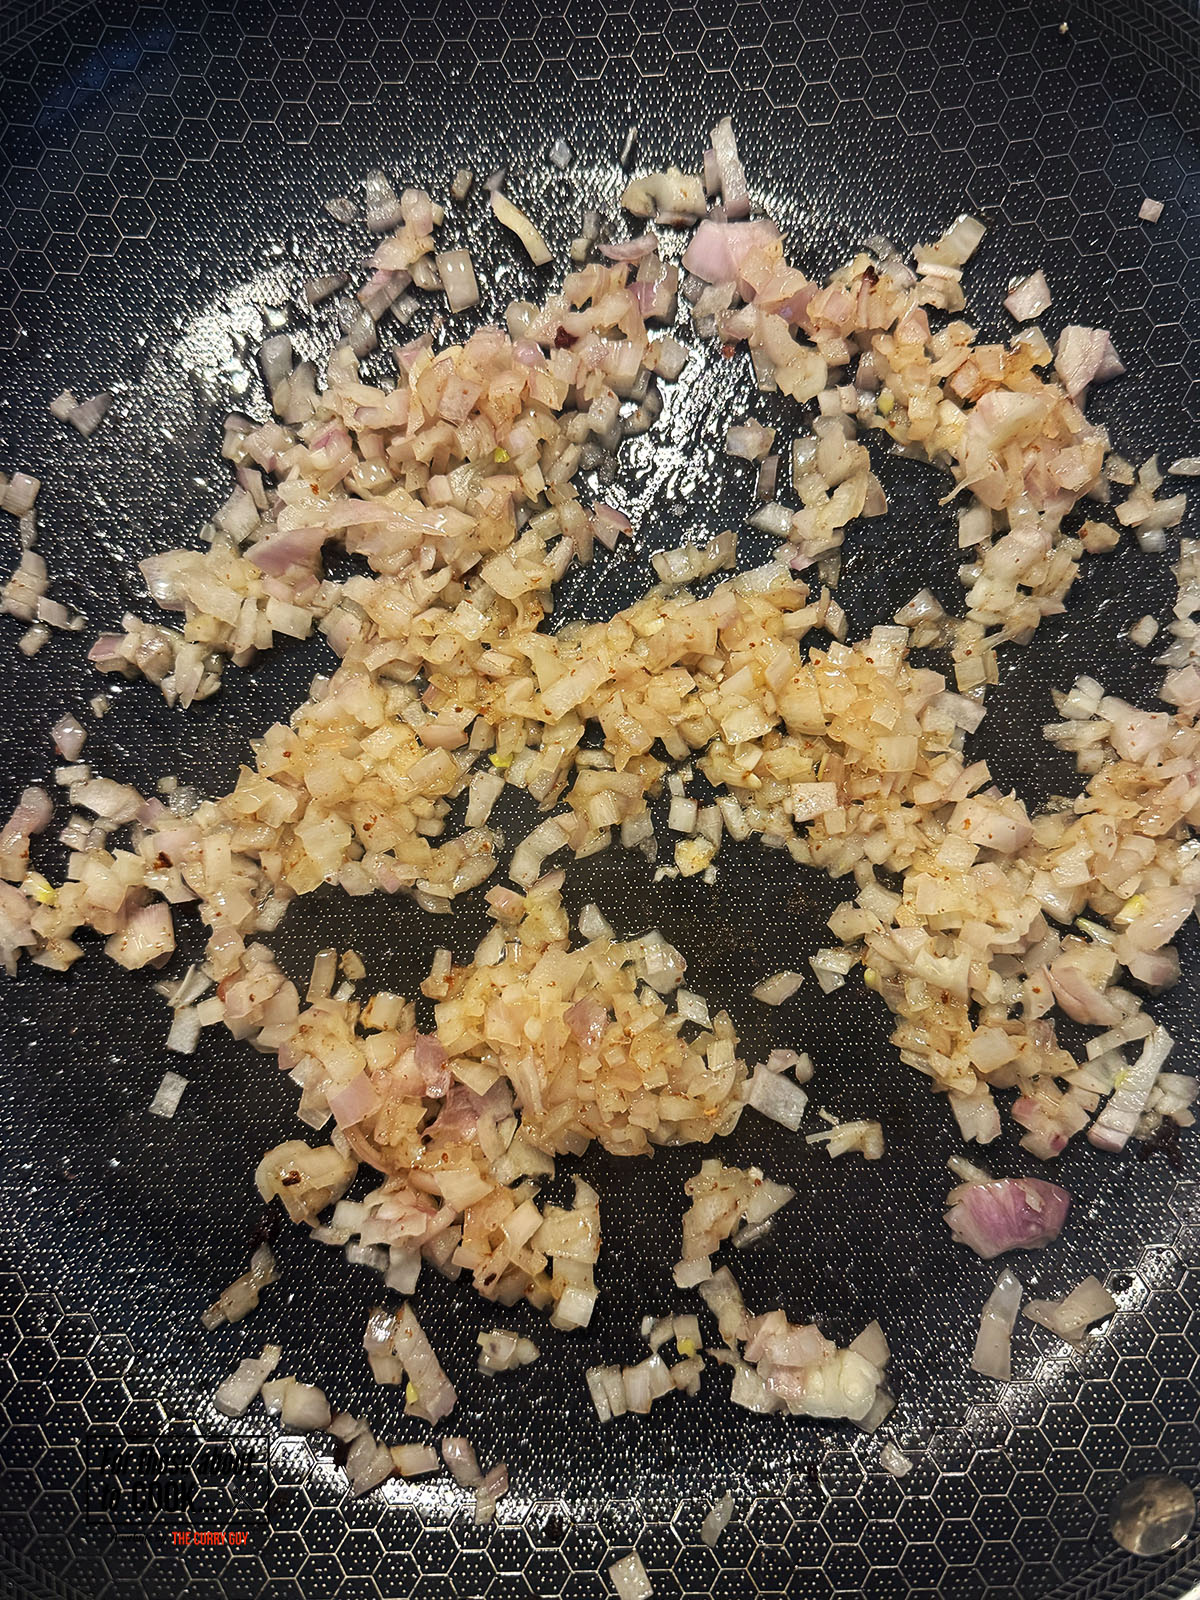
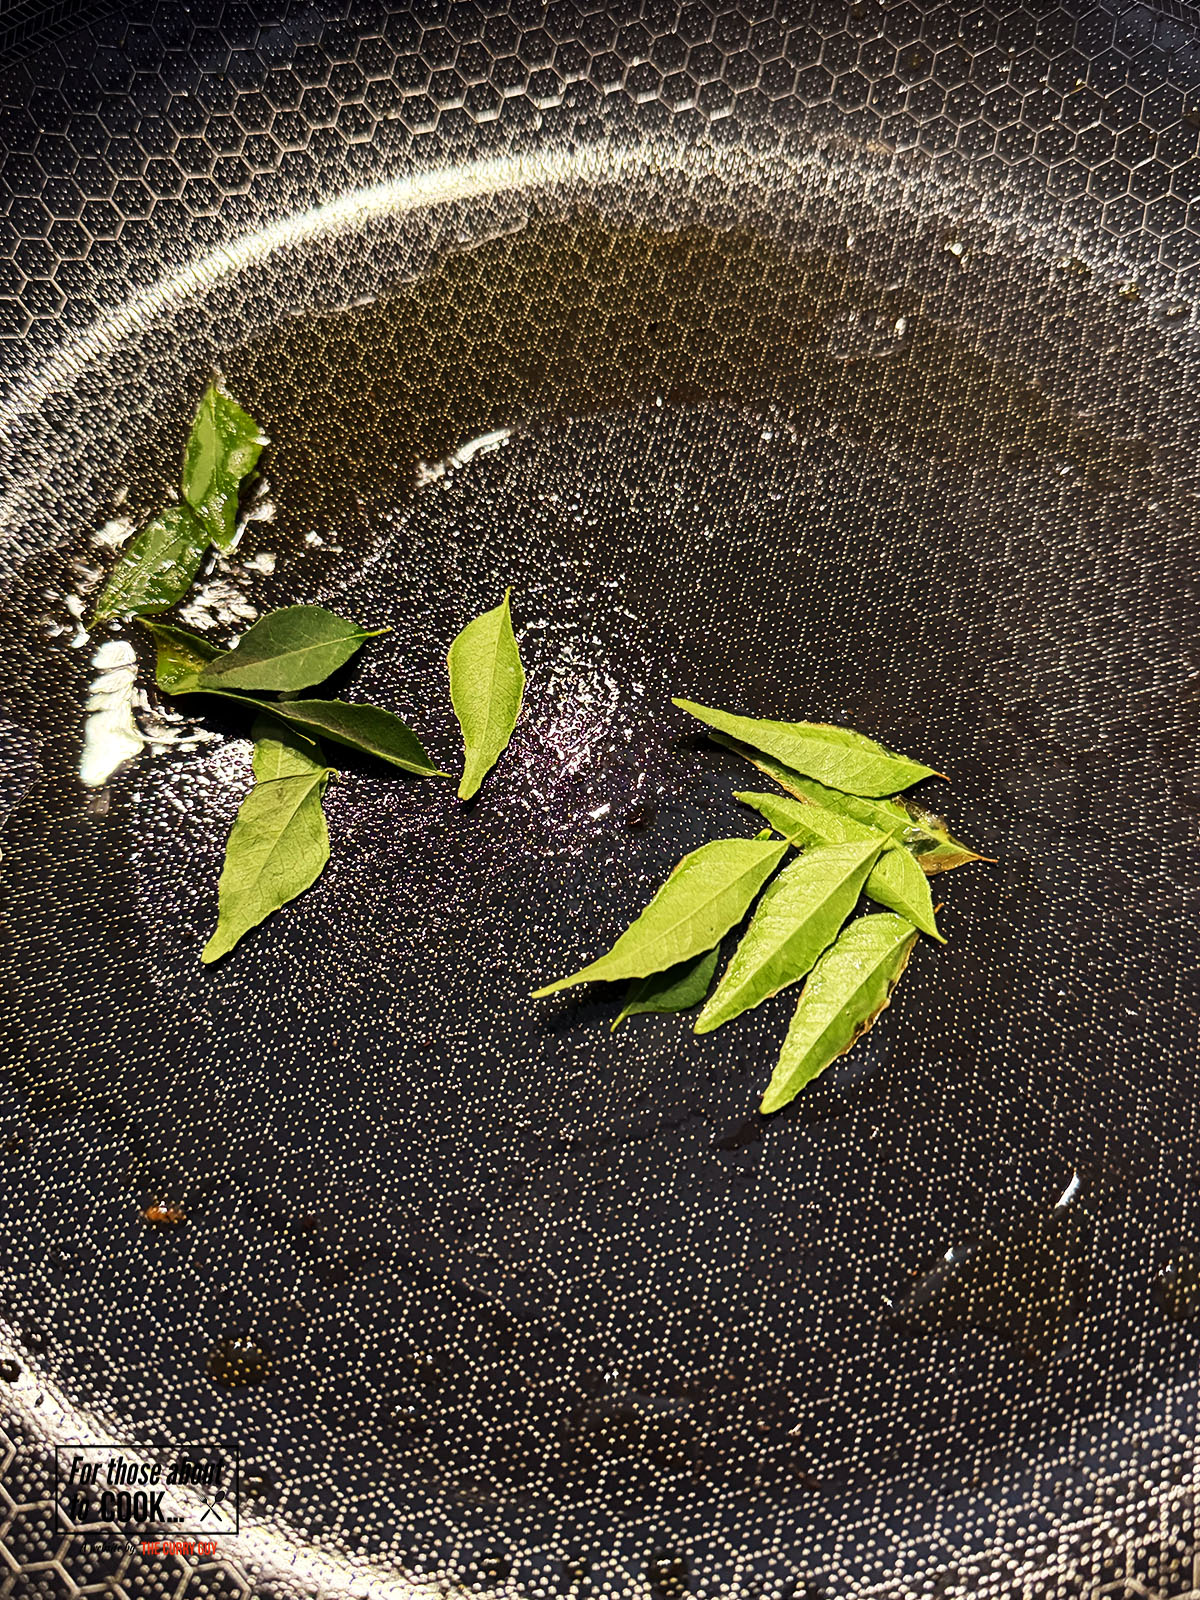
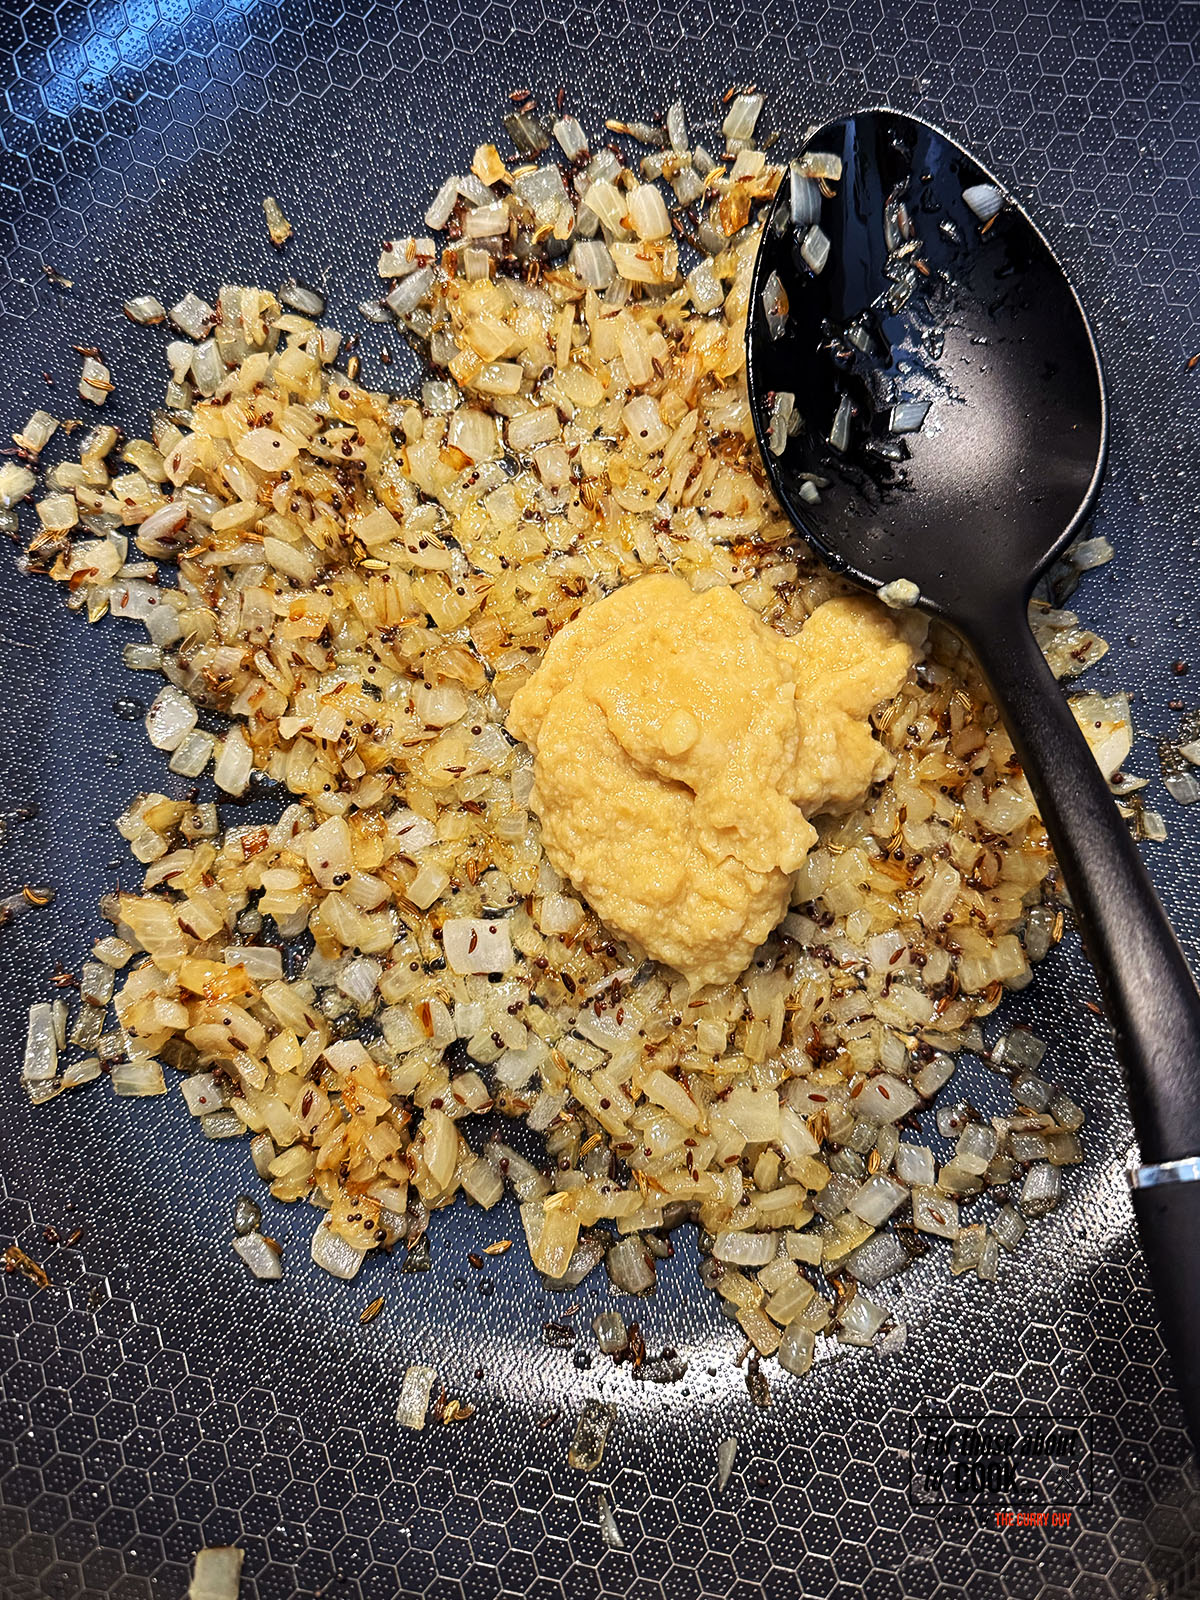
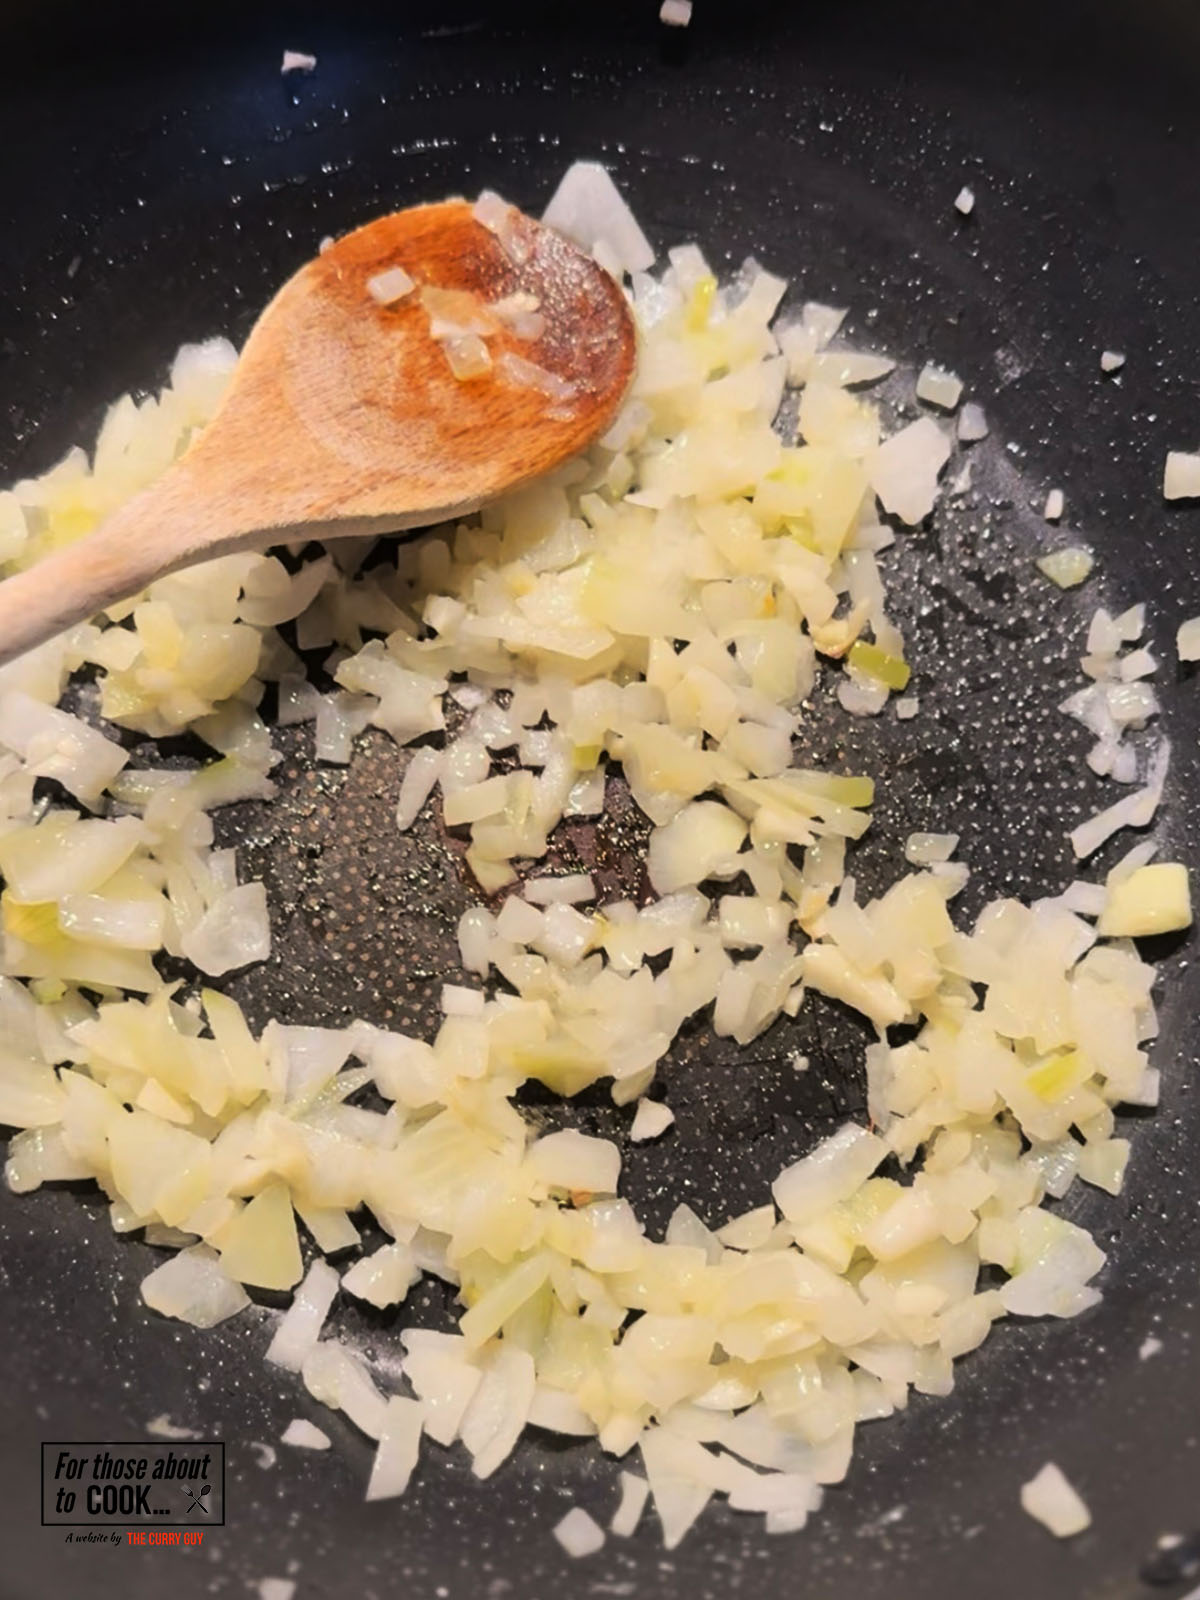
- Step 2: Meanwhile, add your olive oil to a pan and fry your shallots and garlic on a medium heat until softened (2-3 minutes).
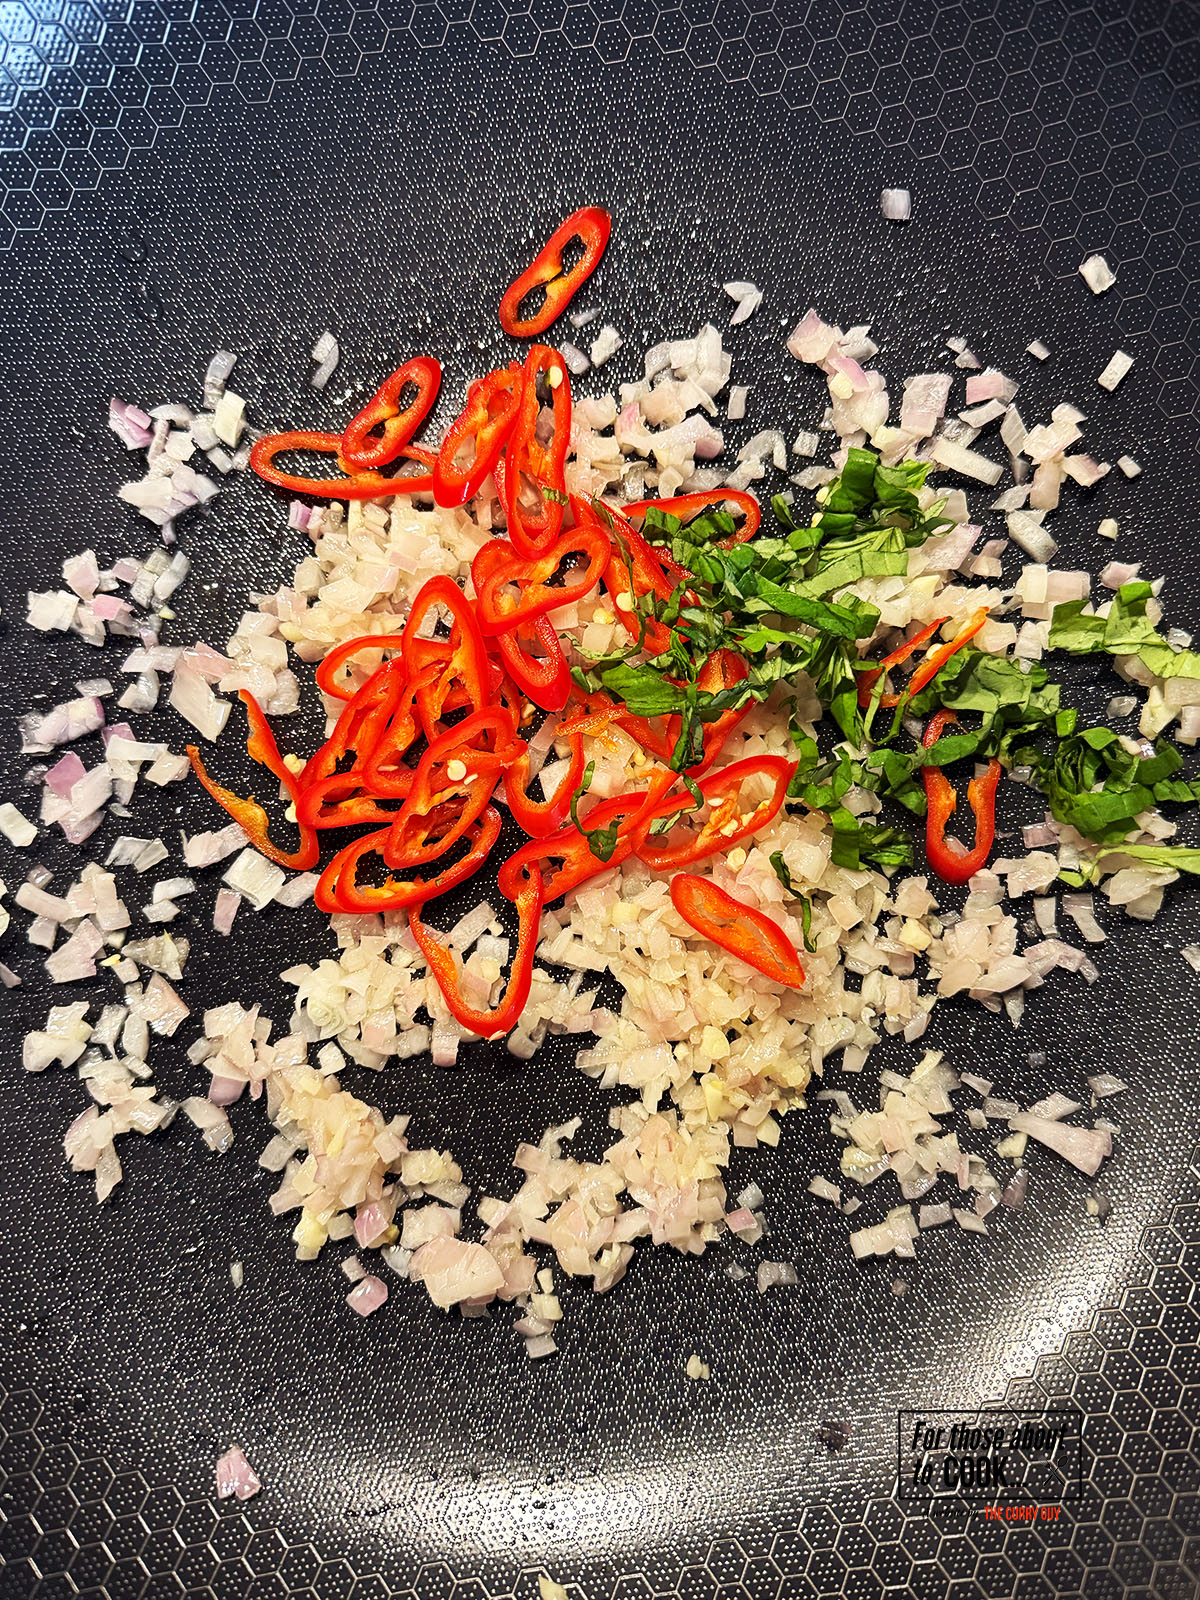
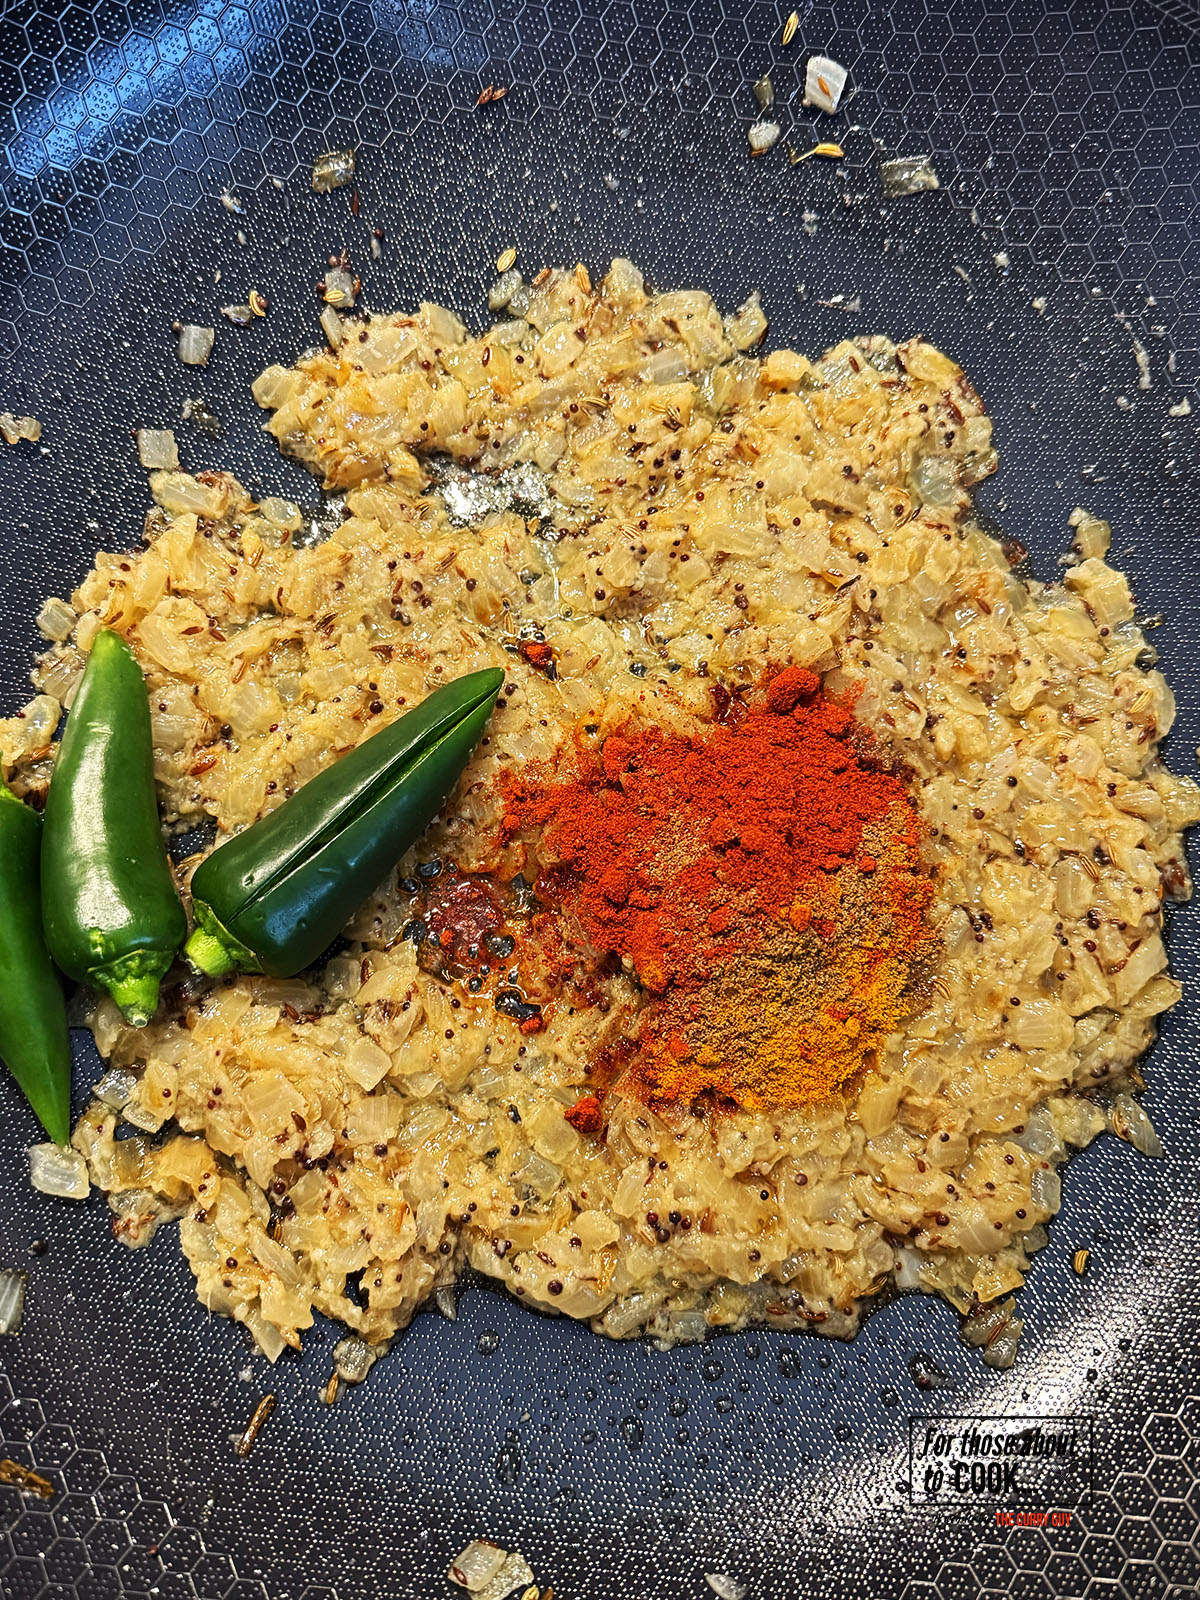
- Step 3: Next, add your fresh chillies and shredded basil and fry for 1 minute.
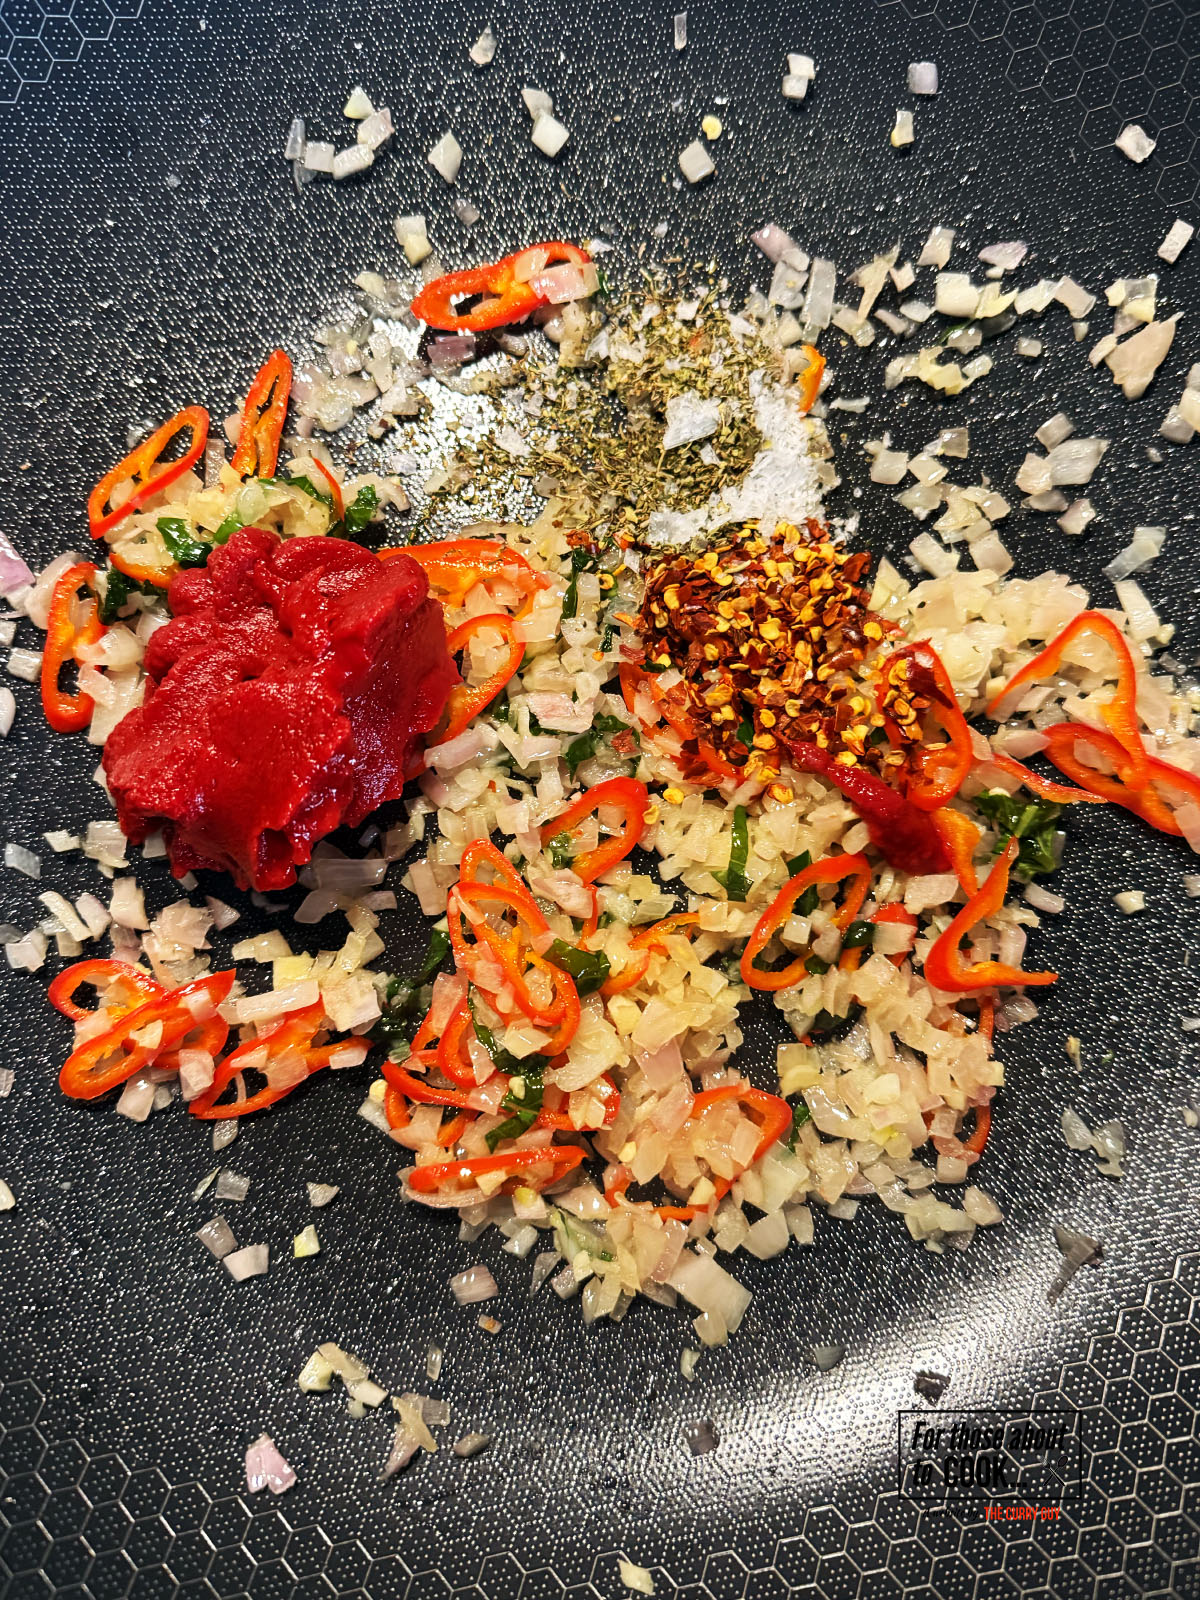
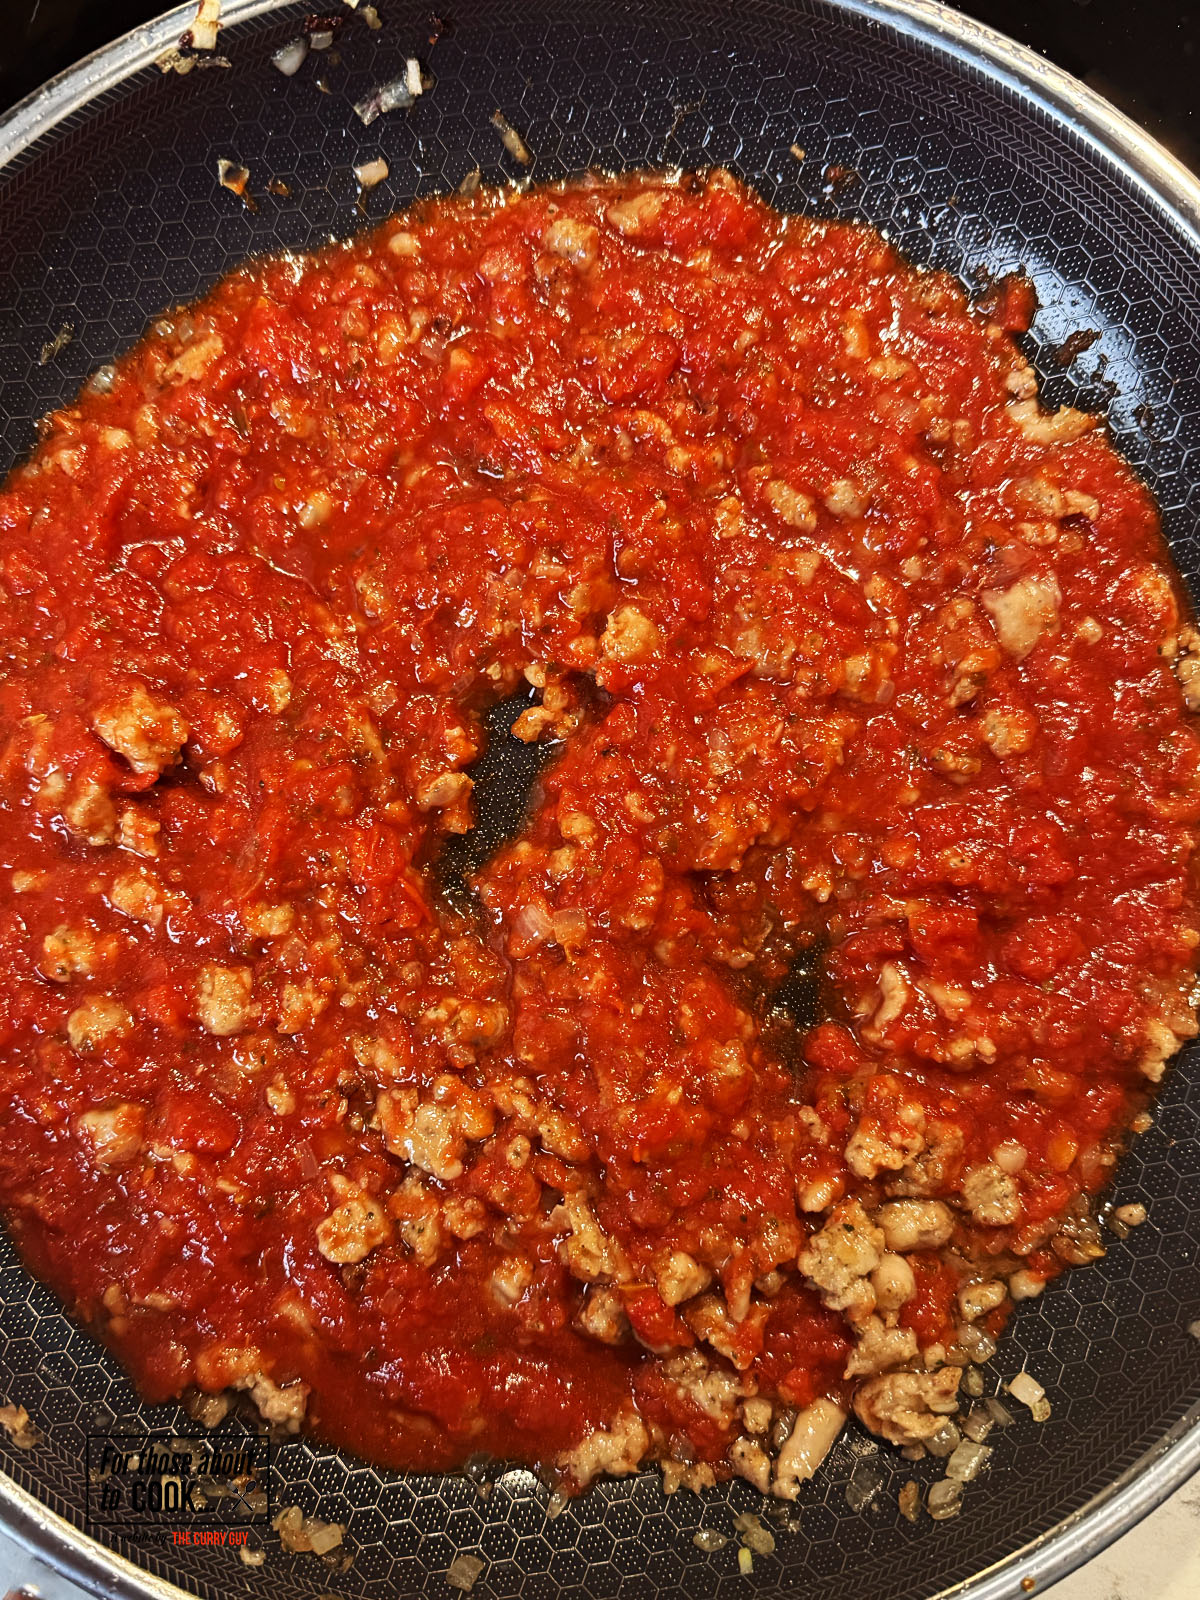
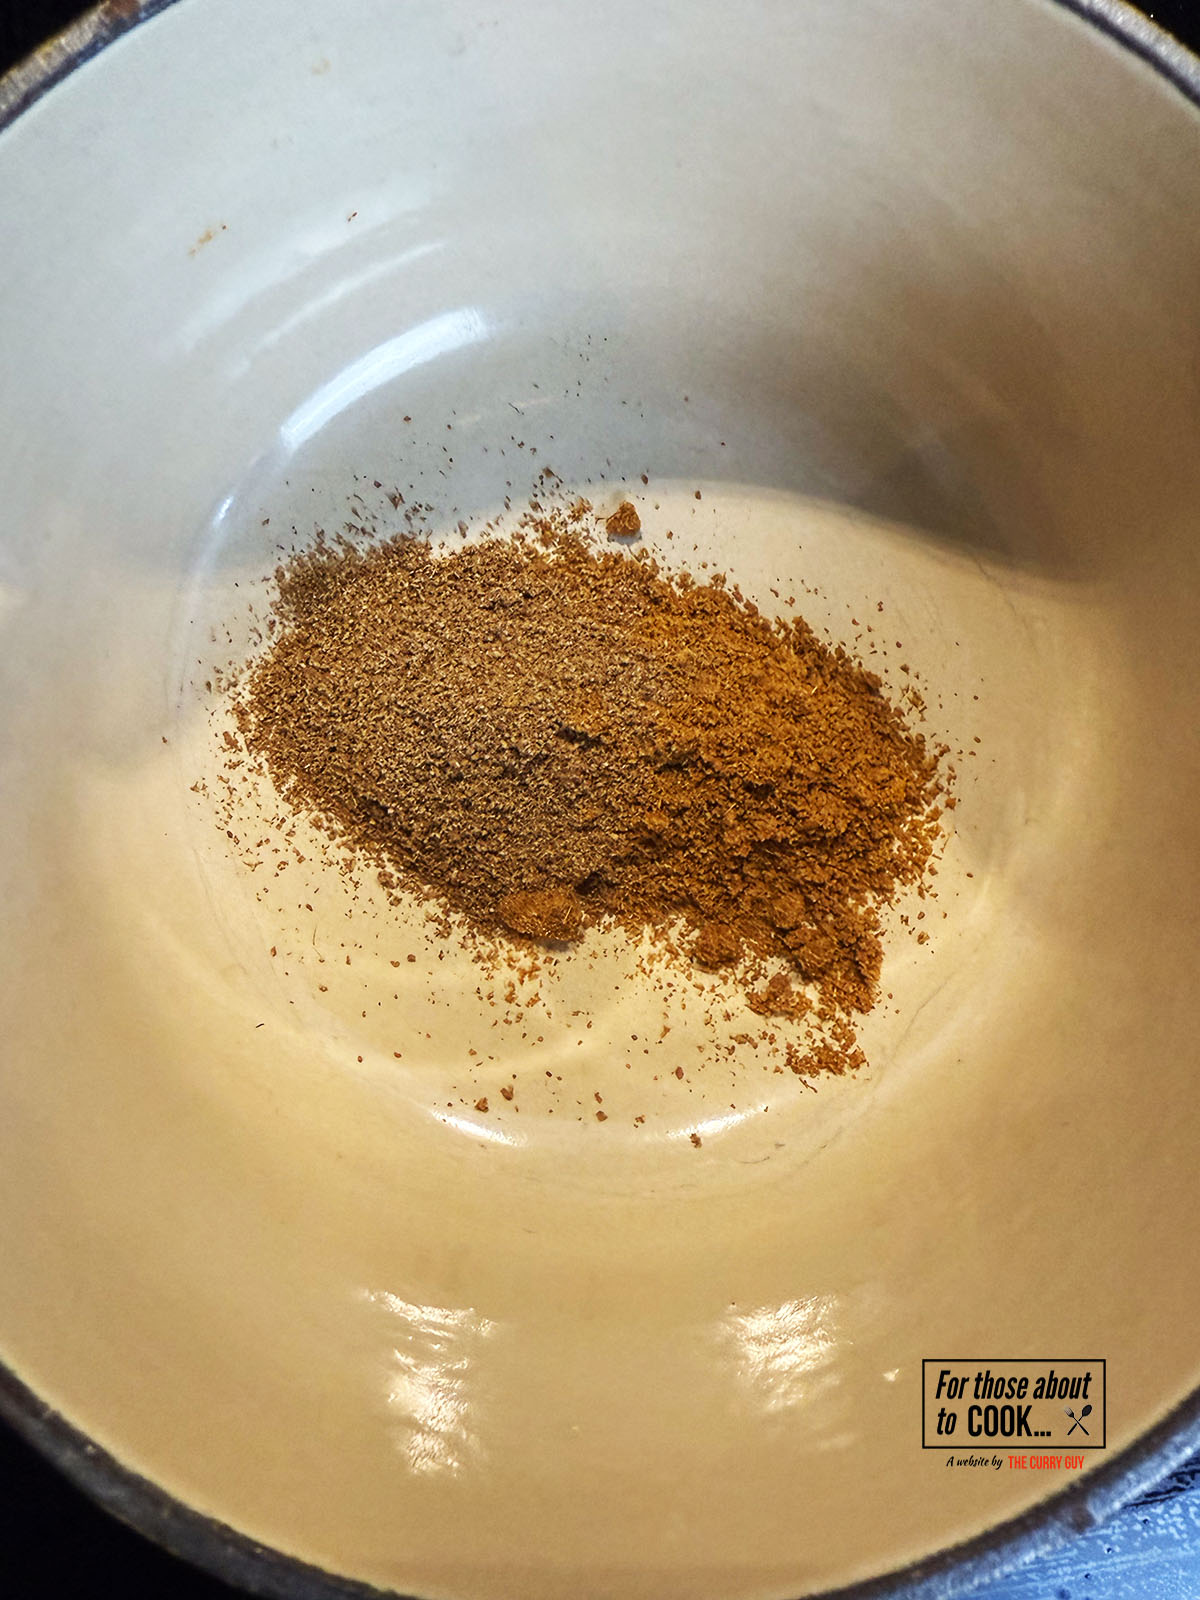
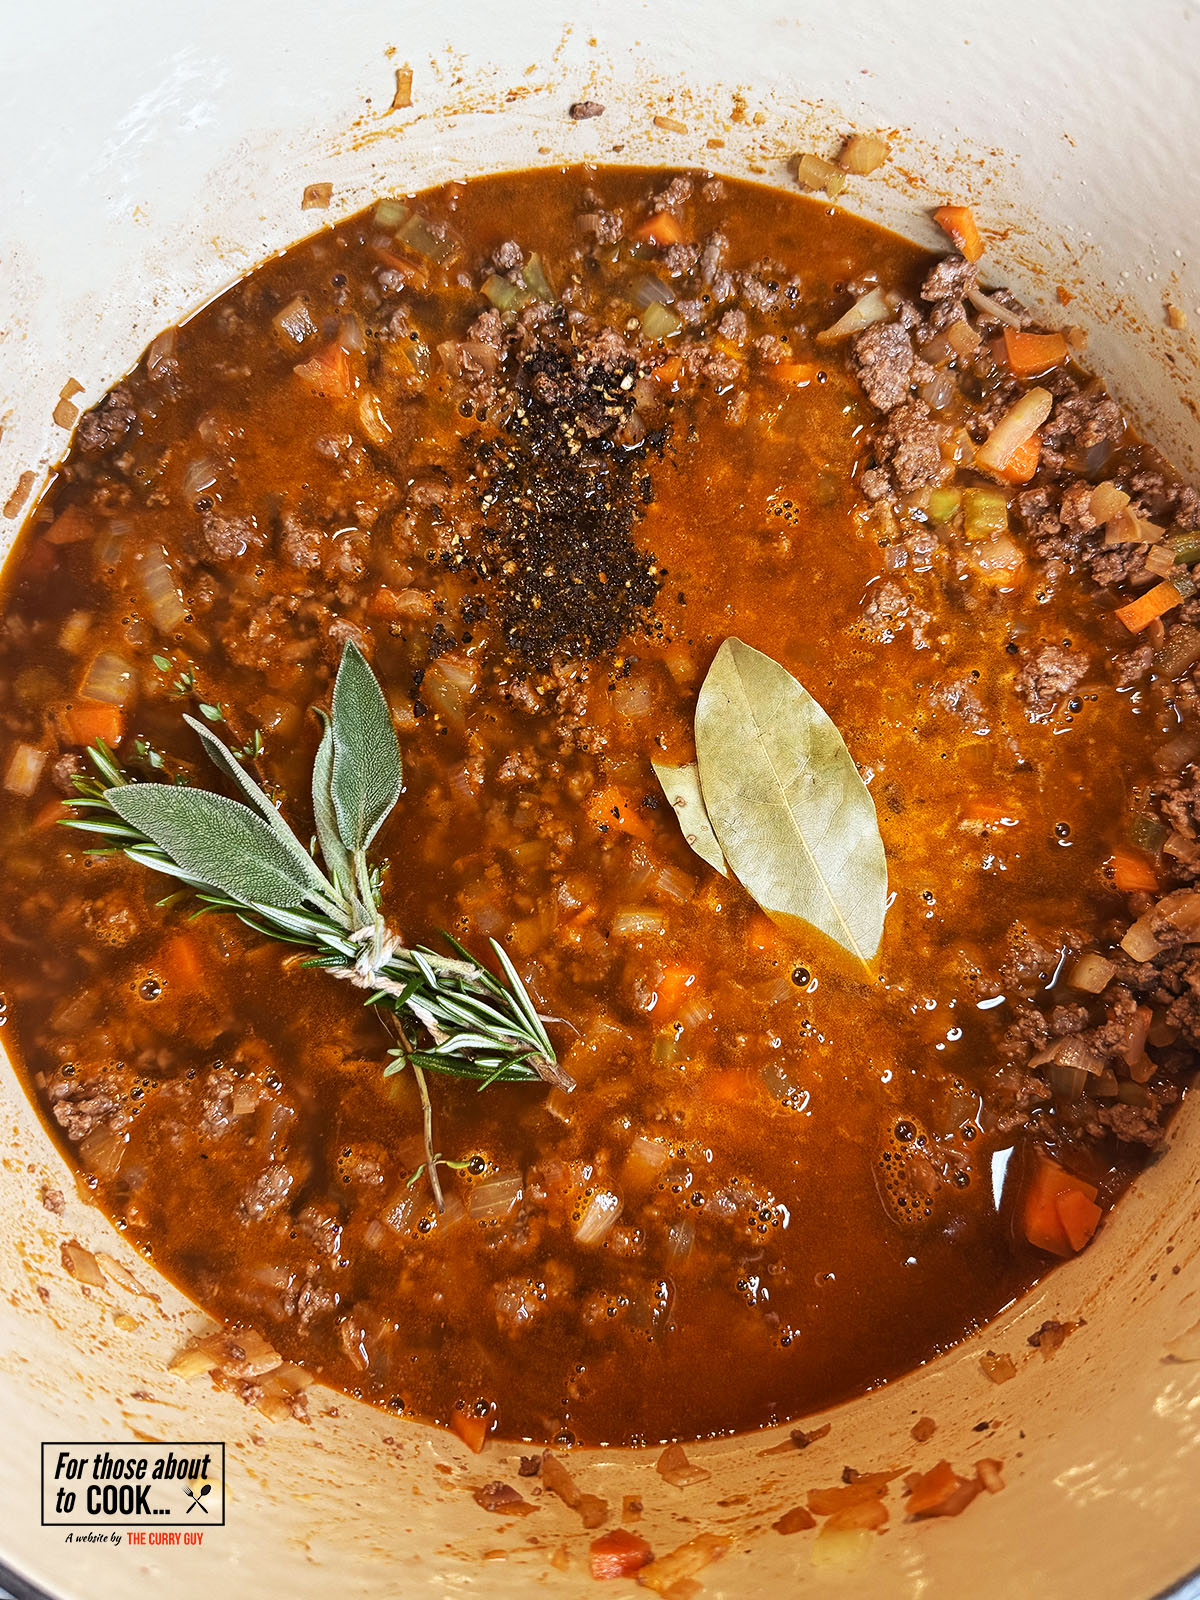
- Step 4: Add your chilli flakes, mixed herbs and tomato puree and fry for a 2 minutes.
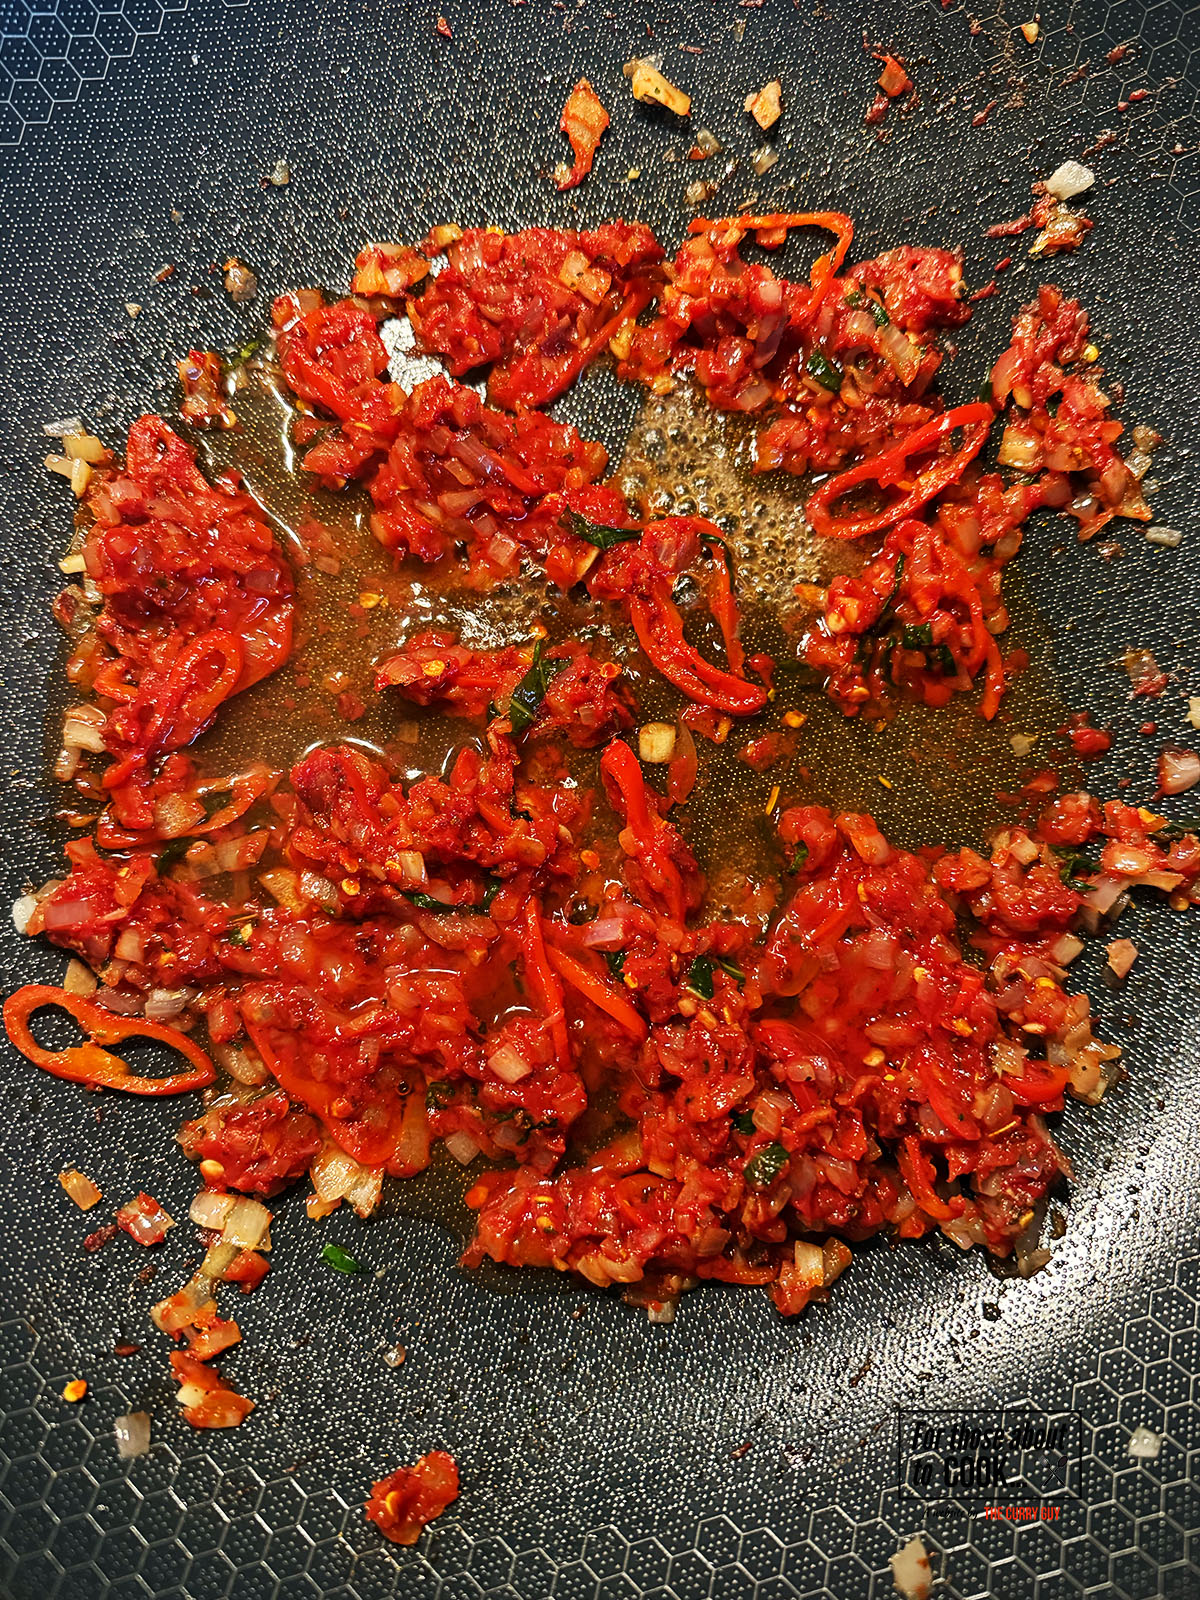
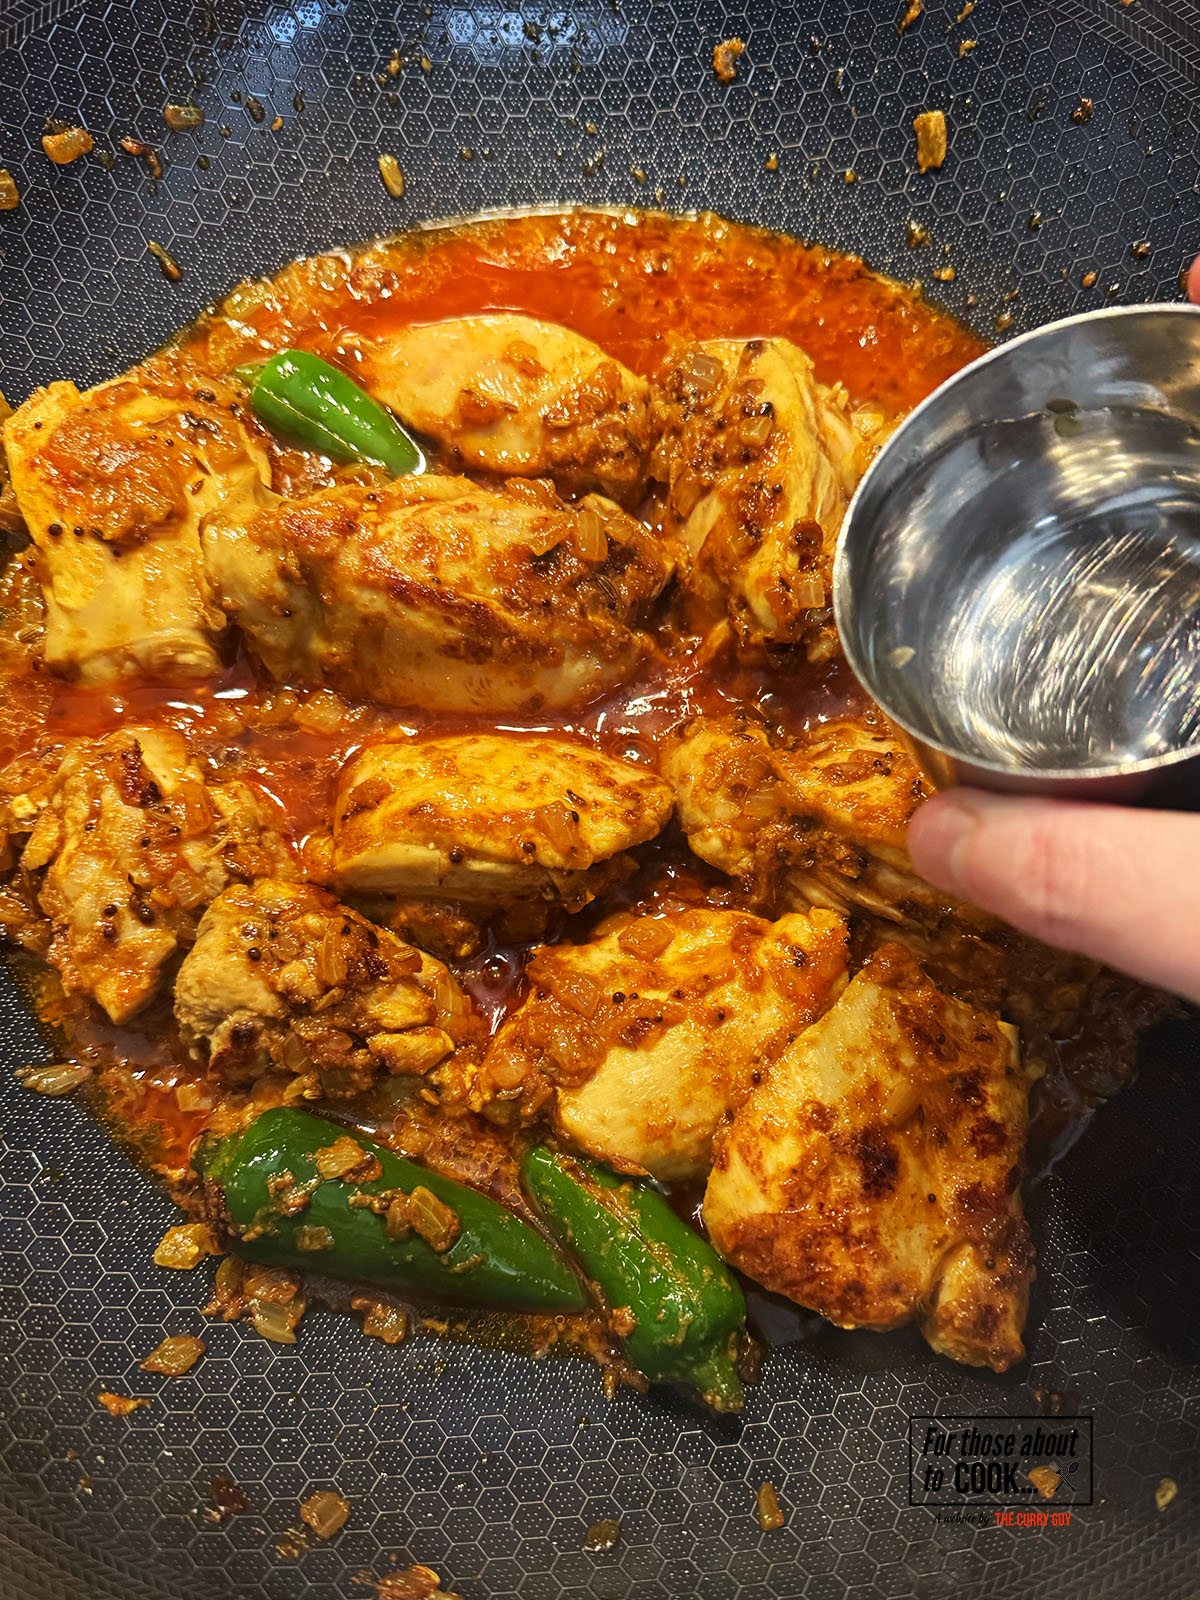
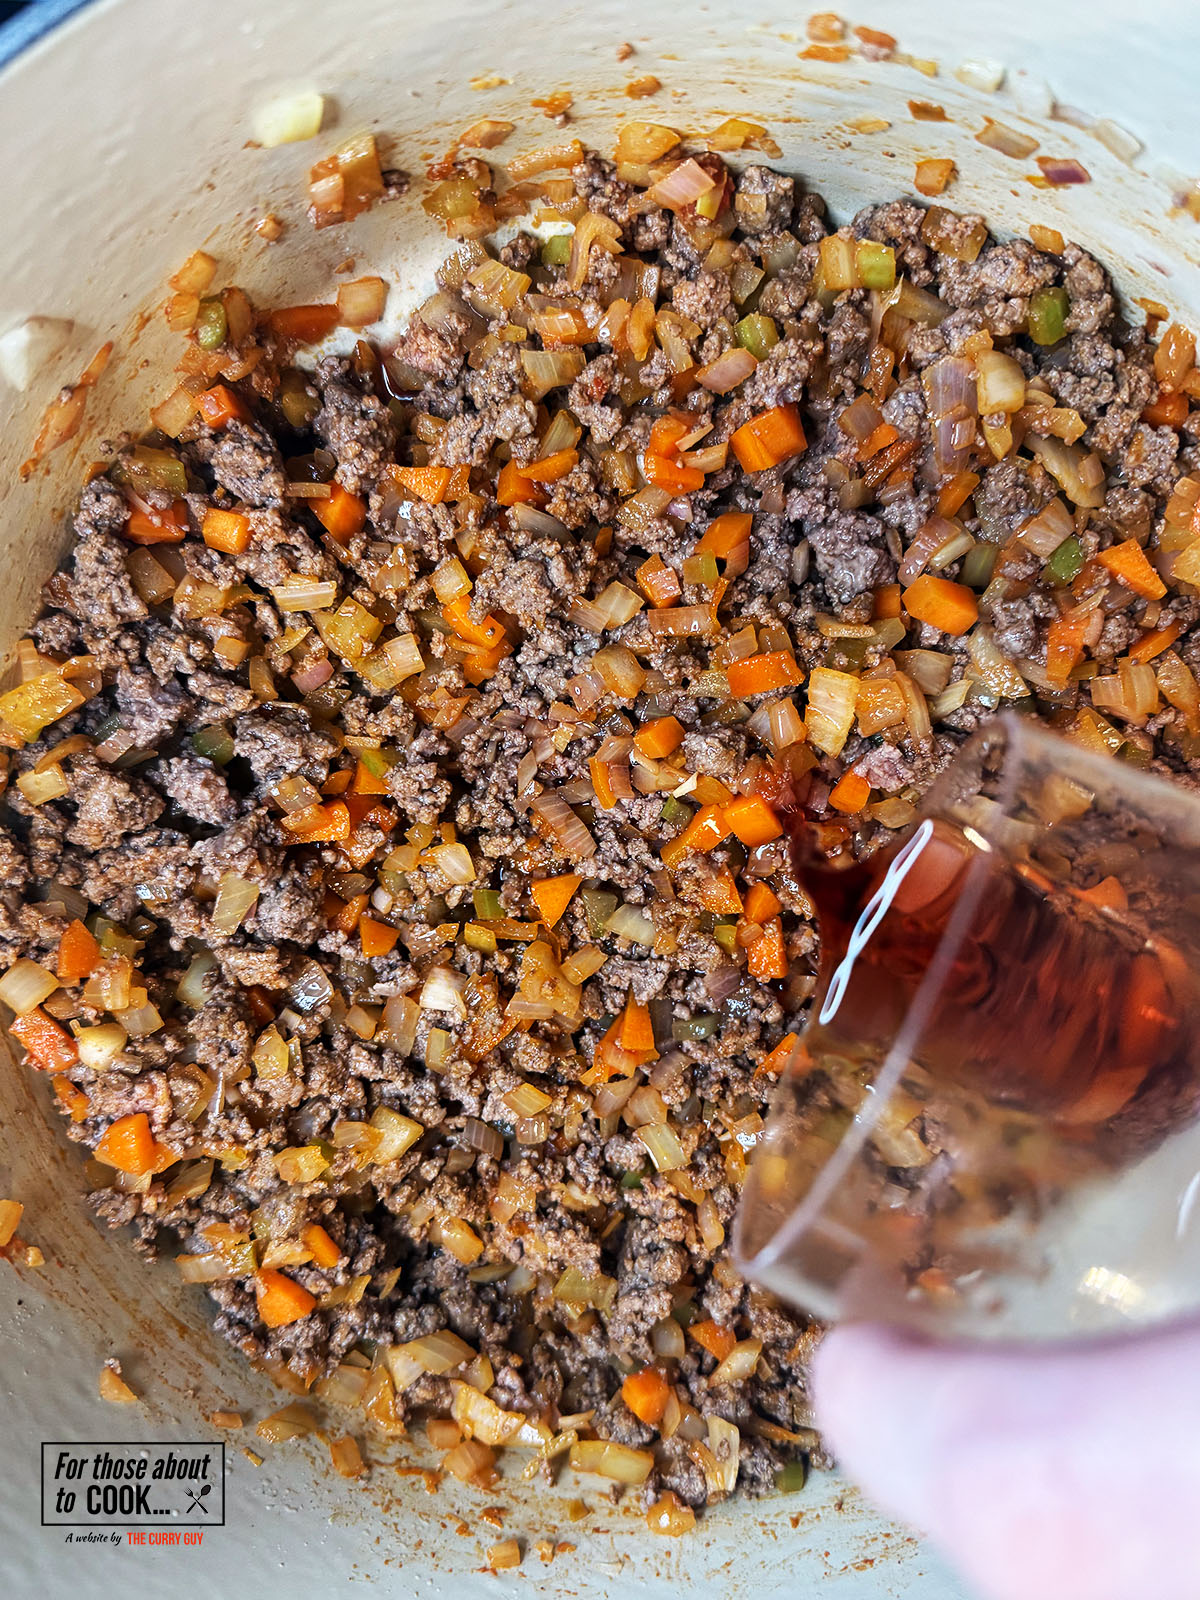
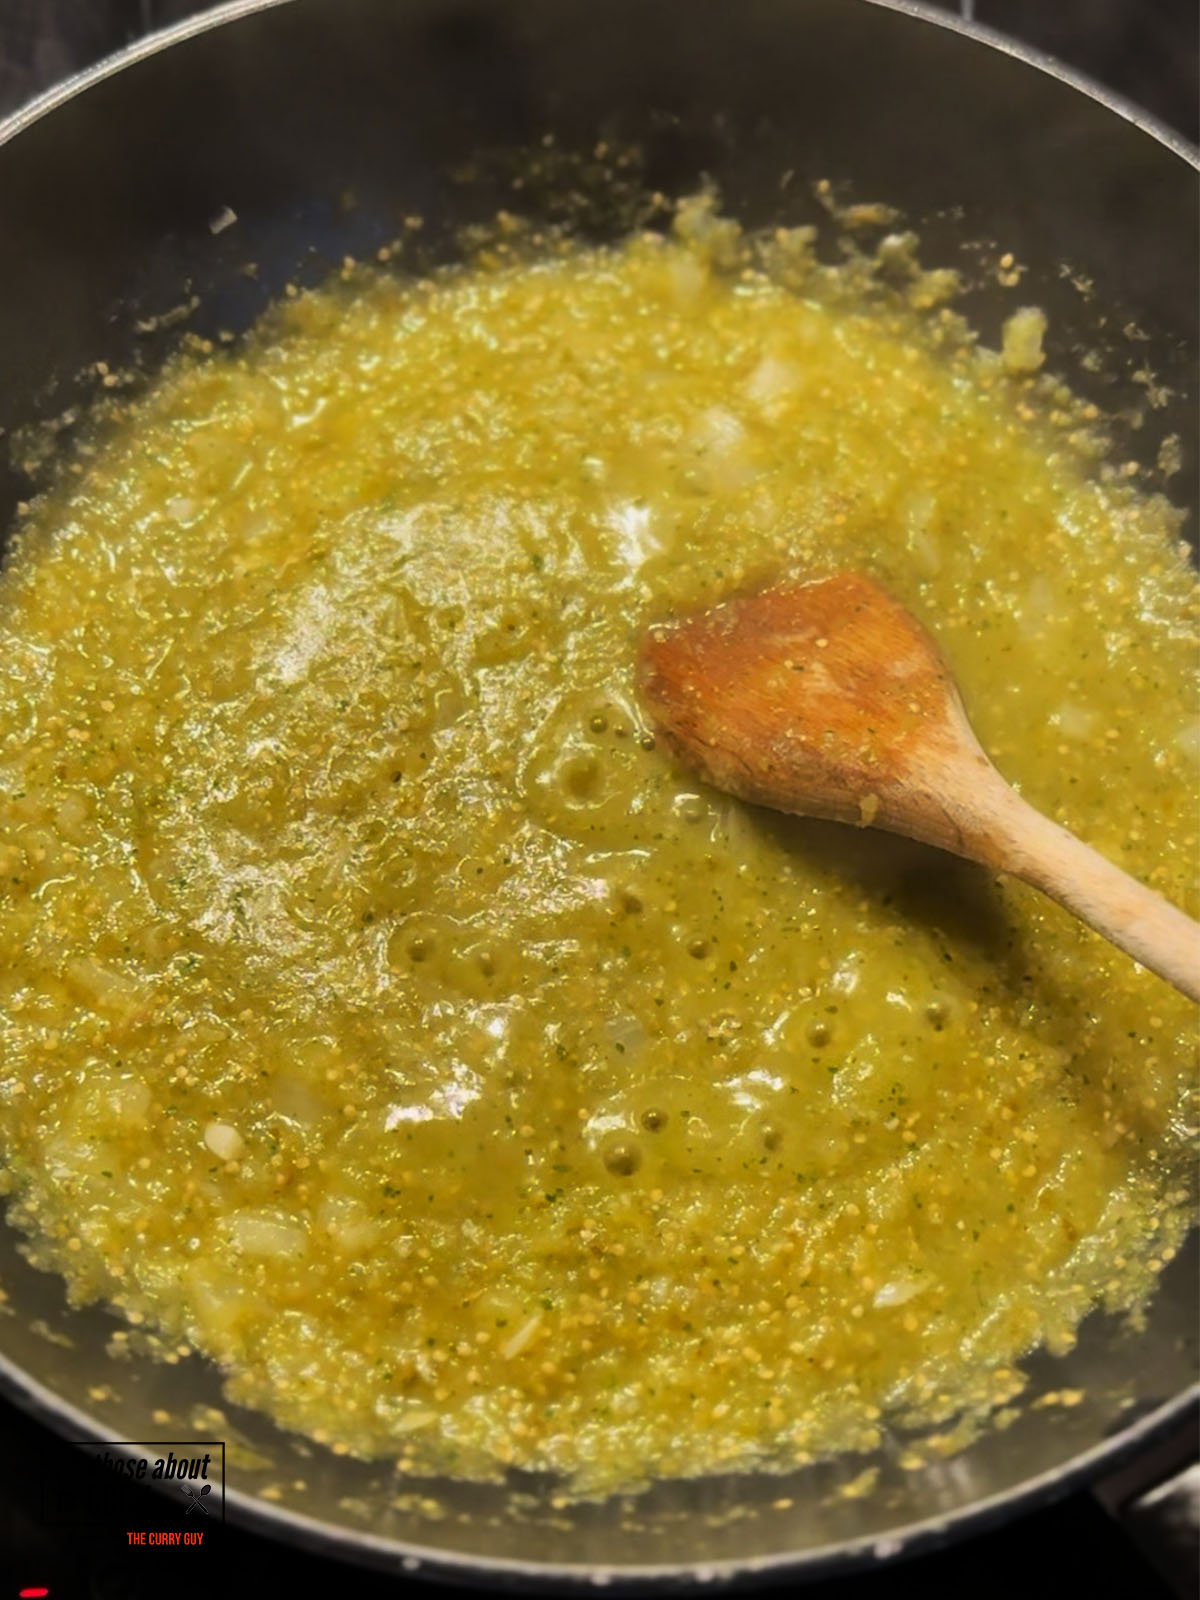
- Step 5: Then, add your shot of vodka and use a spoon to scrape the bottom of the pan and deglaze. Cook for 5 minutes or until most of the vodka has evaporated.
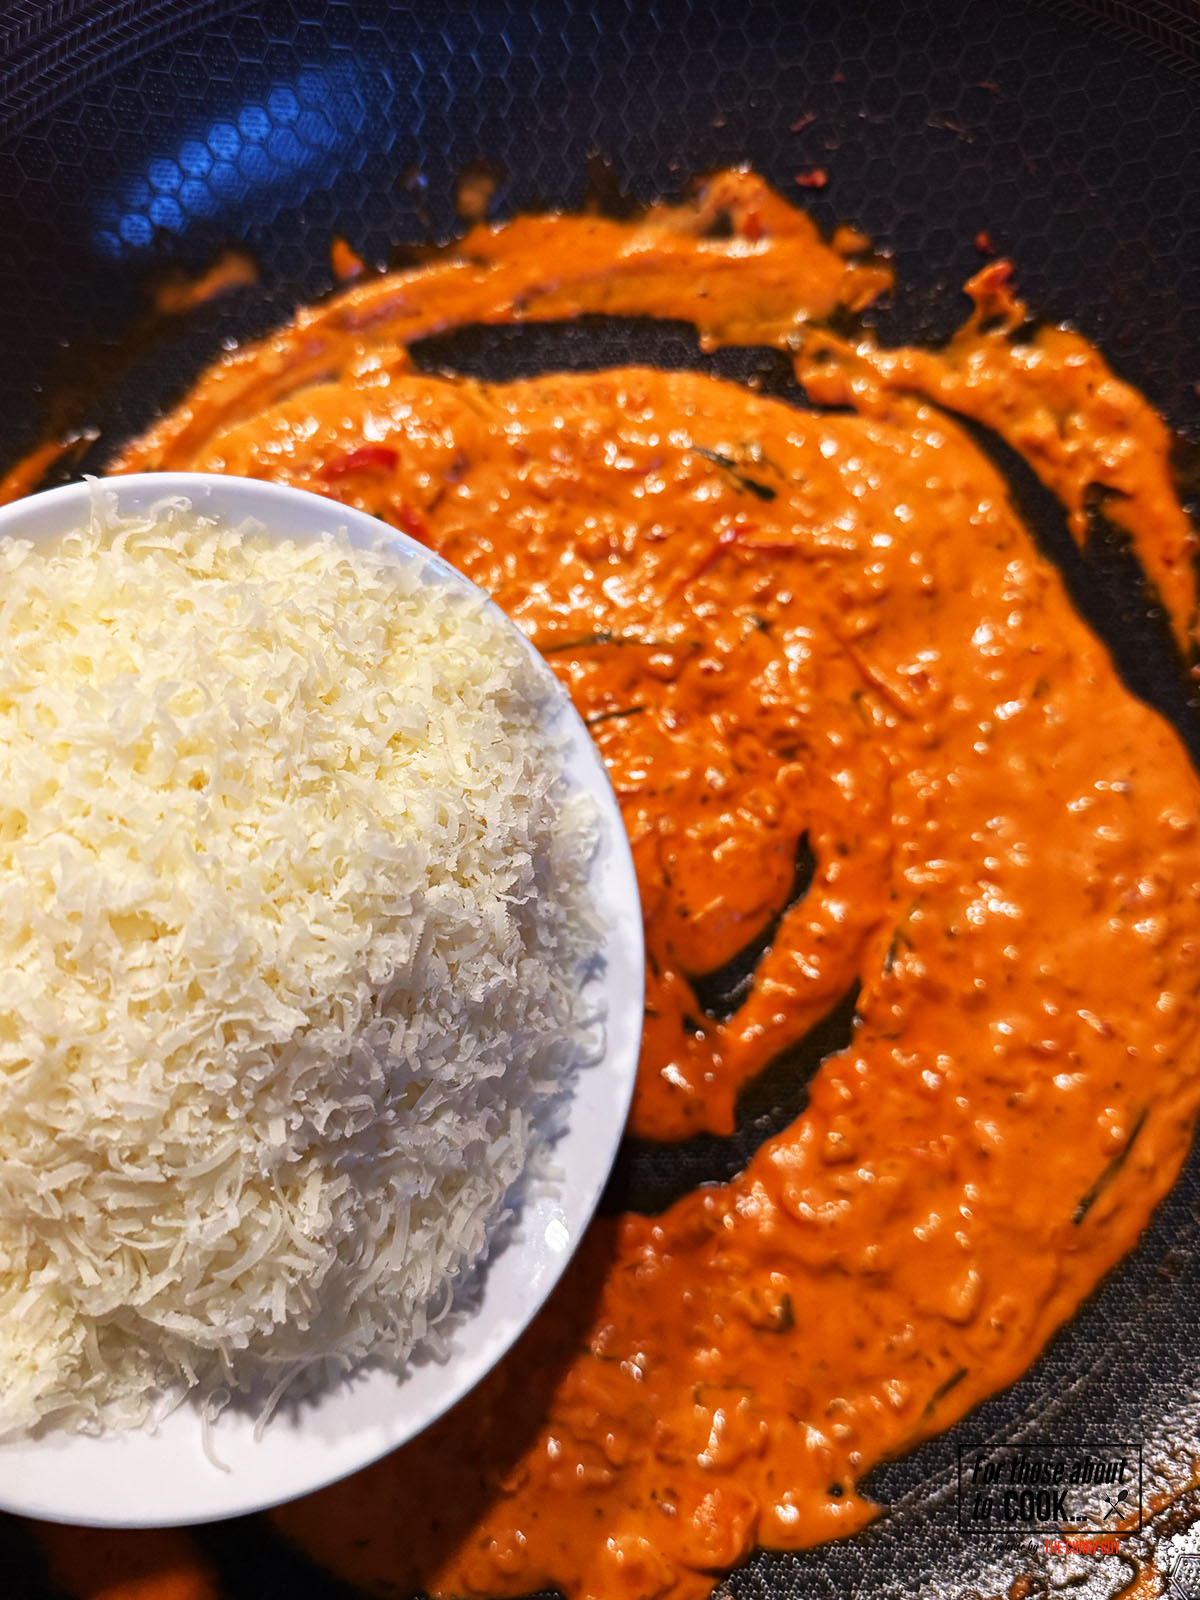
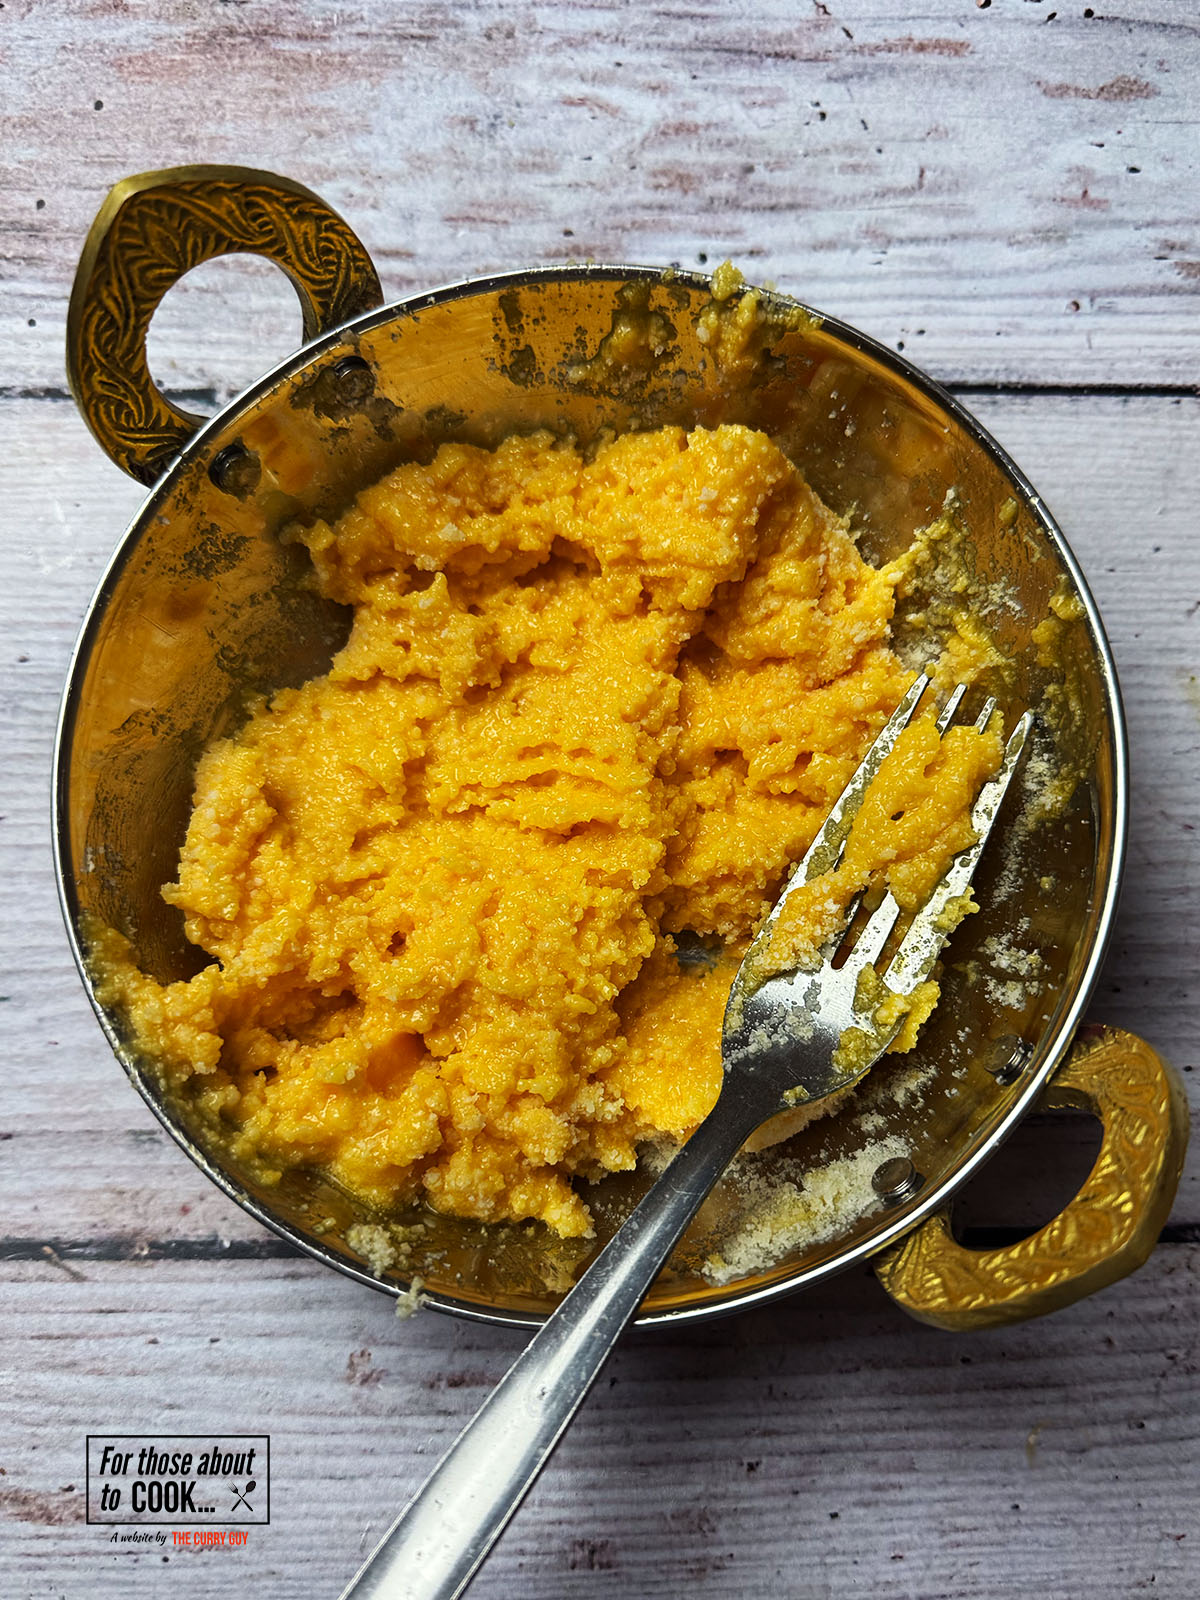
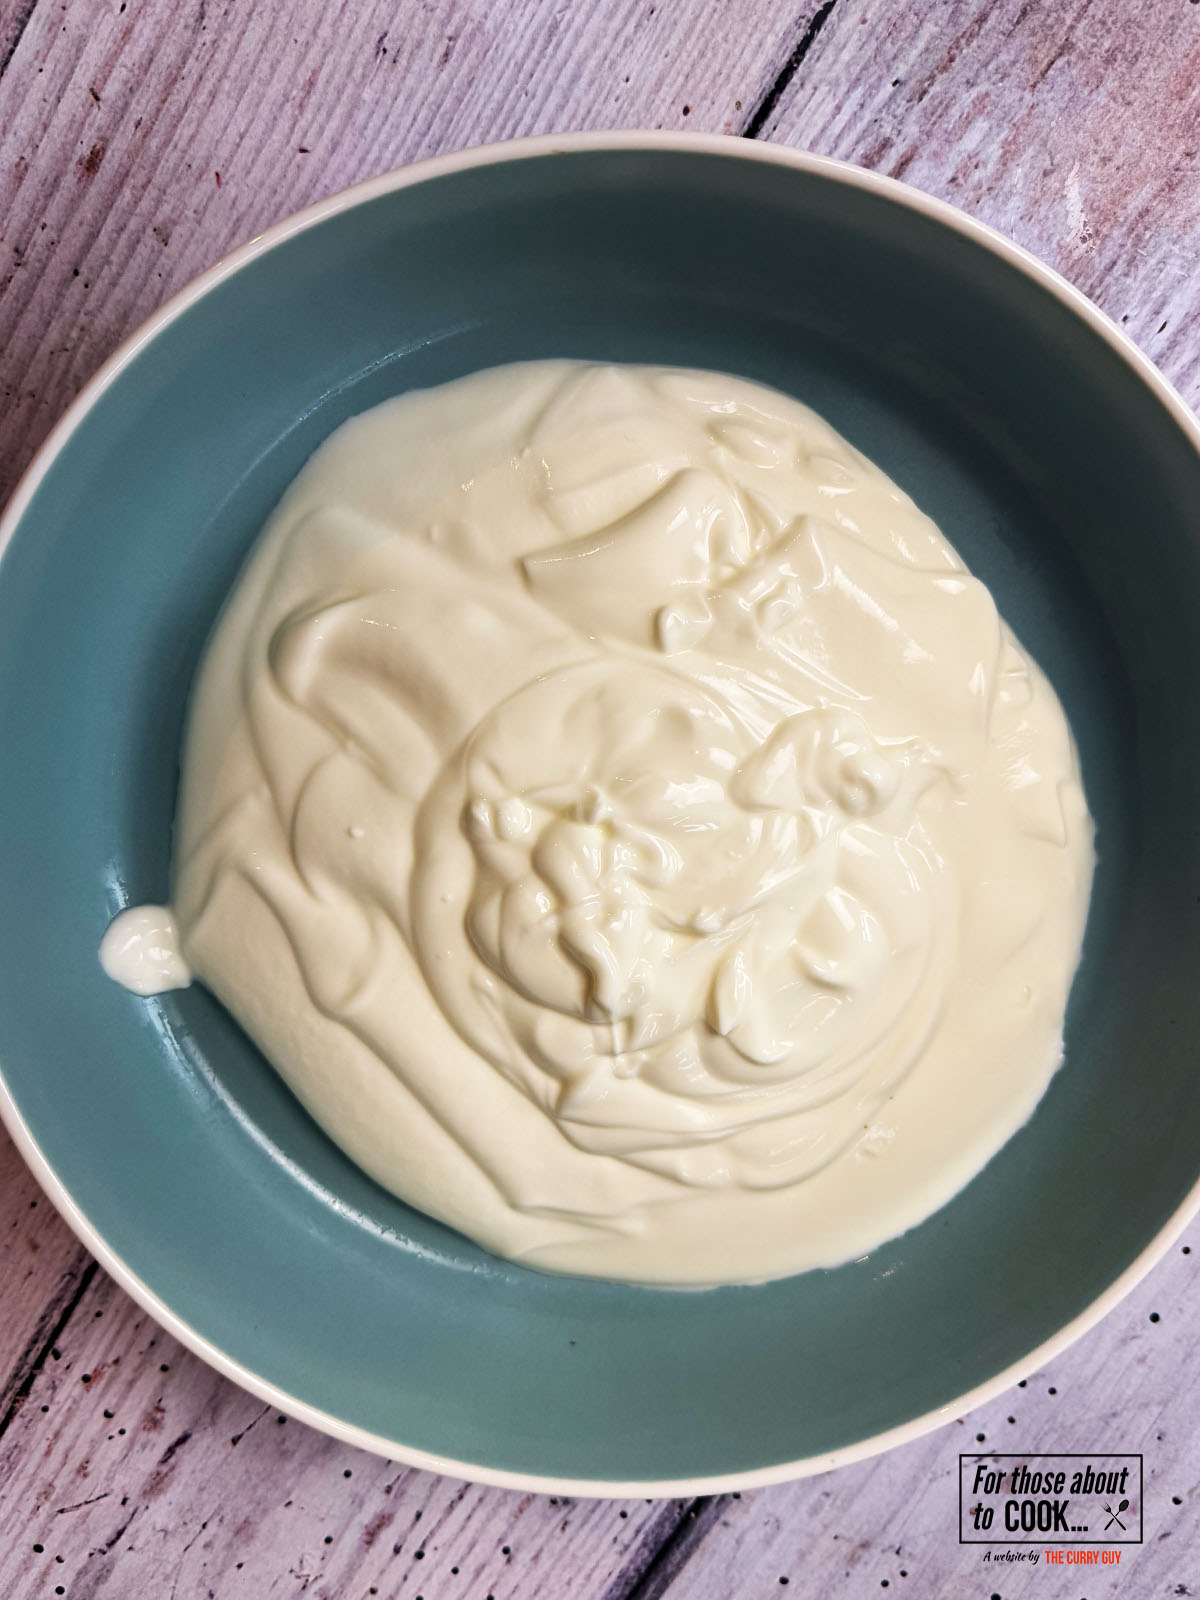
- Step 6: Add the heavy cream, give it a good mix and simmer for 5 minutes. After that, add your parmesan cheese.

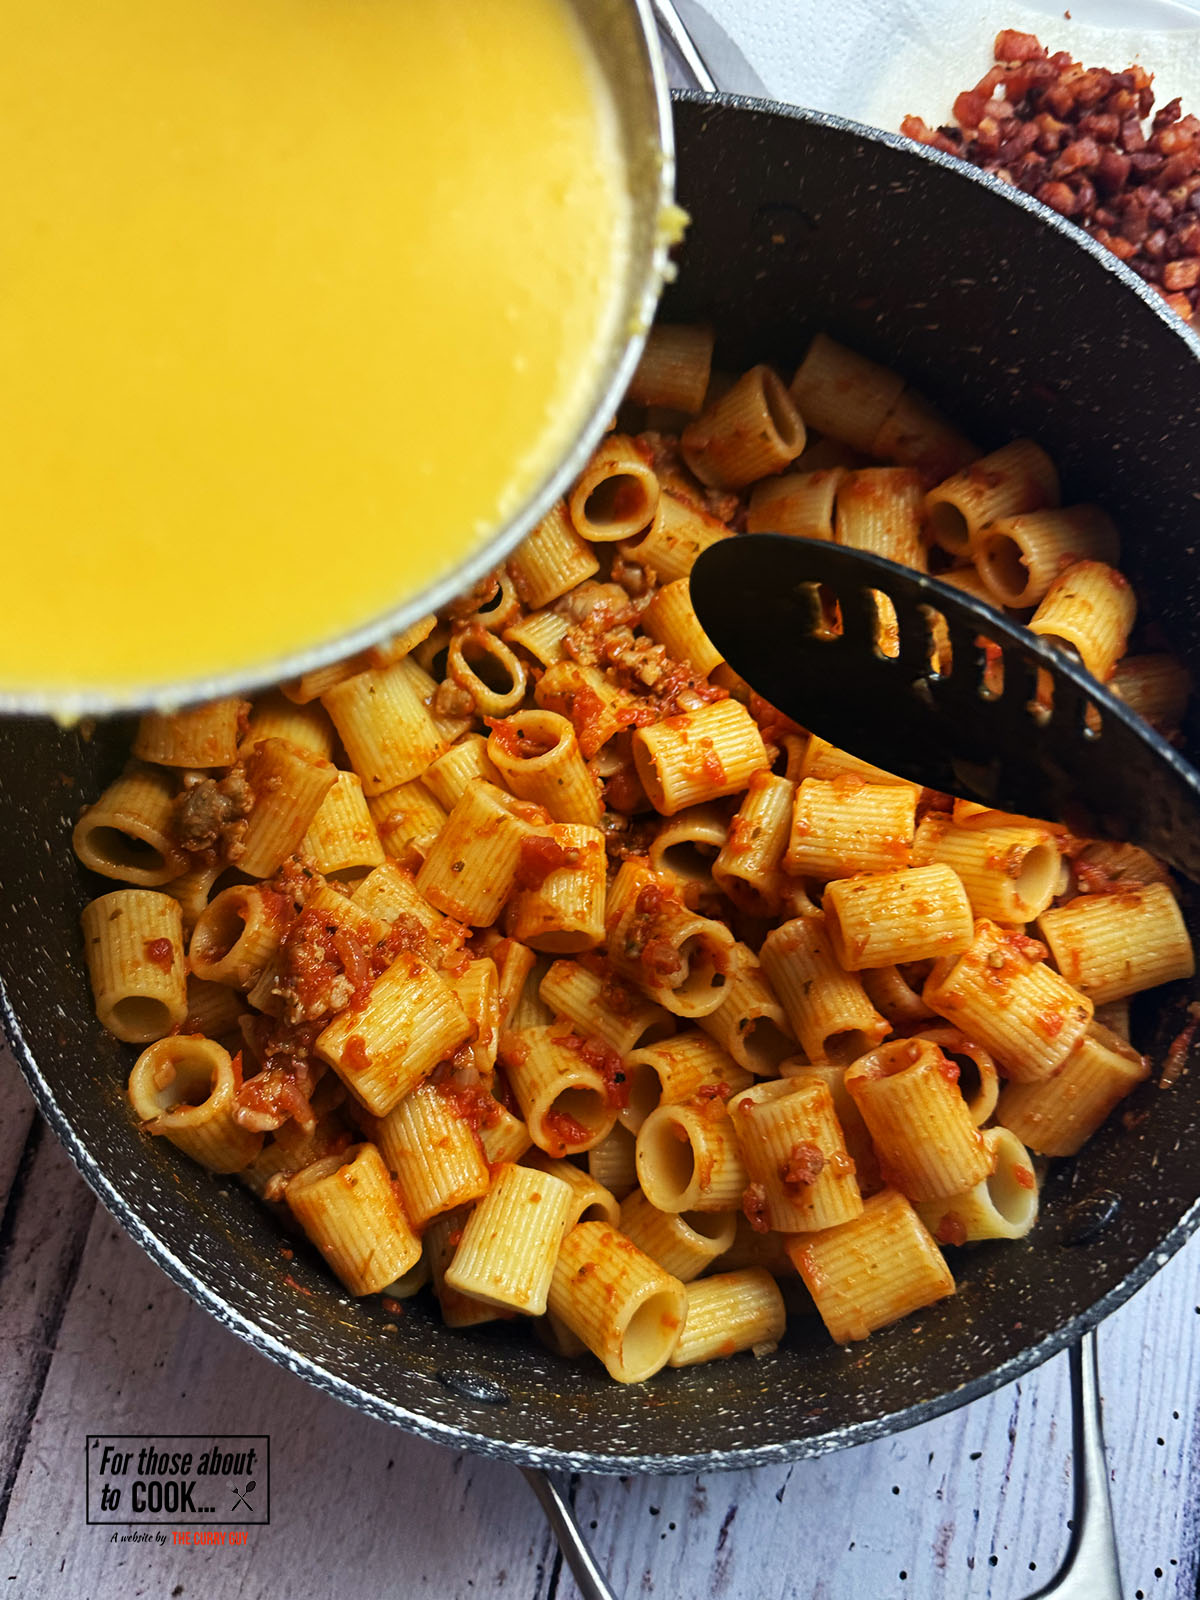
- Step 7: Drain your pasta making sure to retain a bit of pasta water. Add your cooked pasta to your sauce and mix well. Add a splash of pasta water to loosen the sauce if needed.
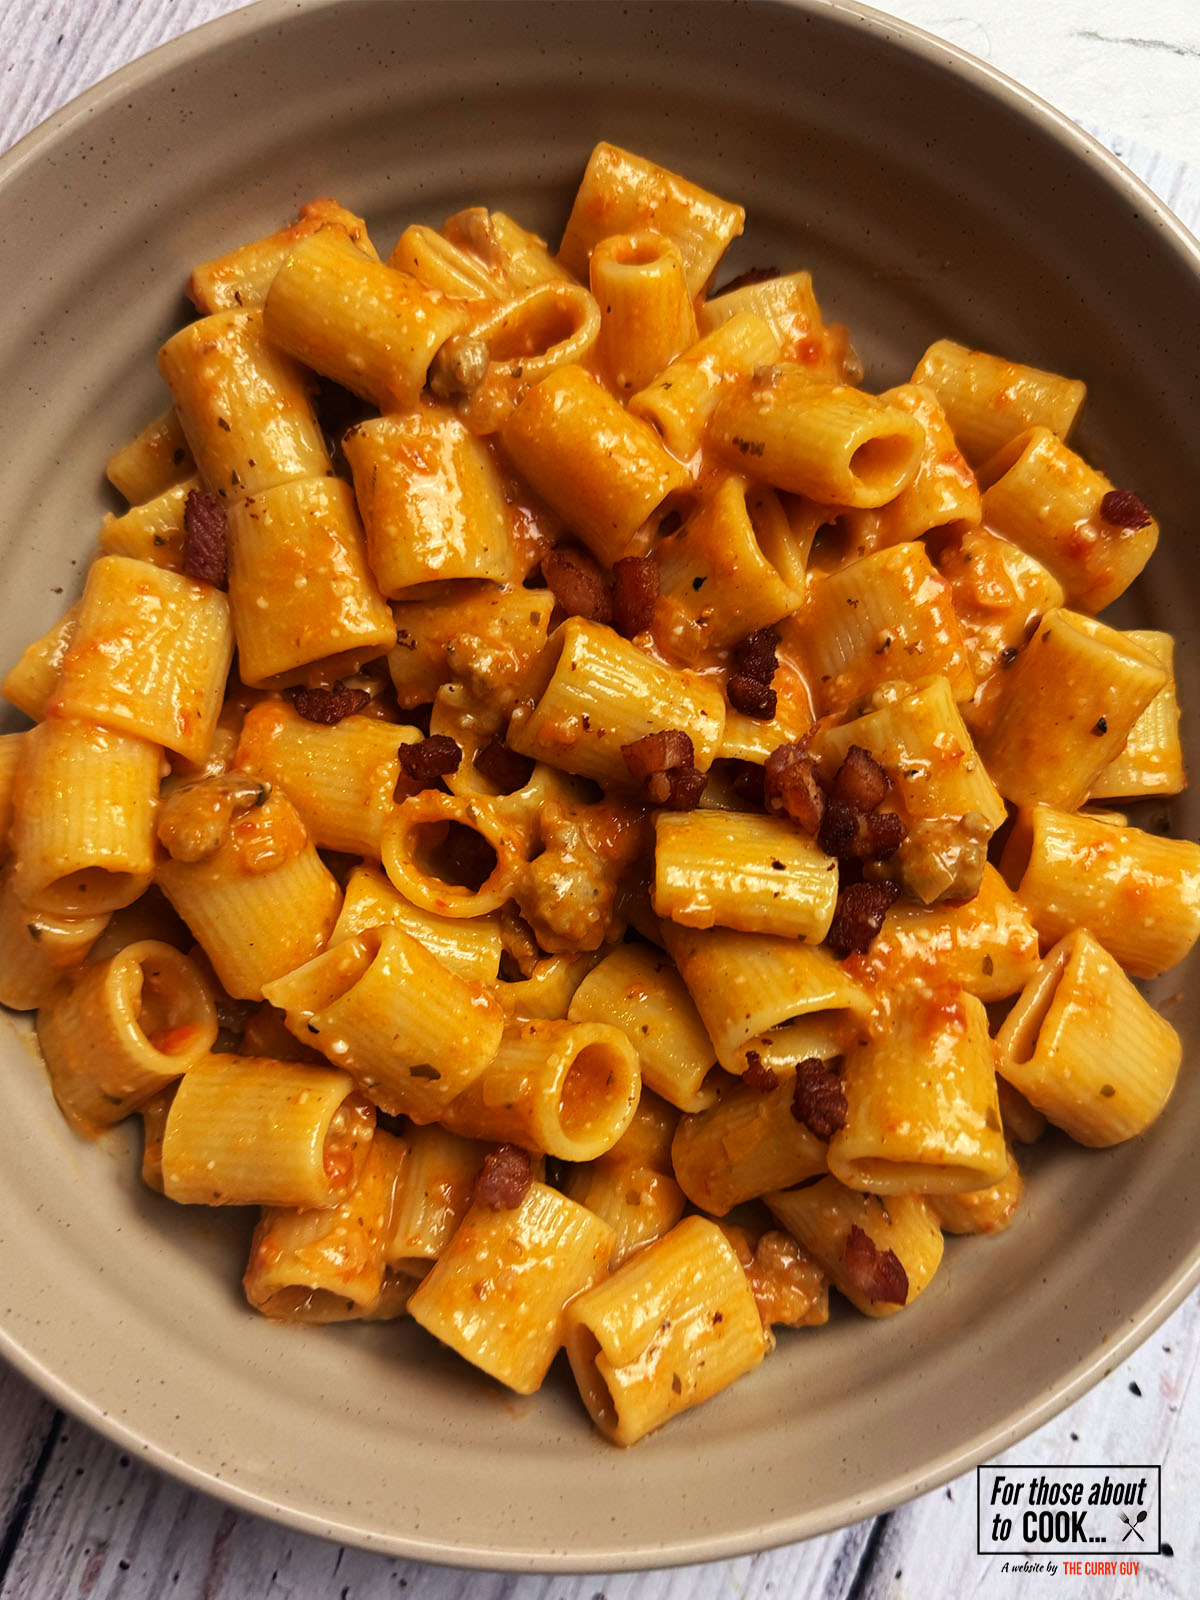
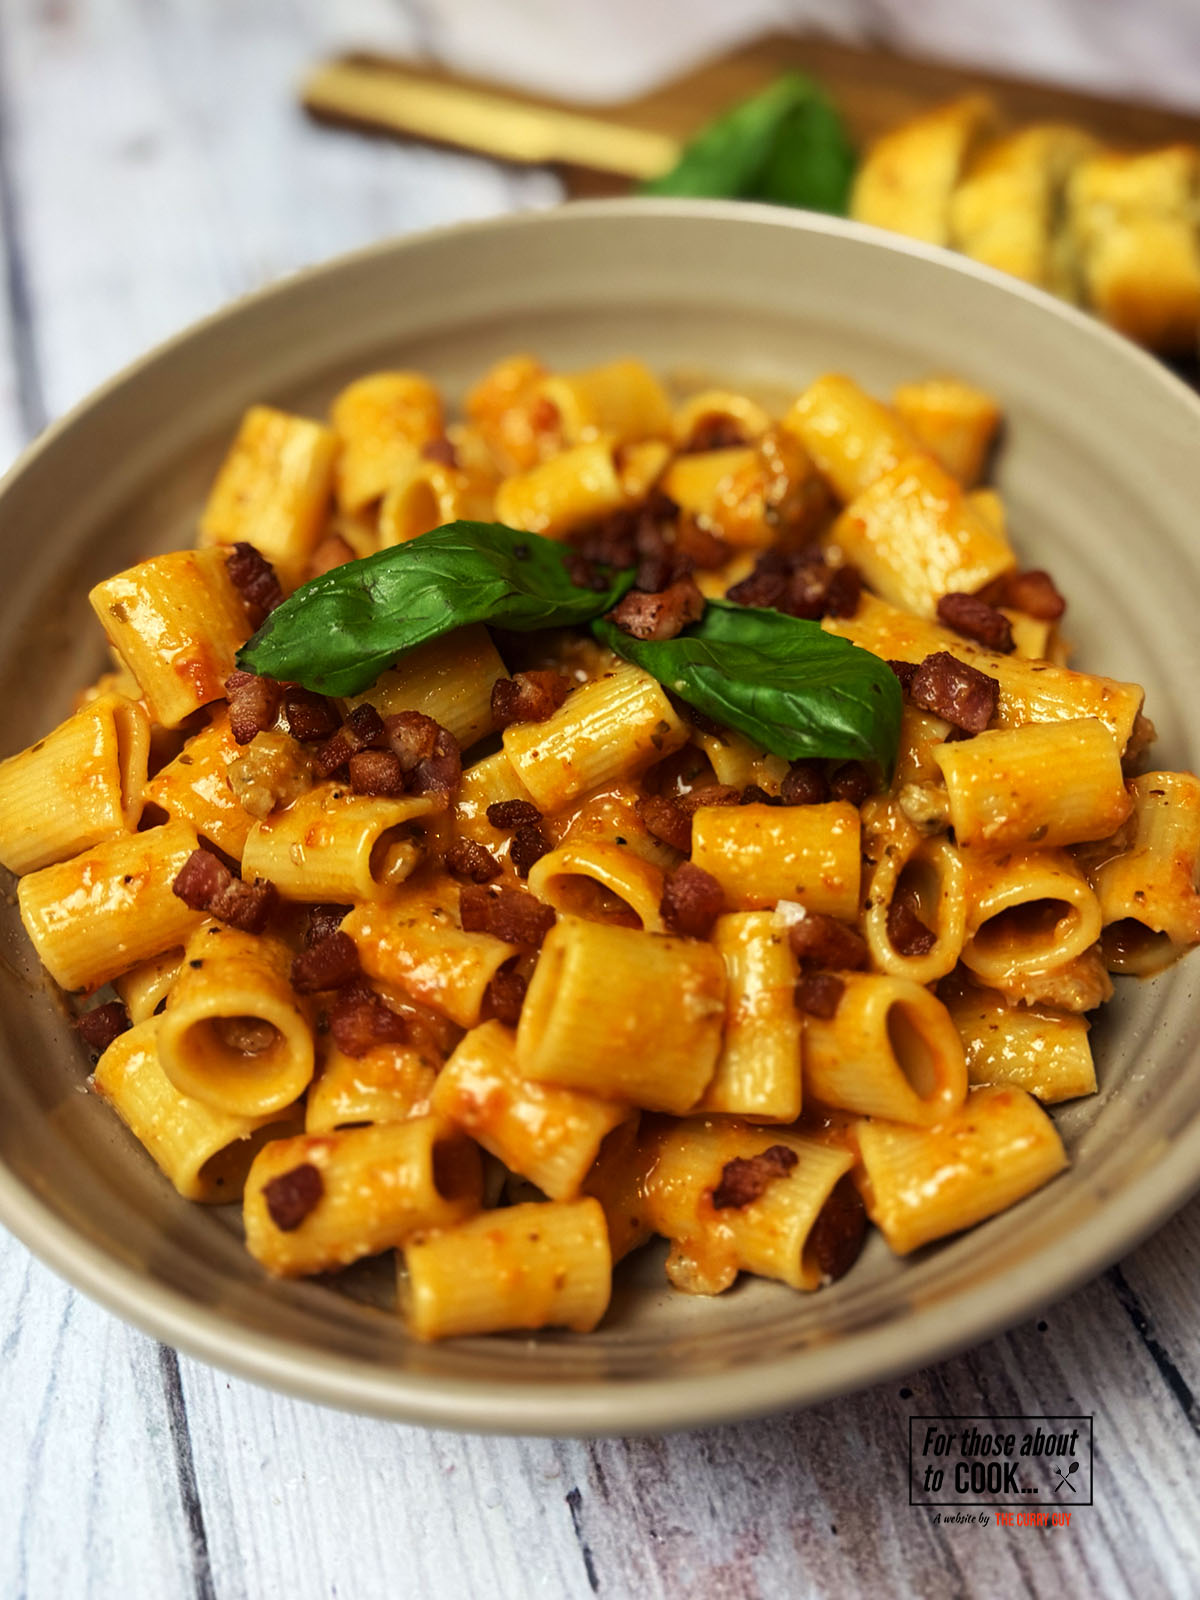
- Step 8: Top with the remaining parmesan, extra chilli flakes and basil. Dig in!
Hint: Retain a bit of your pasta water to loosen the sauce at the end. You'll get a wonderfully glossy sauce!
Substitutions
This Spicy Vodka Pasta recipe is so simple to make and only requires a few ingredients that you probably already have to hand. If you're struggling to source any ingredients or just want to mix things up, here are a few suggestions:
- Shallots - Simple substitute the 3 shallots for one medium onion!
- Mixed herbs - The mixed herbs in this recipe help create a depth of flavor, however simply use what Italian herbs you have. Dried oregano works perfectly!
- Parmesan - If you want to level up the creaminess in your Spicy Vodka Pasta simply add burrata to your pasta dish at the end! Cheesy and creamy!
Variations
Want to try this Spicy Vodka Pasta but not sure if you can handle the heat? Here are a few suggestions:
- Milder - Leave out the fresh chillies for a milder spice to your Spicy Vodka Pasta or leave out the chillies and chilli flakes altogether for a child friendly sauce.
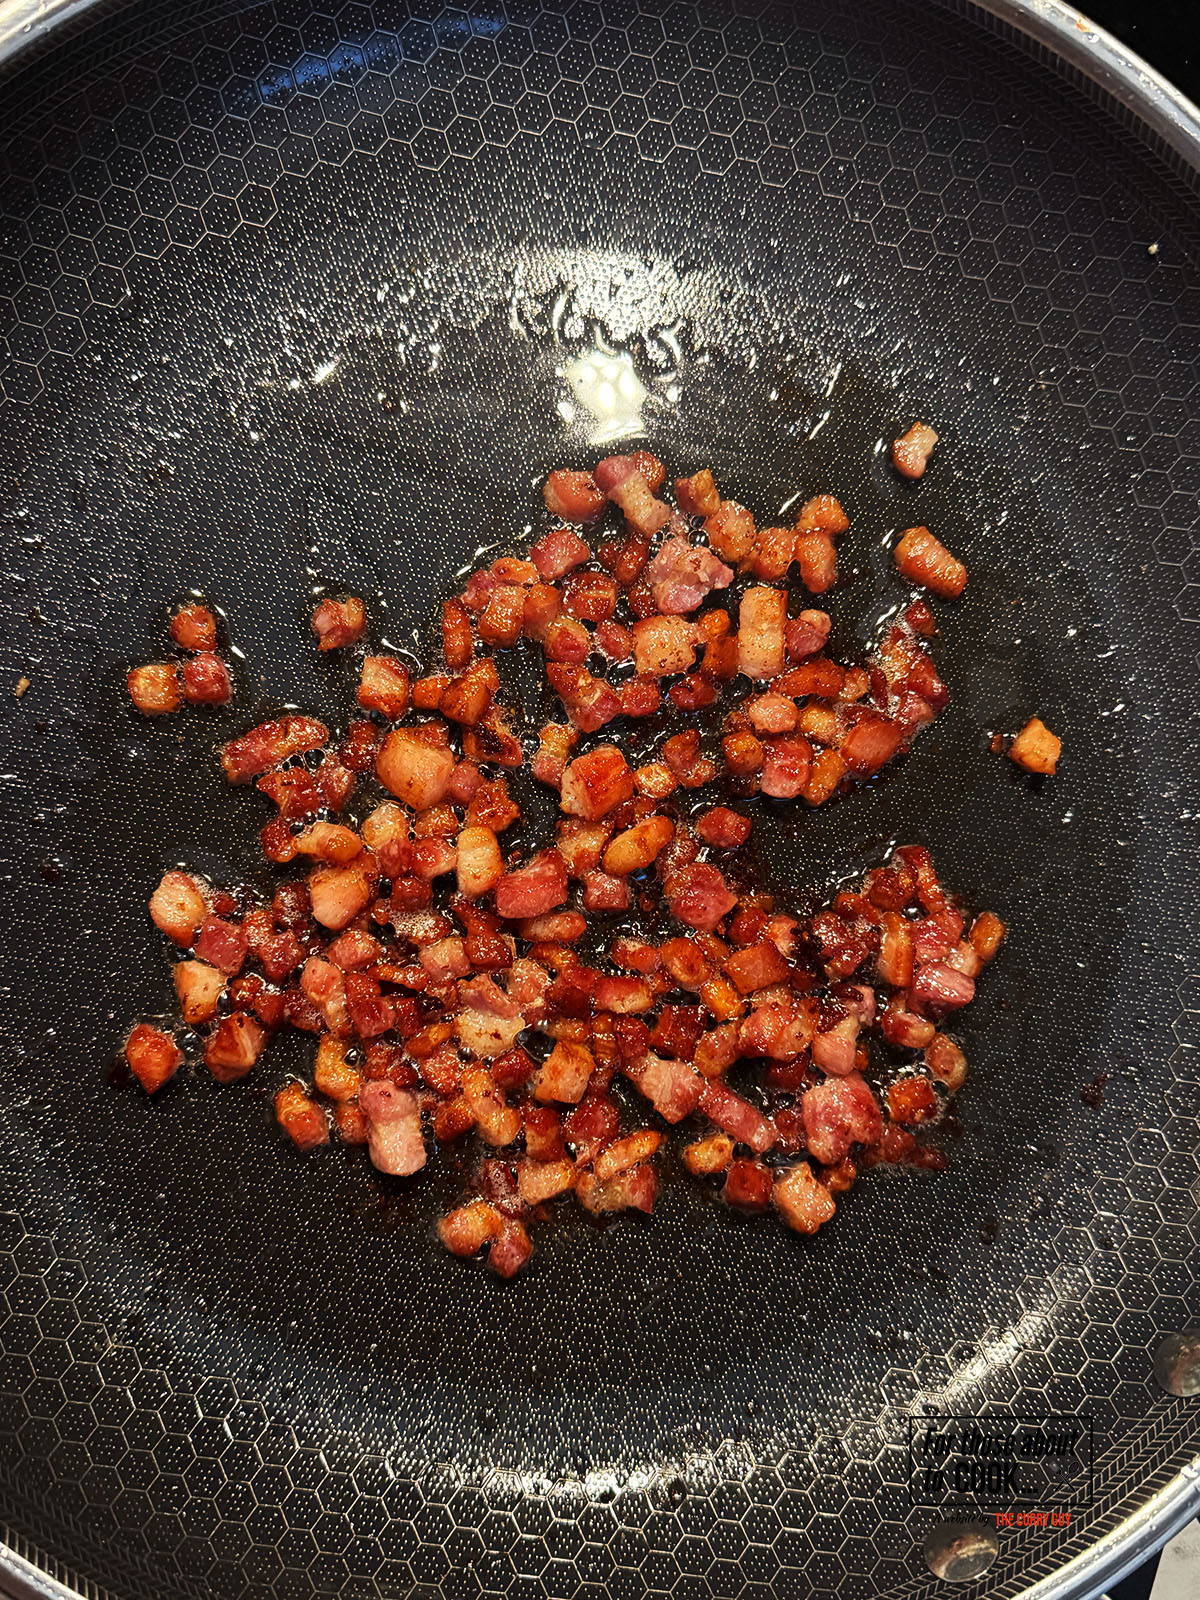
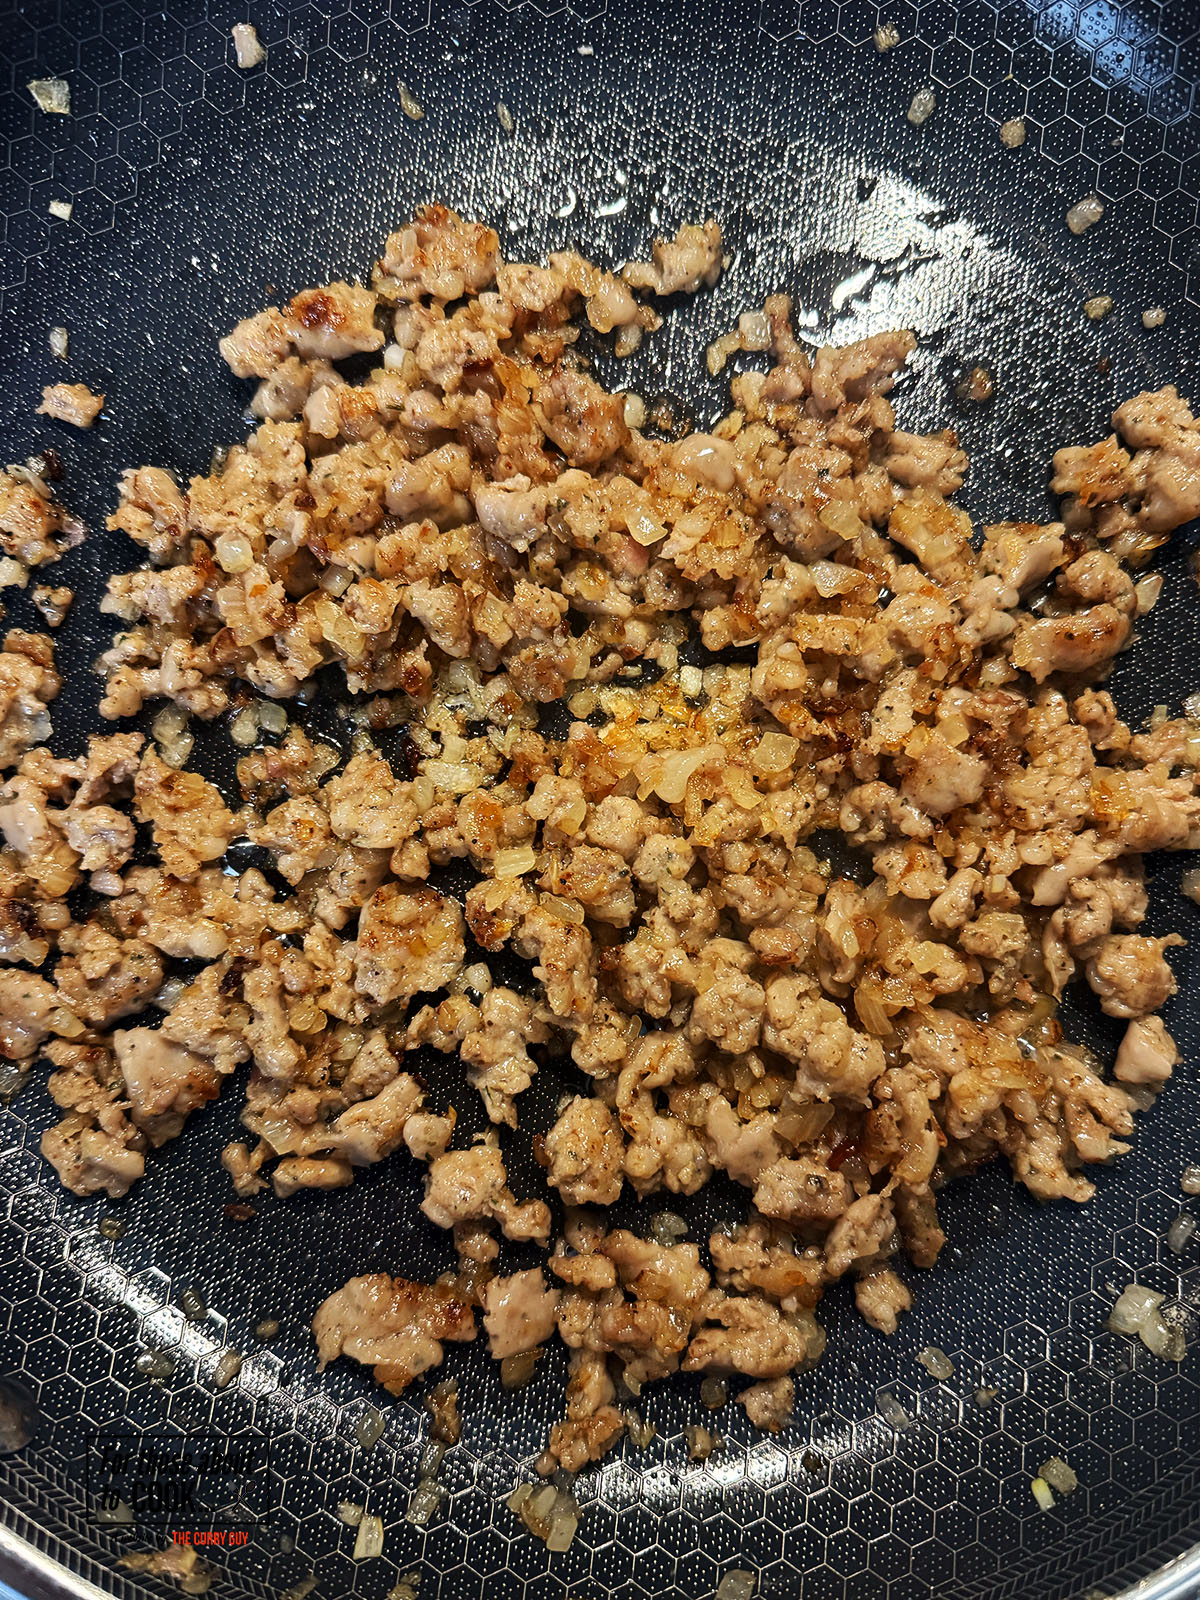
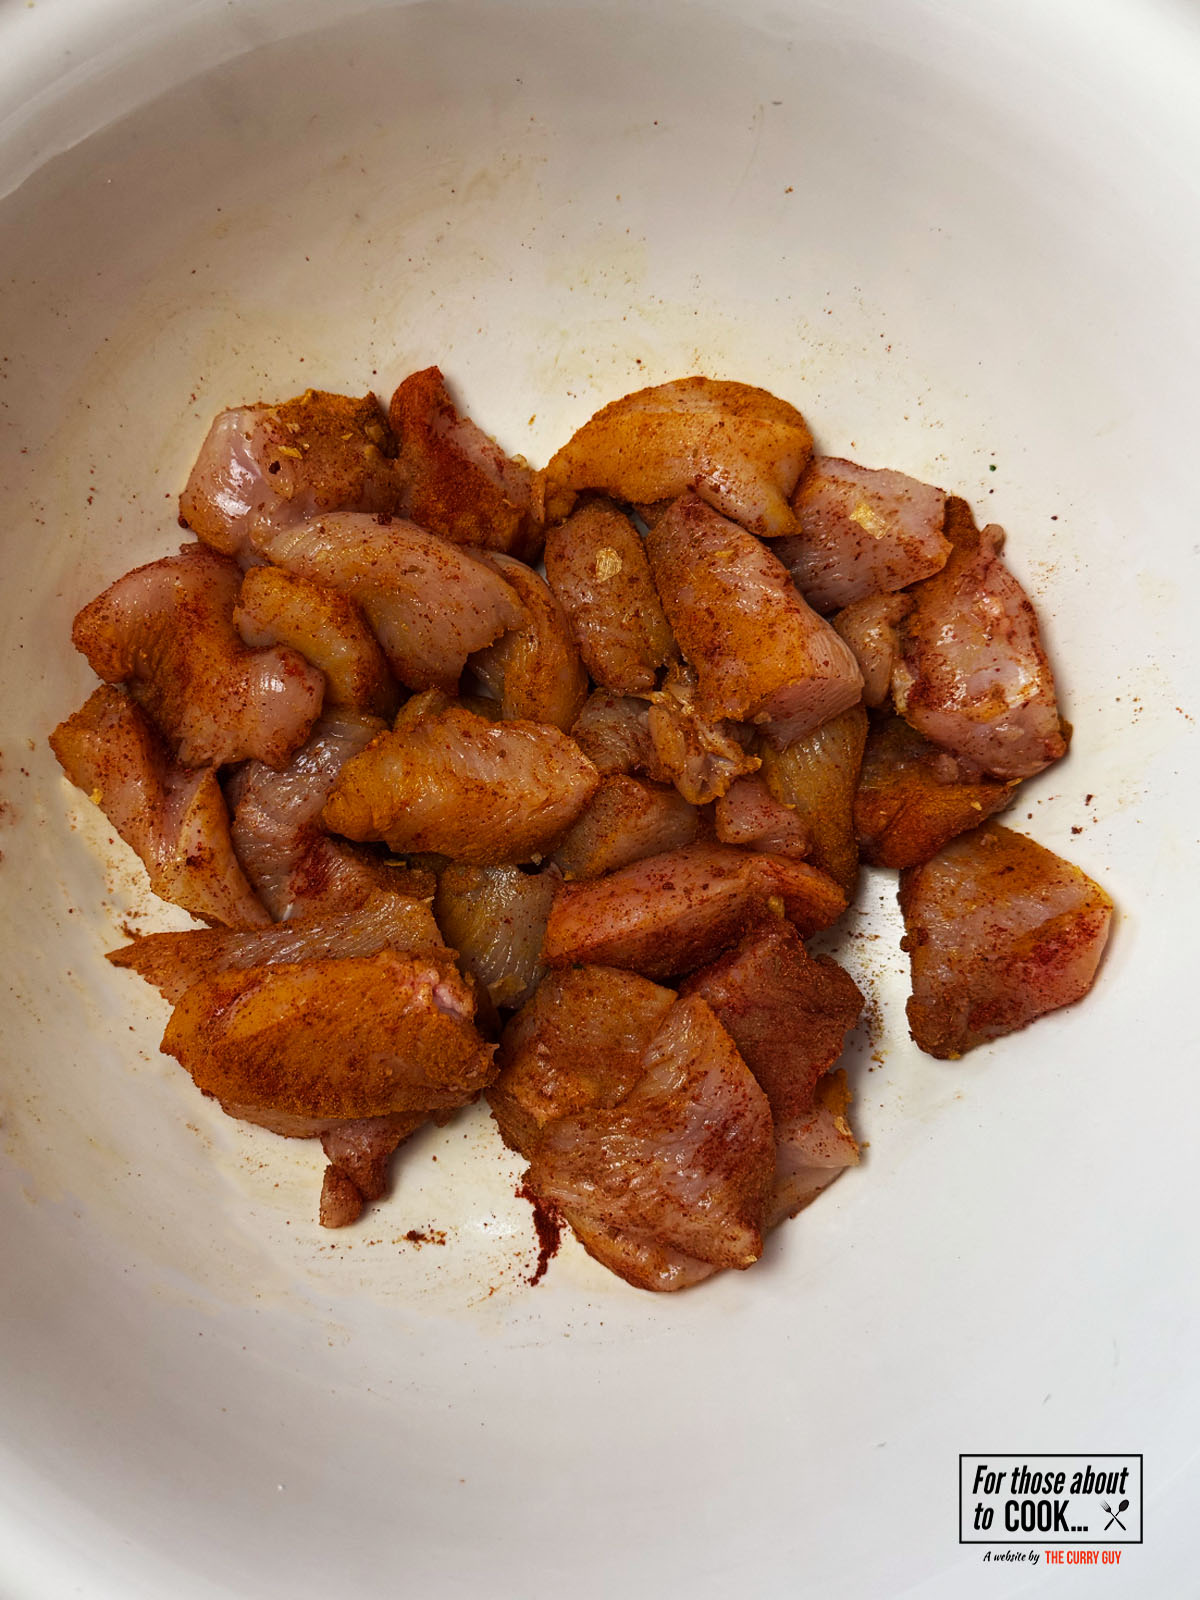
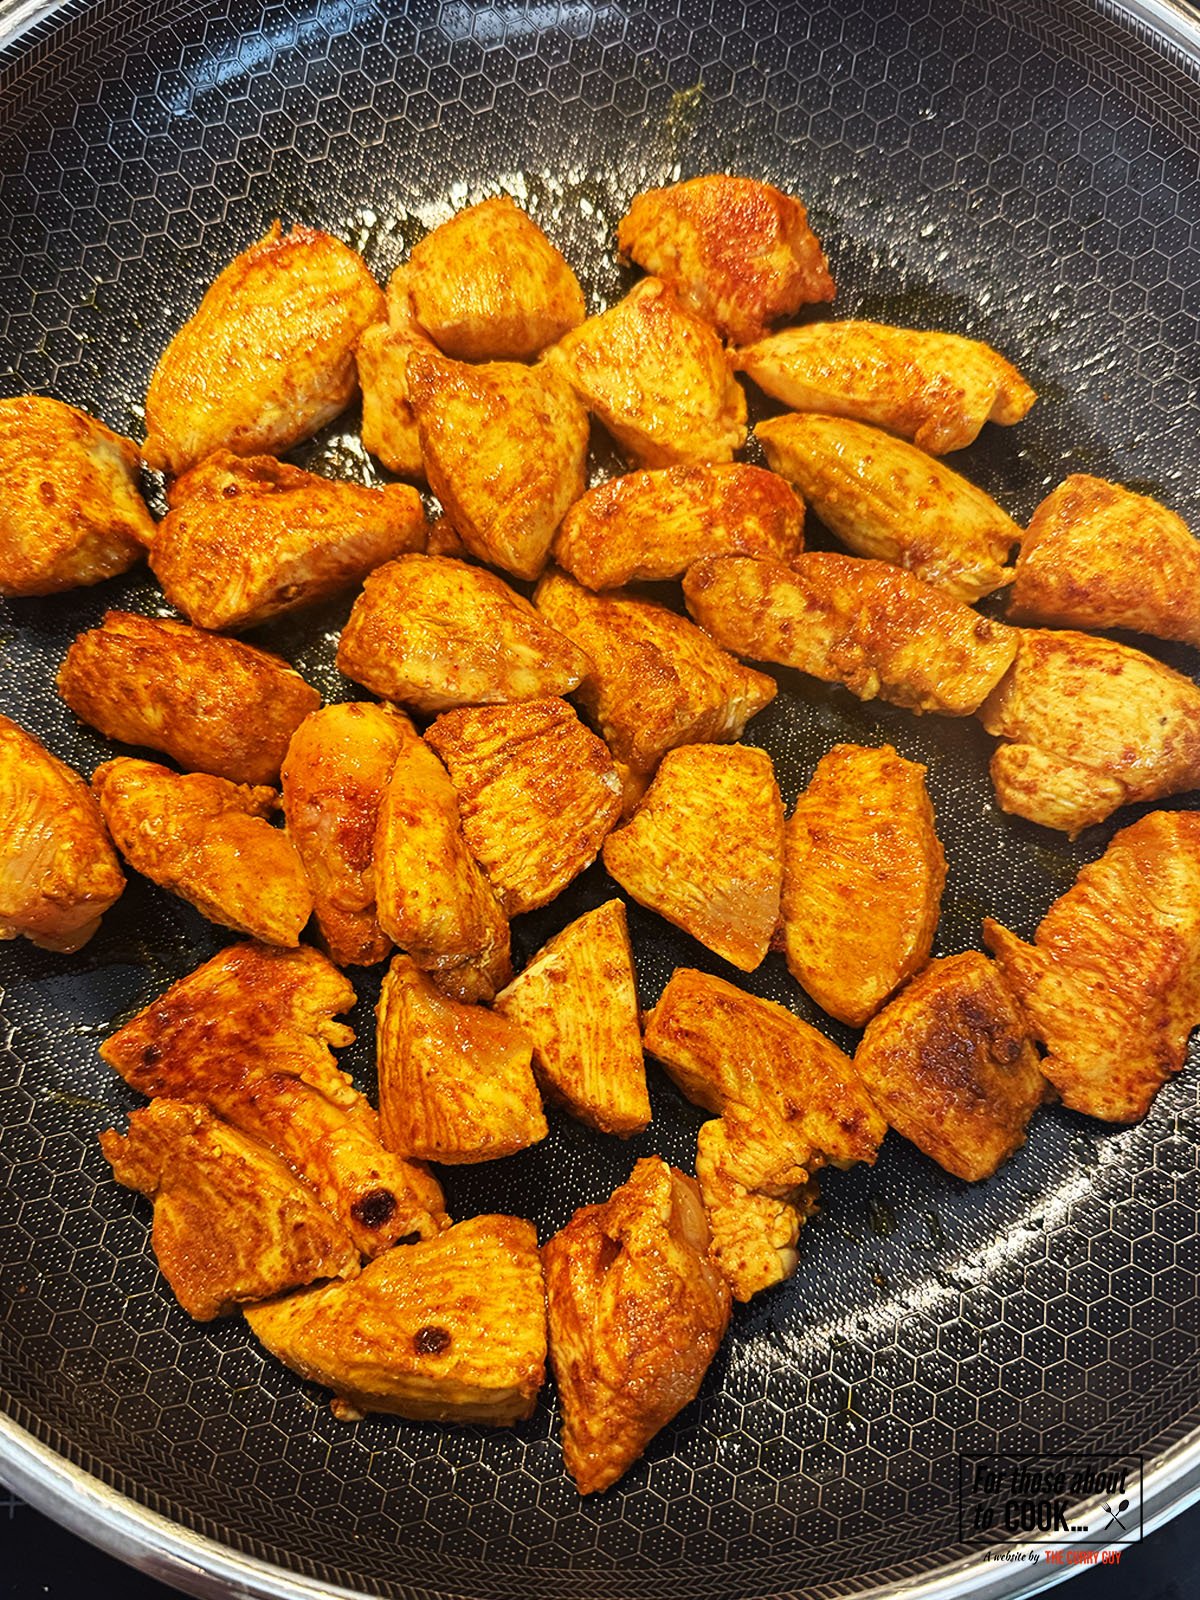
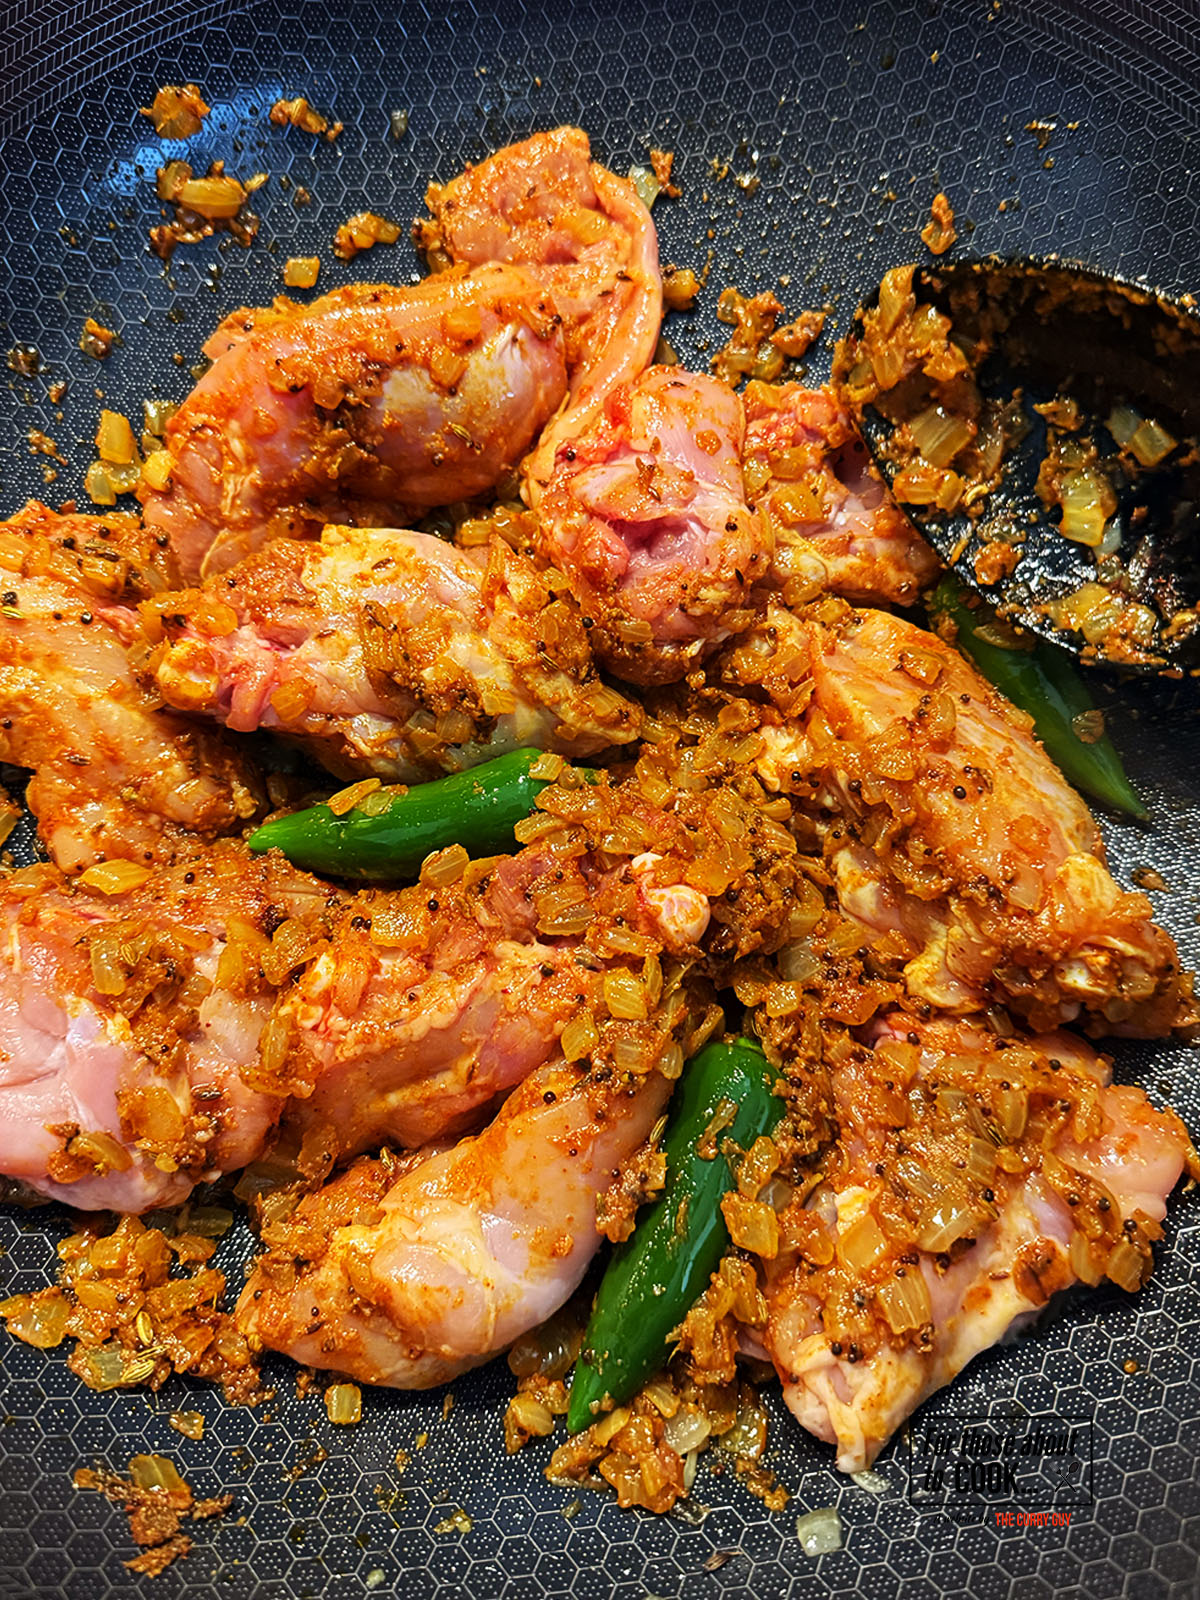
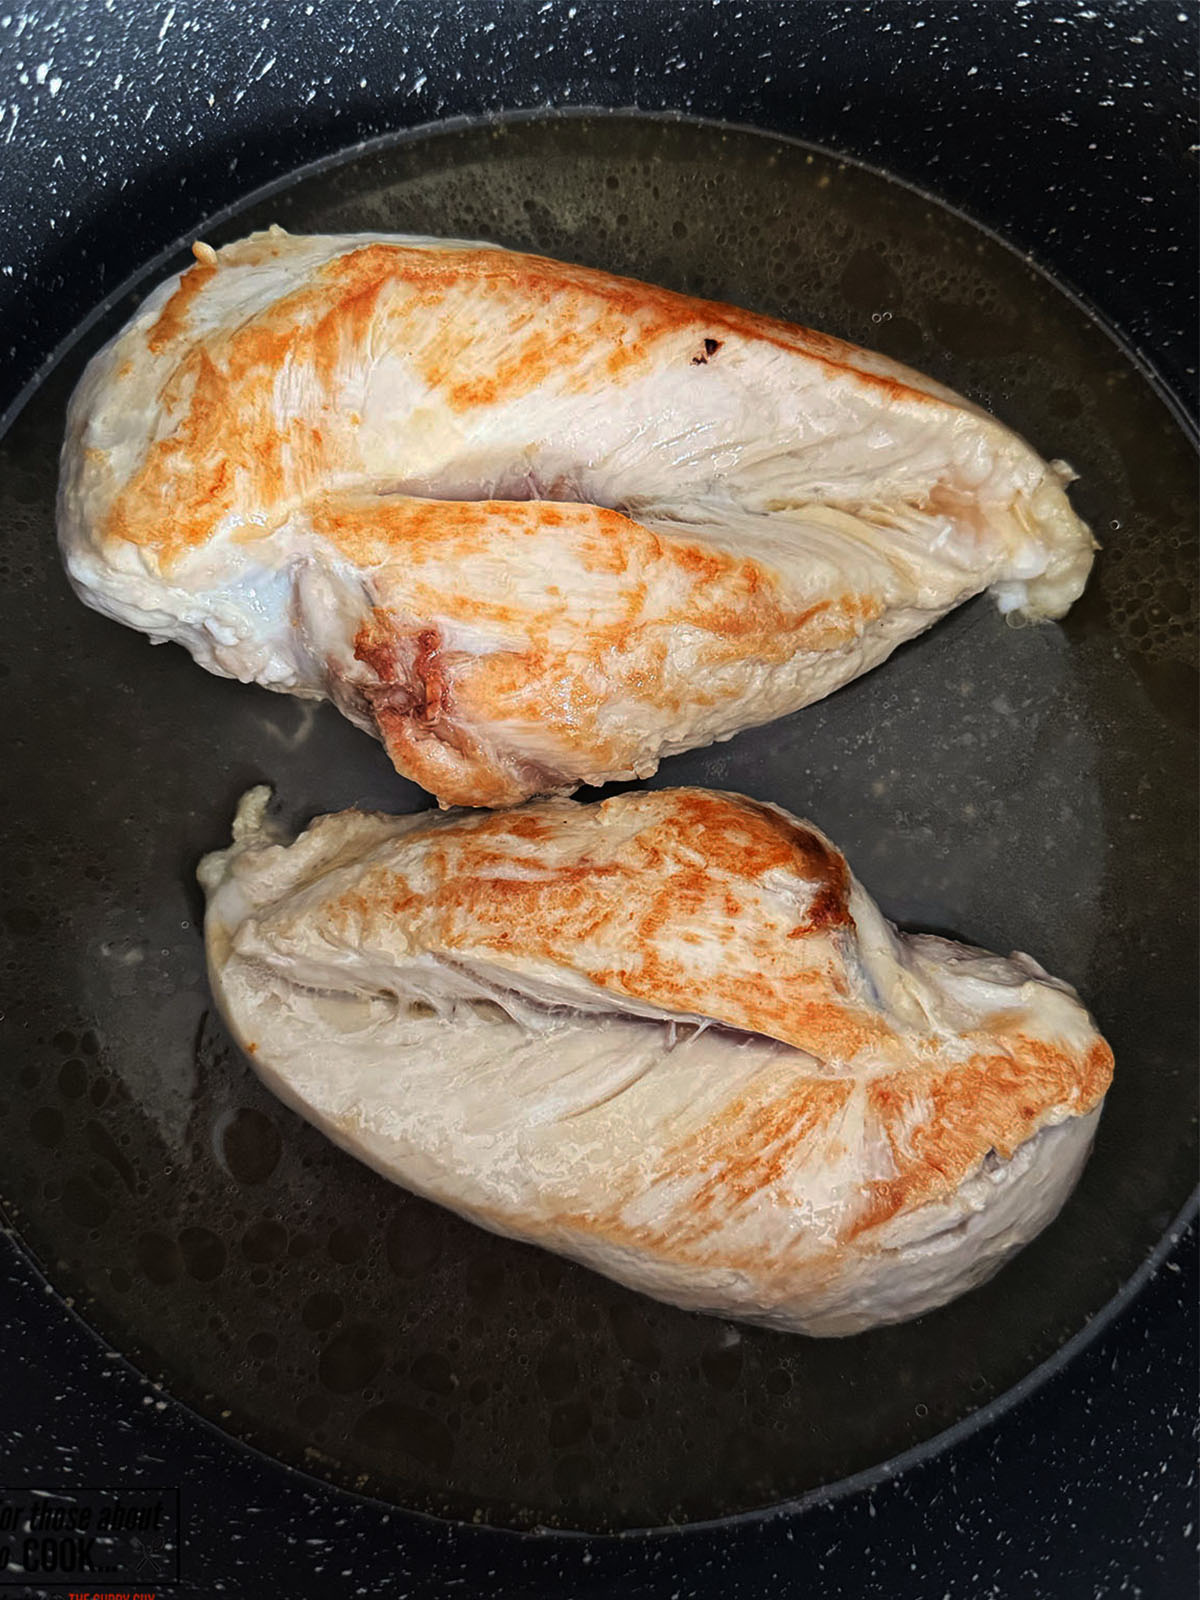
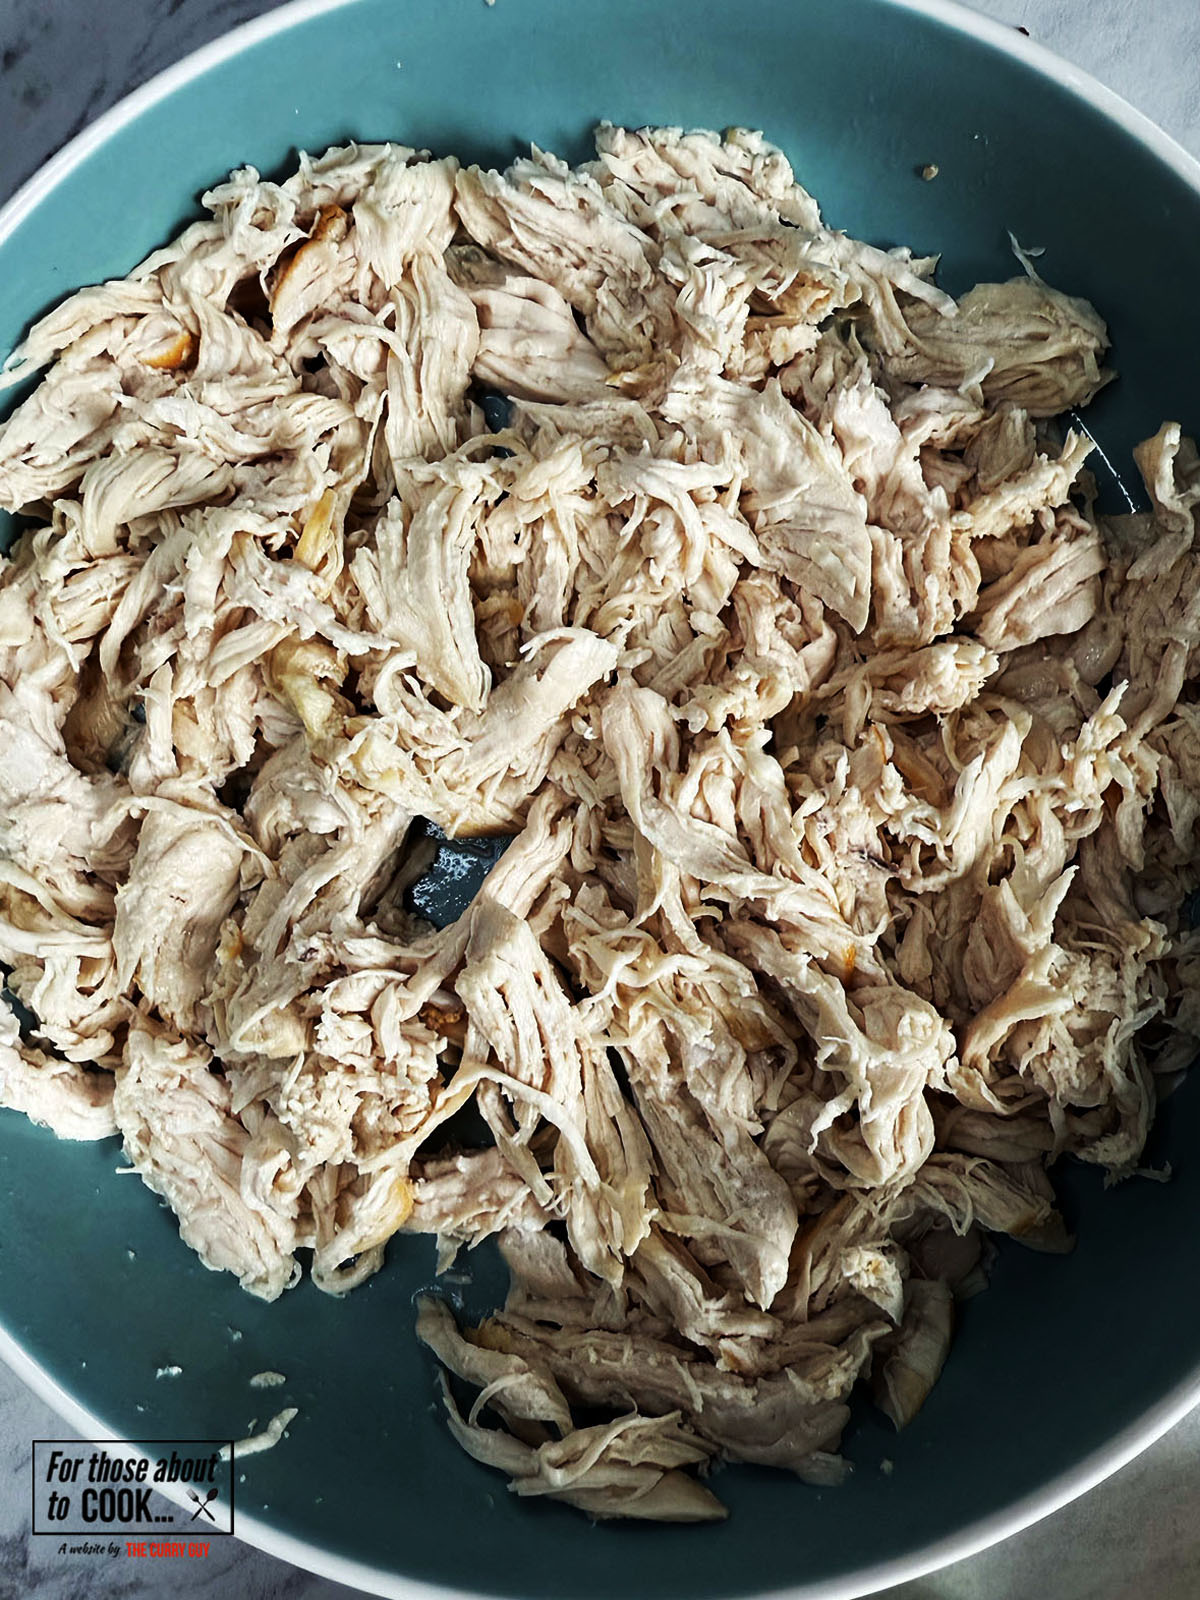
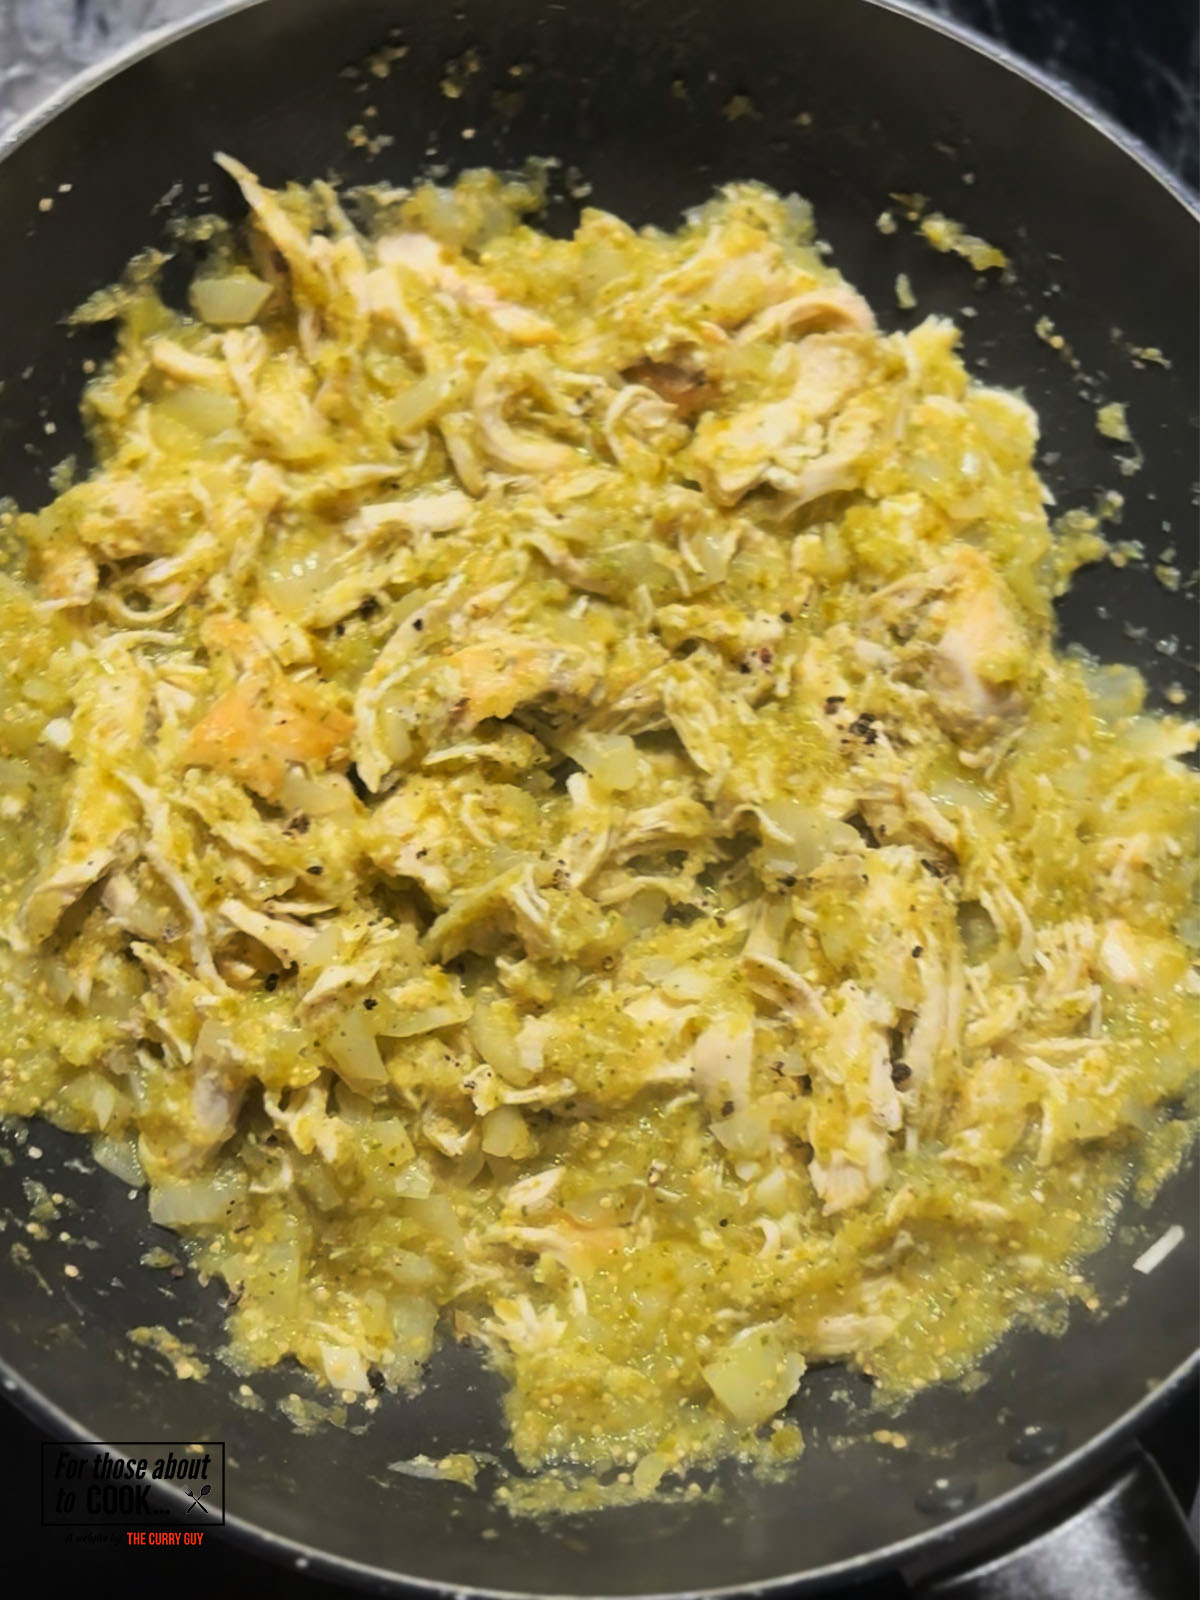
- Protein - Add cooked chicken breast to your pasta for a punch of protein or why not sprinkle on crispy pancetta at the end?
- Alcohol free - The vodka in this recipe pairs so well with the tomato puree and adds a sharpness to this dish, but it can be left out completely. It will still be delicious!
Like tomato based pasta? Why not try this Pasta Alla Zozzona recipe.
What type of pasta should I use?
For this recipe, I've found rigatoni works best as it hold its shape and fills with all that wonderful vodka sauce! These shapes would work just as well:
Conchiglie pasta's shell-like shape will trap the vodka sauce beautifully making each bite so flavorful!
Mezze Penne is the shorter, wider version of penne. It's ridges and hole will hold the delicious Spicy Vodka Pasta sauce wonderfully!
Serving Size (Serves 4)
This Spicy Vodka Pasta recipe is written to serve 4. Most of the time, we cook for 2 and enjoy the leftovers the next day - it makes the effort of cooking something fresh and delicious even more worthwhile. If you’re feeding 5 or 6, you can easily double the recipe, or sometimes it’s as simple as adding an extra piece of protein and adjusting the sides. Make it yours, enjoy the process, and don’t stress about being exact.
Note: Nutritional information provided in the recipe card below is a rough guide only. Values can vary depending on the exact ingredients and quantities you use.
Storage
Fridge: Spicy vodka pasta should be allowed to cool to room temperature before storing. Once cooled, it should be placed in an airtight container and kept in the fridge. It will usually keep well for up to 3 days. Because the sauce is cream-based, it is best not to leave it any longer.
Freezer: The sauce on its own freezes better than pasta mixed with the sauce. Cream sauces can sometimes separate after freezing, but this can often be fixed by reheating gently and stirring well. If freezing, store in a sealed container for up to 2 months. Defrost overnight in the fridge before reheating.
Top Tip
Emulsifying the Spicy Vodka Pasta sauce with retained pasta water is the key to that glossy sauce! This is what separates nice homemade vodka pasta from restaurant-level vodka pasta.
FAQ
Vodka enhances the flavour of the tomatoes. When it is cooked properly, the alcohol evaporates, so the sauce does not taste boozy. Instead, it adds a subtle sharpness to the sauce!
Spicy vodka pasta can still be made without vodka. You can substitute it with a splash of white wine, a little lemon juice mixed with water, or simply leave it out altogether. While vodka adds depth, the dish will still taste delicious without it.
Short pasta shapes such as rigatoni, penne, mezze penne and fusilli work best because they hold the creamy sauce well. Long pasta like spaghetti is less suitable because the sauce does not cling as effectively.
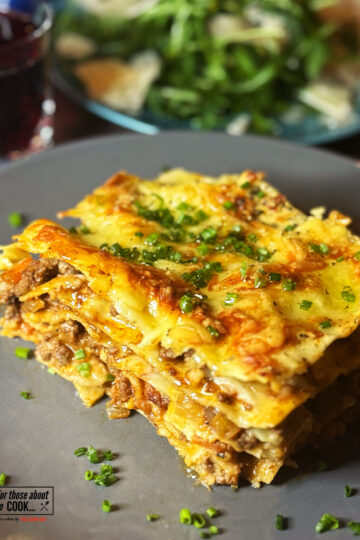
Related
Looking for other recipes like this? Try these:
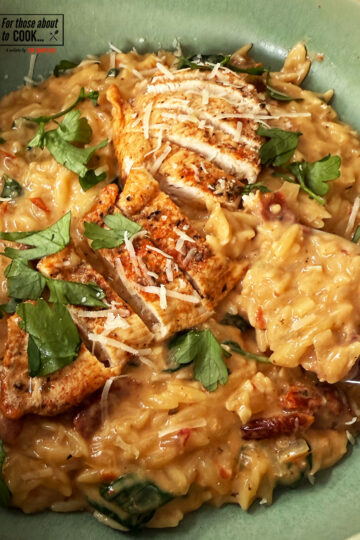
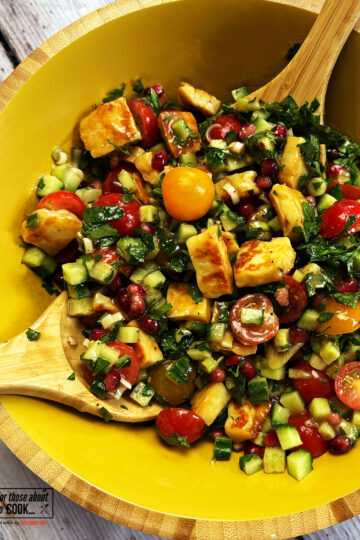
Pairing
These are my favorite dishes to serve with Spicy Vodka Pasta:


Recipe

Spicy Vodka Pasta
Spicy, creamy and comforting! This Spicy Vodka Pasta is the perfect quick and easy mid-week meal that layers Italian flavors beautifully!
Ingredients
- 2 ½ cups (250g) Rigatoni
- 3 Shallots
- 1 Clove garlic
- ½ tablespoon Chilli flakes
- 2 Fresh red chillies
- 4 Basil leaves
- 1 tablespoon Olive oil
- 1 teaspoon Mixed Italian herbs
- 130 g Tomato puree
- 1 shot vodka
- 1 cup (240 ml) Heavy cream
- 1 cup (100g) Parmesan cheese
- Basil to garnish
Instructions
- Firstly, bring a large pot of water to the boil, add a generous amount of salt and add your rigatoni. Cook to packet instructions.
- Meanwhile, add your olive oil to a pan and fry your shallots and garlic on a medium heat until softened (2-3 minutes).
- Next, add your fresh chillies and shredded basil and fry for 1 minute.
- Add your chilli flakes, mixed herbs and tomato puree and fry for a 2 minutes.
- Then, add your shot of vodka and use a spoon to scrape the bottom of the pan and deglaze. Cook for 5 minutes or until most of the vodka has evaporated.
- Add the heavy cream, give it a good mix and simmer for 5 minutes. After that, add your parmesan cheese.
- Drain your pasta making sure to retain a bit of pasta water. Add your cooked pasta to your sauce and mix well. Add a splash of pasta water to loosen the sauce if needed.
- Top with the remaining parmesan, extra chilli flakes and basil. Dig in!
Nutrition Information:
Yield: 4 Serving Size: 1Amount Per Serving: Calories: 836Total Fat: 45gSaturated Fat: 25gUnsaturated Fat: 20gCholesterol: 125mgSodium: 1187mgCarbohydrates: 70gFiber: 5gSugar: 8gProtein: 31g
Have you tried this recipe?
If yes, please give it a star rating in the recipe card below and leave a comment. We love receiving your feedback and I’m sure other readers of my blog do too. Thank you.
If you are not already doing so, please follow For Those About To Cook on Instagram and Facebook for all our latest recipes.