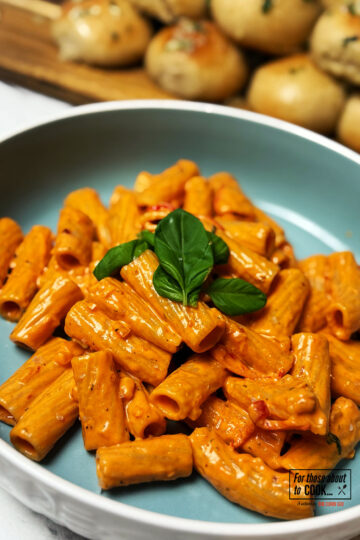
This easy pesto pasta recipe will become a weeknight favourite. Ready in under 30 minutes, using only the freshest ingredients you can access pretty much everywhere. Skip the jars and make it fresh!
You can absolutely serve this cold too. A perfect treat for lunch time at work!

About this recipe
Basil pesto is a classic, popular Italian sauce, which is incredibly versatile. In this recipe. I show you how to make a fresh basil pesto and mix it into a delicious pasta dish with added cream. Once you see how easy it is to make this easy pesto pasta, It will become a favourite in your home.
Step by step photographs
You shouldn't have a problem sourcing any ingredients for this easy pesto pasta recipe. All ingredients can be purchased at your nearest grocery store.

- Basil
- Pine nuts
- Garlic
- parmesan
- olive oil
- salt & pepper
- double cream (not in photograph)
- pasta
See recipe card for quantities.
Instructions

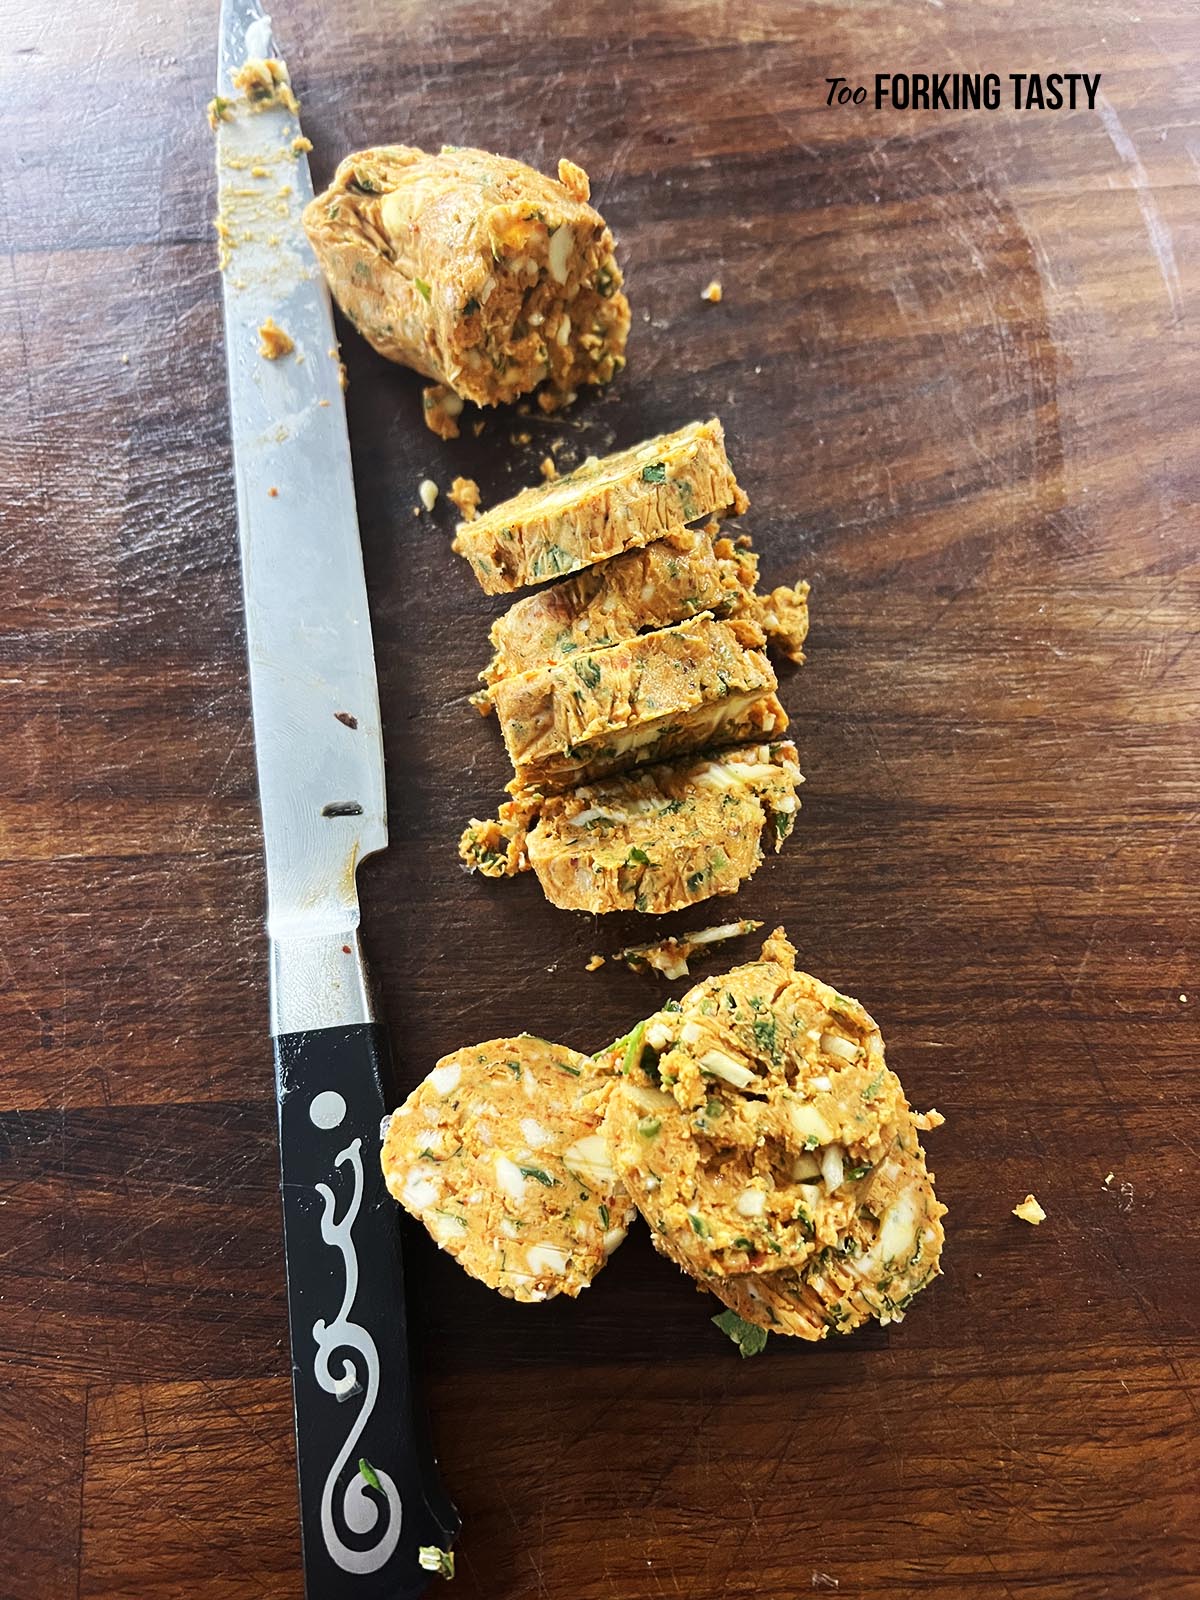
- Step 1: Start by adding the pine nuts and garlic to the food processor.

- Step 2: Then add the basil on top.

- Step 3: Now add the grated Parmesan, salt, pepper and olive oil. pulse in short bursts to maintain a good texture and avoid over blending.

- Step 4: Bring a pan of water to the boil and add your pasta. Cook as per the packaging instructions.

- Step 3: Drain the pasta and set aside.

- Step 4: In the same pan, add the pesto and the cream, stir together.

- Step 3: Add the pasta to the pan and mix together well so that the pasta is well coated in sauce.

- Step 4: Serve hot or cold with added pine nuts.
Hint: If you’re not serving immediately, keep the pesto, cream and pasta separate until ready to serve. This will help prevent the pasta from soaking up the sauce and drying out. Make sure you add a touch of olive oil to your pasta to avoid it sticking together.
Serving suggestion
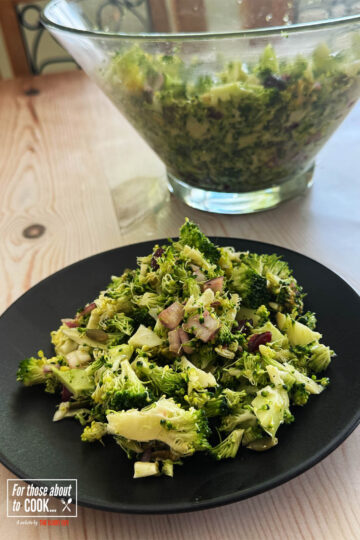
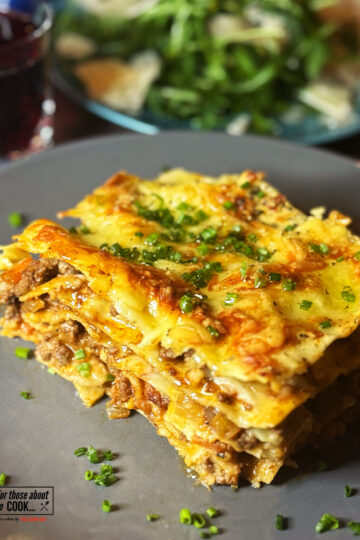
Make this dish a meal by adding a prepared salad to the table. I absolutely love this Green Goddess Salad but check out these other salad recipes too.
Substitutions For Easy Pesto Pasta
This easy pesto pasta recipe is easy to substitute ingredients to suit many dietary requirements.
- Nuts - You can skip them or add toasted breadcrumbs for added texture.
- Cheese - You can add a spoonful of nutritional yeast instead or even a little extra salt and some lemon juice.
- Pasta - Use any pasta you like in this recipe or try gnocchi, noodle noodles or you can even try cooked potatoes or rice.
- Cream - You can skip cream altogether or even add coconut milk for a twist.
Variations of Easy Pesto Pasta
Once that you have mastered the basil pesto recipe, you might want to switch it up. This Easy Pesto Pasta recipe is easily adapted and here are some ideas of variations you could try.
- Spinach & Basil - If you prefer a milder and sweeter taste, swap half of the basil for spinach. It is a a great way to use up leftover greens in your refrigerator.
- Red pesto - Switch out most of the basil for sun-dried tomatoes and create a red pesto. It's delicious served creamy and stirred into a pasta.
There are so many other things you can do with basil pesto, instead of adding it to pasta. Check out my Basil Pesto recipe where you can see example of how else to use basil pesto.
Equipment
For the best results, use a food processor as this allows you to pulse it in short bursts to maintin a good texture and avoid over-blending. However you can use a regular blender to create the paste.
Storage
If possible, store the pesto, cream and pasta separately, adding a touch of oil to the pasta to avoid it sticking. This will stop the pasta from absorbing the sauce and drying it out. You should also add a tablespoon of olive oil to the top of the pesto to stop it going brown, When ready to heat back up, heat the pesto in a pan over a medium heat, stir in the cream and add your pasta.
If it is already mixed together, simply place it in a bowl, covered and it will last in the refrigerator for up to 5 days.
The pesto freezes really well, so as long as this is seperate to the cream and the pasta, it will freeze for up to 3 months. It is definitely worth making a big batch so you can do this.
Top Tip
Use the best basil you can find, a good quality cheese and a proper extra virgin olive oil. You will taste the difference!
FAQ
Add a thin layer of olive oil on the top of your pesto to avoid oxidation. Store in an airtight container. This will help maintain its vibrant green color.
Yes absolutely!. I recommend that you don't mix the ingredients together until you are ready to serve. This means, you can easily prepare the pesto and pasta and mix together along with the cream when you're ready to serve. Store the pasta with a touch of olive oil to avoid it sticking together. If serving hot, heat the pesto in a pan over a medium heat, stir in the cream and add your pasta. stir continuously until it's hot enough to serve.
More Italian Recipes
Looking for other recipes like this? Try these:
Pairing
These are my favorite dishes to serve with [this recipe]:

Recipe

Tomato and Mascarpone
Discover the easy and delicious Tomato and Mascarpone pasta recipe that is ready in under 30 minutes for a perfect weeknight meal.
Ingredients
- 4 cups of pasta (your choice)
- ⅔ cup (150g) Mascarpone
- 1 cup (250ml) passata
- small handful of fresh basil leaves
- ¾ cup (60g) grated parmesan
- 4 garlic cloves (peeled and crushed)
- 4 tablespoon olive oil
- Salt & pepper to taste
Instructions
- Bring a pan of water to the boil and add your pasta. Cook as per the packaging instructions
- Meanwhile, In a food processor (or blender), add the mascarpone, olive oil, garlic, basil, parmesan and salt & pepper.
- Stir in the tomato passata.
- Once your pasta is cooked, stir in the sauce to your hot pasta. If you're working ahead and already have cooked pasta that is no longer hot, heat the sauce over a low-medium heat first. Top with parmesan. Enjoy!
Nutrition Information:
Yield: 4 Serving Size: 1Amount Per Serving: Calories: 321Total Fat: 15gSaturated Fat: 2gTrans Fat: 0gUnsaturated Fat: 12gCholesterol: 1mgSodium: 93mgCarbohydrates: 39gFiber: 2gSugar: 1gProtein: 8g