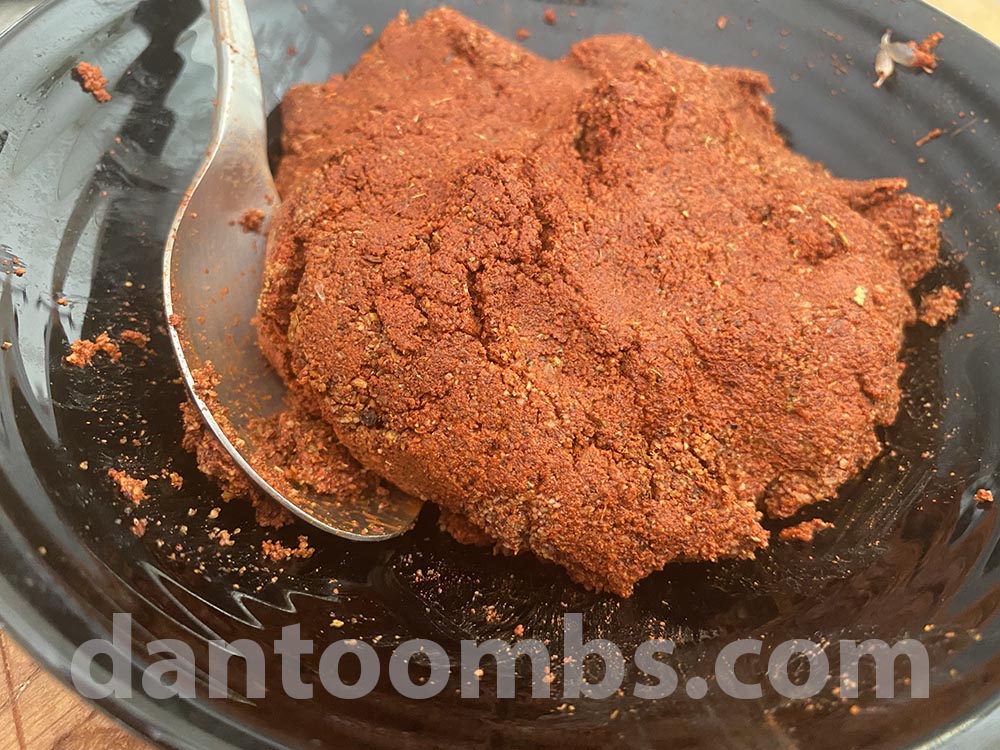
Making Thai Massaman curry paste is a good idea if you want the best Massaman curry. Sure you can purchase good pastes but nothing compares to homemade.
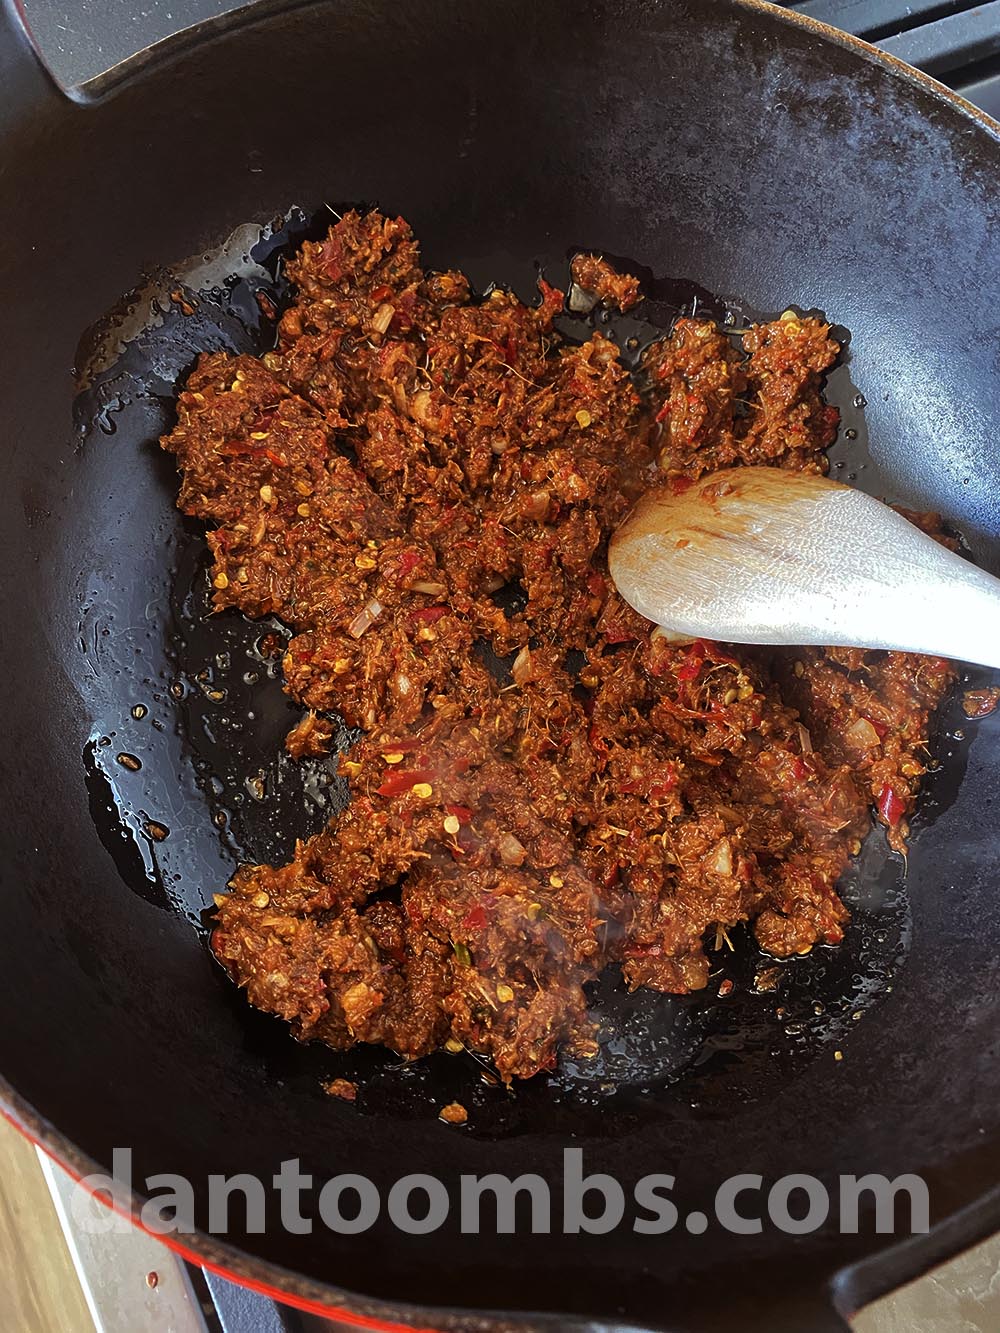
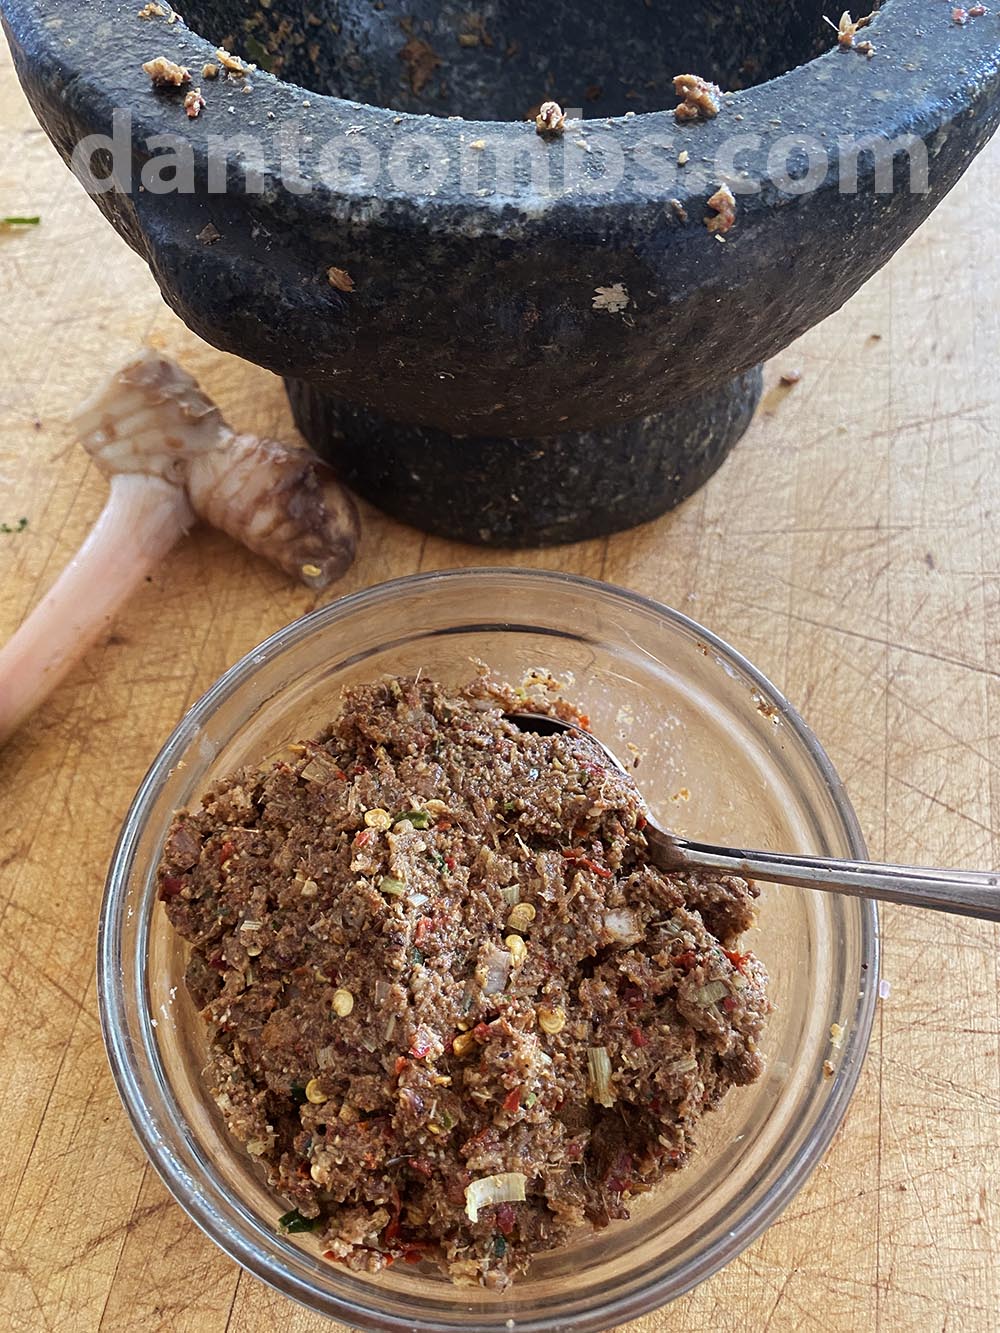
Like most authentic Thai curries pastes, making Massaman curry paste is best made the traditional way, by pounding the ingredients into a paste in a pestle and mortar.
This can be quite time consuming, up to an hour. If you want to cheat, you can still get fantastic results using a food processor.

How strong is this paste
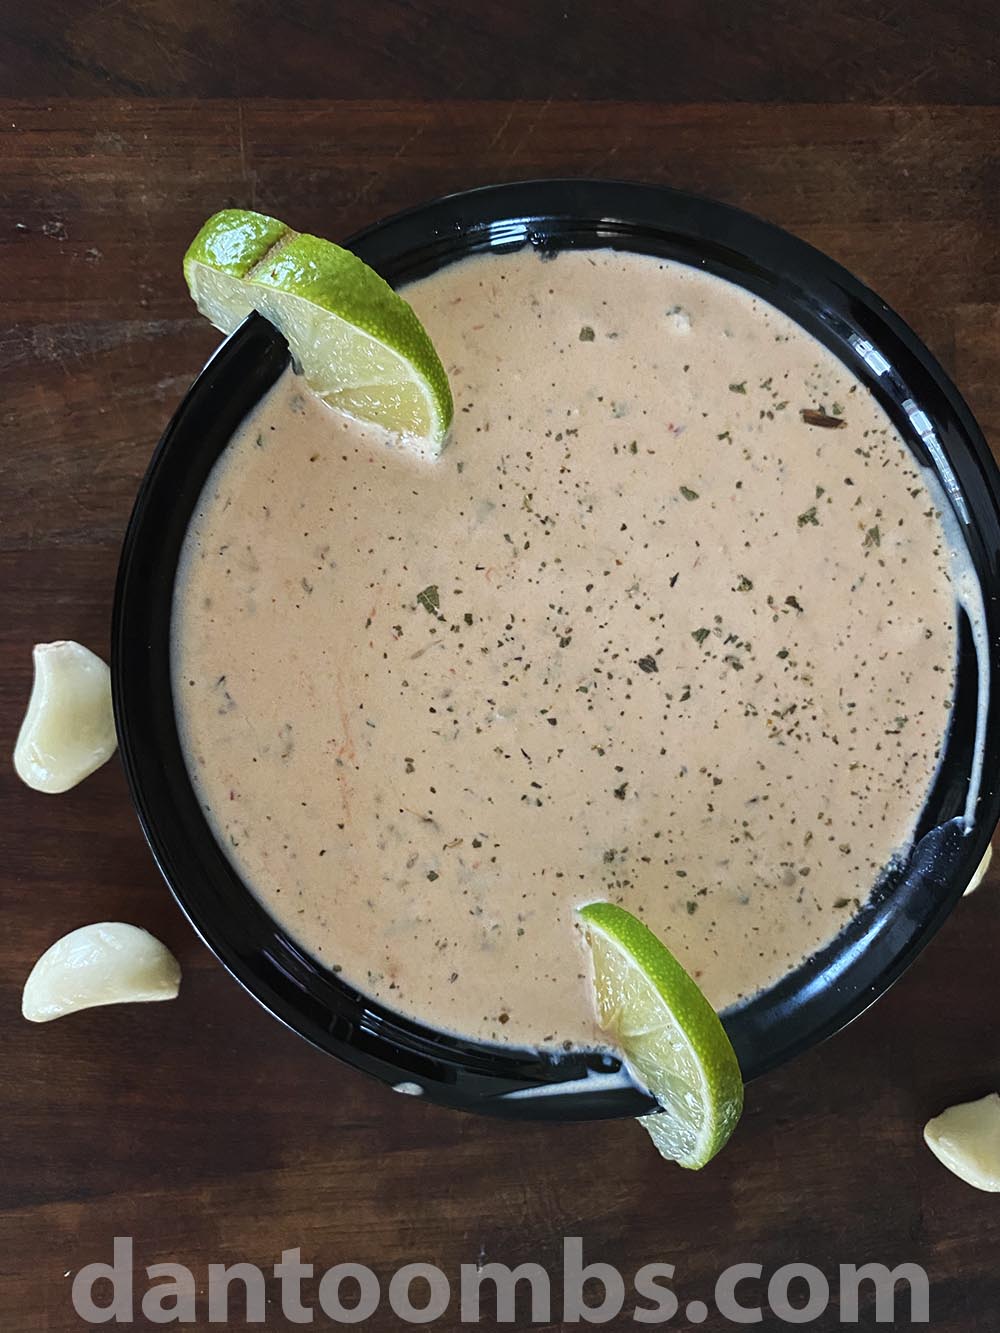
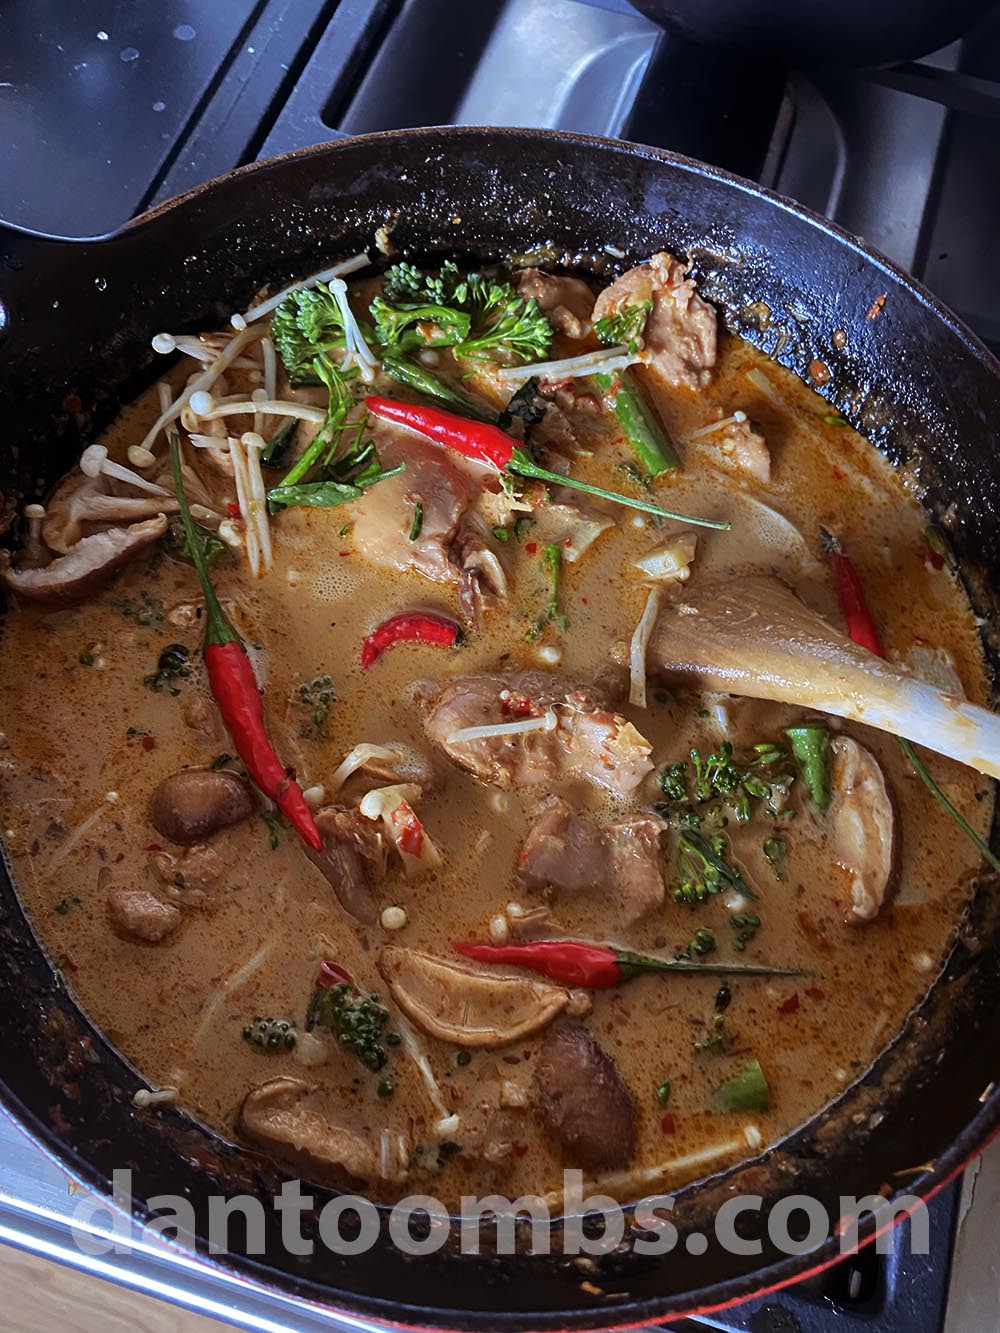
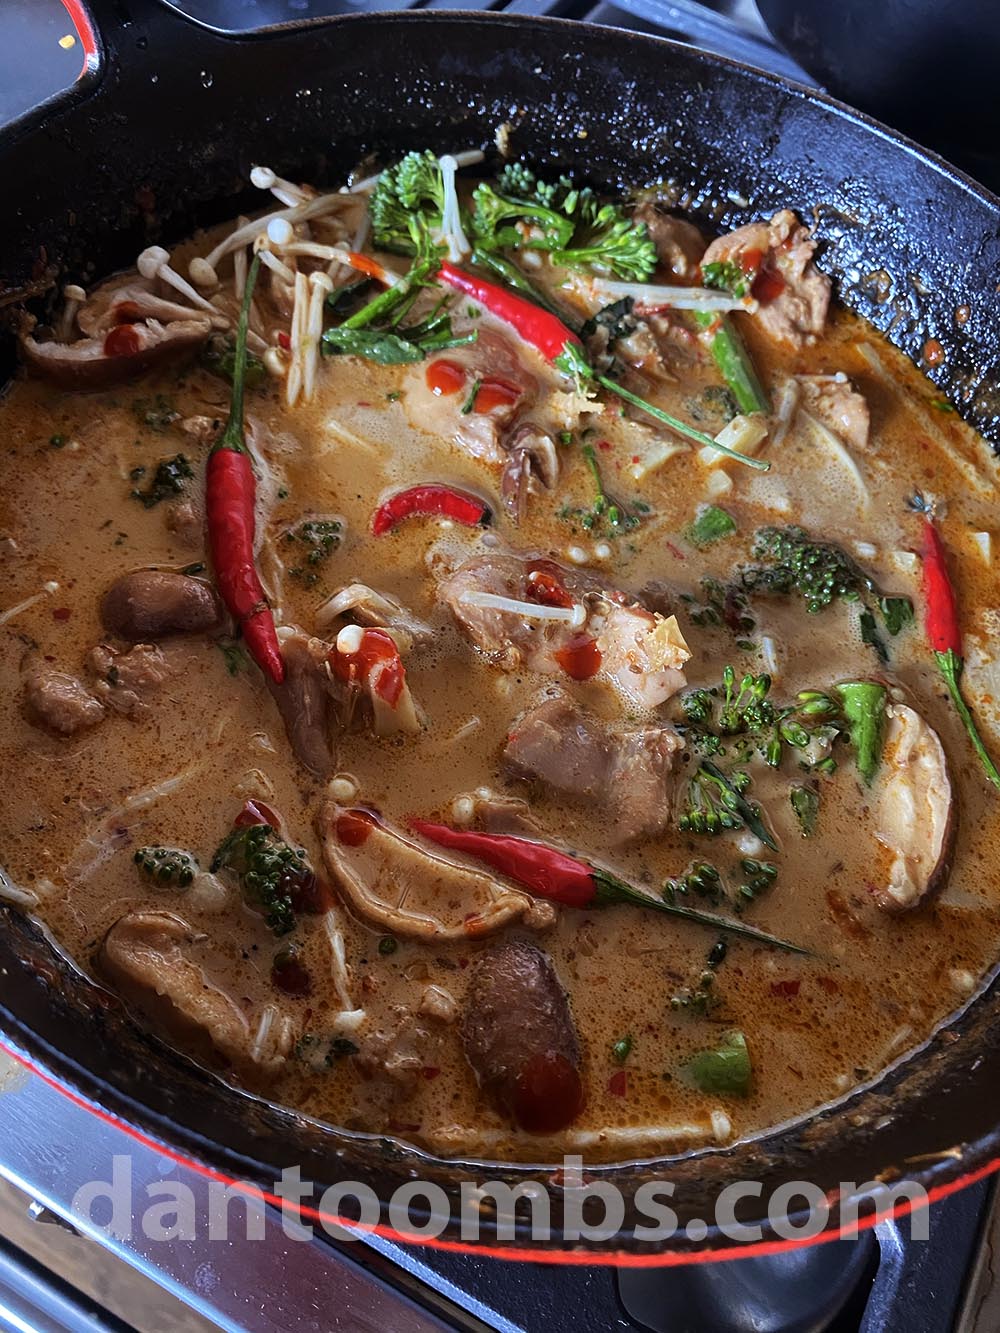
I use the whole batch in a curry to serve four people. There are so many nice ingredients in the paste and not all of them are spicy.
If you use a commercial brand of Massaman curry paste, you won't get all those delicious ingredients in it.
Usually shop bought Massaman curry paste is quite salty and spicy. You will want to use a lot less of it in your curry and you won't get all those amazing flavours.


If you like this recipe, you might like to try some of these too.
Thai red curry
Thai green curry
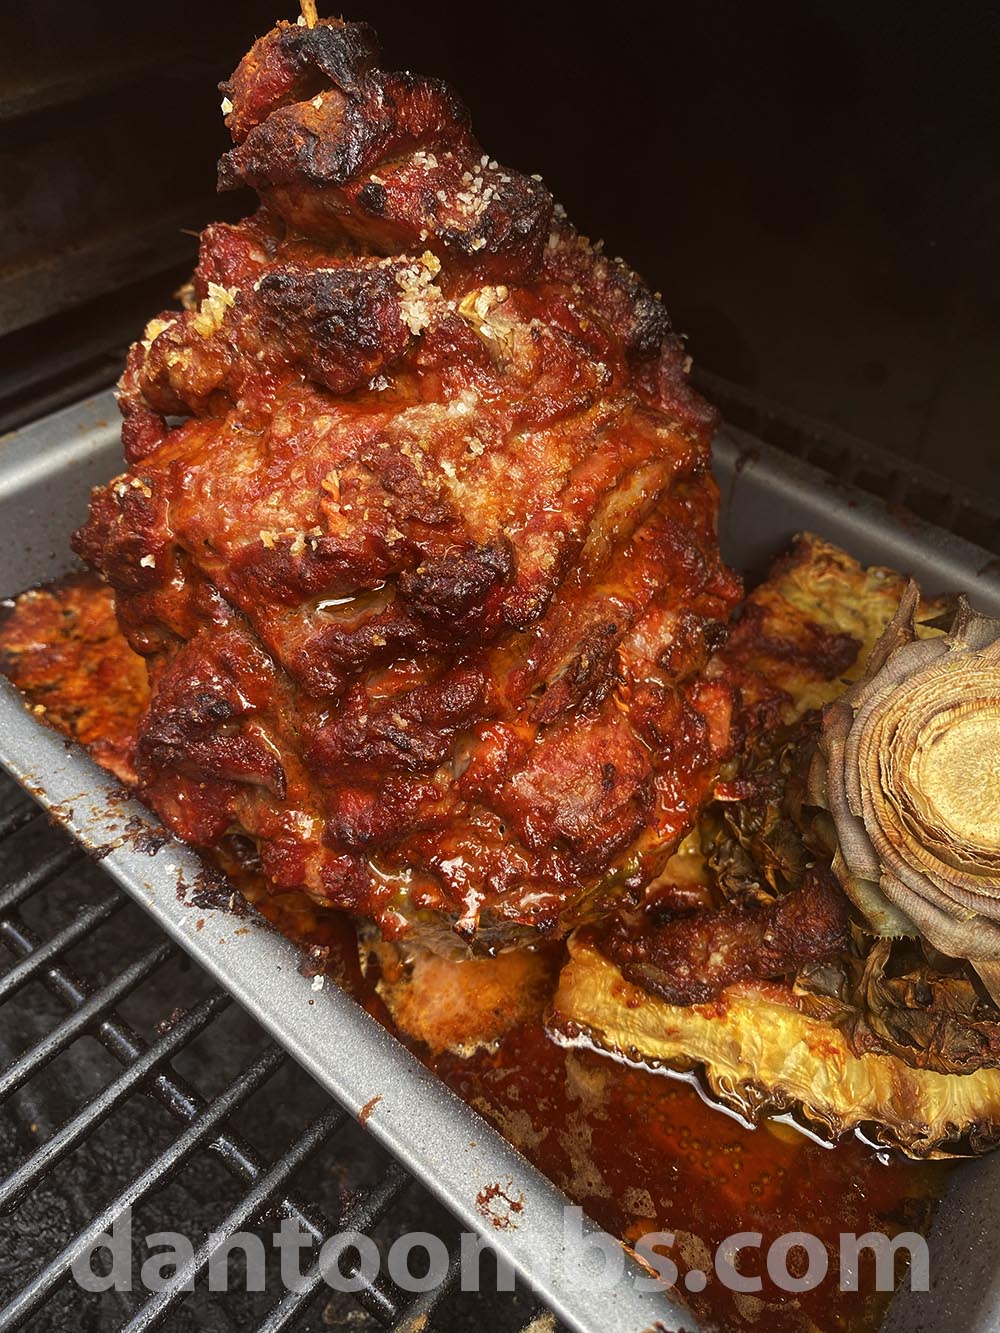
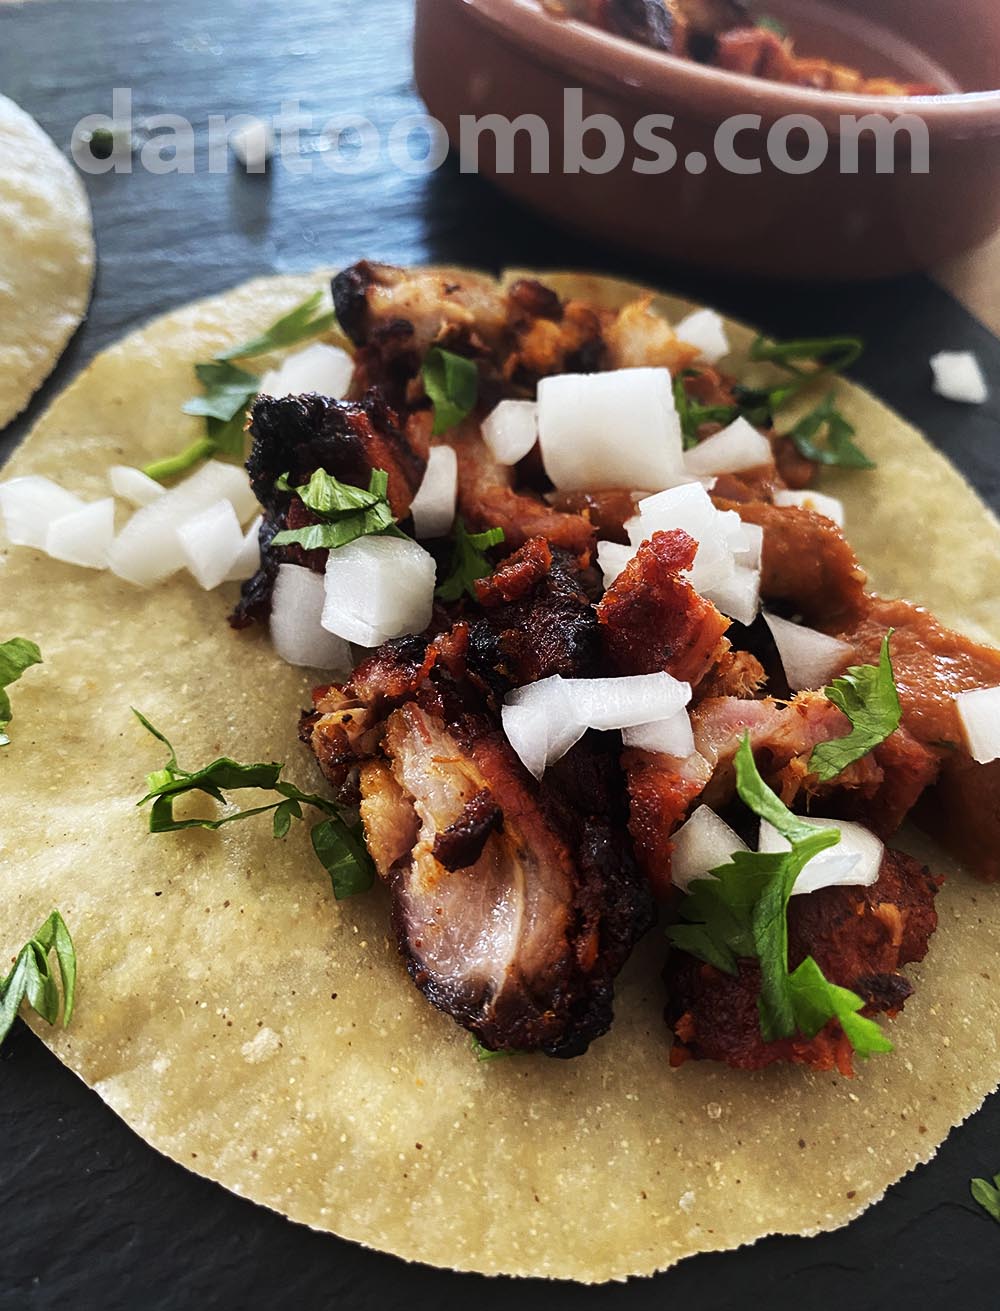
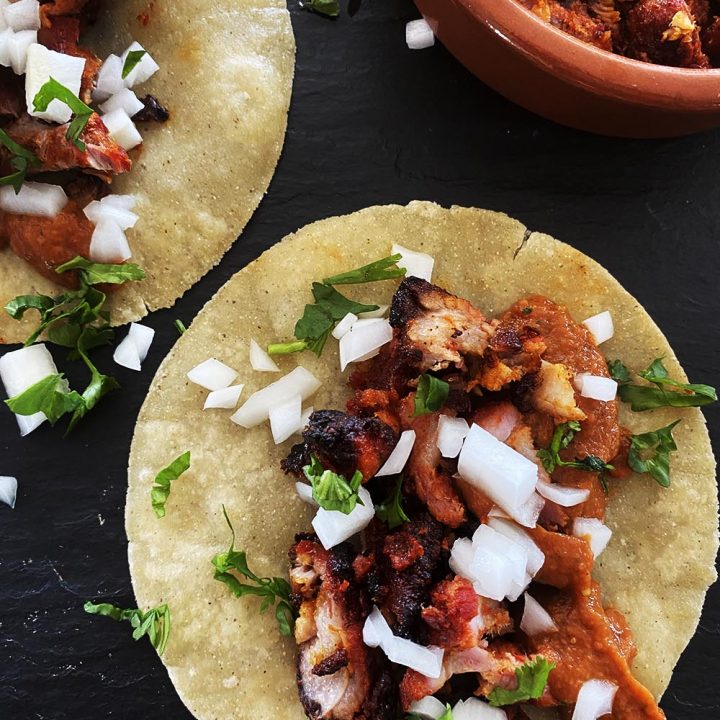
Thai pork belly stew
Gai Yang - Thai grilled chicken
Recipe
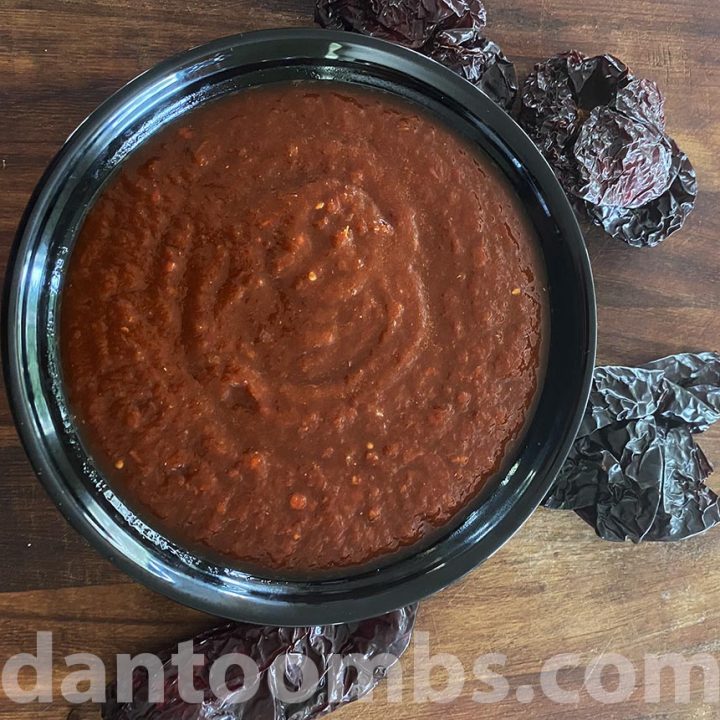
Massaman Curry Paste
Ingredients
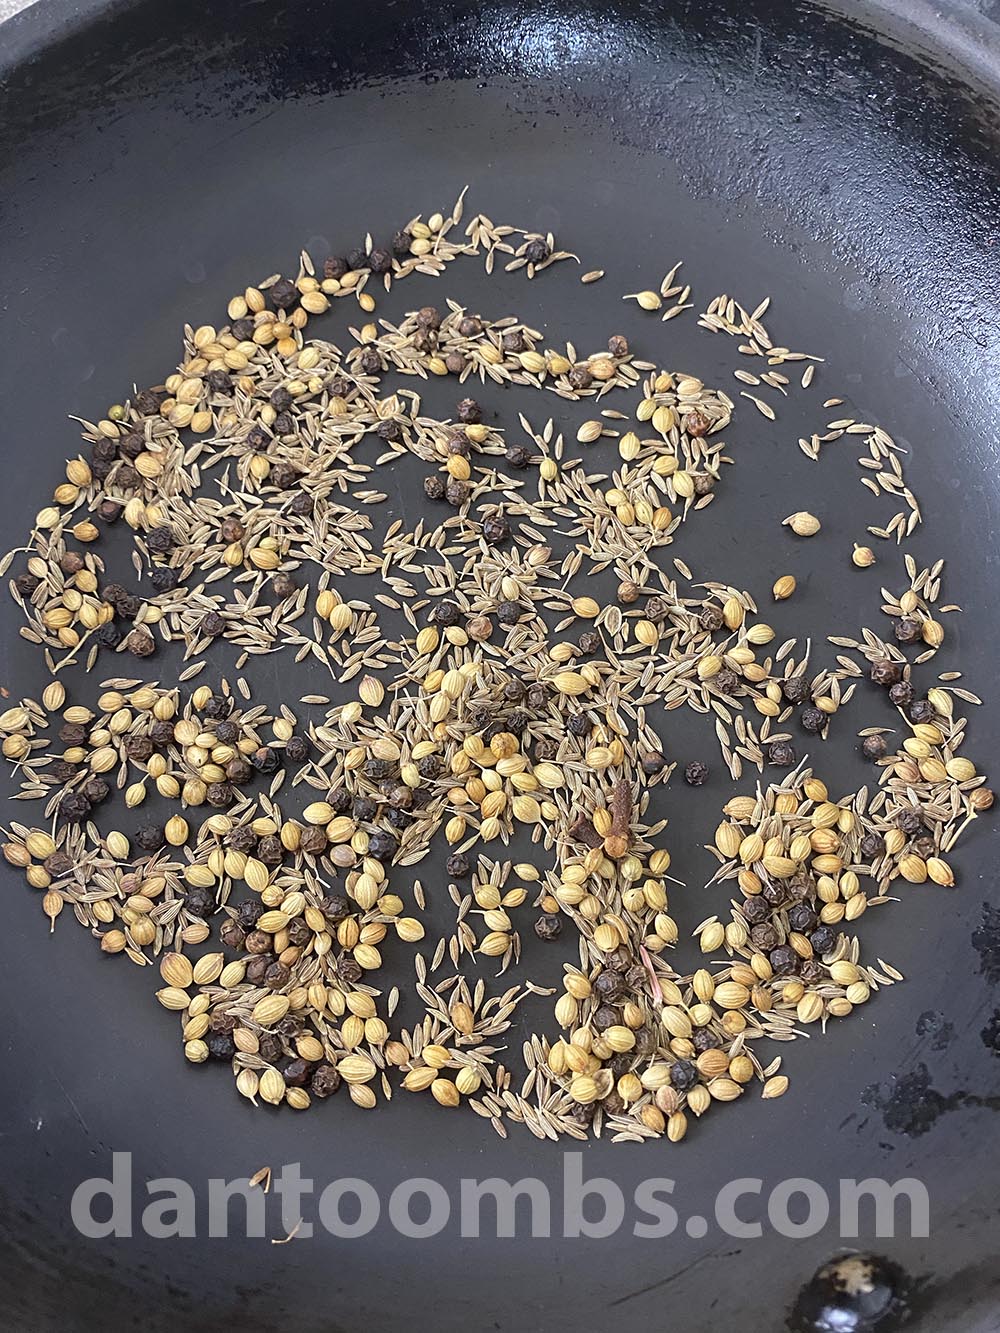
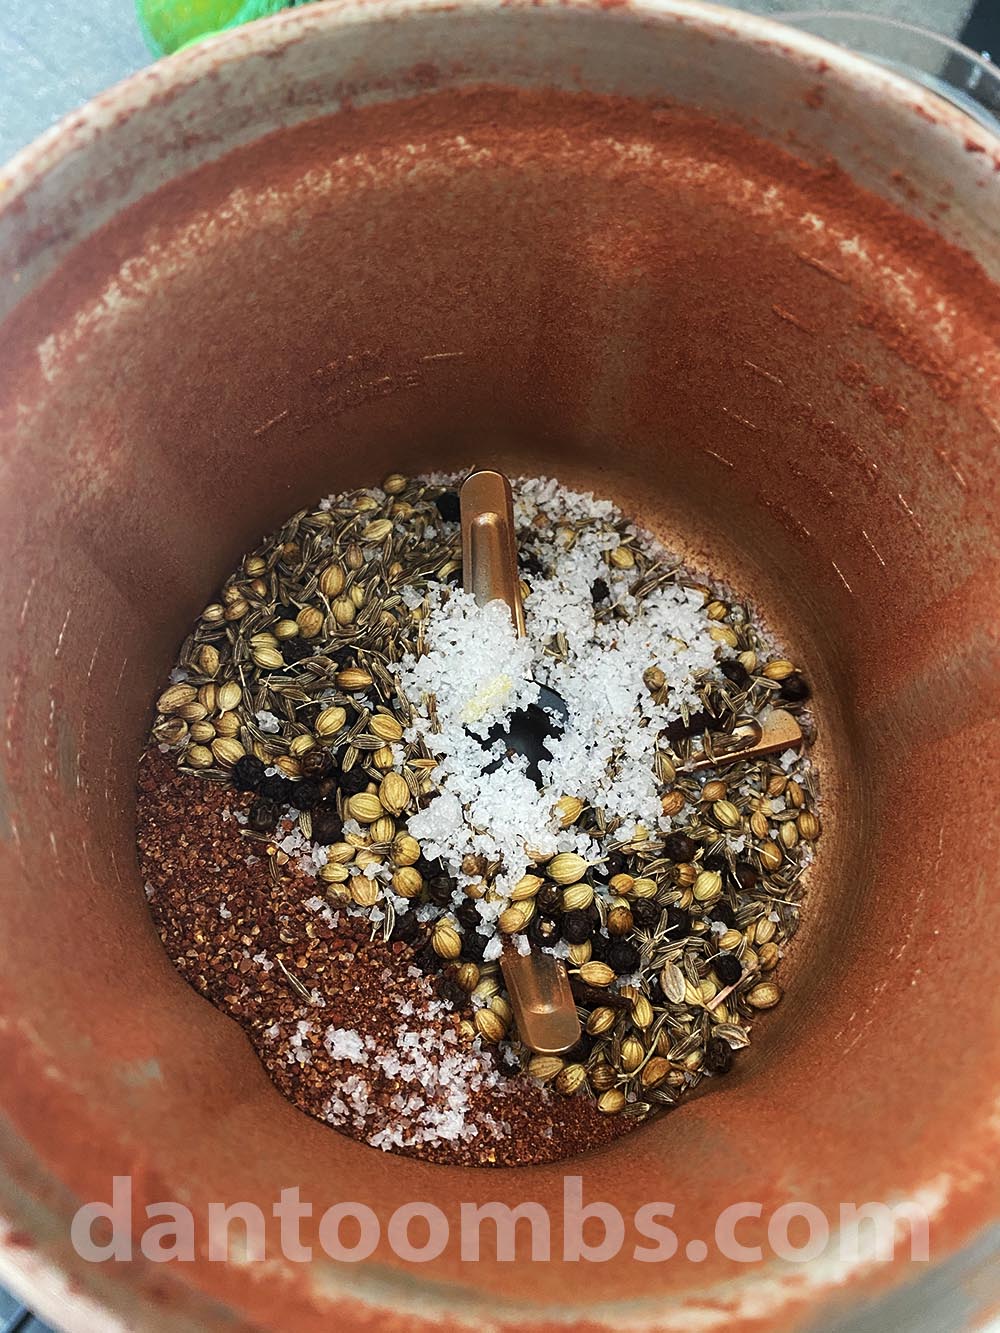
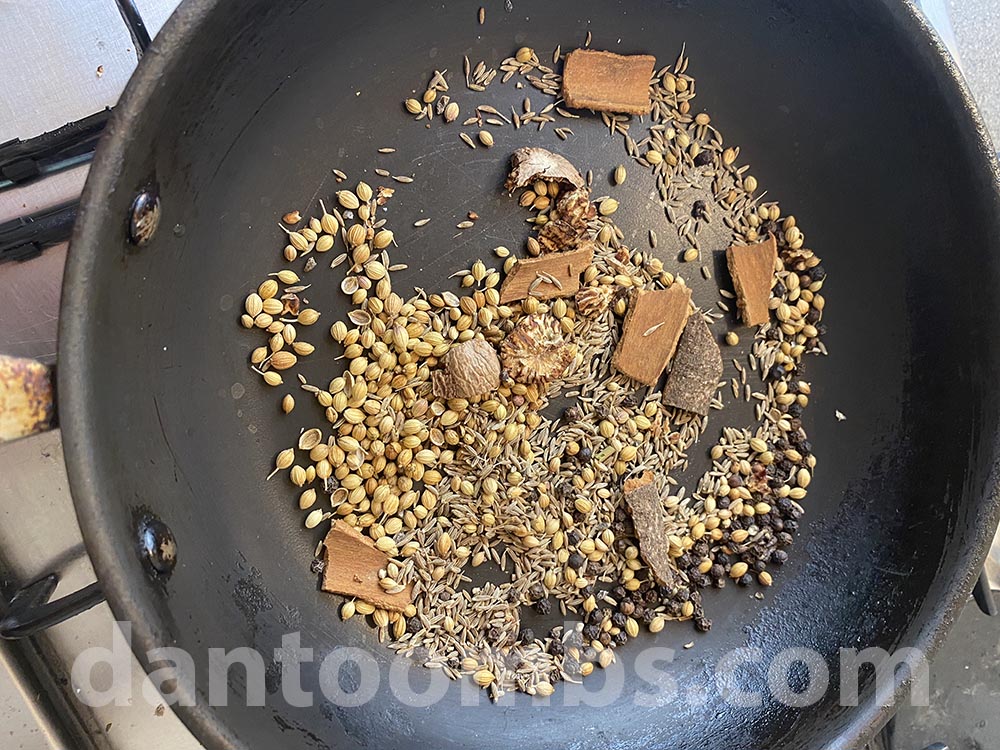
- 1 tablespoon of coriander seeds
- 1 ½ tablespoon of cumin seeds
- 5 whole cloves
- 1 tsb black peppercorns
- 1 whole nutmeg
- The seeds from 6 green cardamom pods
- 1 - 5cm (2 inch) cinnamon stick
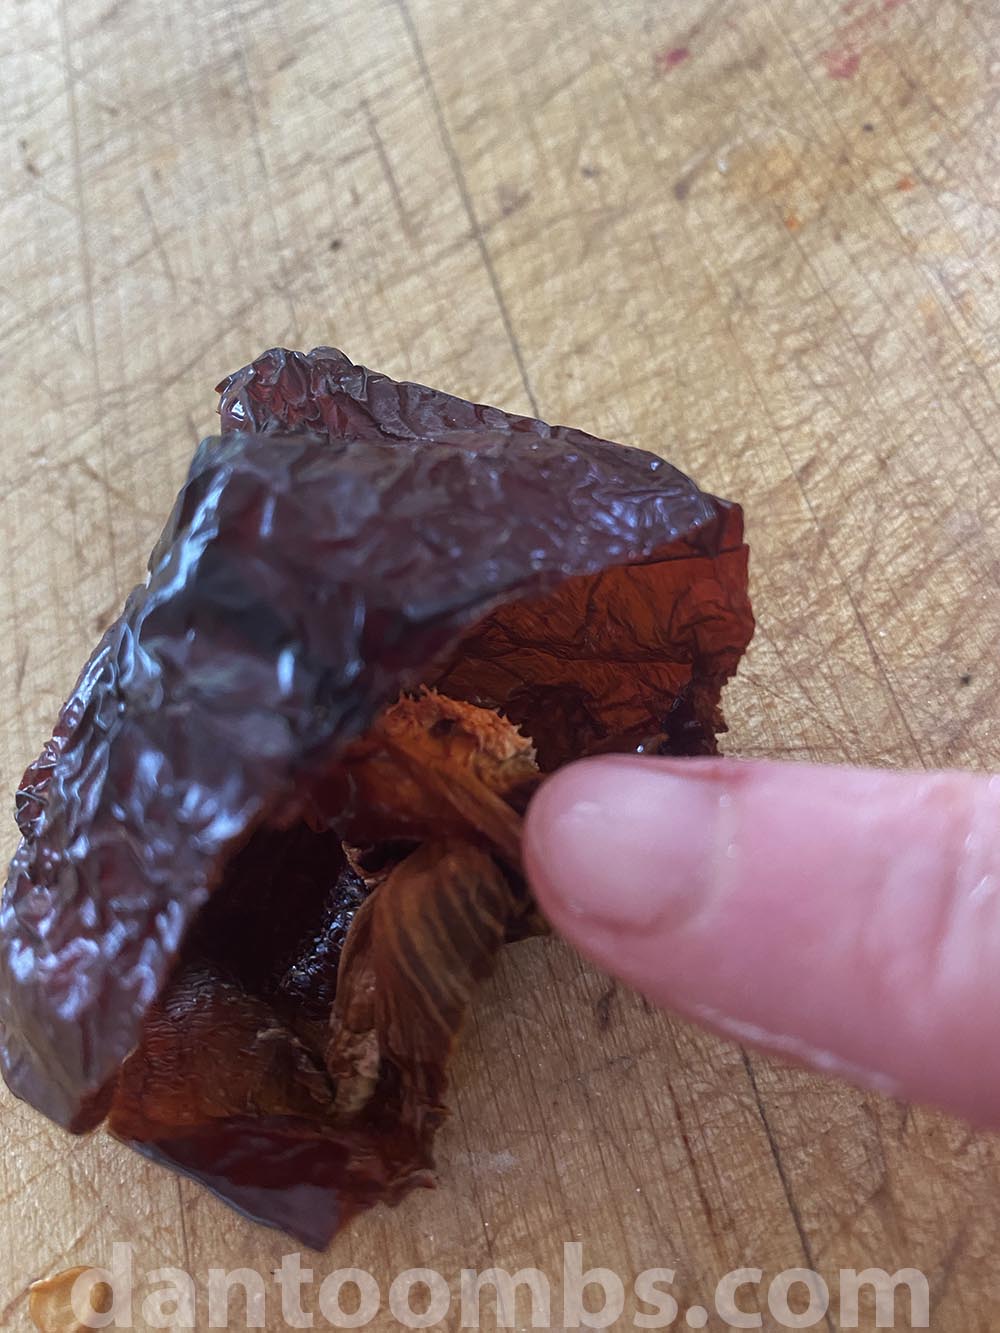
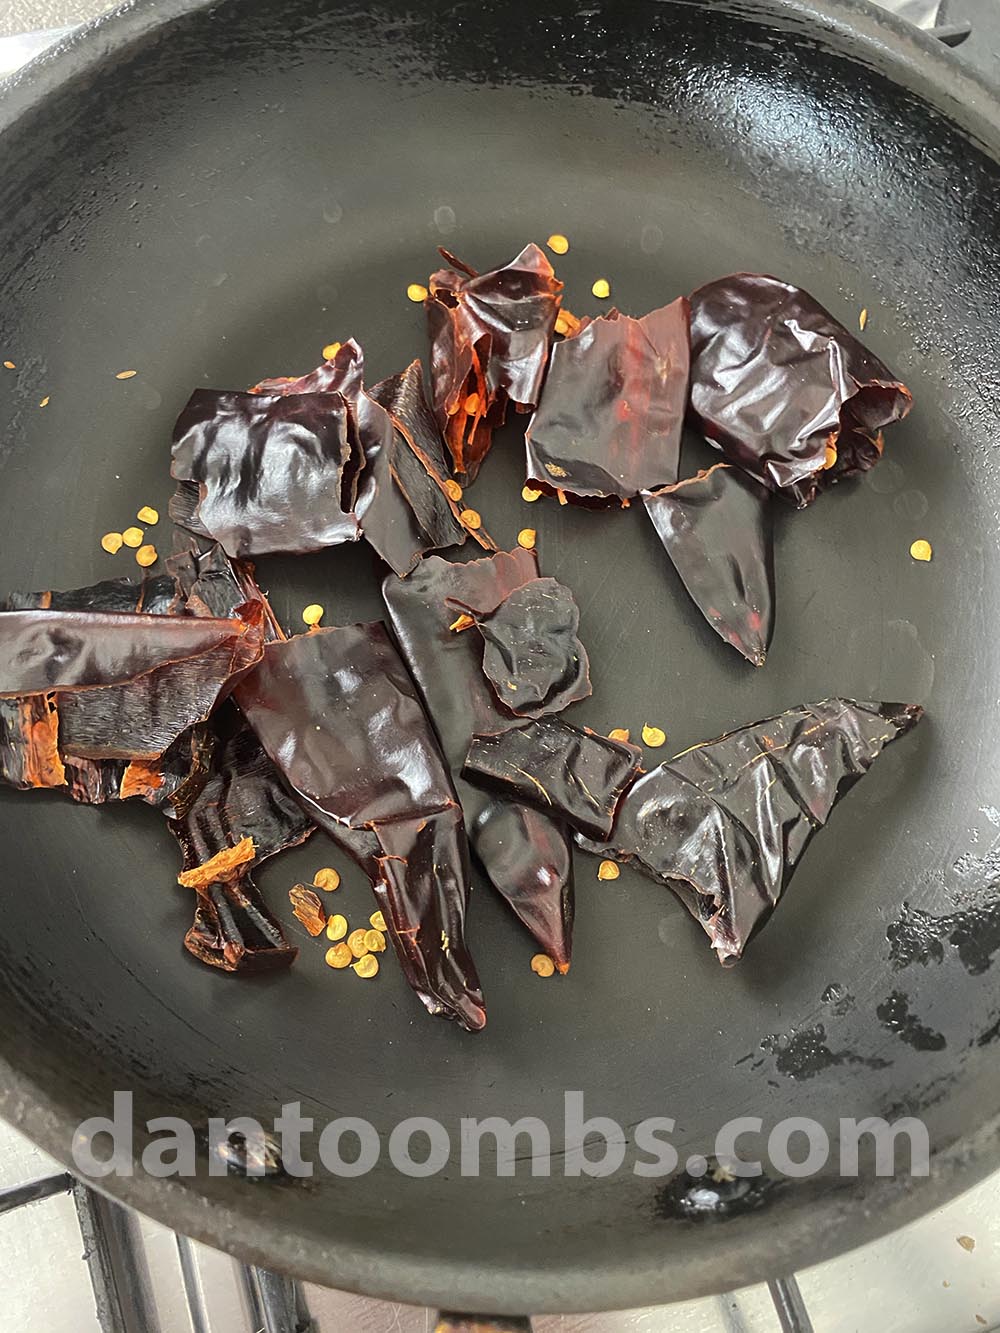
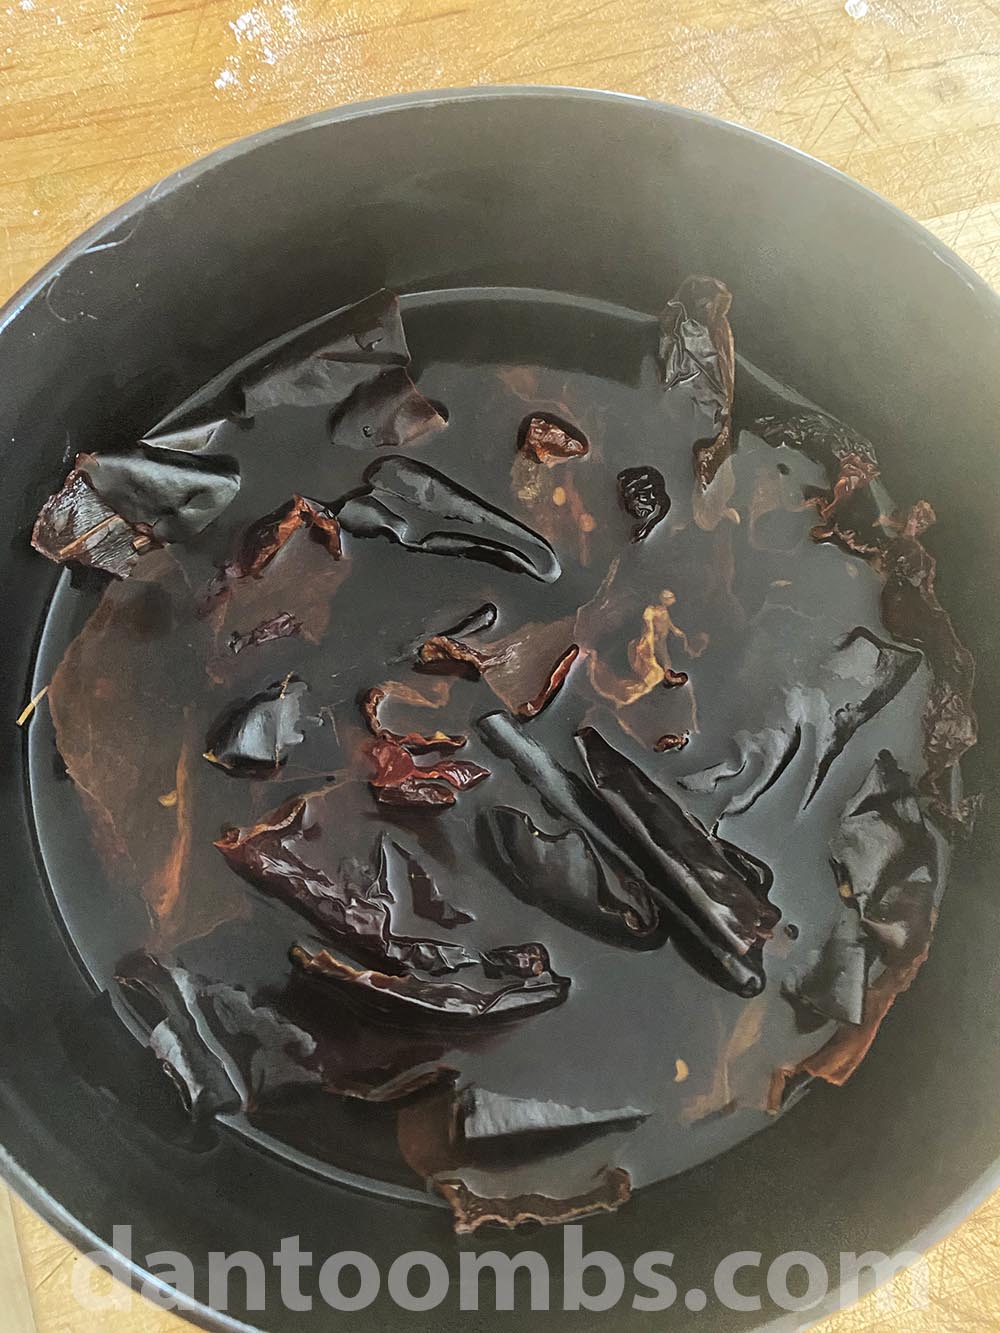
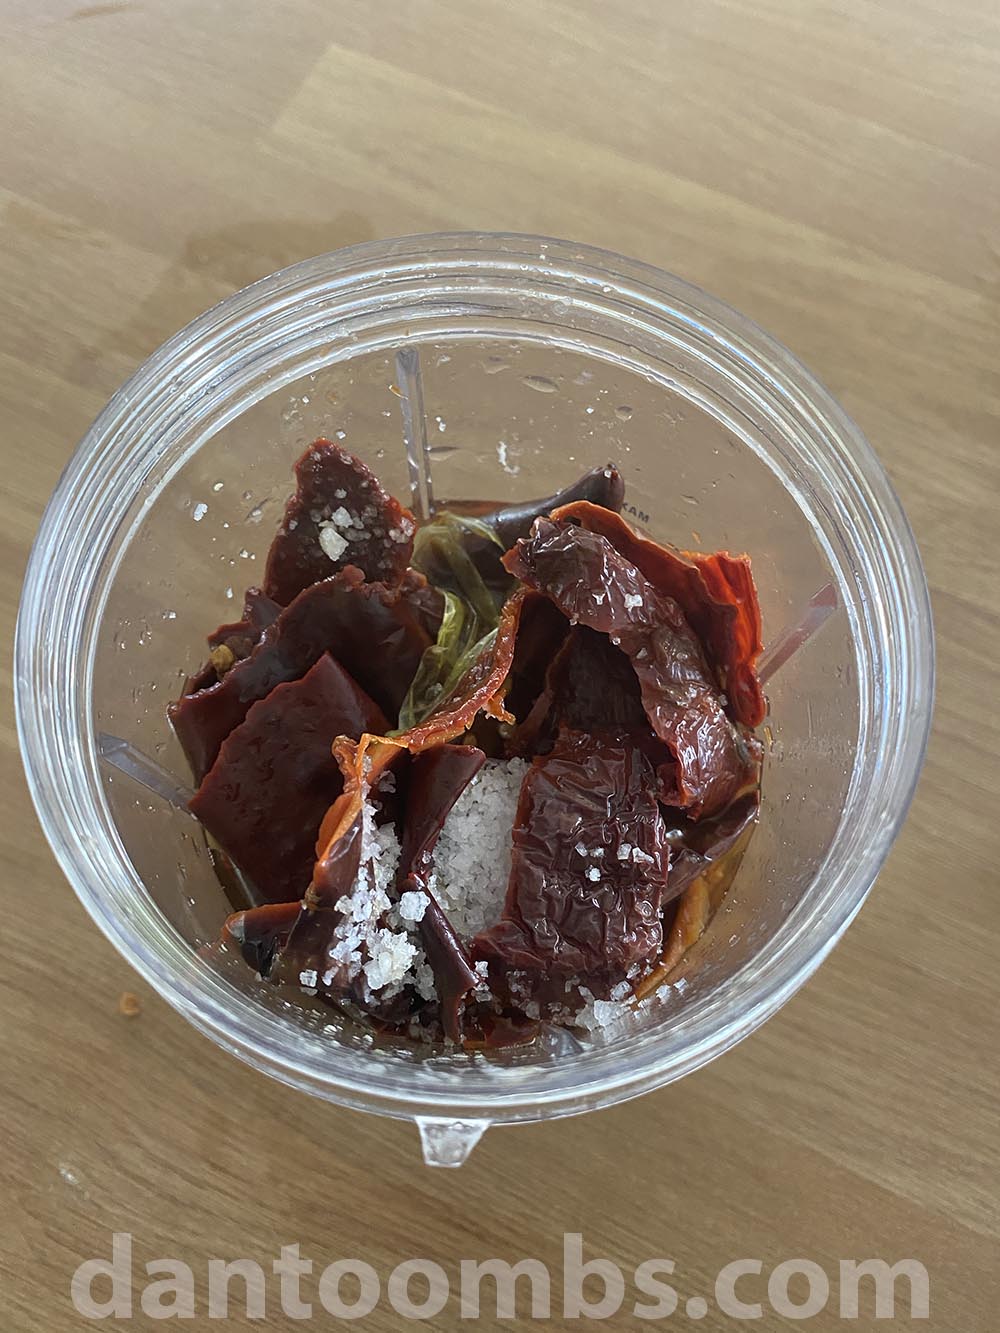
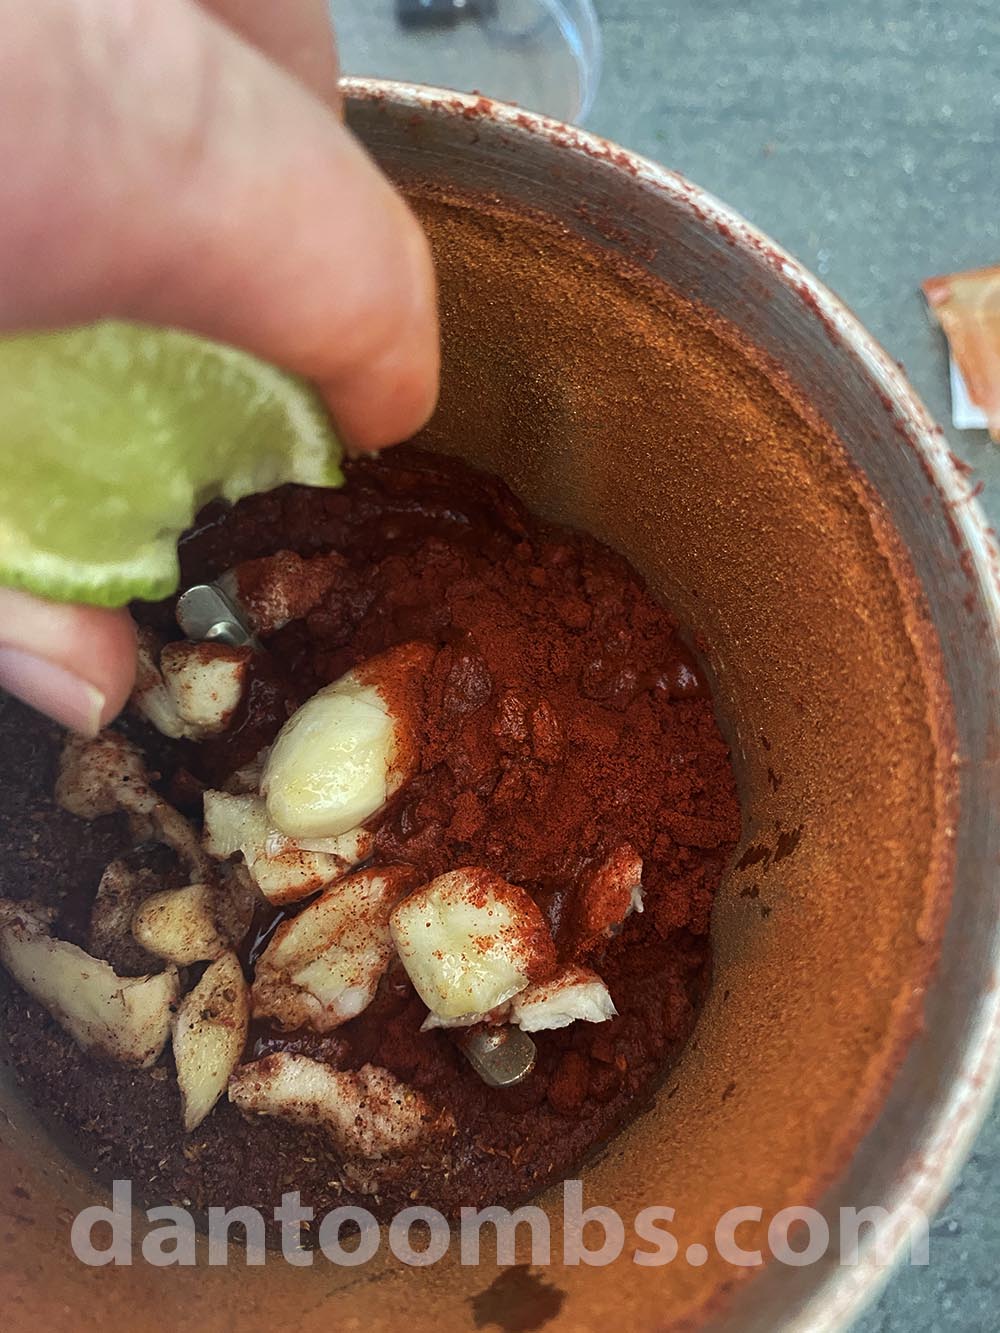
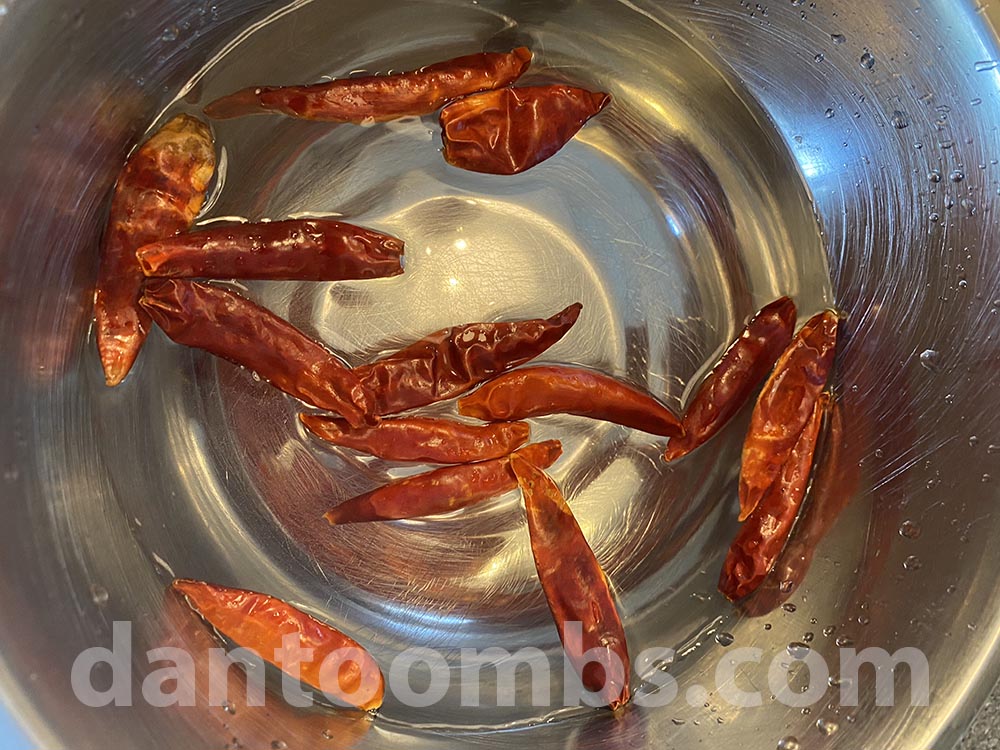
- 12 large dried red chillis deseeded and soaked in warm water for 30 minutes
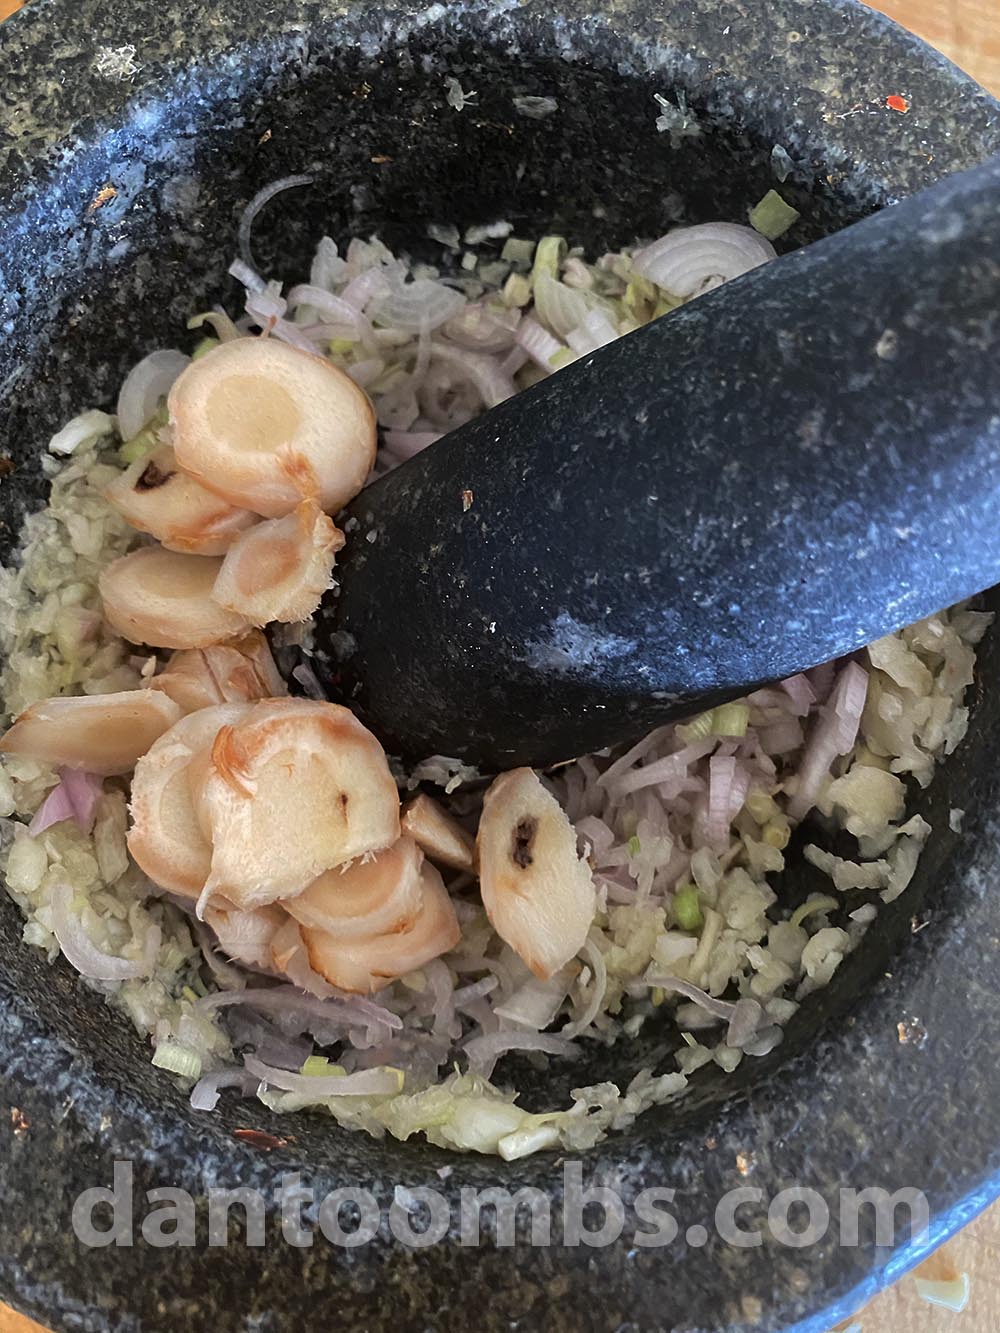
- 2 - 3 small shallots finely sliced
- 1 long stick of lemongrass white part only
- 1 thumb-sized piece of galangal
- 8 cloves garlic - smashed
- Zest of ½ lime
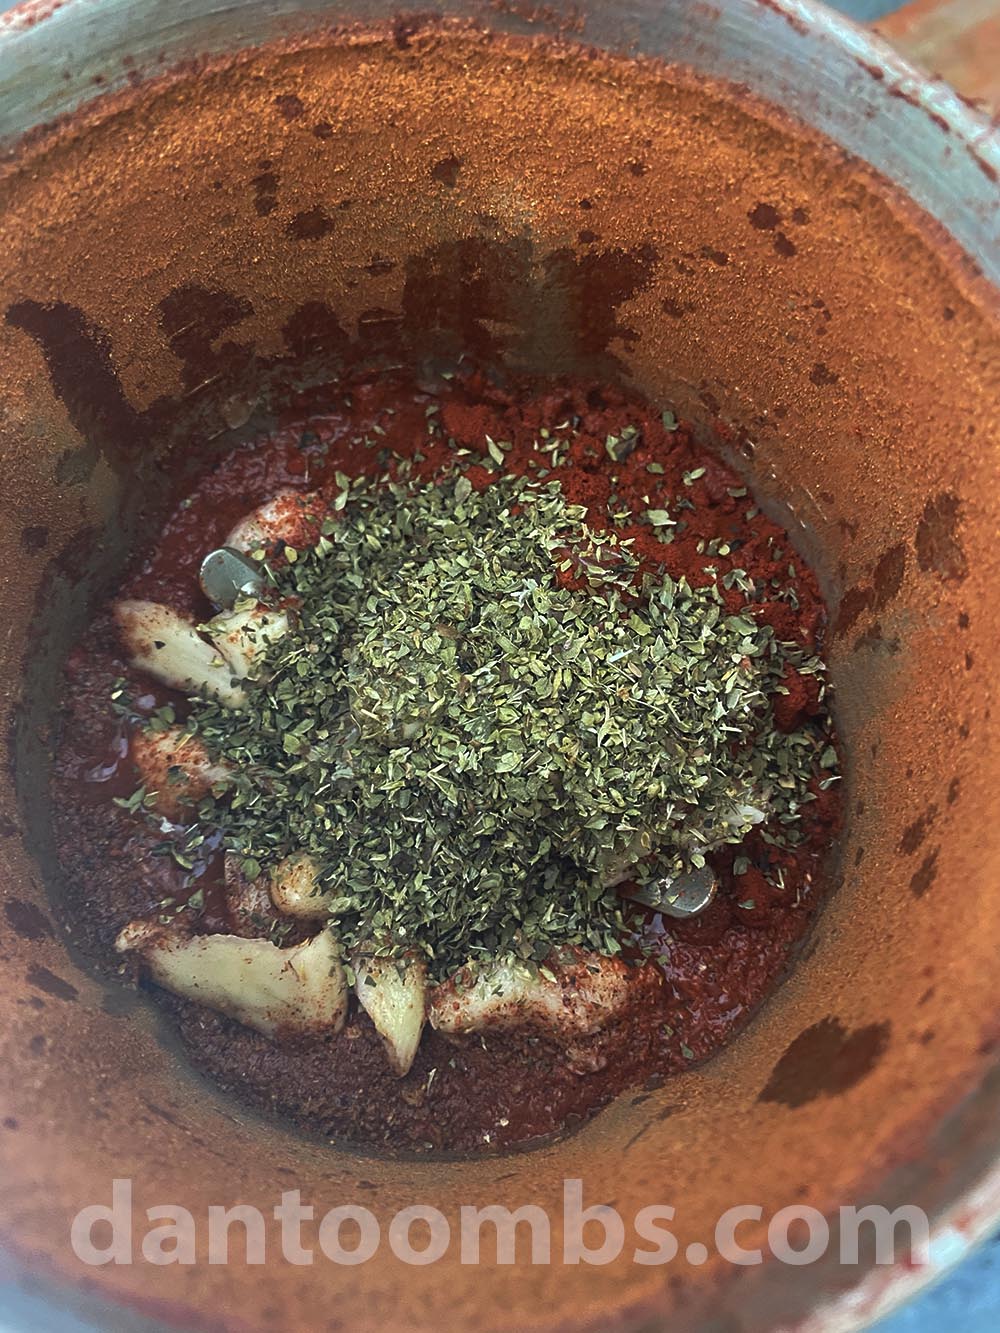
- 3 kaffir lime leaves
- 2 teaspoon shrimp paste
Instructions
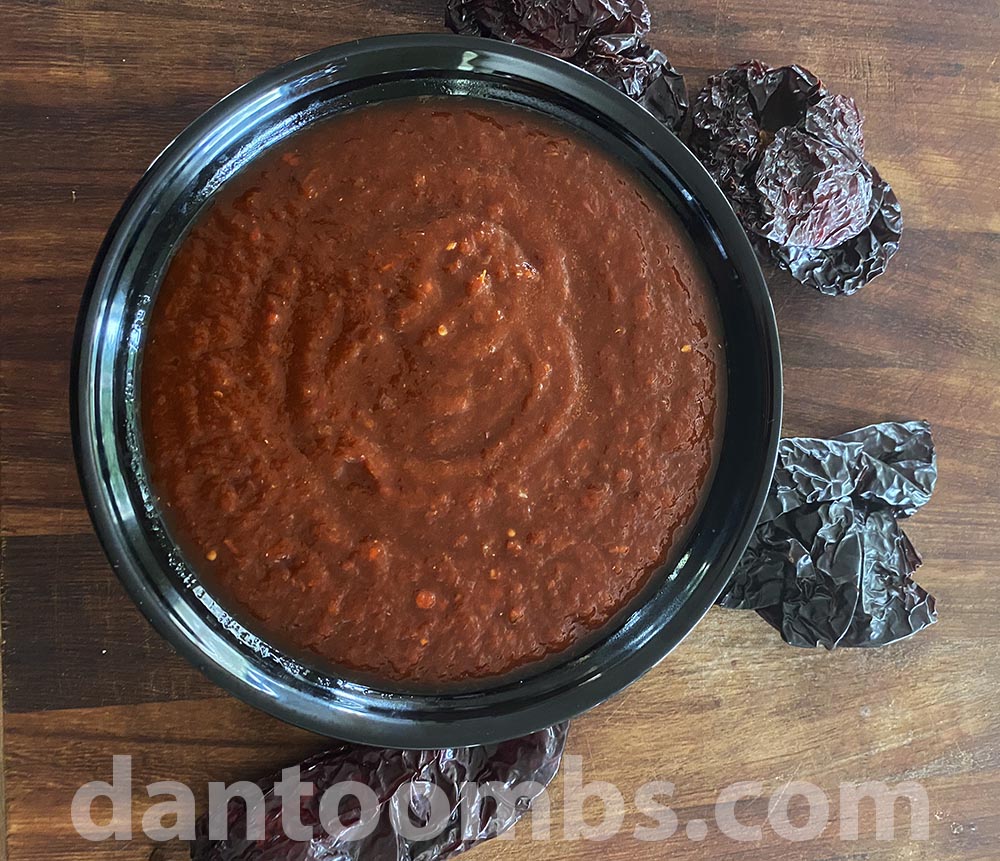
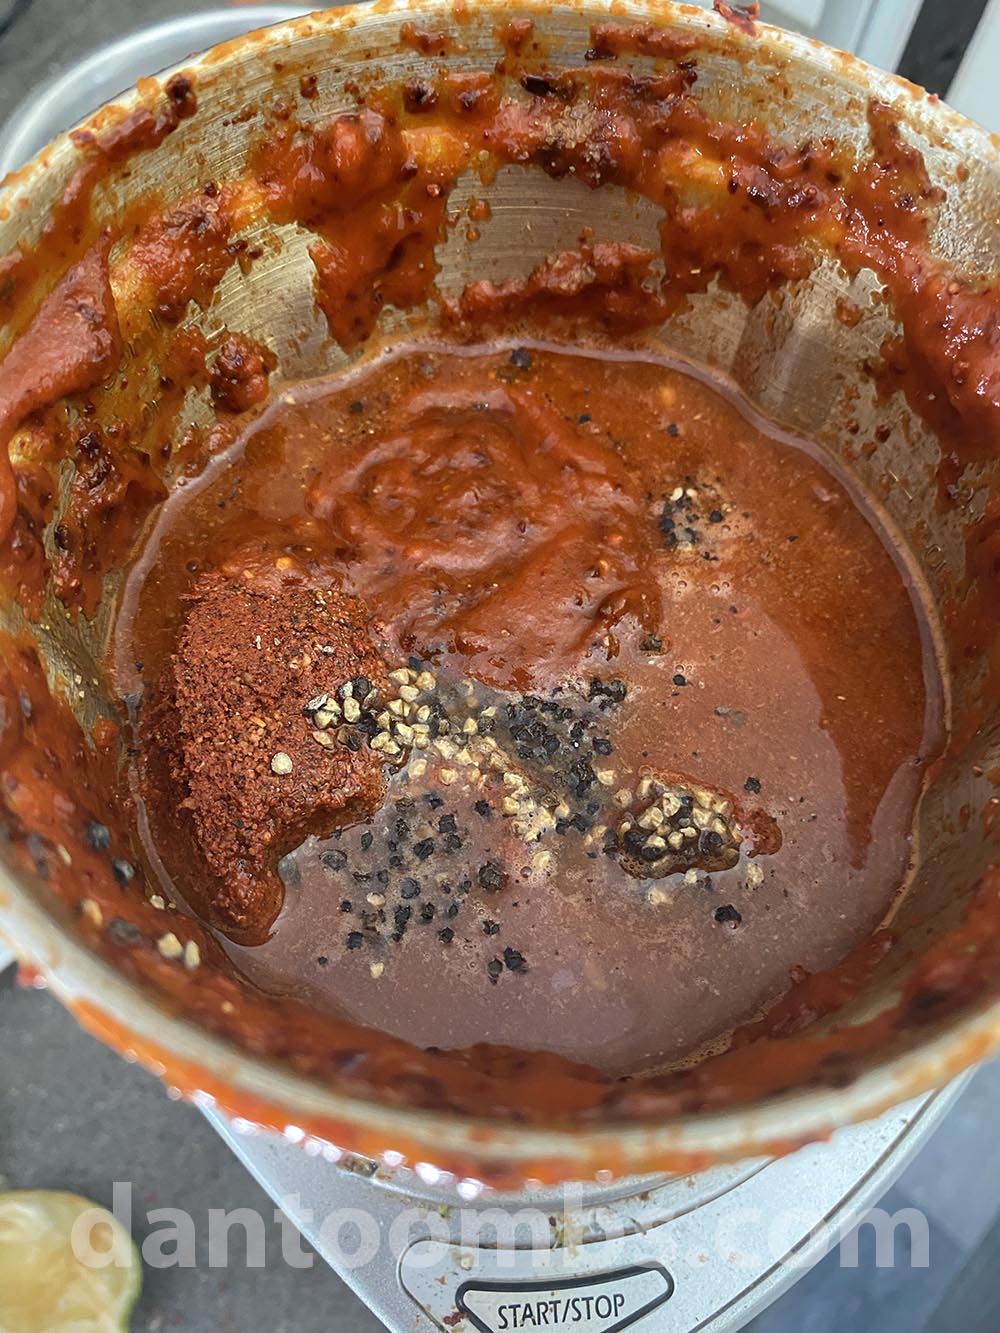
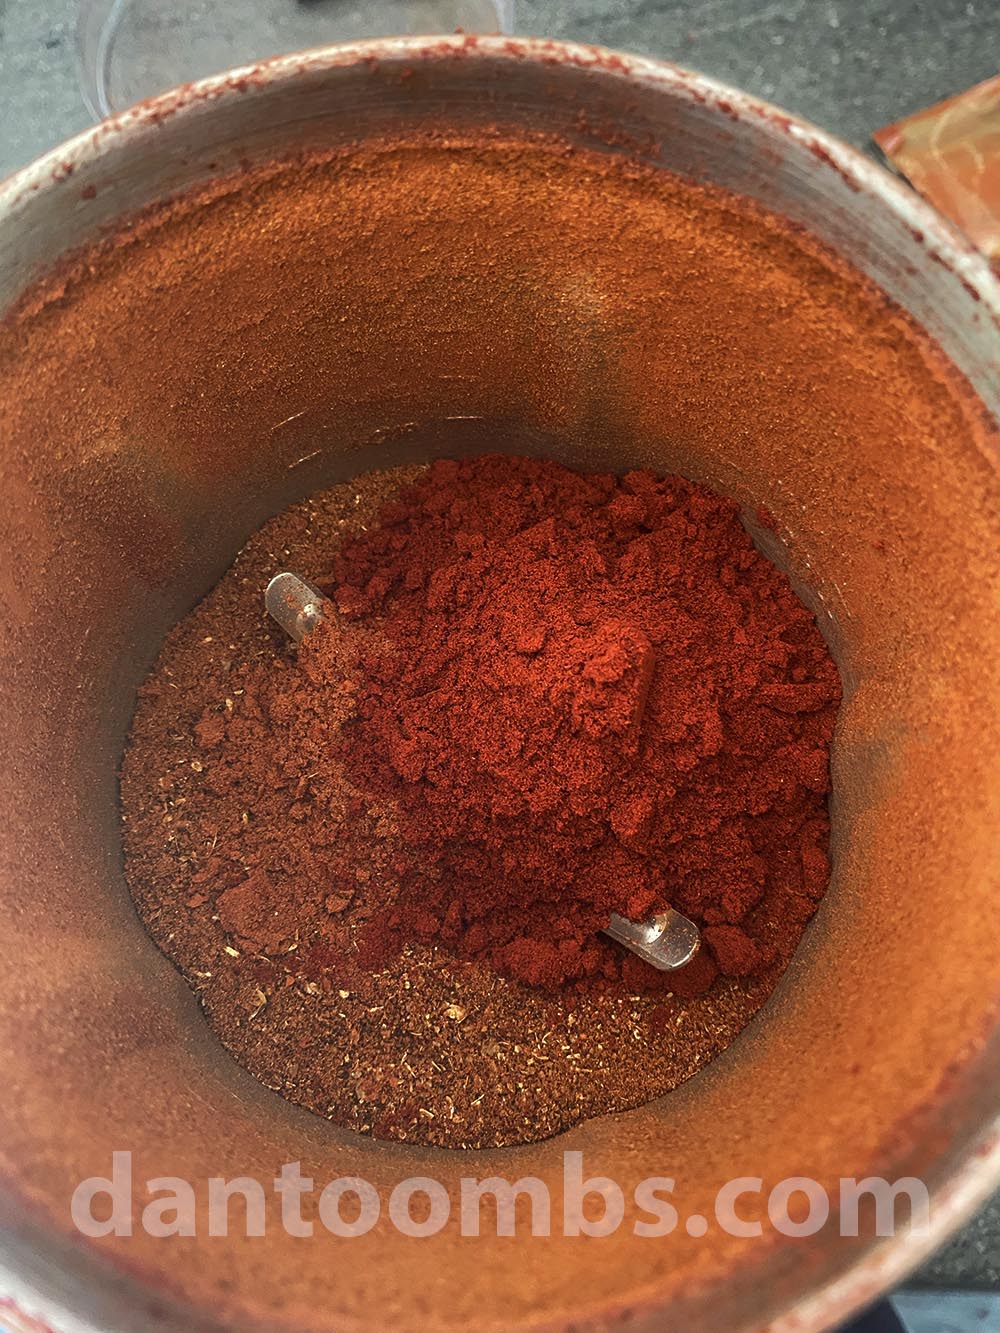
- Heat a pan over medium high heat and toast the whole spices until warm to the touch and fragrant but not yet smoking. Transfer to a pestle and mortar to cool and then pound to a fine powder.
- Transfer the ground spices to a plate and then add all the aromatic spices to the pestle and mortar. Pound the spice for 15 to 20 minutes until it is broken down into a paste.
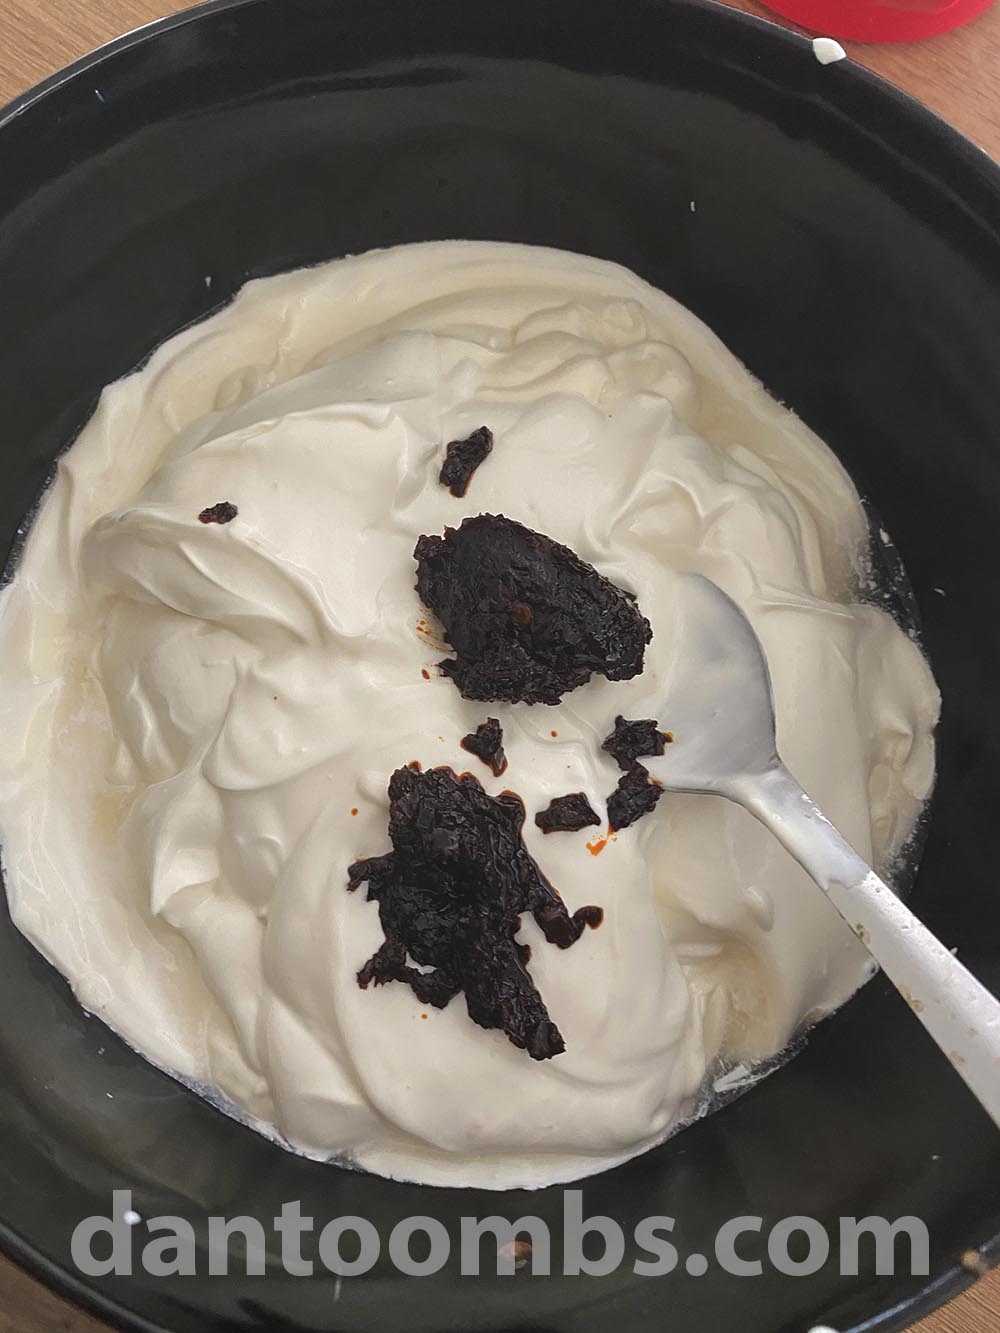
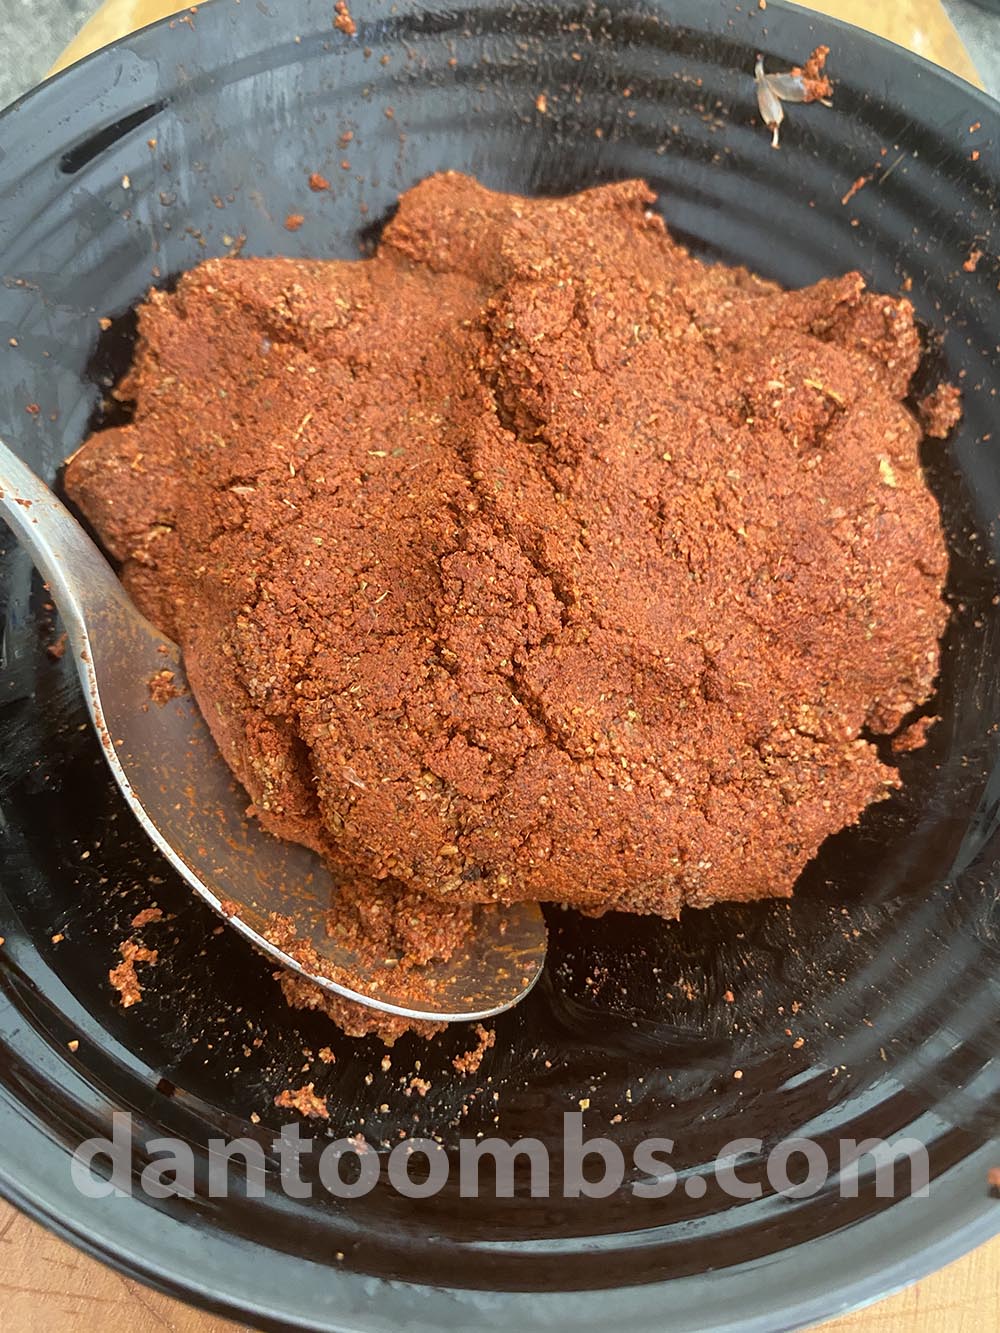
- Add the shrimp paste and ground spices and pound for another 5 minutes or so until you have a delicious, buttery curry paste.
- The paste will keep in the fridge for about three week or longer in an air-tight container.