For Those About To Cook

  • Home
  • About Us
  • All Recipes
  • Subscribe
menu icon
go to homepage
  • Home
  • About Us
  • All Recipes
  • Subscribe
    • Facebook
    • Instagram
    • Pinterest
  • search icon
    Homepage link
    • Home
    • About Us
    • All Recipes
    • Subscribe
    • Facebook
    • Instagram
    • Pinterest
  • ×
    Home

    Thai Green Curry Recipe with Chicken

    July 27, 2020 By Dan

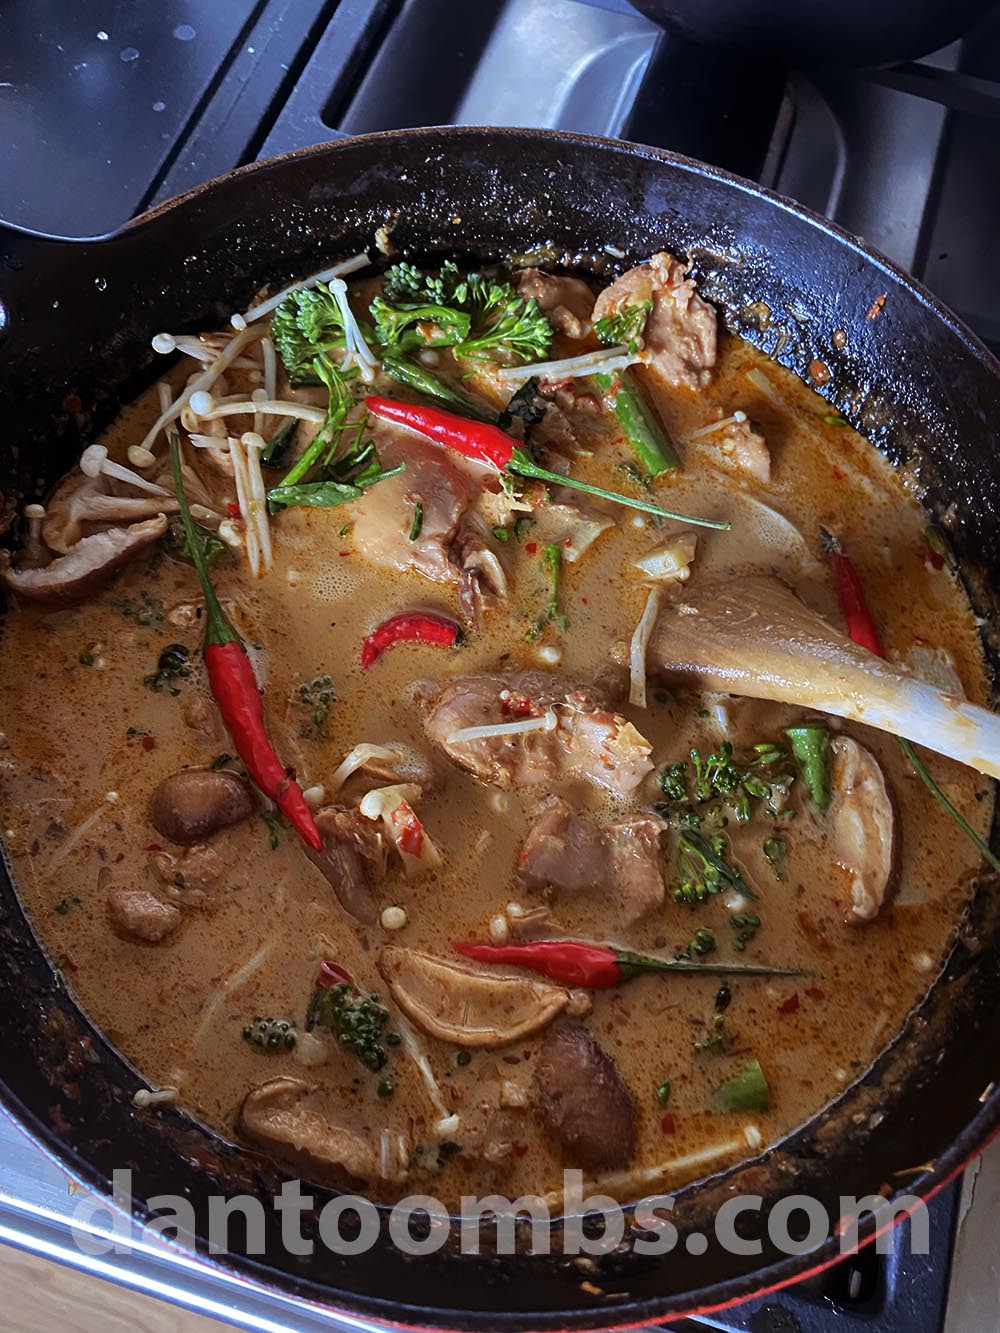
    Finished Thai green chicken curry
    Thai green chicken curry
    So easy to make! Thai green curry is one you need to make.


    Although many people believe that Thai red curries are the spiciest, it’s actually the Thai green curry that is spicier.

    This is because of the large amount of green bird’s eye chillies used in the paste. I make my paste without about 15 bird's eye chillies but I have seen chefs use much more.

    So how spicy you make Thai green curry is down to you.

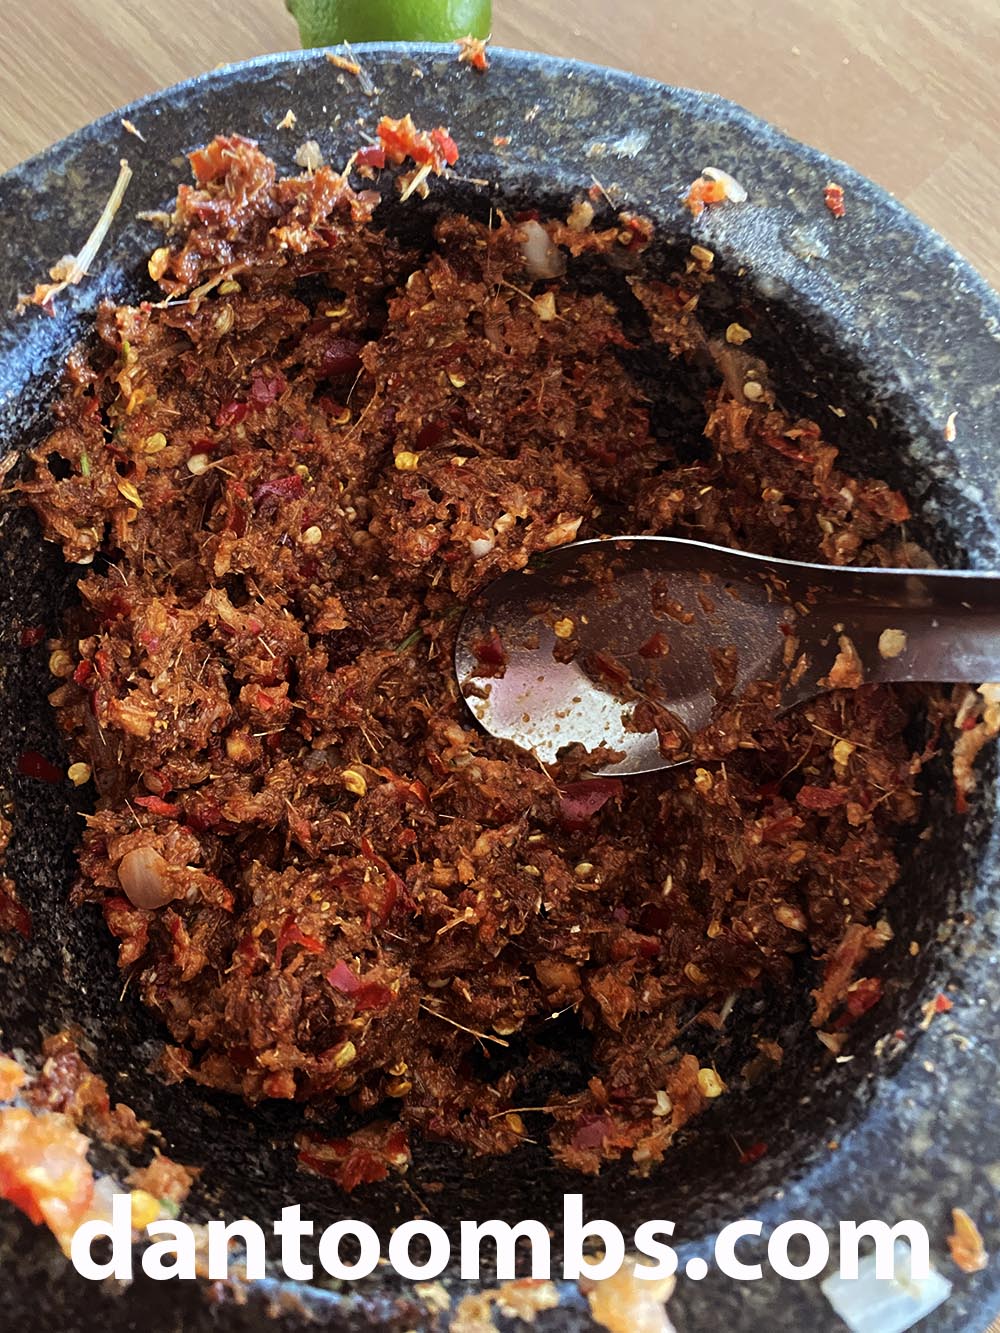
    I recommend making my green Thai curry paste for this recipe as it is packed with delicious fresh flavours.

    If you want to cheat, purchase a good quality green curry paste. The brand I prefer is Mai Ploy but you might want to experiment with others.

    I have found most commercial brands to be salty and spicy so add them to taste.

    Working ahead...

    Thai green curry is one that should be cooked and consumed on the day. Sure, you could eat leftovers the next day but I find that for optimum freshness, it's best cooked and served immediately.

    If you want to work ahead, you could prepare all your veggies so that you don't have to do it later.

    You might also want to measure out the sauce ingredients though I rarely do this.

    As I use my own homemade curry paste, they do vary in spiciness and flavour from batch to batch which means I want the sauce ingredients nearby so that I can adjust them to taste.

    Make this curry your own...

    I have used chicken for my Thai green curry but use whichever main ingredient you want. Prawns are good as is duck.

    Tougher cuts of meat like beef and lamb are also nice but they will take longer to cook and become tender.

    If you want to make this into a vegetarian curry, that's easy too.

    I like to use firm tofu or even just add more veggies.

    So are you ready to get started?

    Be sure to give this authentic recipe a try and that you make it with my homemade green curry paste.

    Although shop bought curry pastes will work, there's nothing like homemade!

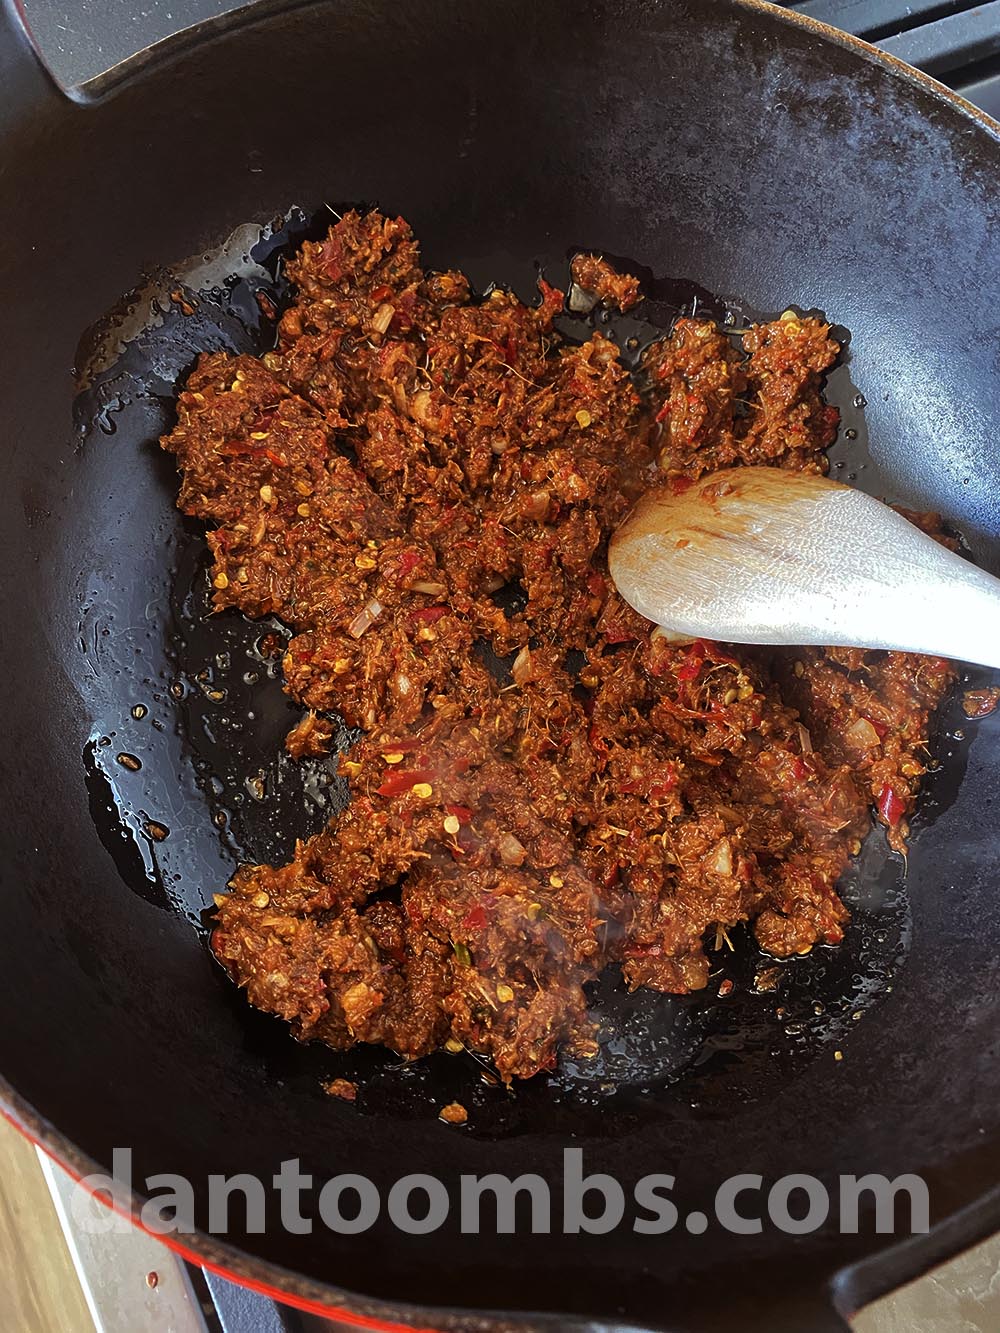
    Frying green curry paste in oil
    Start by frying the green curry paste for about 45 seconds.
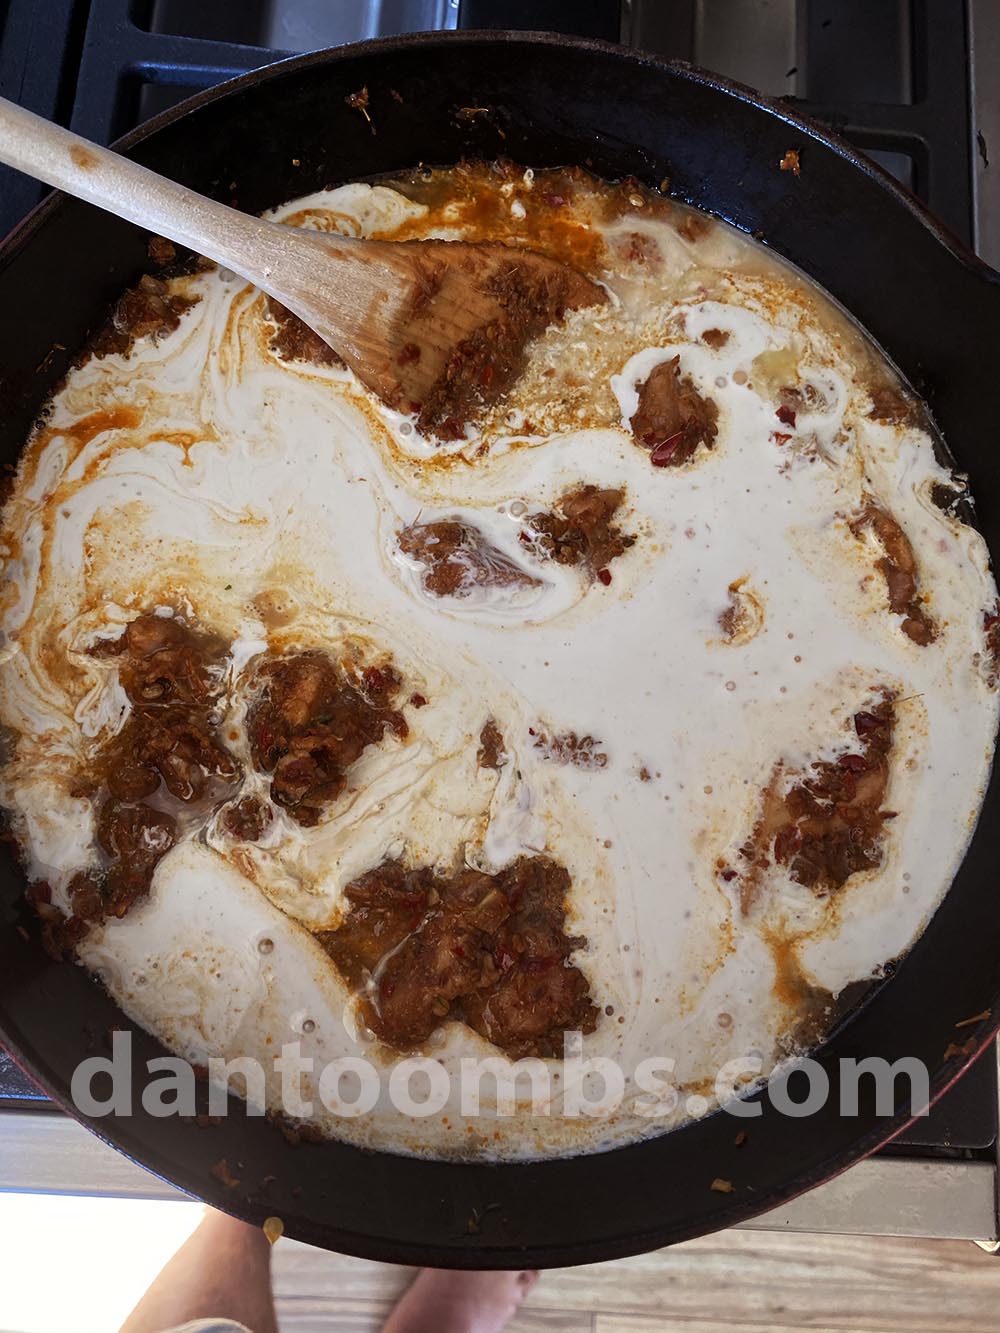
    Adding coconut milk and stock
    Add the coconut milk and stock.
    Sauce mixed together.
    Stir to combine the sauce.
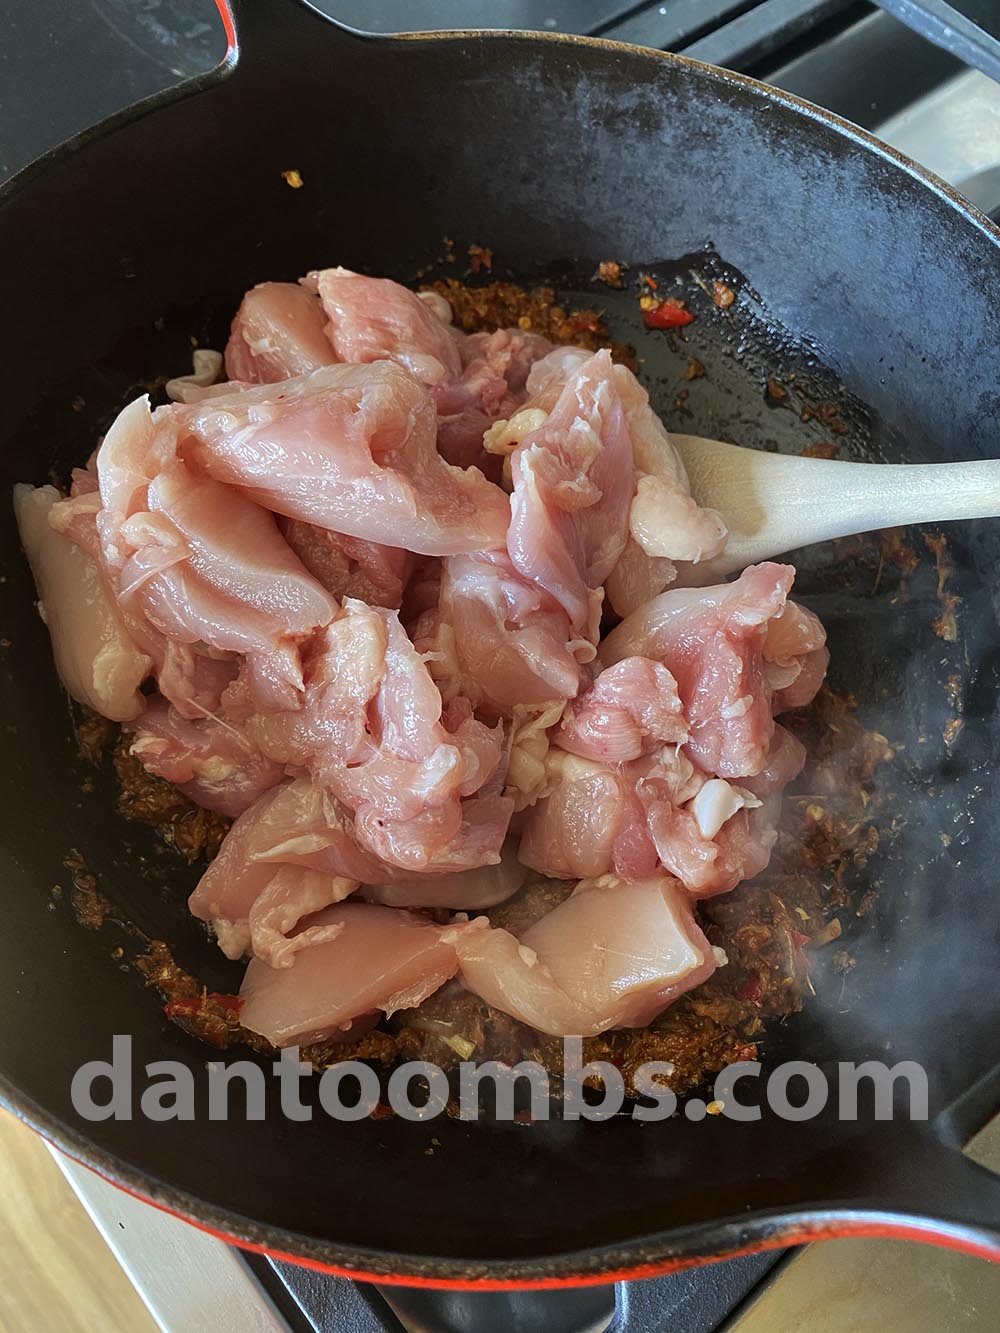
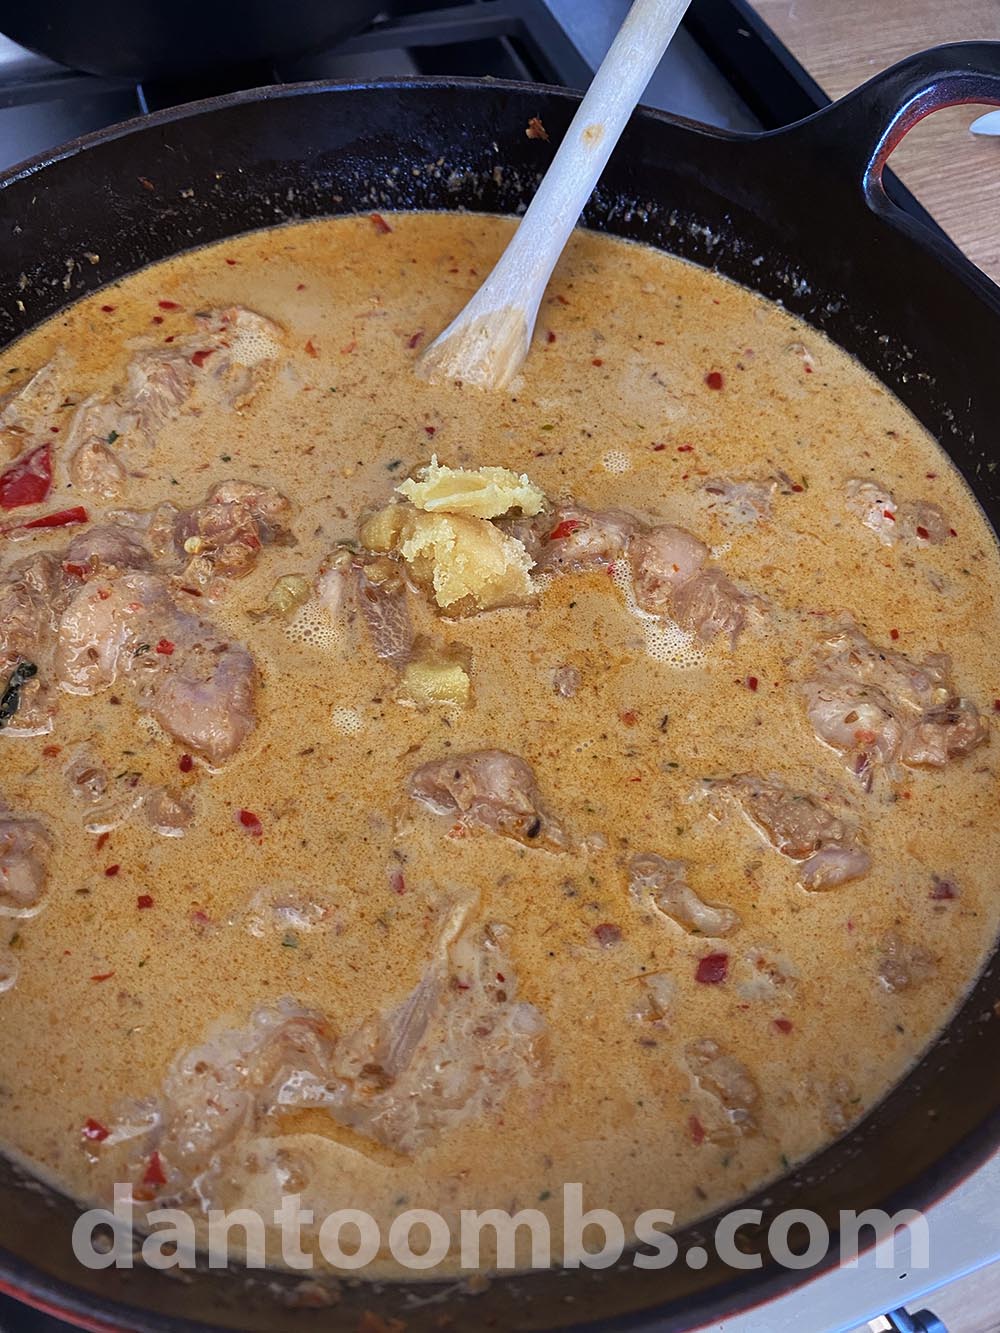
    Adding chicken to curry sauce.
    Add the chicken and cook until cooked through.
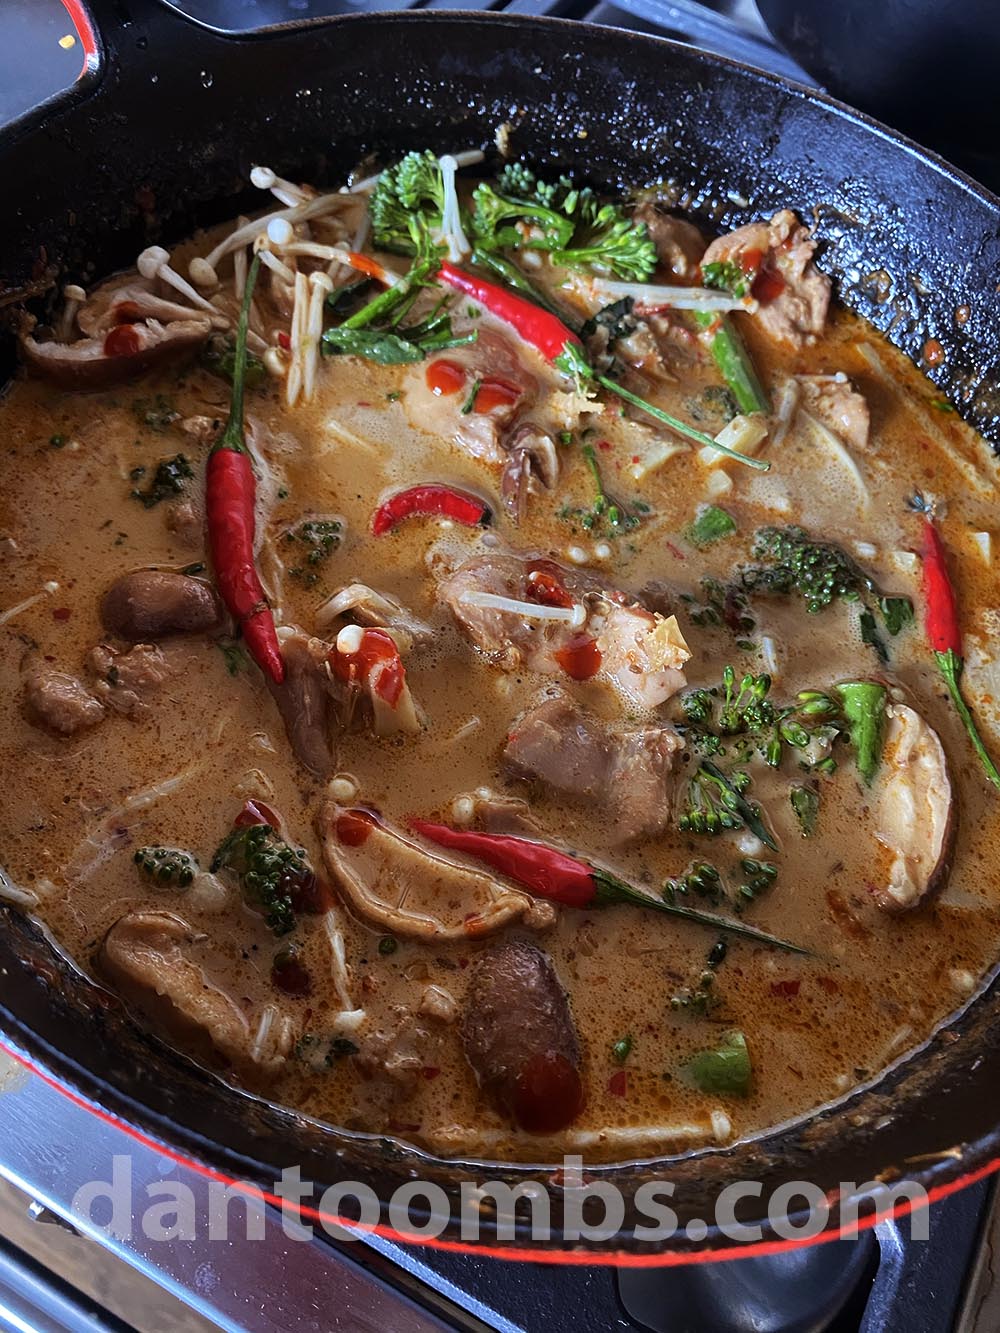
    Adding vegetables to sauce
    Add vegetables to cook through. Then add the remaining sauce ingredients.
    Adding bell pepper to sauce.
    Wait! This needed more colour so I added some sliced red bell pepper.
    Finished Thai green curry
    All done!
    Finished Thai green chicken curry
    Dig in!

    If you like this Thai green curry recipe, you might want to try some of these too...

    Thai grilled chicken (Gai Yang)
    Thai Nam Jim Jaew sauce

    Recipe

    Finished Thai green chicken curry

    Thai Green Curry Recipe

    Yield: 4 - 6
    Prep Time: 10 minutes
    Cook Time: 20 minutes
    Total Time: 30 minutes

    Ingredients

    • 2 tablespoon coconut oil or rapeseed (canola) oil
    • 450g (1lb) chicken, cut into bite sized pieces
    • 1 batch homemade green curry paste or shop bought paste to taste
    • 250ml (1 cup) Thai chicken stock (see page xx)
    • 400ml (1¾ cups) thick coconut milk
    • About 225g (½lb) vegetables like baby corn, bamboo shoots, aubergine, broccoli, sliced lotus root
    • 2 tablespoon sugar, more or less to taste
    • 3 tablespoon fish sauce
    • 1 handful of Thai sweet basil, roughly chopped
    • 3 kaffir lime leaves, stems removed and finely julienned
    • 2 red spur chillies, cut into thin rings to garnish
    • Basil oil and some of the goop from the bottom to garnish (optional)

    Instructions

    1. Heat a large wok or frying pan over medium high heat and add the oil. When visibly hot, stir in the chicken pieces and brown for a couple of minutes in the oil.
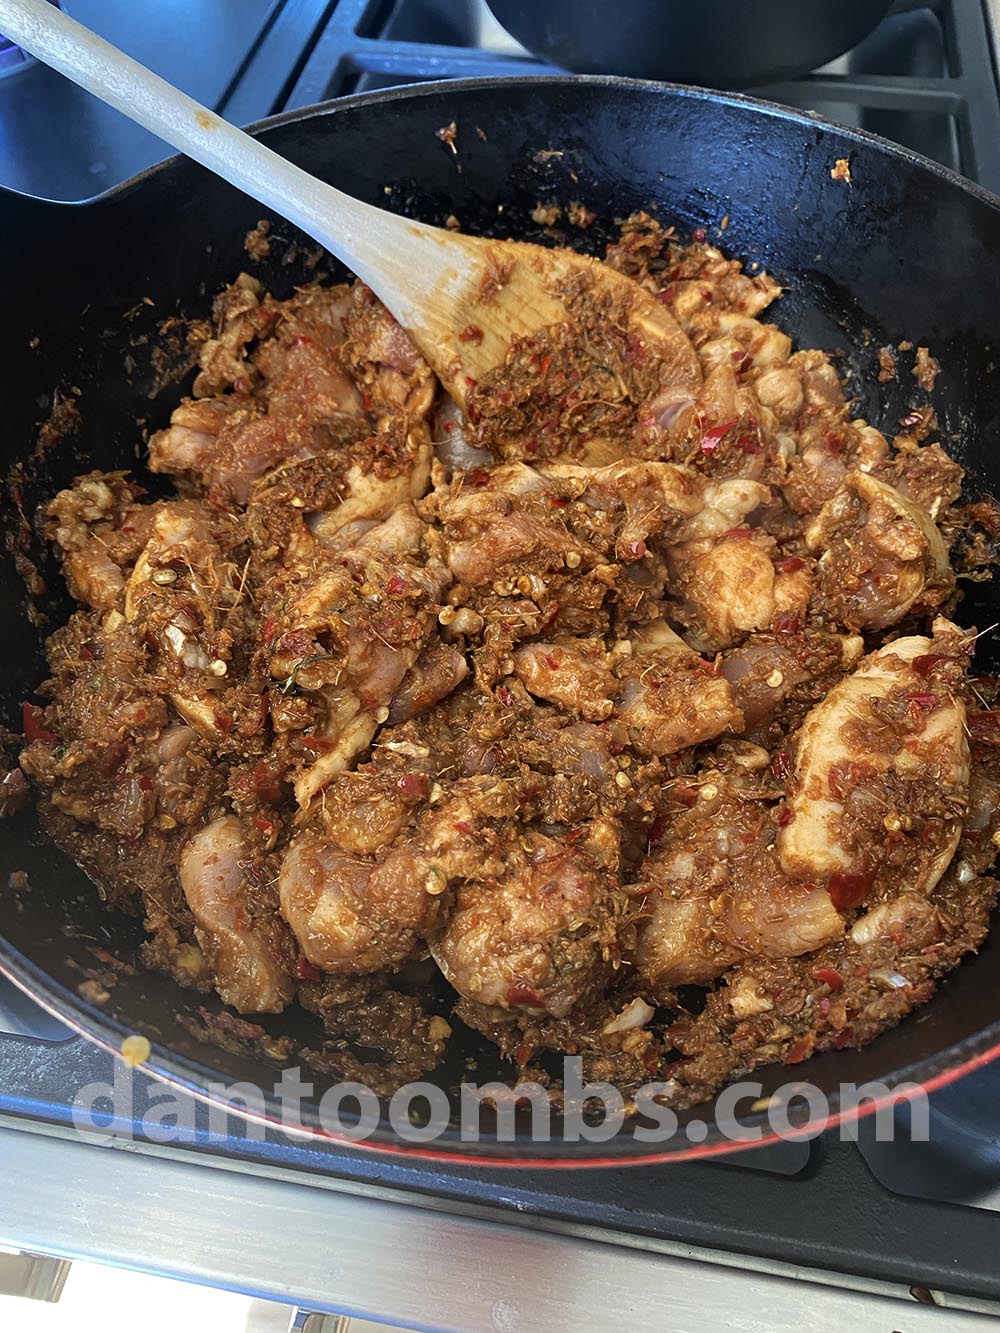
    2. Add the green curry paste and fry for about 30 seconds, moving the paste around in the pan so that it fries evenly with the chicken.
    3. Add the stock and coconut milk and bring to a simmer. Cook for about 10 minutes or until the chicken is cooked through and the sauce thickens a little.
    4. Stir in your vegetables and cook them through to your liking. I prefer mine to be on the crispy side and not at all mushy.
    5. Stir in the sugar, fish sauce, basil and kaffir lime leaves. Taste the curry and adjust the flavours to your preference.
    6. Garnish with the sliced spur chillies and basil oil if using.

    Thai Pork Belly Stew - Moo Hong Recipe

    July 25, 2020 By Dan

    Moo hong - Thai pork belly stew

    If you’re looking for a dish that’s rich, comforting, and packed with flavor, this Thai pork belly stew known as Moo Hong is a must-try. Slow-cooked until the pork is tender. It’s a southern Thai classic with Chinese roots and bold personality. Perfect for cosy evenings or make-ahead meals, this stew brings together humble ingredients and slow cooking to create something truly special.

    Thai Pork Belly Stew - Moo Hong Recipe

    About This Thai Pork Belly Stew Recipe

    I first tried this Thai pork belly stew at a hotel I was staying at in Phuket. I liked it so much that I asked the chef for his recipe. Luckily, he was happy to send it to me.

    During my stay in Phuket, I tried the same dish at several restaurants and was only let down once. That time, the flavors were there but the pork belly was chewy. This Thai pork belly stew is a slow cooker. That is really important to getting the recipe just right.

    I'm always on the lookout for recipes that are packed with bold flavor and this recipe is absolutely that. You'll find many bold flavour dish's on the site such as this 40 Clove Garlic Chicken Recipe.


    Ingredients

    • Pork belly, cut into bite sized chunks
    • Garlic
    • Coriander stems
    • Black peppercorns
    • Palm sugar, finely chopped
    • Star anise
    • Cinnamon stick
    • Light soy sauce
    • Dark soy sauce
    • Oyster sauce
    • Chinese rice wine
    • Chopped coriander

    See recipe card for quantities.


    Step by step photographs...

    frying pork belly
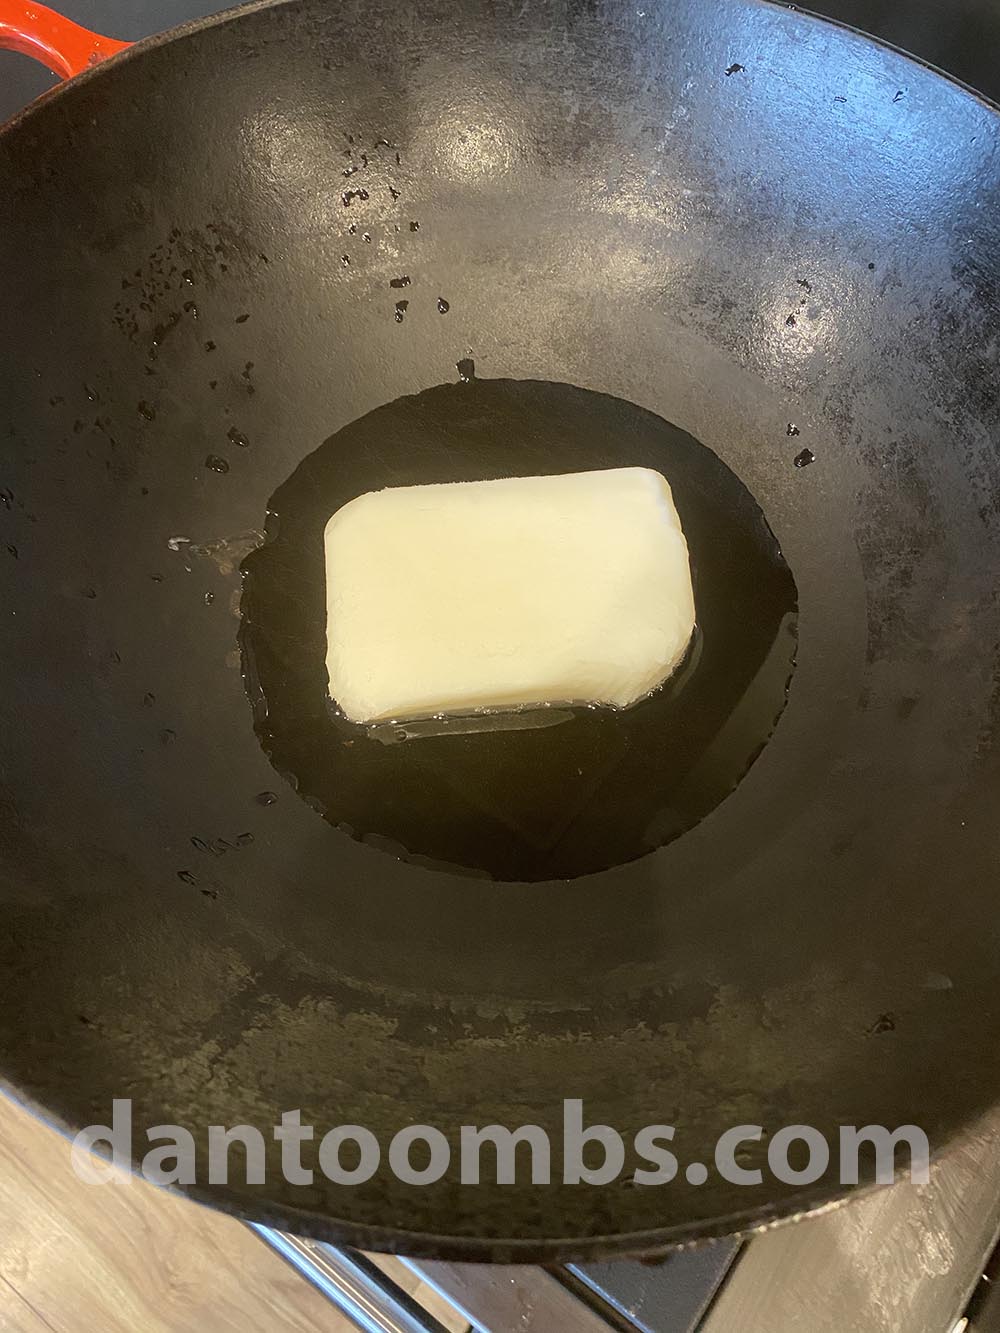
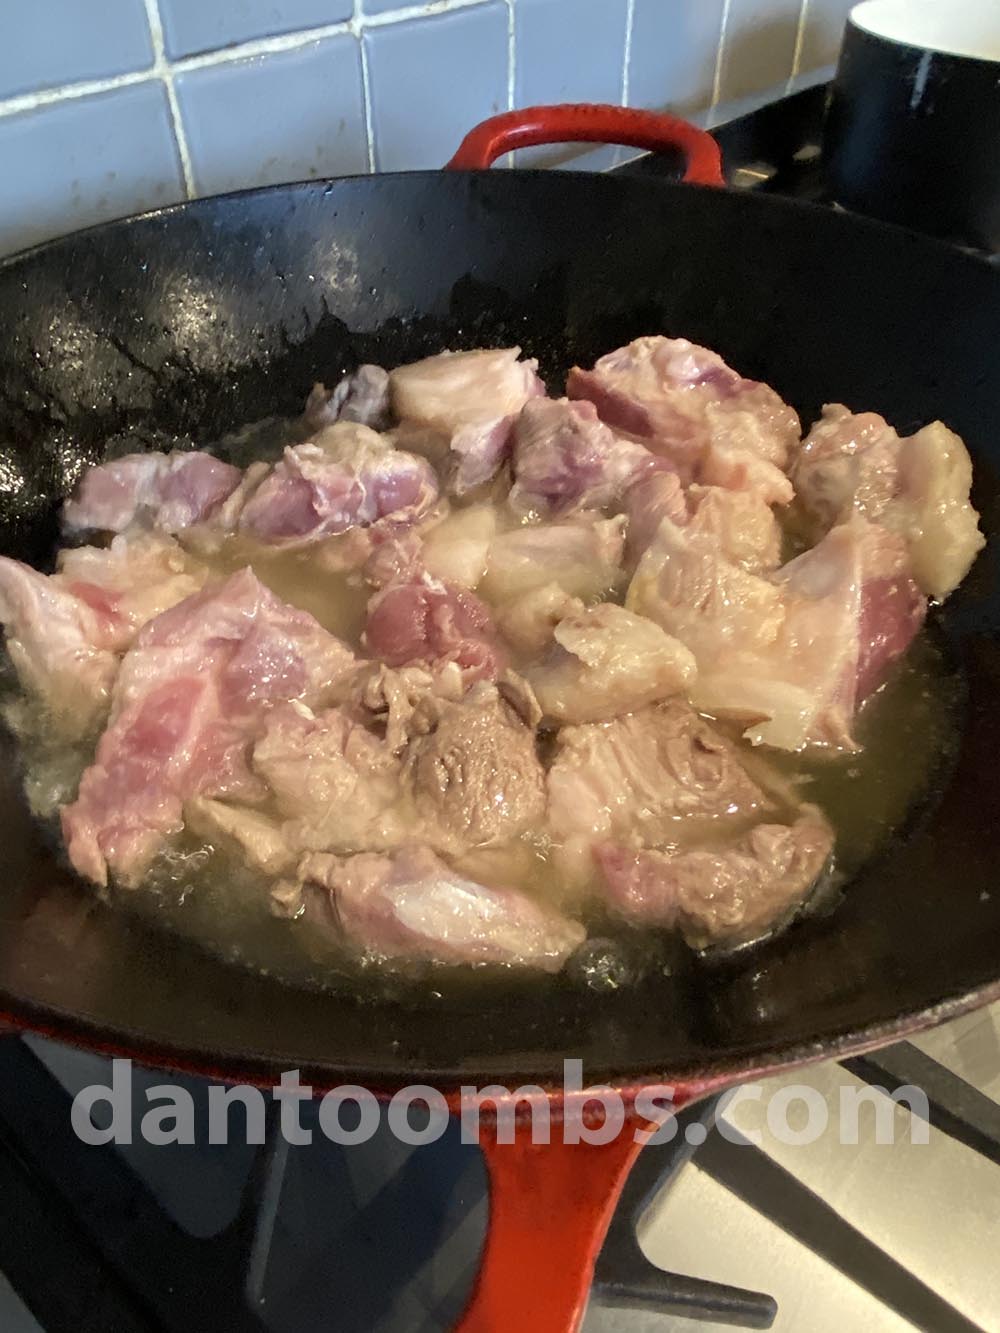
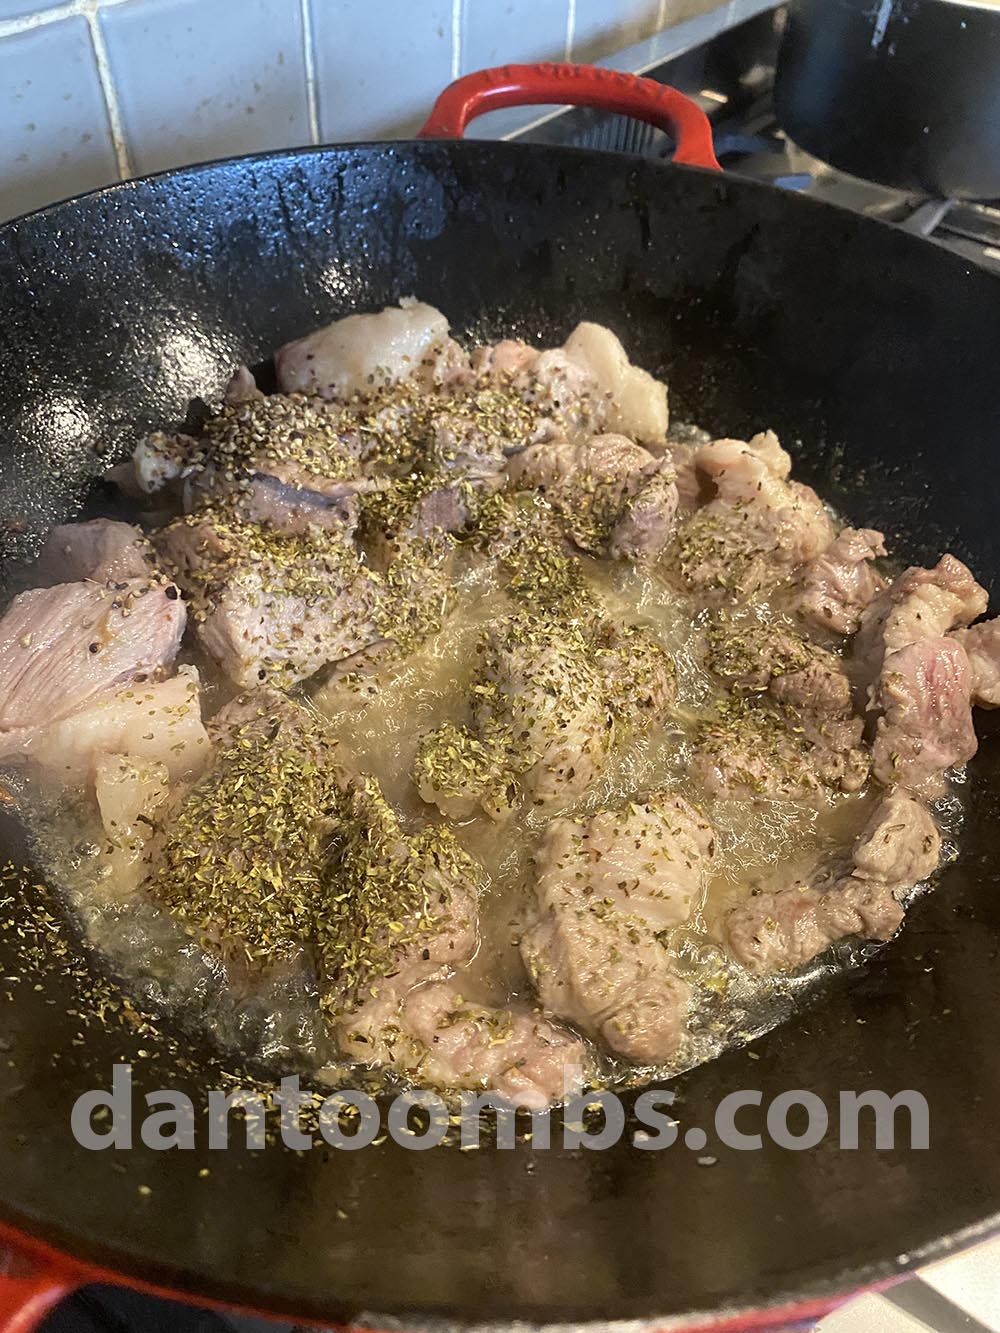
    1. Step 1: Heat the oil in a saucepan over medium high heat. When it begins to shimmer, toss in the pork belly cubes and brown on all sides. This should take about five minutes. You might need to do this in batches. Transfer the browned meat to a plate and set aside.
    herbs and spices in pestle and mortar
    1. Step 2: Place the garlic, coriander stems and black peppercorns in a pestle and mortar or food processor to make a paste. Set aside.

    Infusing whole spices into oil
    1. Step 3: Add the cinnamon stick and star anise to the remaining oil in the pan and let the spices infuse into the oil for about 30 seconds.
    thai pork belly stew in a pan cooking
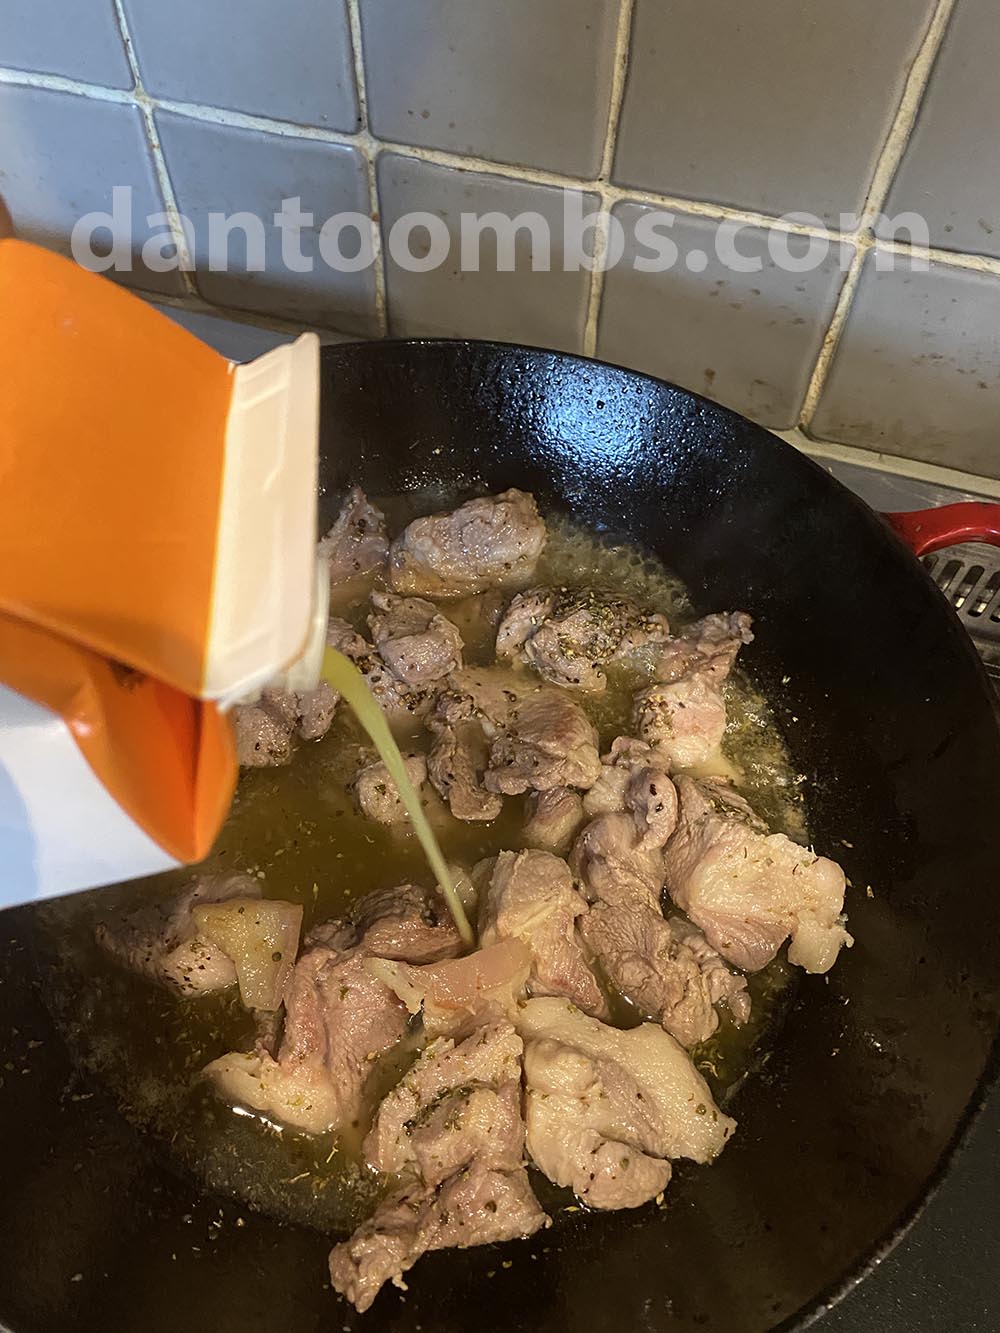
    1. Step 4: Return the meat to the pan and add the sugar, soy sauces and the oyster sauce. Stir well until the sugar dissolves and then add the Chinese rice wine and paste.

    stewing the pork
    1. Step 5: Add just enough water to cover the meat and simmer for about two hours or until the pork is fall apart tender.
    thickened sauce
    1. Step 6: You might need to top up with a little water from time to time.

    Hint: It might sound obvious but the meat is ready when it's ready. It should practically fall apart in your mouth. The slow cooking time in this Thai pork belly stew recipe also adds to the tastiness of the sauce.


    Working ahead...

    You can cook this Thai pork belly stew a day or two in advance. In fact, if you do the flavours will develop and it will be even better.

    All you need to do then is heat it up and serve with a nice big mound of fragrant Jasmine rice.

    The origins of Moo Hong - Thai Pork Belly Stew...

    This Thai pork belly stew (Moo Hong) recipe comes from the southern Thai province of Phuket. While distinctly Thai in its regional popularity, the dish clearly bears the influence of Chinese cuisine.  Moo Hong shares similarities with Chinese red-braised pork (hong shao rou), but over time it has been adapted to suit local tastes.


    Equipment

    Use a heavy-bottomed stewing pan or Dutch oven for this Thai pork belly stew recipe. These types of pans distribute heat evenly and help prevent the sugar and soy-based sauce from catching or burning during the long simmer.


    Storage

    Fridge: Transfer the Thai pork belly stew to an airtight container and store in the fridge for up to 4 days. Reheat gently on the stove or in the microwave until piping hot.

    Freezer: Portion into freezer-safe containers or bags and freeze for up to 3 months. Defrost in the fridge overnight, then reheat thoroughly. The sauce may thicken slightly after freezing—just add a splash of water or stock when reheating to loosen it up.


    Top Tip

    Cook it low and slow—resist the urge to rush it. The longer the pork belly simmers, the more tender it becomes and the deeper the flavors get.


    FAQ

    Can I use a different cut of pork instead of belly?

    Yes! While pork belly gives the dish its signature richness, you can also use pork shoulder or neck for a leaner option that still stays tender when slow-cooked.

    Is Moo Hong very sweet?

    It has a gentle sweetness from palm sugar, but it’s balanced by soy sauce, garlic, and pepper. You can adjust the sugar to suit your taste. Reduce slightly for a more savory finish.

    Can I make it ahead of time?

    Absolutely. In fact, Moo Hong tastes even better the next day. It’s a great make-ahead dish for easy meals or entertaining.


    Popular Categories

    • Burger Recipes
    • French
    • Italian
    • Mexican

    More Bold Flavor Dishes To Try

    Looking for other bold recipes like this? Try these:

    • 40 clove garlic chicken in the bowl it was cooked in.
      40 Clove Garlic Chicken Recipe
    • Garlic soup in a serving bowl.
      Garlic Soup
    • Chili Colorado served in a bowl.
      Chili Colorado
    • Homemade Tuscan chicken plated up
      Tuscan Chicken
    All Recipes

    Recipe

    Thai Pork Belly Stew - Moo Hong Recipe

    Thai Pork Belly Stew

    Yield: 4-6
    Prep Time: 15 minutes
    Cook Time: 2 hours
    Total Time: 2 hours 15 minutes

    Indulge in the flavors of Thai pork belly stew, a slow-cooked dish that's comforting and rich in taste.

    Ingredients

    • 1 kilo (2lb) pork belly, cut into bite sized chunks
    • 8 cloves garlic
    • 10 coriander stems
    • 1 generous tablespoon black peppercorns
    • 2 tablespoon palm sugar, finely chopped
    • 2 star anise
    • 1 x 5cm (2 inch) cinnamon stick
    • 3 tablespoon light soy sauce
    • 2 tablespoon dark soy sauce
    • 2 tablespoon oyster sauce
    • 3 tablespoon Chinese rice wine
    • 6 tablespoon finely chopped coriander

    Instructions

    1. Place the garlic, coriander stems and black peppercorns in a pestle and mortar or food processor and make a paste. Set aside.
    2. Heat the oil in a saucepan over medium high heat. When it begins to shimmer, toss in the pork belly cubes and brown on all sides. This should take about five minutes. You might need to do this in batches. Transfer the browned meat to a plate and set aside.
    3. Add the cinnamon stick and star anise to the remaining oil in the pan and let the spices infuse into the oil for about 30 seconds.
    4. Return the meat to the pan and add the sugar, soy sauces and the oyster sauce. Stir well until the sugar dissolves and then add the Chinese rice wine and paste from earlier.
    5. Add just enough water to cover the meat and simmer for about two hours or until the pork is fall apart tender.
      You might need to top up with a little water from time to time.
    6. When the pork is ready, stir in the chopped coriander and serve. Enjoy!
    Nutrition Information:
    Yield: 4 Serving Size: 1
    Amount Per Serving: Calories: 811Total Fat: 54gSaturated Fat: 20gTrans Fat: 0gUnsaturated Fat: 32gCholesterol: 210mgSodium: 1746mgCarbohydrates: 14gFiber: 1gSugar: 7gProtein: 61g
    © Dan
    Cuisine: Thai / Category: Thai Recipes

    Chicken and Chorizo Risotto

    July 23, 2020 By Shannon

    Bowl of chicken and chorizo risotto garnished with parsley

    Creamy, rich, smoky and all in one pot! This Chicken and Chorizo Risotto is so full of flavor you’ll savor every delicious mouthful. With perfectly al-dente Arborio rice, tender chicken and crispy chorizo, this Chicken and Chorizo Risotto will quickly become a family favorite.

    Bowl of chicken and chorizo risotto garnished with parsley

    This recipe is so simple, uses only a few ingredients and one pan! You do have to spend some time and care adding the stock to your risotto, but it is so worth it for the creamy texture it creates.

    The magic of this recipe comes with the finishing touch. Add Parmesan and butter, stir it in and dig in to your rich and delicious Chicken and Chorizo Risotto.

    [feast_advanced_jump_to]

    Ingredients

    Ingredients for chicken and chorizo risotto separated into bowls
    • Chicken
    • Chorizo
    • Arborio rice
    • Shallot
    • Garlic
    • Rosemary
    • Chicken stock
    • Butter
    • Parmesan
    • Olive oil

    See recipe card for quantities.

    Step by step pictures:

    Chicken cooking in pot for risotto
    1. Step 1: Add your olive oil to a large pan and cook your chicken pieces.
    Chorizo added to a cold pan to render
    1. Step 2: In the same pan, remove the chicken and cook your chopped chorizo until the fat is rendered and it becomes crispy.
    Pot with onion and garlic added to chorizo oil
    1. Step 3: Remove the chorizo, and in the same pan, add your onion and garlic. Sauté until translucent. Meanwhile, bring your stock to a gentle simmer.
    Arborio rice added to cooked onion and garlic in a pot
    1. Step 4: Add your Arborio rice and toast until the ends of the rice become translucent.
    Chicken and chorizo added back into the pot
    1. Step 5: Once your rice is toasted, return the chicken and chorizo to the pot.
    Ladles of chicken stock added to chicken and chorizo risotto
    1. Step 6: On a medium heat, add a ladle of chicken stock to the pot at a time. Only add your next ladle when the stock is fully absorbed. Continue to stir as you go to release the starch.
    Finished chicken and chorizo risotto
    1. Step 7: When you have used all of your stock and your rice is perfectly al-dente, remove your risotto from the heat.
    Parmesan and butter added to chicken and chorizo risotto
    1. Step 8: To finish, add your grated Parmesan cheese and butter. Enjoy your chicken and chorizo risotto!

    Variations

    If you are looking to make this recipe your own or want to substitute an ingredient with something else in your fridge then try these:

    • Cheese: Instead of Parmesan, use pecorino for a sharper, saltier kick or how about mascarpone for an extra level of creaminess.
    • Spice: For spice lovers, why not add some diced chillies to the pan when you add your garlic. A teaspoon of chilli powder or paprika will also compliment this dish beautifully.
    • Vegetables: This is an indulgent and rich dish so wanting to add some tasty vegetables makes perfect sense! Why not fry off some mushrooms with your chicken breast or add some peas when you start incorporating the chicken stock?

    What side dishes can I serve with it?

    The perfect pairing with this Chicken and Chorizo Risotto is definitely a beautiful side salad. Here are some ideas:

    • Green goddess salad: Once you make a homemade green goddess dressing, you might like to try it tossed into a green goddess salad.
    • Caesar salad: Crisp, crunchy and full of flavor. This Caesar salad is the perfect accompaniment to any pasta or rice dish.
    • Arugula (Rocket) salad with balsamic glaze: This peppery salad will pair wonderfully with any creamy dish.

    Storage

    Chicken and Chorizo Risotto is best eaten straight away in order to maintain its creamy, silky texture. However, if there is a small chance that you have any left over, here is how best to store and reheat it:

    Cool it down: Allow the risotto to cool to room temperature before storing it.

    Use an airtight container: Transfer the cooled risotto into an airtight container. Make sure the container is sealed properly to avoid any air or moisture getting in, which could affect the texture and freshness

    Consume within 2-3 days: For the best flavor and texture, eat the leftover risotto within 2-3 days. Risotto tends to lose its creamy texture after a few days, but it will still be delicious if stored properly.

    Reheating: When reheating your risotto, add a little bit of broth, water or cream to help bring back the creamy consistency. Heat it gently over low heat on the stove, stirring occasionally, until it reaches the desired temperature.

    You can also reheat in the microwave, but be sure to cover it loosely to prevent it from drying out. Add a splash of liquid if needed to restore its creaminess.

    Top Tip

    Crispy Chorizo to Garnish: Your chorizo will loose its crisp slightly when you add the stock to your Chicken and Chorizo Risotto. Not to worry though! You can save a few crispy pieces after you have fried your chorizo and use them to sprinkle on-top of your finished recipe. Easy!

    FAQ

    What’s the best rice to use for asparagus risotto?

    You need to make sure you are using a starchy, short grain variety in order for your risotto to be as creamy as possible.
    Arborio - this is the most commonly found risotto rice and works perfectly.
    Carnaroli - if you can get your hands on this rice it will hold its shape and create an even creamier dish.
    Vialone Nano - another Northern Italian rice variety that creates a silky, creamy texture.
    Make sure you avoid any long-grain rice as it will not produce the same creamy result.

    Should I stir the risotto constantly or occasionally?

    Stirring is essential, but you don’t need to stir constantly. Stir every couple of minutes to agitate the rice and release its starch, which creates creaminess. However, if you stir non-stop, you may break the grains and end up with mushy risotto. Find a balance — stir often enough to keep it creamy but not so much that the rice breaks down.

    Why does my risotto turn out too dry or too soupy?

    The key to perfect risotto texture is adding the stock gradually. Add one ladle of hot stock at a time, stirring until it’s almost fully absorbed before adding the next. This ensures the risotto cooks evenly without becoming too dry or too soupy. When it's done, it should be creamy and slightly loose, not thick and clumpy.
    Pro Tip: Don’t add cold stock — always keep your stock warm to maintain a consistent cooking temperature.

    More Italian Recipes

    Looking for other recipes like this? Try these:

    • Finished plate of marry me chicken orzo
      Marry Me Chicken Orzo
    • Finished Italian chicken in a bowl with garlic bread
      Italian Chicken (Pollo allo Scarpariello)
    • Veal Scallopini served in the pan it was cooked in.
      Veal Scallopini
    • Finished chicken fettuccini Alfredo
      Chicken Fettuccini Alfredo

    Pairing

    These are my favorite dishes to serve with Chicken and Chorizo Risotto:

    • Finished roasted chickpea salad
      Roasted Chickpea Salad
    • Caesar salad finished with dressing tossed in a bowl
      Caesar Salad
    • Finished arugula salad with parmesan and balsamic dressing
      Arugula salad
    • Big mac salad
      Big Mac Salad

    Recipe

    Bowl of chicken and chorizo risotto garnished with parsley

    Chicken and Chorizo Risotto

    Yield: 4
    Prep Time: 5 minutes
    Cook Time: 35 minutes
    Total Time: 40 minutes

    Creamy, rich, smoky and cooked all in one pot! This Chicken and Chorizo Risotto is so full of flavor you’ll savor every delicious mouthful.

    Ingredients

    • 7 oz (200 g) raw Chorizo cut into bite size pieces
    • 2 large chicken breasts
    • 1 cup (250g) uncooked Arborio rice
    • 4 cups (1 litre) chicken stock
    • 2 cloves garlic (minced)
    • 1 shallot
    • ⅔ cups (150g) parmesan cheese
    • ¼ cup (50g) unsalted butter
    • 1 sprig of rosemary
    • 2 tablespoons olive oil

    Instructions

    1. In a pan, add two tablespoons of olive oil and cook your chicken on a medium heat until slightly browned.
    2. Remove your chicken and set aside in a bowl, to the same pan add your chorizo and fry until crisp. Transfer to the same bowl as the chicken.
    3. To the same pan containing the chorizo oil, add your garlic, rosemary and shallots and cook on medium heat until translucent and fragrant. Top tip: you can keep your stock warm in a separate pan at this point.
    4. Next, add your Arborio rice and toast until the ends of the rice become translucent.
    5. Then, return your chicken and chorizo to the pan.
    6. Now add the hot stock a ladel at a time. When your first ladle has been absorbed by the rice, add your next ladle. You need to add the stock slowly to achieve that creamy, velvety texture you would expect from a good risotto.
    7. Stir your risotto constantly, this will ensure even cooking and will help release the starch from the rice. The whole process should take around 15-20 minutes.
    8. When your rice is slightly al-dente and turning creamy in texture, take it off the heat and stir in your Parmesan and butter.
    Nutrition Information:
    Yield: 4 Serving Size: 1
    Amount Per Serving: Calories: 455Total Fat: 24gSaturated Fat: 7gTrans Fat: 0gUnsaturated Fat: 15gCholesterol: 87mgSodium: 732mgCarbohydrates: 25gFiber: 1gSugar: 5gProtein: 33g
    © Shannon

    Salmon and Broccoli Pasta Bake

    July 22, 2020 By Dan

    Finished pasta bake

    Salmon and Broccoli Pasta Bake.
    Salmon and Broccoli Pasta Bake.


    You know those evening when you just want to use up a few leftovers but still want to eat well? We made this salmon and broccoli pasta bake on one of those evening.

    It was so good!

    We had everything in right down to the salmon in the freezer and decided to throw something together. This wasn't meant to be a blog post but for some reason I took photos as my wife cooked the meal.

    Let's just say we will be making this salmon and broccoli pasta bake again really soon. This salmon and broccoli pasta bake was influenced by a dinner we had on a family holiday in Tuscany.

    Like most Italian food, it was quite easy to guess the ingredients and that's what we did.

    Preparing ahead...

    The whole idea behind this quickly thrown together yet amazing meal is that you don't need to prepare everything ahead of time.

    That said, there is no reason why you couldn't.

    Get you broccoli chopped and your salmon defrosted if frozen. Get your other ingredients together too right down to the grating of the Parmasan.

    Heck, you could even cook your broccoli and pasta and place it in the fridge.

    The only thing I will say is to leave the sauce to the end. Bechamel sauce can be made ahead of time but it's so much better when used fresh.

    Substituting ingredients...

    Salmon and broccoli go so well together. This is our version of an Italian classic.

    You could of course try other fish and even other vegetables. If it sounds good, it probably will be.

    So are you ready to give this recipe a try? I think you're going to love this salmon and broccoli pasta bake!

    Ingredients for salmon and broccoli pasta bake
    Ingredients you will probably already have on hand. Convenience!

    In the photo above we used frozen salmon. We had it on hand. 

    If you can get freshly caught salmon all the better! 


    Melting butter in pan
    Start by melting the butter

    Flour added to butter for roux
    Flour added to the butter to make the roux

    Slowly adding the milk while whisking


    The cream cheese is added
    Add the cream cheese to thicken further.


    Lemon juice being added
    Add the juice of a lemon.

    Capers added to sauce
    Add the capers to the sauce - delicious!

    Boiling broccoli and pasta
    Add the broccoli to the pasta for the last few minutes of cooking time.

    Sauce being poured over the pasta and broccoli
    Pour the rich sauce over the broccoli and pasta.

    Finished pasta bake
    Dig in!

    If you like this recipe, you might like to try some of these too...

    Seafood Pancakes with Lobster and Garlic Confit
    Roast Leg of Lamb with Chimichurri Sauce
    Lancashire Hot Pot
    Make your own Big Mac
    The Best Macaroni and Cheese Ever
    German Sausages
    Lettuce Wrap Double Burger - Gluten Free

    Recipe

    Finished pasta bake

    Salmon and Broccoli Pasta Bake

    Yield: 4
    Prep Time: 15 minutes
    Cook Time: 40 minutes
    Total Time: 55 minutes

    Ingredients

    • 250g / 9 oz Penne Pasta
    • 300g / 11 oz broccoli chopped into florets
    • 25g / 1 oz butter
    • 25 g / 1 oz plain flour / all-purpose flour
    • 600 ml / 2.5 cups milk
    • 100 ml / 0.5 cups single cream
    • 30g / 1 oz cream cheese
    • 2 tablespoon capers
    • Pinch of salt and pepper
    • 4 skinned salmon fillets
    • 25g / 1 oz Parmasan cheese for the topping

    Instructions

    1. Preheat the oven to 190C/370 F gas 5/fan 170C/340 F Put a large pan of water on to boil for the pasta.
    2. When it is boiling add the pasta and a pinch of salt. Boil the pasta for 6 minutes and then add the chopped broccoli for a further 4 minutes,
    3. The broccoli should be just tender and the pasta al dente as it will be going in the oven where it cooks further.
    4. While the pasta is cooking put the butter, flour and milk in a sauce pan and heat, whisking constantly until it thickens.
    5. Remove from the heat and add the cream cheese and single cream. Then add the capers.
    6. Tear 7 or 8 basil leaves and add these to the sauce saving a few leaves for a garnish after the dish has been in the oven.
    7. Add salt and pepper to taste at this point.
    8. Halve the salmon fillets down the middle and place in a single layer in an ovenproof dish.
    9. Spoon the broccoli and pasta on top then pour the sauce over. Sprinkle with Parmesan cheese.
    10. Cook for around 30 minutes until the top just starts to brown. For an extra crispy topping put under the grill/broiler for a few minutes at this stage.
    11. Allow to sit out of the oven for 5 minutes and then serve.
      © Dan Toombs
       

      Thai Nam Jim Jaew

      January 16, 2020 By Dan

      Thai Nam Jim Jaew Sauce
       

      Thai Nam Jim Jaew Sauce
      Thai Nam Jim Jaew Sauce is the perfect accompaniment for Thai grilled meats.

      Nam jim jaew sauce is served with meats in Thailand. Any meats! This sauce is so good!

      In fact, even if you just cook a roast chicken or steak, dipping it into the magic sauce will take you basic dinner and make it Thai!

      Nam jim jael is so easy to make too. Though there is one special ingredient which is roasted rice or khau khua. This ingredient is available at Thai grocers.

      You can easily make it at home though as I show in the following photos. From my taste tests, it's worth making your own and it only takes minutes. 

      Homemade khau khua is far superior to anything you can buy. Traditionally, Thai roasted rice is made with sticky rice (glutinous rice) but I have made it with other varieties with good results. 

      If you can get sticky rice, however it's worth buying. Sticky rice goes so well as a side with meats and tastes amazing dipped into this sauce. 

      How to get this recipe right...

      Cooking the perfect Thai dishes is all about balance. That is especially so with this nam jim jaew sauce. 

      You want right balance of salty, sweet, sour and spicy for your tastes. 

      So use this recipe as a guide but feel free to experiment. Taste it as you prepare it adding more of ingredients that will give you the taste you're looking for. 

      A word about glutinous rice...

      Many people assume that because it is called glutinous rice that it contains gluten. Rice is gluten free.

      The misunderstanding comes from the spelling. Glutenous means that the ingredient contains gluten. Glutinous refers to the starch that is naturally on the rice. 

      So if you are gluten free, you are safe to use glutinous rice in you nam jim jaew!

      Want to make your own Khao Khua?

      Just follow the easy instructions below.

      Making Khao Khua Roasted rice powder
      Take some raw Thai glutinous rice and place it in a pan over medium high heat.


      Making Khao Khoa - roasted rice powder
      Roast the rice until light brown and fragrant. Then transfer to a plate to cool slightly


      Making Khao Khoa
      Grind the rice in a spice grinder or small food processor to a fine powder.

      The recipe I have photographed above will make more than you need for your nam jim jaew sauce. It can be stored in an air-tight container for up to 2 months.

      A word about tamarind water...

      You can purchase the required tamarind water at Asian shops.

      It is also easy to make. Simply soak block tamarind in some water until the water turns dark and strain.


      Making nam jim
      Place the tamarind water, sugar and dried chillies in a bowl.

      Making nam jim
      Add the rice powder and stir well to combine.

      Making nam jim
      Add the lime juice to taste.

      Making nam jim
      Add the sliced shallots and spring (green) onions.

      If you want to try this recipe with a delicious meat course, try this...

      Gail Yang

      Recipe

      Thai Nam Jim Jaew Sauce

      Thai Nam Jim Jaew

      Yield: 250ml
      Prep Time: 10 minutes
      Cook Time: 10 minutes
      Total Time: 20 minutes

      Ingredients

      • 3 tablespoon Thai fish sauce
      • 4 tbsp. Tamarind water
      • 1 tablespoon palm sugar or white sugar
      • 1 tablespoon dried chilli flakes
      • 1 tablespoon roasted rice powder – Recipe below in method
      • 1 ½ tbsp. lime juice
      • 2 shallots
      • 2 tablespoon coriander stems – finely chopped
      • 2 spring onions – cut into thin rings

      Instructions

      1. This one couldn't be easier! Simply place all of the ingredients in a mixing bowl and whisk to combine. I have photographed each step of this process but you really can wing it!
      2. It is important to taste as you go so that you get the perfect blend of sweet, sour and spicy.
      Cuisine: Thai / Category: Side


      3.5.3251


      Grilled Thai Chicken - Gai Yang

      January 16, 2020 By Dan

      Making Thai gai yang
      Thai grilled chicken
      Gai Yang - Thai grilled chicken is so easy to make and delicious too.

      Have you ever tried gai yang or Thai grilled chicken?

      If not, you must! It's so good! Better yet, it's quite easy to make.

      It does take some time though. You've got to marinate the chicken and then the cooking process takes about 80 minutes. This chicken is cooked low and slow.

      Trust me... The wait will be worth it. 

      What is in the name 'gai yang'? 

      In Thai, 'gai' means chicken. So when you see the word gai on the menu for famous dishes such as tom yum gai and tom kha gai, you will be getting a chicken dish.

      'Yang' means grilled. So here you are getting just as it sound Thai grilled chicken. 

      Why Make Thai grilled chicken - gai yang?

      That's easy. It is one of the most popular Thai dishes around. I love grilled chicken but this has to be one of my favourite recipes for it. 

      It's the Thai marinade and the slow grilling that gets it for me. The flavours are amazing. 

      How is gai yang served?

      In my opinion, grilled Thai chicken just wouldn't be the same without the nam jim jaew sauce that usually accompanies it.

      Thai grilled chicken - Gai Yang
      This Thai nam jim jaew sauce just plain gets it!

      No worries... I have a recipe for that here too. You are about to be in Thai grilled chicken heaven.

      Can gai yang be cooked in the oven?

      If you would rather cook this indoors, no problem. It won't be grilled of course but still very good. Pre-heat your oven to 200c (400f) and place the chicken skin side up on a rack in the centre of the over for about an hour or until the juices are clear and not at all red. 

      So are you ready to get started? You're going to love this one!

      Marinade for gai yang
      If you don't have a pestle and mortar, this can be done in a food processor.


      Marinade for The Curry Guy Gai Yang
      Add the liquid ingredients and sugar.


      Preparing whole chicken for Thai gai yang
      Using a sharp knife, slice right down the centre between the breasts.


      Preparing chicken for Thai gai yang
      Place the chicken, skin side down and press down to flatten as much as possible.


      Preparing chicken for Thai gai yang
      Flip the chicken over and press down on the back bone to flatten it more.


      Grilling Thai gai yang
      Place the chicken on the grill. It is essential that the fire not be very hot. This is a slow cooking process.


      Making Thai gai yang
      Continue turing the chicken every 20 minutes or so until cooked through. This should take about 80 minutes over a low flame.


      gai yang
      So delicious and easy!

      Recipe

      Thai grilled chicken

      Grilled Thai Chicken - Gai Yang

      Yield: 4
      Prep Time: 20 minutes
      Cook Time: 1 hour 20 minutes
      Total Time: 1 hour 40 minutes

      Ingredients

      • 20 garlic cloves
      • 1 lemongrass stalk
      • 1 ½ tbsp. black peppercorns
      • 2 tablespoon coriander stems – finely chopped
      • 1 tablespoon palm sugar
      • 4 tablespoon tamarind water
      • 2 tablespoon light soy sauce
      • 2 teaspoon dark soy sauce
      • 2 teaspoon Thai fish sauce
      • 1 x 1.5k (3 lb.) chicken

      Instructions

      1. Place the black peppercorns in a pestle and mortar and pound until course. Add the garlic cloves and continue pounding until you have a course paste. Throw in the lemongrass and coriander stalks and continue pounding so that all of the ingredients are coarsely pounded with no really big bits.
      2. Stir in the remaining ingredients and transfer to a large bowl or deep plate.
      3. Place the chicken upright on its legs so that it looks like it is sitting down. Using a sharp knife slice downwards between the two breast to butterfly it. Put the butterflied chicken into the marinade and rub the marinade all over it. I usually loosen the skin too and rub some of the marinade under the skin so that it is in direct contact with the meat but this is optional.
      4. For best results allow the chicken to marinate overnight but this isn't necessary.
      5. When ready to cook, set up your barbecue for direct heat cooking. This is a slow cooking process so when the coals are white hot and ready, spread them out some so that the heat isn't too intense.
      6. Place the chicken skins side up first and grill for about 20 minutes. Turn it over and grill for ten minutes. Then flip over again and continue cooking until the chicken has been on the grill for about 80 minutes or until cooked through.
      7. Be sure to check your coals regularly so that you get a medium heat that is not too hot.
      8. When cooked, transfer the chicken to a cutting board to rest for about 10 minutes and then cut into about 8 pieces to serve.
      Cuisine: Thai

      Tomato and Mascarpone Pasta

      December 27, 2015 By Joe

      tomato and mascarpone pasta

      This Tomato and Mascarpone pasta recipe will become a weeknight favourite. Ready in under 30 minutes, using fresh ingredients you can access pretty much everywhere. Skip the jars and make it fresh!

      You can absolutely serve this cold too. A perfect treat for lunch time at work!

      tomato and mascarpone pasta

      About this recipe

      In this recipe. I show you how to make a fresh tomato and mascarpone pasta sauce served with a pasta of your choice. Once you see how easy it is to make this Tomato and Mascarpone pasta is, It will become a favourite in your home.

      [feast_advanced_jump_to]

      Step by step photographs

      You shouldn't have a problem sourcing any ingredients for this Mascarpone Pasta recipe. All ingredients can be purchased at your nearest grocery store.

      ingredients for tomato and mascarpone pasta
      • Mascarpone
      • Tomato passata
      • Onion
      • Garlic
      • parmesan
      • olive oil
      • salt & pepper
      • Basil
      • pasta of your choice (not photographed)
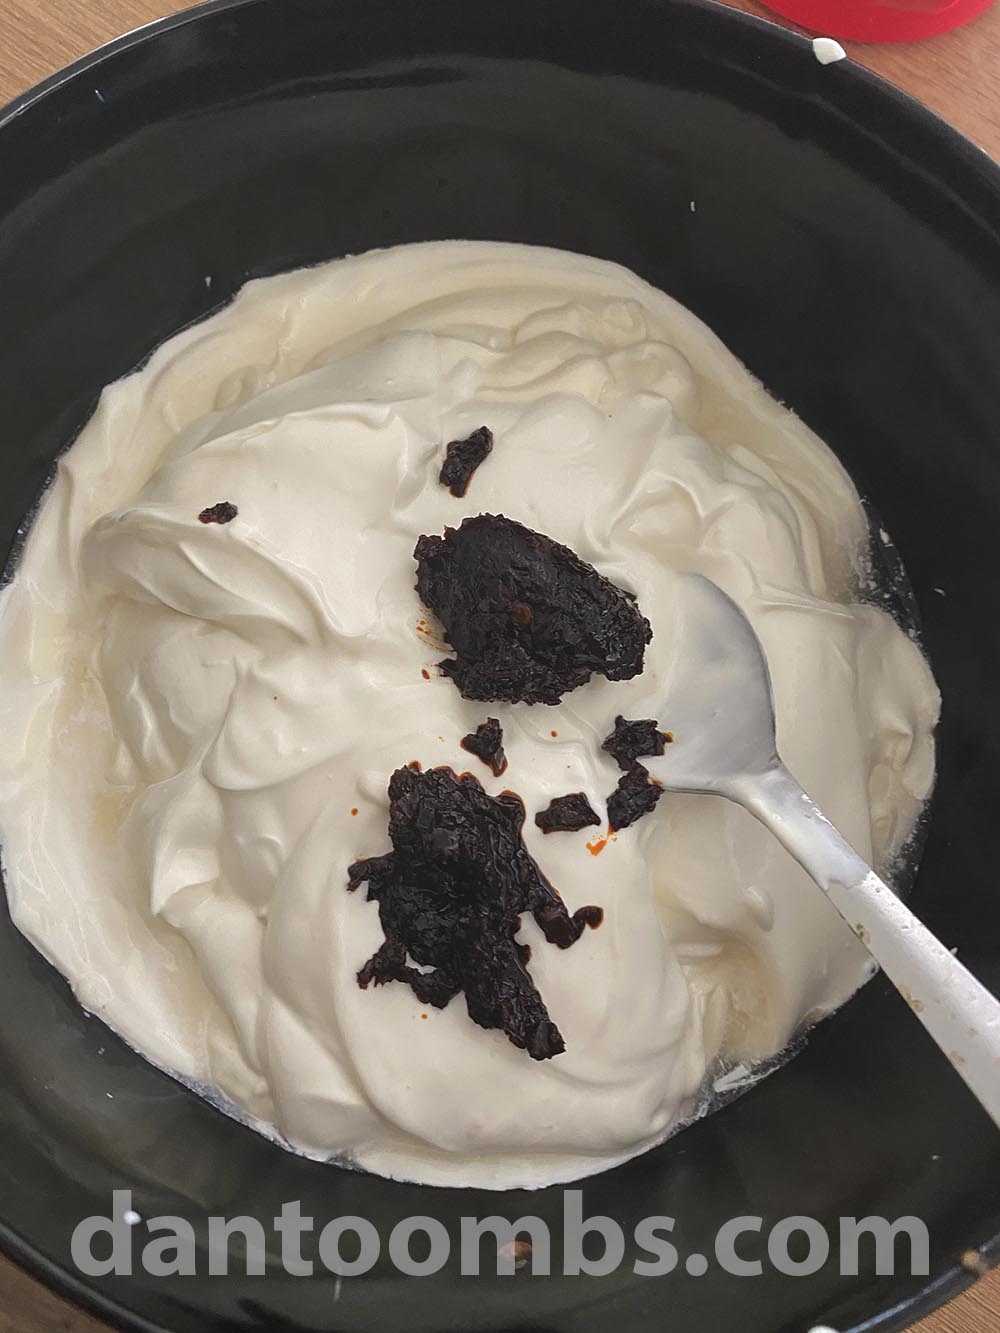
      See recipe card for quantities.

      Instructions

      This recipe is only 4 steps and super easy. There is no excuse now to whip up a tomato and mascarpone sauce. Skip the jars!

      cooking the pasta
      1. Step 1: Bring a pan of water to the boil and add your pasta. Cook as per the packaging instructions
      adding the ingredients to a food processor
      1. Step 2: Meanwhile, In a food processor (or blender), add the mascarpone, olive oil, garlic, basil, parmesan and salt & pepper.
      Adding the tomato
      1. Step 3: Stir in the tomato passata.
      tomato and mascarpone pasta
      1. Step 4: Once your pasta is cooked, stir in the sauce to your hot pasta. If you're working ahead and already have cooked pasta that is no longer hot, heat the sauce over a low-medium heat first. Top with parmesan. Enjoy!

      Hint: If you’re not serving immediately, keep the sauce and pasta separate until ready to serve. This will help prevent the pasta from soaking up the sauce and drying out. If you are serving later, make sure you add a touch of olive oil to your pasta to avoid it sticking together.

      Serving suggestion

      Make this dish a meal by adding a prepared salad to the table. I absolutely love this Green Goddess Salad but check out these other salad recipes too.

      Substitutions for Tomato and Mascarpone Pasta

      This Tomato and Mascarpone recipe can easily be made gluten free or dairy free/vegan.

      • Pasta - Use any pasta you like in this recipe or try gnocchi, noodle noodles or you can even try cooked potatoes or rice.
      • Cream Cheese - Vegan cream cheese can be used instead of mascarpone.
      • Parmesan - Swap this for a teaspoon of nutritional yeast.

      Variations of Tomato and Mascarpone pasta

      Once that you have mastered the Tomato and Mascarpone pasta recipe, you might want to switch it up. This Tomato and Mascarpone pasta recipe is easily adapted and here are some ideas of variations you could try.

      • Red pepper - Roast some peppers and blend with some garlic, olive oil and a splash of vinegar for a sweeter, richer base.
      • Sun-dried tomato - Switch out the passata for some sundried tomatoes.

      Equipment

      For the best results, use a food processor as this allows you to pulse it in short bursts to maintin a good texture and avoid over-blending. However you can use a regular blender to create the paste.

      Storage

      If possible, store the sauce and pasta separately, adding a touch of oil to the pasta to avoid it sticking. This will stop the pasta from absorbing the sauce and drying it out. You should also add a tablespoon of olive oil to the top of the sauce to stop it going brown, When ready to heat back up, heat the sauce in a pan over a medium heat, stir in the pasta.

      If it is already mixed together, simply place it in a bowl, covered and it will last in the refrigerator for up to 5 days.

      The sauce freezes really well, so as long as this is separate to the pasta, it will freeze for up to 3 months. It is definitely worth making a big batch so you can do this.

      Top Tip

      Use the highest quality ingredients you can find. A good quality cheese and a proper extra virgin olive oil. You will taste the difference!

      More Italian Recipes

      Looking for other recipes like this? Try these:

      • Finished gnocchi with sausage recipe
        Gnocchi and sausage recipe
      • Pull apart garlic bread
        Pull Apart Garlic Bread
      • All Italian burger finished
        The All Italian Burger
      • The cooked fish on a serving platter drizzled with the herb mixture.
        Mediterranean Fish - Grilled
      See more Italian →

      Pairing

      These are my favorite salads to serve with Tomato and Mascarpone pasta

      • Green goddess salad served on a chilled plate next to a salad bowl.
        Green Goddess Salad
      • Broccoli Salad on a serving plate.
        Broccoli Salad
      • Chickpea & Carrot Salad
        Easy Chickpea and Carrot Salad
      • Salad Caprese
        Caprese Salad Recipe

      Recipe

      tomato and mascarpone pasta

      Tomato and Mascarpone

      Yield: 4
      Prep Time: 10 minutes
      Cook Time: 10 minutes
      Additional Time: 5 minutes
      Total Time: 25 minutes

      Discover the easy and delicious Tomato and Mascarpone pasta recipe that is ready in under 30 minutes for a perfect weeknight meal.

      Ingredients

      • 4 cups of pasta (your choice)
      • ⅔ cup (150g) Mascarpone
      • 1 cup (250ml) passata
      • small handful of fresh basil leaves
      • ¾ cup (60g) grated parmesan
      • 4 garlic cloves (peeled and crushed)
      • 4 tablespoon olive oil
      • Salt & pepper to taste

      Instructions

      1. Bring a pan of water to the boil and add your pasta. Cook as per the packaging instructions
      2. Meanwhile, In a food processor (or blender), add the mascarpone, olive oil, garlic, basil, parmesan and salt & pepper.
      3. Stir in the tomato passata.
      4. Once your pasta is cooked, stir in the sauce to your hot pasta. If you're working ahead and already have cooked pasta that is no longer hot, heat the sauce over a low-medium heat first. Top with parmesan. Enjoy!
      Nutrition Information:
      Yield: 4 Serving Size: 1
      Amount Per Serving: Calories: 321Total Fat: 15gSaturated Fat: 2gTrans Fat: 0gUnsaturated Fat: 12gCholesterol: 1mgSodium: 93mgCarbohydrates: 39gFiber: 2gSugar: 1gProtein: 8g
      © Joe
      Cuisine: Italian / Category: 30 Minute Or Less

      Easy Chickpea and Carrot Salad

      December 26, 2015 By Dan

      Chickpea & Carrot Salad

      Chickpea & Carrot Salad
      chickpea and carrot salad is perfect for almost every occasion.

      This is a super easy chickpea and carrot salad recipe that can be enjoyed year round. There aren't many ingredients but what there is goes so well together.

      If you've got a mandolin, you'll want to use it for the julienne carrots. It's a lot faster. A good sharp knife will do the job though.

      The great thing about this chickpea and carrot salad is that it is the excellent side dish for almost any meal.

      It goes just as well with a burger barbecue as it does an nice hot curry.

      Working Ahead

      You can make this salad up to three days before serving. In fact it gets better as it marinates in the delicious dressing. 

      I have used canned chickpeas for ease. You could purchase them dried and then soak and cook them to your liking. 

      This gives you more control over the texture of the chickpeas and it's also much better value for your buck!

      Chickpea & Carrot Salad
      Frying the carrots and chickpeas.

      Chickpea & Carrot Salad
      This may be a simple dish but it tastes great.

      Serving

      As with most salads, you could just make this and serve it. You will get much better results, however if you allow your chickpea and carrot salad to chill for a good half hour before serving.

      I also like to place my serving plates and forks in the freezer for 20 to 30 minutes before dishing the salad out. 

      This is a nice touch that people will notice. Believe me... it's worth doing. 

      If you like this chickpea and carrot salad, you might also like to try these!

      Ceasar Salad
      Tandoori Salmon Salad
      Capresi Salad
      Classic California Ranch Dressing

      Recipe

      Chickpea & Carrot Salad

      Easy Chickpea & Carrot Salad

      Yield: 2 - 4
      Prep Time: 10 minutes
      Cook Time: 5 minutes
      Total Time: 15 minutes

      Ingredients

      • 1 x 400ml tin of chickpeas - drained
      • 2 carrots - finely and uniformly julienne cut
      • 1 tablespoon olive oil
      • 3 cloves garlic - smashed in their skin
      • 2 tablespoons freshly chopped parsley
      • A pinch of chilli powder (optional)
      • Salt and pepper to taste
      • Juice of one lemon

      Instructions

      1. Heat the olive oil in a large pan.
      2. When hot, throw in the smashed garlic cloves and let them sizzle in the oil for about 30 seconds.
      3. Now add the julienned carrots and fry for about two minutes.
      4. Add the chickpeas and cook for a further minute.
      5. Remove from the heat to cool to room temperature.
      6. Remove the garlic cloves and season with salt and pepper to taste. Add a pinch of chilli powder if you like.
      7. Garnish with the chopped parsley and squeeze the lemon juice over the top.
      8. Serve immediately or place in the fridge to serve.
      © Dan Toombs
      Cuisine: American / Category: Salad
      I hope you enjoy this easy and delicious chickpea salad. If you do give it a try, please leave a comment. I'd love to hear from you.

      Four Cheese Tortellini

      December 23, 2015 By Dan

      Homemade tortellini
      Homemade four cheese tortellini. Lots of work but worth it.

      Few things beat homemade tortellini. When we are having people over for dinner, I like to make them in several different sizes with a variety of fillings.

      These small four cheese tortellini are one of our favourites. You can use any four cheeses you like but this time I used equal amounts of fresh Mozzarella, Camembert, smoked Cheddar and Parmasan.

      Feel free to experiment with others. If you like the cheese, you really can't go wrong.

      As for a sauce, use whichever you fancy. A good tomato pasta sauce is perfect for this dish. I also like to make fresh chicken stock and serve the cheesy tortellinis in it. So good! Even just a little olive oil and garlic is perfect.

      In order to make this recipes, you will first need to read my post on how to make my fresh pasta recipe.

      Making the pasta without a pasta machine...

      It is good to have a pasta machine but if you don't, you can do it the old fashion way with a rolling pin. It is essential that you sheets of pasta are paper thin.

      When held up, you should be able to see your fingers through the pasta sheet.


      Making tortellini
      Cutting out the circles in a sheet of pasta.

      Making tortellini
      Do not over fill your tortellini. A teaspoon or so should do.

      Making tortellini
      Fold it over into a half circle.

      Making tortellini
      All done!


      Recipe

      Four Cheese Tortellini

      Four Cheese Tortellini

      Yield: 8
      Prep Time: 1 hour 30 minutes
      Cook Time: 10 minutes
      Total Time: 1 hour 40 minutes

      Ingredients

      • 1 portion fresh pasta dough
      • 250ml each of Mozzarella, Smoked Chedder, Camembert and grated Parmasan
      • 3 tablespoons finely chopped parsley

      Instructions

      1. Place the cheese in a bowl and mix them with your hands into a fine paste with no clumps. You could also do this with a food processor.
      2. Roll out a sheet of pasta and cut our circular pieces. I used a 70mm cutter but you could make yours larger or smaller.
      3. Place about a teaspoon of the cheese mixture in the centre of each circle.
      4. Now fold one of the pasta circles over and pinch the seams together.
      5. Fold it over again, as shown above into a perfect tortellini.
      6. Repeat until all of the dough is used. The dough can be stored, wrapped in cling film in the fridge for up to three days. The tortellini can be frozen for up to three months. Cook from frozen if you freeze them.
      7. When cooking, bring a three litre pot of salt water to a boil. The water should taste like salty sea water.
      8. Cook the tortellini in batches. They are ready when they float to the top.
      9. Serve with your favourite sauce.
      © Dan Toombs
      Cuisine: Italian / Category: Main

      Disclaimer: Aldi UK sponsors my blog. All of the ingredients used to make the pasta and tortellini were purchased from my local Aldi supermarket. As always, the ingredients worked perfectly.

      Spicy Corn Chowder

      October 31, 2015 By Dan

      Corn Chowder

      Corn Chowder
      Spicy corn chowder is perfect as a starter or main course.

      The main reason I like to make this spicy corn chowder is because it is so good! There are other reasons for making it though.

      • It can be prepared ahead of time and then warmed up indoors or outside.
      • Very economical for small and large groups.
      • Can easily be adapted to vegetarian diet.
      • A nice Winter warmer
      • Gluten free
      • The recipe is easily amended for larger groups

      I very rarely cook with measures. I simply cook by how it looks and tastes and go for it. This weekend I remade this recipe using measures that all will understand.

      This is a delicious chowder, perfect for sipping from a cup around a camp bonfire or eaten from a bowl.

      Helpful Tips...

      This spicy corn chowder also offers an excellent way of using up leftover roast whole chicken. The chowder is so filling and warming you don’t need any meat but it is a nice touch.

      I hate to waste anything. If you’re feeling up to it, remove any leftover chicken meat from your roast chicken.

      It will be nice cut up and served in the chowder. Then stew the carcass with onions, carrots, celery, garlic and herbs for a couple of hours. It’s the perfect chicken stock.

      You could of course also use stock cubes and water for this chowder.

      Working ahead...

      I love this recipe as it can be made a couple of days ahead of when you eat it. The flavour actually improves.

      Then all you need to do is heat it up and enjoy. You may need to add a little stock or water if you are reheating it.

      If you like this spicy corn chowder recipe, you might like to try some of these too.

      Italian Chickpea Soup
      Homemade Pea Soup
      Chicken Vegetable Soup
      San Francisco Cioppino

      Recipe

      Bonfire Night Spicy Corn Chowder

      Bonfire Night Spicy Corn Chowder

      Yield: 6 - 8
      Prep Time: 10 minutes
      Cook Time: 40 minutes
      Total Time: 50 minutes

      Ingredients

      • 3 tablespoons butter
      • 6 slices of bacon (optional) cut into small pieces
      • 700g fresh, frozen or tinned corn ( I used four of the 180g Aldi tins of corn)
      • 1 large onion – finely chopped
      • 1 leek – finely chopped
      • 1 carrot – finely chopped
      • 1 stick celery – finely chopped
      • 4 cloves garlic – finely chopped
      • 1 litre chicken stock
      • Herbs of choice – thyme, parsley etc.
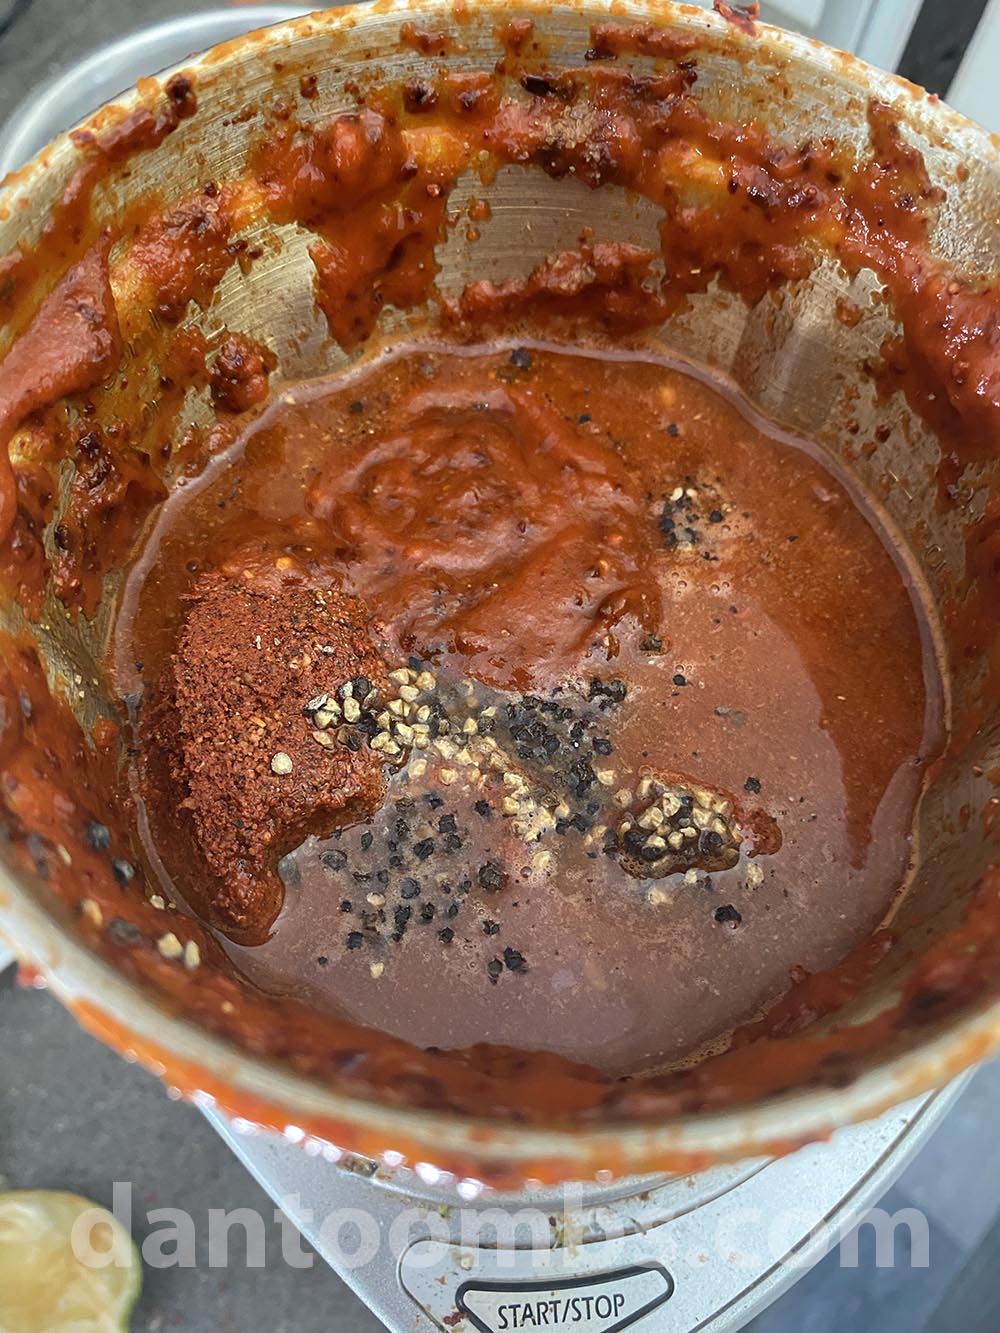
      • 1 (or more to taste) chopped green chilli
      • 600ml double cream
      • 700g potatoes cut into cubes
      • Salt and pepper to taste

      Instructions

      1. Dry fry the bacon until crisp. Some people like to add a tablespoon of vegetable oil to help it get crispy. Set aside for later.
      2. Melt the butter over low heat in a large pot and toss in the chopped onion and leek and green chillies.
      3. Fry until the onions is translucent and soft.
      4. Add the rest of the ingredients up to the cream and simmer until the potatoes are fall apart soft.
      5. Blend either in a blender or using a handheld blender until smooth and check for seasoning.
      © Dan Toombs
      Cuisine: American / Category: Soup


      • « Previous Page
      • 1
      • …
      • 13
      • 14
      • 15
      • 16
      • 17
      • …
      • 24
      • Next Page »
      For Those About To Cook

      Welcome To For Those About To Cook

      We're a family-run food blog sharing brand-new recipes every week. From easy weeknight staples to indulgent weekend favorites. We're a team of five: Dan (The Curry Guy), Caroline, Joe, Shannon, and Jennifer, bringing you a wide variety of dishes inspired by Europe, the Mediterranean, the Americas, and more.

      This site focuses on Western-inspired recipes, while Eastern flavors are covered in depth over at greatcurryrecipes.net Between the two, you'll find everything you need to cook up something amazing so don't forget to subscribe!

      Subscribe

      Footer

      Contact Privacy Policy

      Subscribe for weekly updates!

      Subscribe
      ↑ back to top

      Copyright © 2024 For Those About to Cook