Puttanesca sauce is one of those pasta sauces I truly love. I don't have it often but when I need to empty the store cupboard and fridge, it's usually on the menu.
It seems I always have the ingredients but I use them in other dishes. When the caper, olive and chilli supplies begin to dry up, however they are brought out to cook this penna pasta recipe.
Most Italian recipes are pretty easy. As tasty as they may be, there isn't usually a lot to them. Their deliciousness is in their simplicity.
Even the most novice of chefs can cook up a good puttanesca sauce.
In Italy, where they have so many amazing food markets and delis, I use the best, freshest ingredients I can find for this recipe. Here I tend to use up what I have. I hate waste.
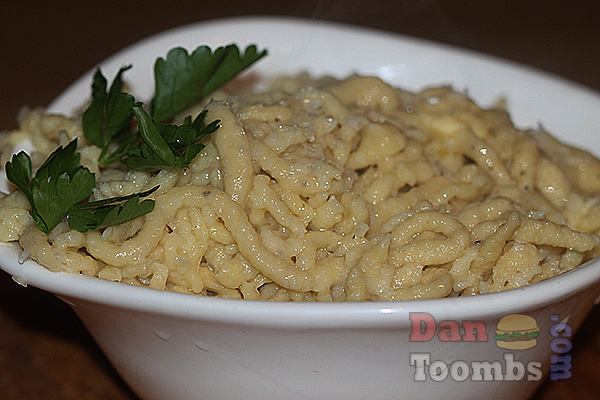
Why use penna pasta for this recipe?
Penne is a very popular pasta all over the world.
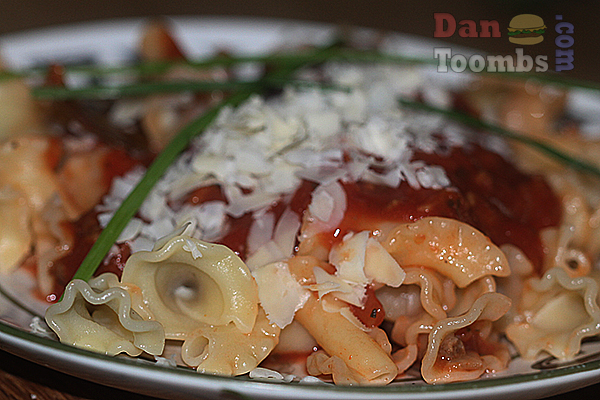
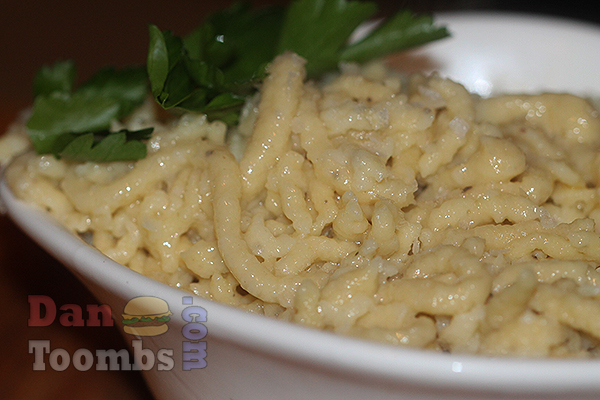
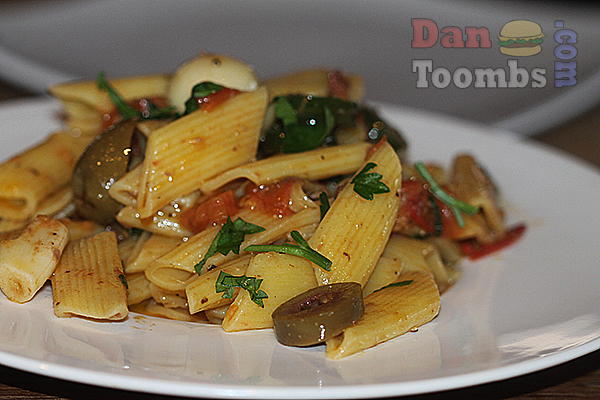
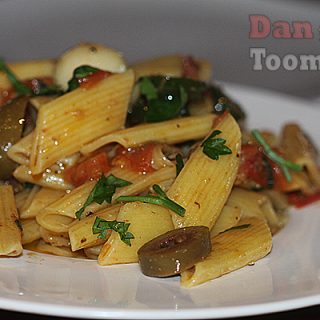
It is available both with a smooth and ribbed surface as shown in this penne pasta recipe. Personally I prefer the ribbed surface for my recipes.
The cylindrical shape of the pasta along with the ribbed edges allows the pasta to adhere to the sauce. Not only that, the sauce gets into the center making every mouthful amazing.
What makes the sauce a puttanesca sauce?
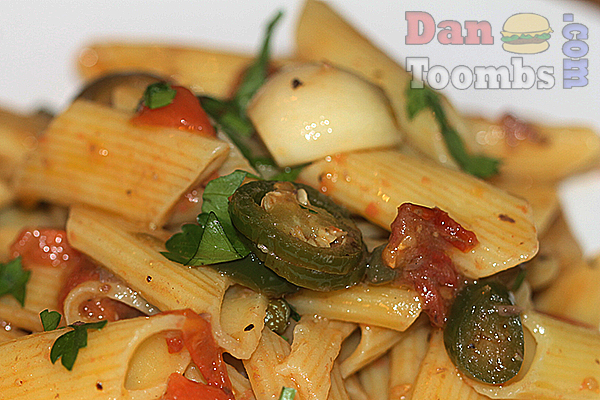
This penna pasta recipe is hugely popular for its simplicity. Sharp tasting ingredients like anchovies, capers, olives, garlic and tomatoes are all used.
You might think that with all those rather strong flavours, the sauce would be overpowering but it's not. The Italians know their ingredients and how to use them!
If you like this recipe, you might also like to try some of these...
Italian style pan seared ribeye steaks
Nduja pasta
Spaghetti with lardo and artichokes
Pasta Bolognese
Pork pasta with paprika and garlic
Caprese salad
Recipe
Penne alla Puttanesca
Ingredients
- 500g (1lb) fresh penne pasta or the pasta of your choice
- 3 tablespoon olive oil
- 6 anchovy fillets - cut into pieces
- 2 cloves whole garlic
- 3 tablespoons capers
- 1 green chilli pepper - sliced thinly
- 10 olives - sliced - whatever kind you like
- 20 cherry tomatoes
- 3 tablespoons fresh parsley - finely chopped
- 1 tablespoon butter
Instructions
- Cook your penne pasta as per the instructions on the packet. I like to serve mine al dente.
- Drain, rinse and stir in the butter. Set aside and keep warm.
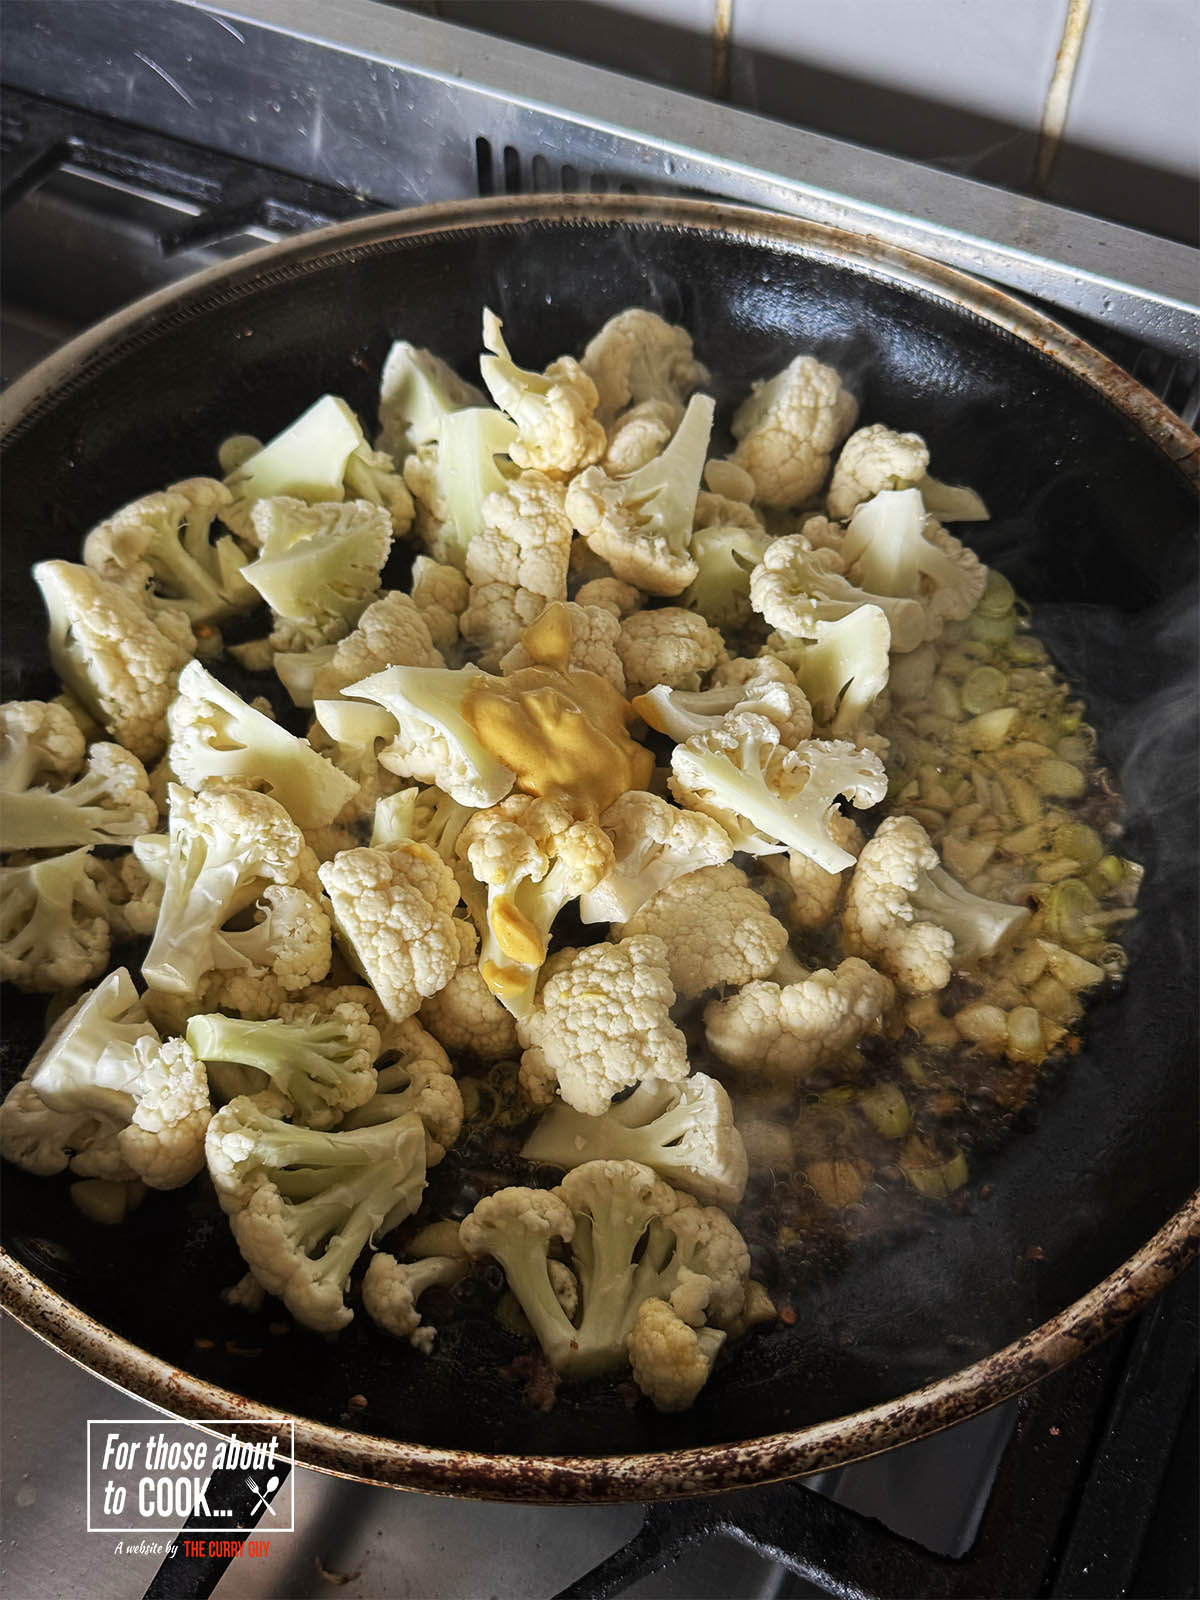
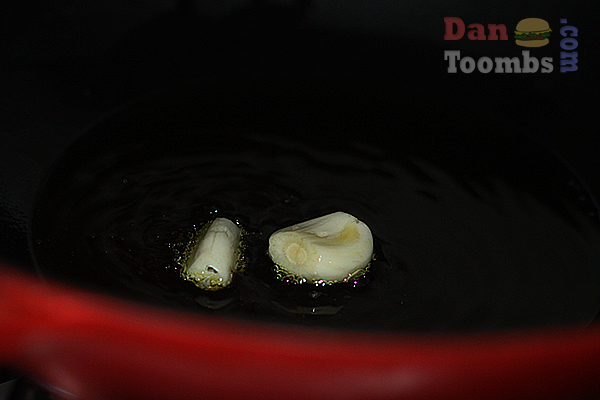
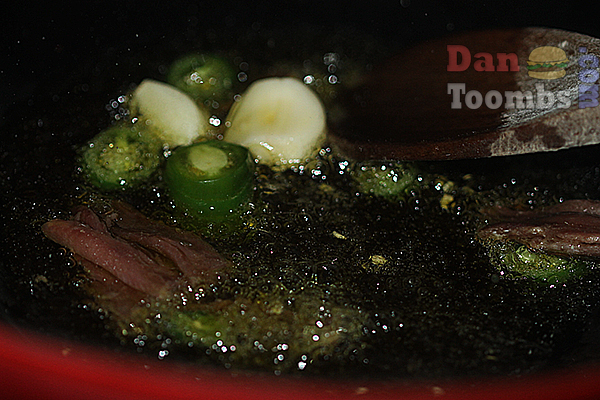
- In a large pan or wok, heat the olive oil.
- When hot, toss in the garlic cloves and move them around in the oil for a few seconds.
- Add the anchovies and sliced chilli pepper and sautè for about 30 seconds.
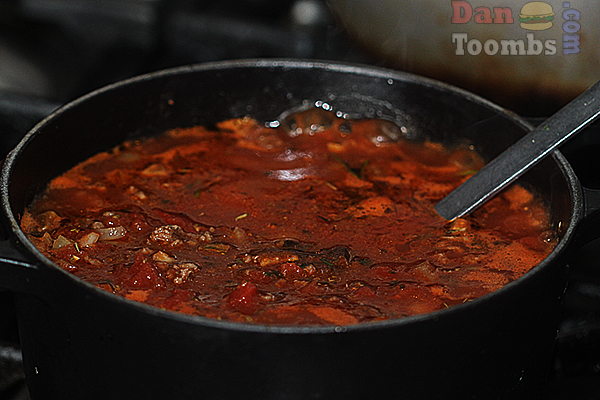
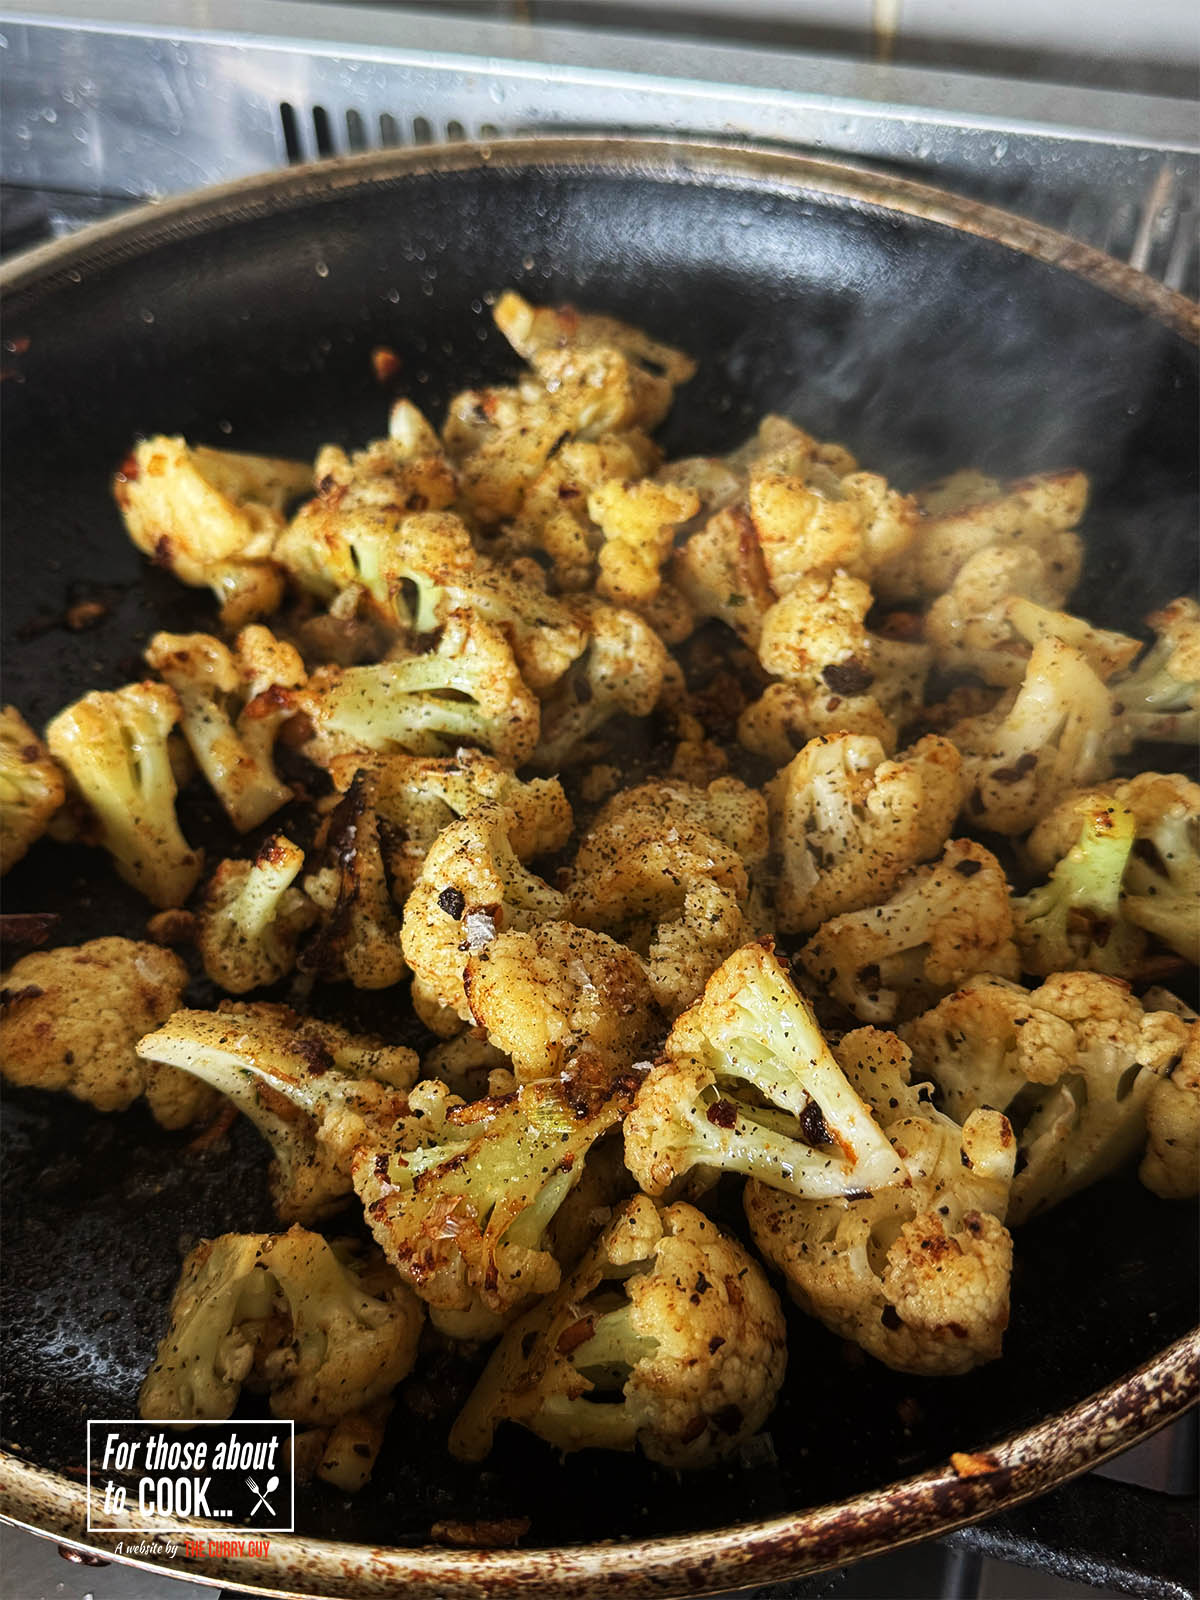
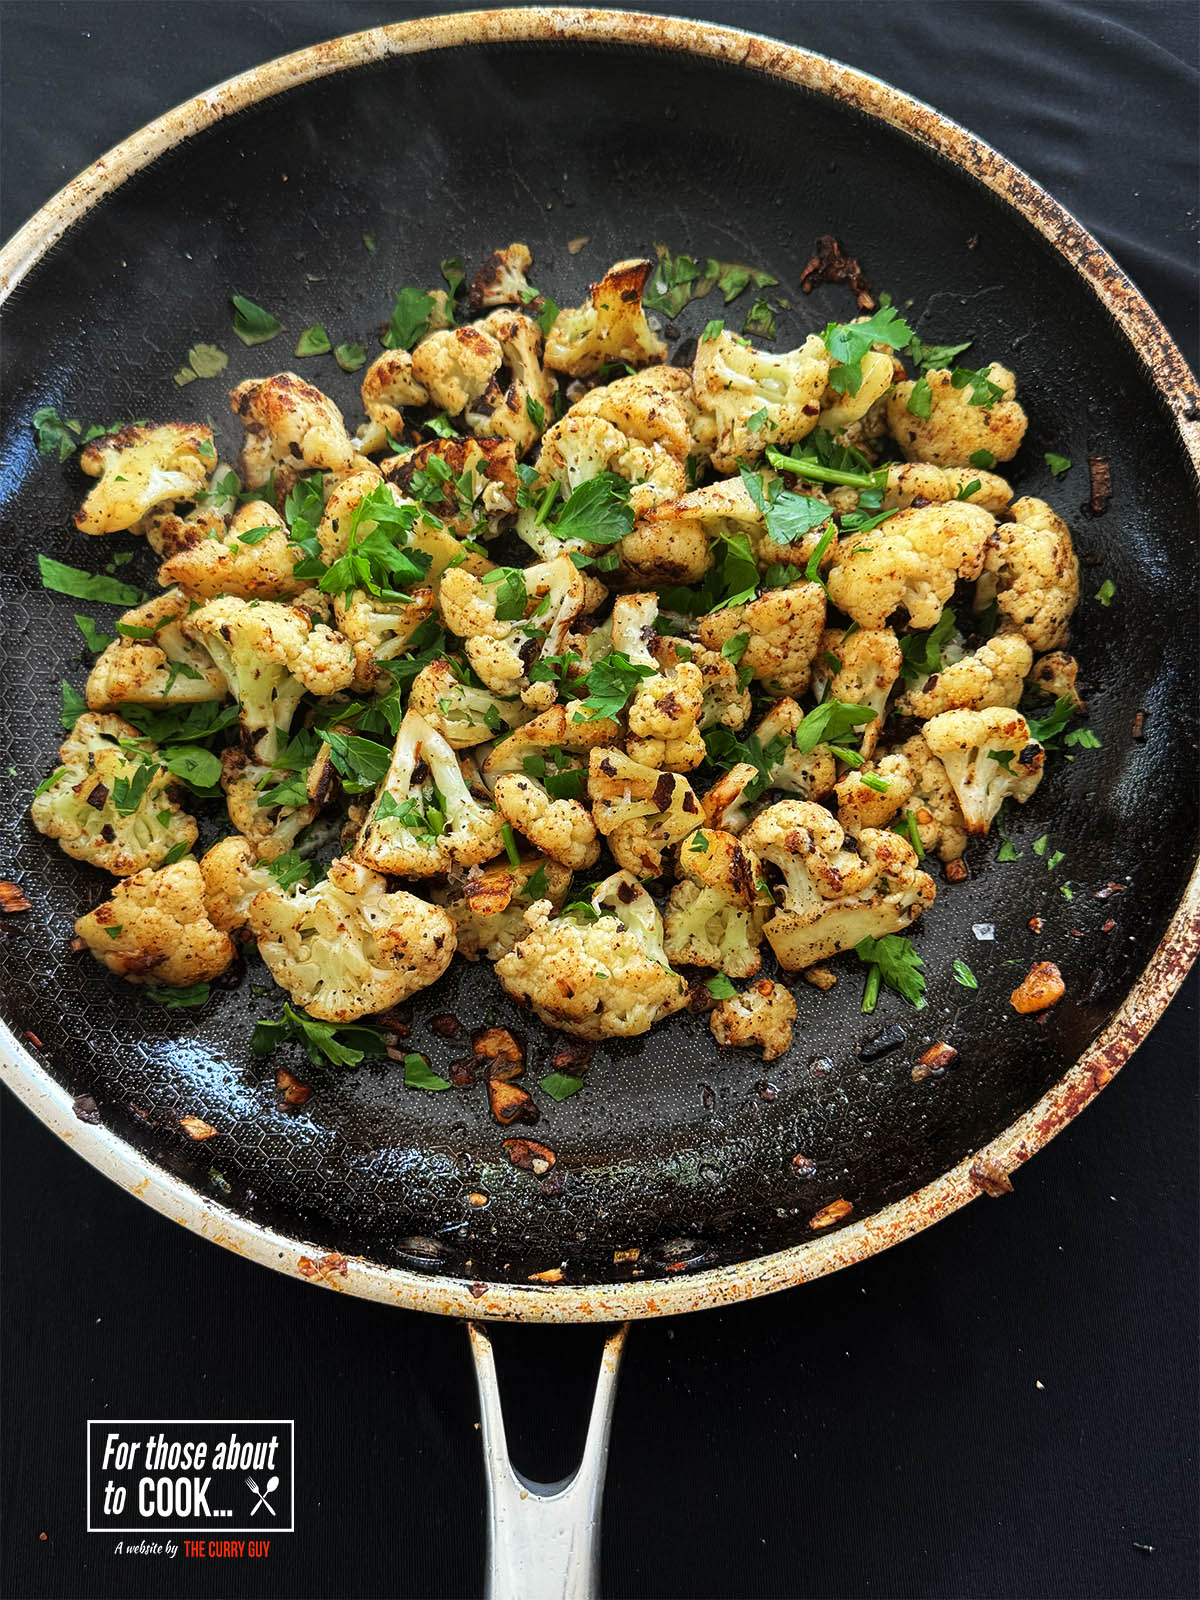
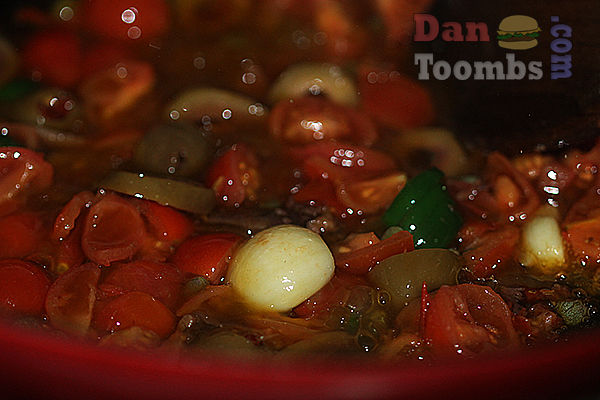
- Now stir in the tomatoes, capers and olives and simmer until you have a thick sauce.
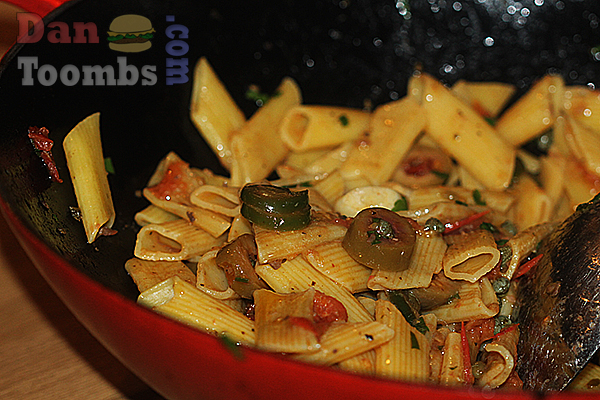
- Stir this into your pasta and serve immediately.